

Walk into the Libertonian museum to sell the stolen diamonds, then fight your way out when the deal turns into a shootout. Take out Ray’s men in the park, chase down the ones who run, lose the cops and bring the cash to Jim. You keep $10,000.
Before you start
This mission only appears once you have finished both Diamonds in the Rough and Roman’s Holiday. Do not hurt Niko during the fight inside. If he is hit, the mission fails.
Objectives
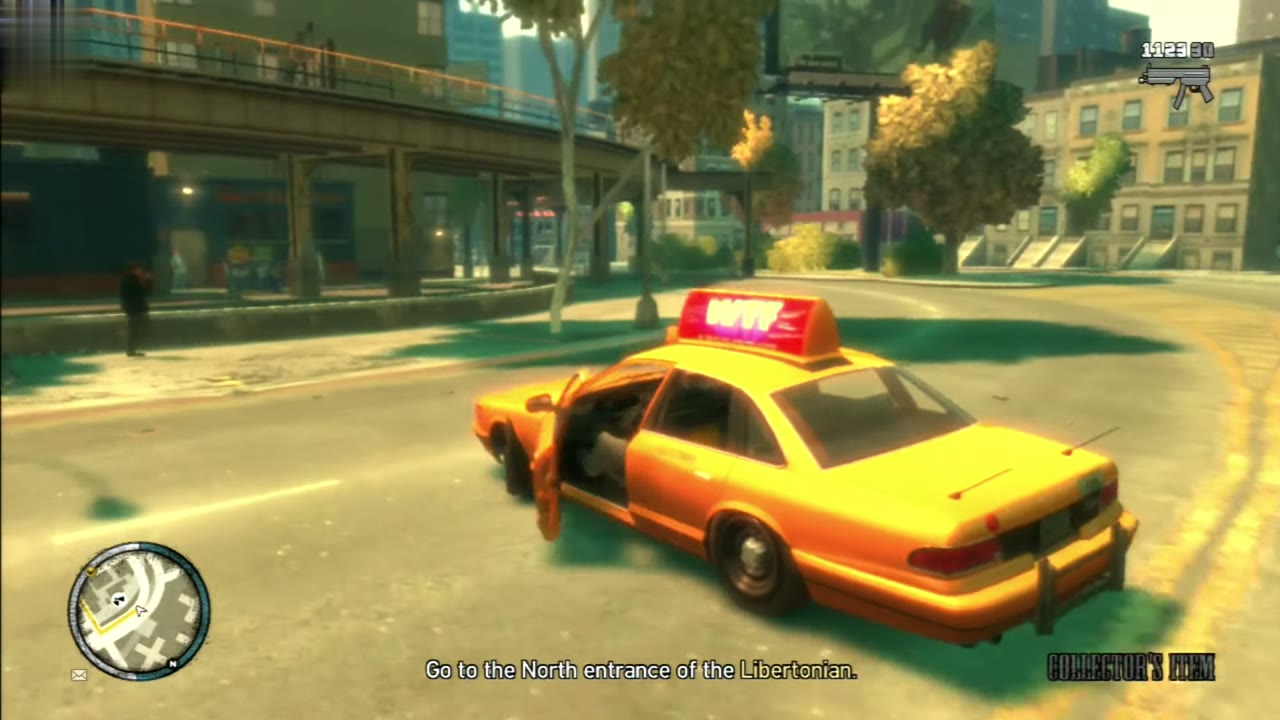
- Go to the North entrance of the Libertonian.
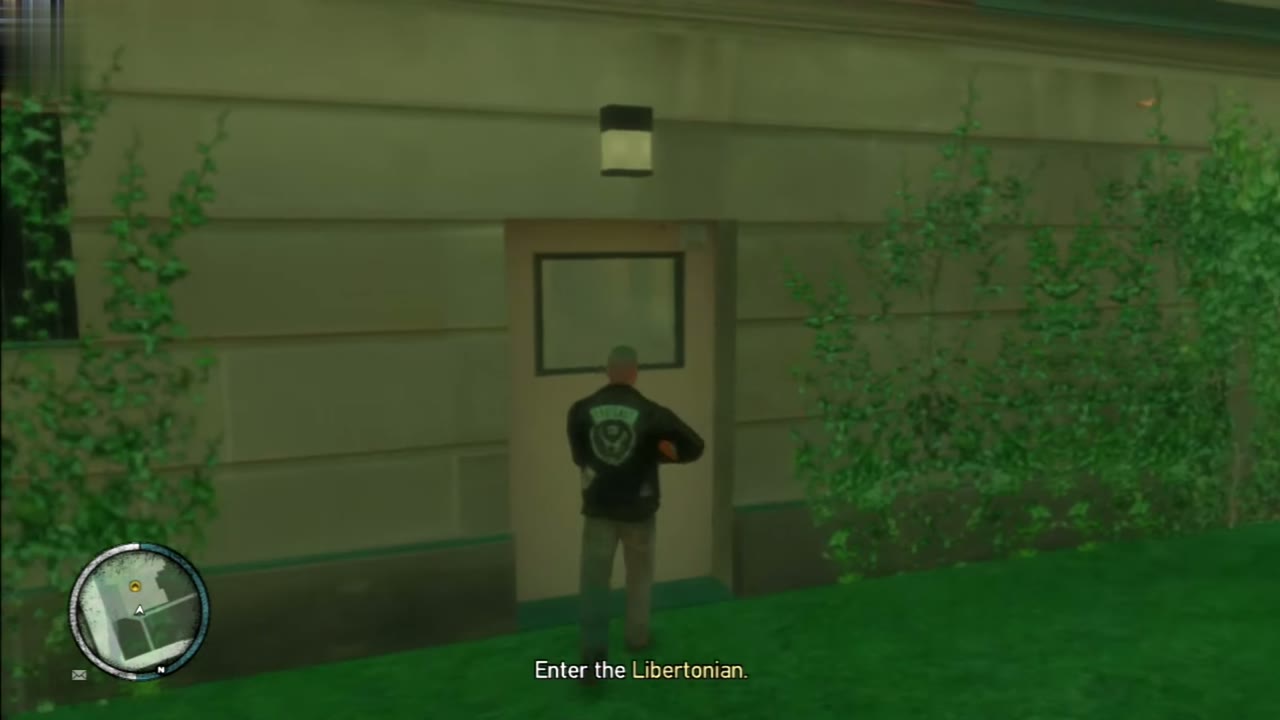
- Enter the Libertonian.
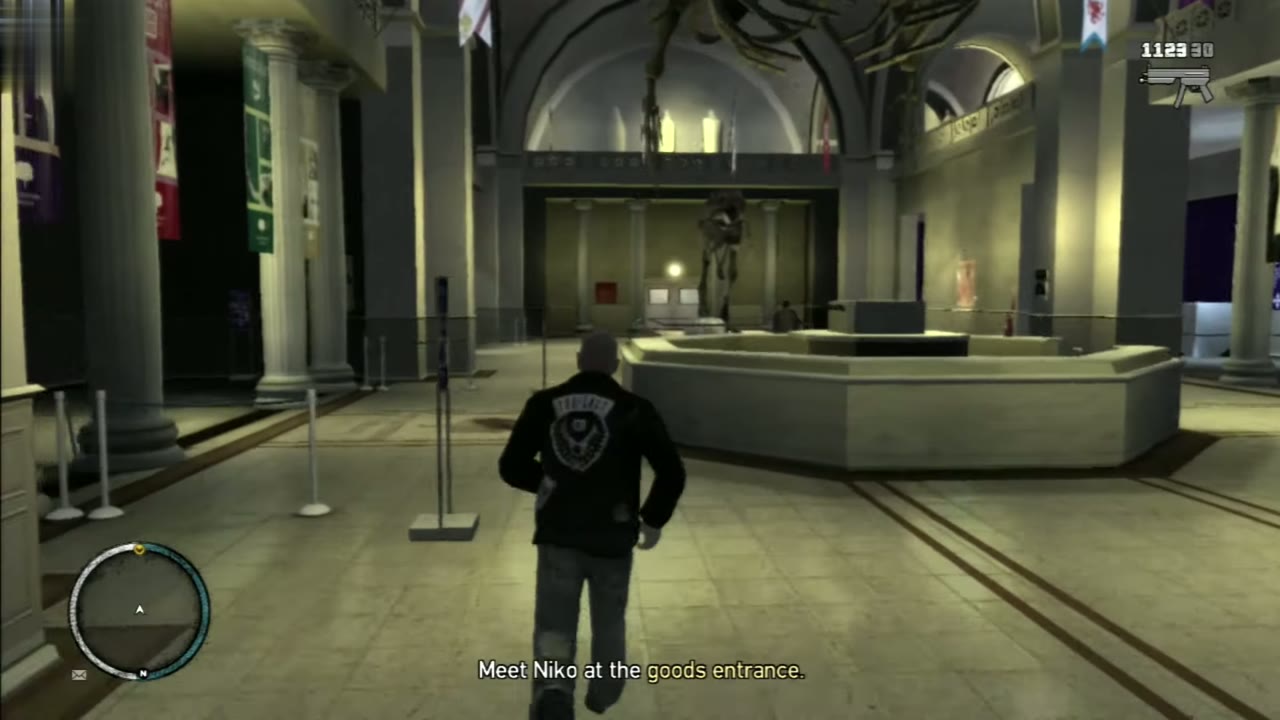
- Meet Niko at the goods entrance.
- Escape from the Libertonian.
- Take out Ray’s guys.
- Some of the mafia are fleeing. Chase them down.
- Lose the cops.
- Take the money to Jim.
Collector’s Item walkthrough
Get to the museum
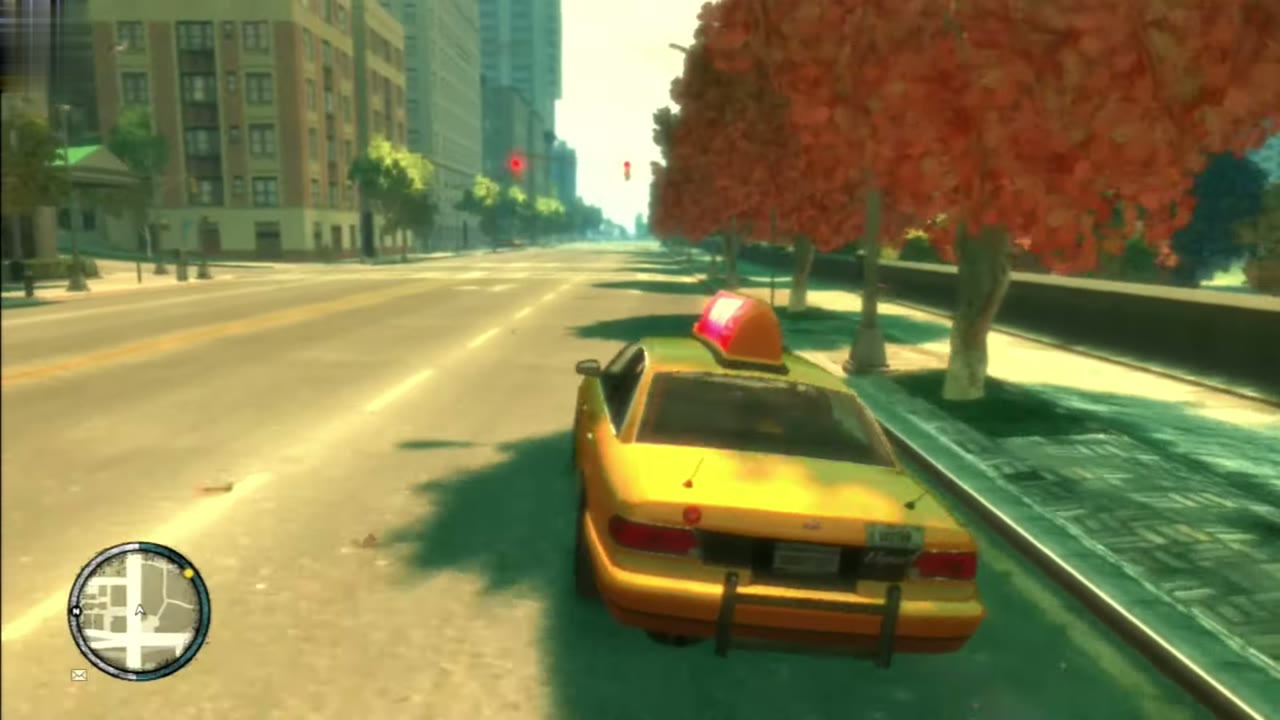
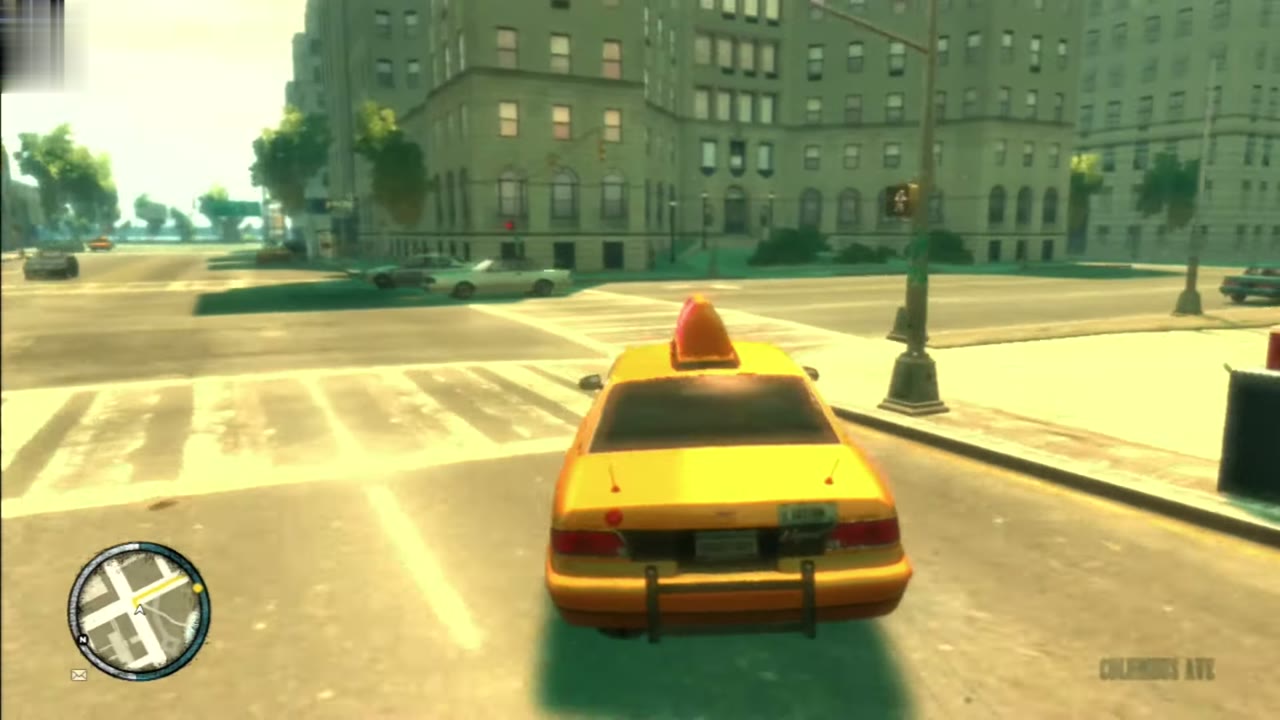
Ray calls with the next step: the diamonds are being sold at the Libertonian, the big museum in Middle Park. A yellow blip on the radar marks the north entrance. Take any car you like and follow the route line. Park near the entrance rather than on the lawn, since you will want a clear path back out.
Go inside and meet Niko
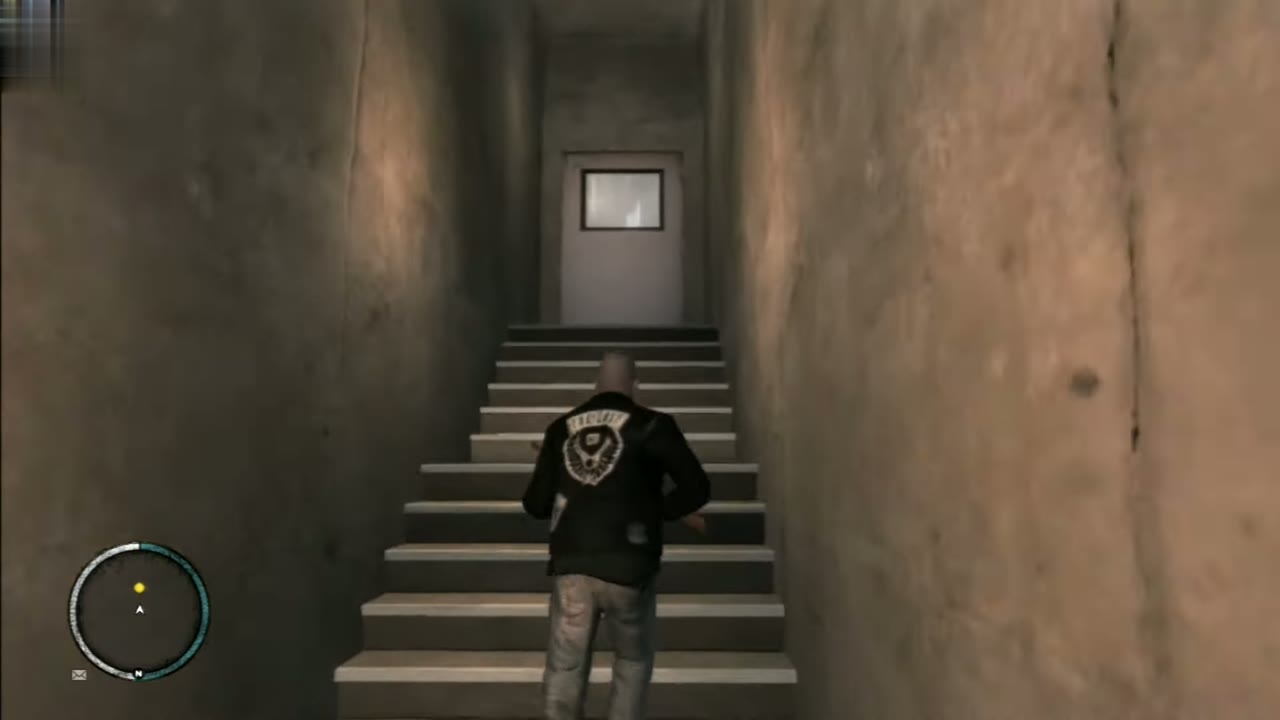
A few of Ray’s men in dark suits stand around the paths near the entrance. They ignore you for now, so walk past without drawing a weapon. If you want company, phone Clay and Terry before you go in. They wait outside for you. The objective changes to entering the Libertonian. Go to the side door in the north wall, step through and climb the stairs to the main hall.
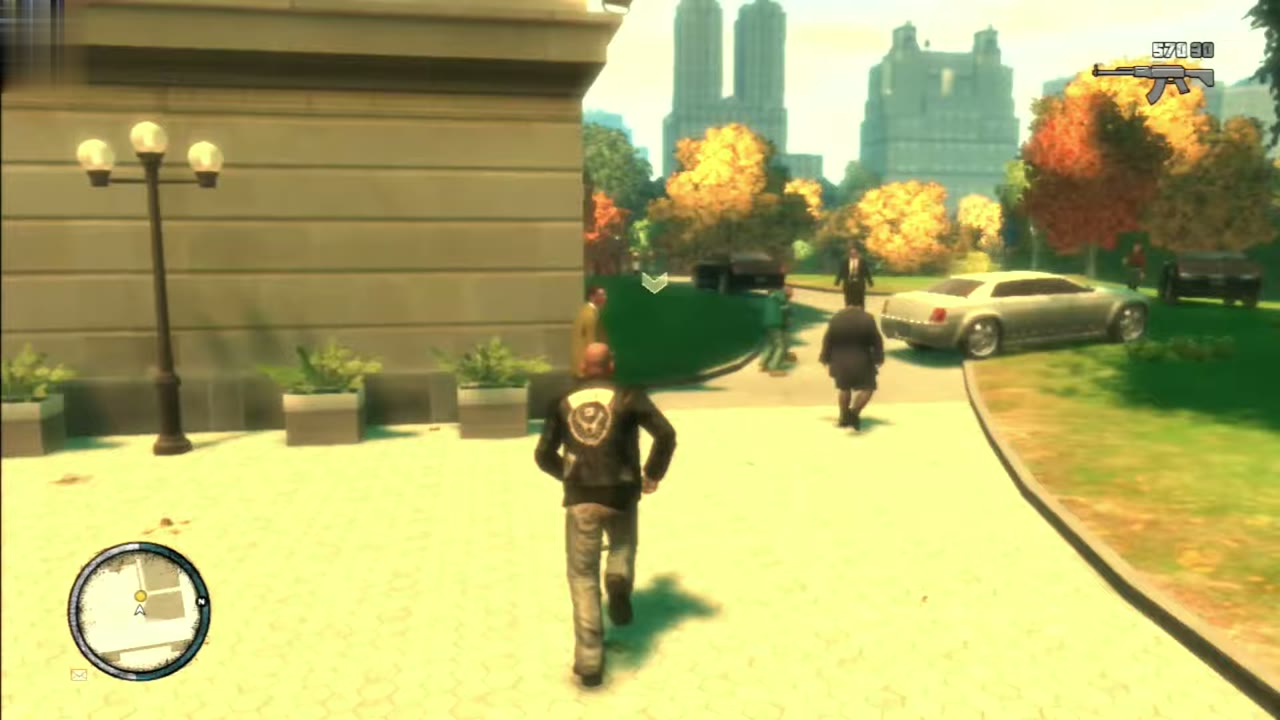
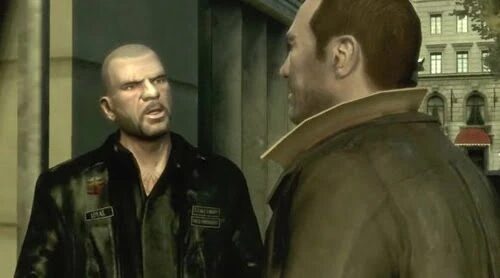
Cross the lobby, which has a dinosaur skeleton in the middle, and follow the yellow marker down to the goods entrance at the back of the building. Niko is waiting in a loading area. Walk up to him and a scene starts in which the diamonds change hands. Let it play.
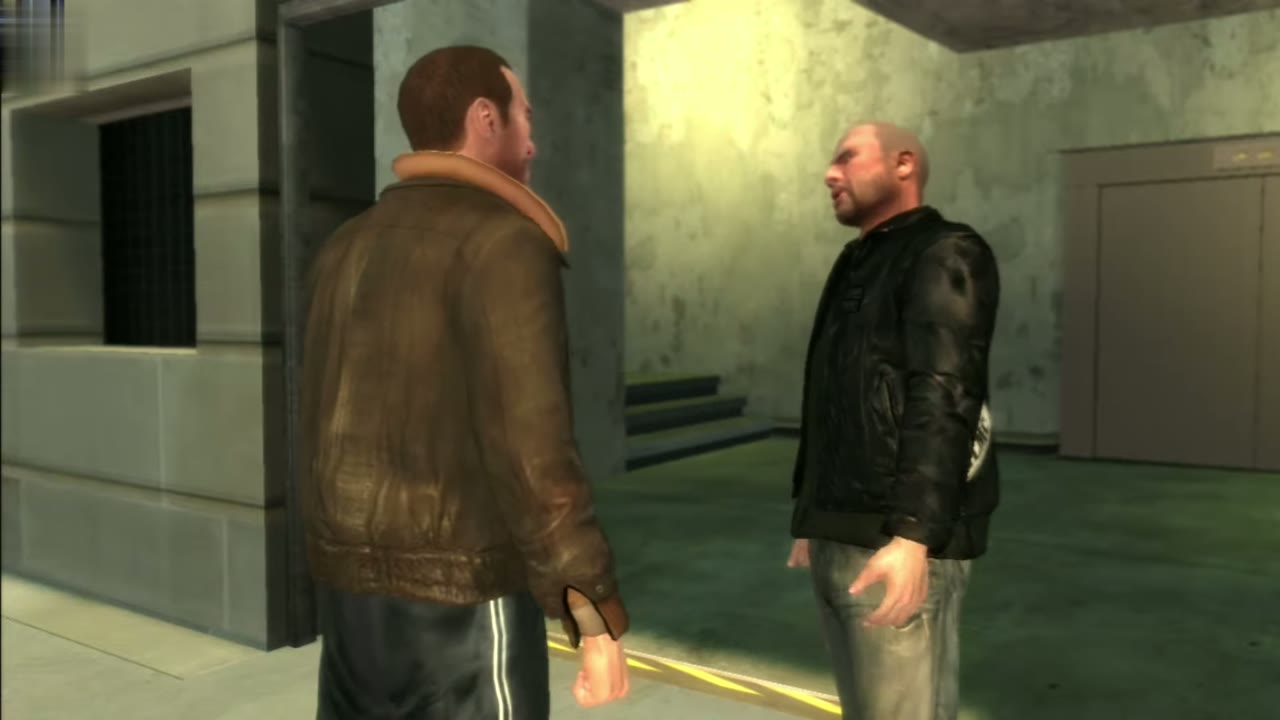
Fight your way out
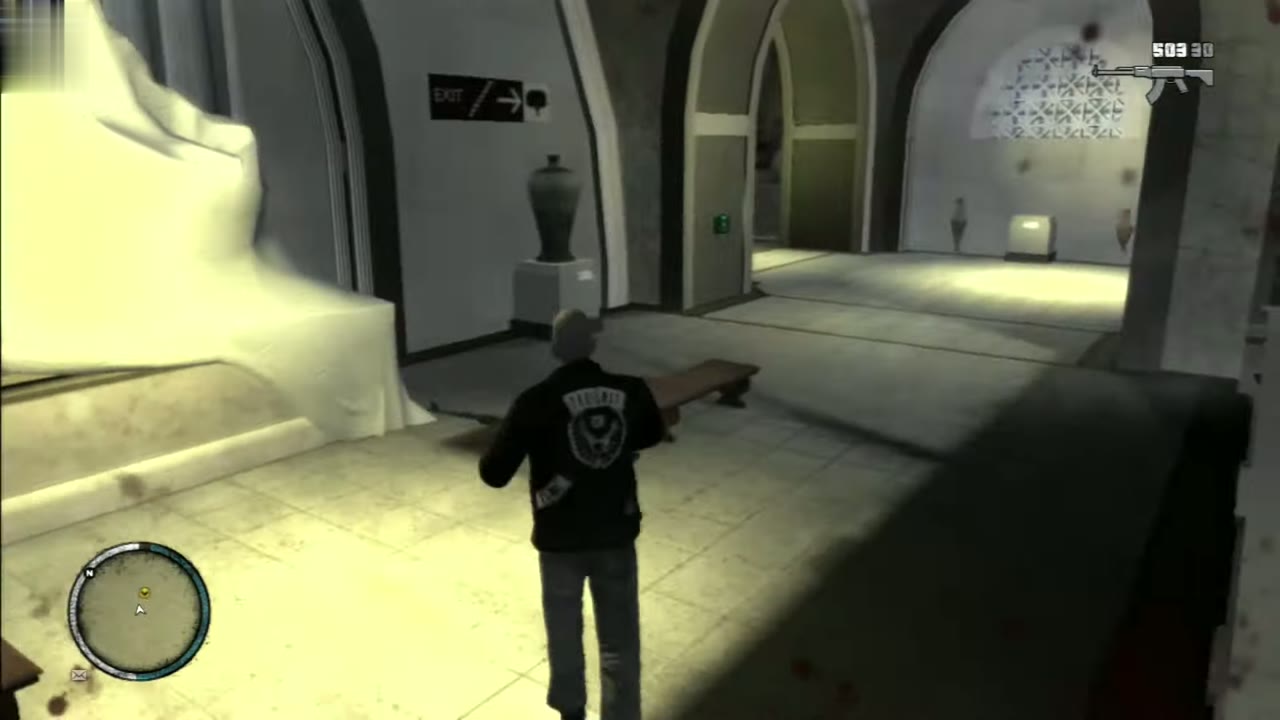
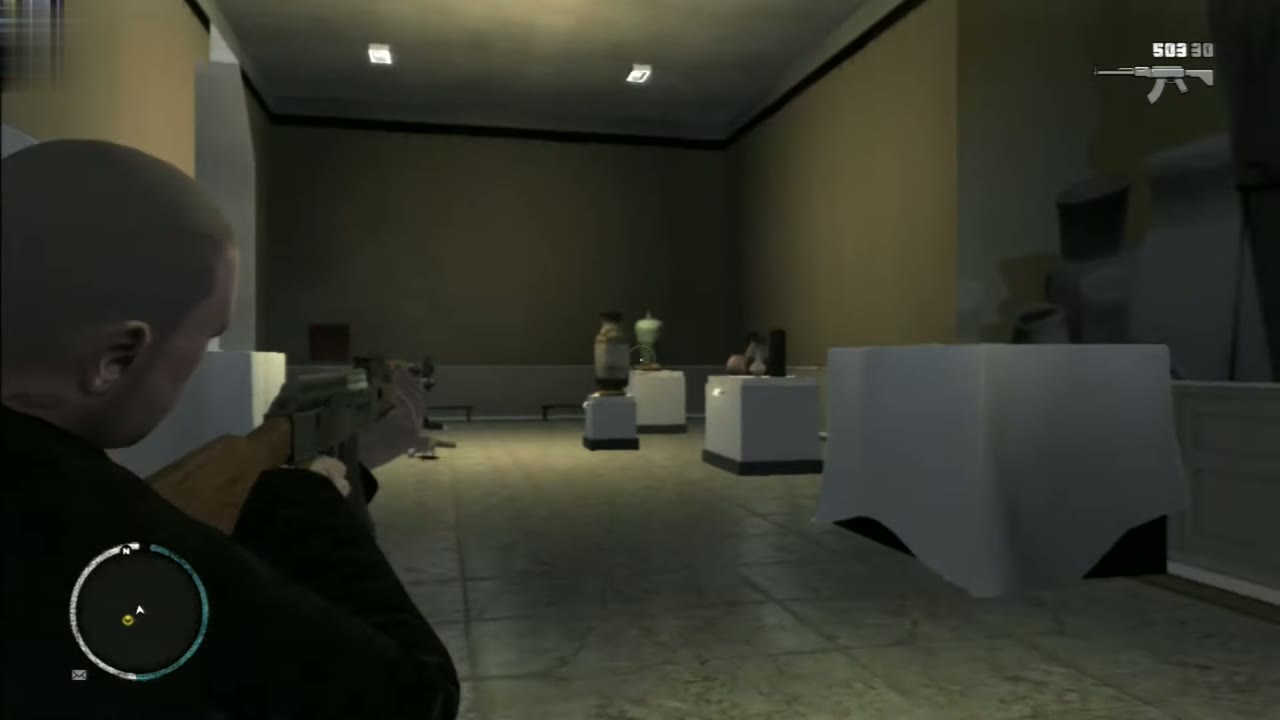
The deal goes wrong and you are left on an upper walkway with the cash. The new objective is to escape from the Libertonian. Men with guns come at you from the galleries and the arched doorways. Duck behind the white display cases and pop out to shoot. Aim at the people in the arches first, because they have a clear line on you.
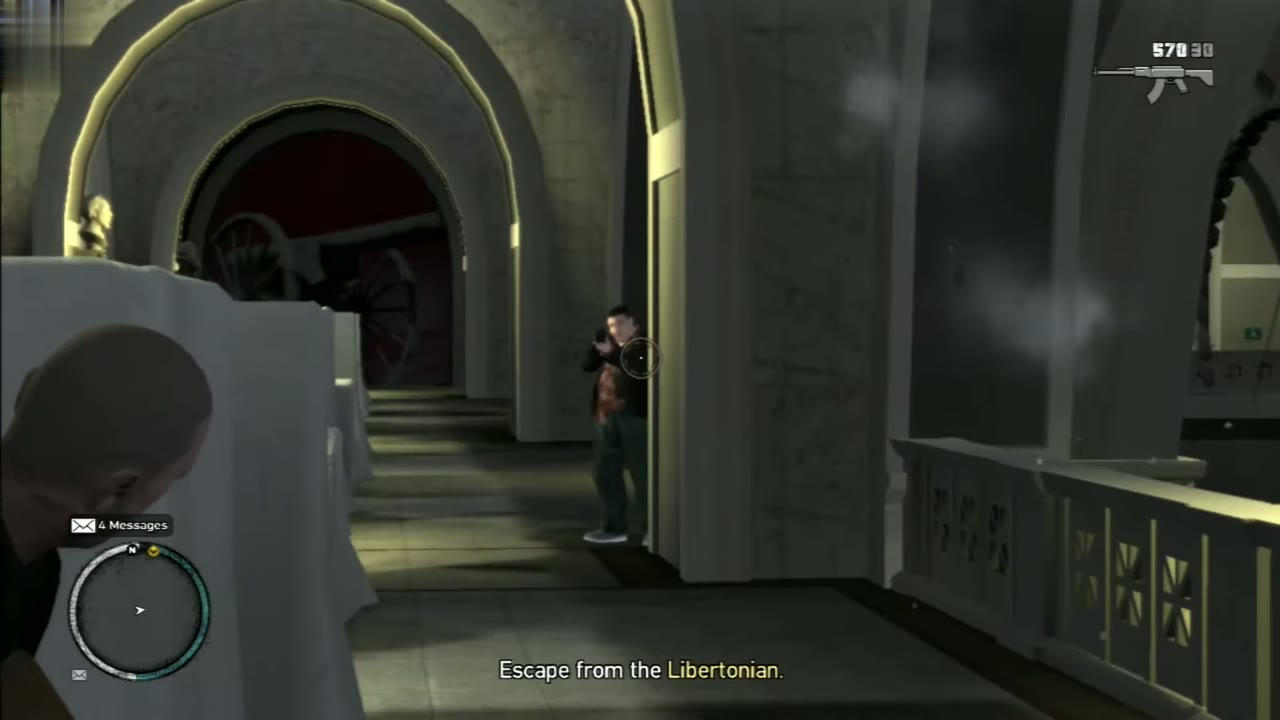
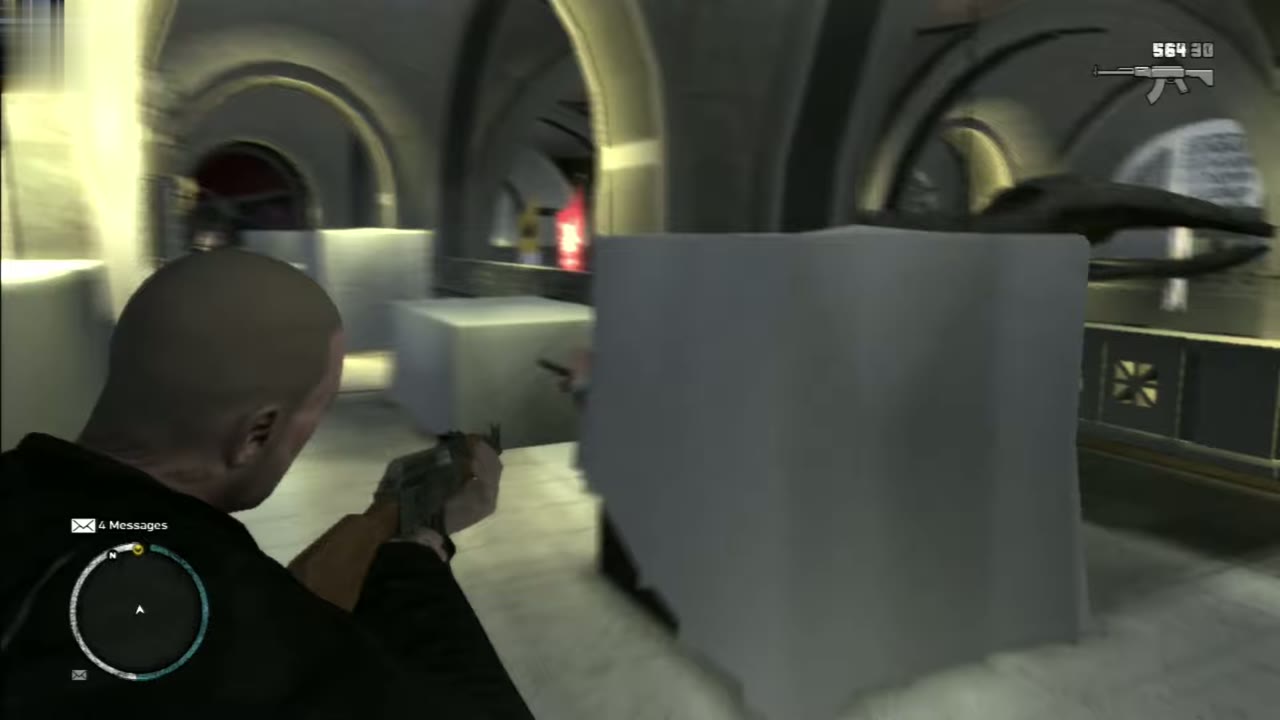
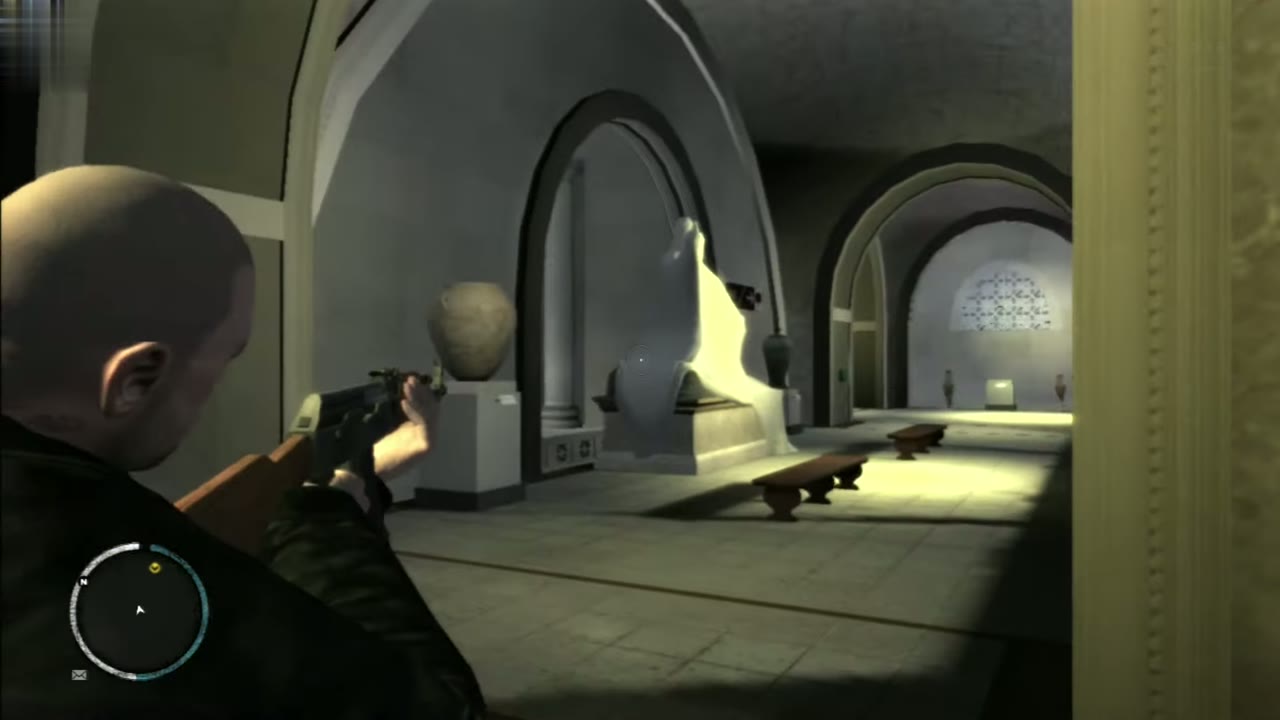
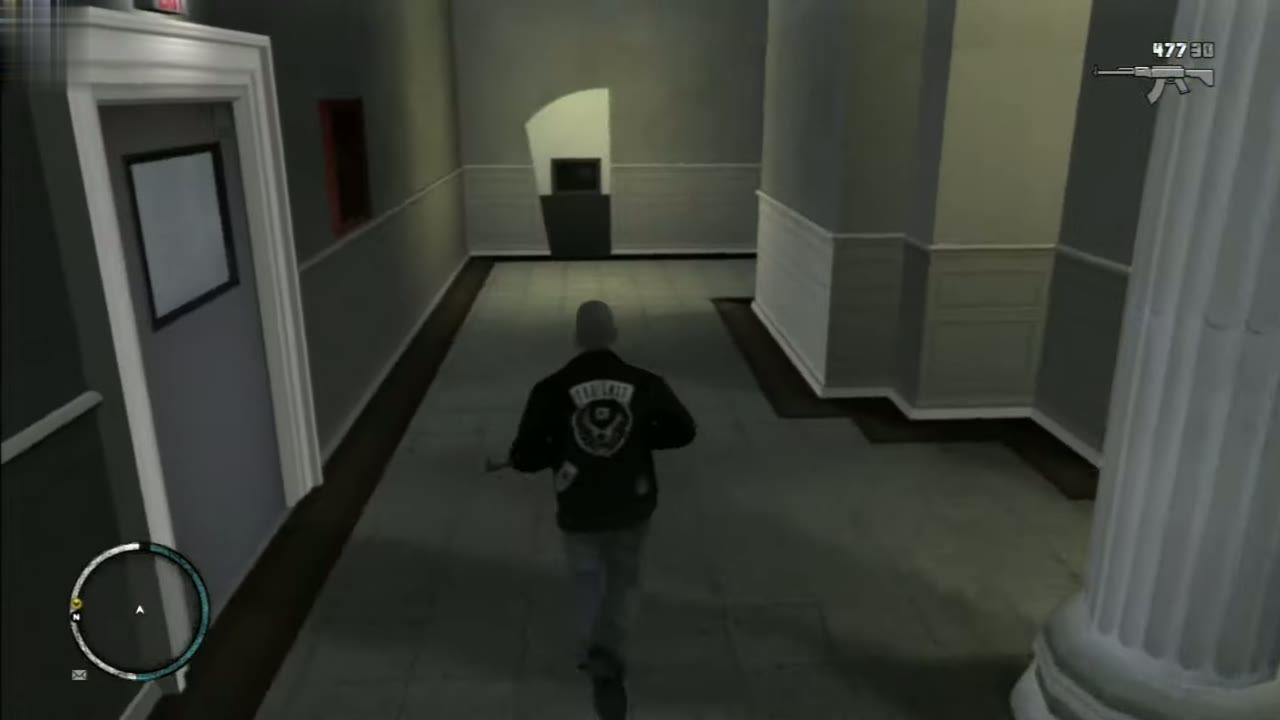
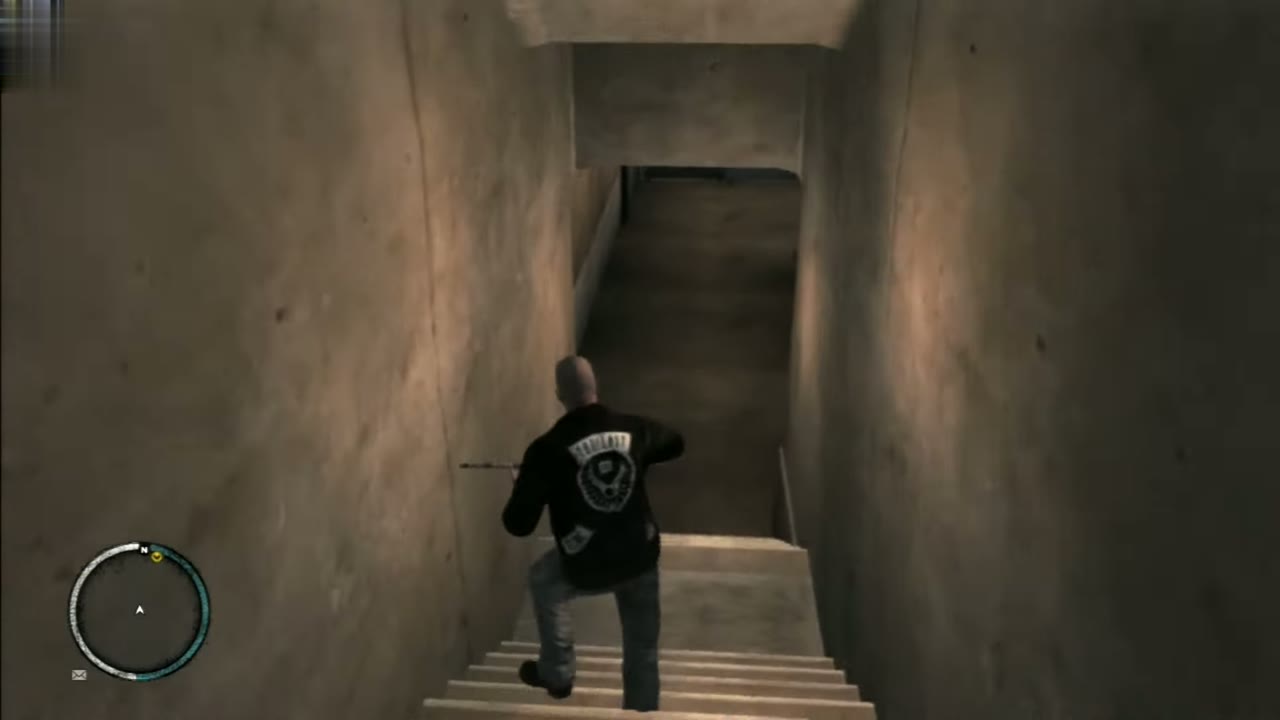
Move along the gallery one cover spot at a time, and keep an eye on your health. Do not shoot toward Niko. He is fighting his own way out, and a hit on him ends the mission. Follow the exit signs to the staircase, go down it, and turn sharply left at the bottom. That leads back to the door you came in through.
Take out Ray’s guys
Outside, Ray’s men wait in the park and fire from behind their black sedans. The objective turns red. Take cover on the corner of the museum wall or behind a nearby car and shoot from there. Pick off the gunmen who step out first. Leave the parked sedans alone until the fight is over, since taking or wrecking them too early angers Isaac’s crew. Keep moving to fresh cover as each man falls, because the park gives them room to flank you. When the last one drops, two cars race away.
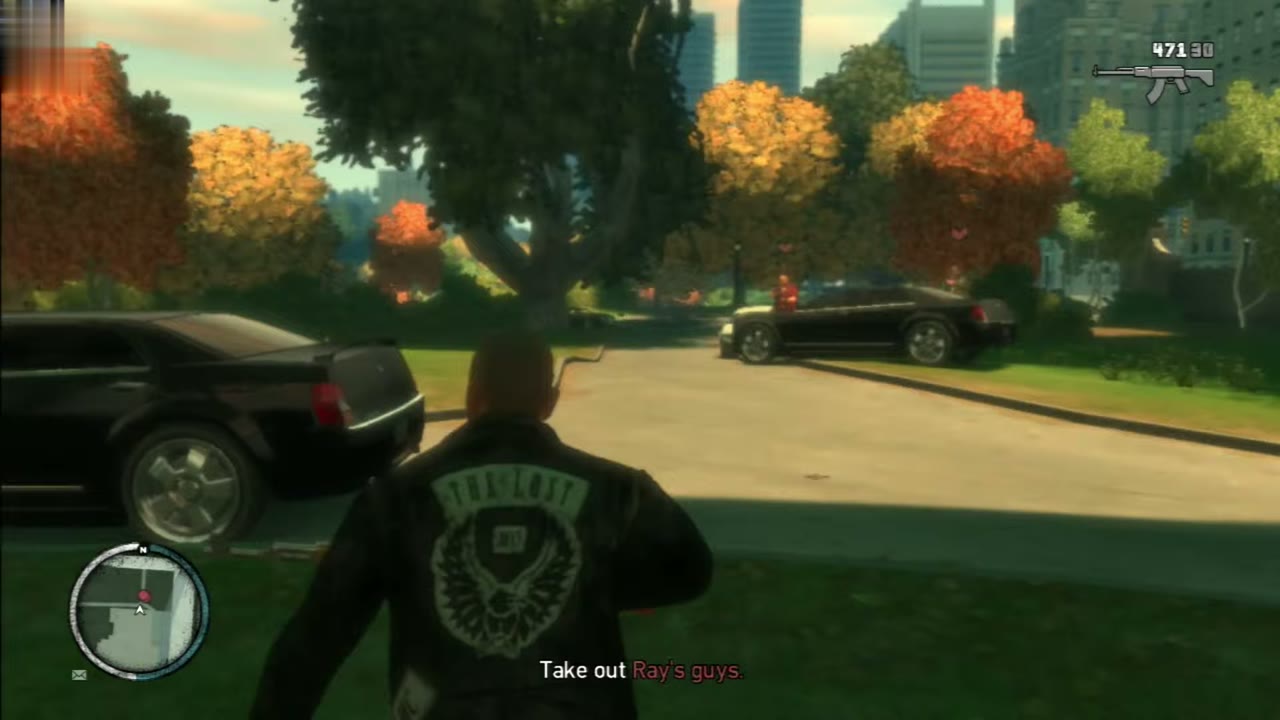
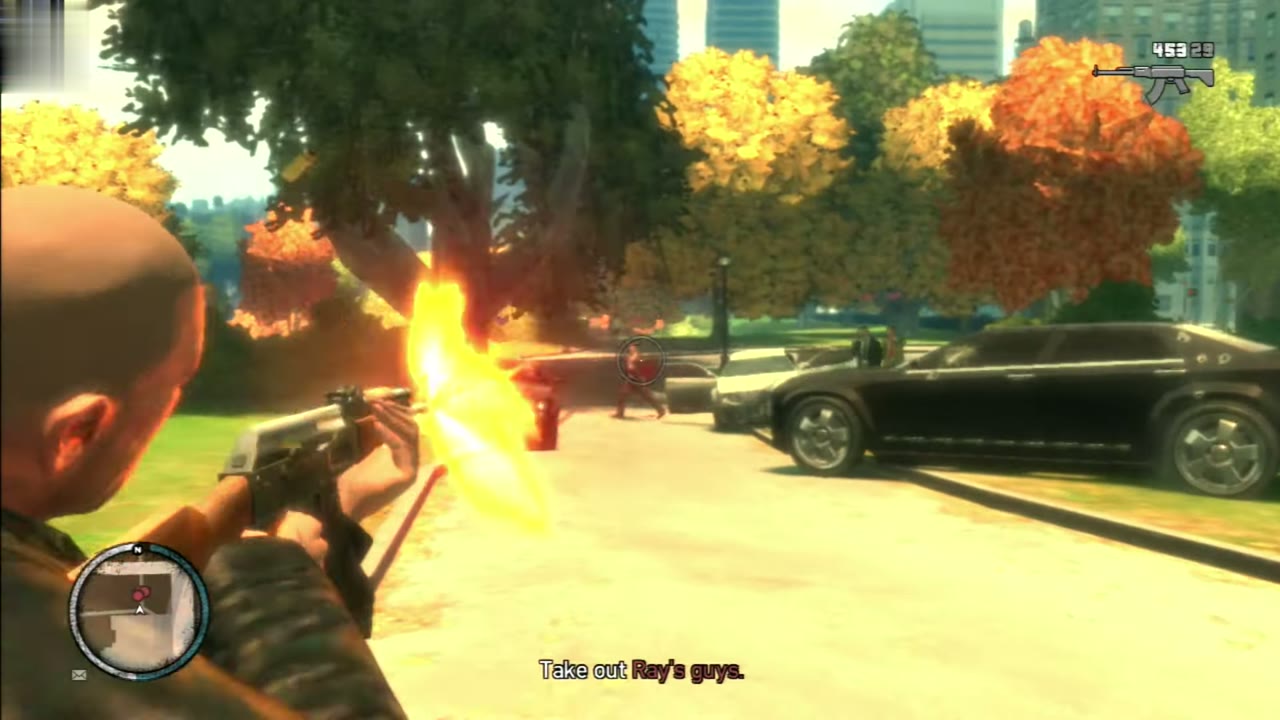
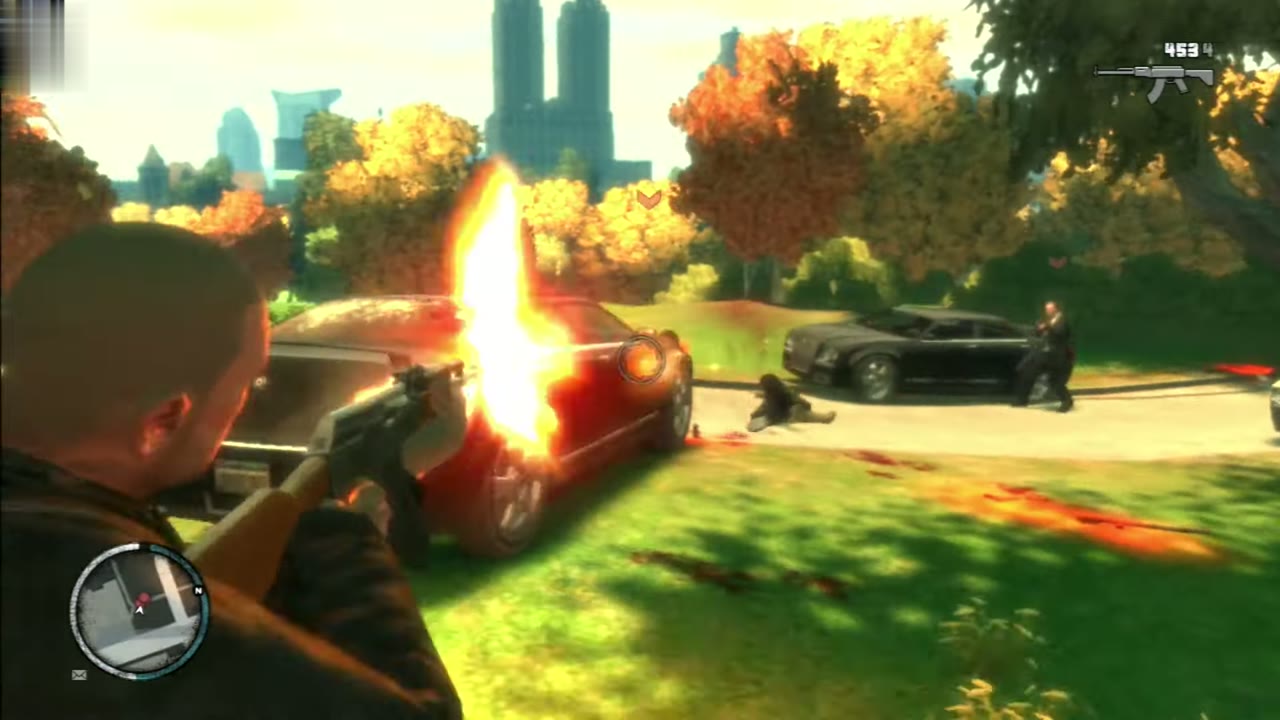
Chase down the fleeing cars
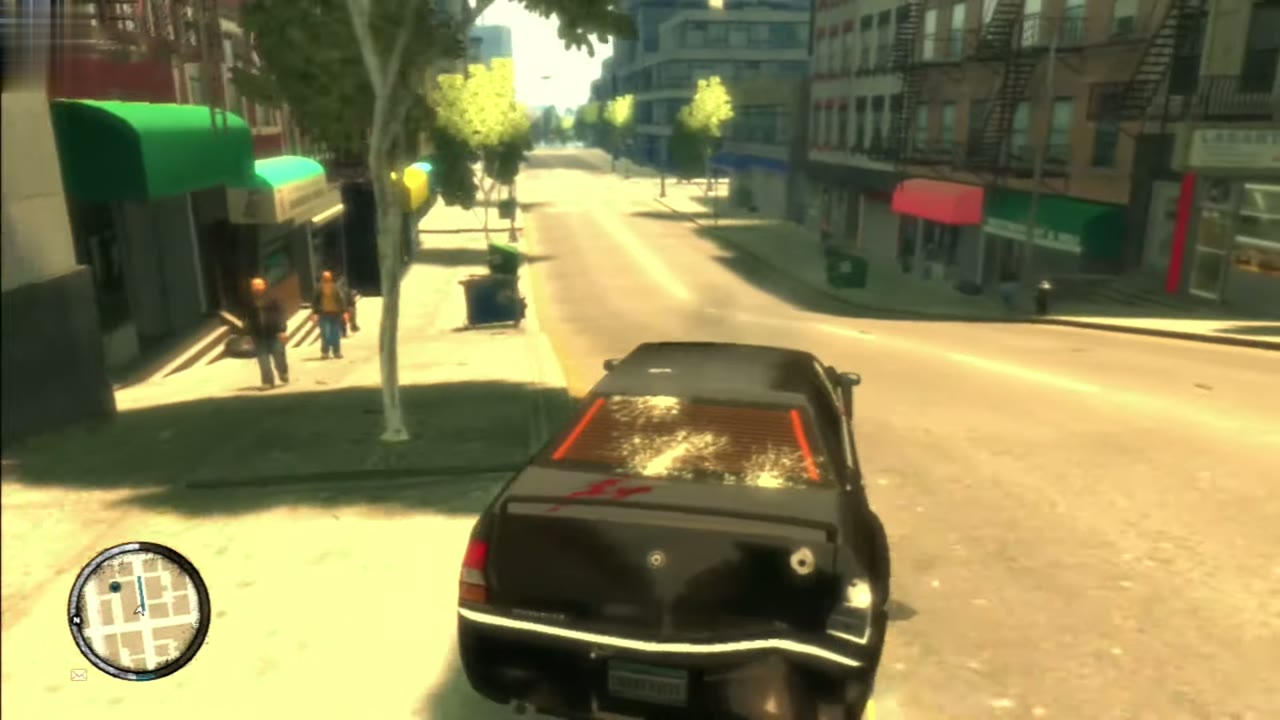
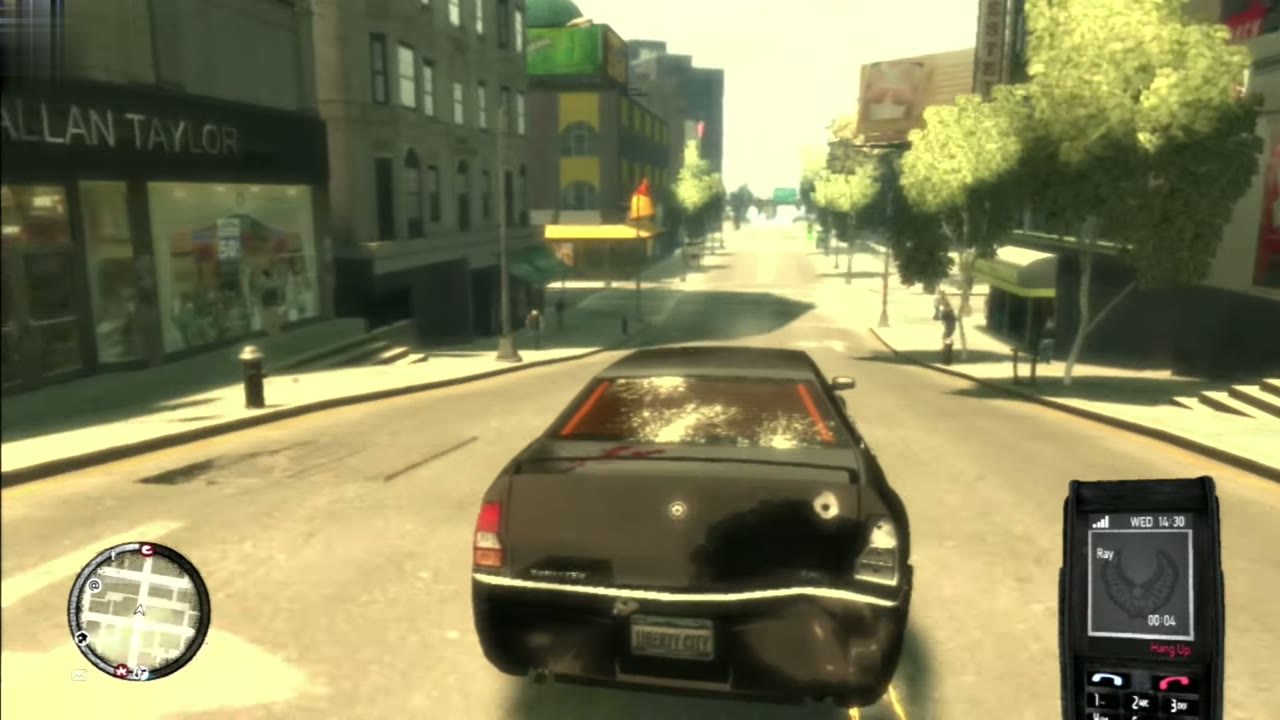
The objective now says some of the mafia are fleeing. Take one of the black PMP 600 sedans and go after the two cars. They show in red on the radar. Stay close behind and fire at the drivers and tires until each car stops. Finish off any men who step out. A two-star wanted level shows up during the chase, so watch for police.
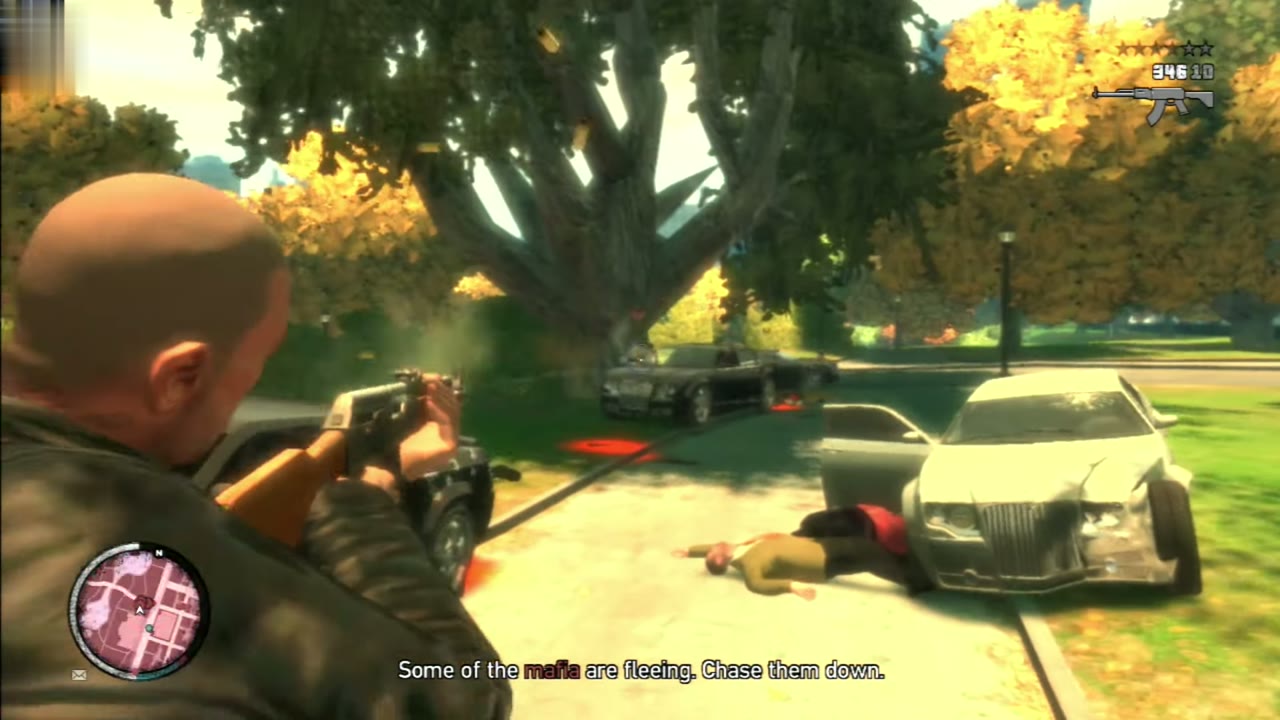
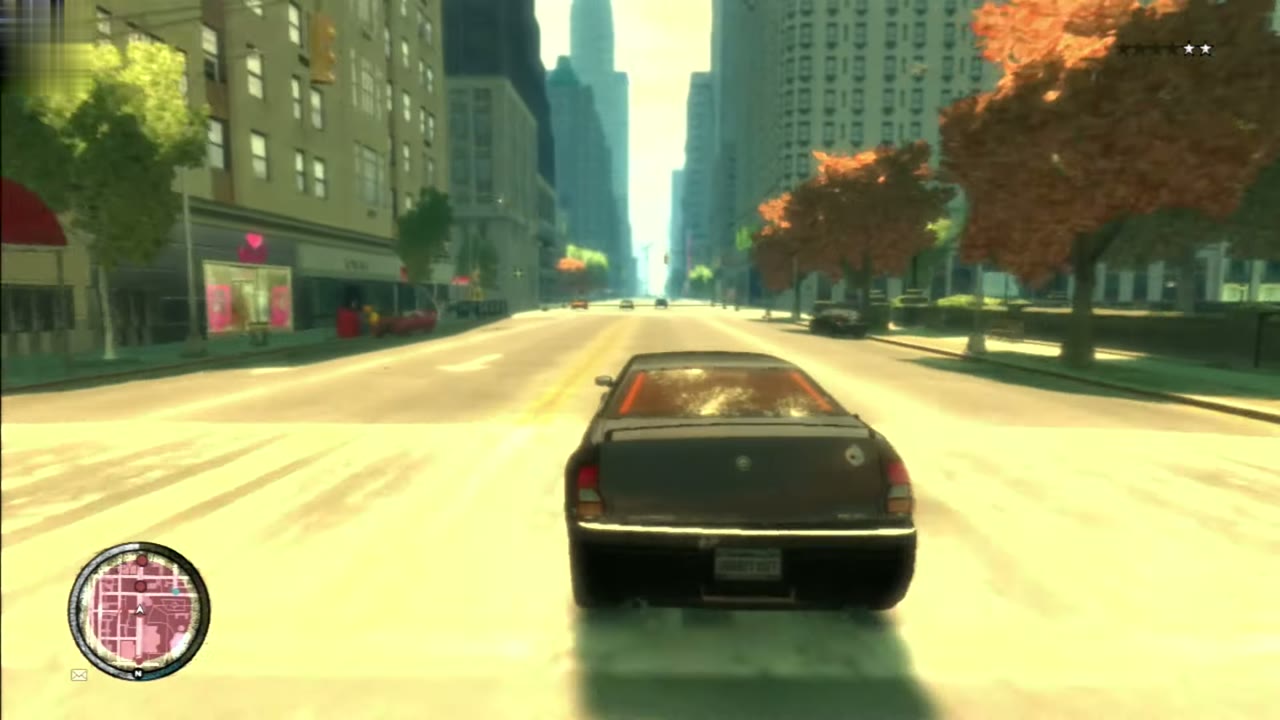
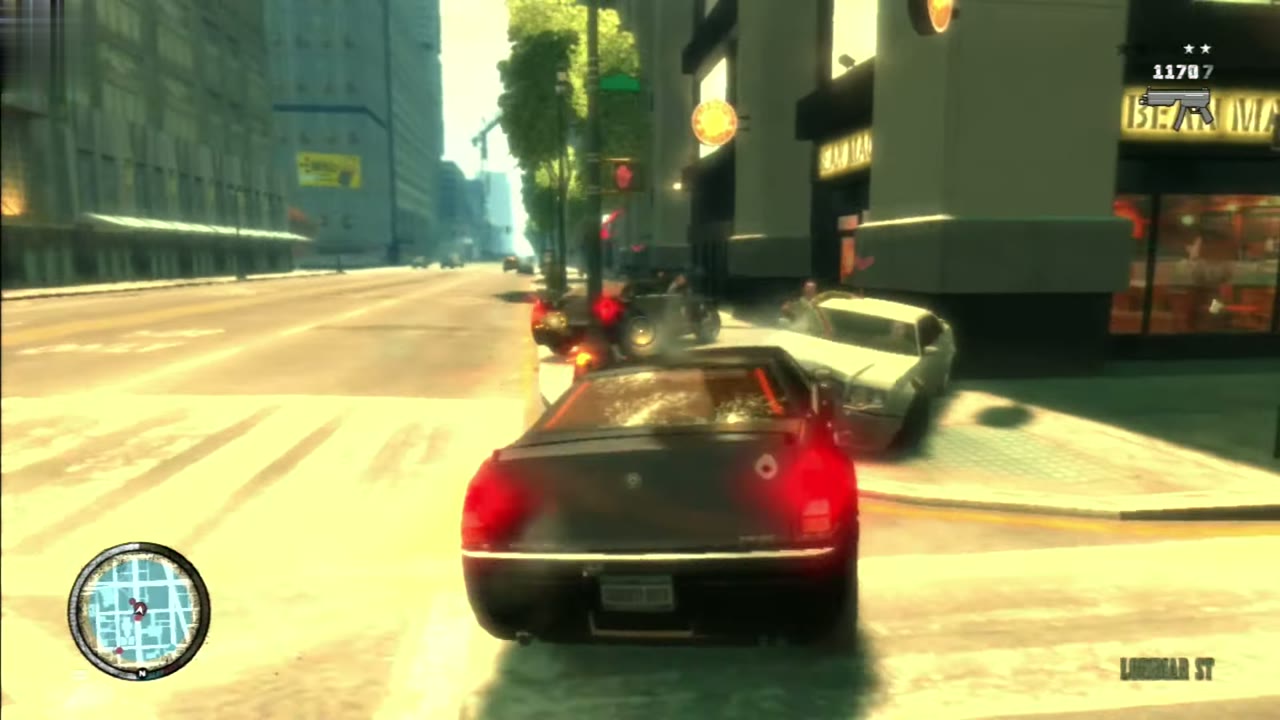
Lose the cops
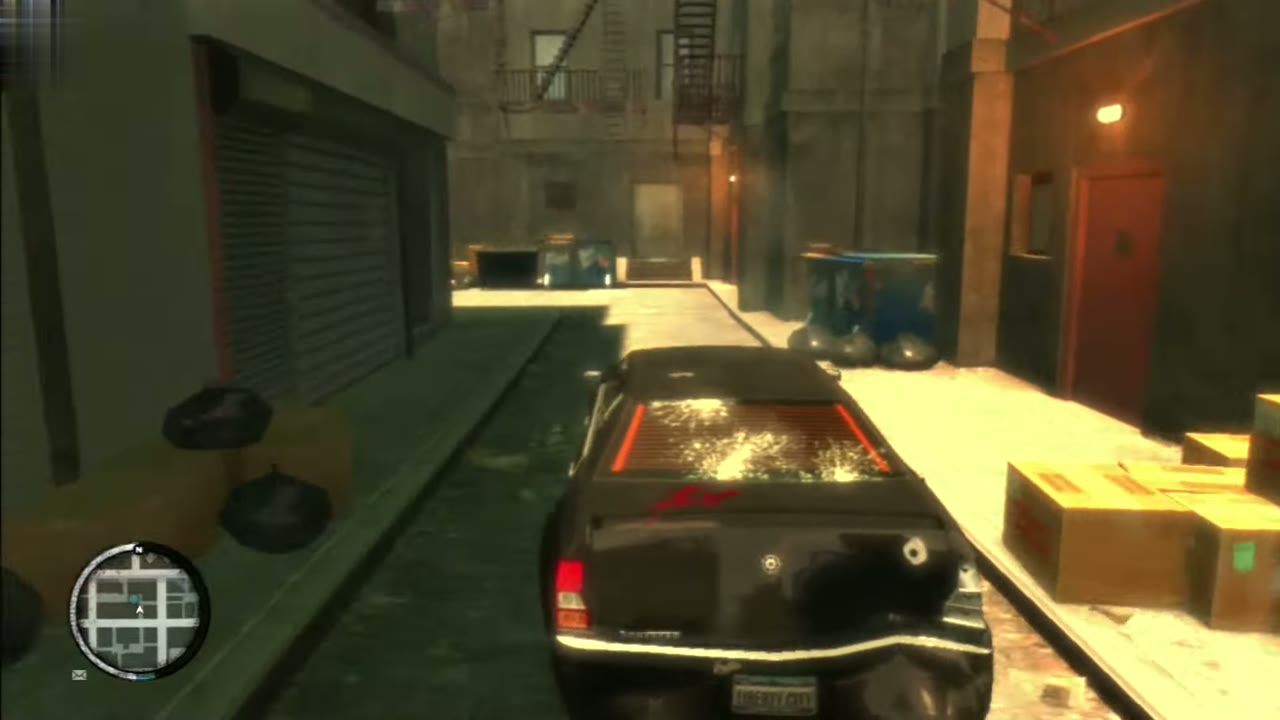
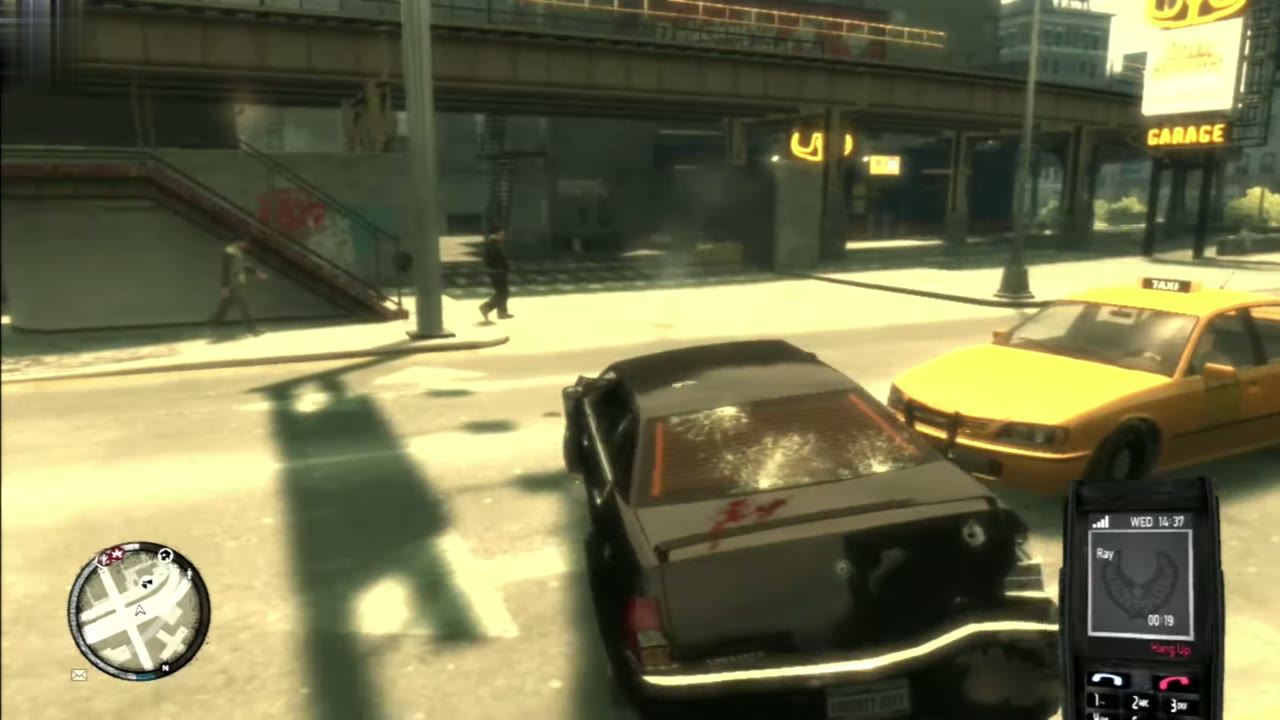
With the last of the mafia dead, the objective becomes losing the cops. Keep driving and turn onto side streets to break their line of sight. A dark underpass is a good place to vanish. The stars flash while the police search, and the objective clears when they give up.
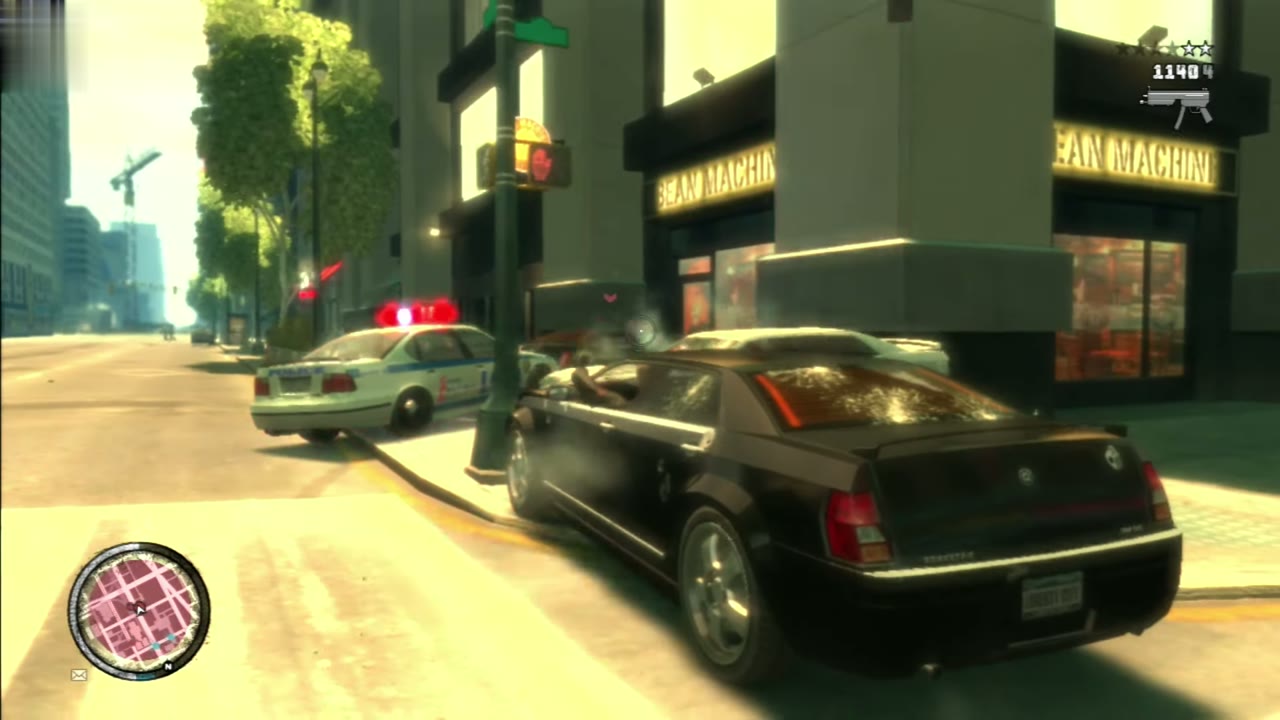
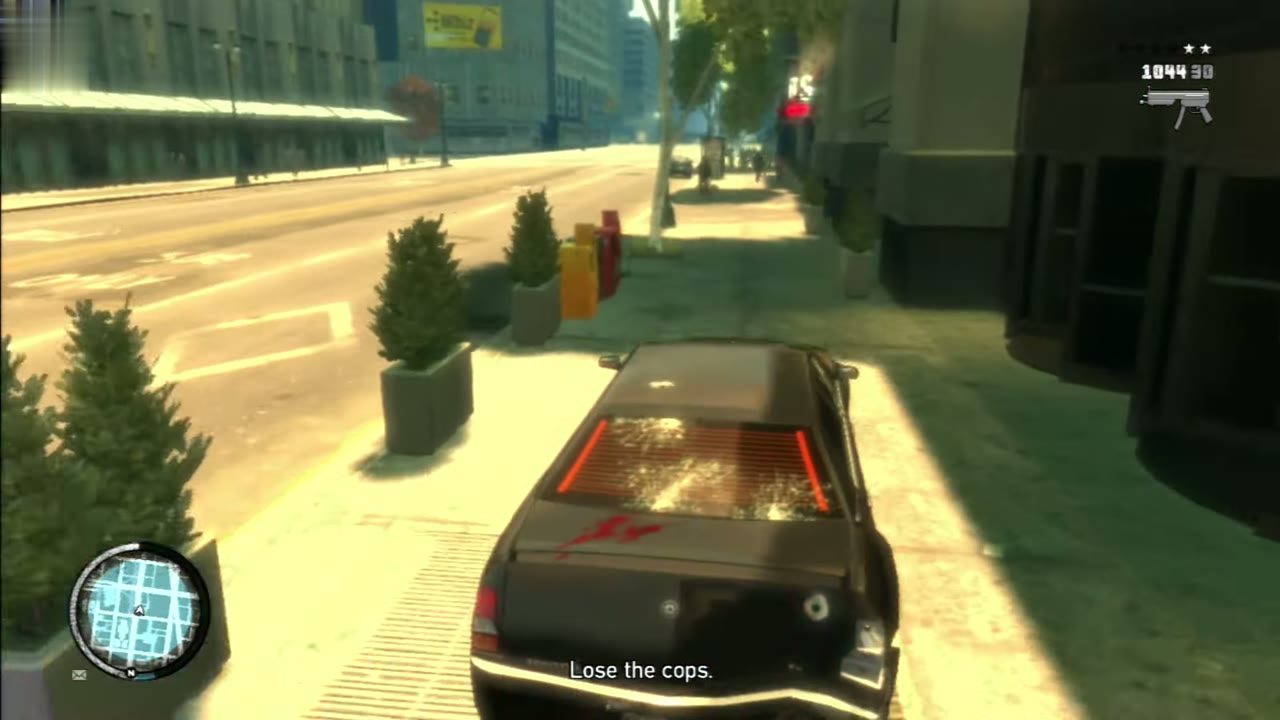
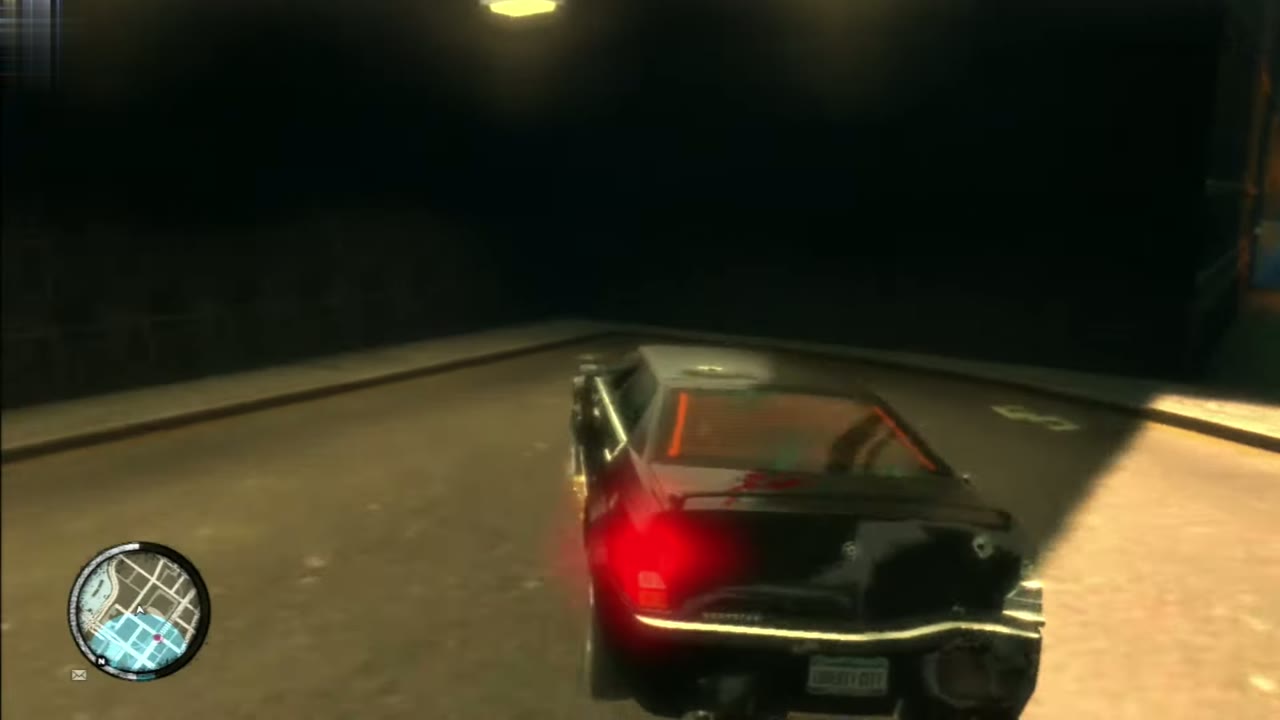
Take the money to Jim
Johnny phones Jim, and the objective changes to taking the money to him. A blue-green blip marks him near Exeter Avenue. Drive there at a normal pace, because another wanted level costs you time you do not need.
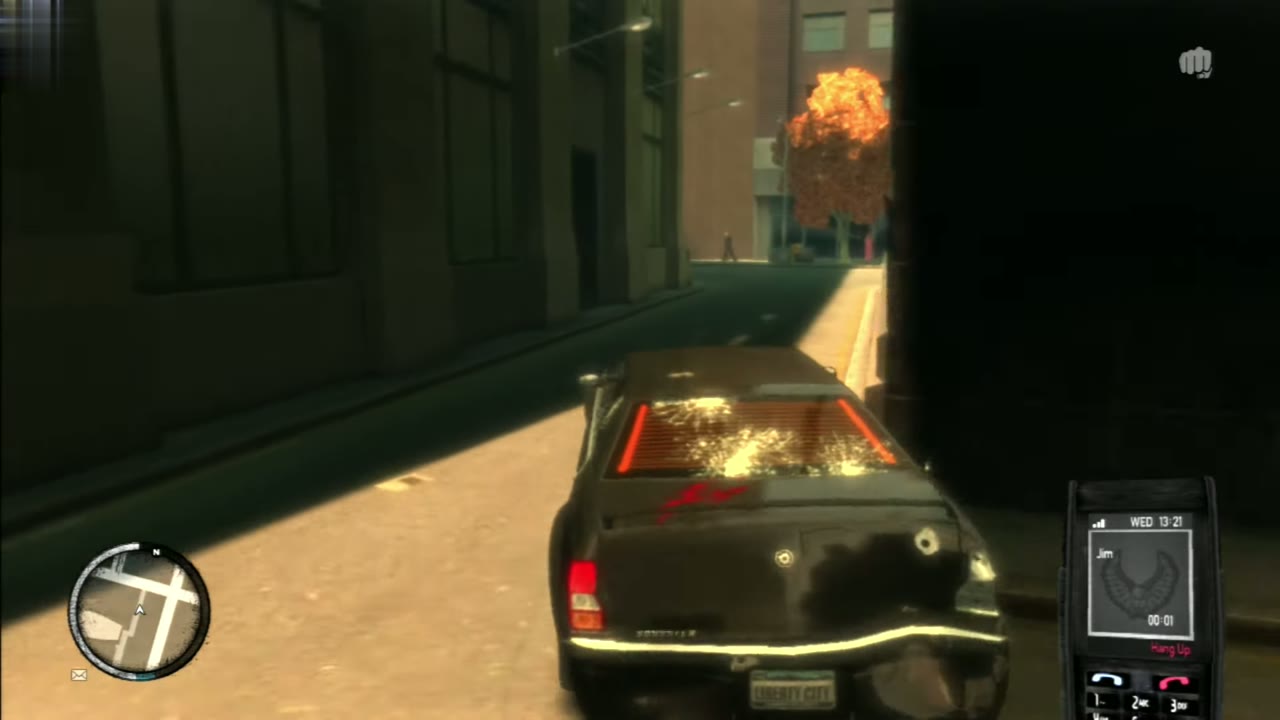
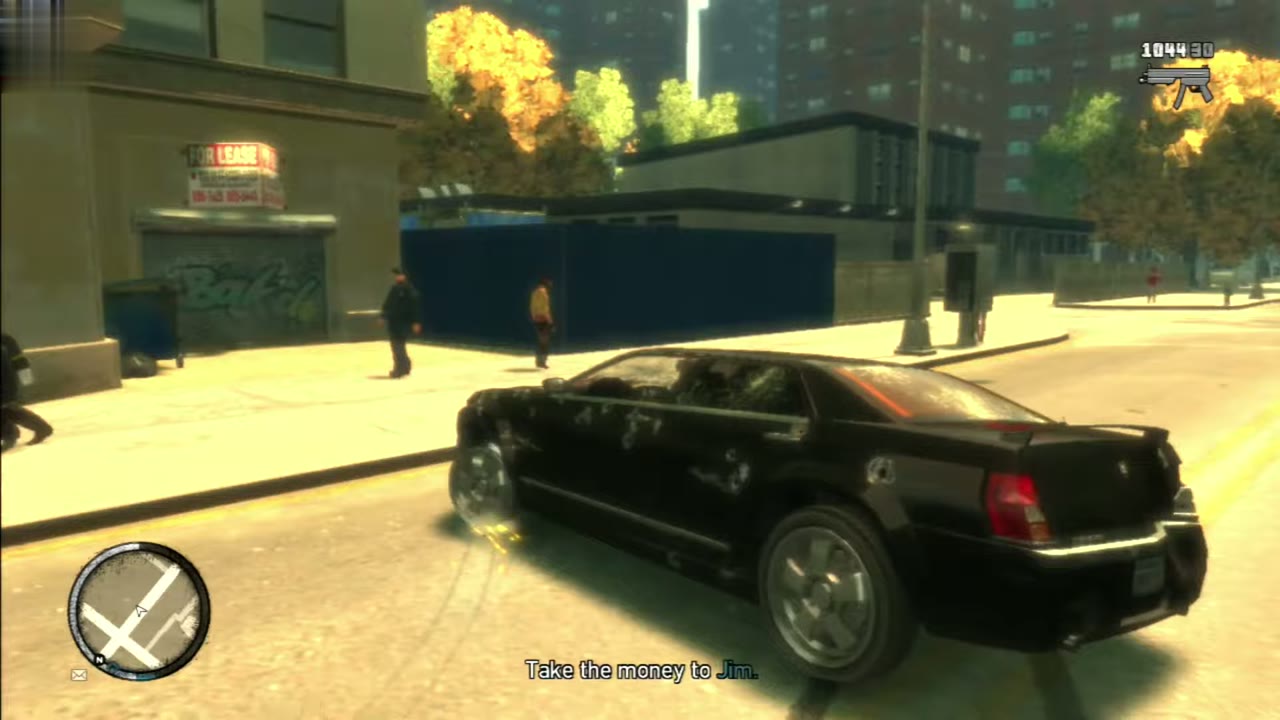
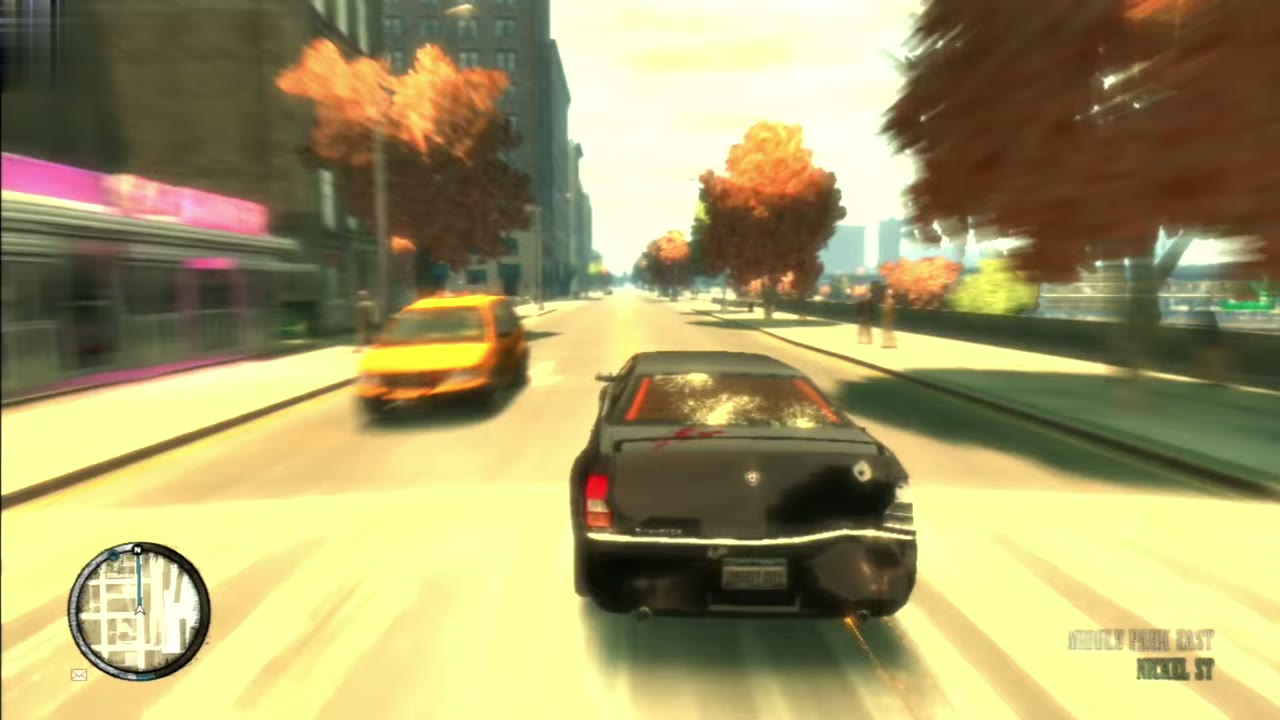
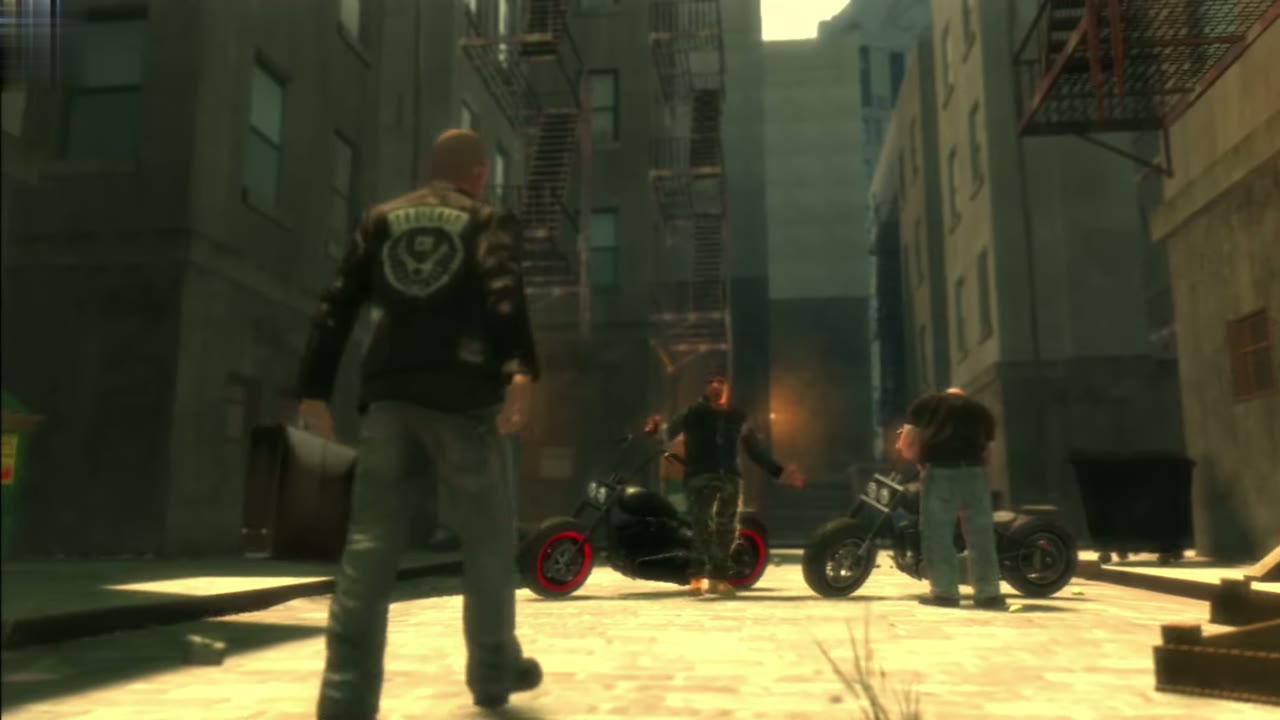
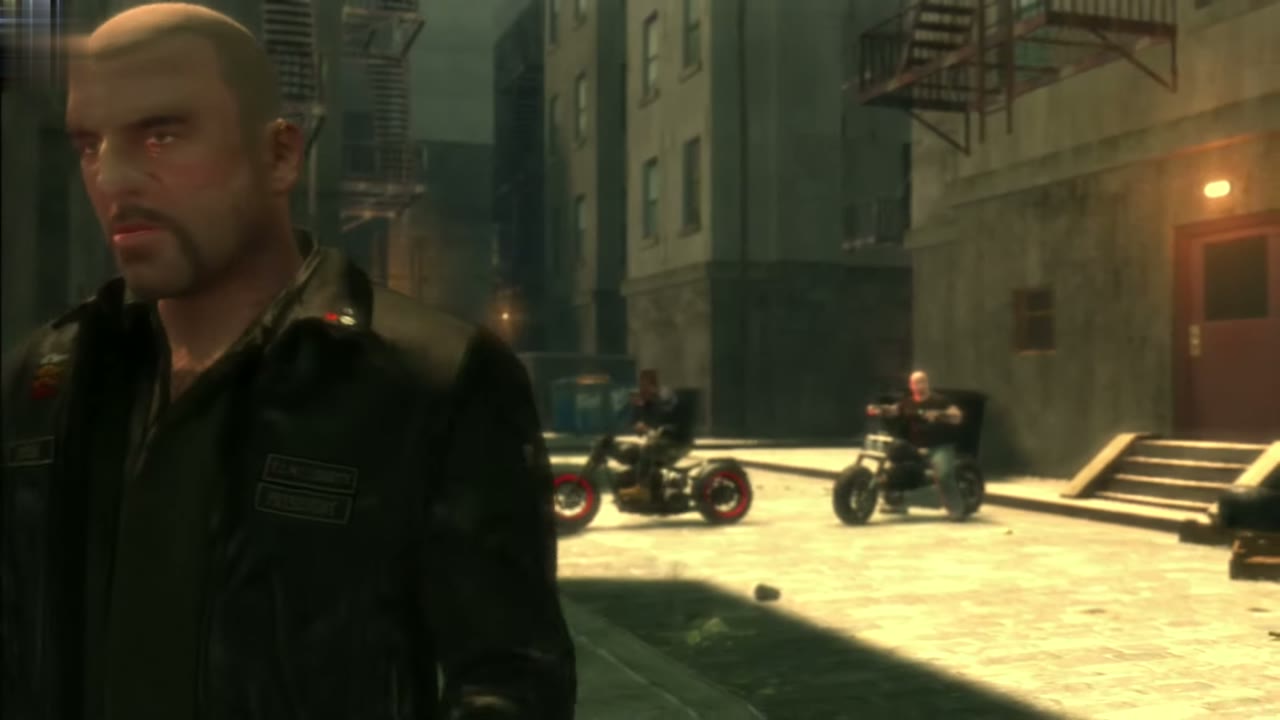
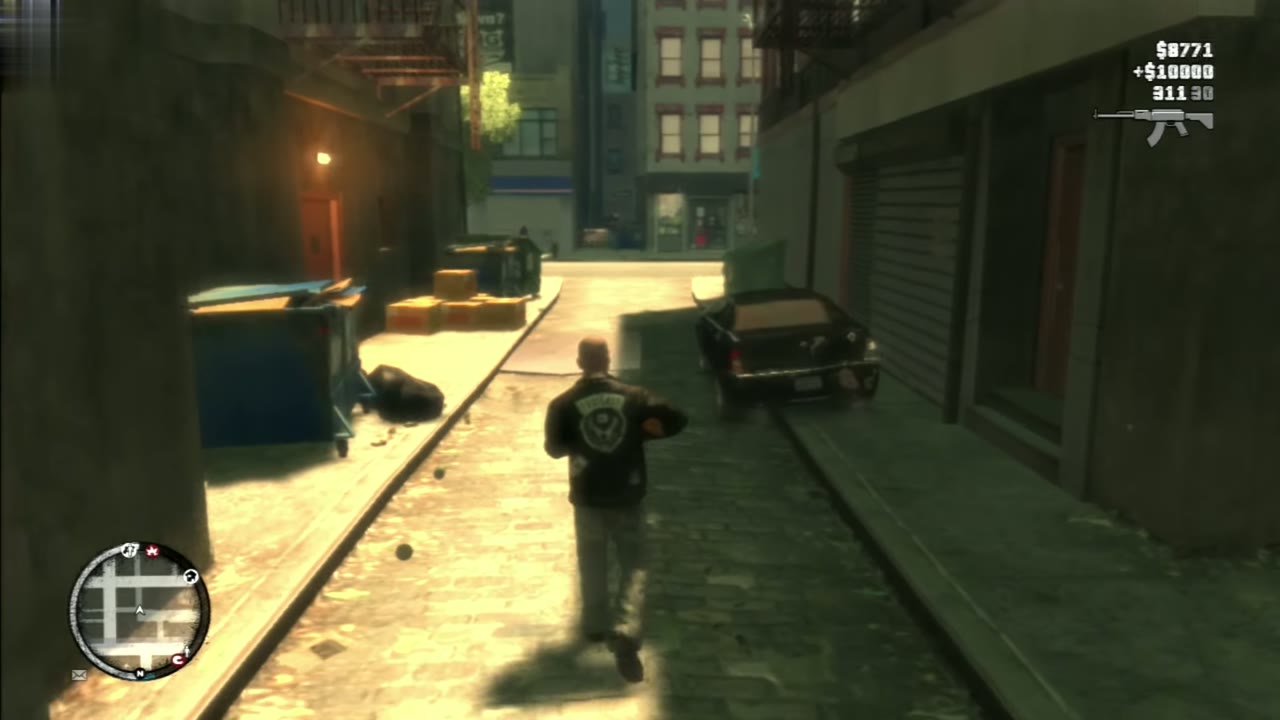
Park near the alley and walk in to Jim and the other biker. A short scene shows Johnny handing over the case, and the mission ends.
What fails this mission
Besides dying or being arrested, the mission ends if any of these happen:
- Niko is injured or killed
- Jim is killed, or his gang is attacked
- You take or wreck the sedans parked outside the Libertonian too early and anger Isaac’s crew
After the mission
You are paid $10,000 for the mission, the highest payout in the episode. Clay can now bring a Lycan on request. Was It Worth It? starts soon after, at Drusilla’s in Little Italy.
Part of Elizabeta and Ray Boccino in the story walkthrough.