














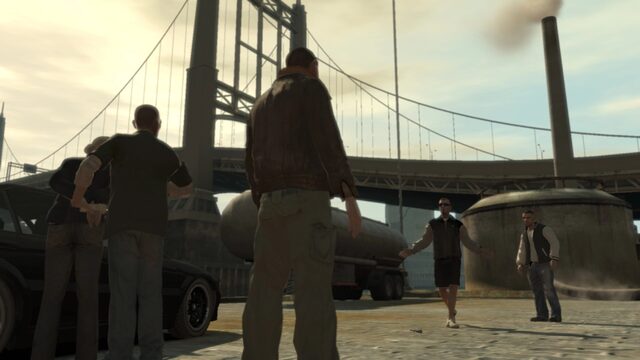
Meet Packie in Northwood, drive to the Charge Island Sewage Works and fight your way across the tanks and catwalks against Bulgarin’s men, then drive Packie home to Dukes. The mission pays nothing.
Objectives
- Go to Packie’s car in Northwood.
- Drive to the Charge Island Sewage Works.
- Go around the back to the exchange point.
- Take out Bulgarin’s men.
- Make your way across to the walkway.
- Take down the reinforcements.
- Take out the last of Bulgarin’s men.
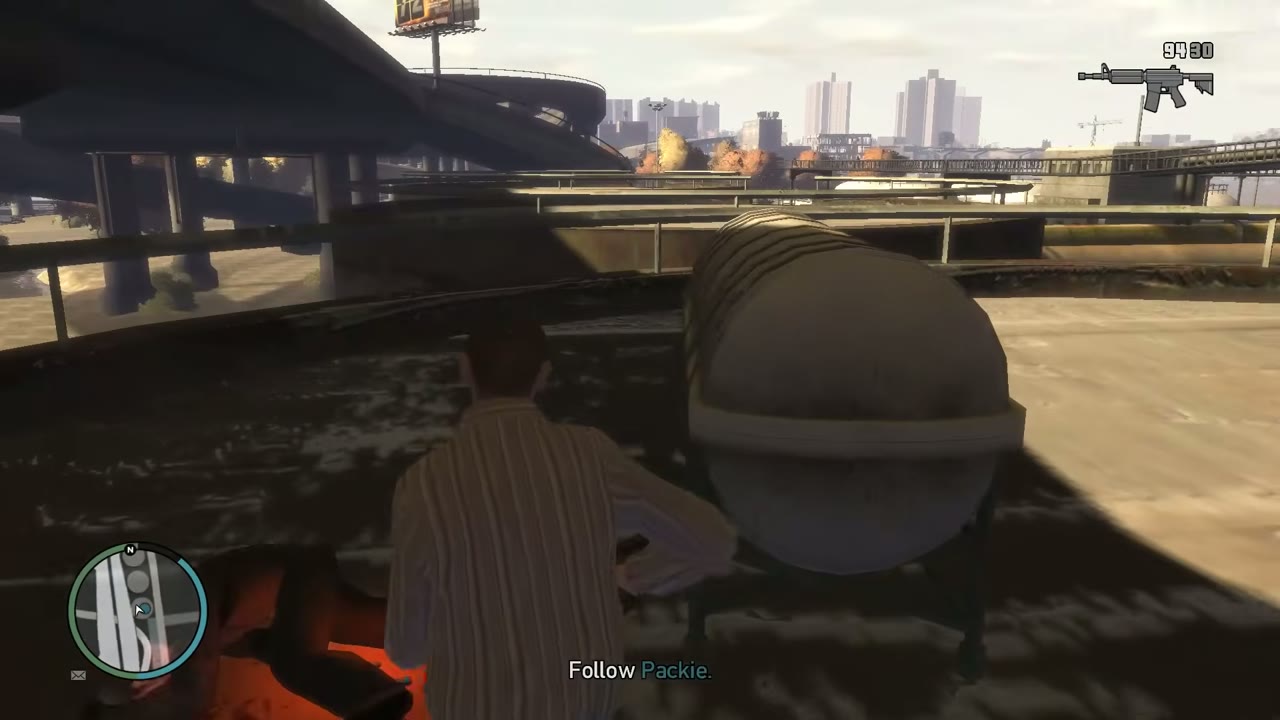
- Follow Packie.
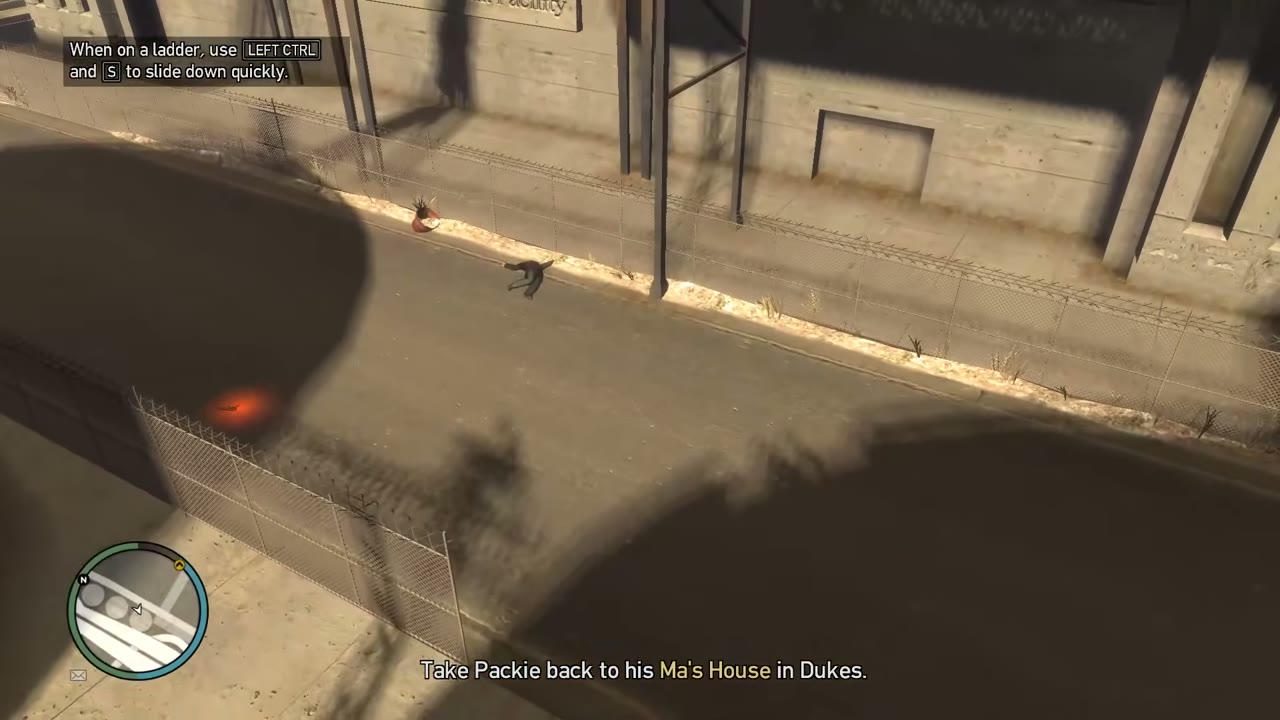
- Take Packie back to his Ma’s house in Dukes.
Diamonds Are a Girl’s Best Friend walkthrough
Go to Packie’s car in Northwood
Gerry’s visit ends in the prison lot and Packie phones. He and Gracie are waiting just off Frankfort Avenue in Northwood. You are on foot, so flag down one of the taxis and ride the fare to the blip. If you have a faster car handy, use that instead.
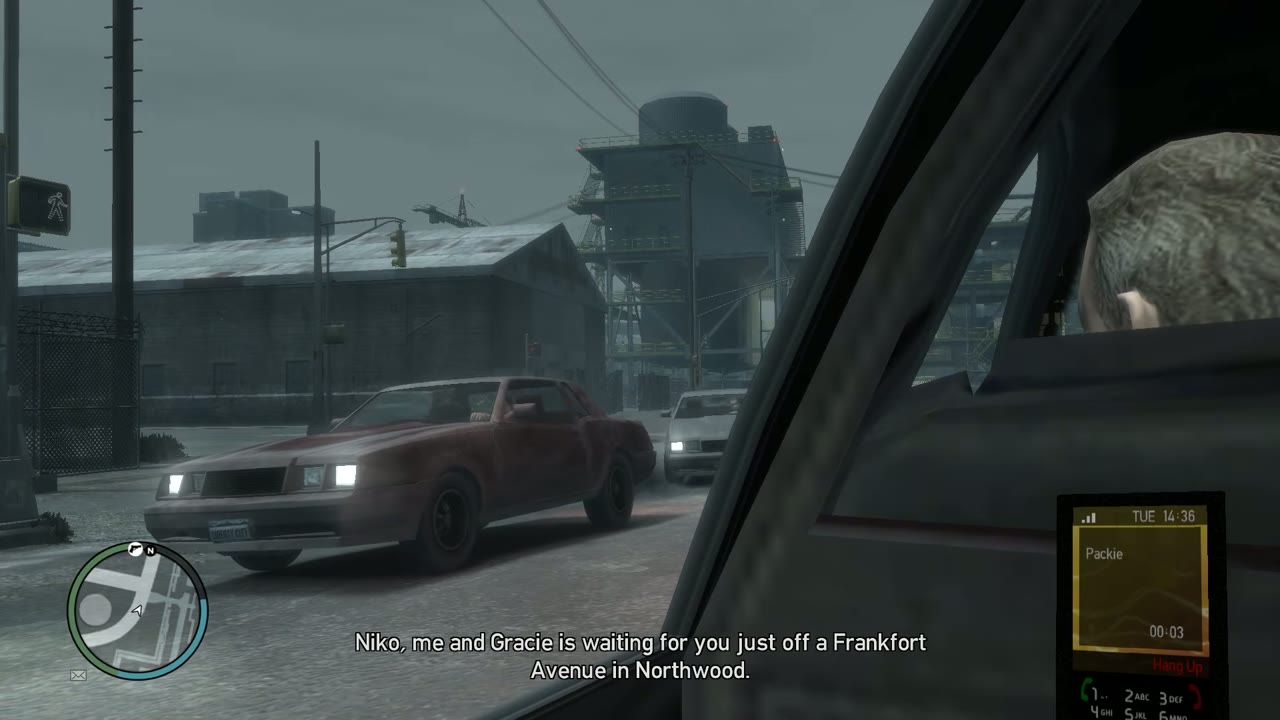
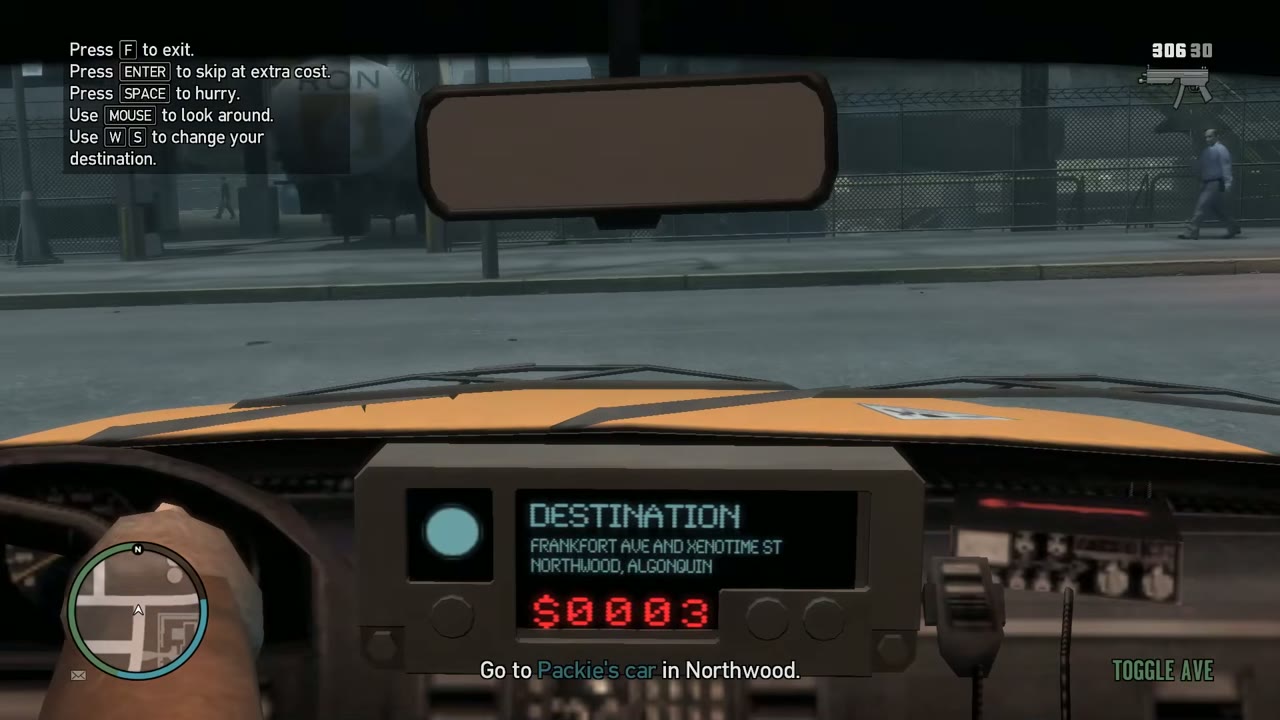
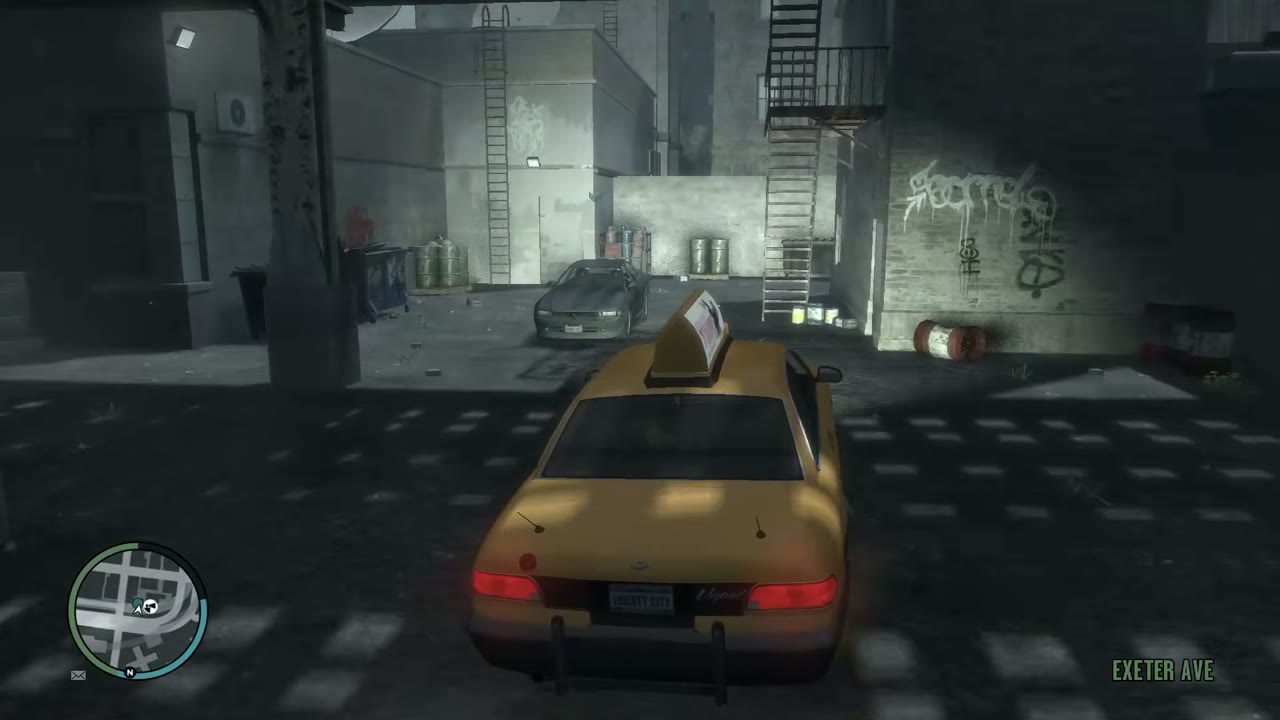
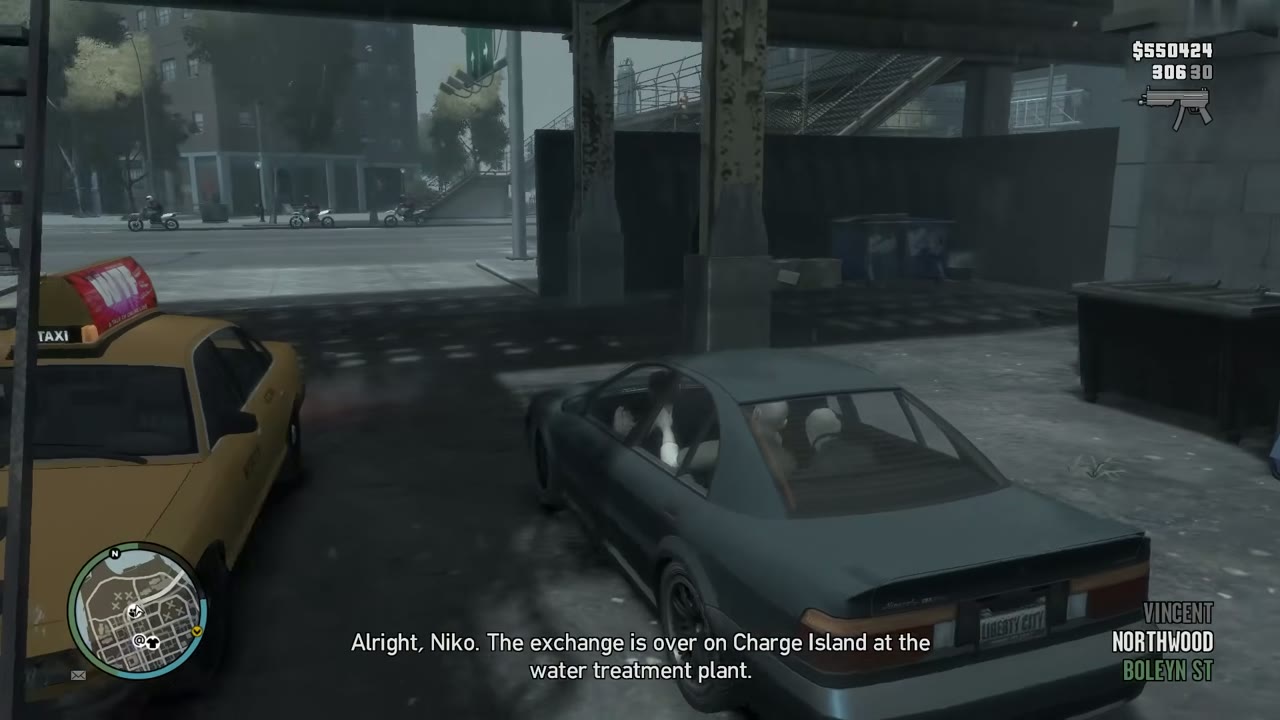
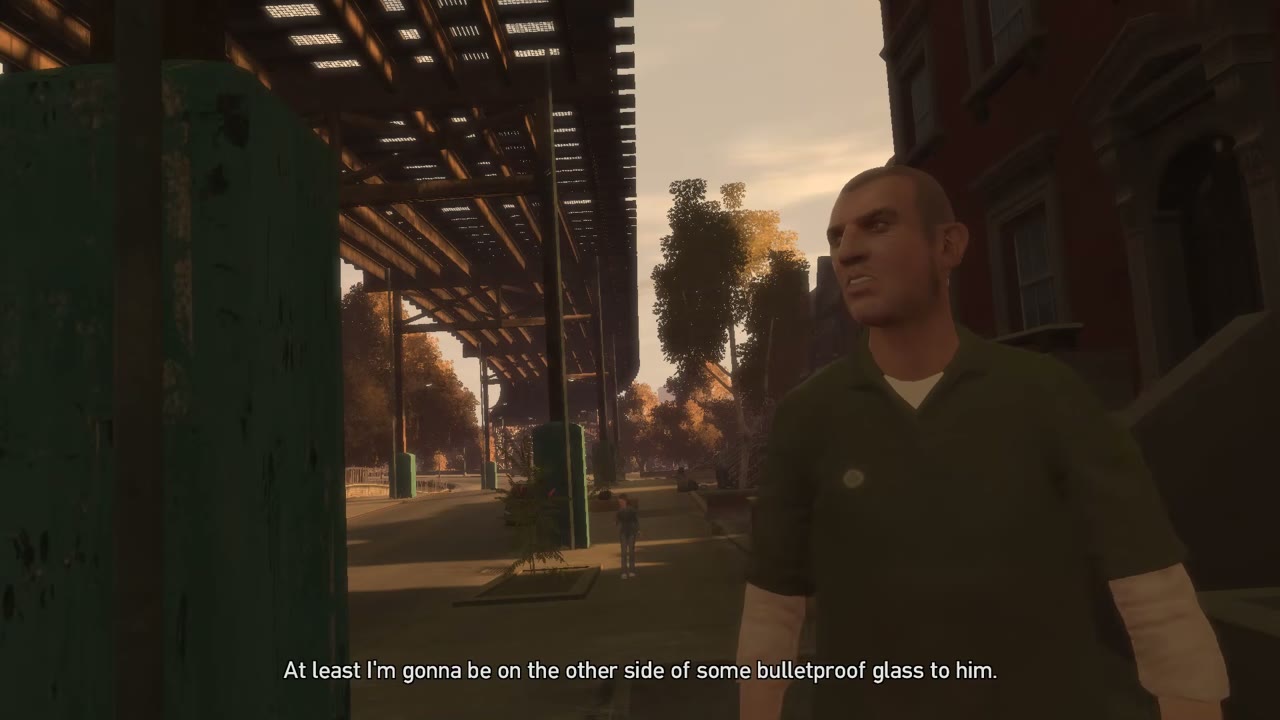
Get out at Frankfort Avenue and Xenotime Street. Packie’s dark green Vincent is parked under the elevated tracks. Walk up and climb in. Packie tells you the exchange is on Charge Island, at the water treatment plant, and the objective changes.
Drive to the Charge Island Sewage Works
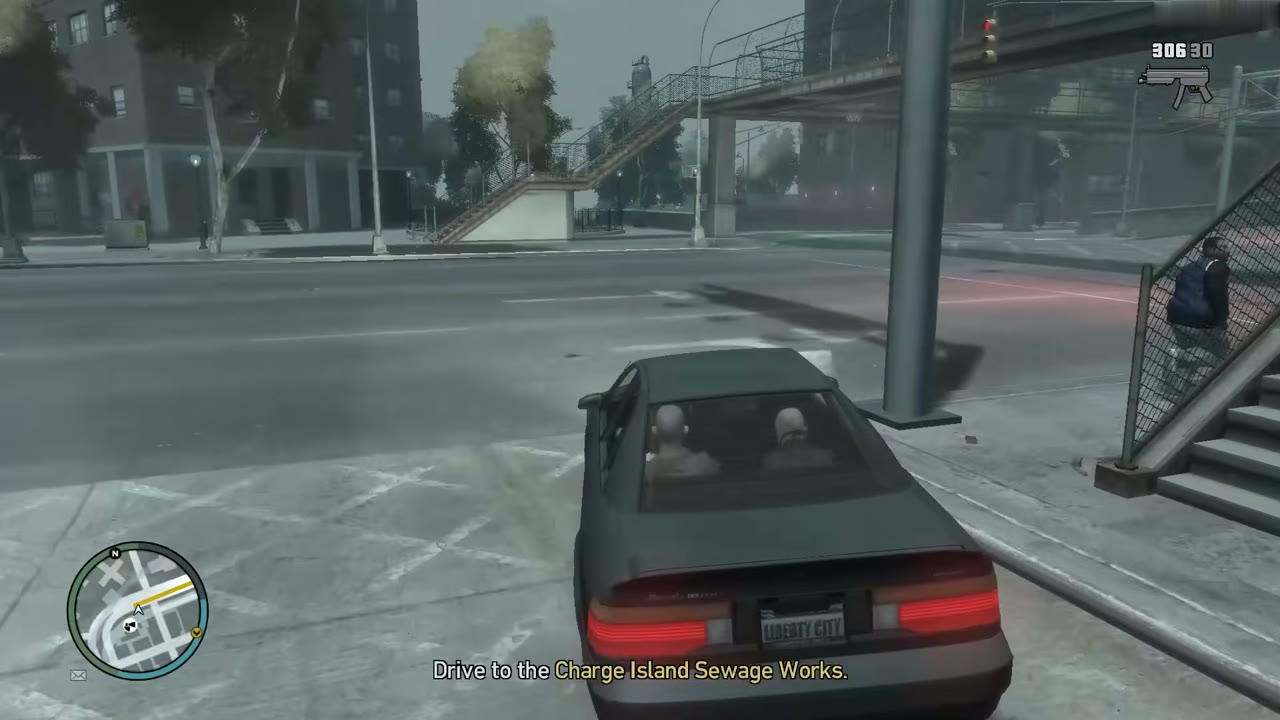
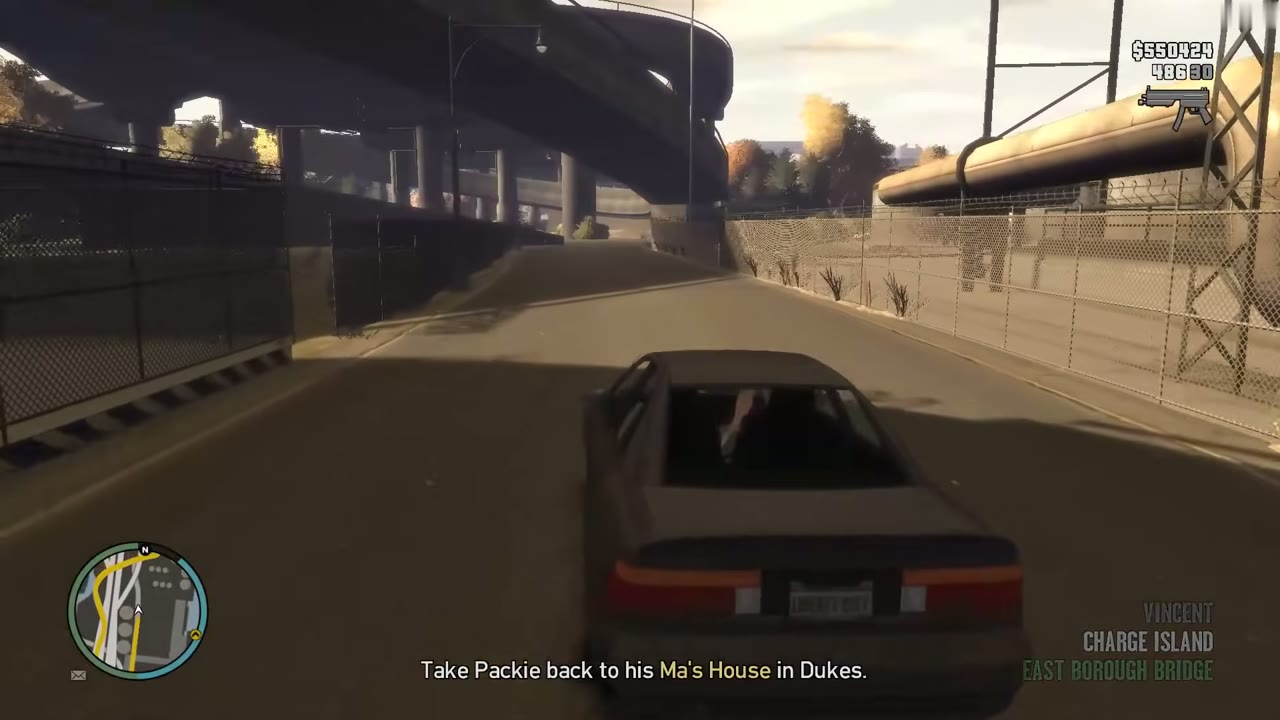
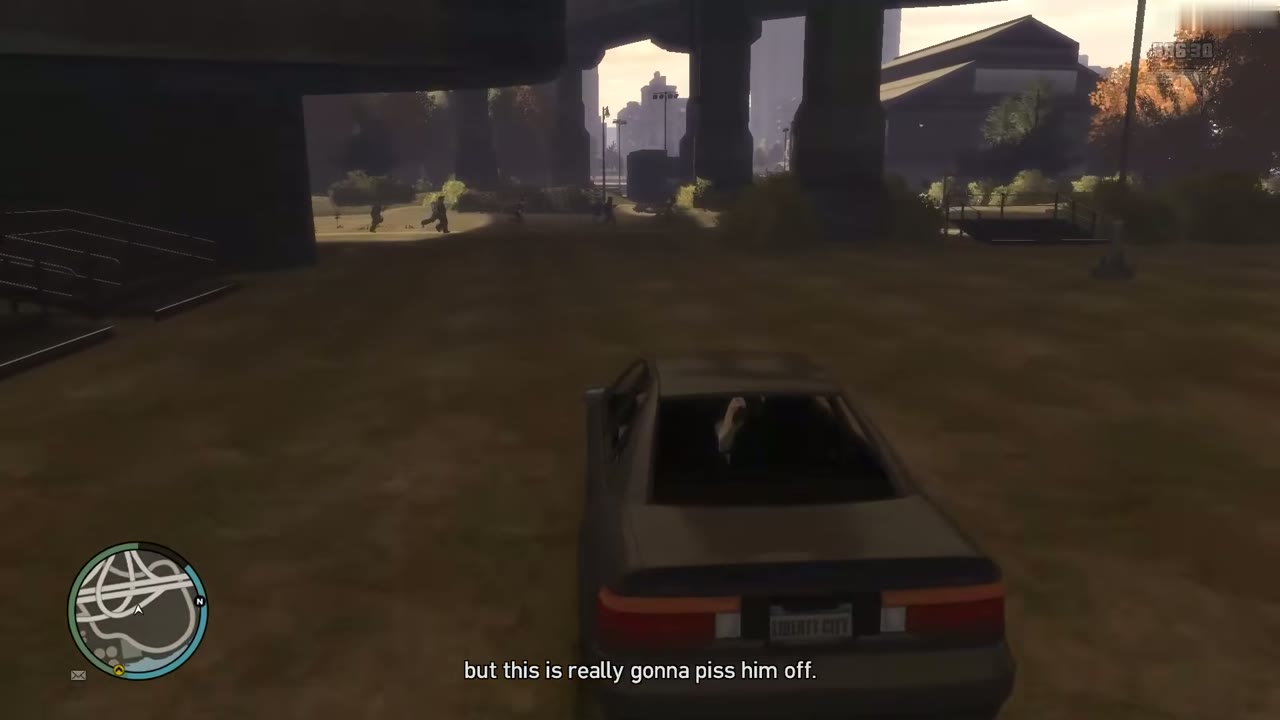
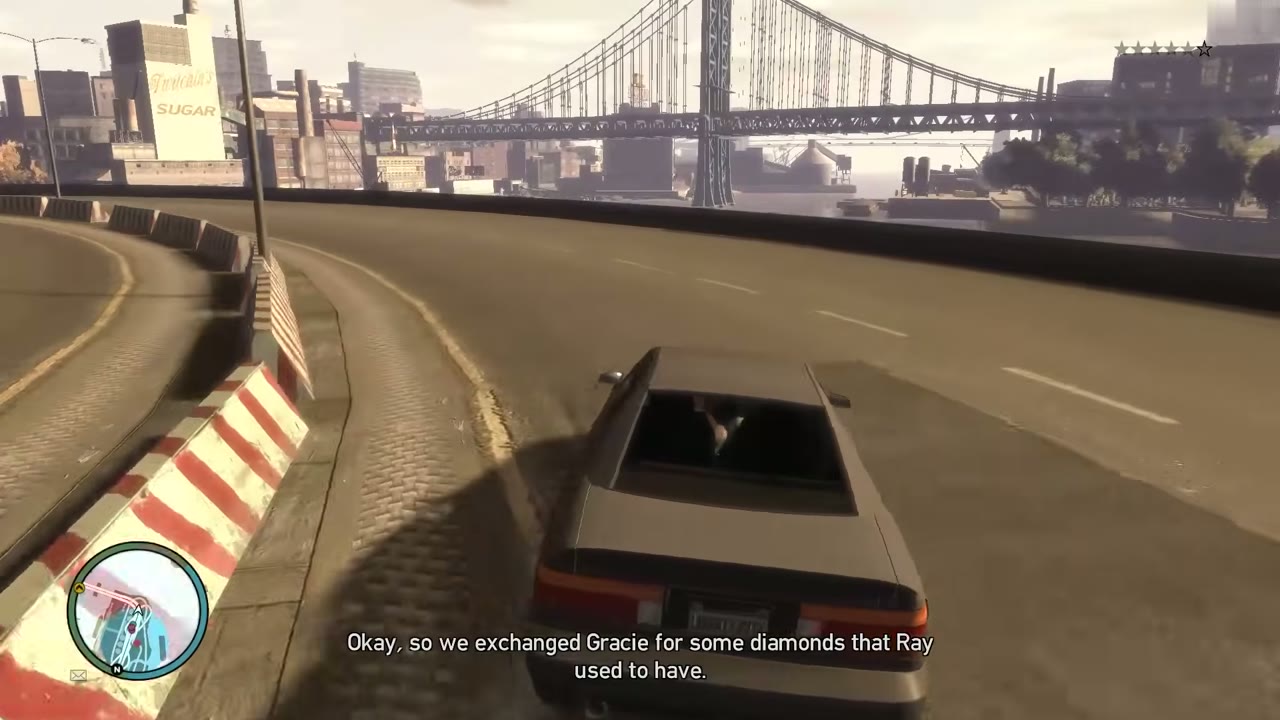
You drive from here. Follow the route line on the radar out of Northwood and across the East Borough Bridge toward Charge Island. Packie and Gracie chatter the whole way, so you can ignore them. The Vincent is Packie’s own car, and wrecking it fails the mission, so go easy on the traffic and on the barriers.
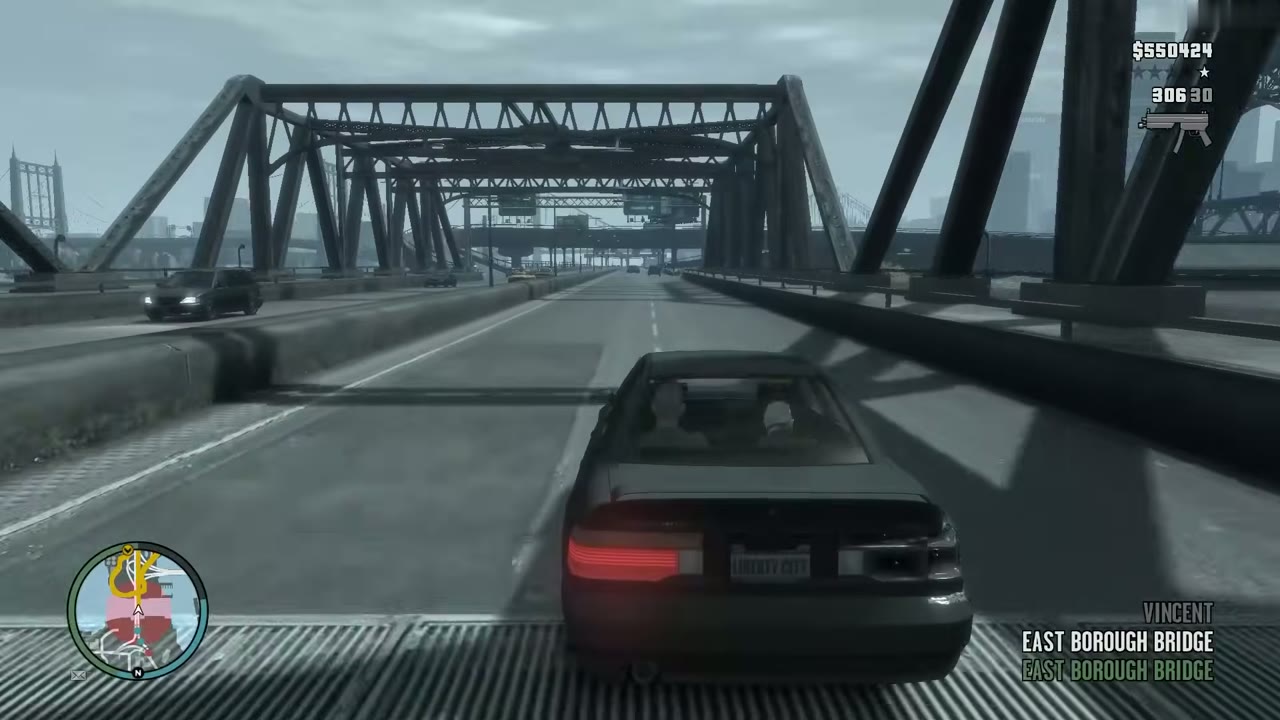
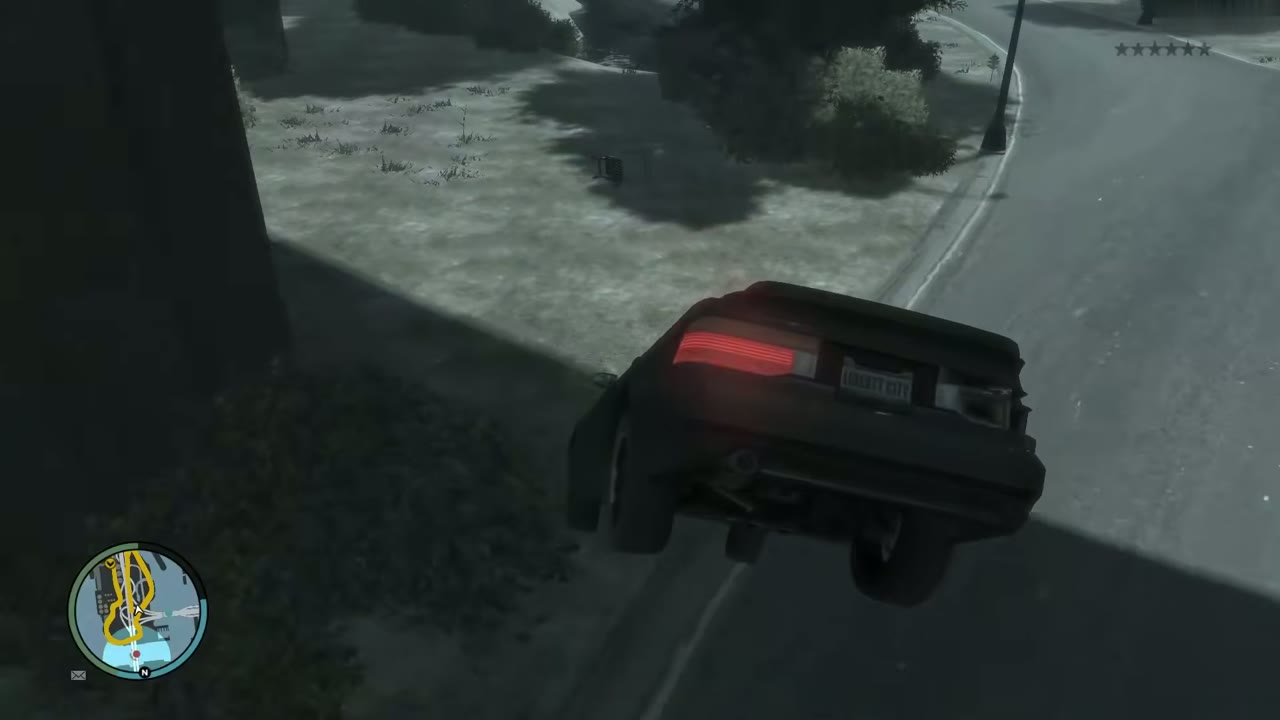
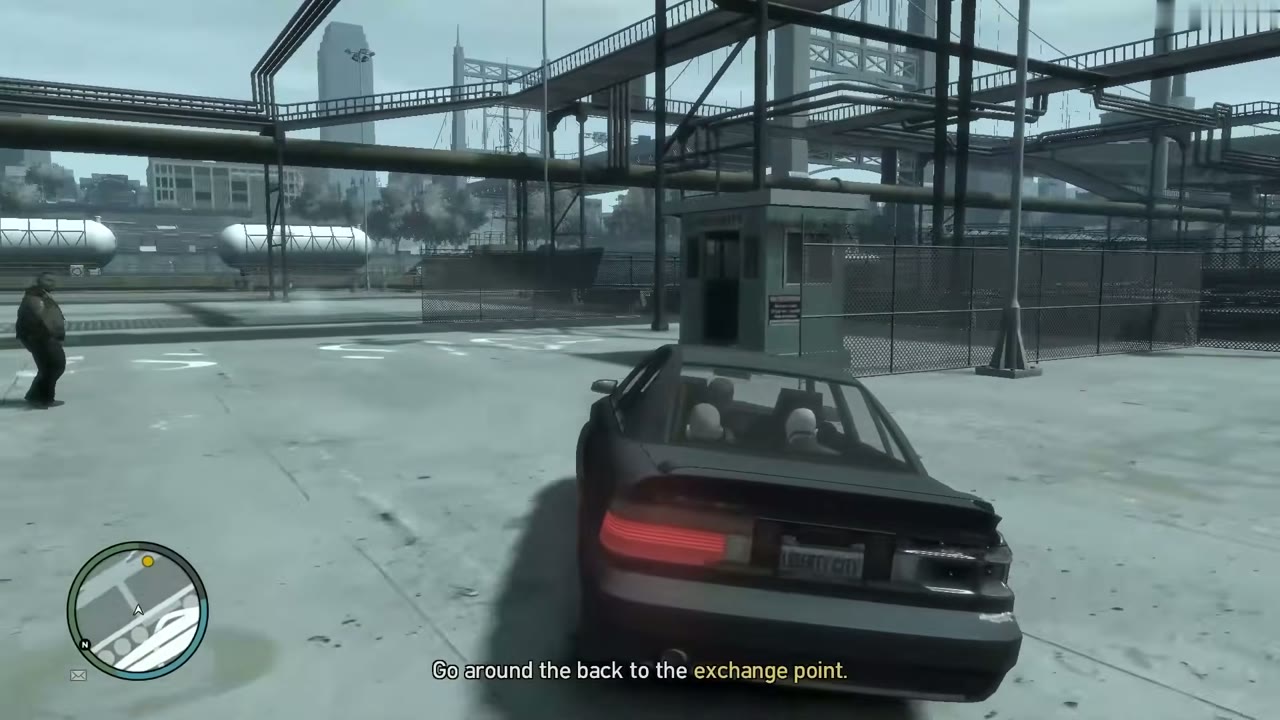
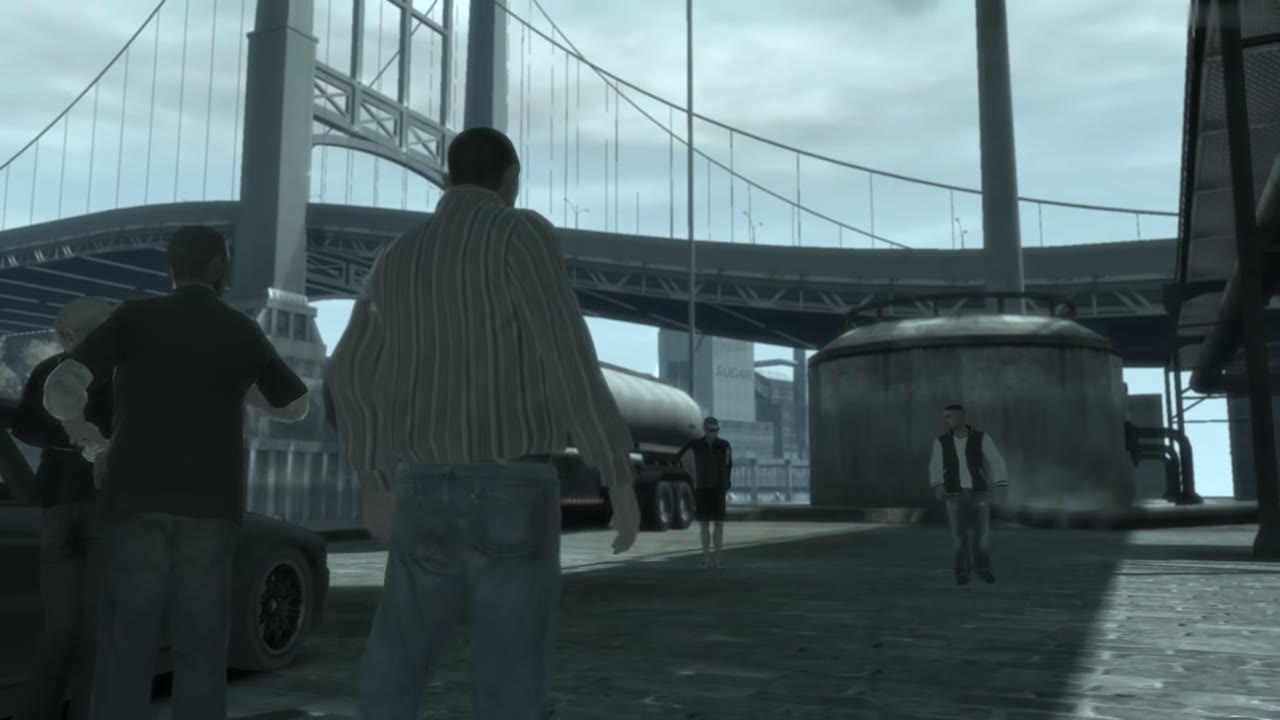
At the plant gates the objective asks you to go around the back to the exchange point. Drive past the guard booth and the fuel tanker trailers, and a conversation starts. When it ends, Niko is on foot with a micro SMG and the shooting begins.
Take out Bulgarin’s men
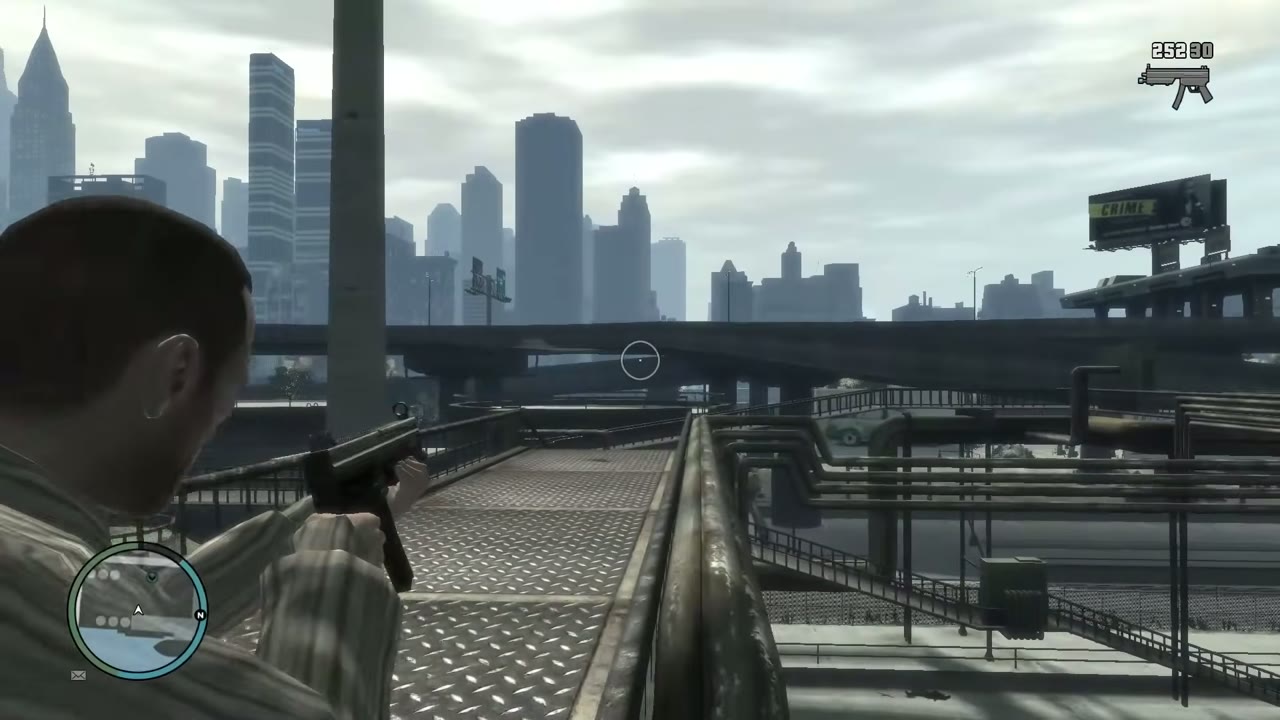
You start on open ground between round settling tanks. Bulgarin’s men show up as red dots on the radar, and they come from several sides, some from the stairs and pipe walkways above. Crouch behind a tank rim and pop up to shoot. Aim for one man at a time and let the cover do the work.
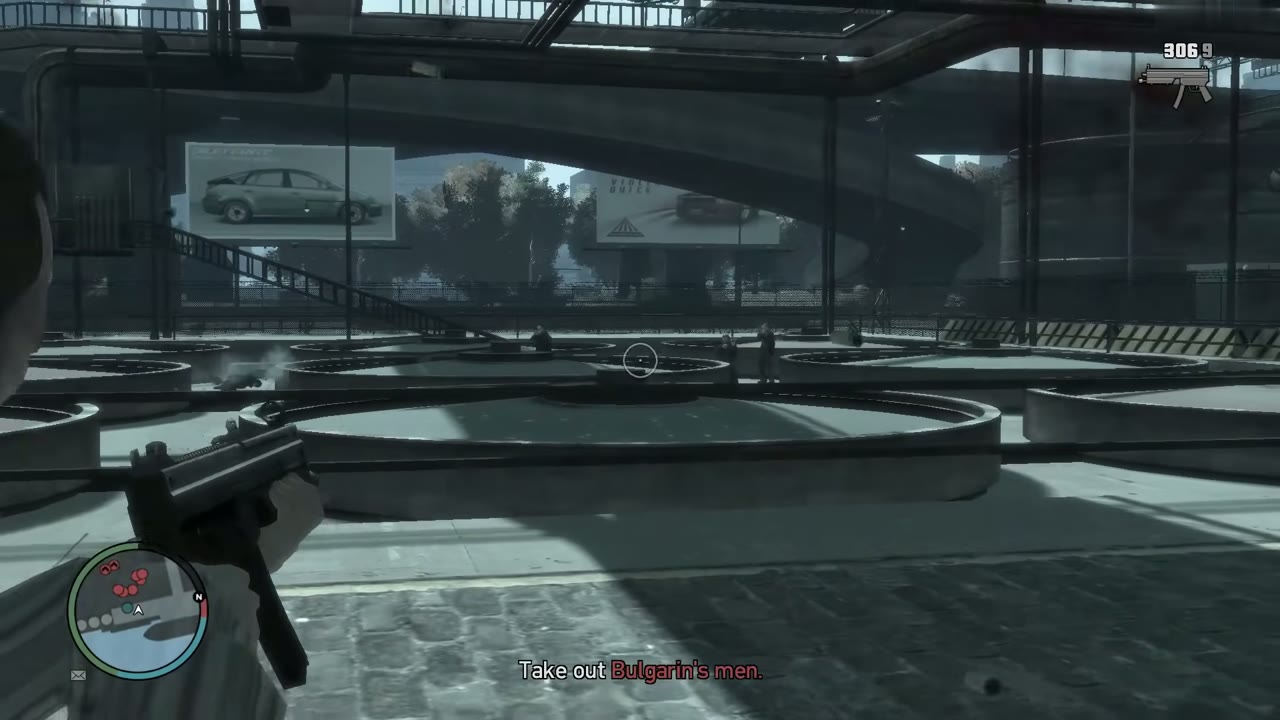
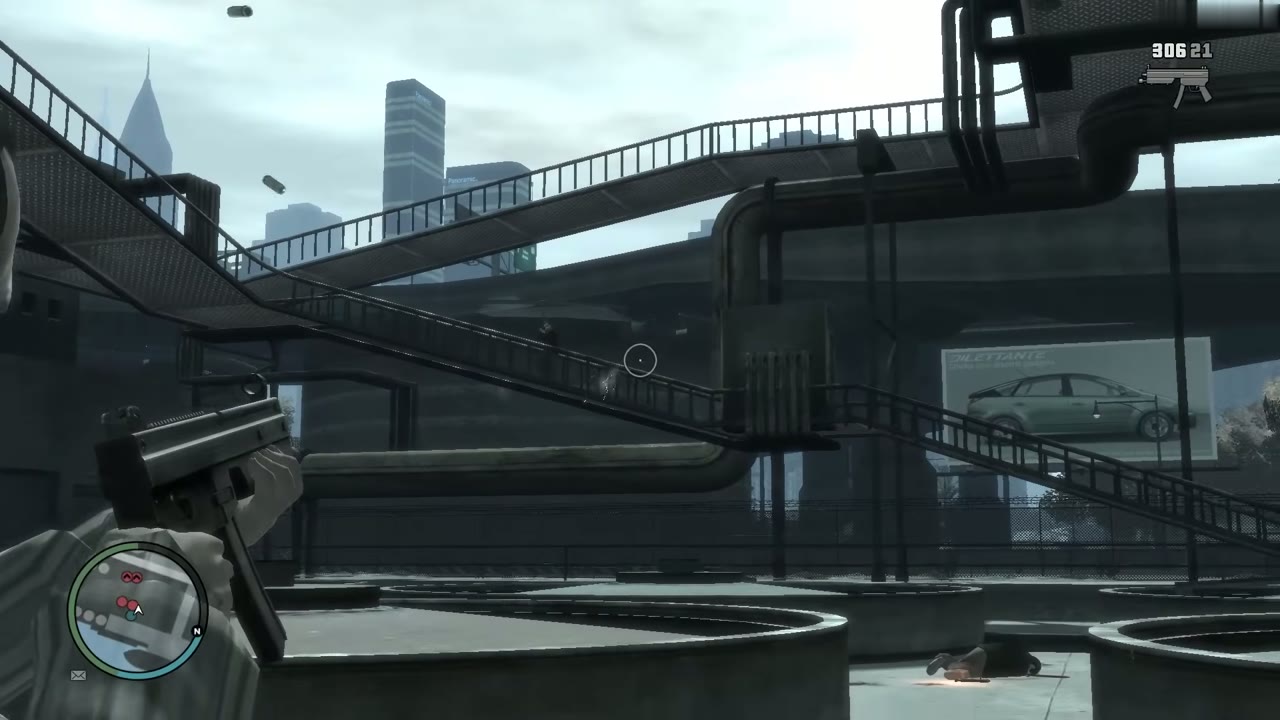
Gunmen keep arriving in small groups. Some drop weapons, so grab an assault rifle as soon as you see one, because the SMG runs dry quickly. Check the radar often for reds behind you, and stay near Packie.
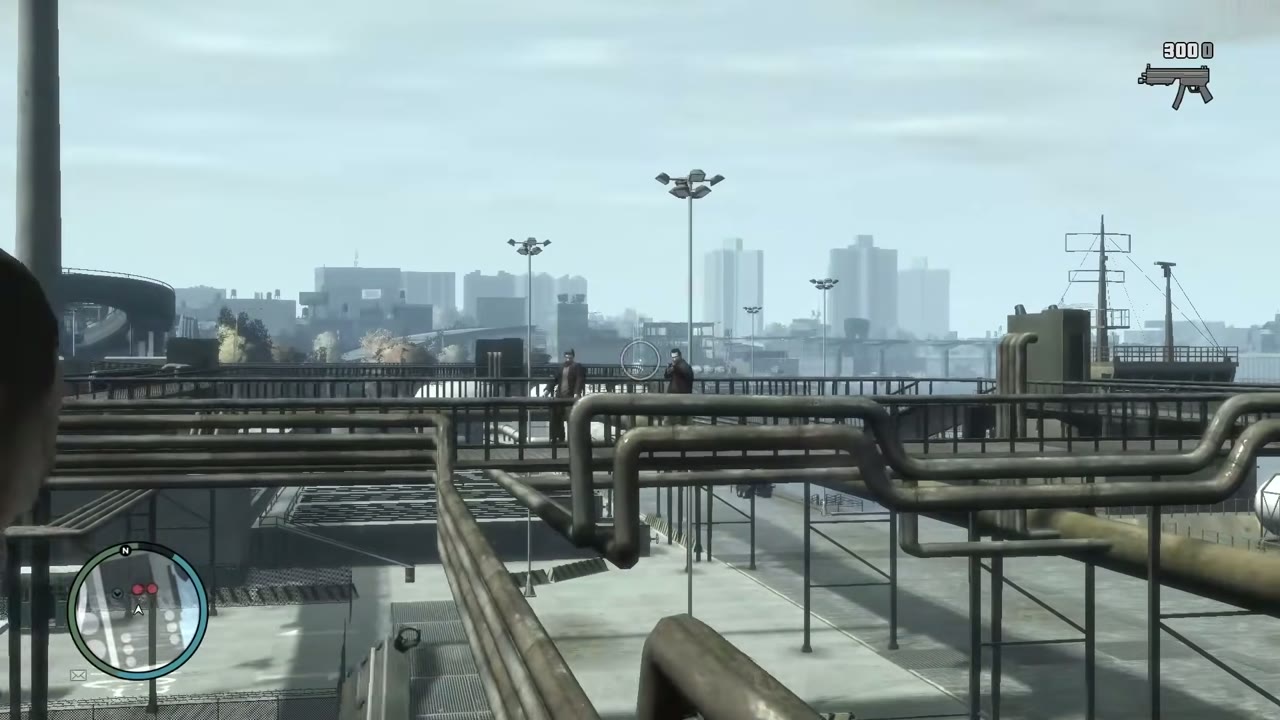
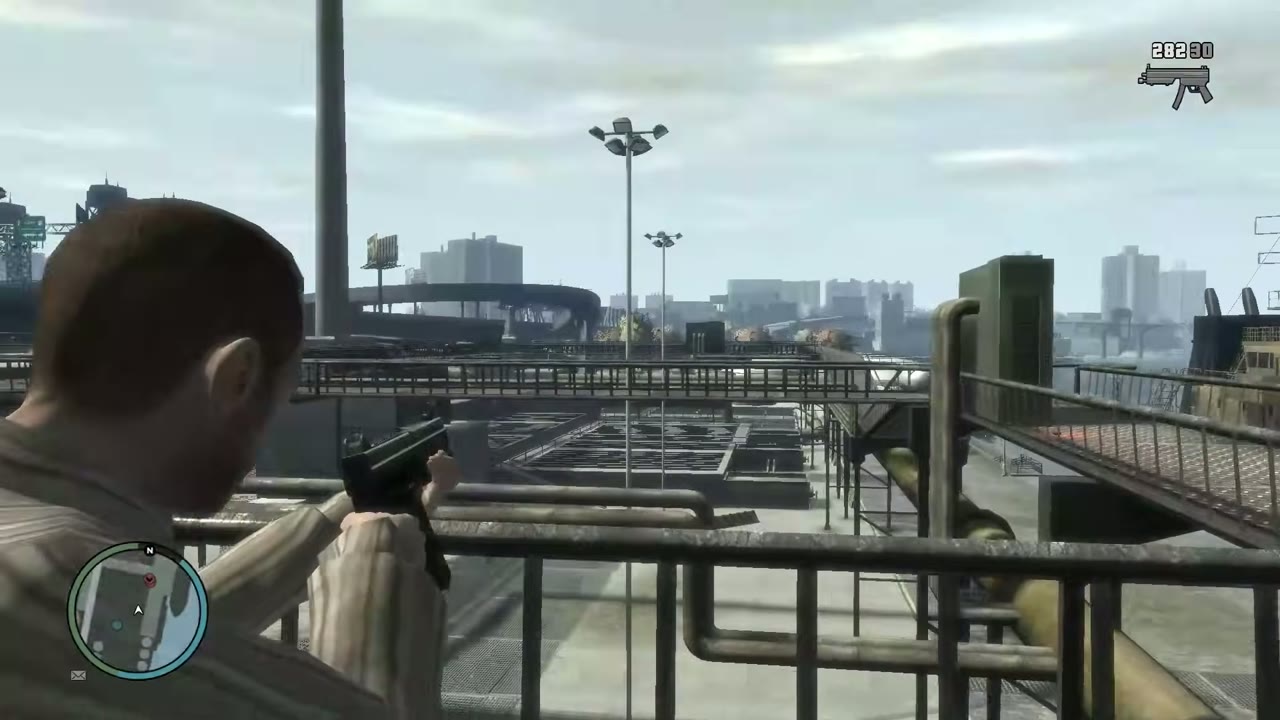
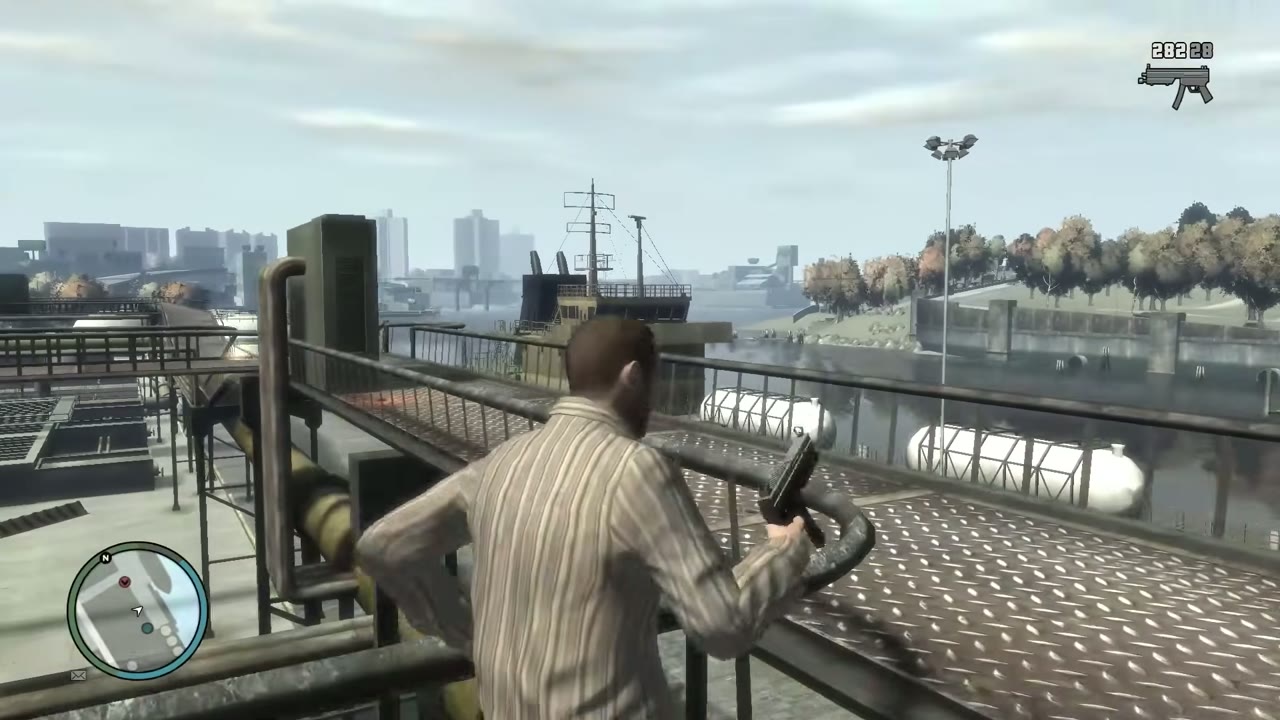
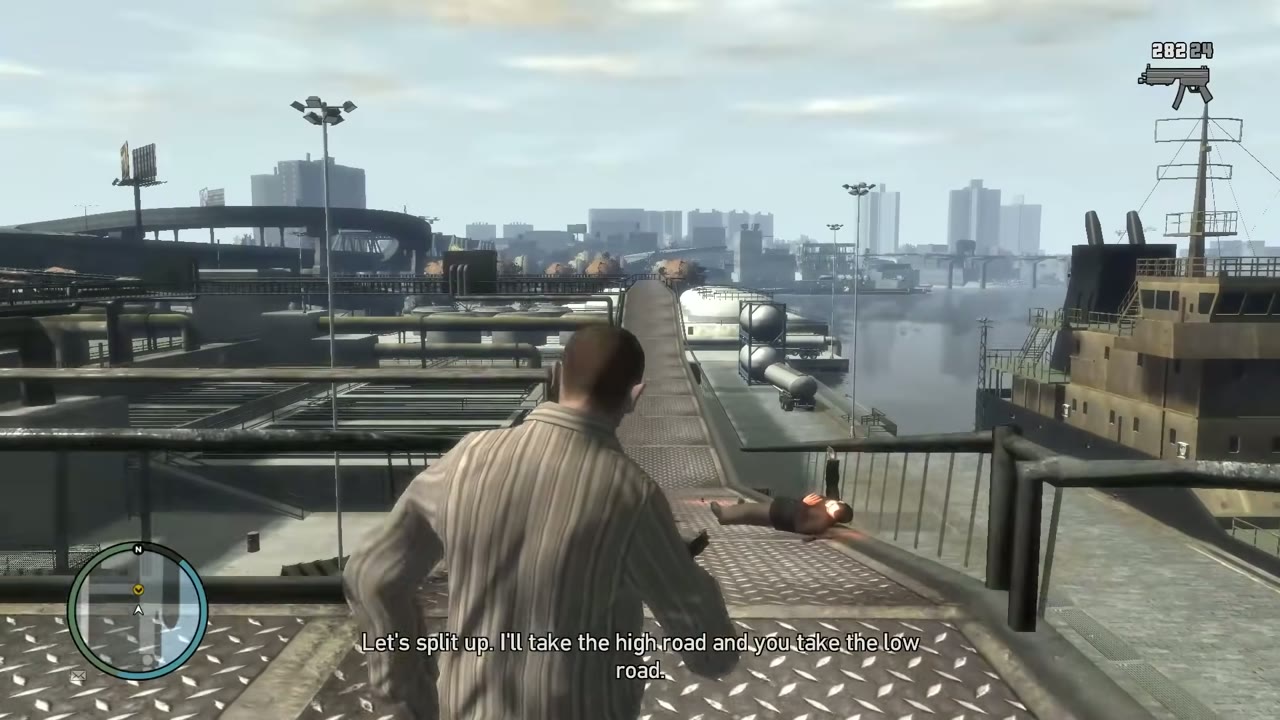
Packie heads up to the higher level and tells you he is taking the high road. Follow him up the stairs and out onto the pipes, shooting anyone who leans over a railing. When the area is clear, the next objective appears.
Cross the walkway
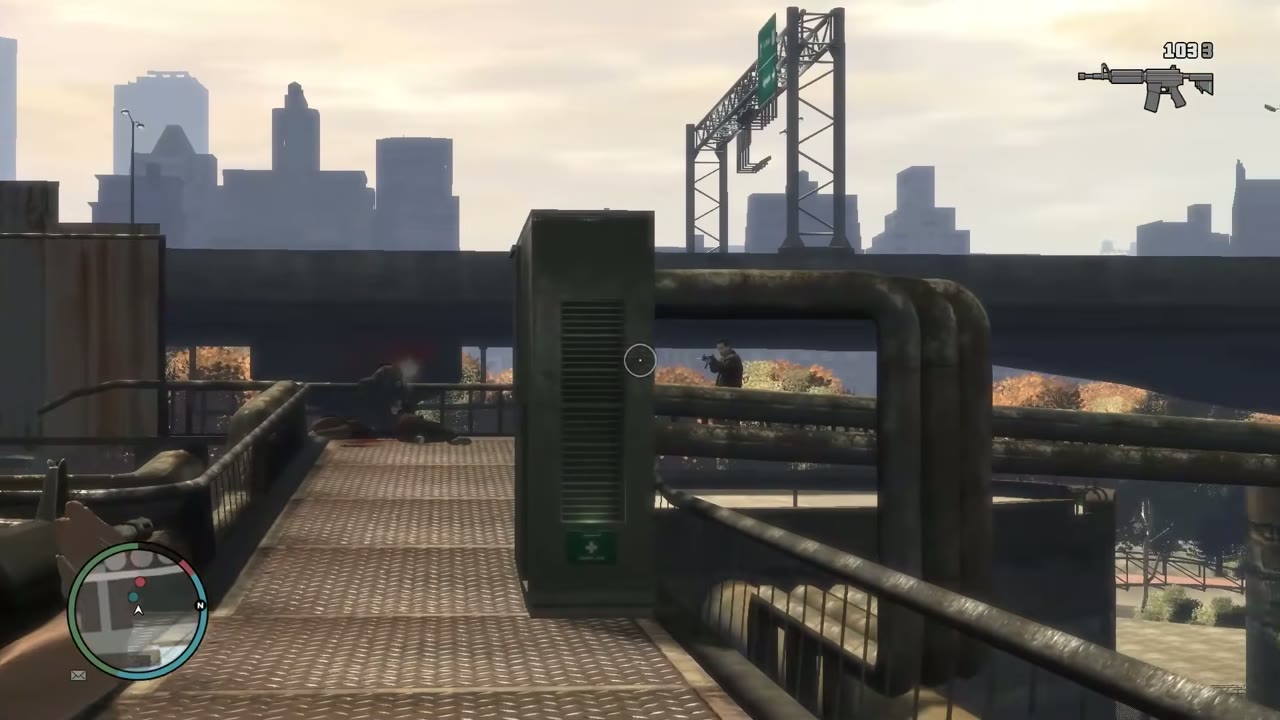
The objective now sends you across the catwalk above the plant. Move in short stretches, and stop at each corner to look at the yard below. A sniper rifle is on hand up here. Use it to thin out the men in the yard before you commit to the open stretch.
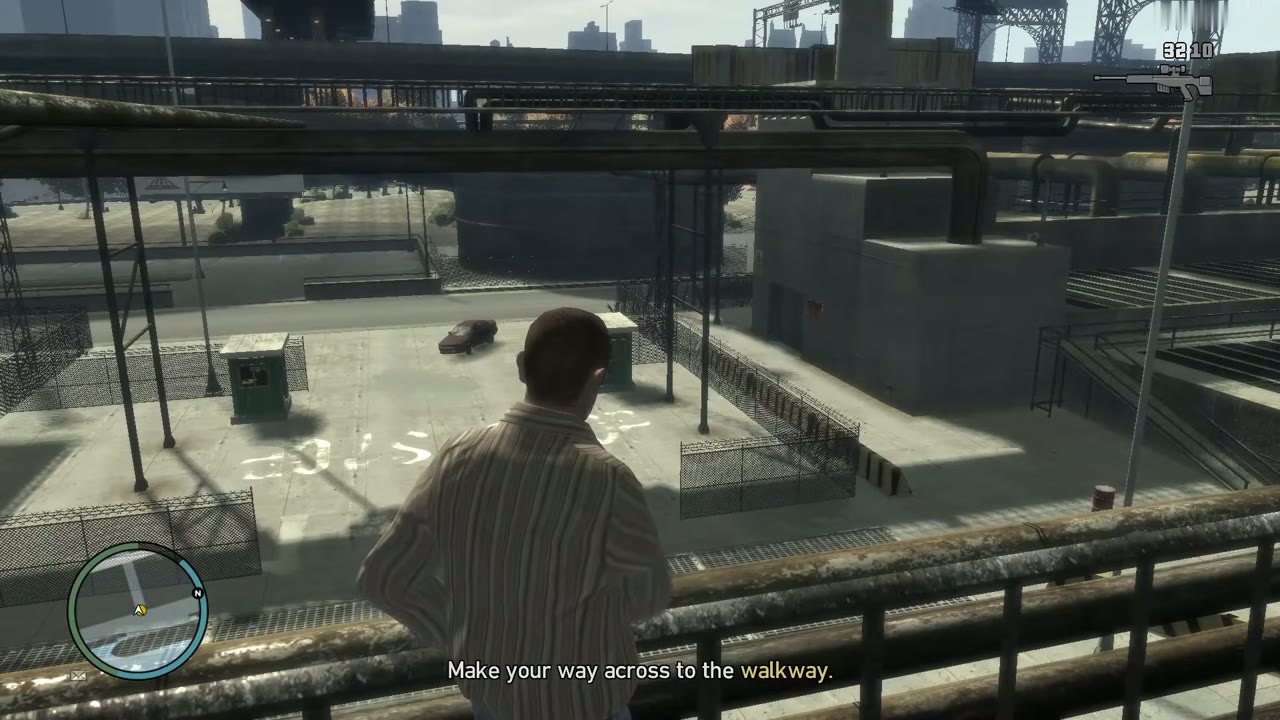
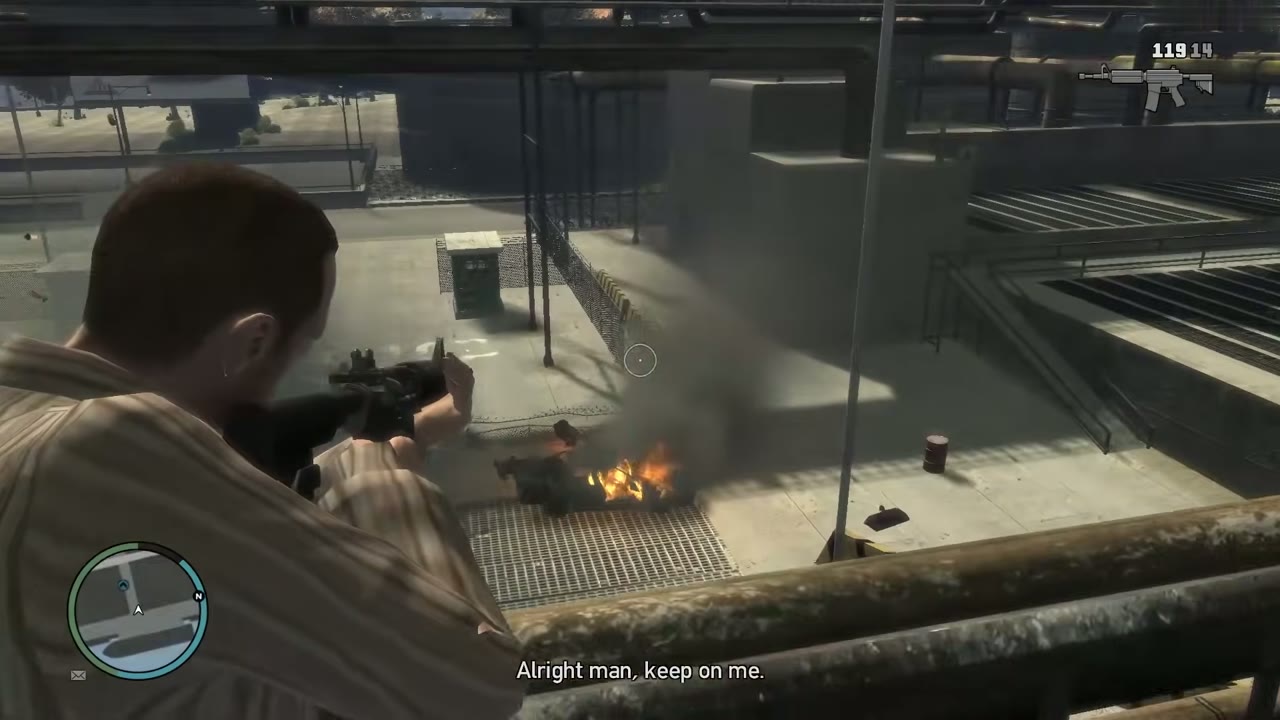
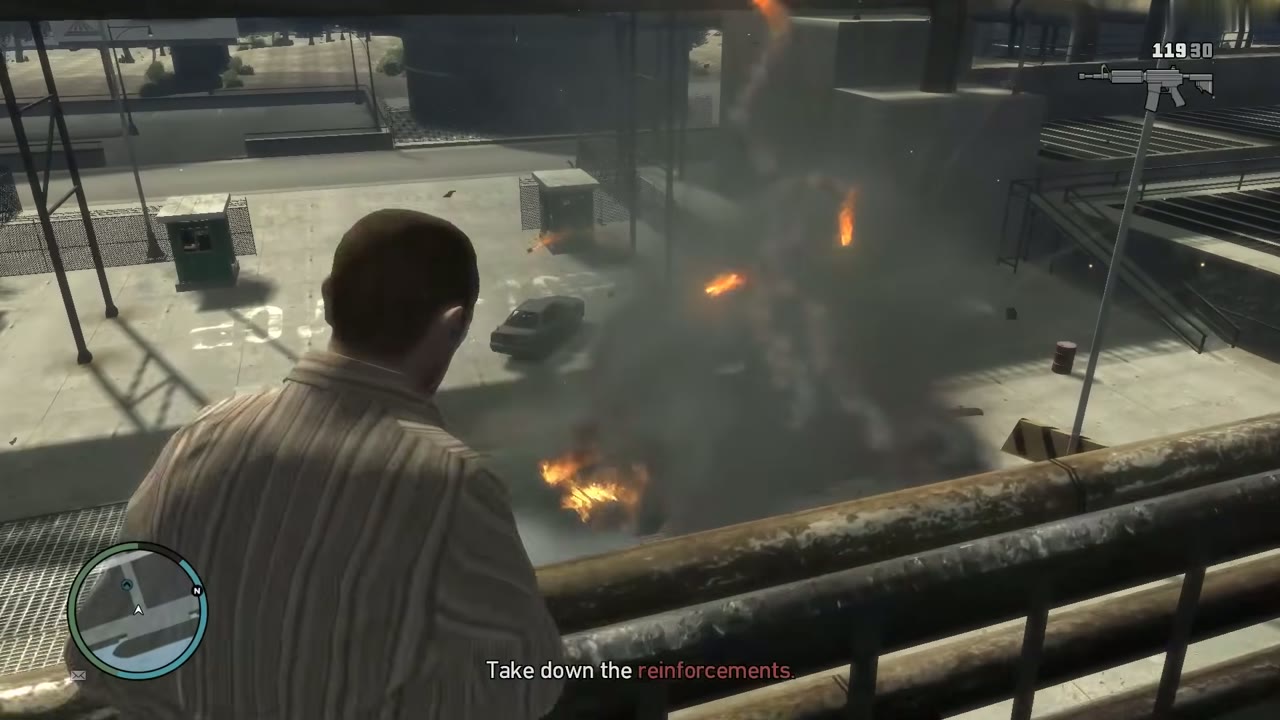
More of Bulgarin’s men turn up, and the objective changes to taking down the reinforcements. Stay on the catwalk and use the railing and the green metal boxes for cover. They have trouble reaching you, so shoot down at them and keep your ammo topped up from the bodies.
Take out the last of Bulgarin’s men
The last gunmen hold the far end of the walkway, and one of them stands at the railing holding the diamonds over the edge. A short scene plays and the diamonds end up out of reach. Once it ends, kill the remaining men and watch for stragglers who stay behind the tanks.
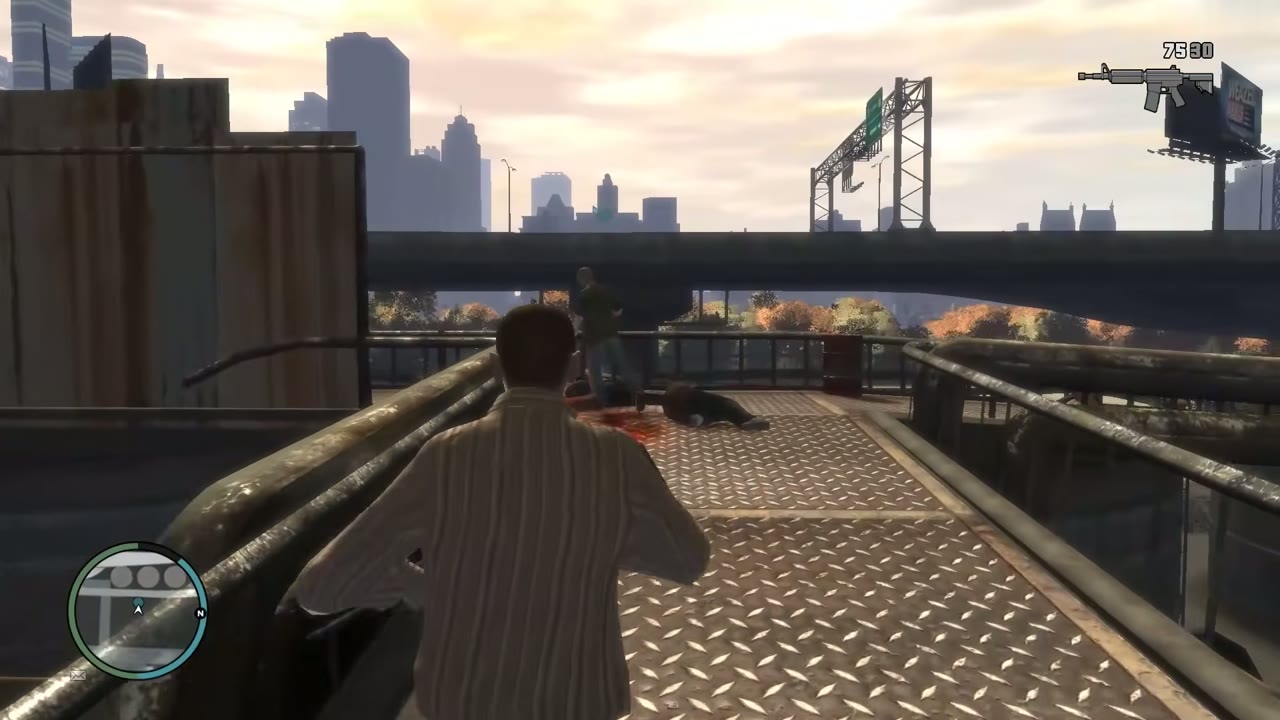
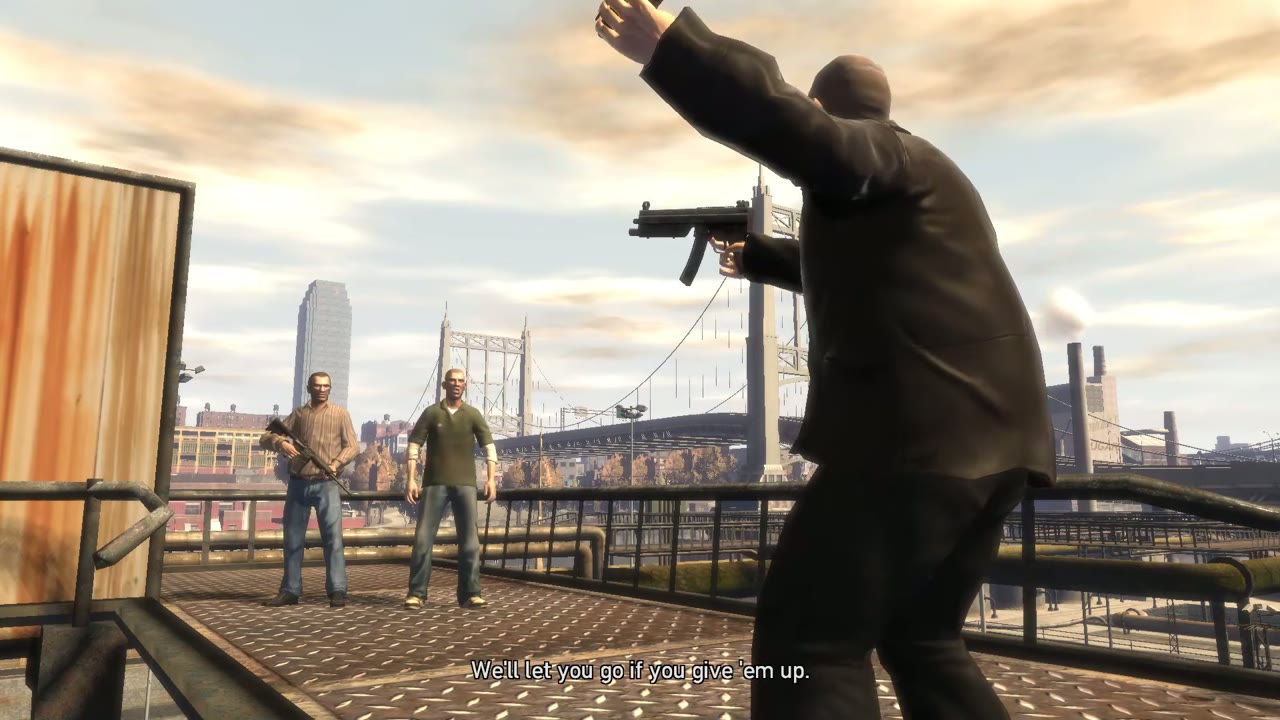
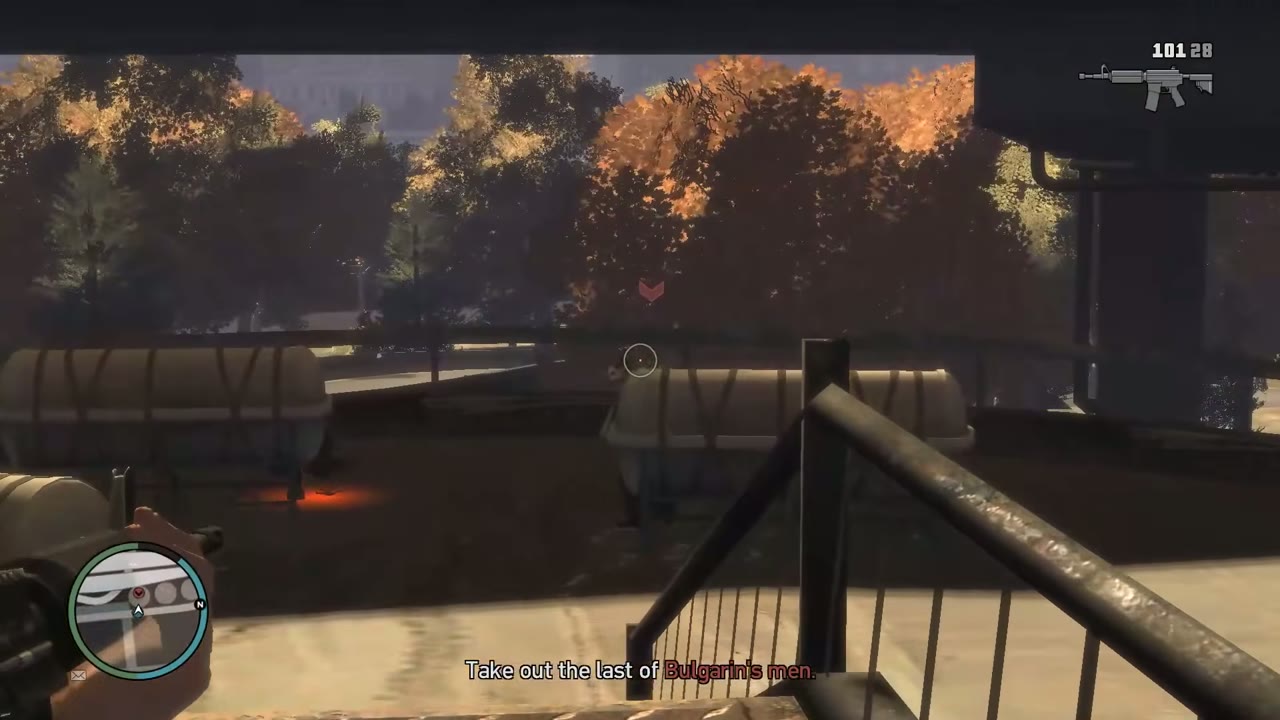
The objective changes to Follow Packie. Run after him along the catwalk and down to street level. When you reach a ladder, slide down it to save time. If you fall far behind him, the game warns you that you are too far away and the mission fails if you leave him there.
Drive Packie home
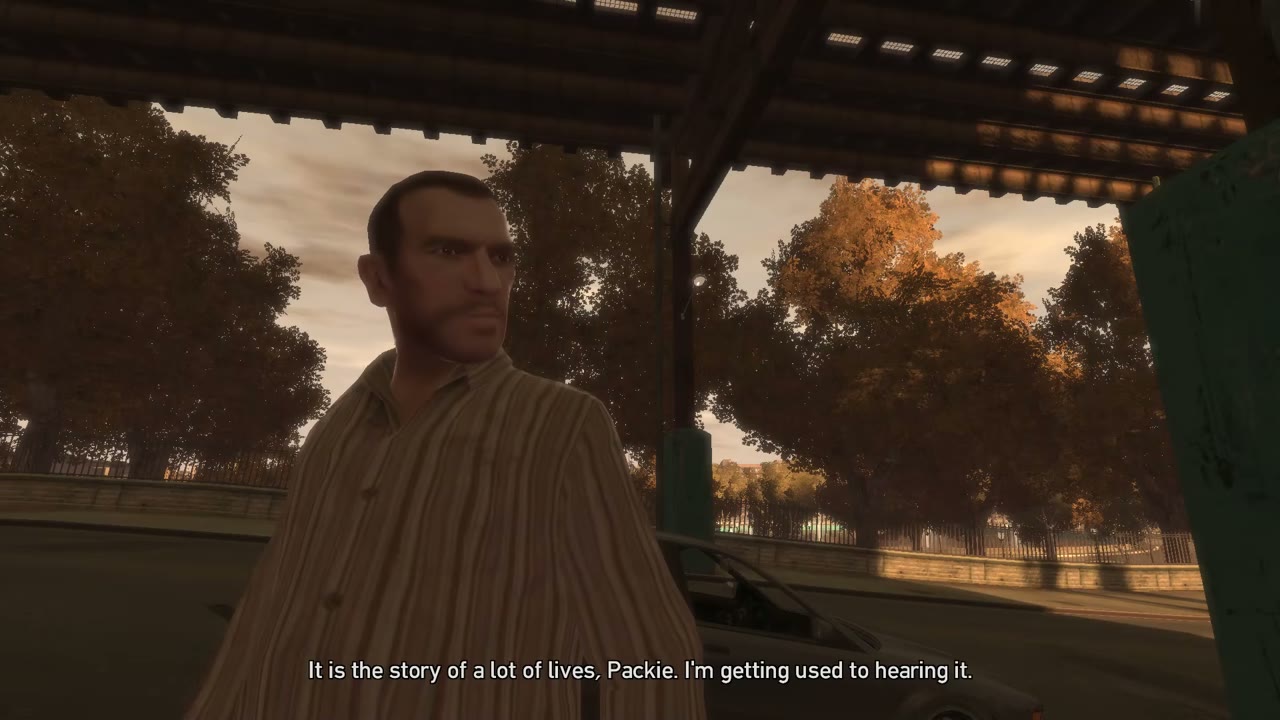
The final objective is to take Packie to his Ma’s house in Dukes. Get back in the Vincent, with Packie beside you, and cross the bridge again. The shooting may have given you a wanted level, so lose the police before you reach Dukes. Stop at the marker in Dukes near the elevated tracks. Niko and Packie get out and talk, and the mission ends.
What fails this mission
Besides dying or being arrested, the mission ends if any of these happen:
- Packie dies.
- Gracie dies.
- Packie’s car is destroyed.
- You leave Packie too far behind.
After the mission
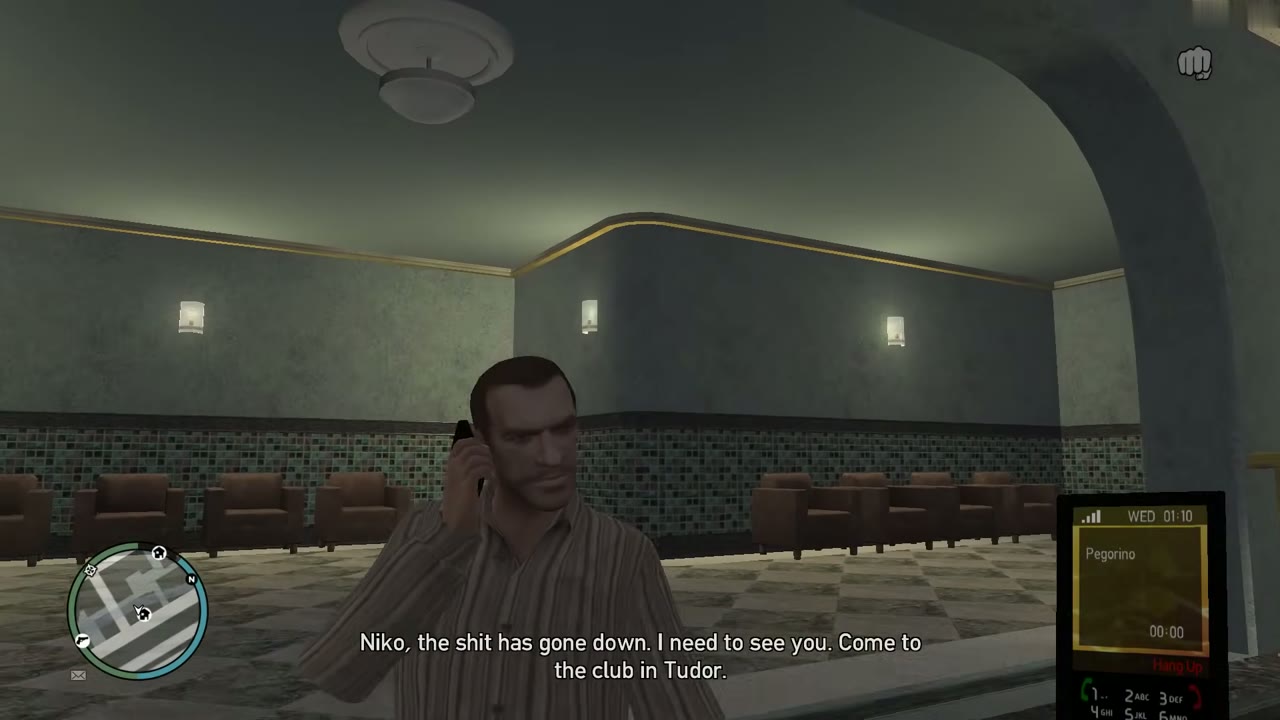
The mission pays nothing. Soon after it ends, Pegorino phones and tells you to come to the club in Tudor. That starts One Last Thing once That Special Someone is also finished. You may also get calls from Roman and from Dimitri about how the day went.
Part of Gracie, Gravelli and the last jobs in the story walkthrough.