






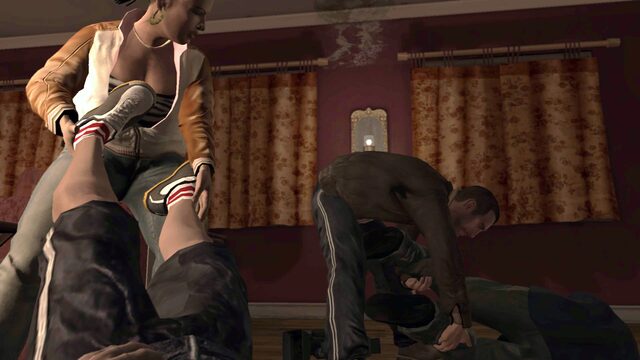
Drive Elizabeta’s Voodoo, with two bodies in the trunk, across the river to a black market doctor in Dukes and hand them over. The drive is short but the car is hot, so lose any police on the way. You earn $3,000.
Before you start
The $3,000 only comes if you deliver the bodies to the doctor. You can dump the Voodoo in the river or blow it up, and the mission still ends, but there is no payout and nothing brings it back. Don’t do that unless you want to skip the money.
Objectives
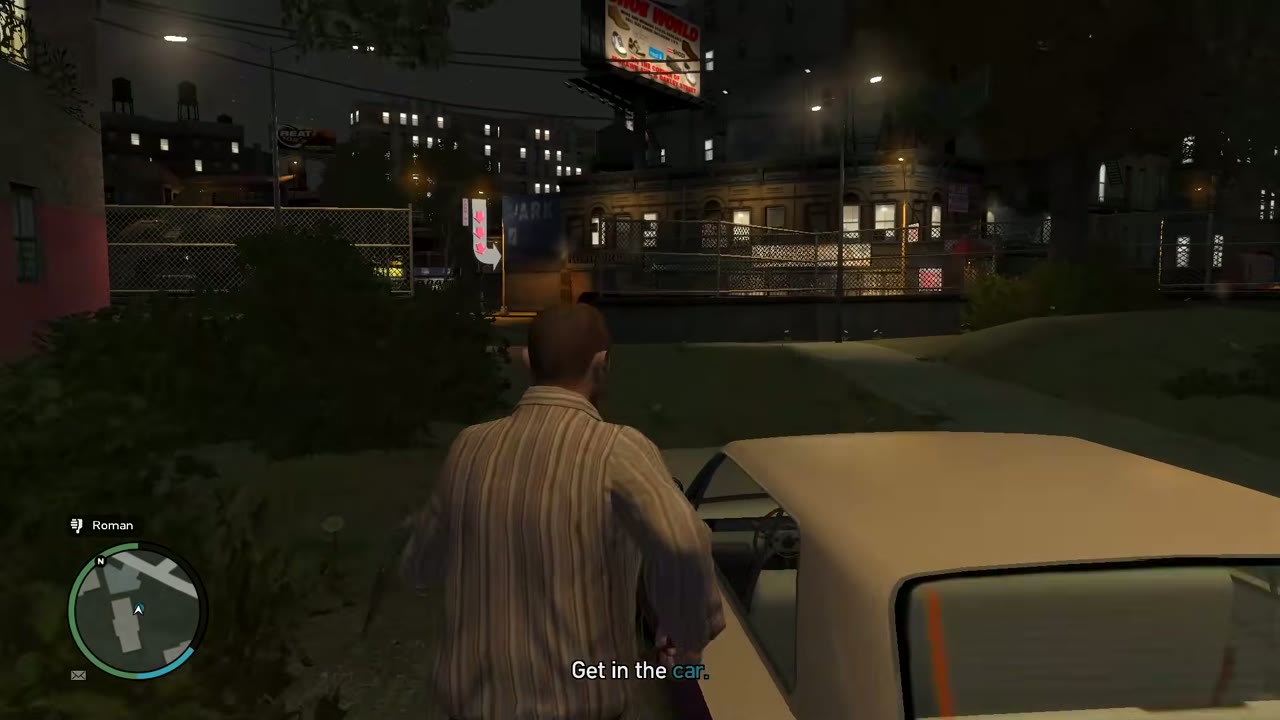
- Get in the car.
- Take the bodies to the doctor.
Have a Heart walkthrough
Take the Voodoo from Elizabeta’s place
Elizabeta’s Voodoo is parked outside her building in South Bohan, with the bodies already in the trunk. Walk to it and get in. It is a low, heavy lowrider that rolls wide in the corners, so take your first few turns slowly. The destination is a yellow blip on the radar. Elizabeta says the doctor works out of Broker, but the blip sits in Dukes, so follow the blip.
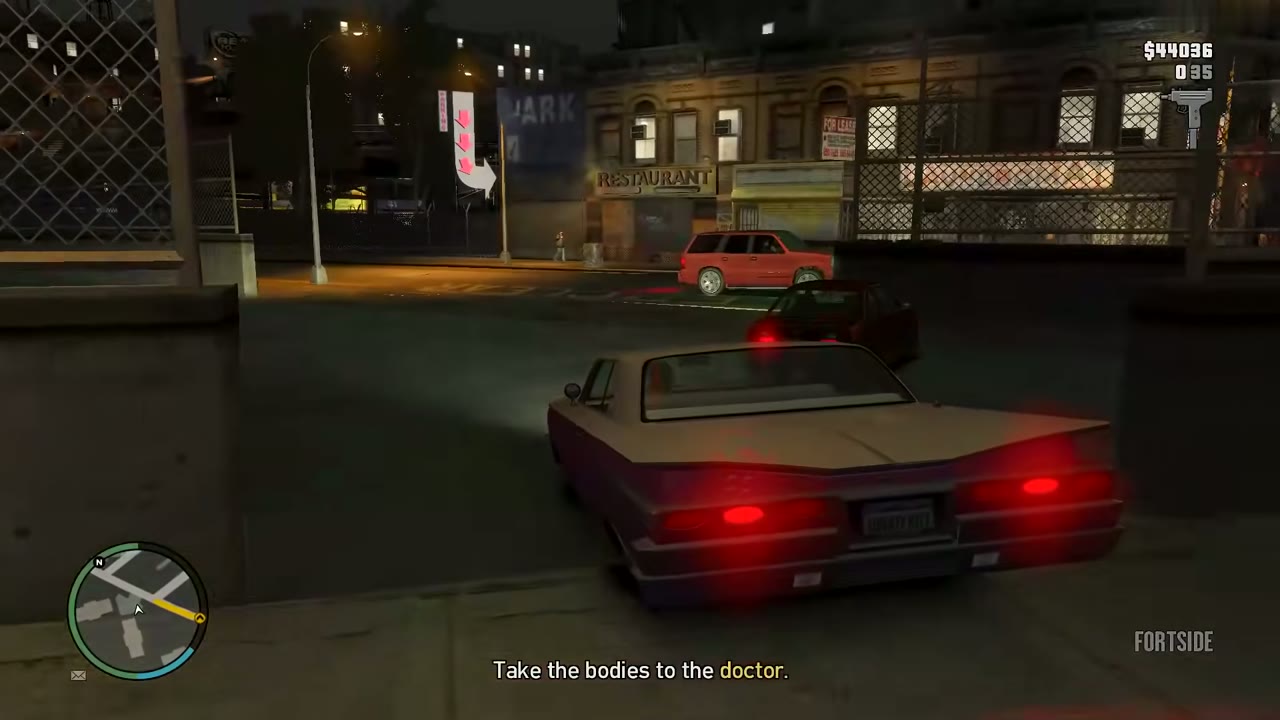
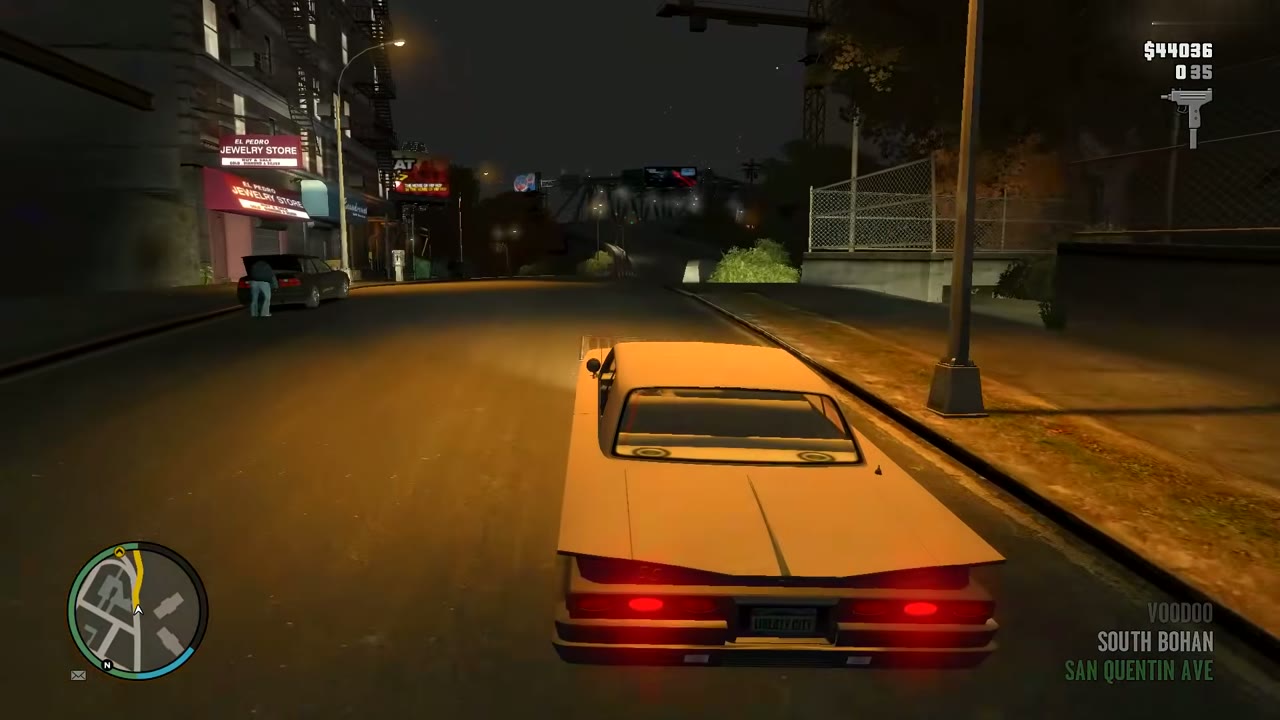
Drive to the doctor in Dukes
Head out of Bohan, cross the East Borough Bridge onto Charge Island, then follow the route over the next bridge toward Dukes. Traffic is thin at night, so weave around slow cars and avoid hard crashes. If the police spot you, the objective switches to losing your wanted level. Get off the main road, break their line of sight in side streets and wait for the stars to stop flashing. Don’t fight them. The objective then returns to the doctor.
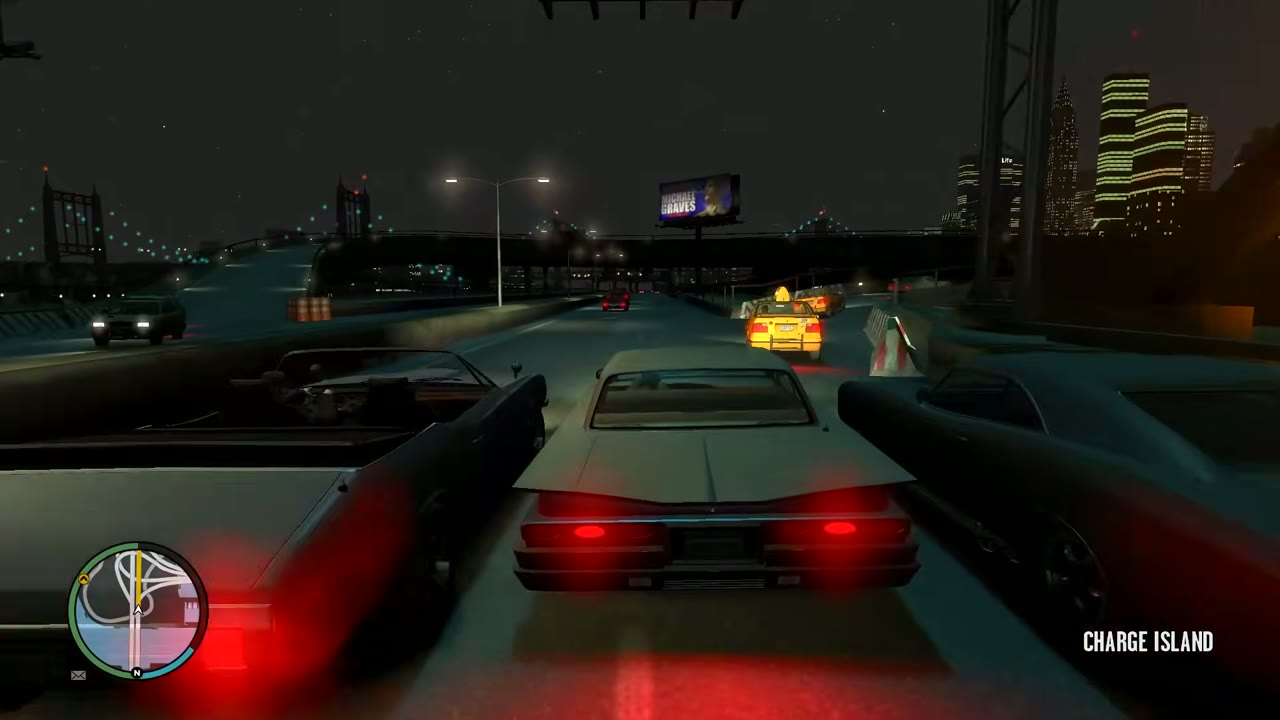
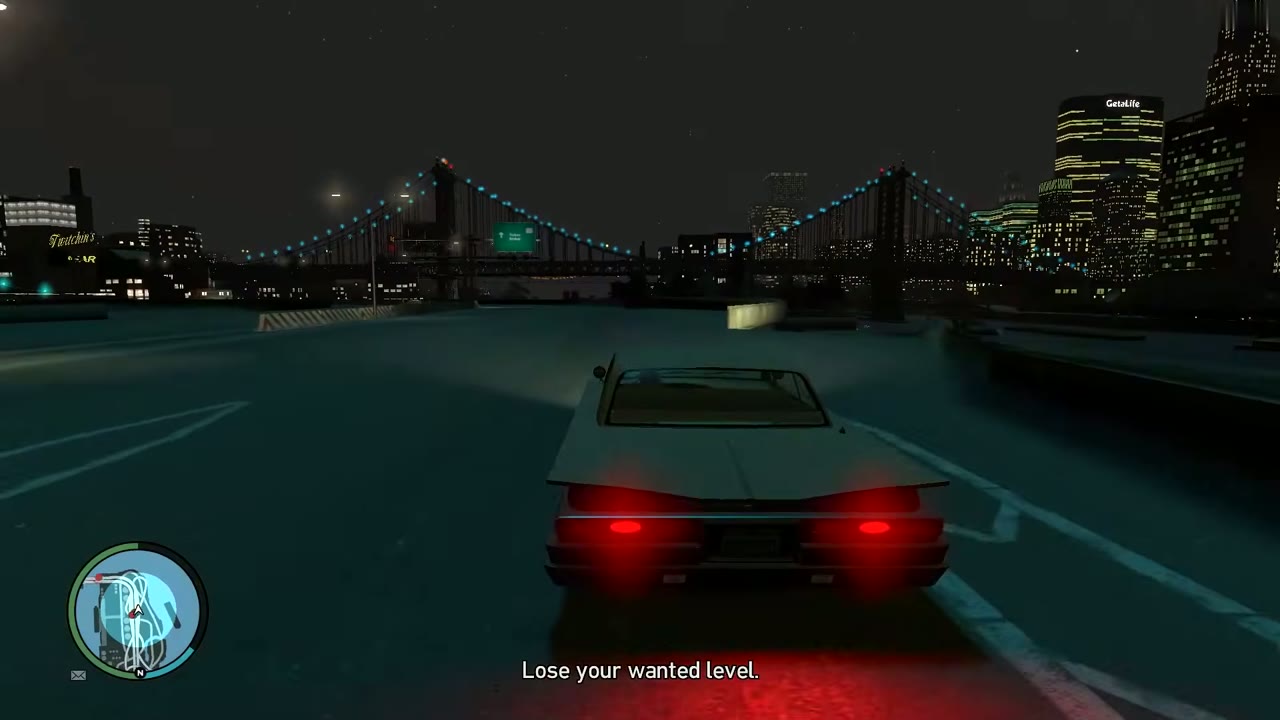
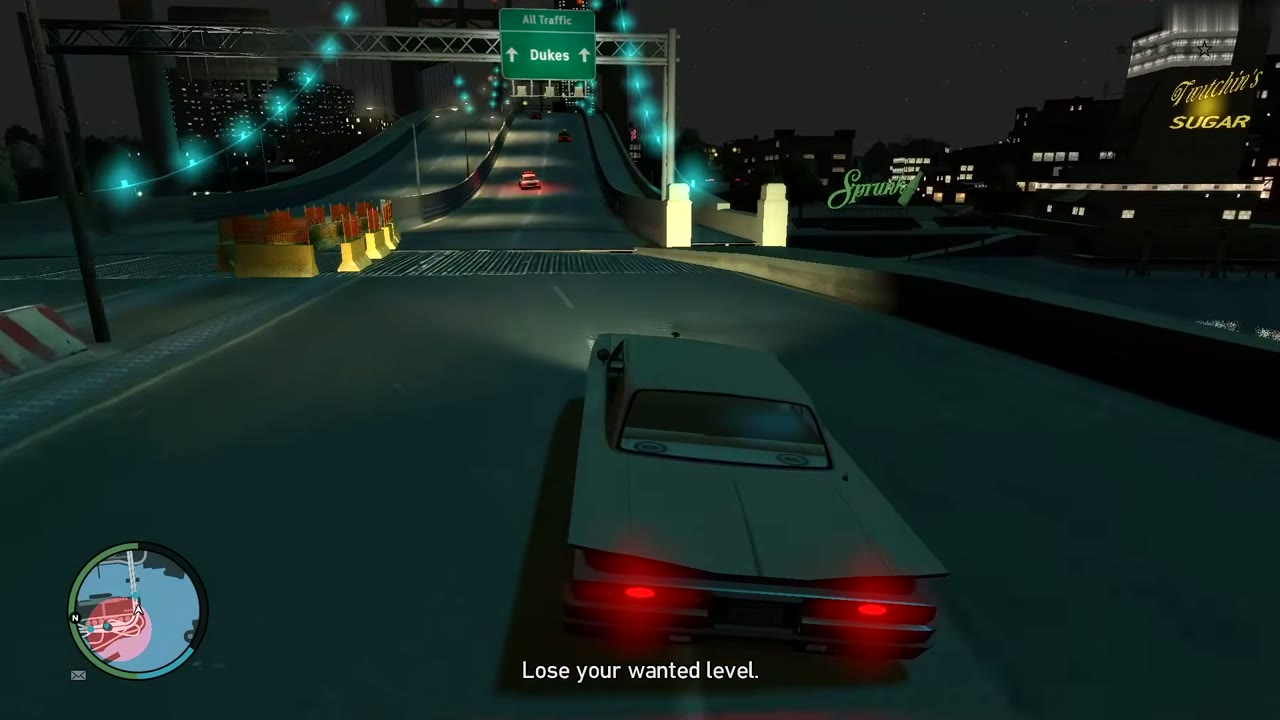
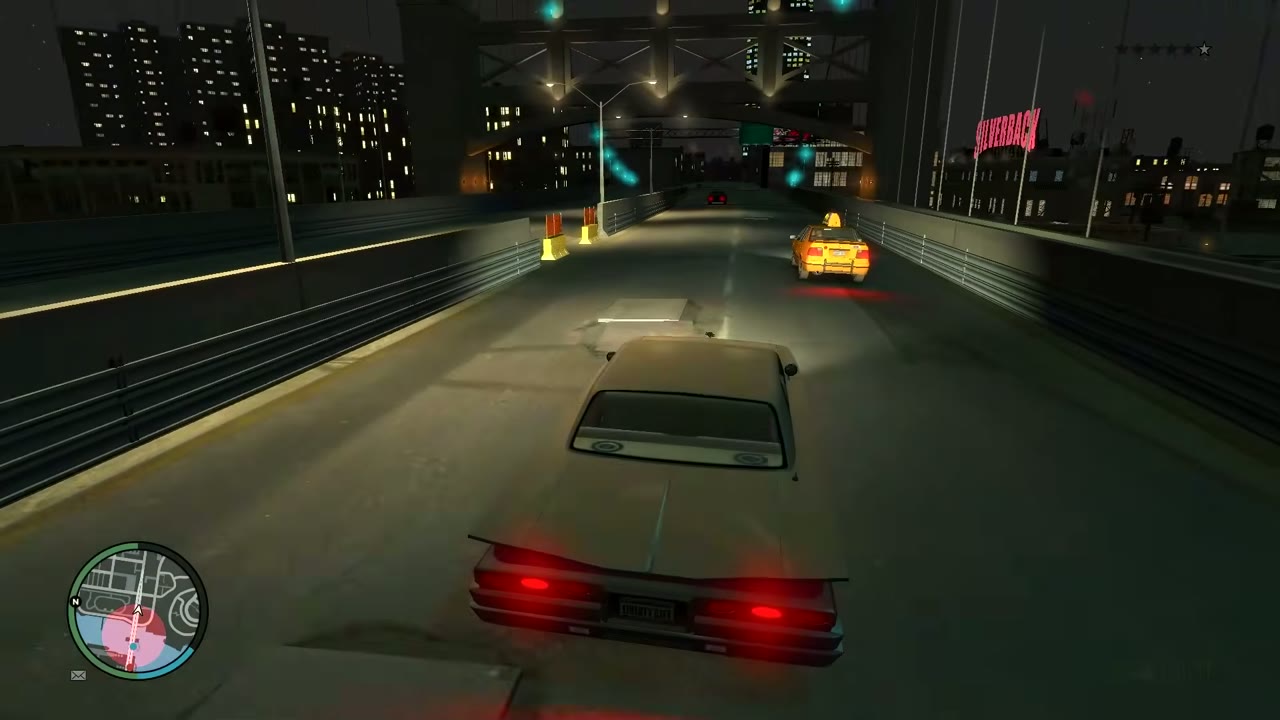
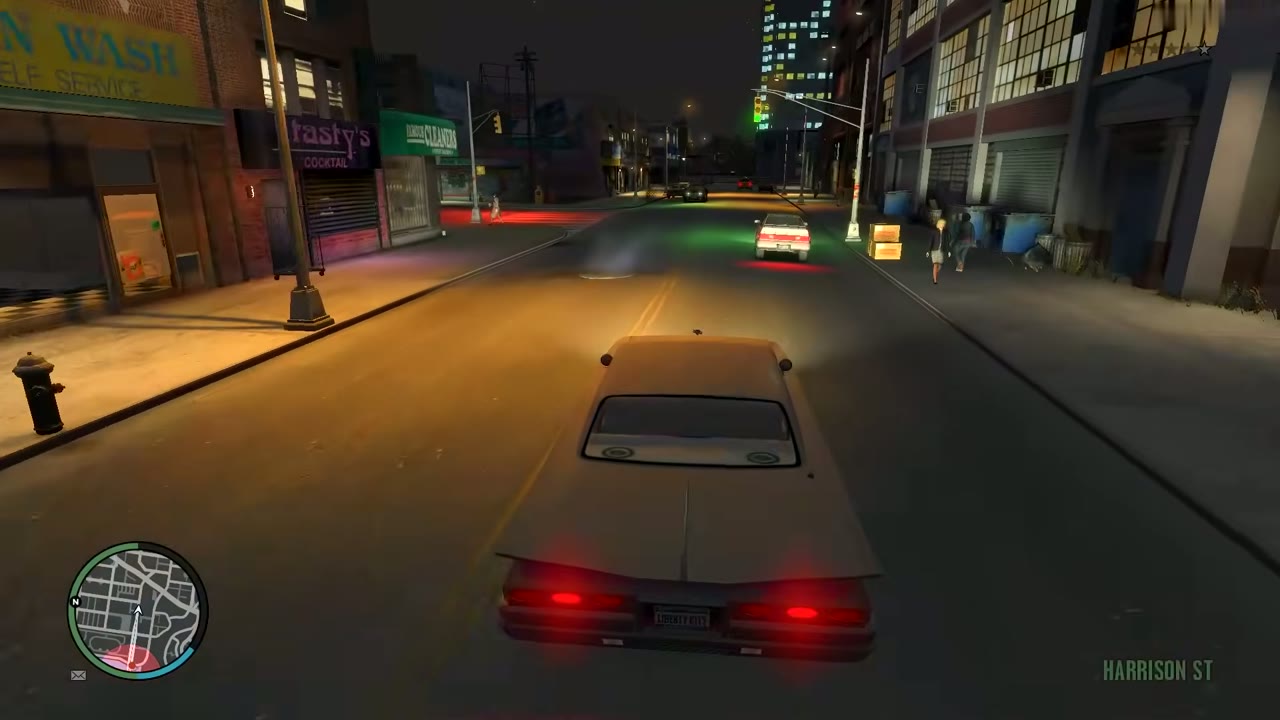
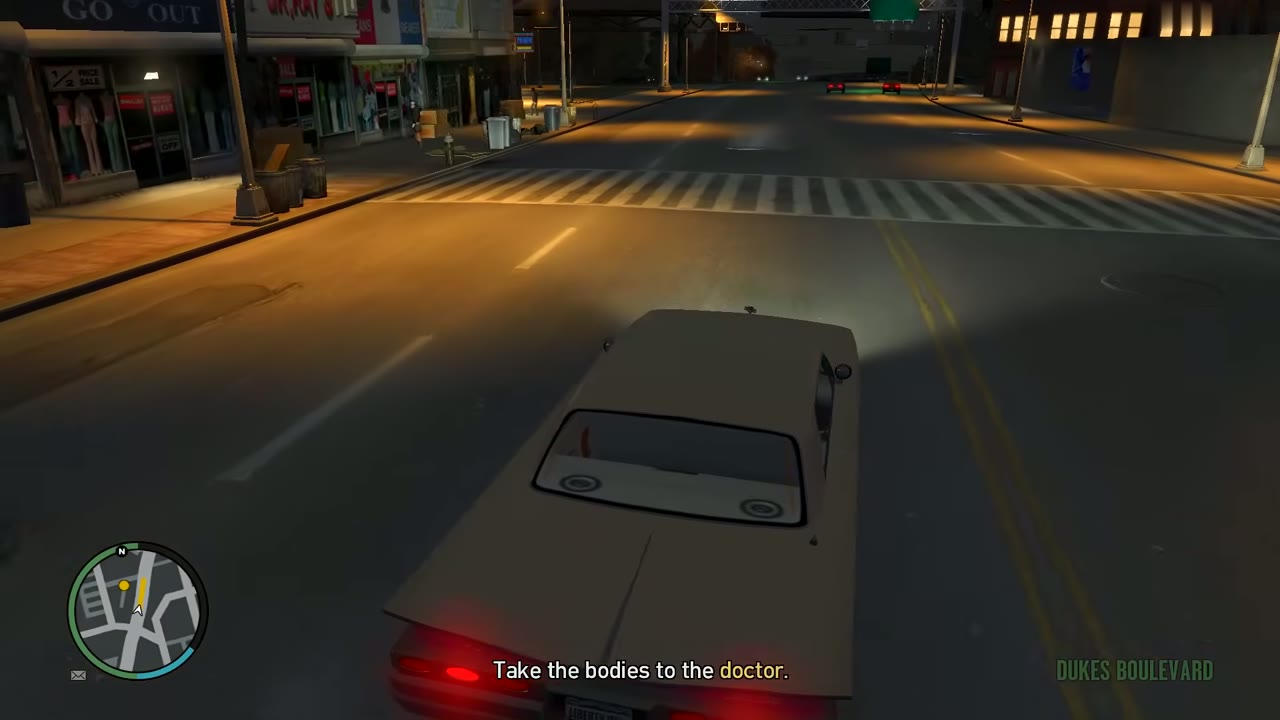
Roll into Dukes along Harrison Street, then onto Dukes Boulevard. The yellow blip leads you down a side lane to a dark back lot beside a chain-link fence.
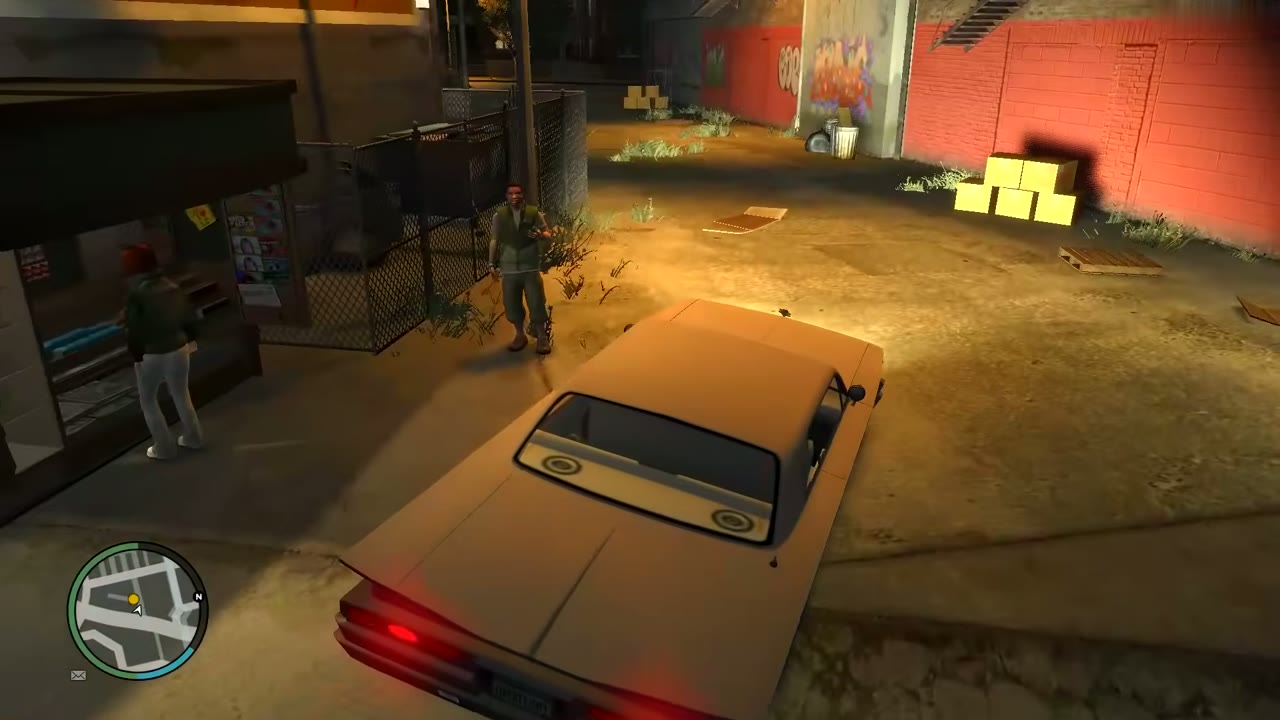
Hand over the bodies
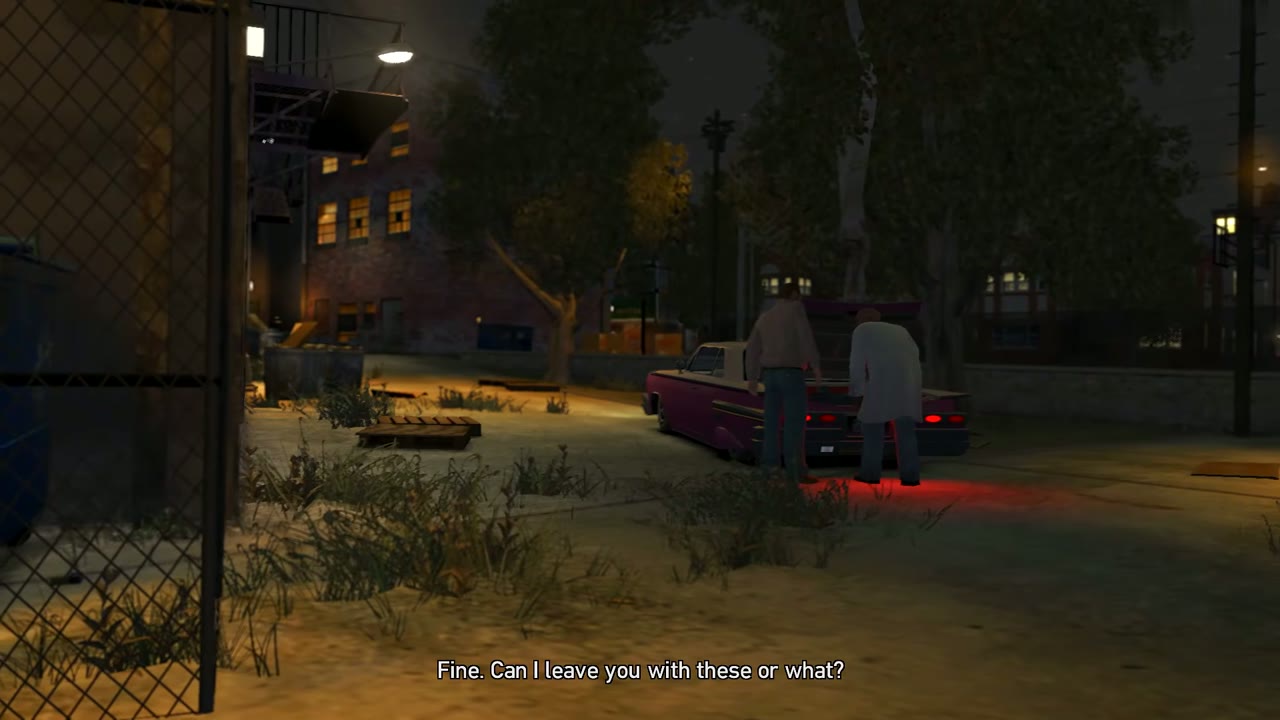
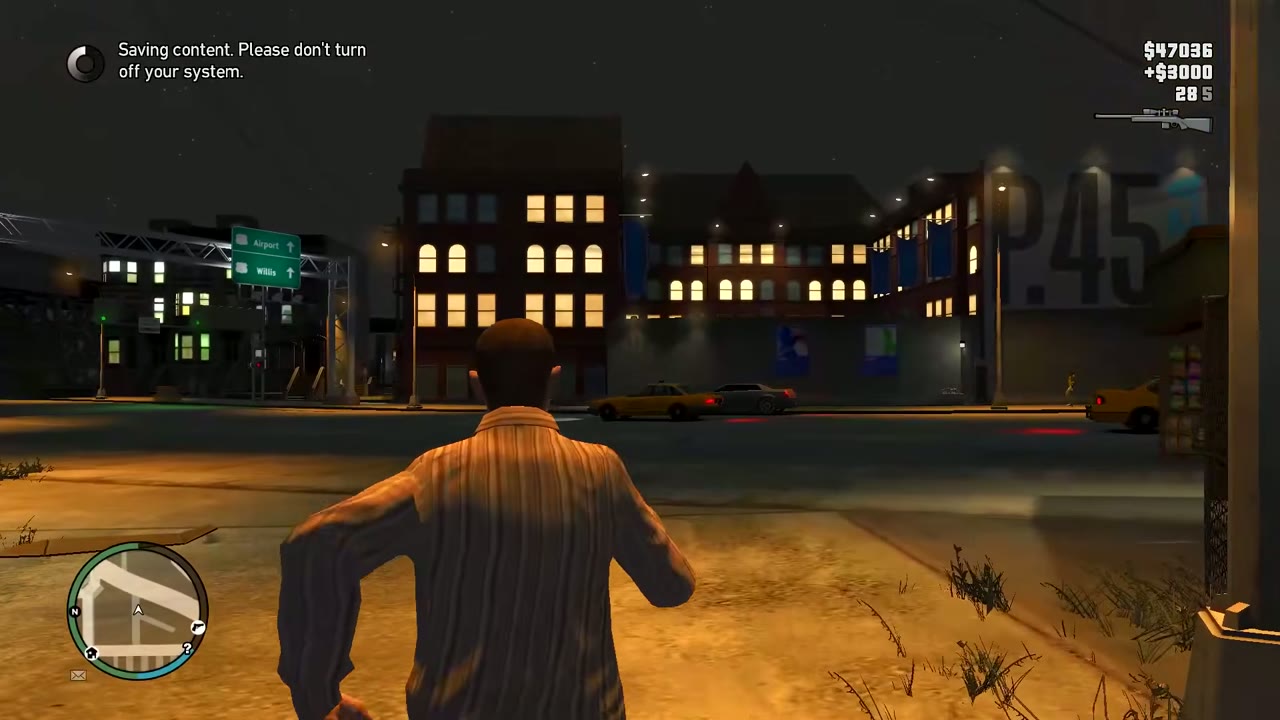
Stop the Voodoo next to the doctor. He opens the trunk and takes the bodies. Niko and he exchange a few lines, then you are paid. Watch the cash counter in the top right to confirm the $3,000 landed, then walk out of the lot.
What fails this mission
Besides dying or being arrested, the mission ends if any of these happen:
- Destroying the Voodoo too close to Elizabeta’s place
- Abandoning the Voodoo too close to Elizabeta’s place
- The bodies are discovered, if you abandon the car after failing to blow up the wreck
After the mission
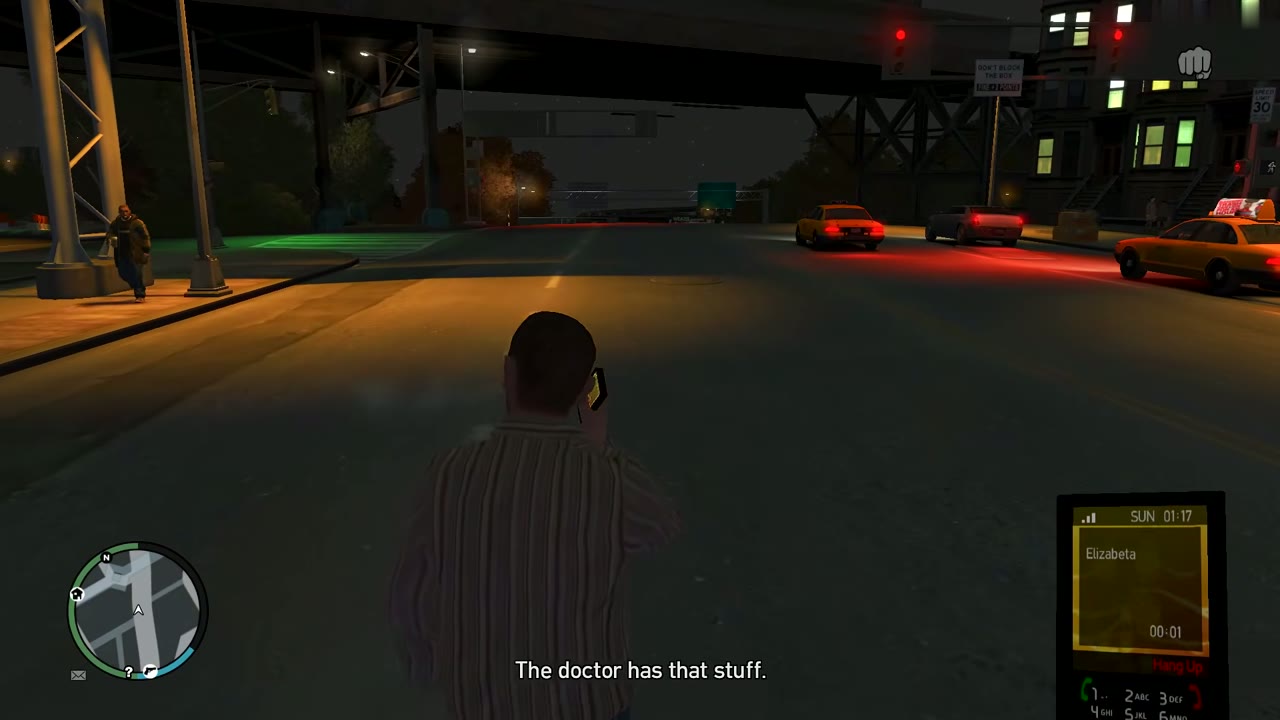
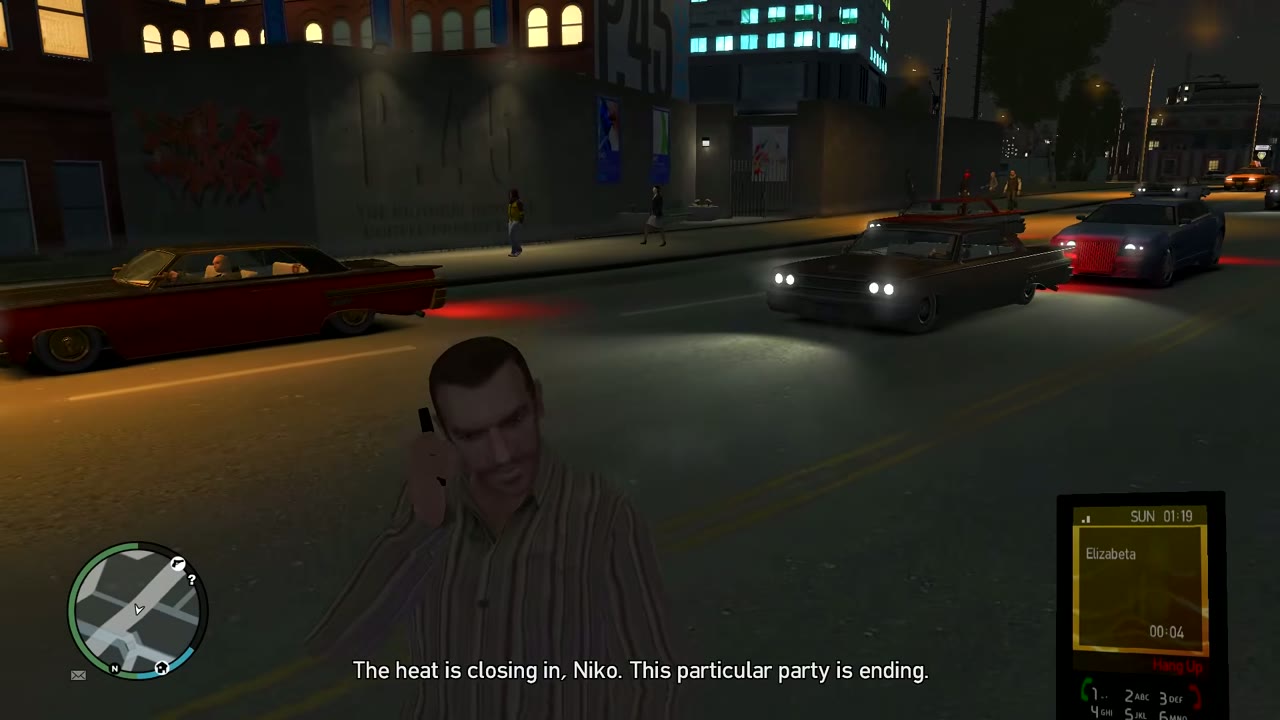
You earn $3,000. Elizabeta phones to ask how it went. Tell her the doctor has the bodies and she tells you to stay away from her for a while, because police attention is building. The mission also opens Dust Off once you have done Portrait of a Killer, Hostile Negotiation once you have done Photo Shoot, and Harboring a Grudge once you have done Call and Collect.
Part of Algonquin: Dwayne, Elizabeta and United Liberty Paper in the story walkthrough.