














A journalist wants proof of Merryweather’s secret government deals, so Charlie sends you into the IAA Facility. You collect night vision gear, steal an EMP, cut the facility’s power, take three hard drives from the war room and deliver them.
Before you start
Bring a suppressed weapon. Guards inside the dark facility notice noise quickly.
A helicopter is useful for the long trip, and you need one to lift the EMP.
Armor is worth wearing for the walk through the facility.
The pickup, EMP and drop-off spots change between attempts, so follow the map.
Objectives
- Go to El Burro Heights.
- Collect the night vision gear.
- Search the area for the EMP.
- Steal the EMP.
- Take the EMP to the IAA substation.
- Go to the IAA Facility.
- Detonate the EMP.
- Locate the War Room.
- Steal the hard drives.
- Exit the IAA Facility.
- Deliver the hard drives to the journalist.
- Leave the area.
LSA Operation – Whistleblower walkthrough
Pick up the gear
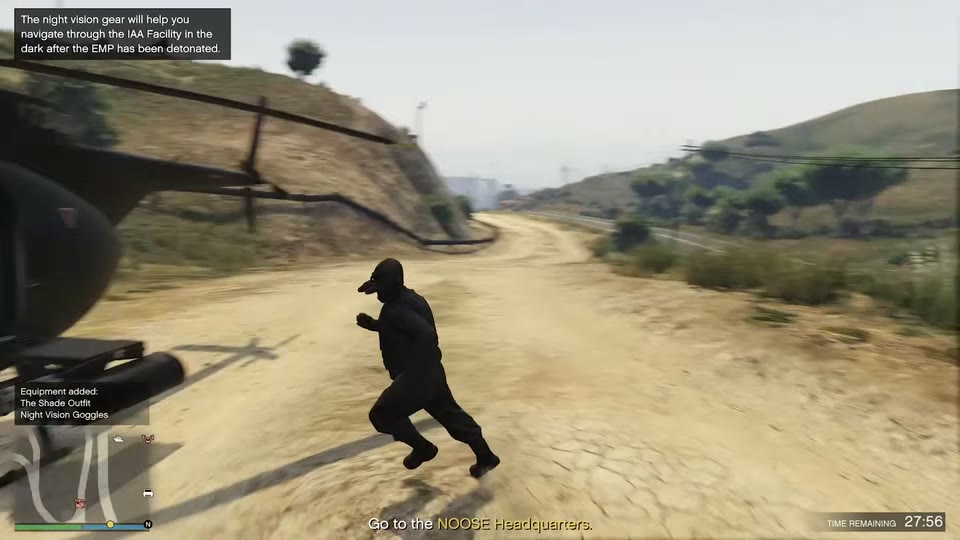
Fly to the Rumpo that Charlie marks and collect the gear from the back. You get a night vision outfit and goggles, which show a green view inside the facility once the lights go out. Charlie also explains how the plan works: you need an EMP to override the lockdown systems.
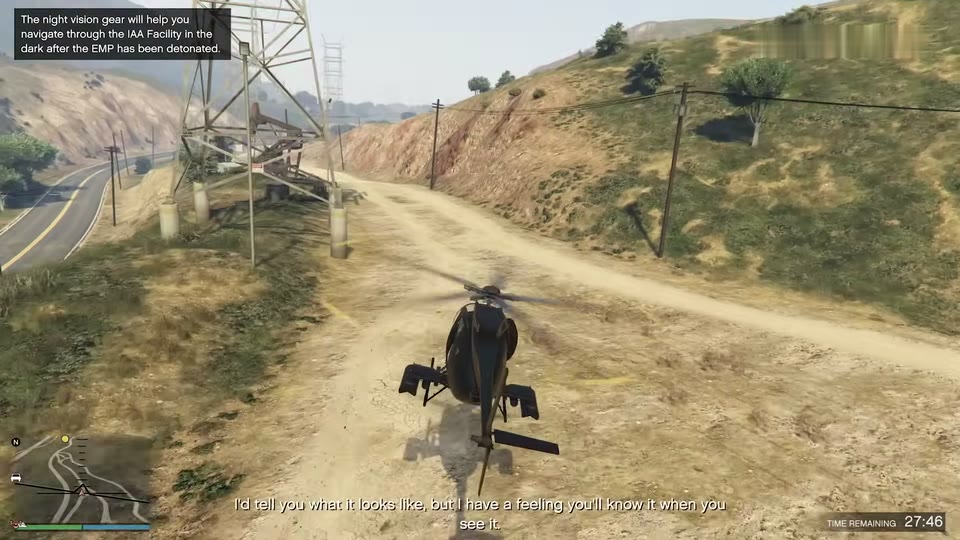
Steal the EMP
The EMP is held by Merryweather guards at a nearby site, where a Cargobob is parked. Take out the guards, using rooftops for a clear view, then fly the Cargobob over the EMP with the hook lowered. Once it is attached, you have what you need. Fly low and steady so the crate does not swing and drop.
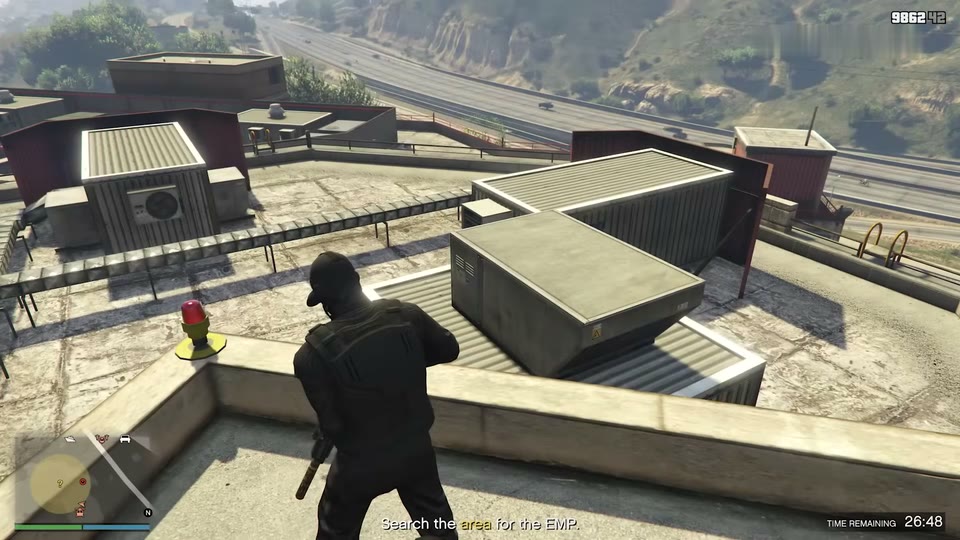
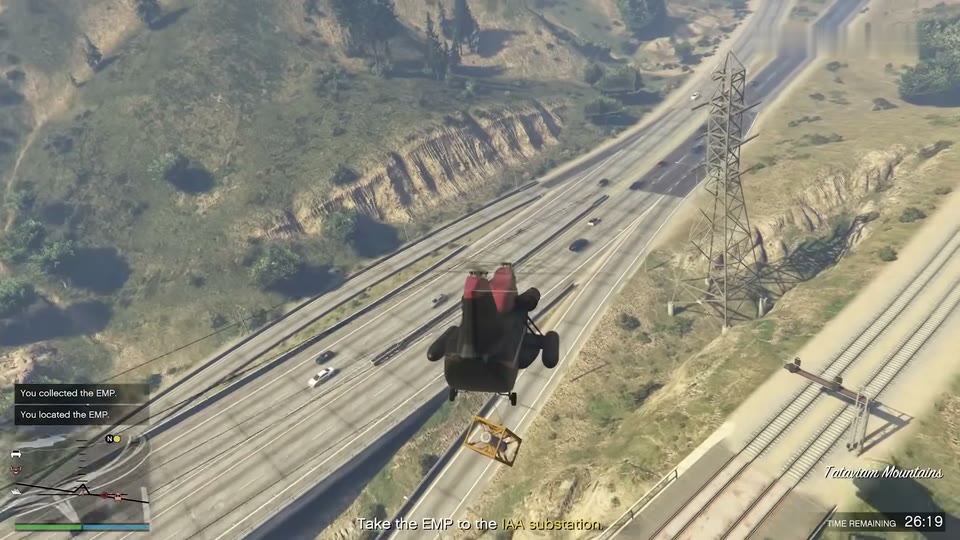
Deliver the EMP
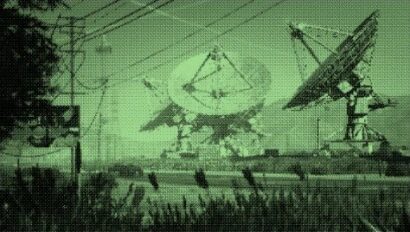
Carry the EMP to the substation near the IAA Facility. The route follows the highways across the desert, past wind turbines and pylons. At the substation, hover and press the prompt to lower the EMP. Then land by the satellite dishes and go to the facility entrance on foot.
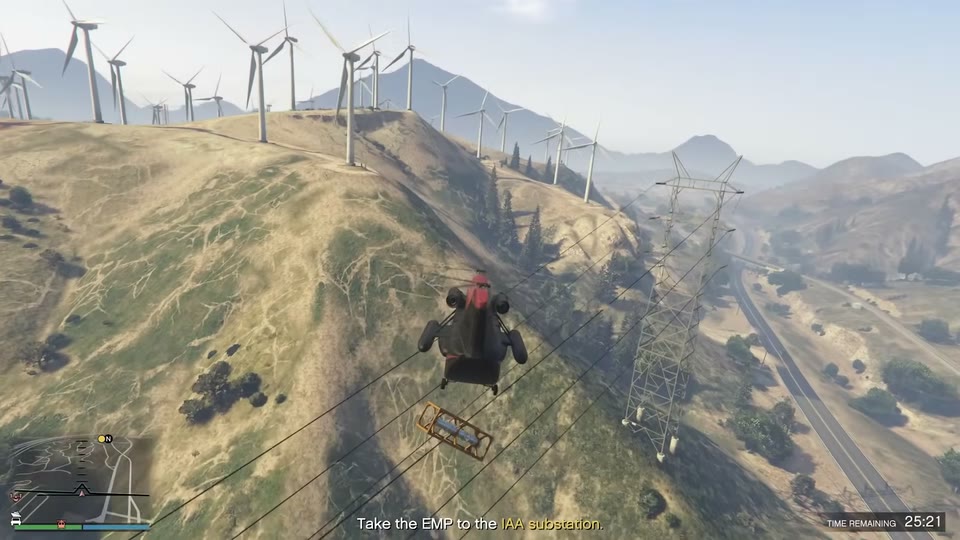
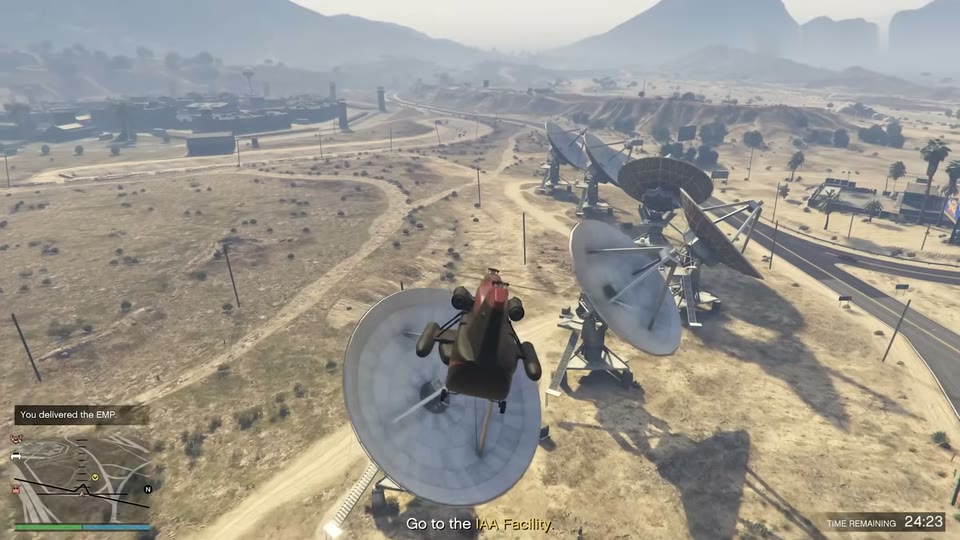
Inside the dark facility
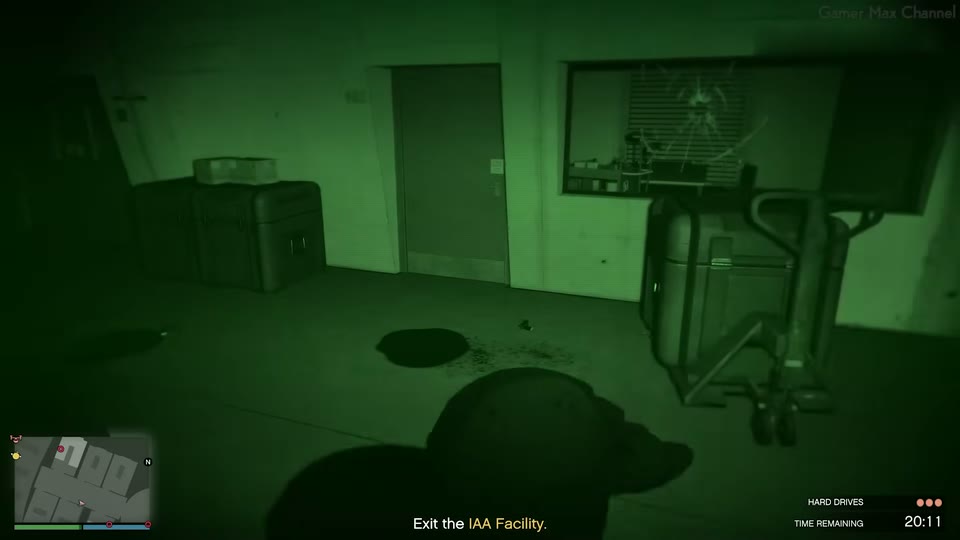
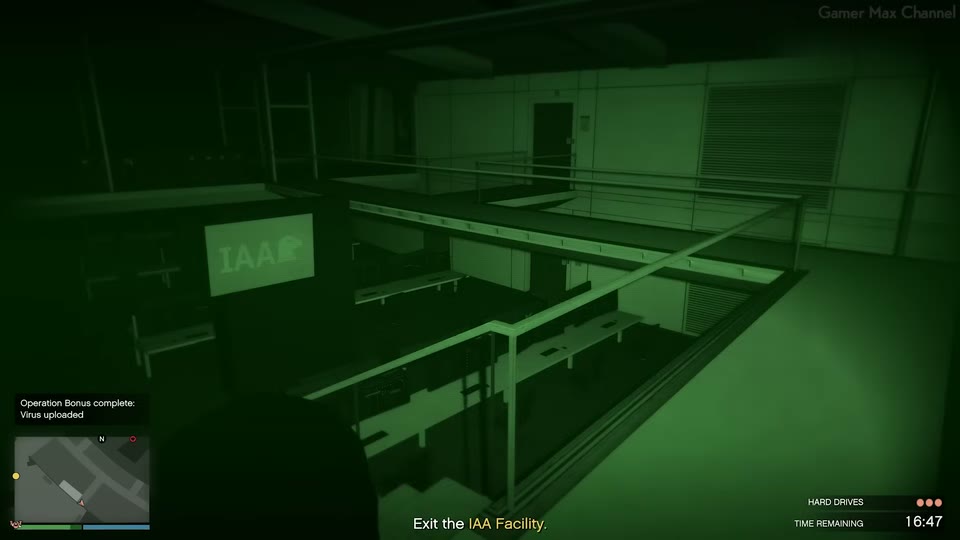
Enter the IAA Facility and detonate the EMP. The power goes out, and a backup generator countdown starts. Switch on your night vision and head down to the lower levels. Move slowly through the corridors and look around corners, because guards remain inside. Destroying the backup generator keeps the lights off. The operation bonus asks you to upload a virus at the mainframe.
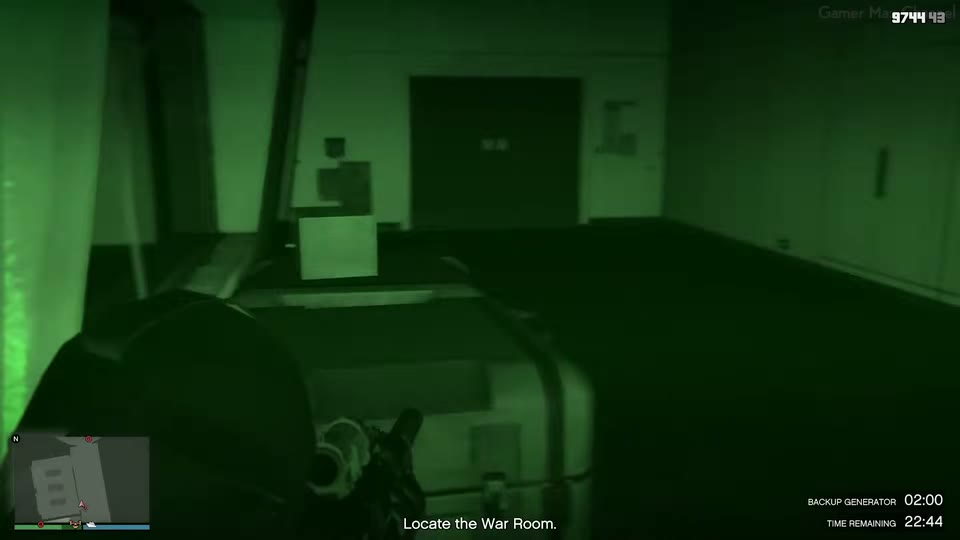
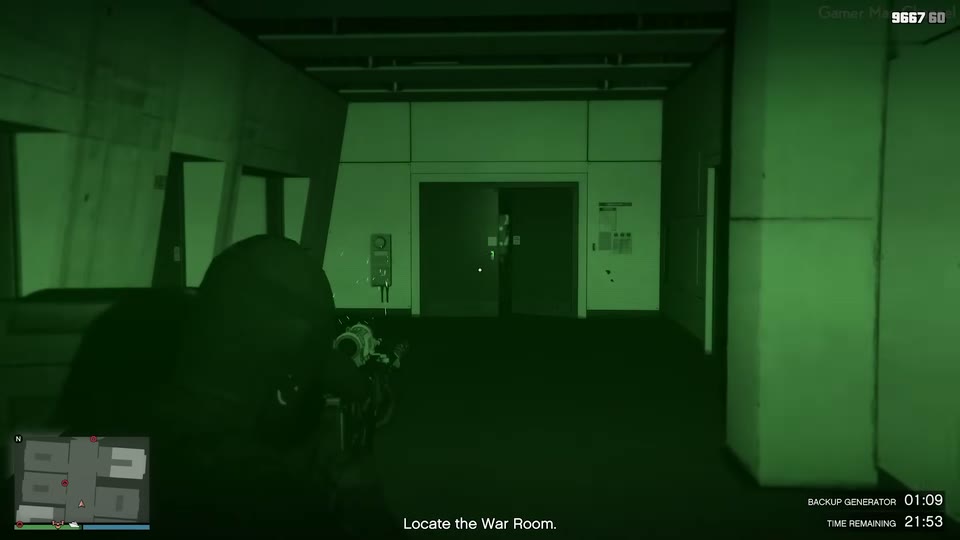
The war room and the hard drives
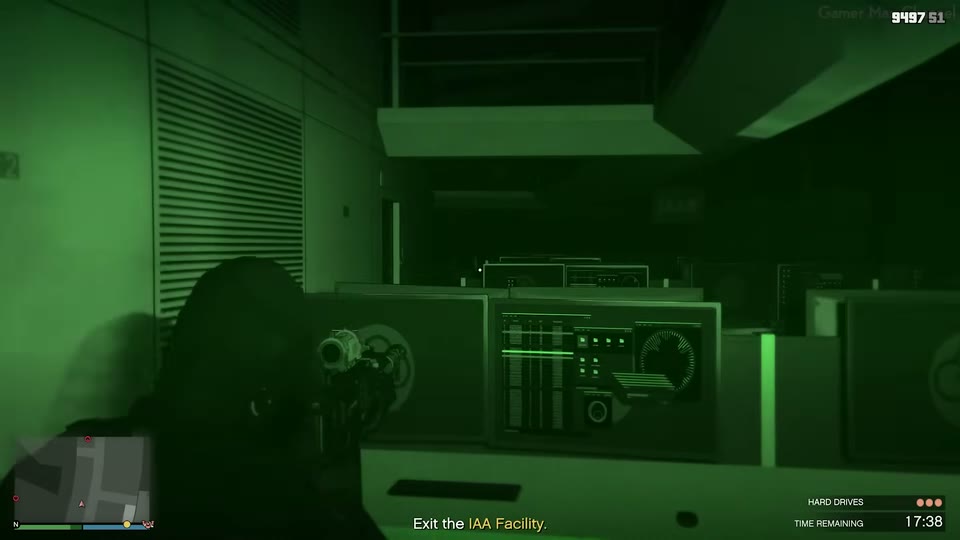
The war room is full of computers and servers. Once you have located it, take three hard drives from the server racks. A progress marker tracks how many are left. Then exit the facility the way you came, as quietly as possible, using the walkways above the main floor. Stay at the edges of rooms when there are guards.
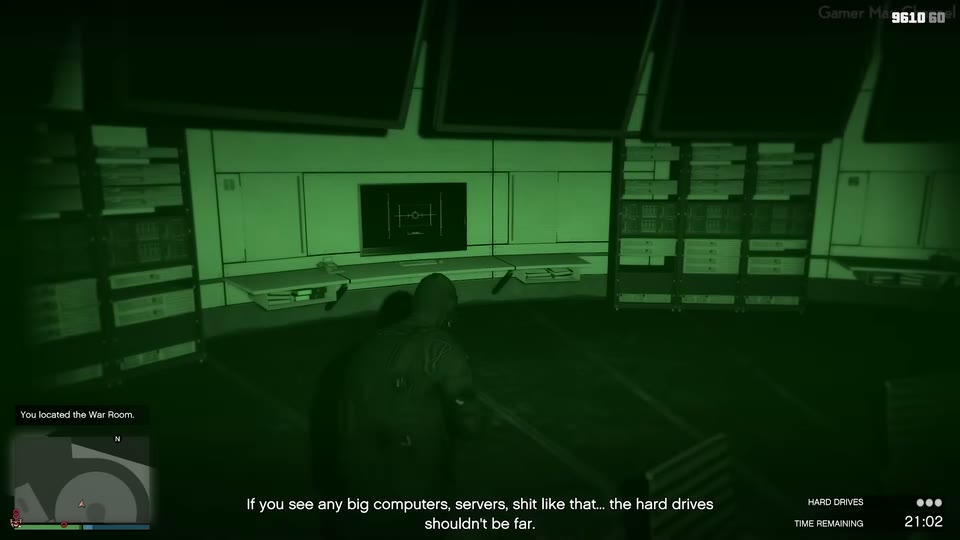
Deliver and leave
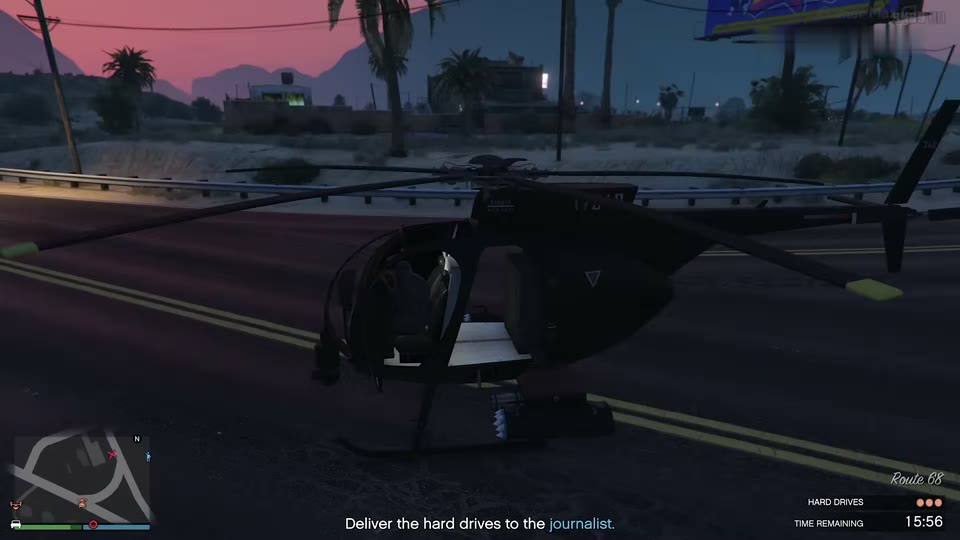
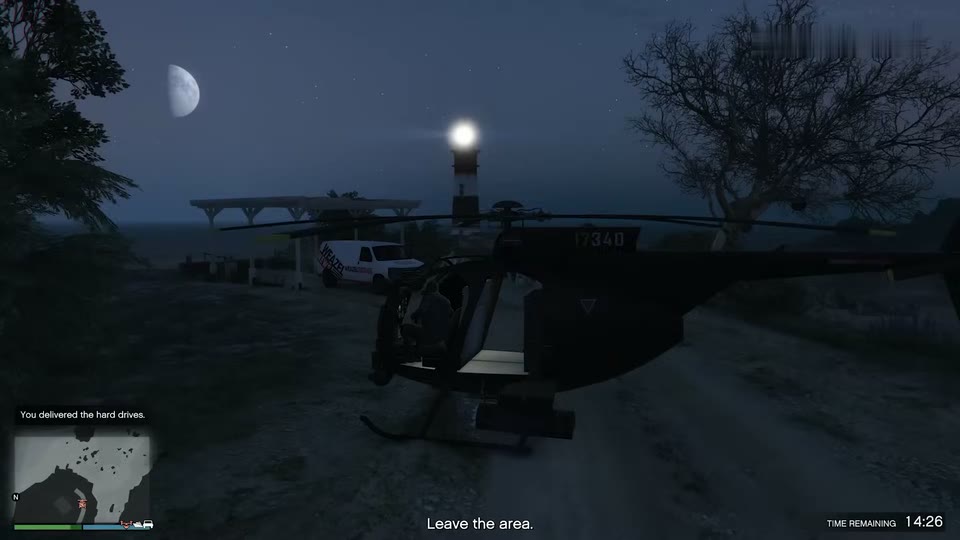
Return to your helicopter and fly to the journalist’s meeting spot, which is marked on the map. Land close to the marker and use the prompt to hand over the hard drives, then leave the area. The journalist waits at a quiet roadside or clifftop, so you can approach on foot.
What fails this mission
Besides dying or being arrested, the mission ends if any of these happen:
- the EMP is destroyed
- the journalist is killed or spooked
- the time limit runs out
- the team runs out of lives
After the mission
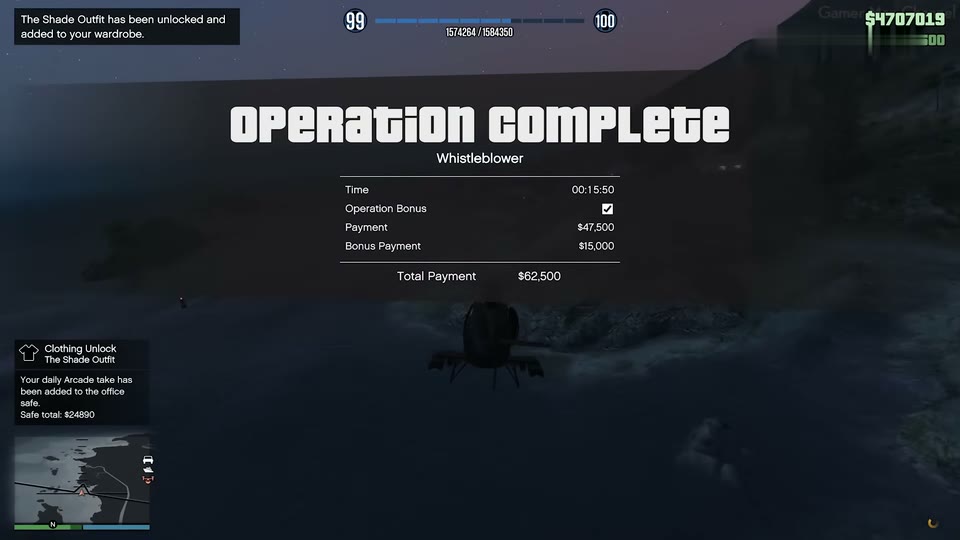
You receive the leader payment plus the Operation Bonus, and the Shade outfit is added to your wardrobe. You can start another operation from the Avenger.