















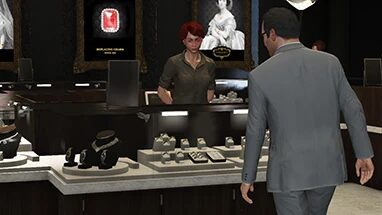
Michael scouts Vangelico and chooses the Loud or Smart approach for the first heist.
Objectives
- Go to Vangelico Jewel Store.
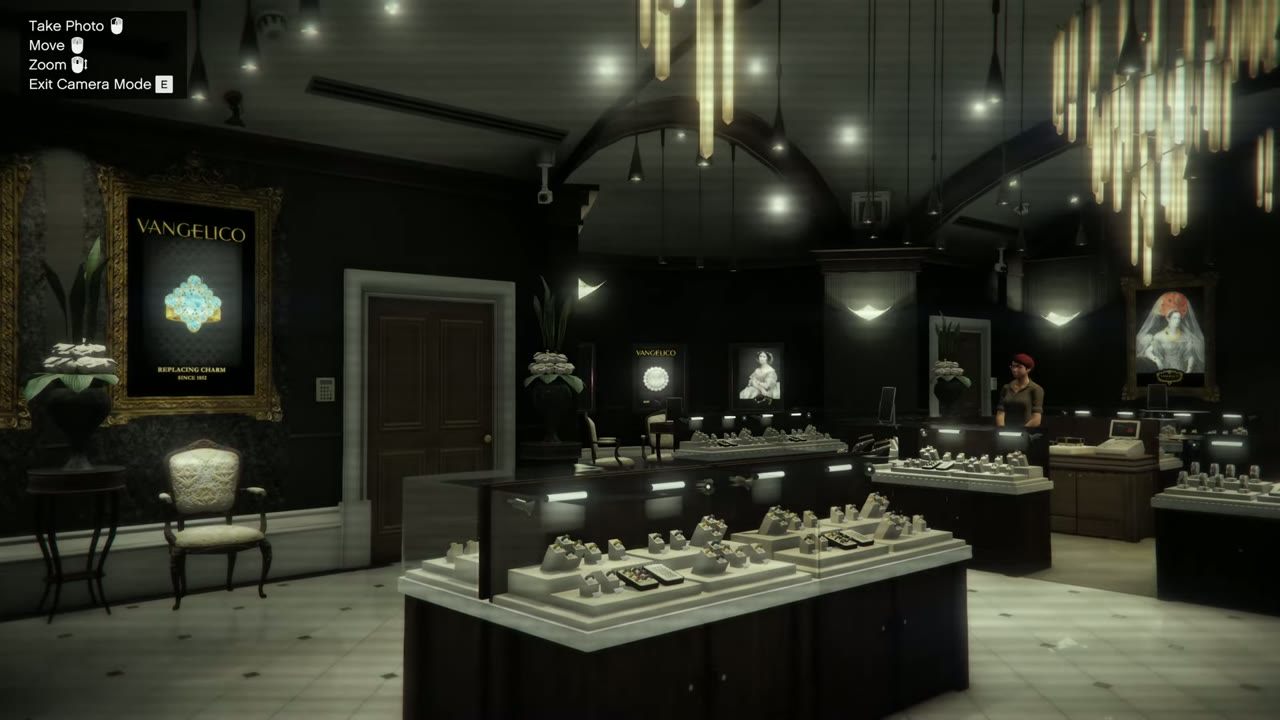
- Take a picture of the alarm system.
- Take a picture of the ventilation outlet and the security camera.
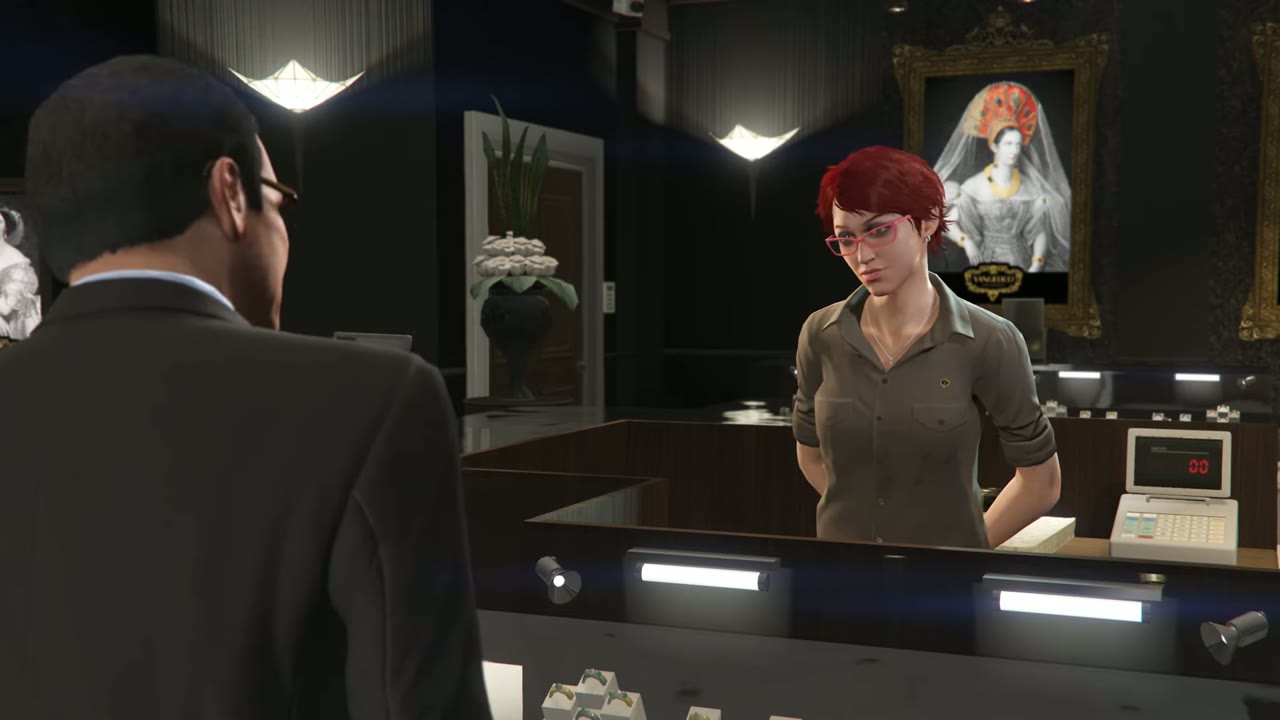
- Speak with the attendant.
- Go back to Lester.
- Find a way to climb the jewelry.
- Go to the highest point of the building.
- Take a picture of the ventilation system.
- Go back to Lester.
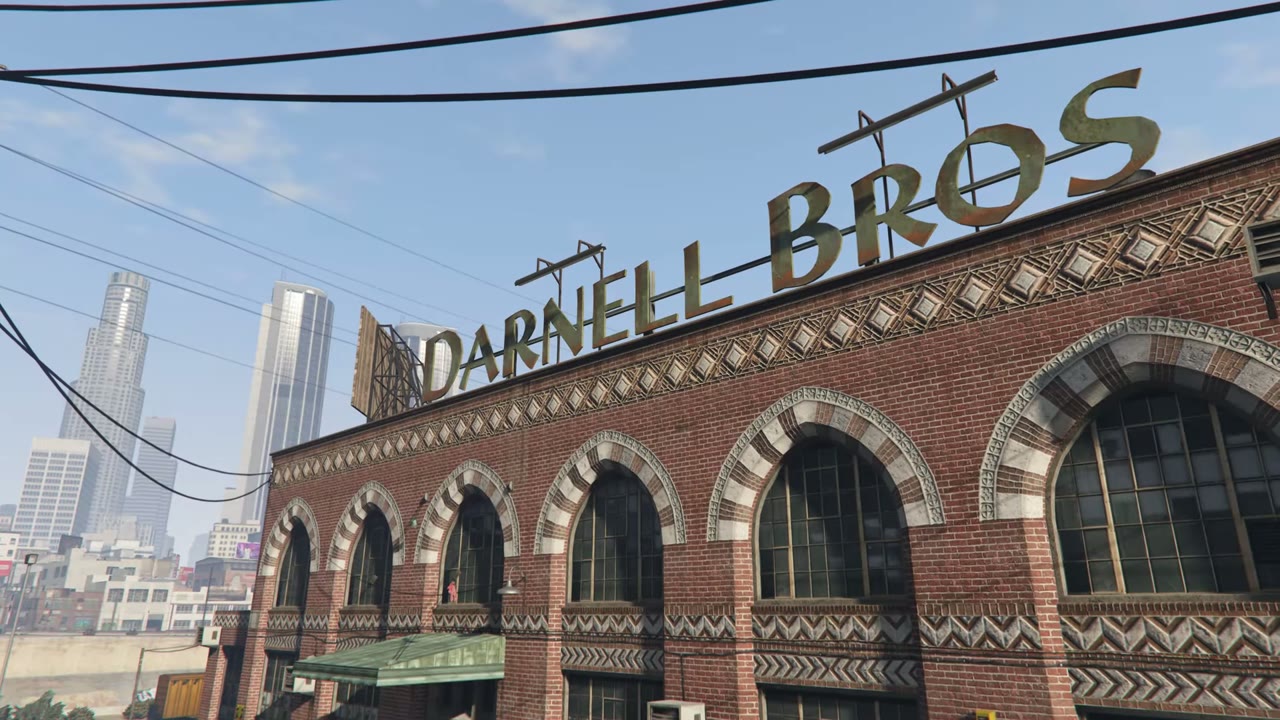
- Return to Darnell Bros..
- Choose the heist method.
- Choose your crew.
Mission walkthrough
Scouting Vangelico
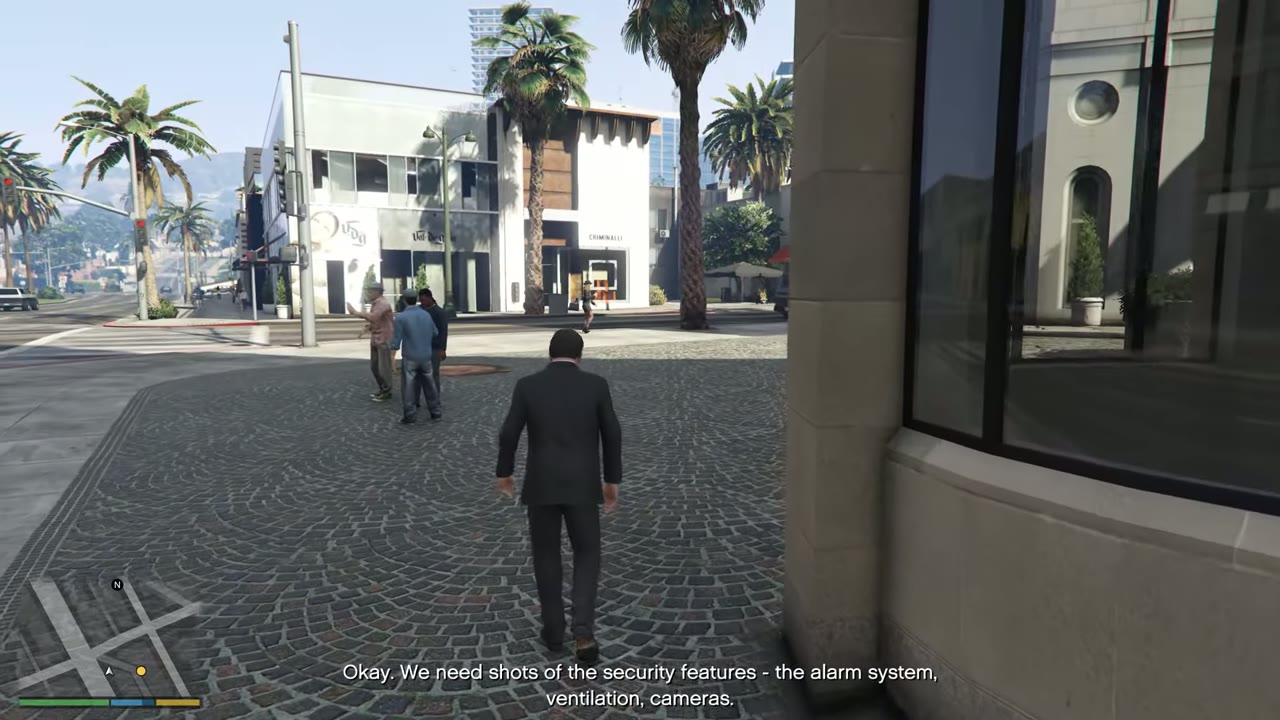
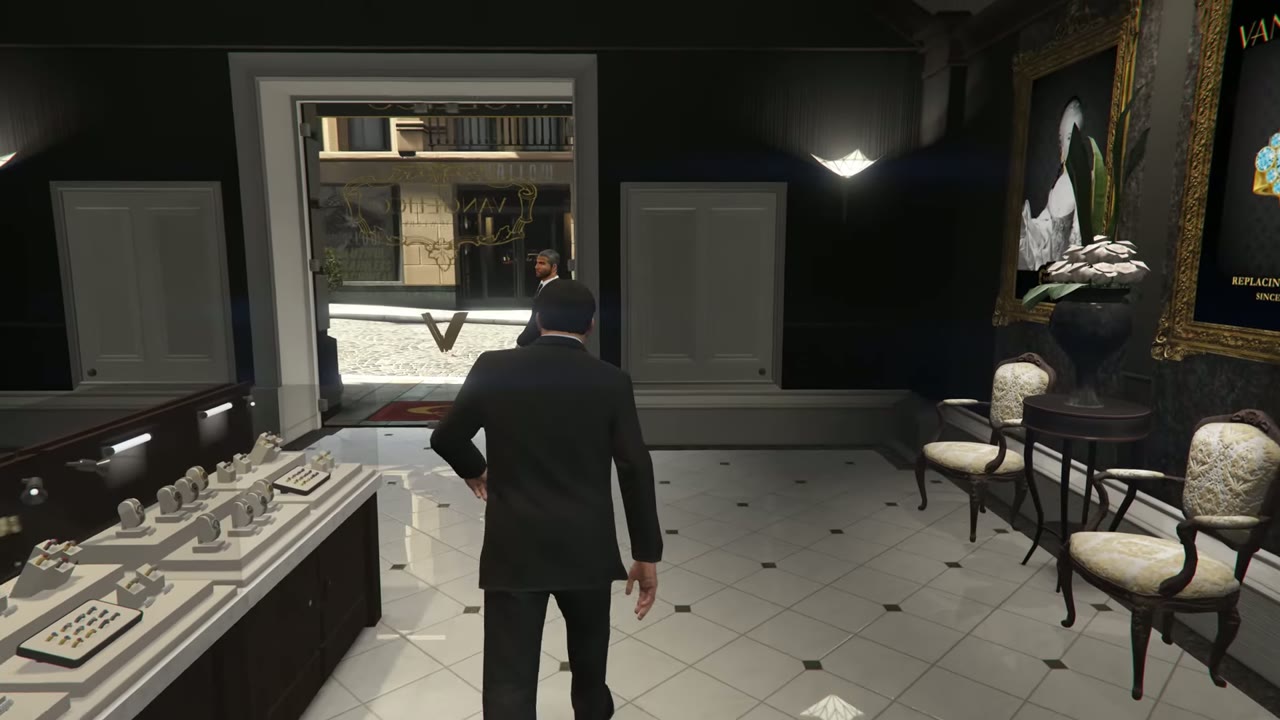
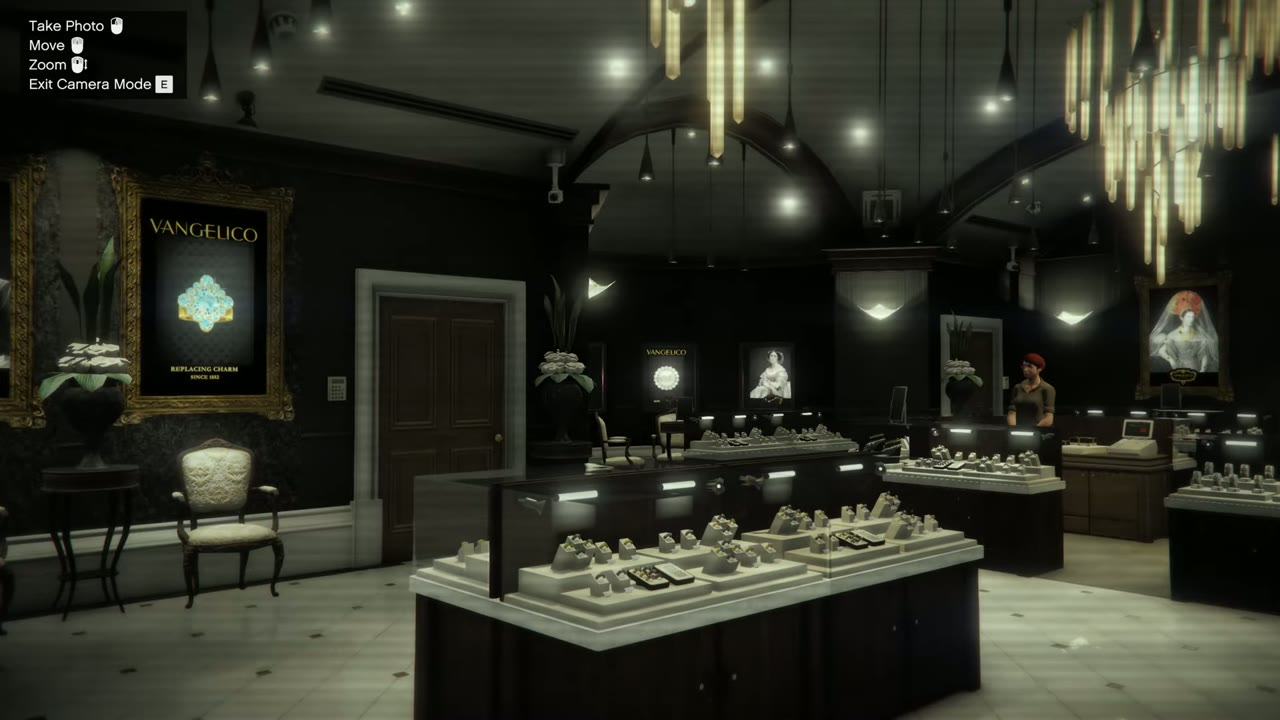
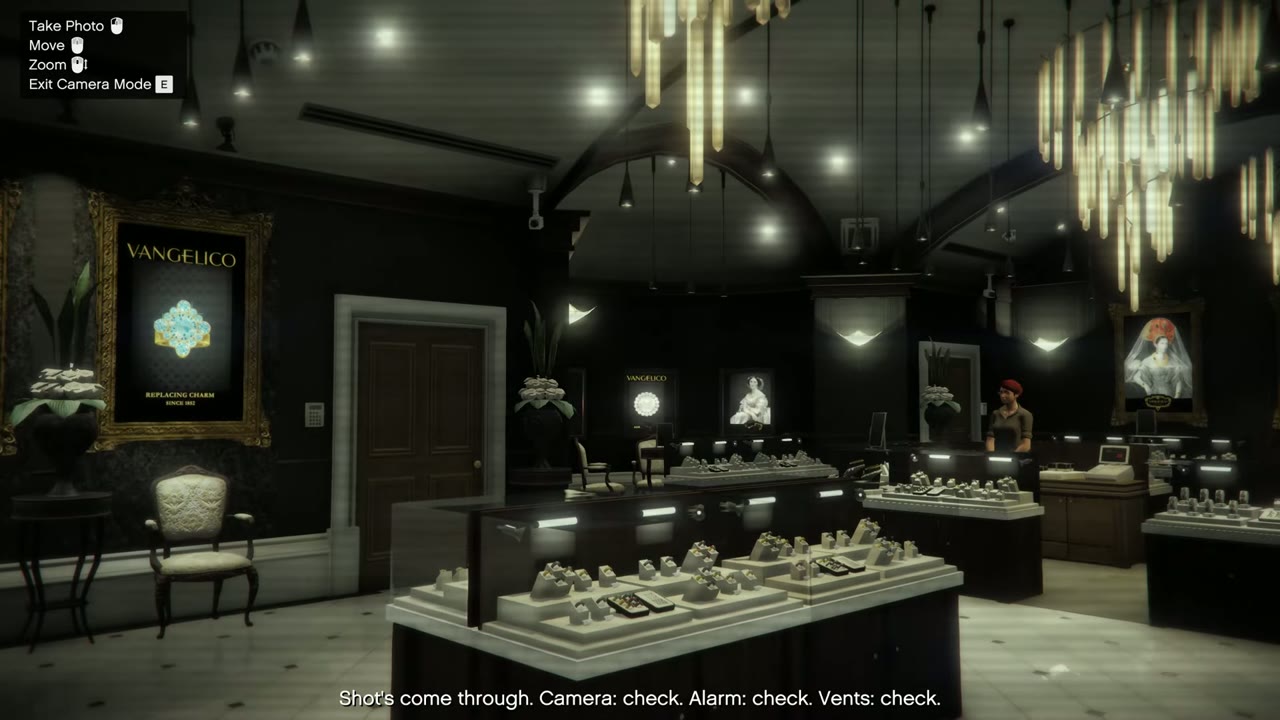
Meet Lester at Darnell Bros. and drive to Vangelico in Rockford Hills. Don’t go in with a wanted level or a weapon out, because the staff will react and the mission fails. Inside, use the camera in your glasses to photograph the alarm, the ventilation and the security camera. Talk to the assistant and walk out.
The roof
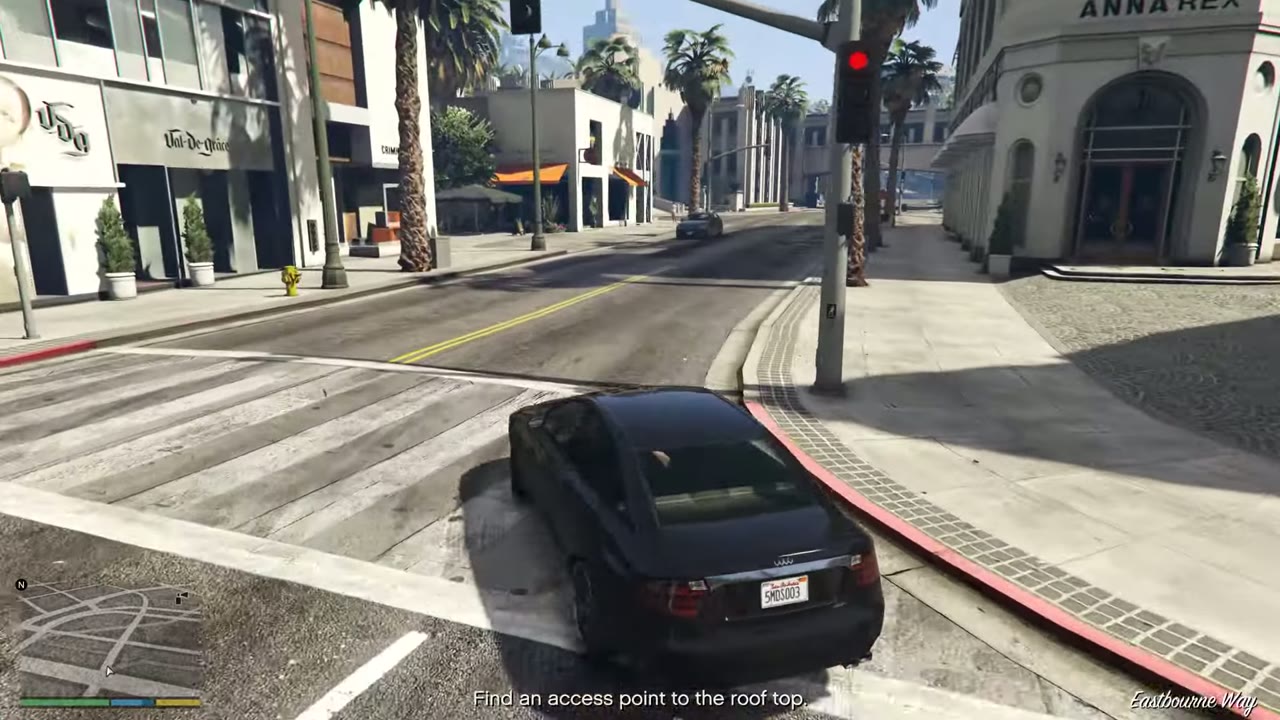
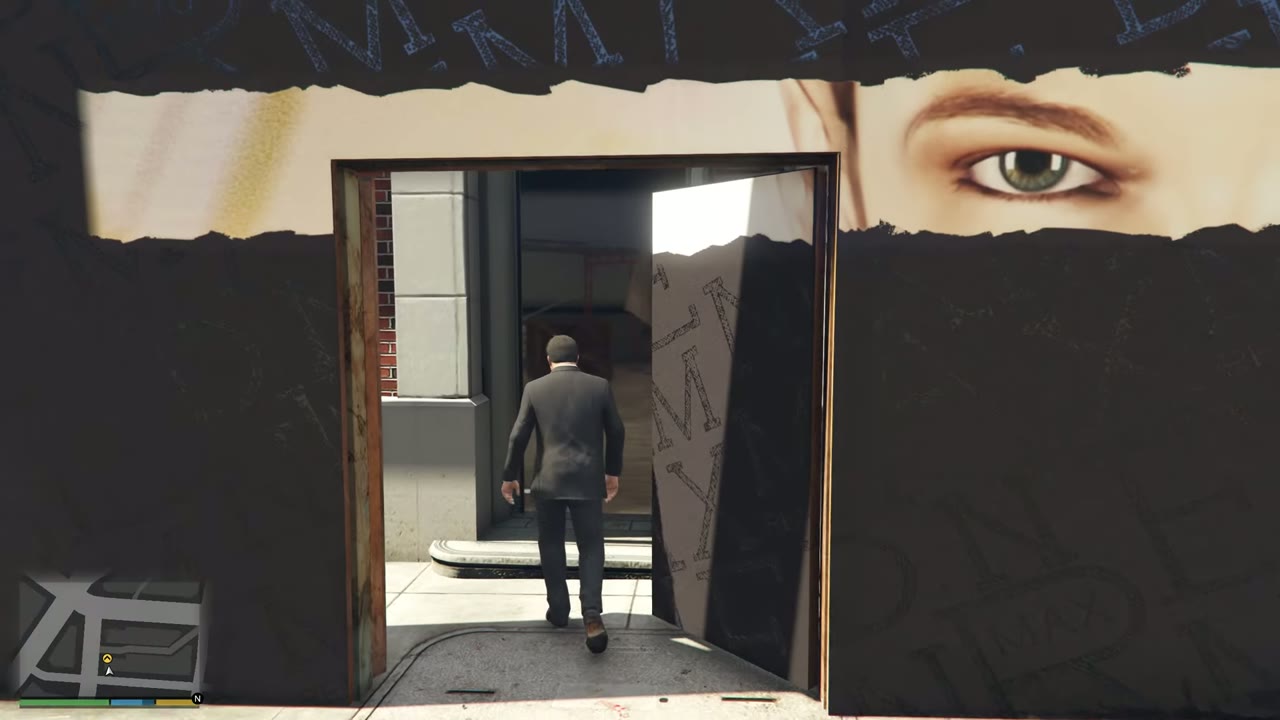
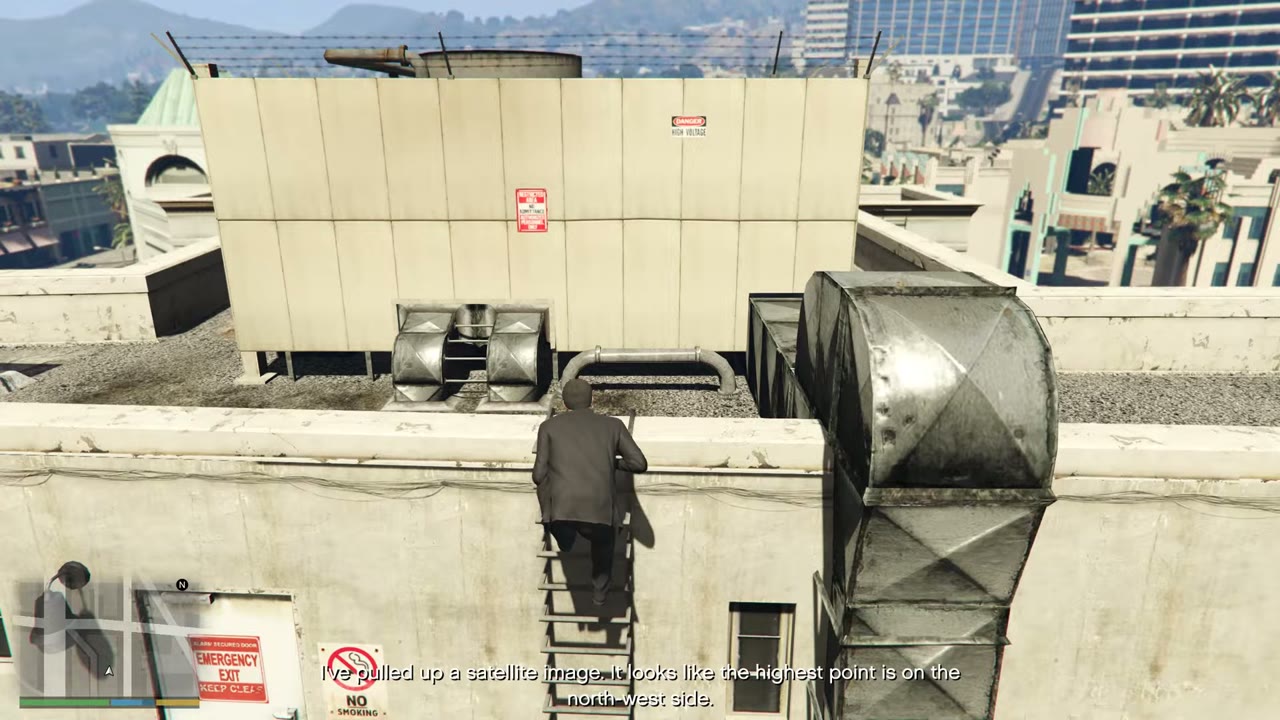
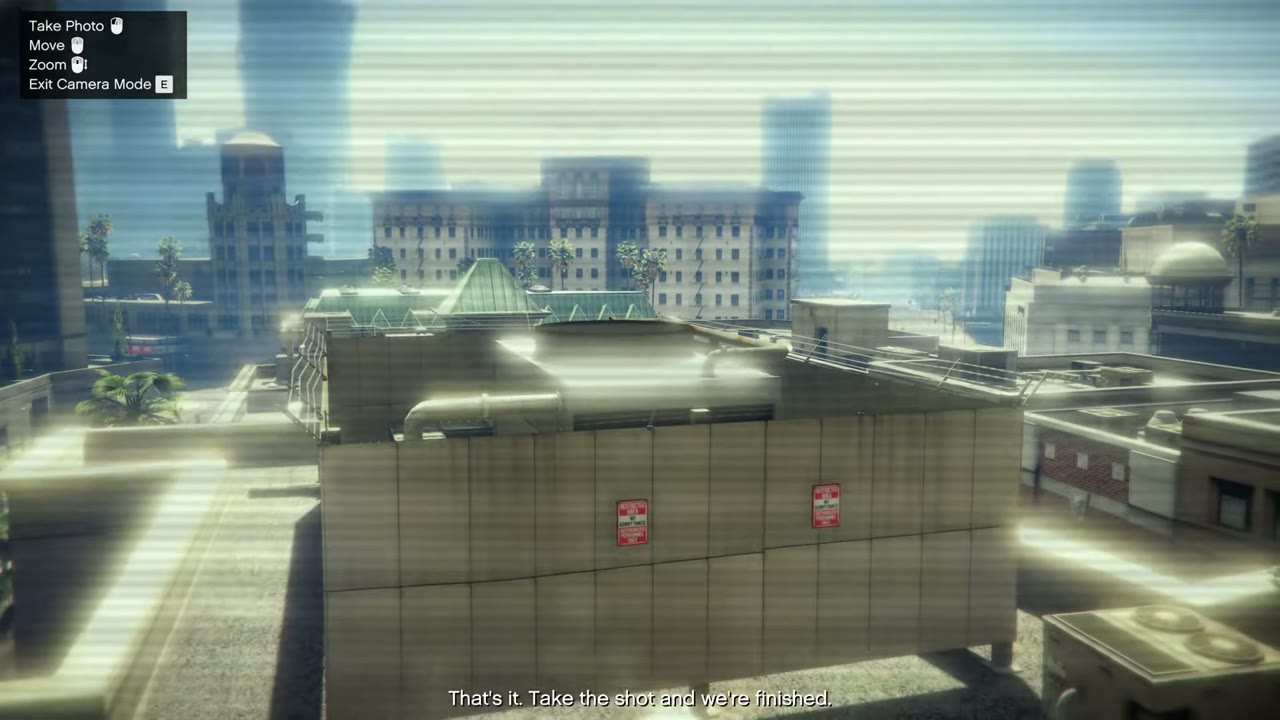
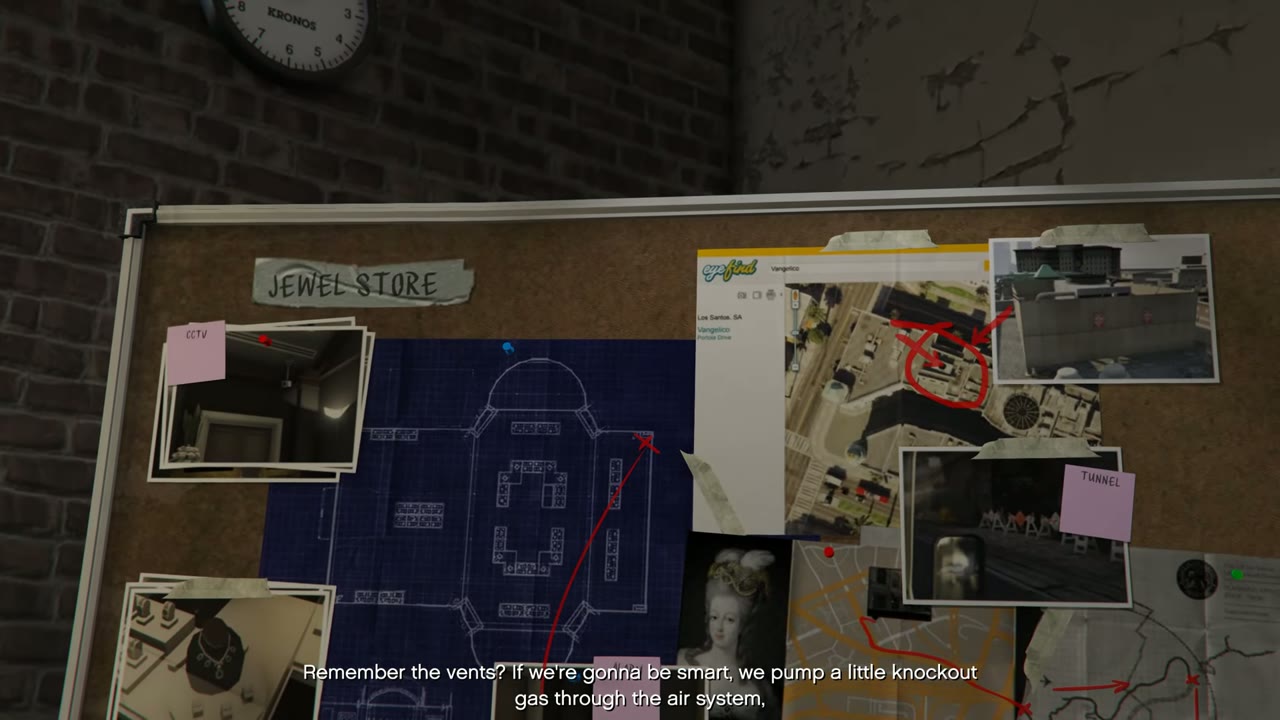
Drive around the block and go up through the building under renovation. Follow the route to the top and photograph the vent. Franklin will use this same climb if you choose the Smart approach.
Choosing the approach
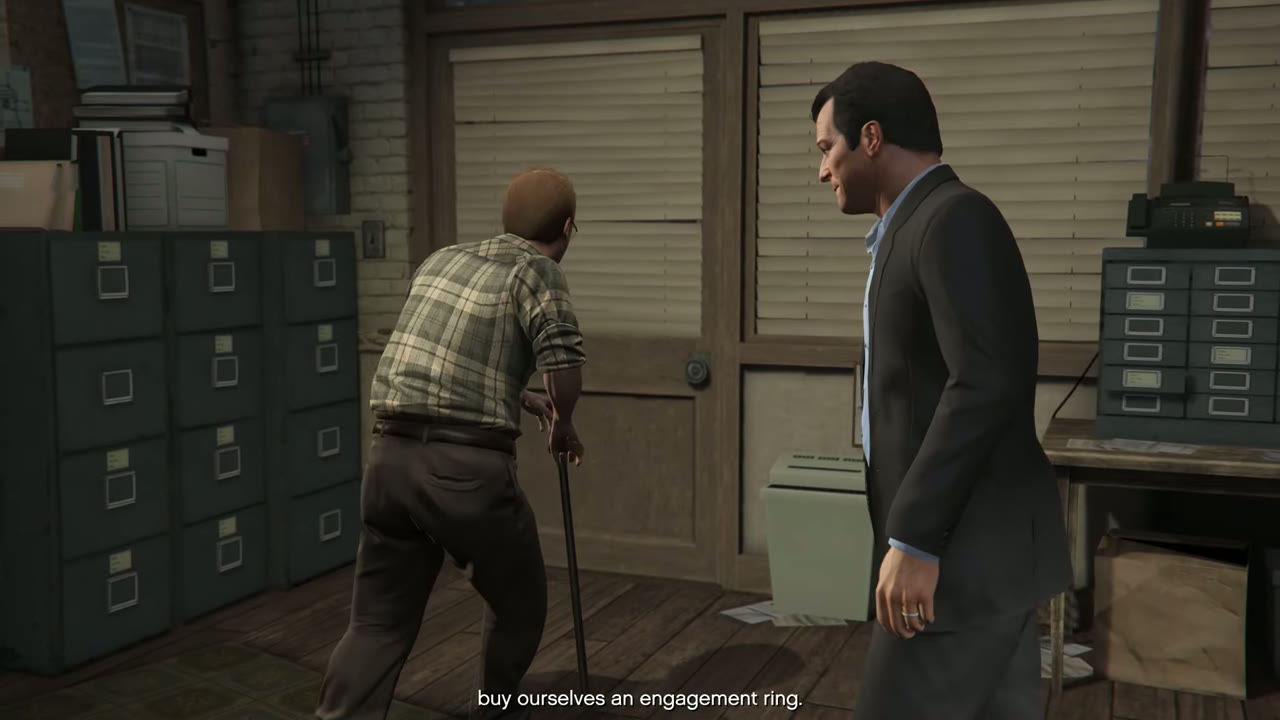
Back at the factory, pick your approach. The Smart approach gasses the store with a Bugstars disguise, and needs Bugstars Equipment and BZ Gas Grenades. The Loud approach goes in with rifles, and needs only Carbine Rifles. Neither helps or hurts your 100% total, so choose whichever you like.
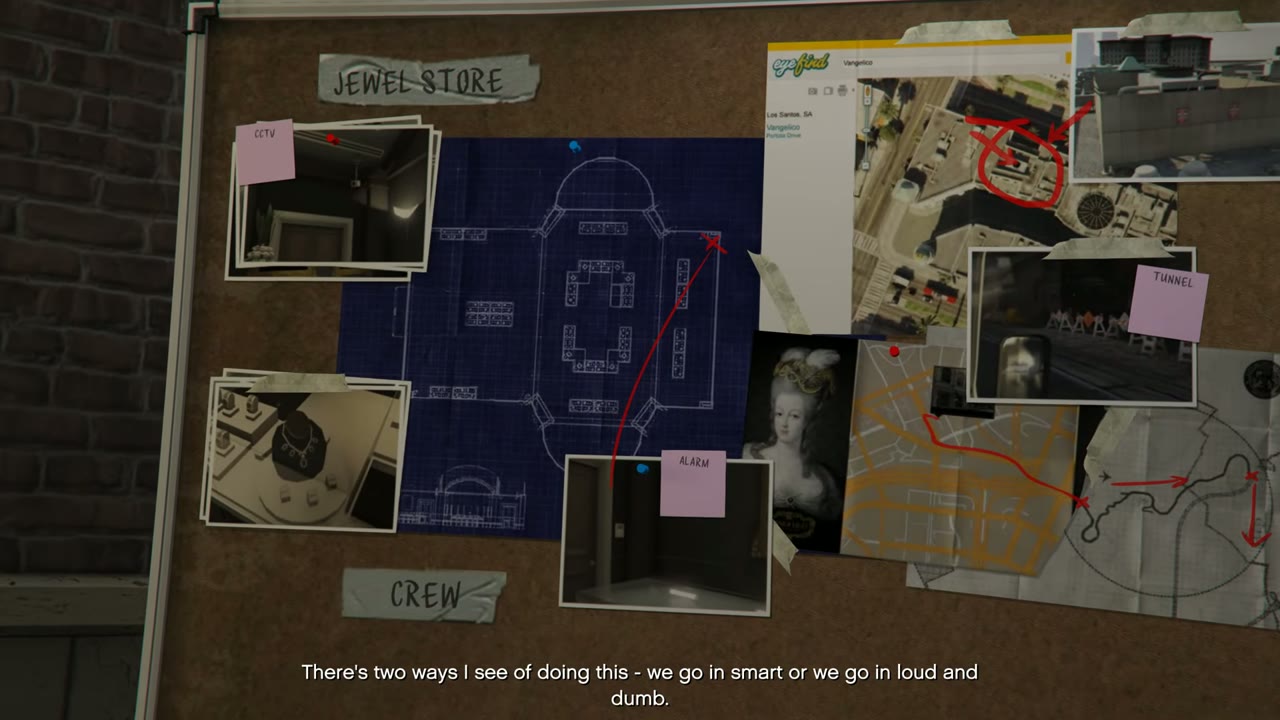
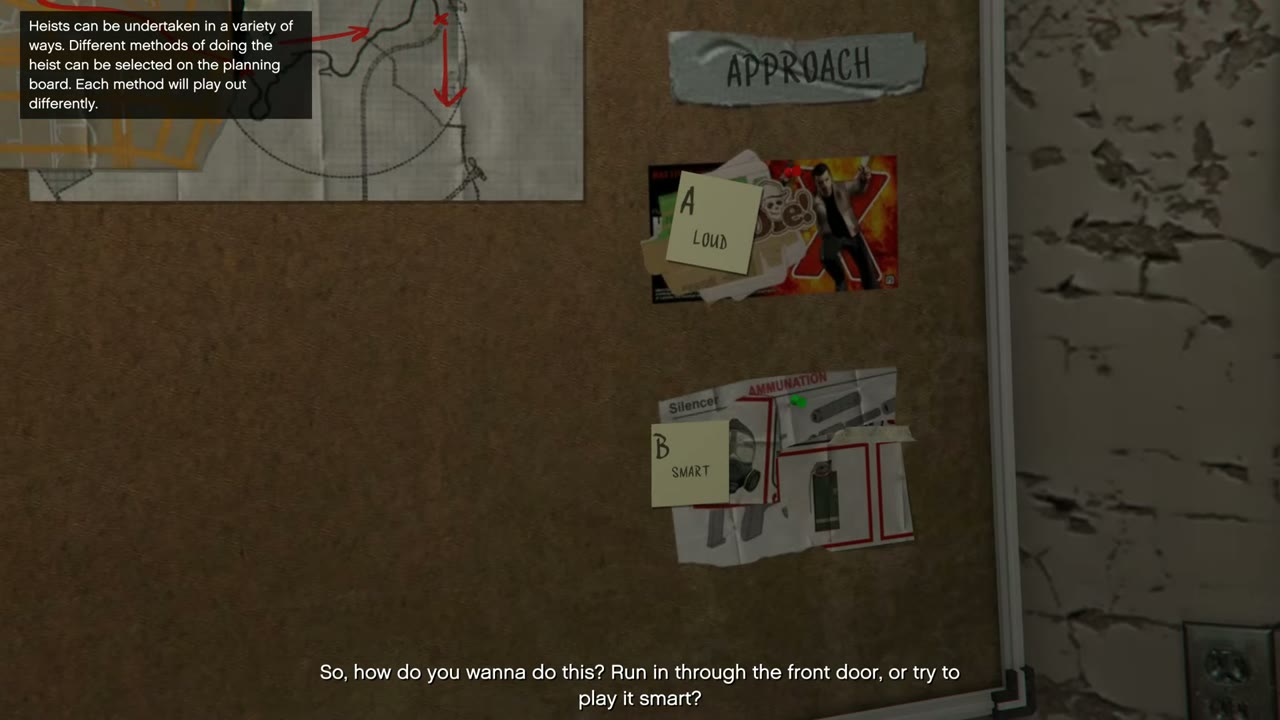
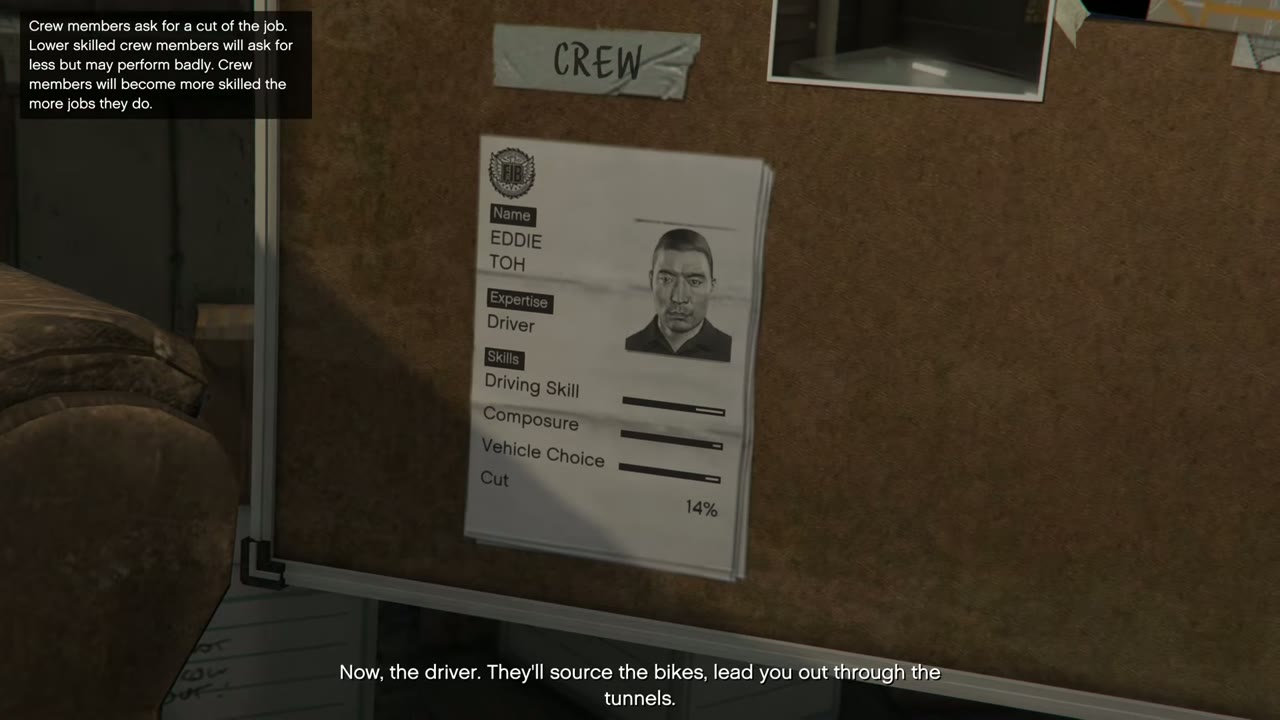
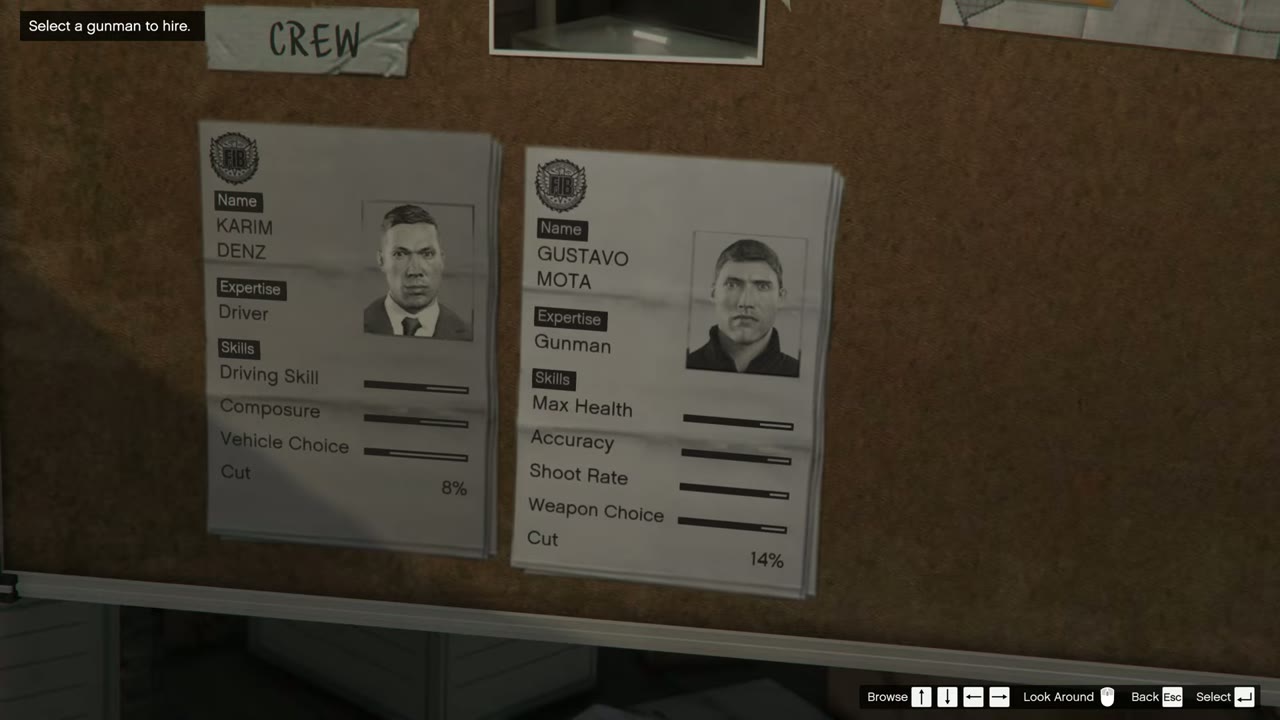
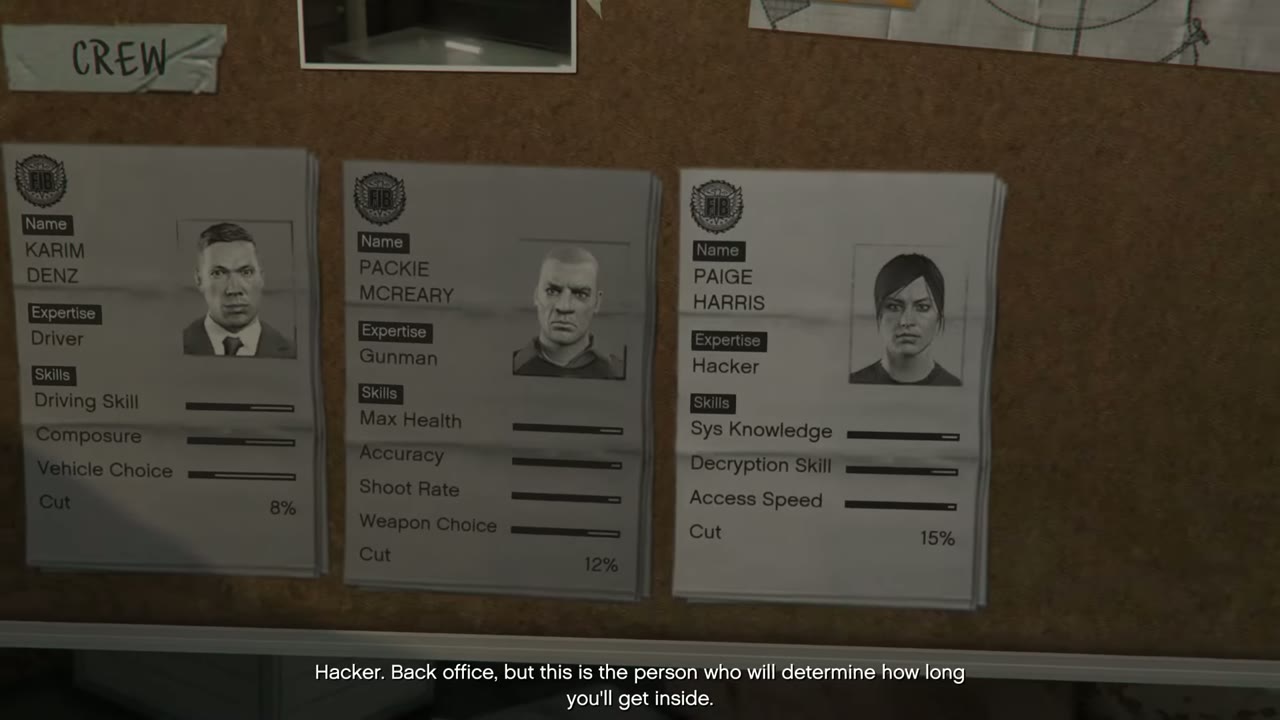
Then pick a gunman, driver and hacker. See Heist crew choices before you decide, since a weak crew member can cost you money.
What fails this mission
Besides dying or being arrested, the mission ends if any of these happen:
- Lester died.
- Lester was abandoned.
- The car was destroyed.
- The car is stuck.
- Michael entered the store with a Wanted Level.
- Michael was spotted driving in a pedestrian zone by shop staff.
- Michael was spotted carrying a weapon.
- Michael was spotted going behind the pay desk.
- Michael was spotted entering the manager’s office.
- Michael failed to check out the roof.
Gold Medal requirements
Stand where the alarm, the vent and the camera all fit in one picture, and take it there. Skip cutscenes to finish inside 08:00.
Part of  The Jewel Store Job in the story walkthrough.