













This GTA V walkthrough follows a practical route through the whole story. The game does not lock you into one order. Several contacts offer missions at once, and each heist can branch, so your own order and the number of missions you play can both differ. Keep going with whichever mission marker is closest, and you will still see everything the checklist needs.
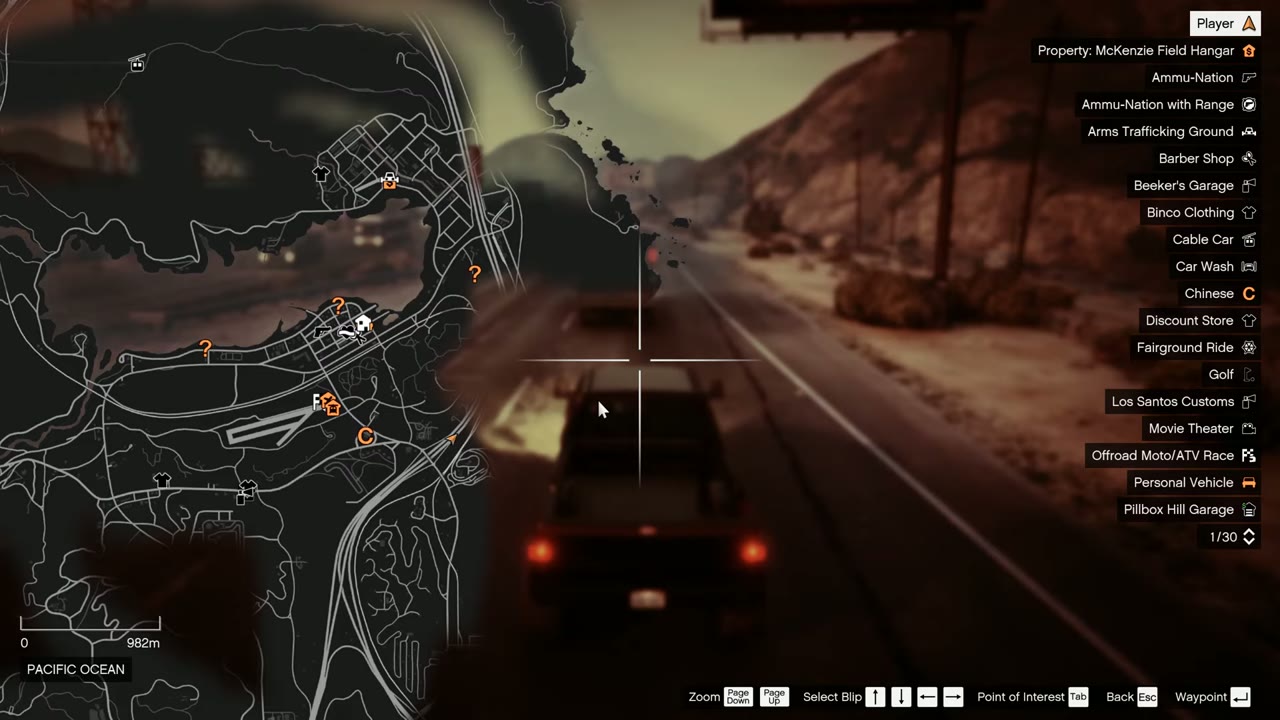
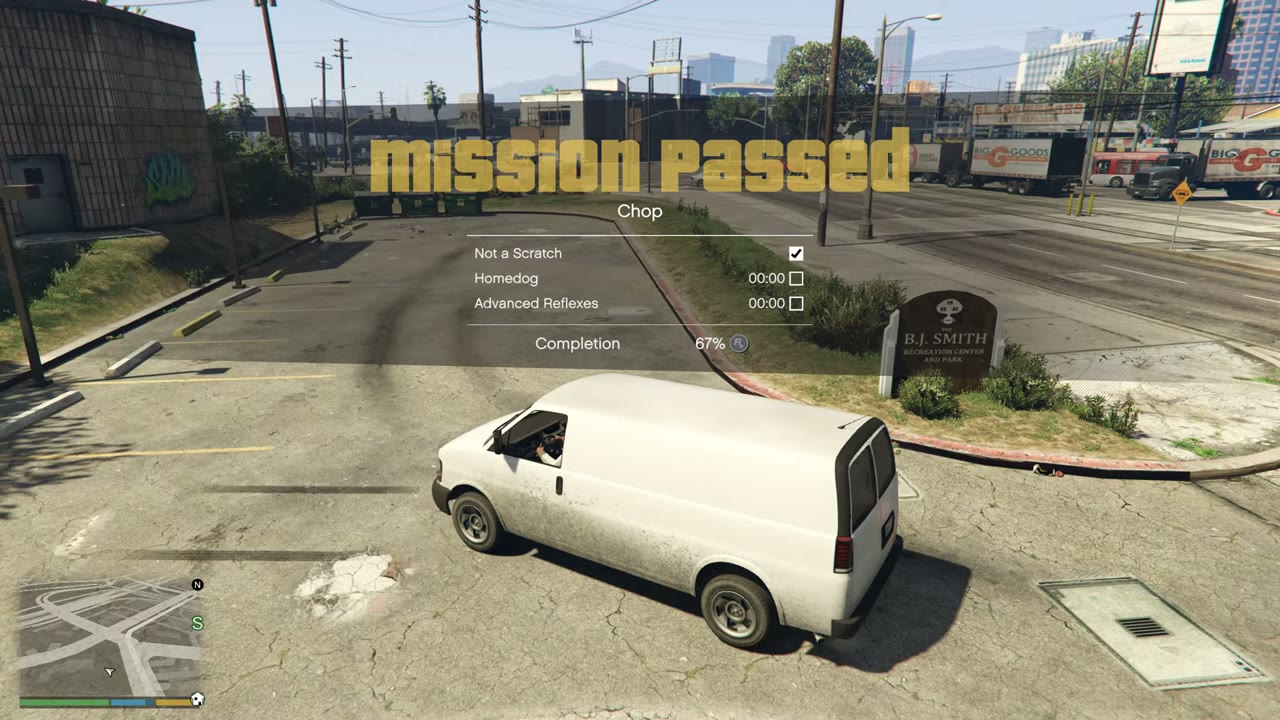
Each mission page has its objectives, a walkthrough, its Gold Medal requirements and links to any setups. All approaches count the same for 100%, so you only ever need to play one route through a heist. On your first run, focus on passing. You can always replay missions for medals.
 Prologue
The opening bank job in North Yankton. It teaches the basics and sets up the rest of the story.
| Mission | Played as | What happens |
|---|---|---|
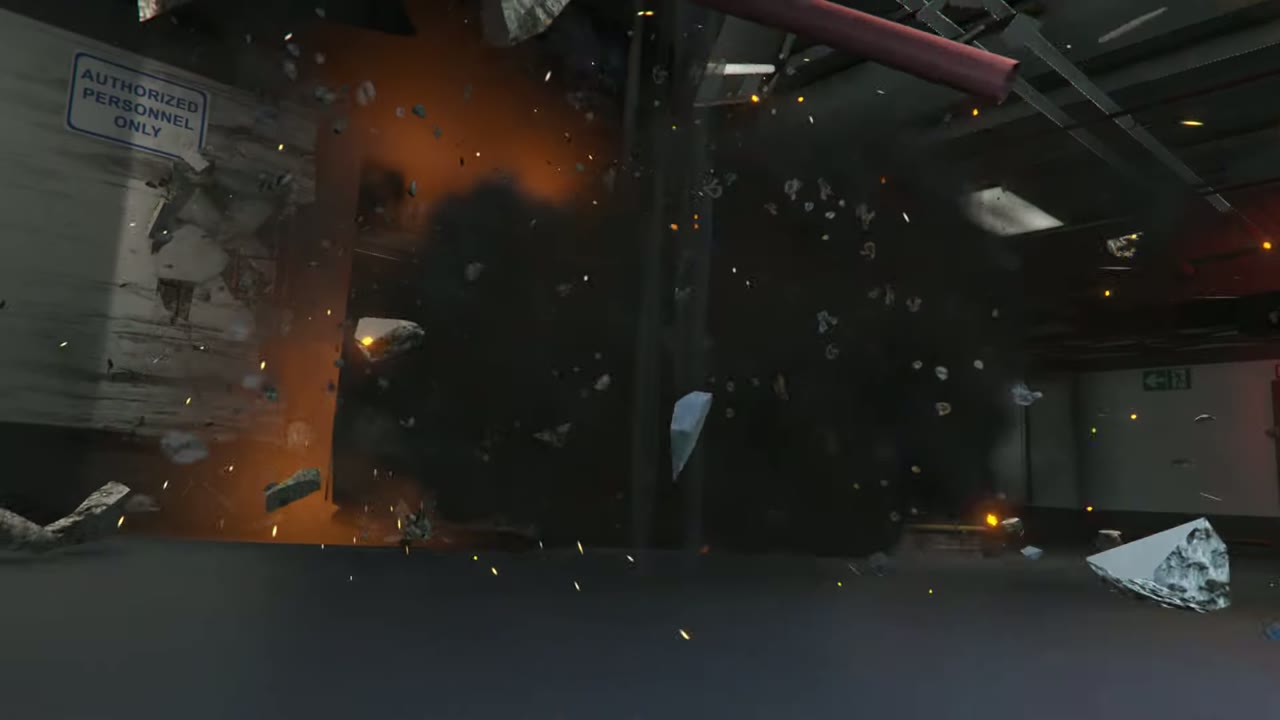
| Prologue | 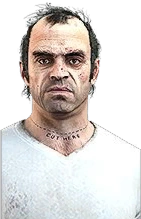 Michael, with short stretches as Trevor | A snowy bank job in North Yankton teaches shooting, cover and character switching before the story jumps nine years forward. |
 Franklin and Lamar’s early missions
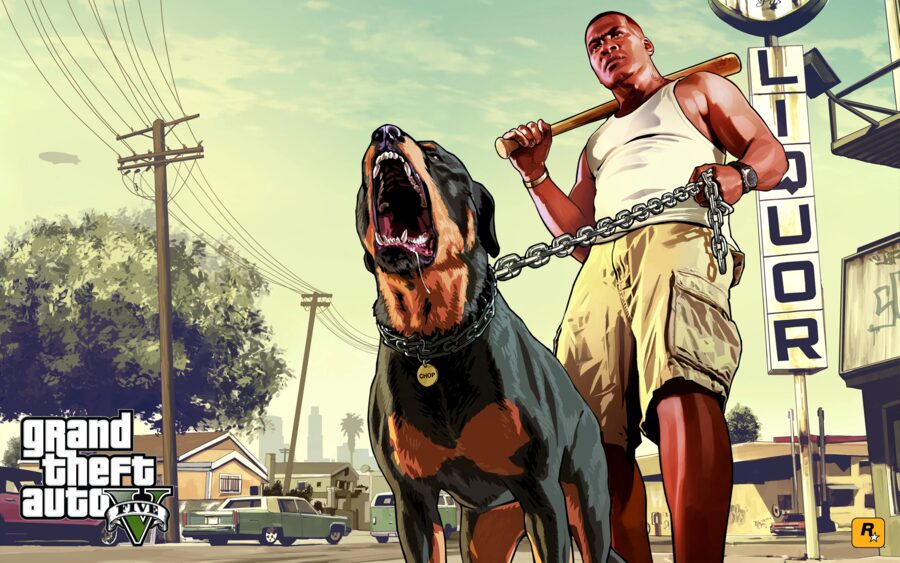
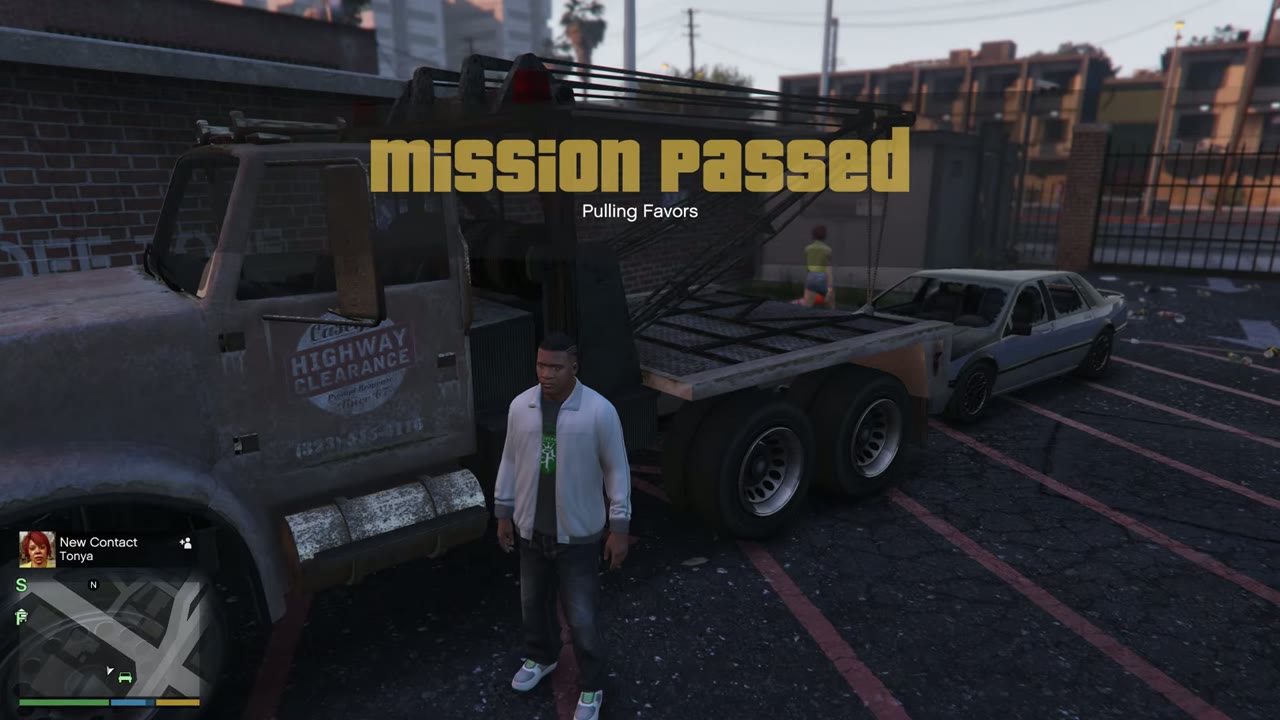
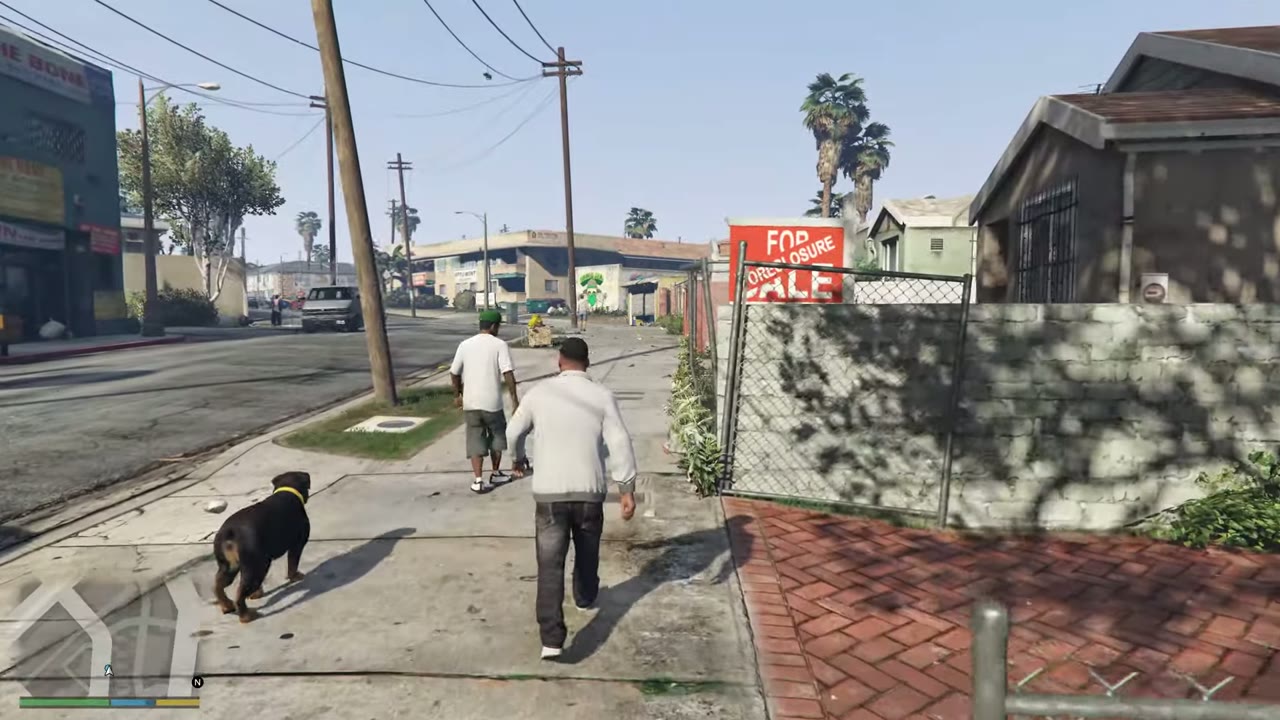
Franklin works for Simeon and meets Michael, while Lamar and Chop drag him into other trouble. Tonya’s Pulling Favors, one of Franklin’s Strangers and Freaks missions, is needed here to open Chop and later missions.
| Mission | Played as | What happens |
|---|---|---|
| Franklin and Lamar |  Franklin | Franklin and Lamar repossess two sports cars for Simeon and race them across the city. |
| Repossession | Franklin | Franklin and Lamar try to take a Bagger from a Vagos member and end up in a shootout. This mission also unlocks the Letter Scraps. |
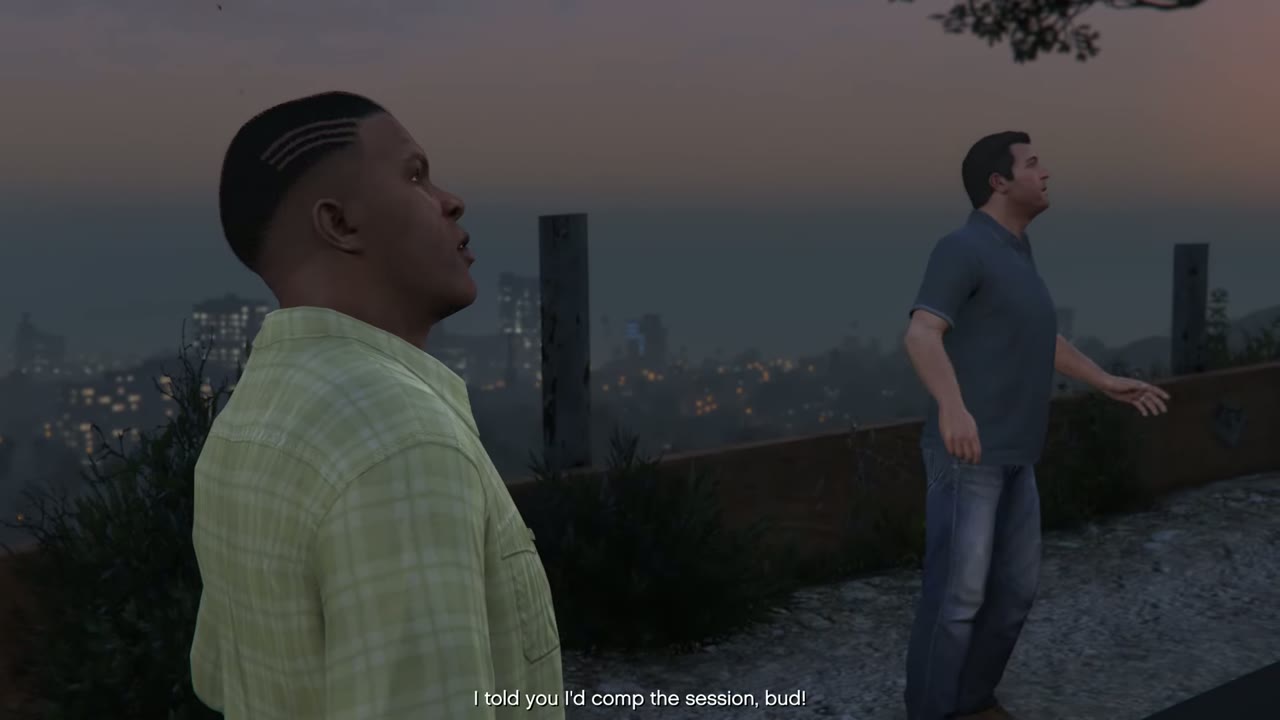
| Complications | Franklin, then Michael | Franklin sneaks into a mansion to take a car back and meets Michael for the first time. This unlocks Michael as a playable character. |
 Father/Son | Michael and Franklin | Michael and Franklin chase Michael’s stolen yacht along the highway to rescue Jimmy. |
 Chop | Franklin | Franklin, Lamar and Chop hunt down a Ballas member in South Los Santos. |
| Marriage Counseling | Michael and Franklin | Michael chases his wife’s tennis coach, wrecks a hillside house and picks up a very expensive debt. |
| Daddy’s Little Girl | Michael | A bike ride with Jimmy turns into a sea chase to rescue Tracey from a yacht party. |
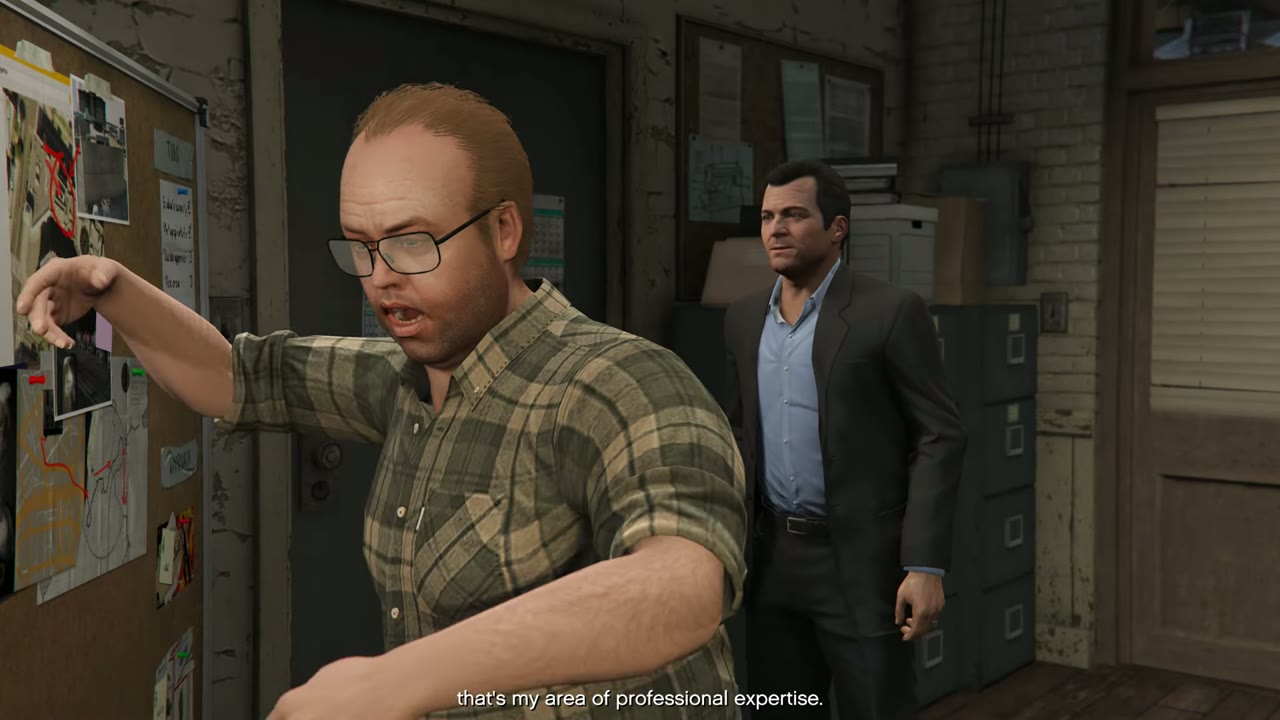
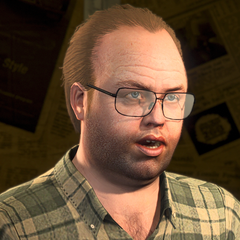 Friend Request | Michael | Michael meets Lester, infiltrates Lifeinvader and rigs a prototype phone. This also opens the stock market. |
| The Long Stretch | Franklin | A meeting at a recycling plant is an ambush. Franklin, Lamar and Stretch have to shoot their way out and then lose the police. |
 The Jewel Store Job
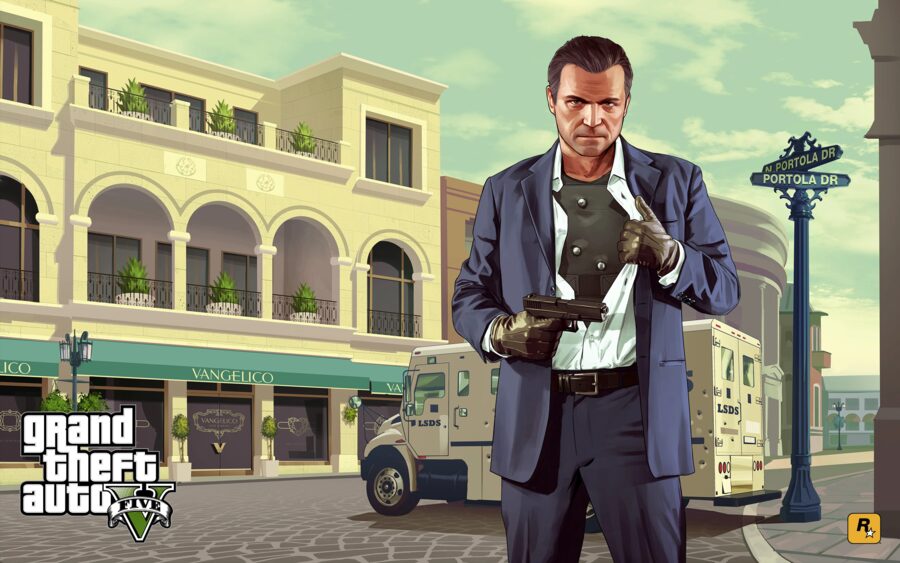
Michael needs money to pay Martin Madrazo, so he and Lester plan the first heist. The Loud approach needs one setup, and the Smart approach needs two.
| Mission | Played as | What happens |
|---|---|---|
| Casing the Jewel Store | Michael | Michael scouts Vangelico and chooses the Loud or Smart approach for the first heist. |
 Carbine Rifles | Michael | Ambush a police tactical truck to get the weapons for the Loud approach. |
| Bugstars Equipment | Michael | Steal an exterminator van for the Smart approach. |
| BZ Gas Grenades | Michael | Stop a Humane Labs van or its cargo and deliver the gas for the Smart approach. |
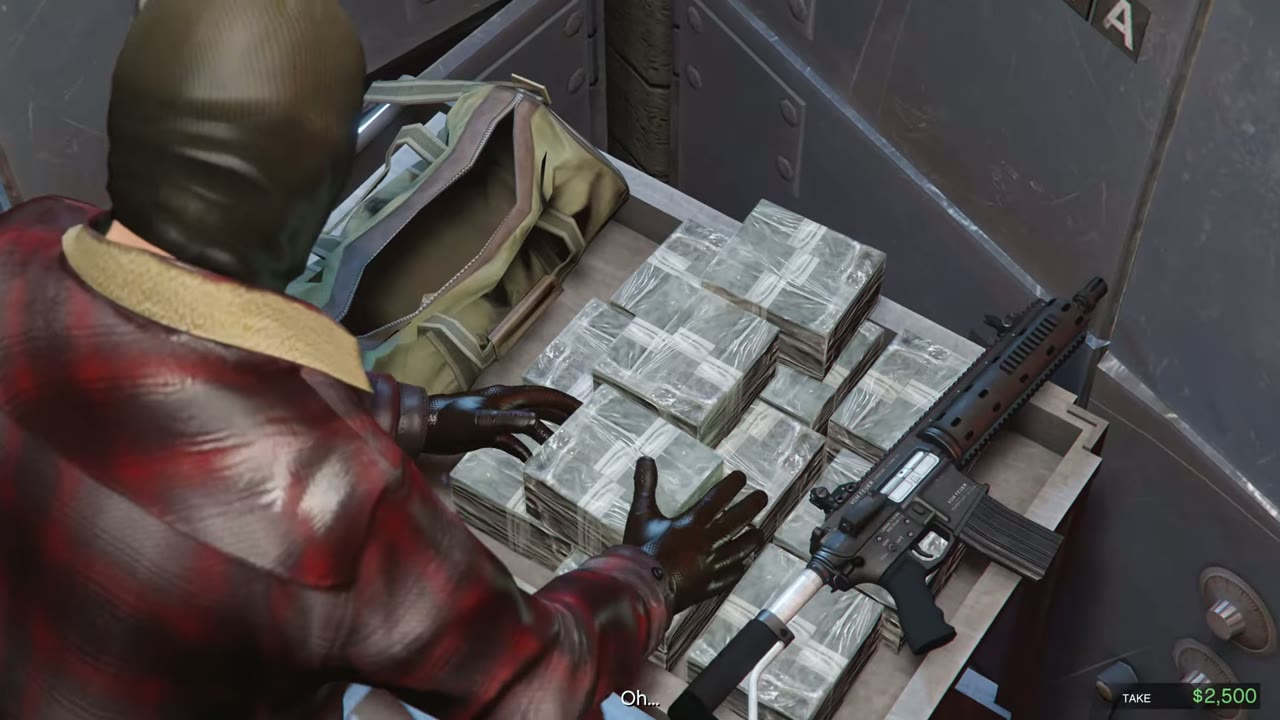
| The Jewel Store Job | Michael and Franklin | The first heist: break the Vangelico cases, escape on bikes through the storm drains, and pay off Madrazo. |
Trevor’s arrival and Blaine County

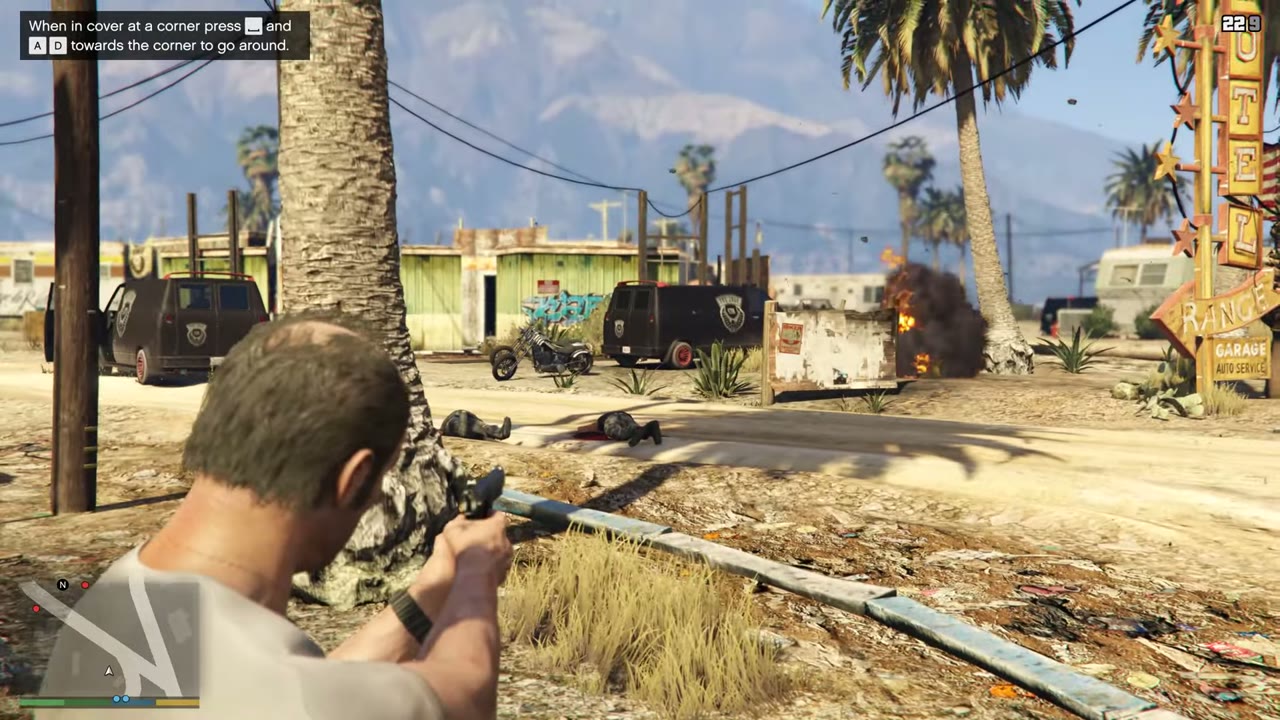
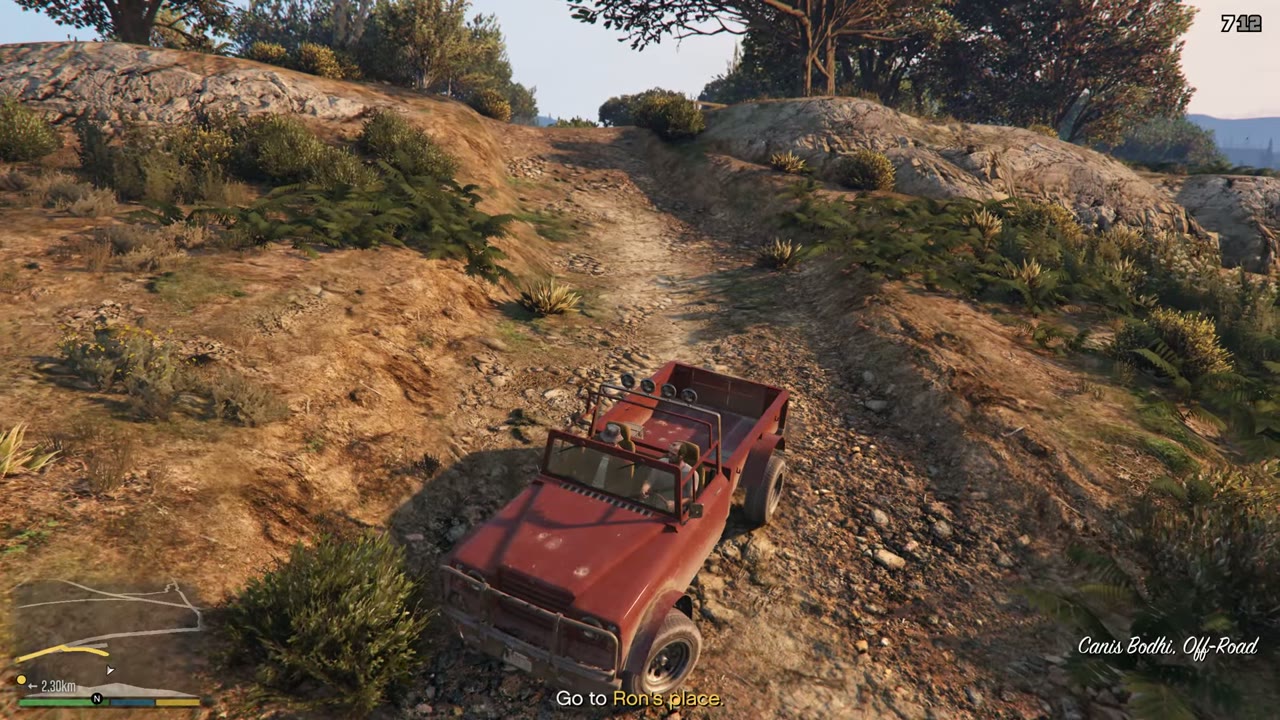
The story moves to Trevor in Blaine County, ending when he finds Michael. Michael and Franklin cannot be played during most of this phase.
| Mission | Played as | What happens |
|---|---|---|
 Mr. Philips | Trevor | Trevor enters the story, wipes out a Lost MC camp and takes over Ortega’s turf. Trevor becomes playable. |
 Trevor Philips Industries | Trevor | Trevor defends his meth lab from the Aztecas with Chef’s help. |
 Nervous Ron | Trevor | Trevor and Ron take a Lost MC airstrip and fly their cargo out. This unlocks property purchases. |
| Crystal Maze | Trevor | Trevor attacks the O’Neil farm and burns down their meth lab. |
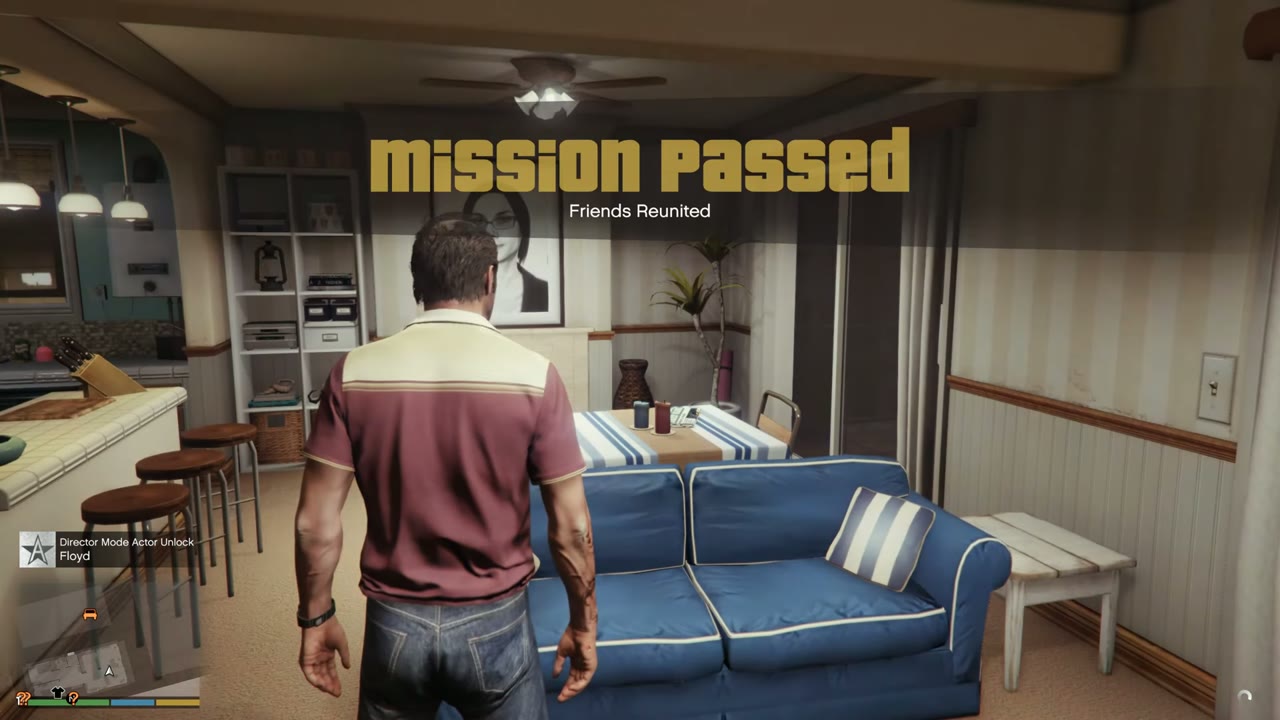
 Friends Reunited | Trevor | Trevor destroys a Lost MC trailer park and heads to Los Santos. Michael and Franklin become playable again, and the Jewel Store payout arrives. |
| Fame or Shame | Michael and Trevor | Michael and Trevor drag Tracey out of a TV audition and chase Lazlow through Los Santos in a big rig. |
 The Merryweather Heist
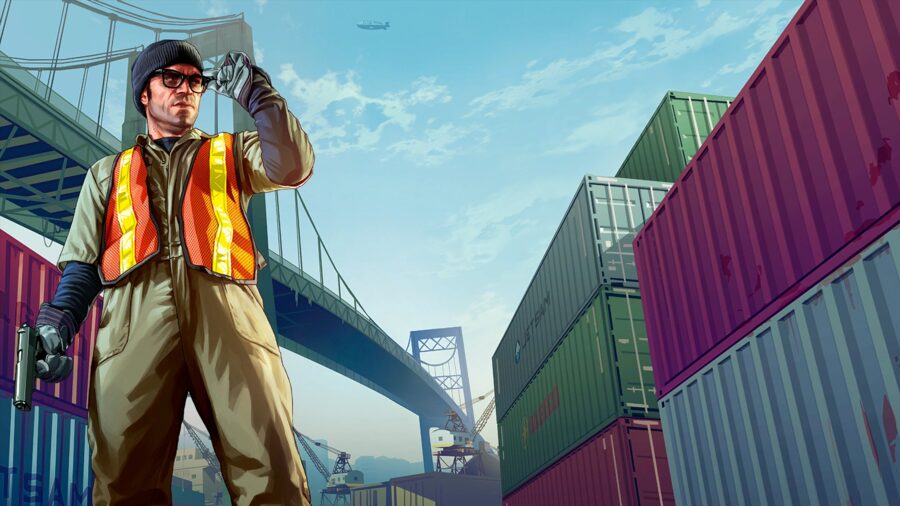
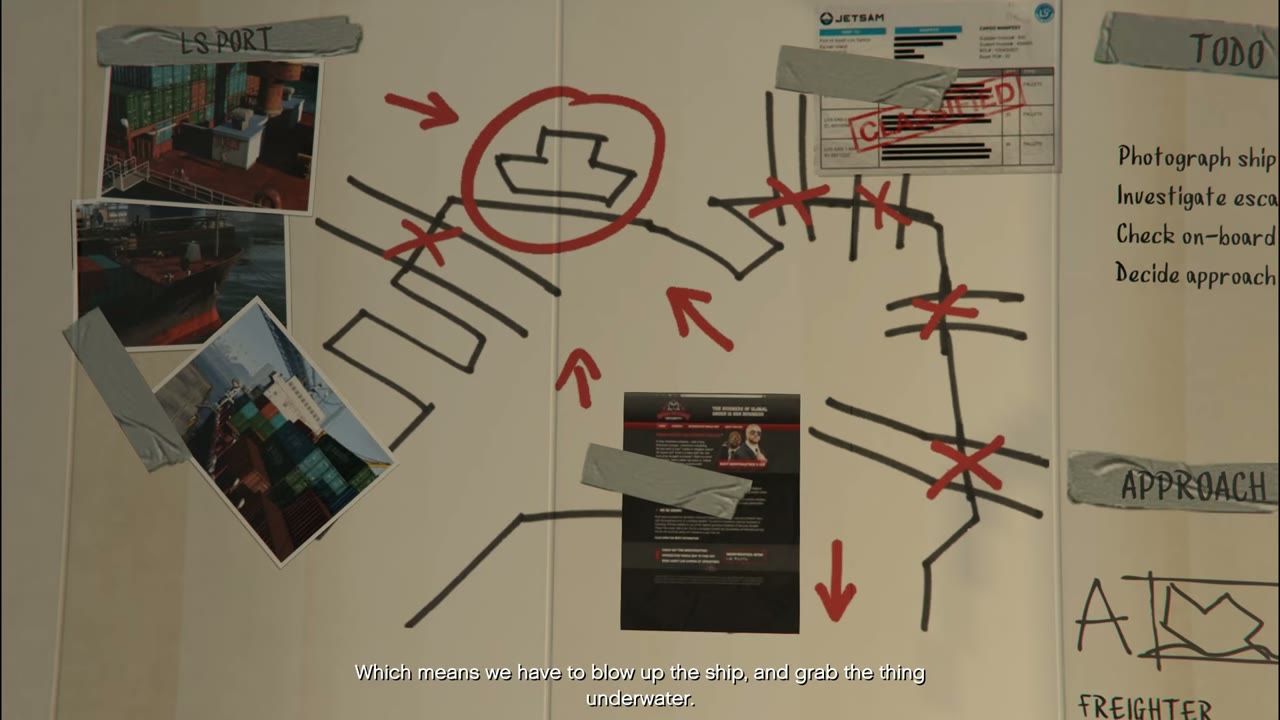
The FIB pulls the crew into its problems while Trevor targets a Merryweather ship at the port. Freighter needs one setup, and Offshore needs two.
| Mission | Played as | What happens |
|---|---|---|
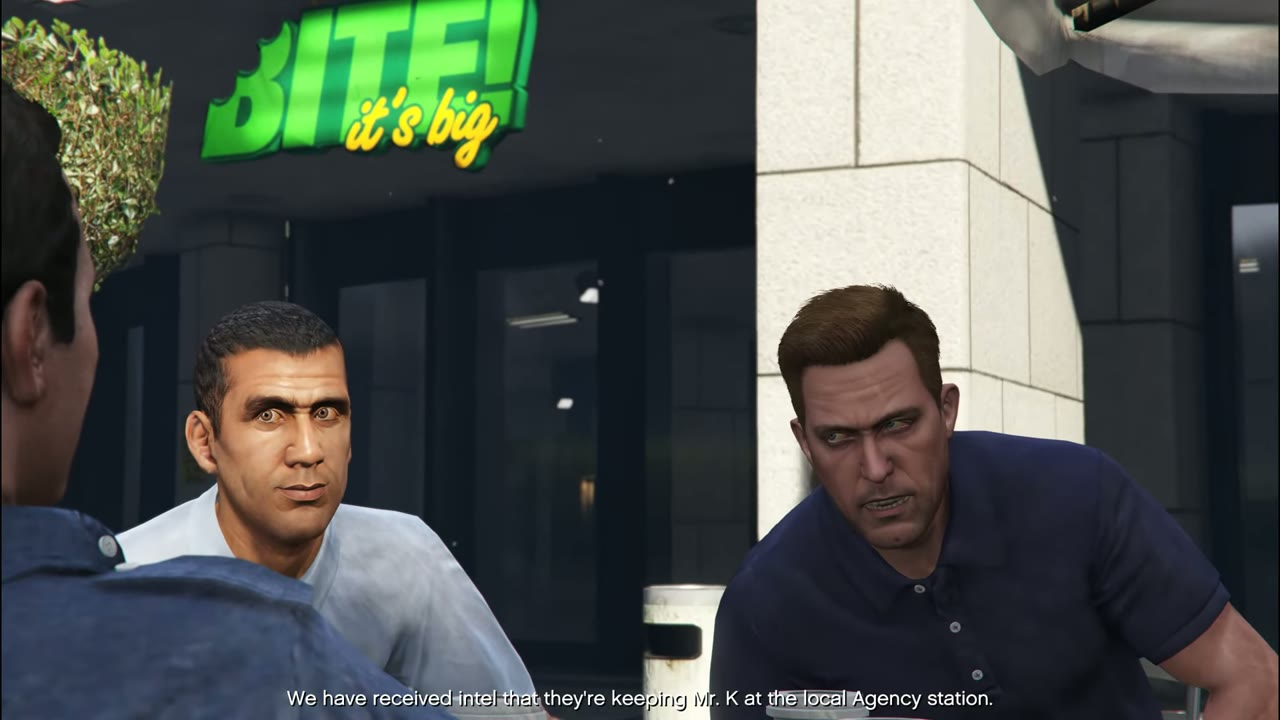
 Dead Man Walking | Michael | Dave Norton smuggles Michael into a morgue to check a body, and the visit ends in a long gunfight. |
| Three’s Company | Michael, Trevor and Franklin | The three protagonists work together for the first time, extracting Kerimov from the IAA building. |
| By the Book | Michael and Trevor | Trevor tortures Kerimov for information while Michael hunts the target with Dave. |
| Scouting the Port | Trevor | Trevor takes a dock job to spy on a Merryweather ship, then picks the Freighter or Offshore approach. |
| Minisub | Trevor | Steal the yellow submersible needed for either Merryweather approach. |
| Cargobob | Trevor | Steal a Cargobob from Fort Zancudo for the Offshore approach. |
| The Merryweather Heist | Michael, Trevor and Franklin | Sink the freighter or snatch the device from the sea bed. Either approach counts the same for 100%. |
 Blitz Play
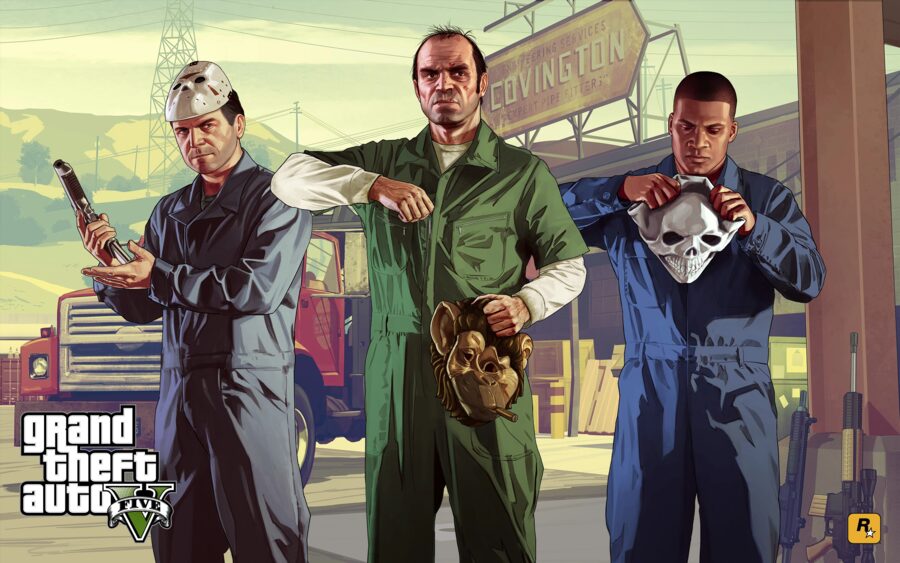
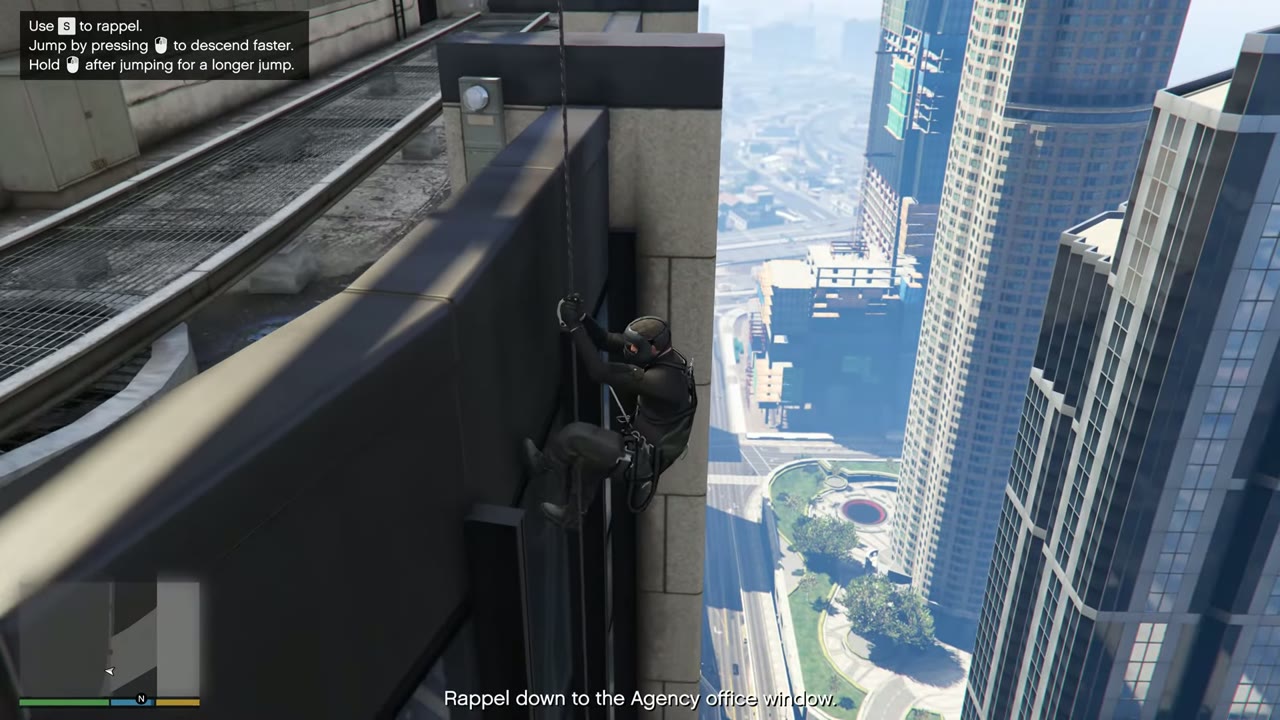
Haines demands a raid on an IAA truck. Finish The Hotel Assassination, Hood Safari, Did Somebody Say Yoga? and the setups, in any order, before the heist.
| Mission | Played as | What happens |
|---|---|---|
| Hood Safari | Franklin and Trevor | Trevor tags along on Lamar’s drug deal on Grove Street, and it goes wrong. This also unlocks the Sea Races. |
 Did Somebody Say Yoga? | Michael | Michael tries yoga, then goes to a Burger Shot with Jimmy and gets more than he expected. |
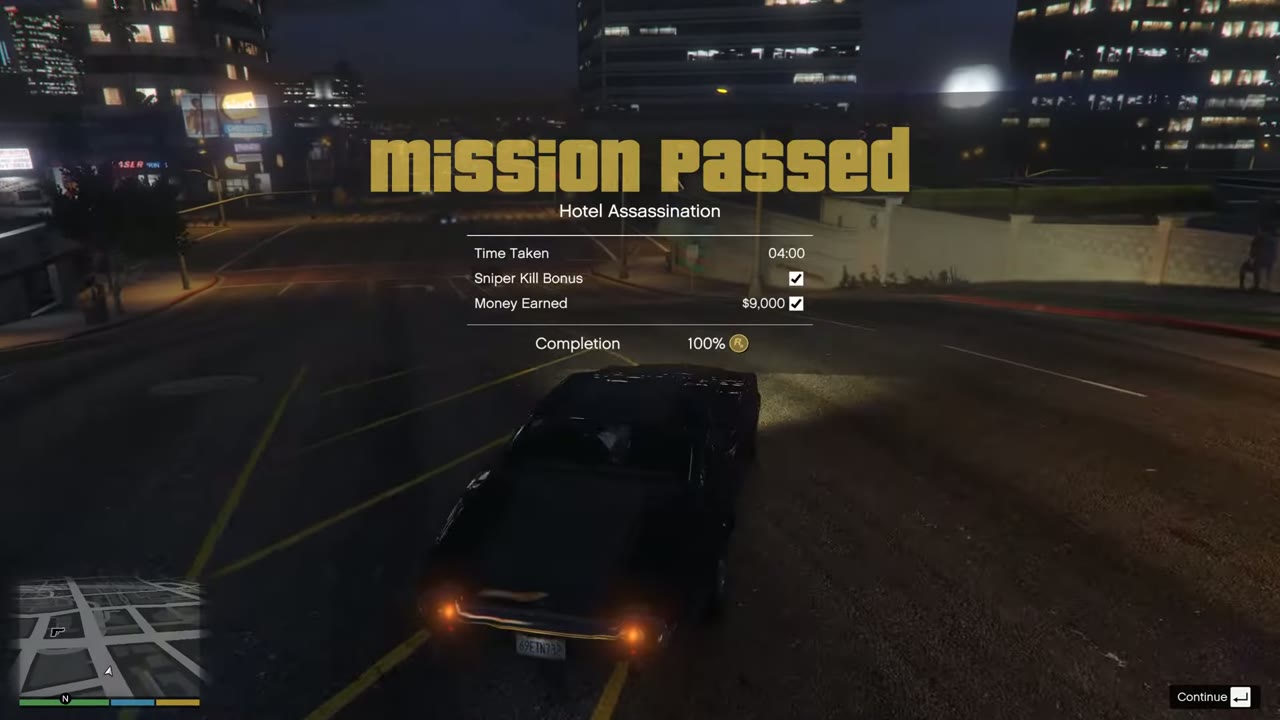
| The Hotel Assassination | Franklin | Lester’s first job for Franklin, and the only assassination that is needed to move the story. It also gives Franklin his Vinewood Hills home. |
| Boiler Suits | Michael, Franklin or Trevor | Buy three boiler suits for Blitz Play. |
| Masks | Michael, Franklin or Trevor | Buy three masks for Blitz Play. |
| Trash Truck | Michael, Franklin or Trevor | Steal a garbage truck for the roadblock. |
| Tow Truck | Michael, Franklin or Trevor | Steal a tow truck for the Blitz Play ambush. |
| Getaway Vehicle | Any available character | Leave a suitable car at a set location. The mission appears up to three times across the heists. |
| Blitz Play | Michael, Franklin and Trevor | The crew ambushes an IAA armored truck in Cypress Flats and fights off a police response. |
 The Paleto Score
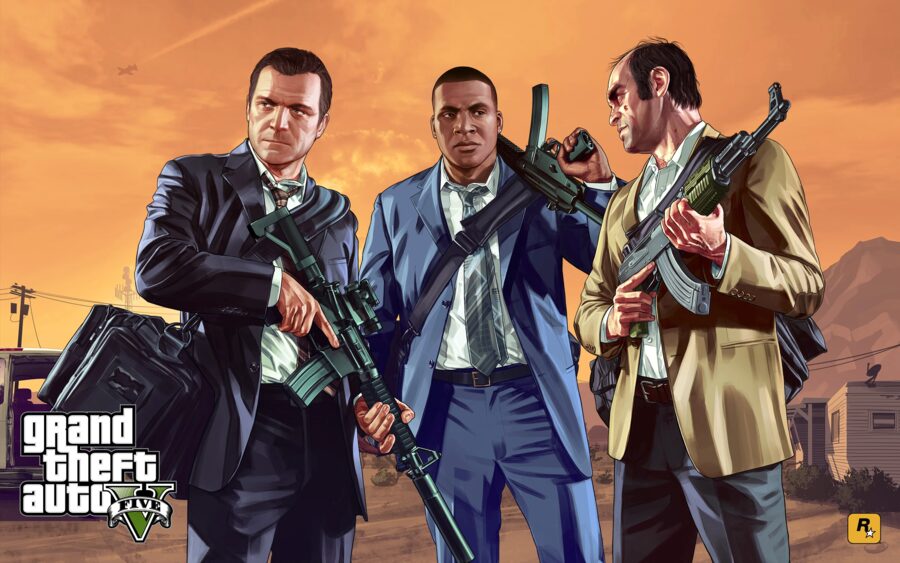
Devin Weston, Solomon Richards and Martin Madrazo all want work done. Then the crew hits the small bank in Paleto Bay. The first few missions here can run side by side.
| Mission | Played as | What happens |
|---|---|---|
 I Fought the Law… | Franklin, Michael and Trevor | Devin Weston hires the crew to steal cars, and Franklin races the owners up the coast while the others dress as police. |
| Eye in the Sky | Trevor and Franklin | Trevor scans crowds from a police helicopter to guide Franklin to a rapper’s Z-Type. |
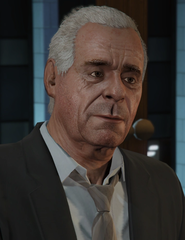 Mr. Richards | Michael | Michael starts working in film by getting Solomon’s star and director back from a talent agent. |
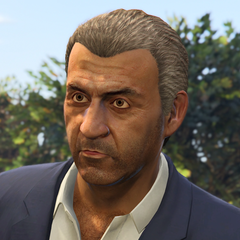 Caida Libre | Michael and Trevor | Michael shoots down Javier Madrazo’s plane, Trevor chases it on a dirt bike, and the job ends with a kidnapping that sends both men into hiding. |
| Deep Inside | Franklin | Franklin sneaks onto a movie set to steal a spy car from a live shoot. |
| Minor Turbulence | Trevor | Trevor flies a crop duster inside a Merryweather cargo plane and steals the whole aircraft. This also unlocks Dom’s missions. |
| Paleto Score Setup | Michael and Trevor | Michael and Trevor case the bank in Paleto Bay and test the police response. |
| Predator | Franklin, Michael and Trevor | The remaining O’Neil brothers try to get revenge on Trevor. Finishing this also unlocks Franklin’s Exercising Demons mission. |
| Military Hardware | Michael or Trevor | Stop a military convoy and steal the crates of gear for the Paleto Score. |
| The Paleto Score | Michael, Trevor and Franklin | A small-town bank job turns into a street war, with the crew walking out in heavy armor. |
 The Bureau Raid

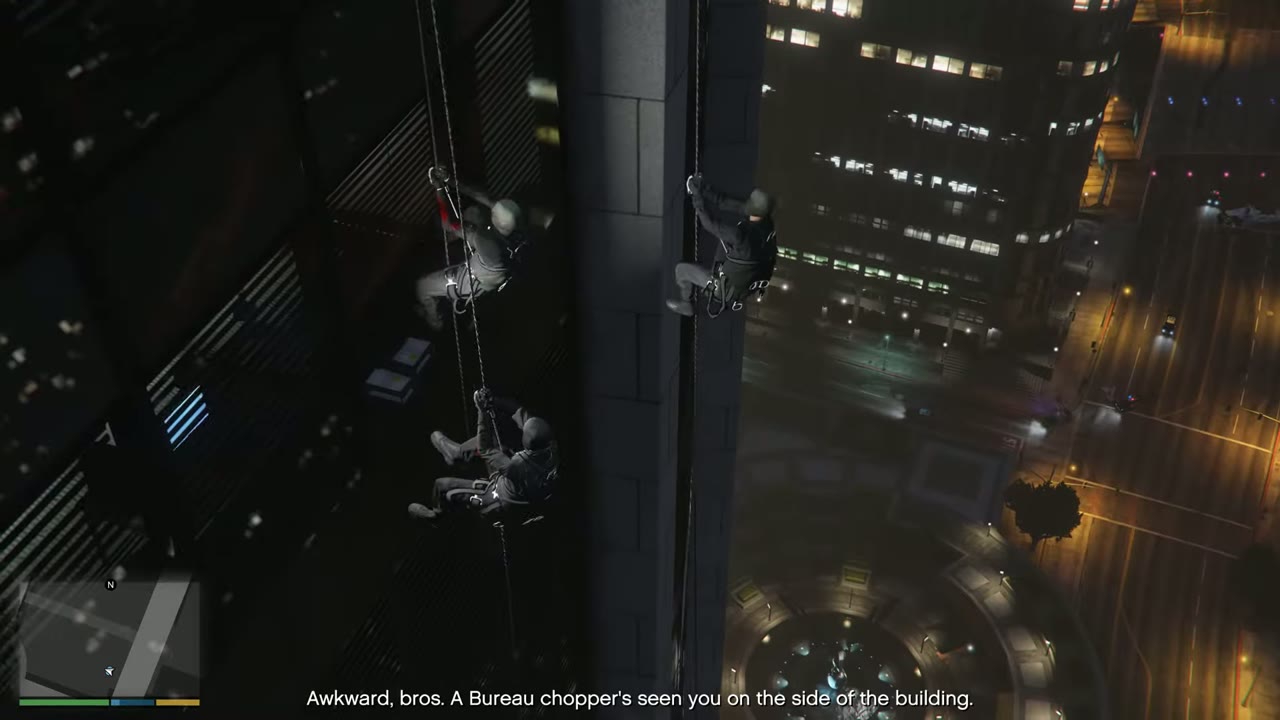
The longest stretch of the story. Trevor and Michael fall out, Michael gets captured and rescued, and the FIB forces one more job. Covert needs two setups, and Roof needs none.
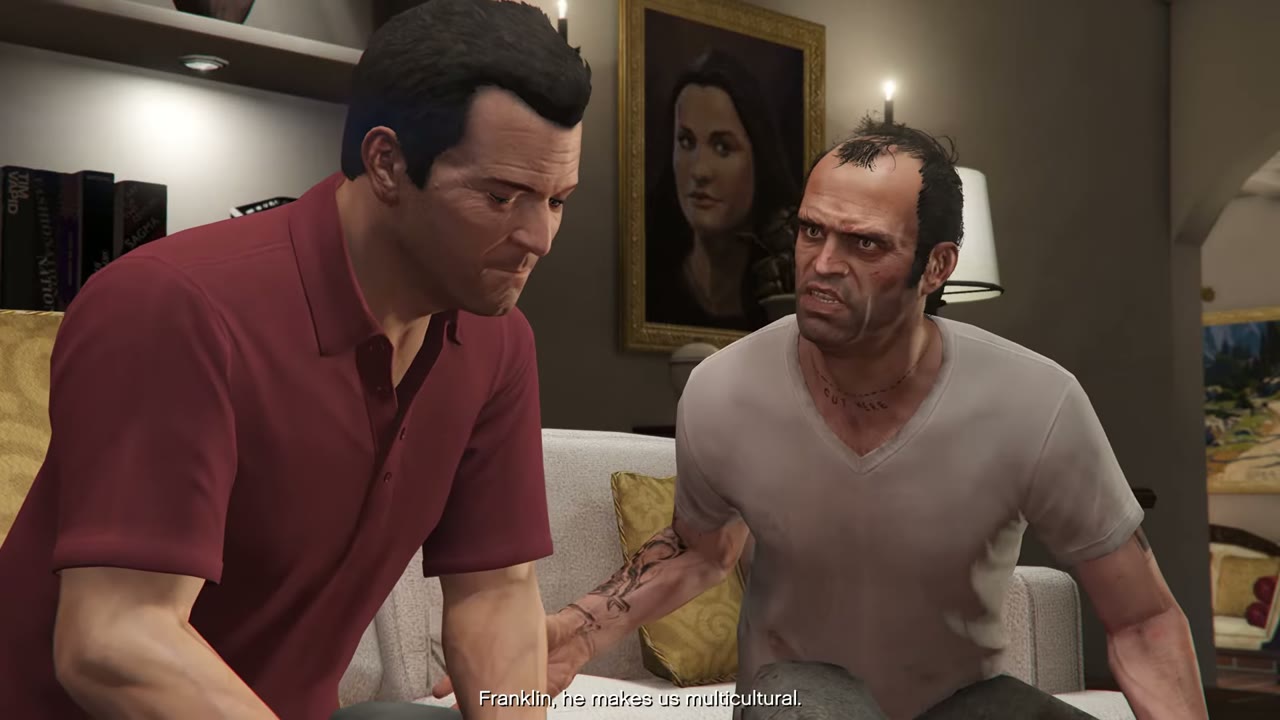
| Mission | Played as | What happens |
|---|---|---|
| Derailed | Trevor and Michael | Trevor jumps a Sanchez onto a moving train, and Michael dives for the cargo at the bottom of a creek. |
 Monkey Business | Michael, Trevor and Franklin | The crew breaks into Humane Labs for a nerve toxin, then returns Patricia Madrazo. |
| Hang Ten | Trevor | A very short mission that moves Trevor into the Vanilla Unicorn. |
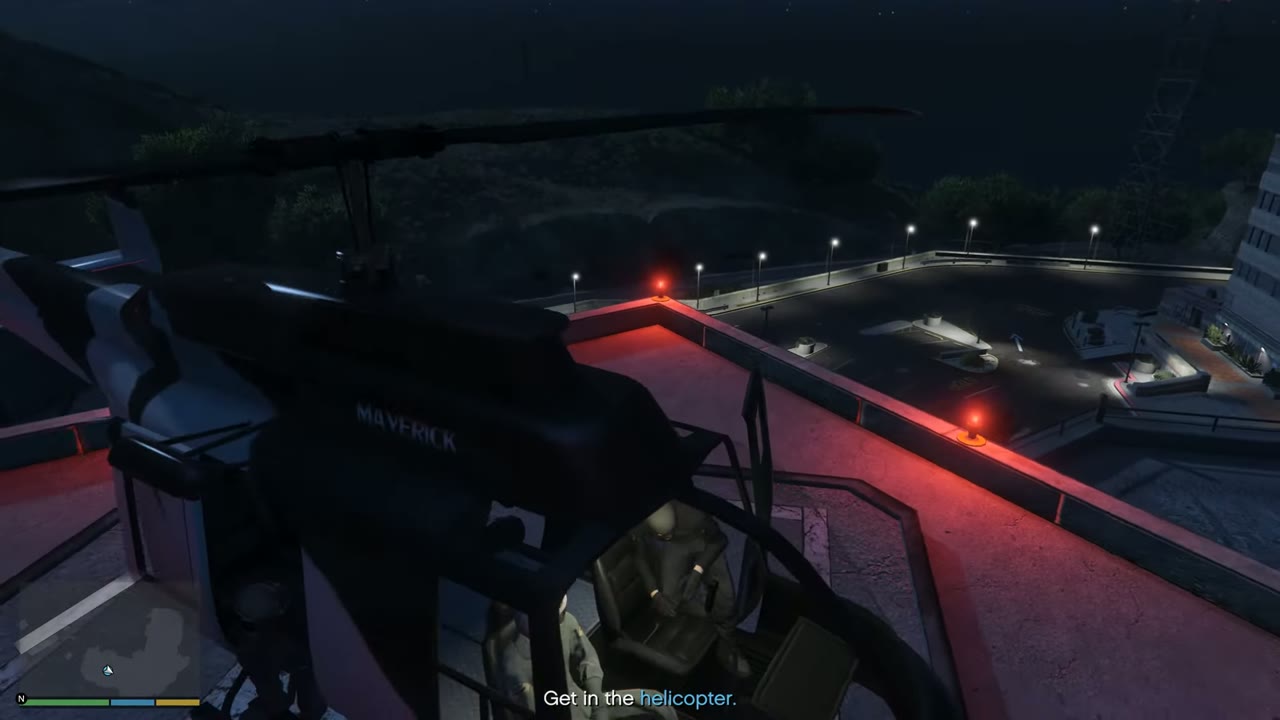
| Surveying the Score | Michael and Trevor | The crew starts planning the Union Depository job by following armored vans from a helicopter. |
| Bury the Hatchet | Michael and Trevor | Trevor learns the truth about what happened in North Yankton, and Michael ends up in Triad hands. |
| Pack Man | Franklin and Trevor | Franklin and Trevor truck all of Devin’s stolen cars up the coast with police on their tail. |
| Fresh Meat | Franklin and Michael | Franklin tracks Michael to a meat factory and rescues him. Michael becomes playable again. |
| The Ballad of Rocco | Michael | Michael deals with Rocco, the agent who has been causing trouble for Solomon. |
| Cleaning out the Bureau | Michael | Michael steals a janitor’s identity so the crew can get into FIB Headquarters. |
| Architect’s Plans | Franklin | Franklin takes the FIB plans from an architect, and Lester offers the Covert or Roof approach. |
| Fire Truck | Michael or Franklin | Get a fire engine for the Covert approach to The Bureau Raid. |
| The Bureau Raid | Michael, Franklin and Trevor | The crew breaks into FIB Headquarters to erase Haines’s files. Both approaches count the same for 100%. |
| The Wrap Up | Michael and Trevor | A meeting with Dave turns into a standoff between FIB, IAA and Merryweather at the Kortz Center. |
| Reuniting the Family | Michael | Michael brings his family back together, one person at a time. |
| Legal Trouble | Michael | Michael chases Molly through the airport to save Solomon’s film. |
| Lamar Down | Franklin, Michael and Trevor | Franklin calls in Michael and Trevor to rescue Lamar from the Ballas at a sawmill. |
| Meltdown | Michael | Michael goes to his film premiere and has to race home when Merryweather attacks his family. |
Lester’s Assassination Missions
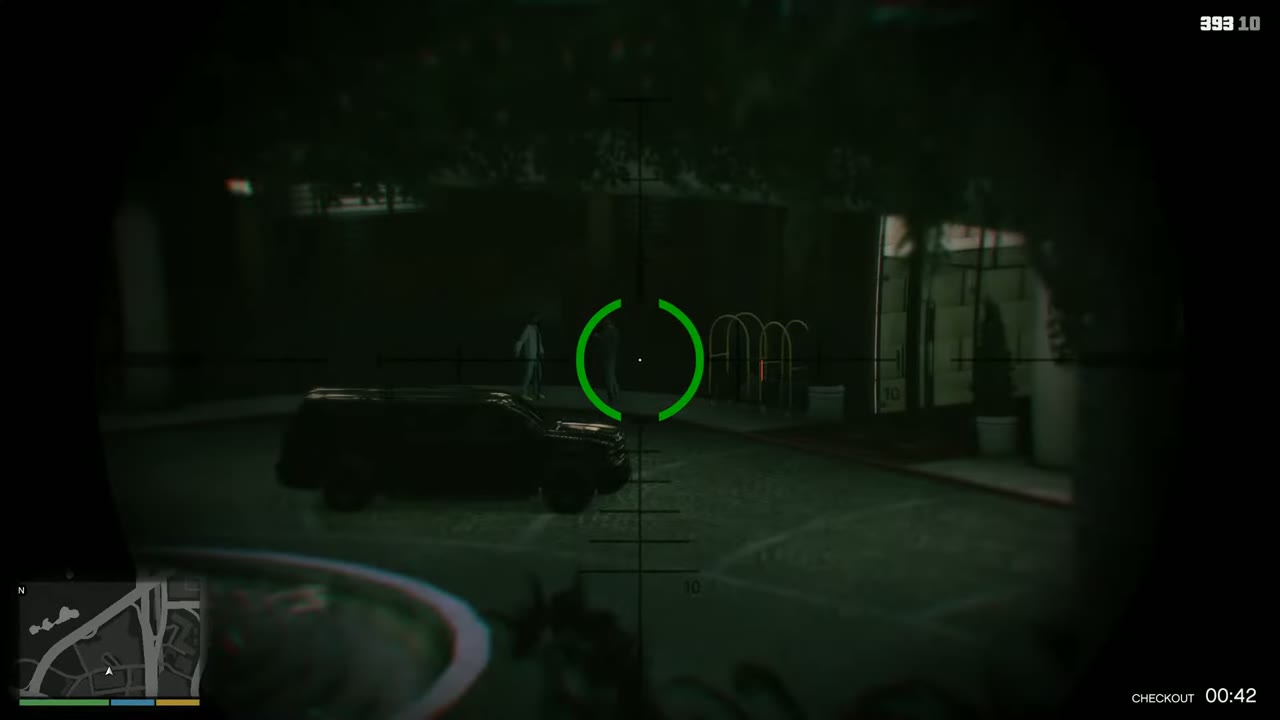
The Hotel Assassination is part of the Blitz Play phase, and the rest are optional in timing. All five count toward 100%, so finish them after the story for the best stock returns.
| Mission | Played as | What happens |
|---|---|---|
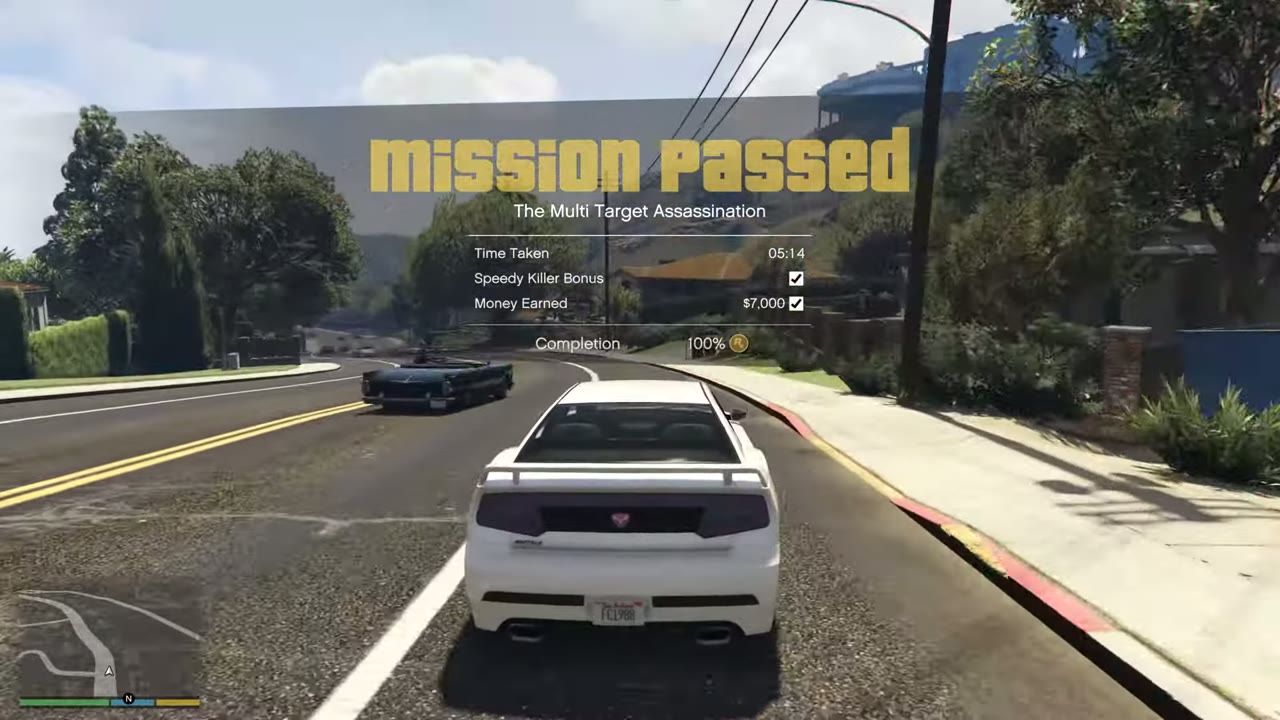
| The Multi Target Assassination | Franklin | Four jurors, four kills, and a stock tip worth waiting for. |
| The Vice Assassination | Franklin | Franklin catches a CEO picking up a sex worker in La Puerta. |
| The Bus Assassination | Franklin | Franklin takes over a bus route to reach a tight-fisted billionaire who rides the bus to work. |
| The Construction Assassination | Franklin | Franklin climbs a building site to reach a businessman who has been warned that he is coming. |
Stock plan for the assassinations
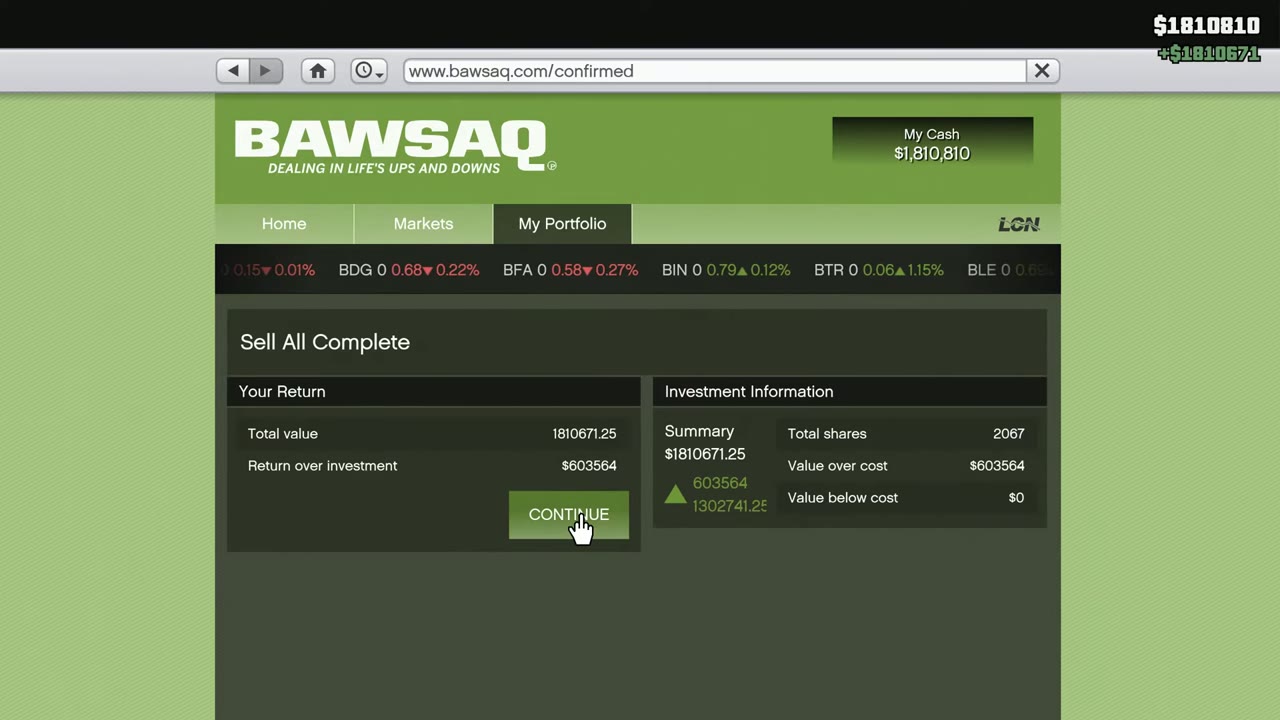
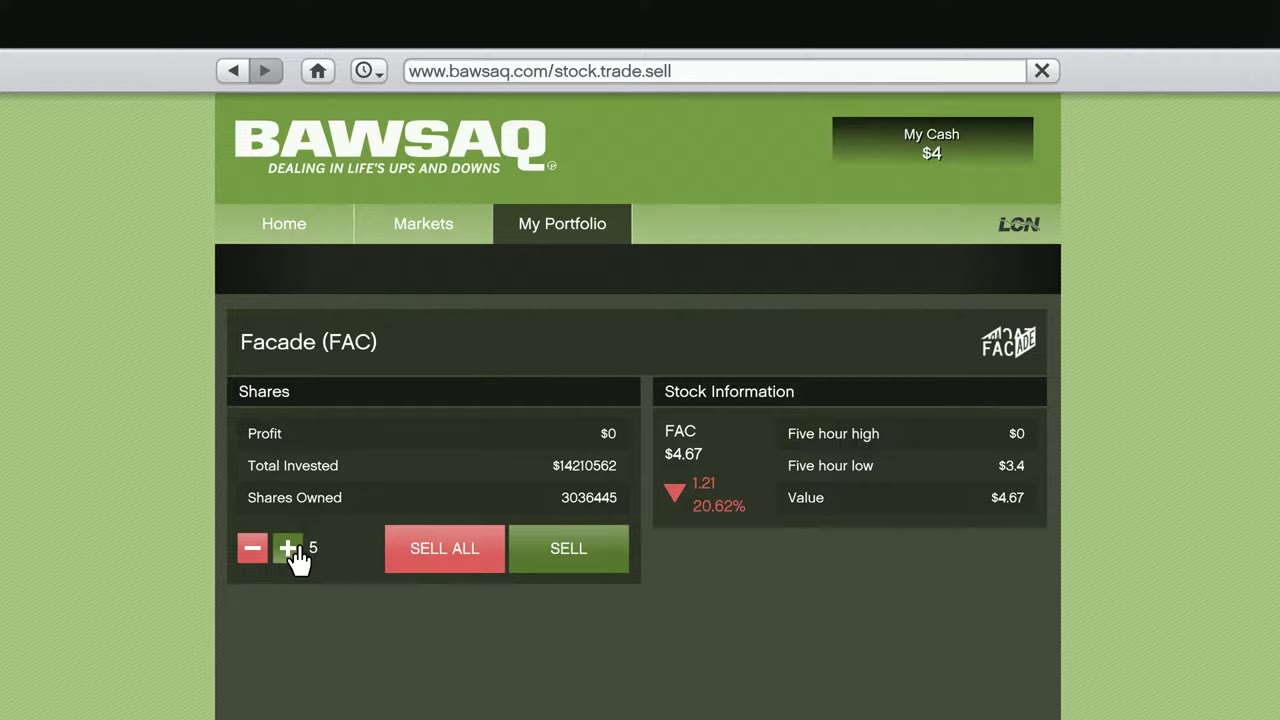
Do these four after The Big Score if you can. All three protagonists will have their heist money by then, so your investments have far more impact. Save in a separate slot first, as a reload can undo a bad trade.
| Mission | Before the hit | After the hit |
|---|---|---|
 The Hotel Assassination | Buy Betta Pharmaceuticals | Sell at the peak, then buy Bilkinton for the rebound |
 The Multi Target Assassination | Buy Debonaire | Sell at about 60% profit, then buy Redwood for the rebound |
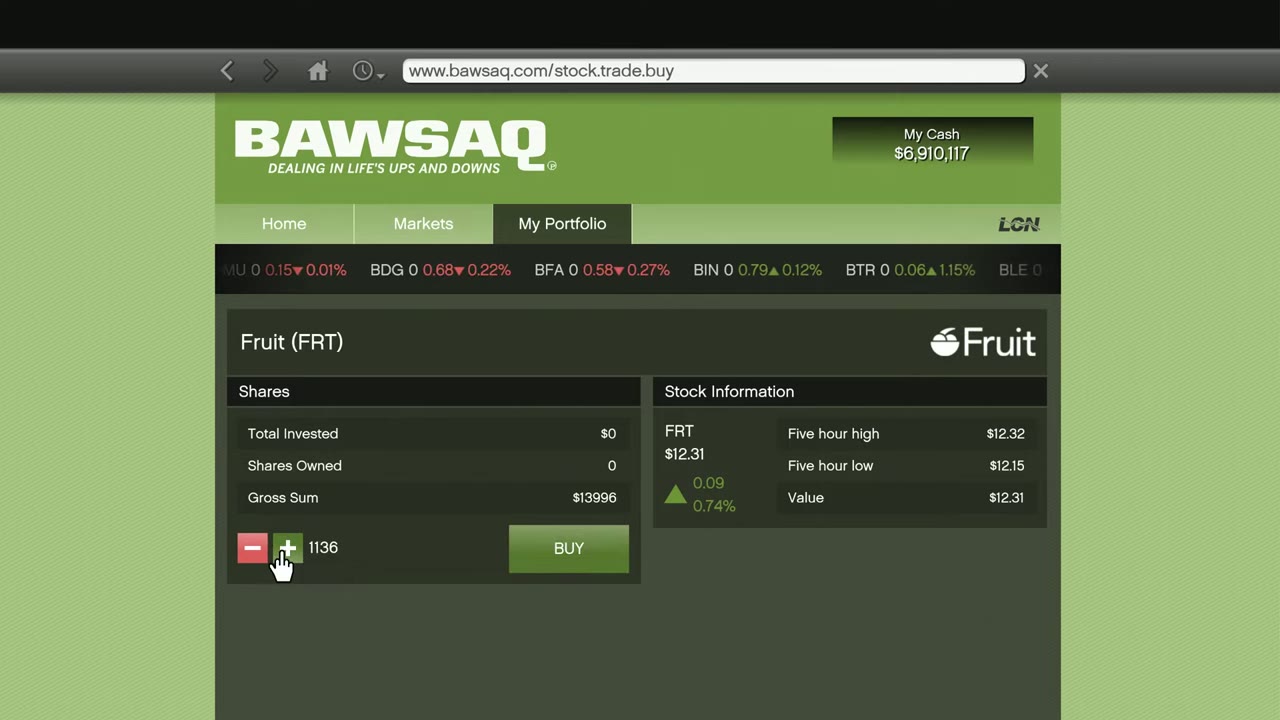
 The Vice Assassination | Buy Fruit | Sell at about 25% profit, then buy Facade for the rebound |
 The Bus Assassination | Do not buy anything yet | Buy Vapid, and sell after it has about doubled |
 The Construction Assassination | Buy Gold Coast | Sell at about 45% profit |
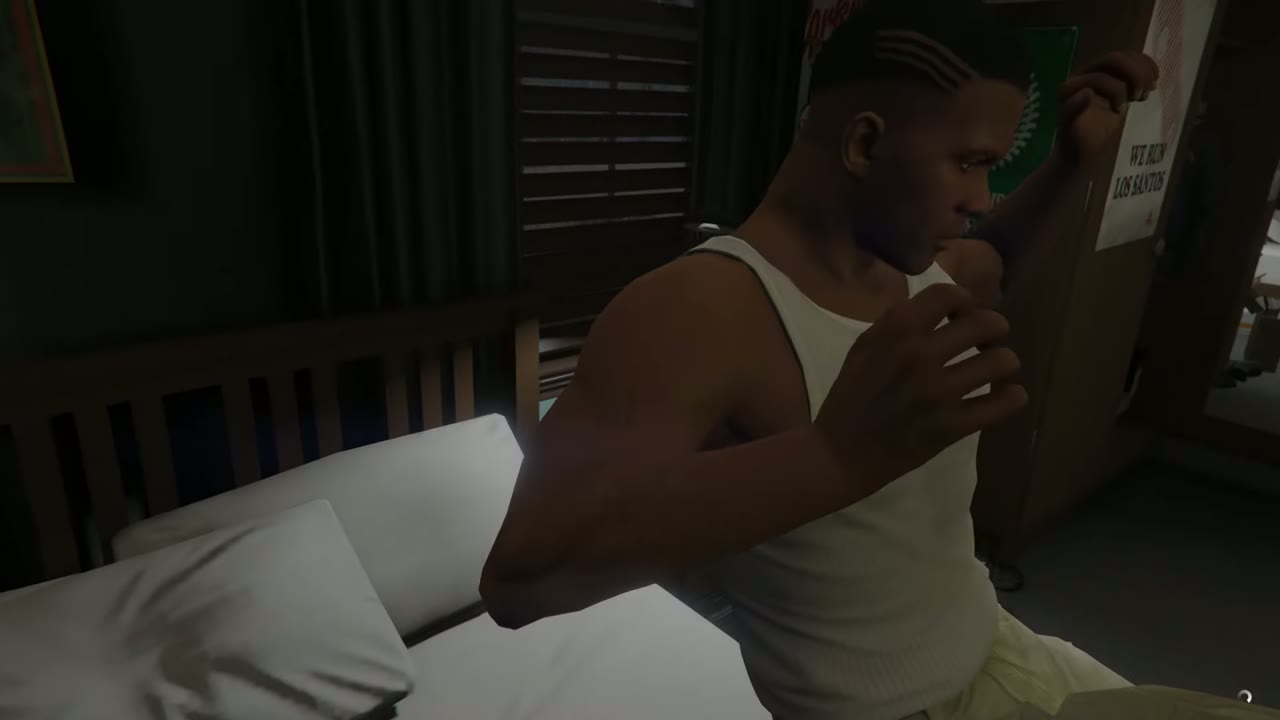
Prices move on in-game time, so sleep at a safehouse to wait. Each trade should be made by all three protagonists for the biggest return.
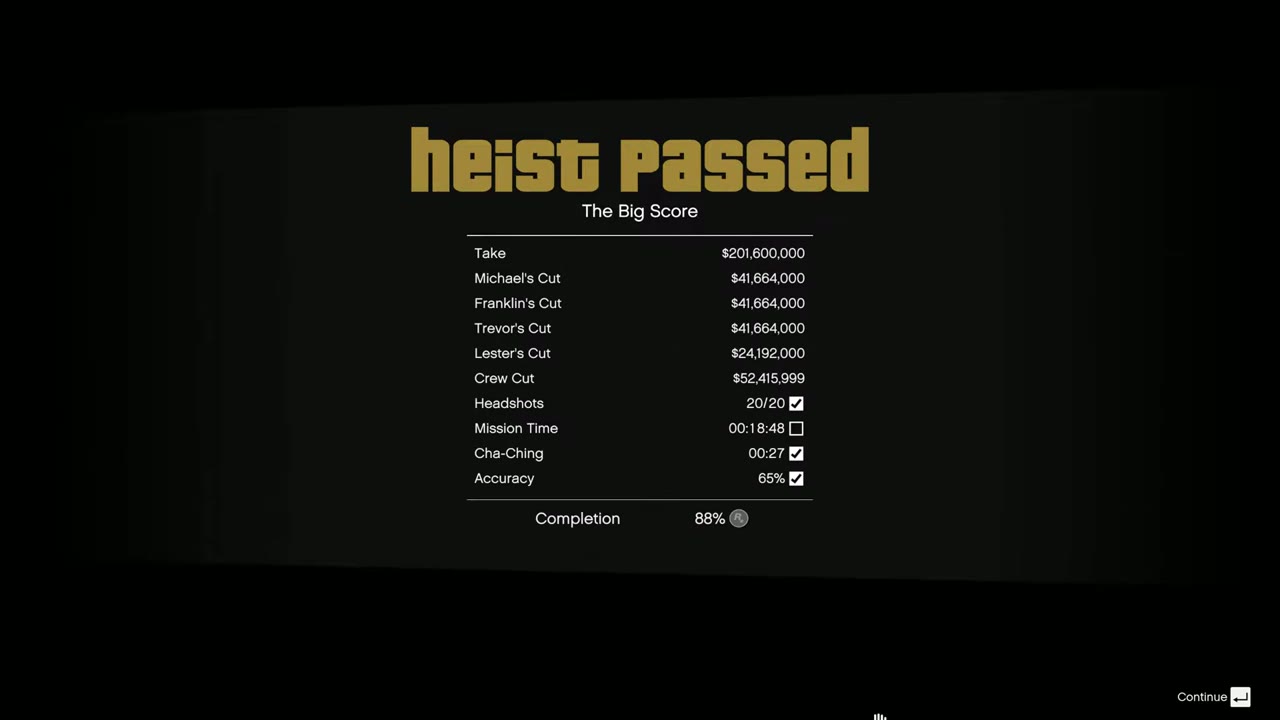
 The Big Score
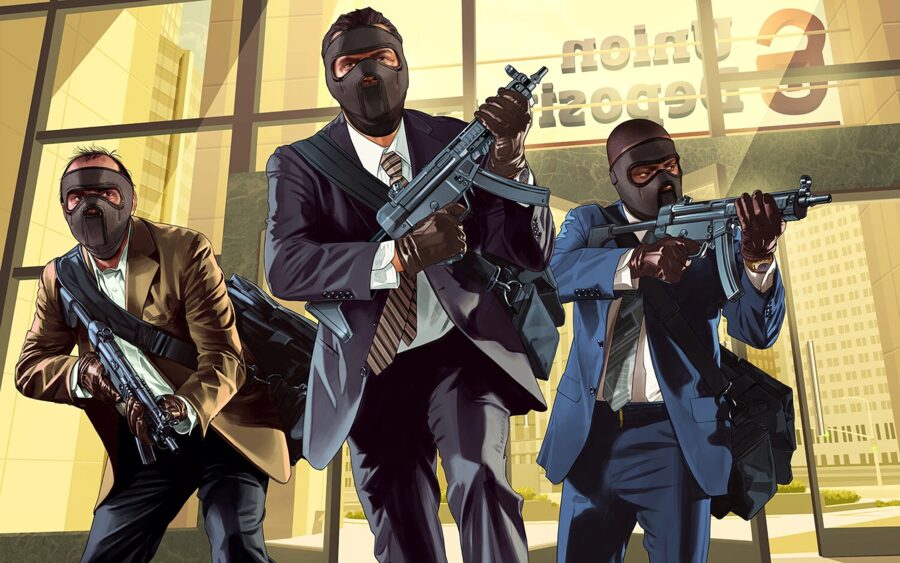
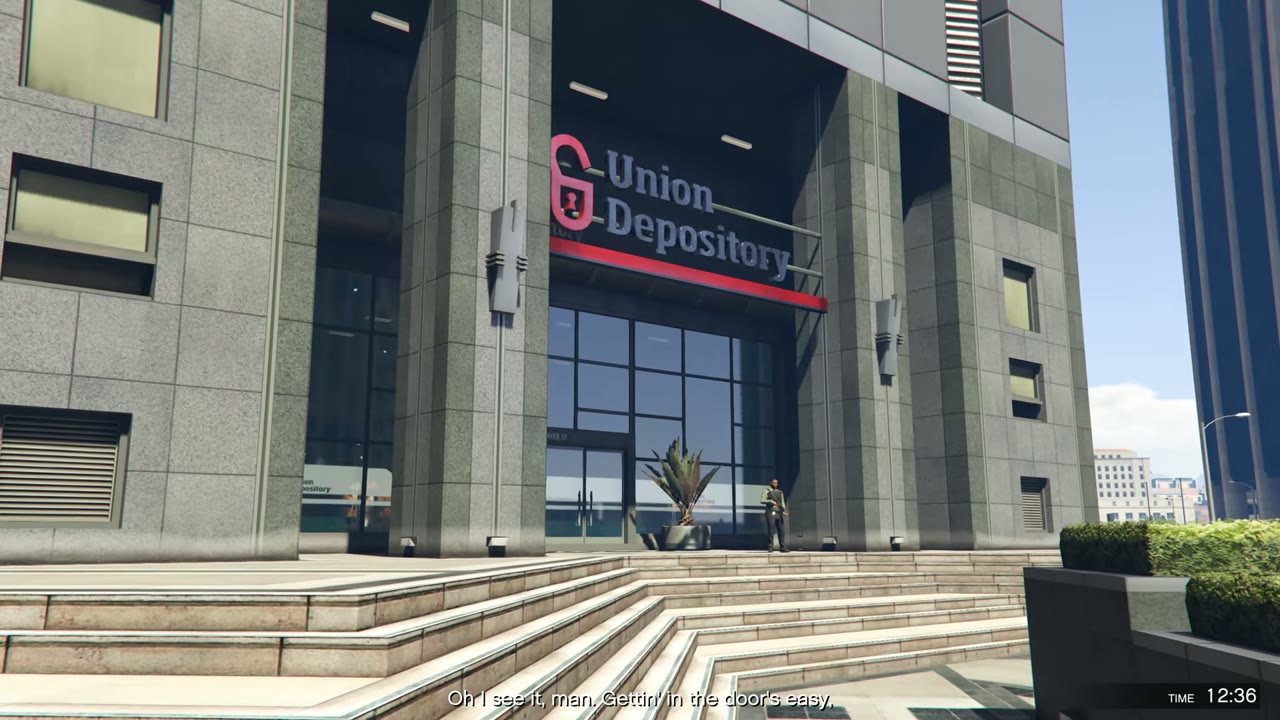
The final heist, on the Union Depository. Subtle needs Stingers and three Gauntlets. Obvious needs Driller, Sidetracked and a Getaway Vehicle.
| Mission | Played as | What happens |
|---|---|---|
| Planning the Big Score | Michael, Franklin and Trevor | Choose between the Subtle and Obvious approaches to the Union Depository job. |
| Stingers | Any available character | Steal a police van with spike strips from a guarded lot. |
| Sidetracked | Any available character | Use a Skylift helicopter to steal the train cars you need for the Obvious approach. |
| Gauntlet | Michael, Franklin and Trevor (one car each) | Steal and tune three Gauntlets for the getaway. Each car counts as its own task. |
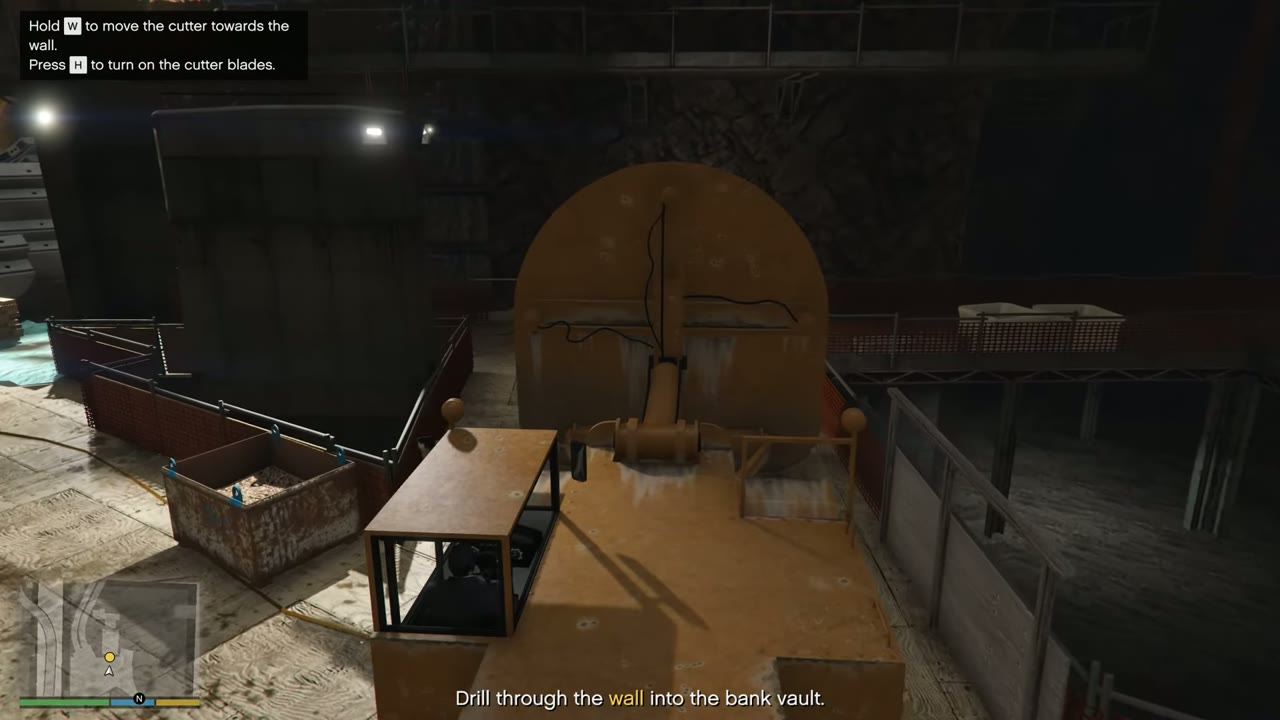
| Driller | Any available character | Steal a Cutter from a yard full of guards for the Obvious approach. |
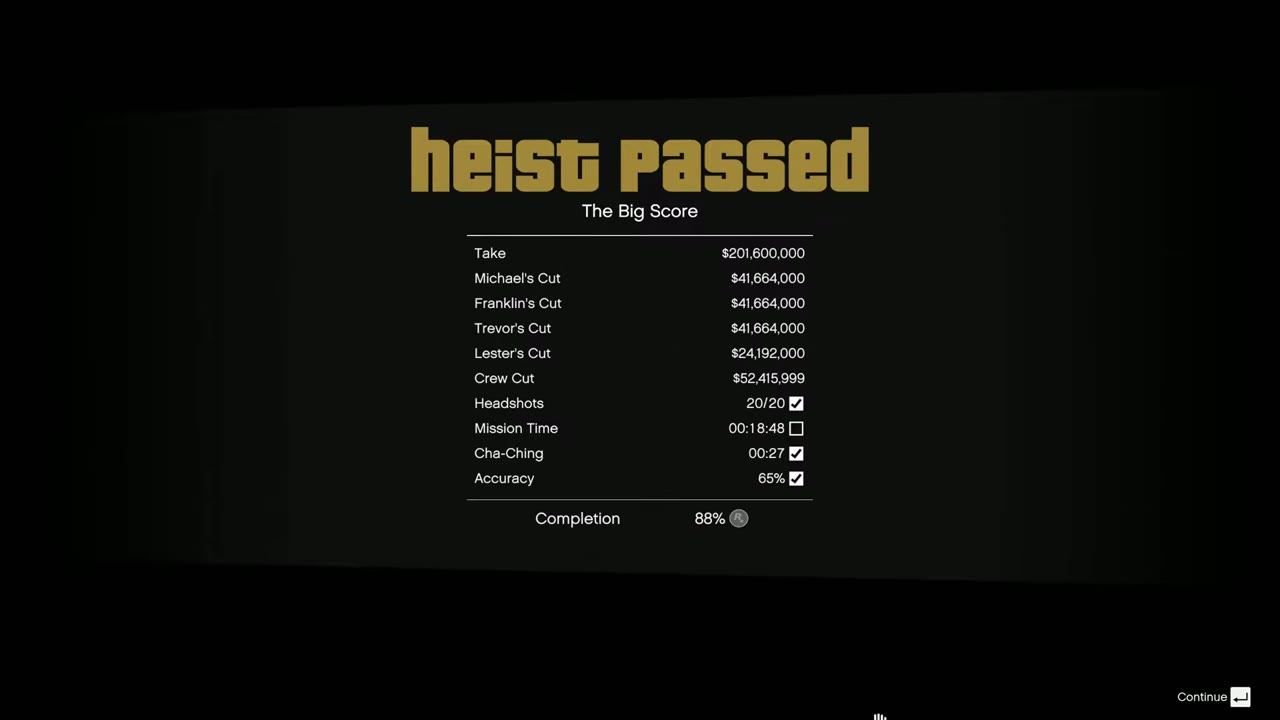
| The Big Score | Michael, Franklin and Trevor | The Union Depository heist, followed directly by the choice that decides the ending. |
GTA 5 endings: Something Sensible, The Time’s Come, and The Third Way
After The Big Score, Franklin gets two offers. Steve Haines and Dave Norton want Trevor dead, Devin Weston wants Michael dead, and the phone gives you a third option that goes against both. Only one ending can be played on a save, so keep a manual save from before the choice.
| Choice | Mission | Result |
|---|---|---|
| Kill Trevor | Something Sensible | Trevor is gone. Michael and Franklin remain playable. |
| Kill Michael | The Time’s Come | Michael is gone. Trevor and Franklin remain playable. |
| Deathwish | The Third Way | All three survive and remain playable. |
Best ending for 100% completion
Choose The Third Way. Any of the three endings counts as a completed finale on the checklist, so all of them can reach 100%. The Third Way keeps all three characters and their money available, which makes the cleanup easier and leaves all of the optional side missions open. It is also the only one of the three that keeps every friend activity combination available. If you have already chosen another ending, you can still reach 100%, as the required side missions all belong to Franklin.
Heist crew choices
Before four of the heists, you pick a crew. Each member takes a share of the money. Cheap ones can cost you far more than they save, because a poor gunman or driver may lose part of the take. On the plus side, anyone who survives a heist improves by about 25% with no increase in their cut, so a cheap crew member used early can be good later.
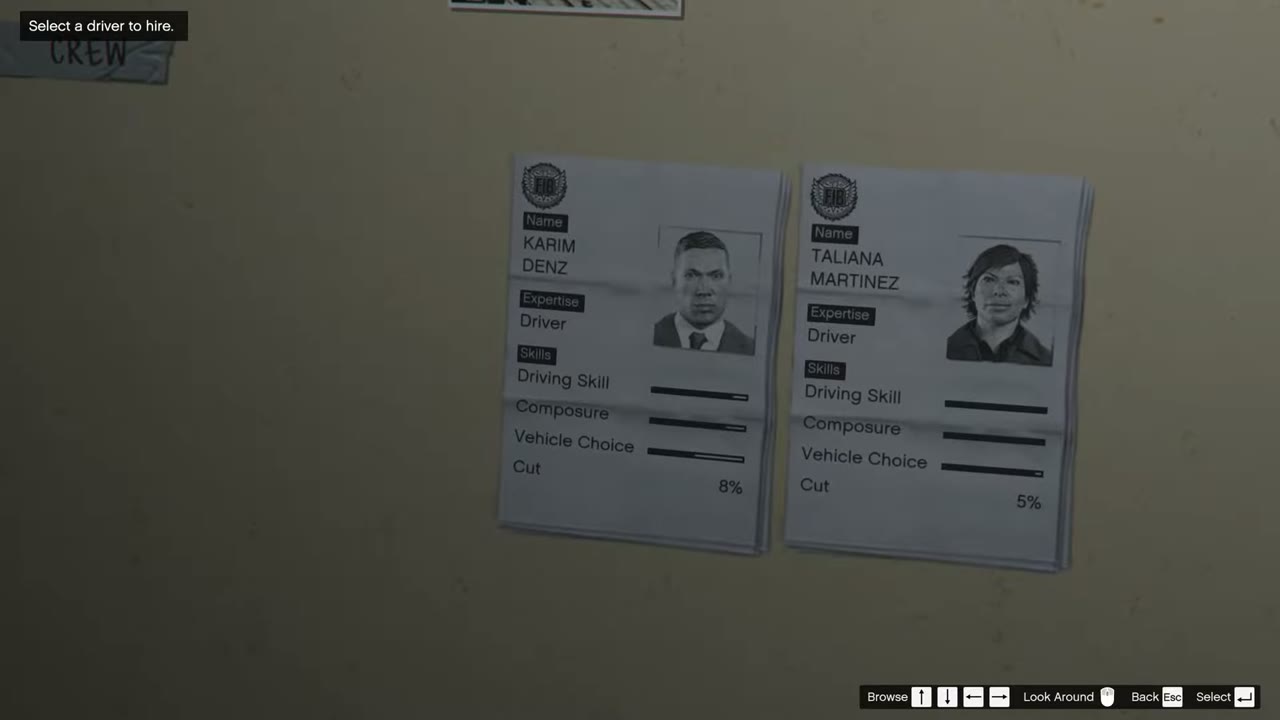
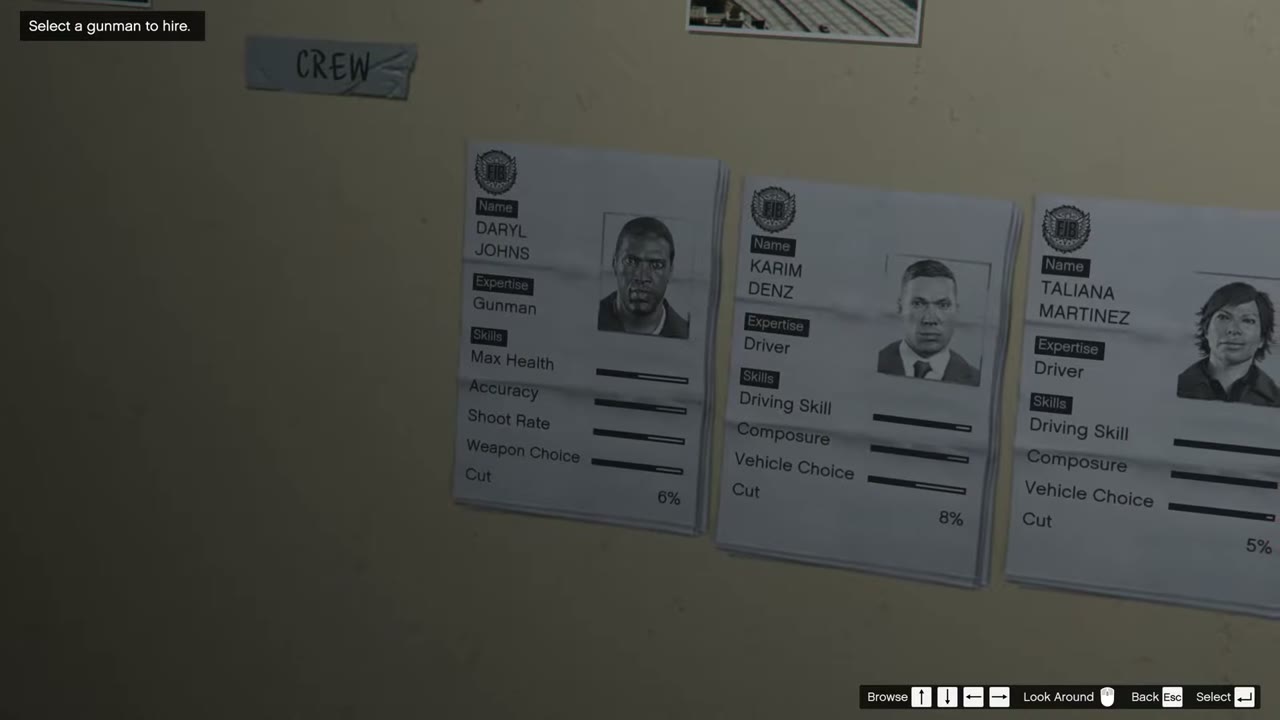
| Role | Name | Cut | Skill | First available |
|---|---|---|---|---|
| Driver | 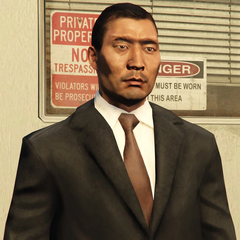 Eddie Toh | 14% | Good | The Jewel Store Job |
| Driver | 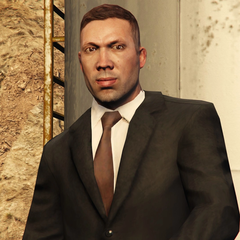 Karim Denz | 8% | Poor | The Jewel Store Job |
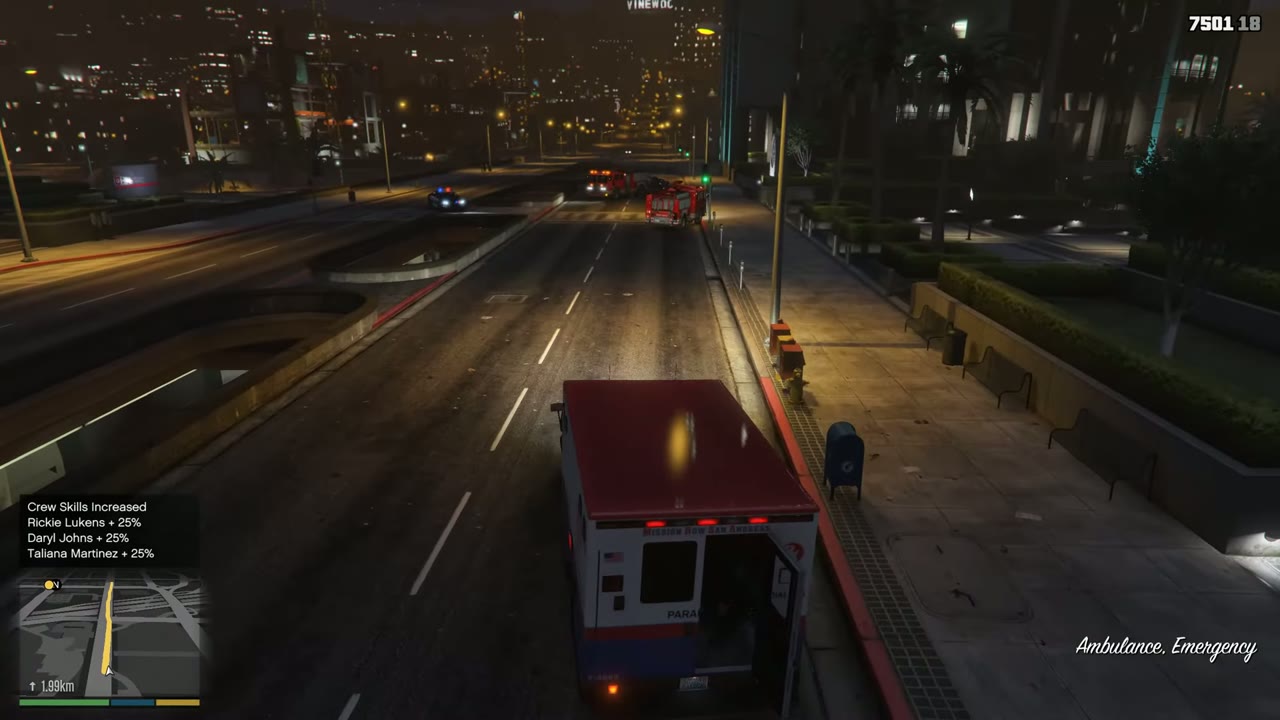
| Driver | 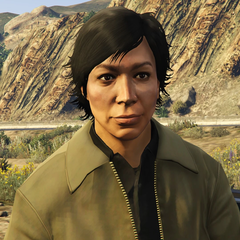 Taliana Martinez | 5% | Good | The Bureau Raid, after the Crash Rescue event |
| Gunman | 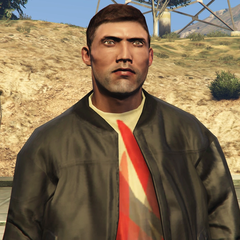 Gustavo Mota | 14% | Good | The Jewel Store Job |
| Gunman | 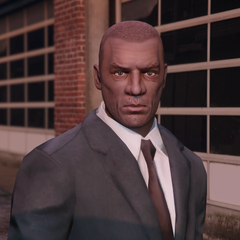 Patrick McReary | 12% | Good | The Jewel Store Job, after the Getaway Driver event |
| Gunman | 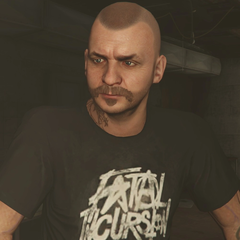 Chef | 12% | Good | The Paleto Score, after a phone call |
| Gunman | 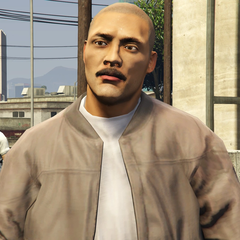 Norm Richards | 7% | Poor | The Jewel Store Job |
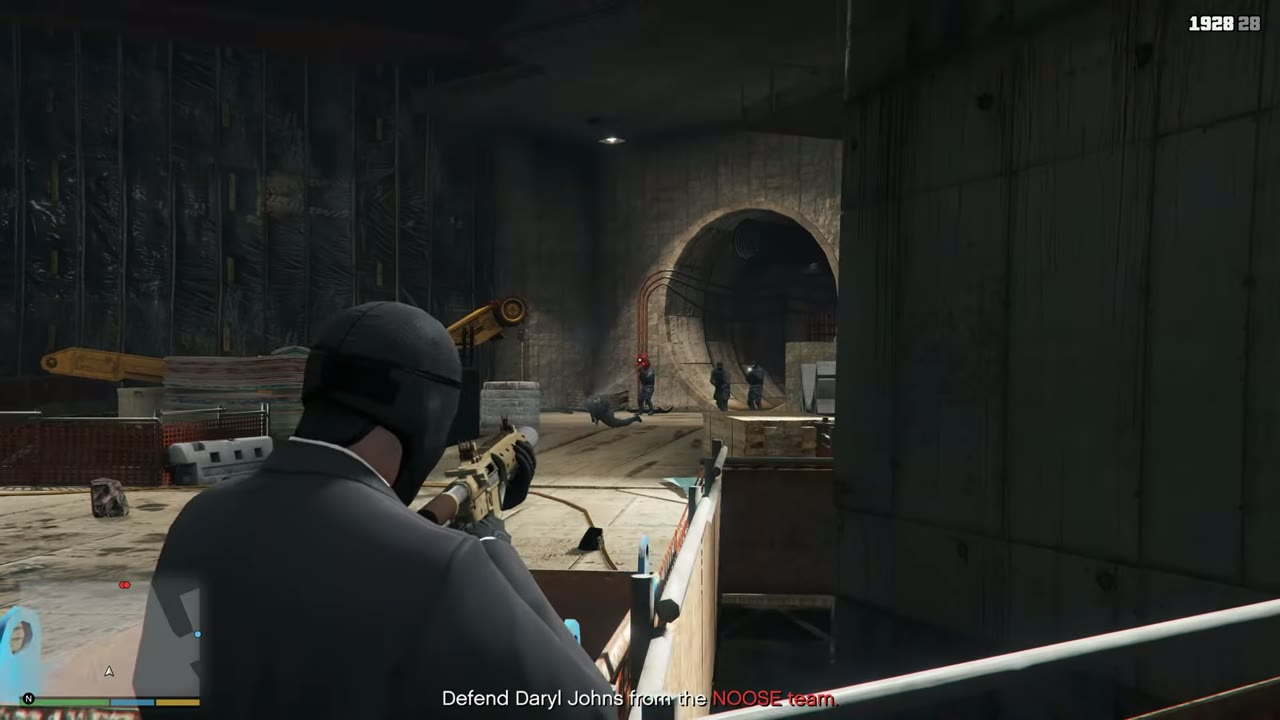
| Gunman | 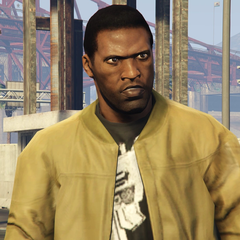 Daryl Johns | 6% | Poor | The Paleto Score |
| Gunman | 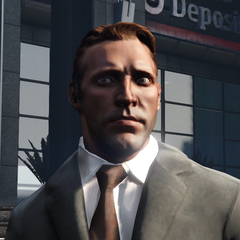 Hugh Welsh | 7% | Poor | The Bureau Raid |
| Gunman | 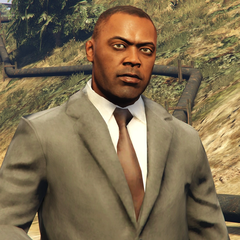 Karl Abolaji | 8% | Poor | The Big Score |
| Hacker | 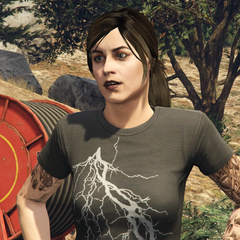 Paige Harris | 15% | Good | The Jewel Store Job |
| Hacker | 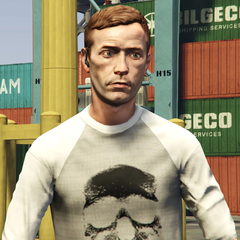 Christian Feltz | 10% | Mediocre | The Jewel Store Job |
| Hacker | 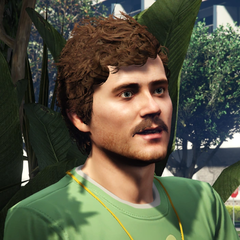 Rickie Lukens | 4% | Poor | The Jewel Store Job, after a call to Michael |
What a weak hire does in practice:
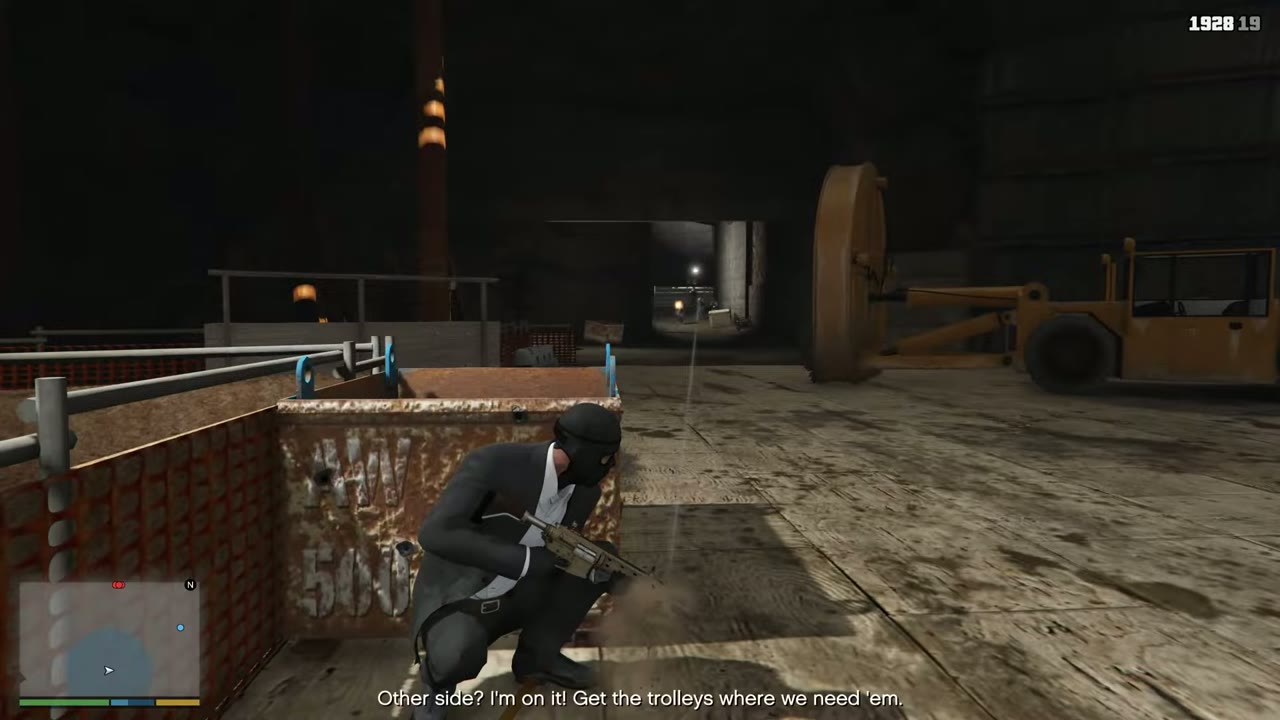
- The Jewel Store Job: a poor gunman crashes his bike with a bag of jewels, and you have to stop and pick it up. On Loud, he also fails to control the manager, while a poor driver drops some jewels.
- The Paleto Score: a poor gunman dies in the street, and you must pick up his bag. A good one stays with you to the end.
- The Bureau Raid: on Covert, a poor gunman dies in the backdraft. On Roof, a poor driver turns up late and brings the police.
- The Big Score: on Subtle, a poor driver drops bars and is arrested, which costs a large part of the take. On Obvious, a poor first driver crashes the helicopter and loses half of it.
The usual advice is to pay for good people on The Big Score, as that’s where nearly all of the money is. Use Patrick McReary and Taliana Martinez if you’ve met them. Both are cheap for their skill. Look out for their Random Events on the road.
Tips for the whole story
- Switching characters: Hold the switch button to swap between the protagonists. Mission markers show which of them can start a job, and any character left alone may be busy with something else when you come back.
- Special abilities: Michael slows time in gunfights, Franklin slows time while driving, and Trevor takes less damage and deals more. All three bars refill as you play, and they’re a big help on hard sections.
- Skills: Each character has stats for driving, shooting, flying, stamina and more. They go up with use, and Flight School and the shooting ranges are the quickest ways to raise them.
- Saving: Sleep at a safehouse to save and pass time, or use the quick save on your phone. Keep a second slot from before The Big Score.
- Replaying: A failed mission restarts from a checkpoint, and after three failures you get the option to skip that section. Missions you have passed can be replayed from the pause menu for medals.
- Stock market: Do not spend your big payouts until you have read the plan under Lester’s missions. It can give you far more money than any heist.
- Armor and weapons: Buy armor from Ammu-Nation before any long gunfight, and fit a suppressor to something early. Several Gold Medals and stealth sections go better with one.
GTA 5 mission order: all story missions
This is the practical order used in this walkthrough. Missions in the same phase can often be swapped, and mission counts vary, as the game tracks 69 story entries but you may play more or fewer depending on which approaches you pick. Setups marked with an approach apply only if you chose that approach.