


Alongside the story, the map index lists optional tasks. Some are small favors that only exist for a short time, so do them when they appear. Others, like robberies and treasure dives, stay open and are a steady source of cash.
Errands before Lucia’s release
After Feng Shui, Lucia calls to say she gets out tomorrow, and the help text says you have time for tasks before you pick her up. None of these are required to finish Coming Home. They go away once the mission starts, so do the ones you want first.
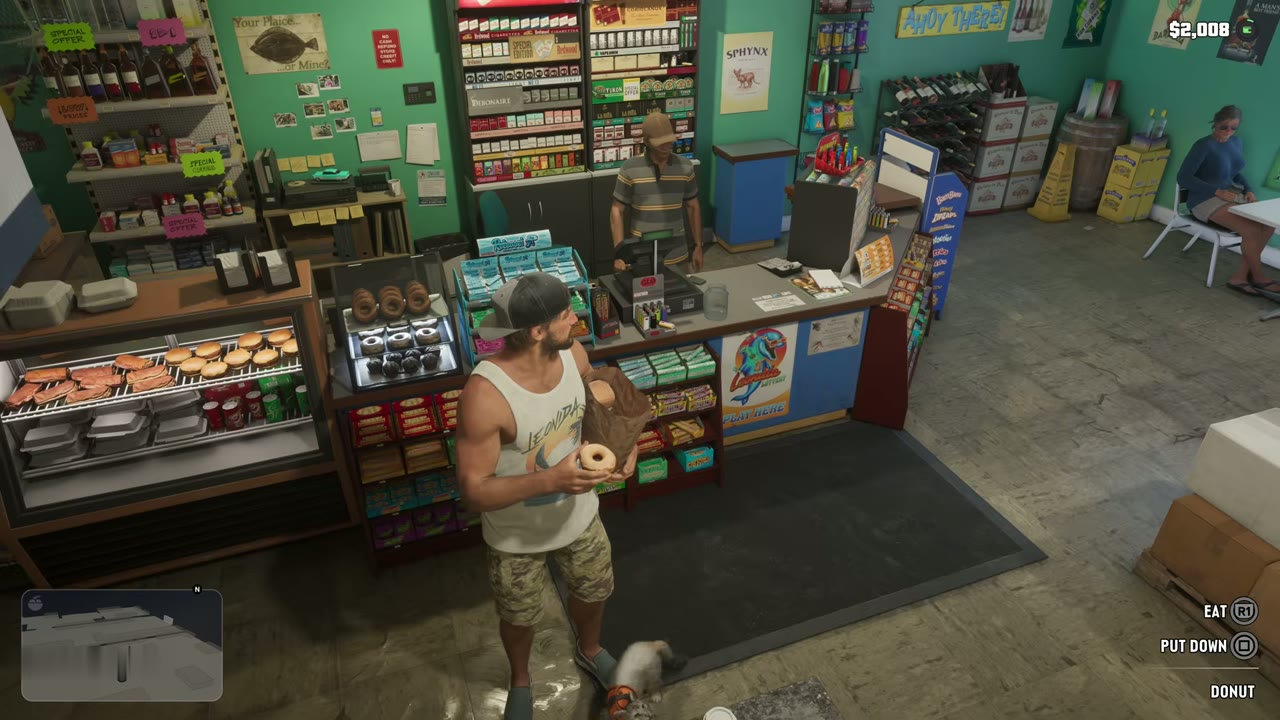
Pick Up Groceries
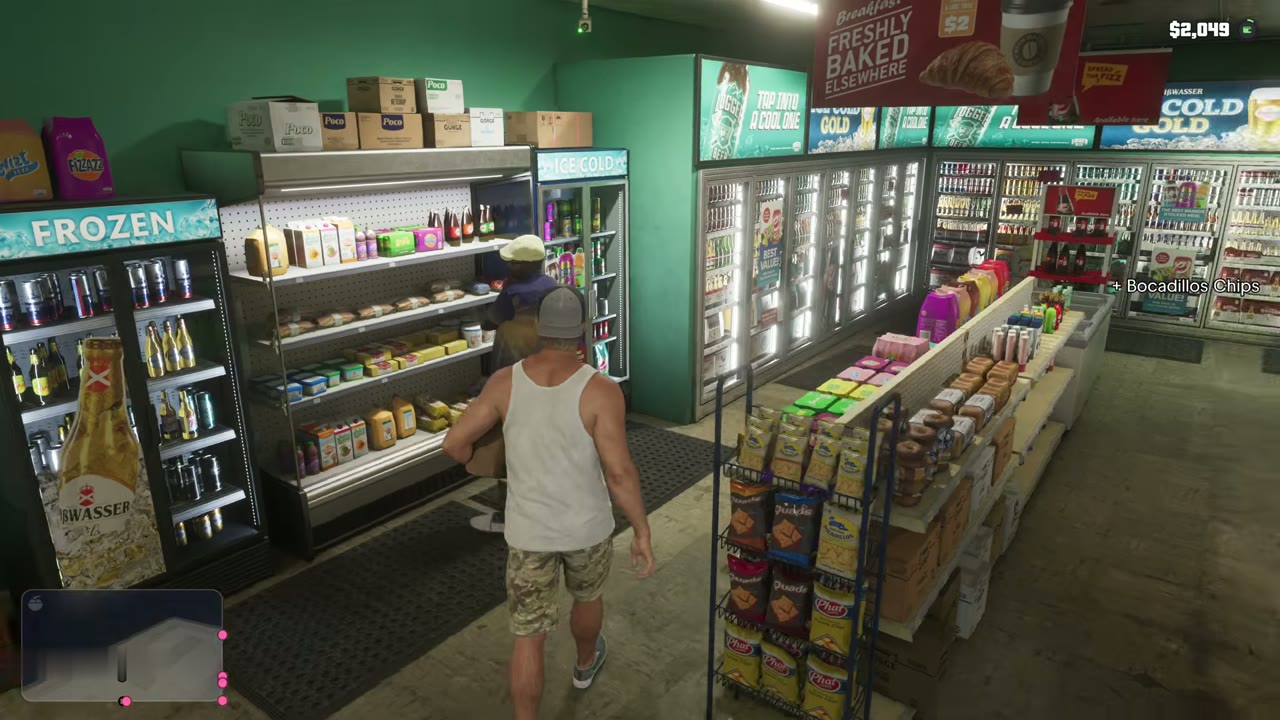
Buy groceries at the store near the house, stow them in the trunk and drop them off at home. The help text reminds you to take the bags from the trunk and carry them inside.
Buy Flowers
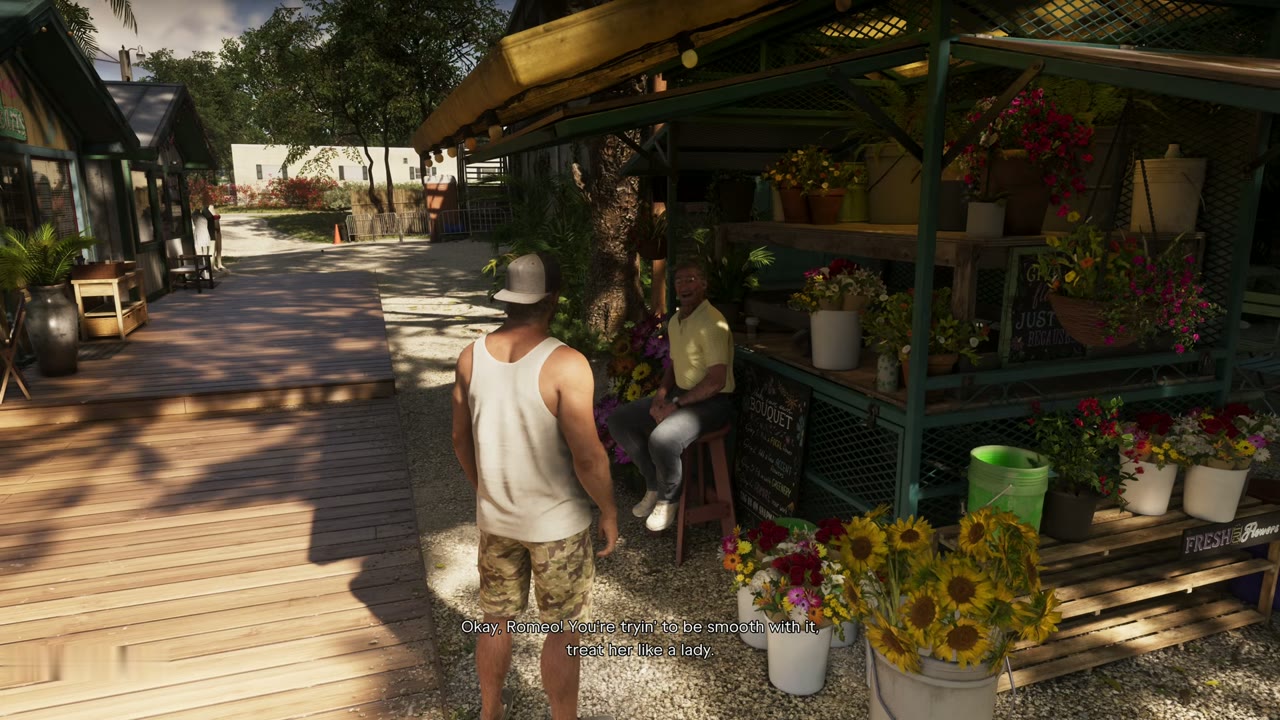
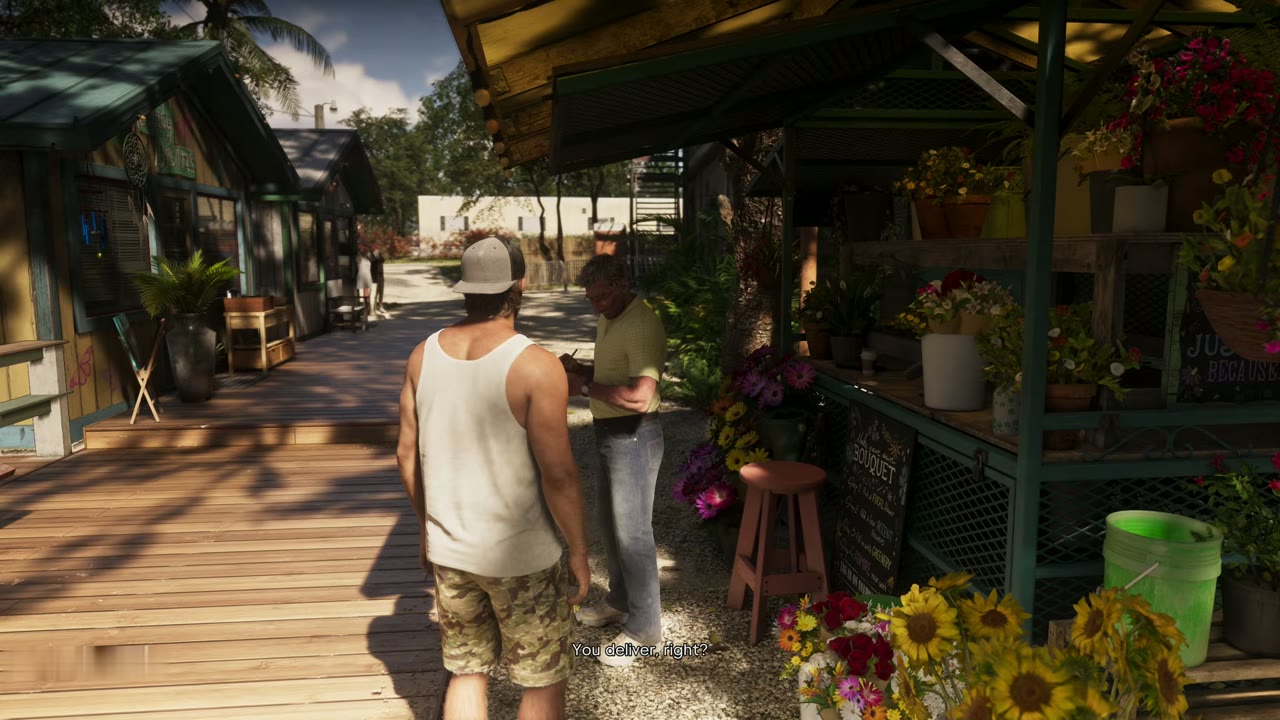
The flower stall in the Keys sells bouquets, and the seller advises going big. Cal suggested flowers in Feng Shui, and it is a nice welcome for Lucia.
Buy Lucia a Necklace
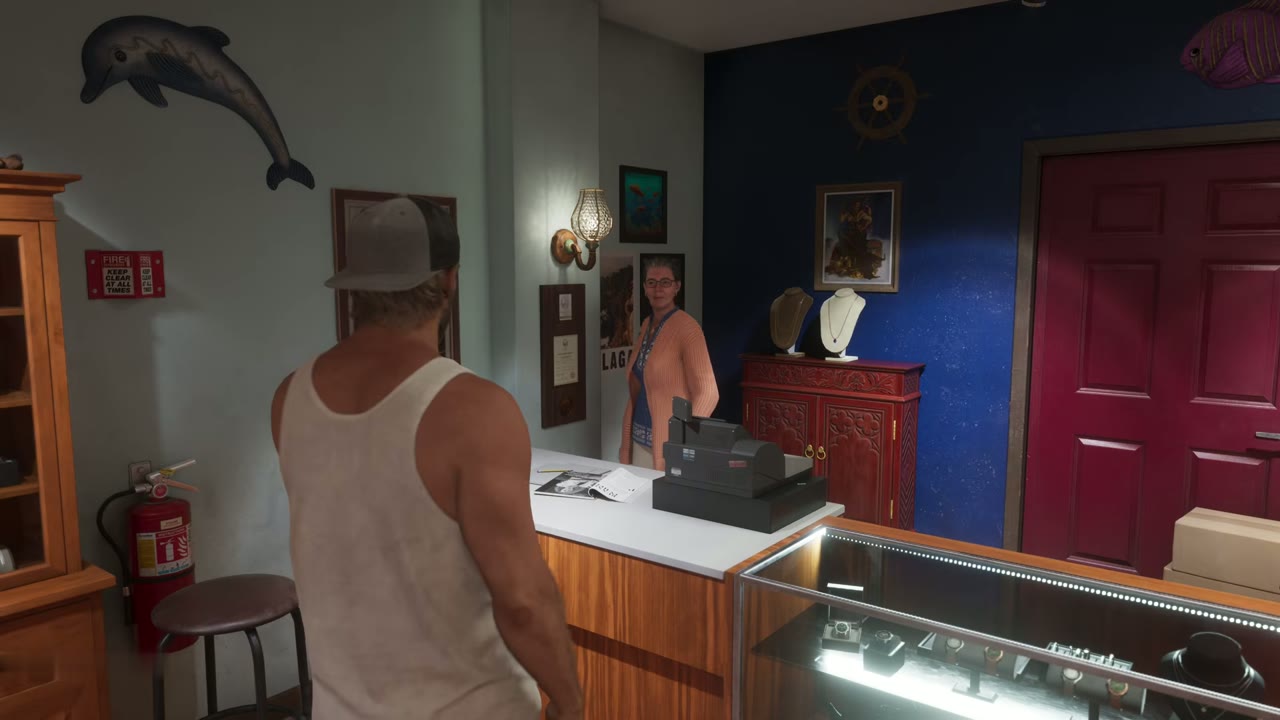
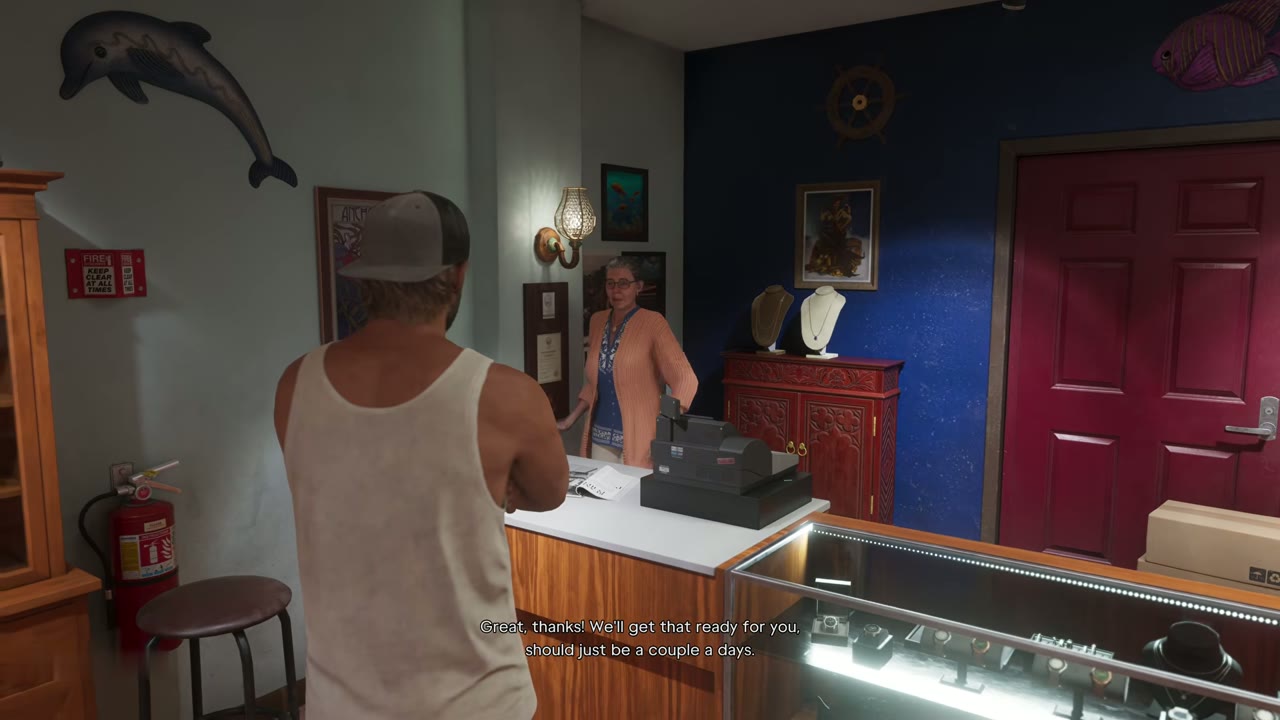
At the jewelry store, ask about custom jewelry. Jason orders a gold necklace that spells out Tomás, the name of Lucia’s son, and has it delivered to Brian’s green stilt house off Peach Palm Drive in a couple of days.
Get the Chop
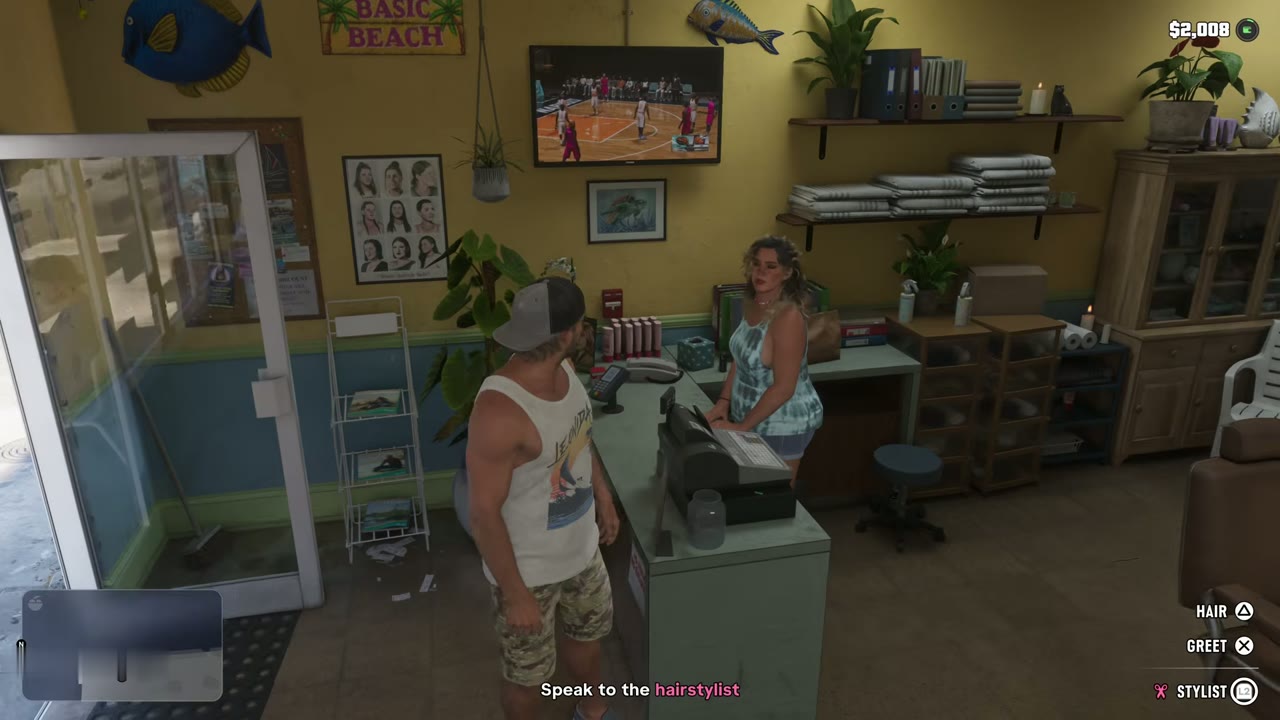
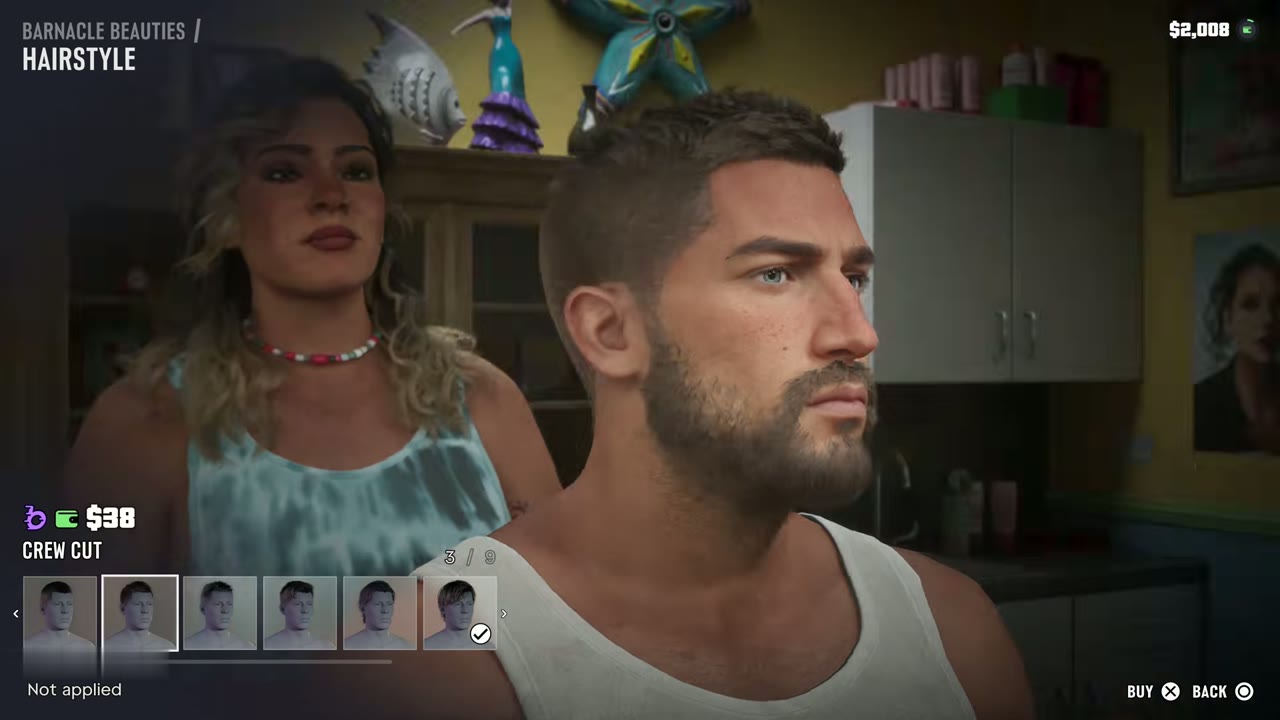
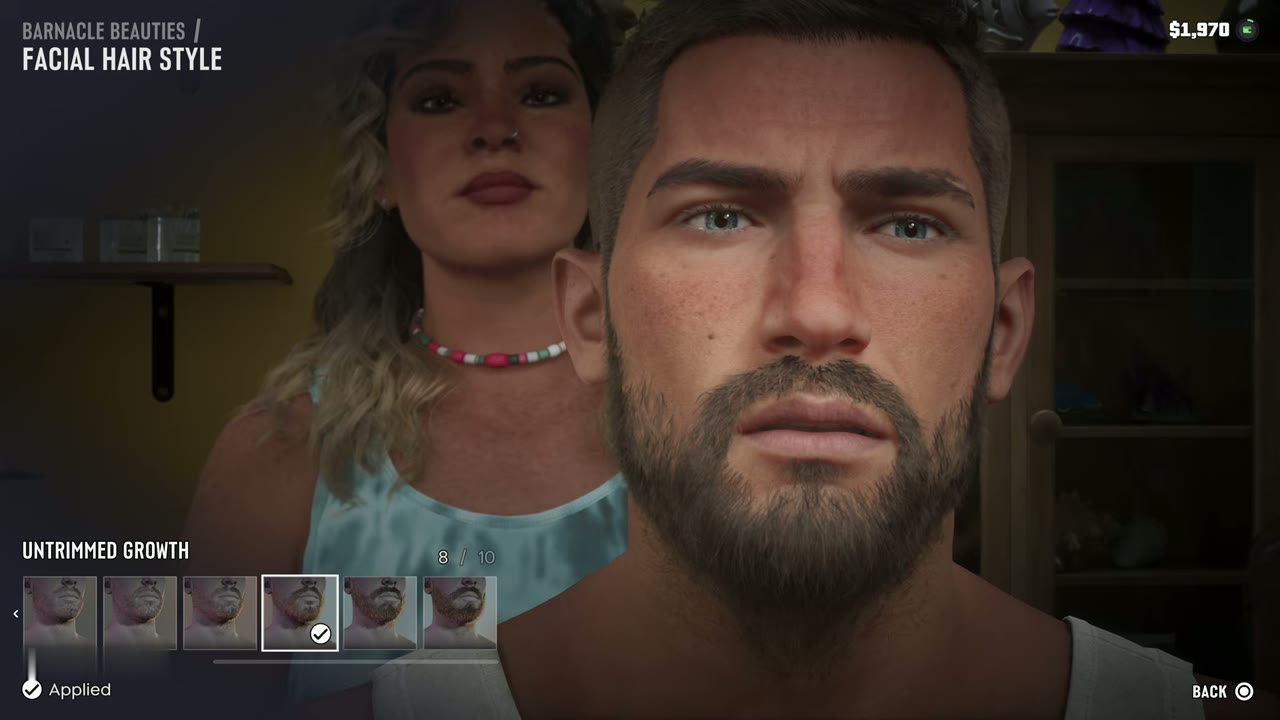
Visit Barnacle Beauties to change Jason’s hairstyle or tidy up his beard. Speak to the hairstylist, then pick a cut and facial hair. A new look also lowers police recognition.
Get Lucia’s Clothes
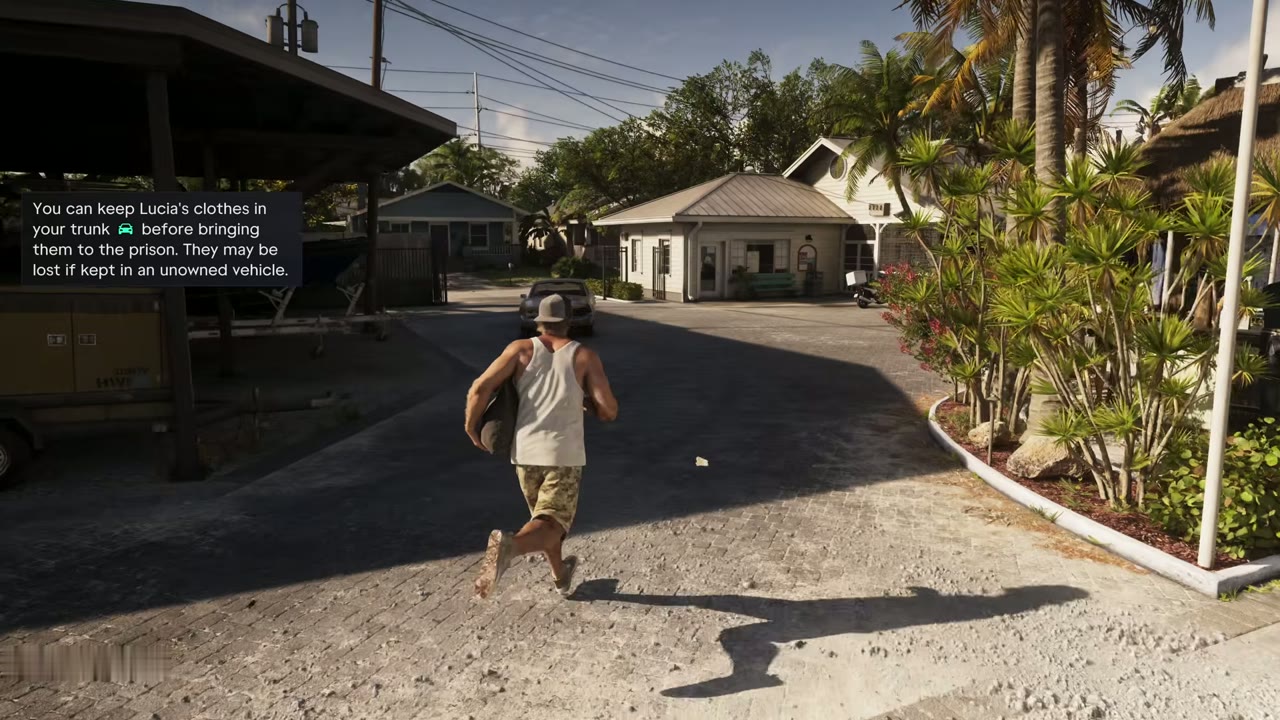
Lucia’s friend Andy has a bag of clothes for her at the Manatee’s Rest bar. Talk to Andy, take the bag and keep it in your own car’s trunk or in your hands until Coming Home. It is lost if you leave it in a car you don’t own or get arrested.
Get Shirley’s Rum
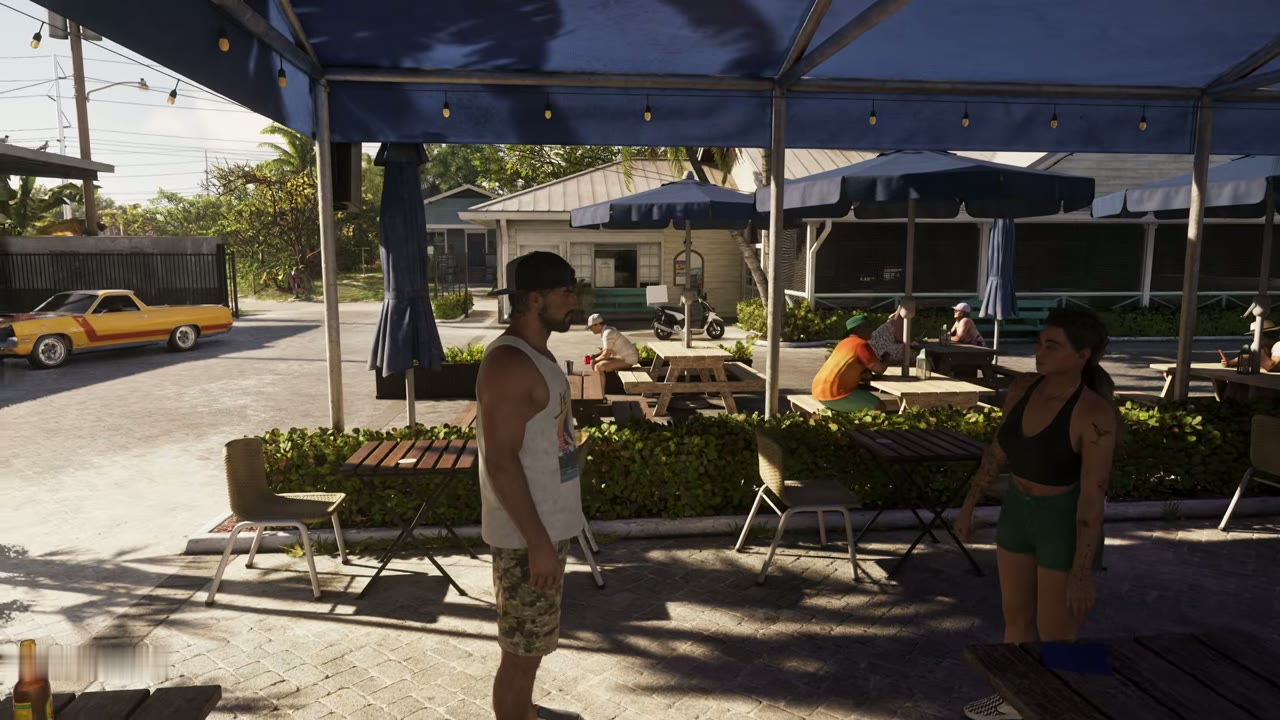
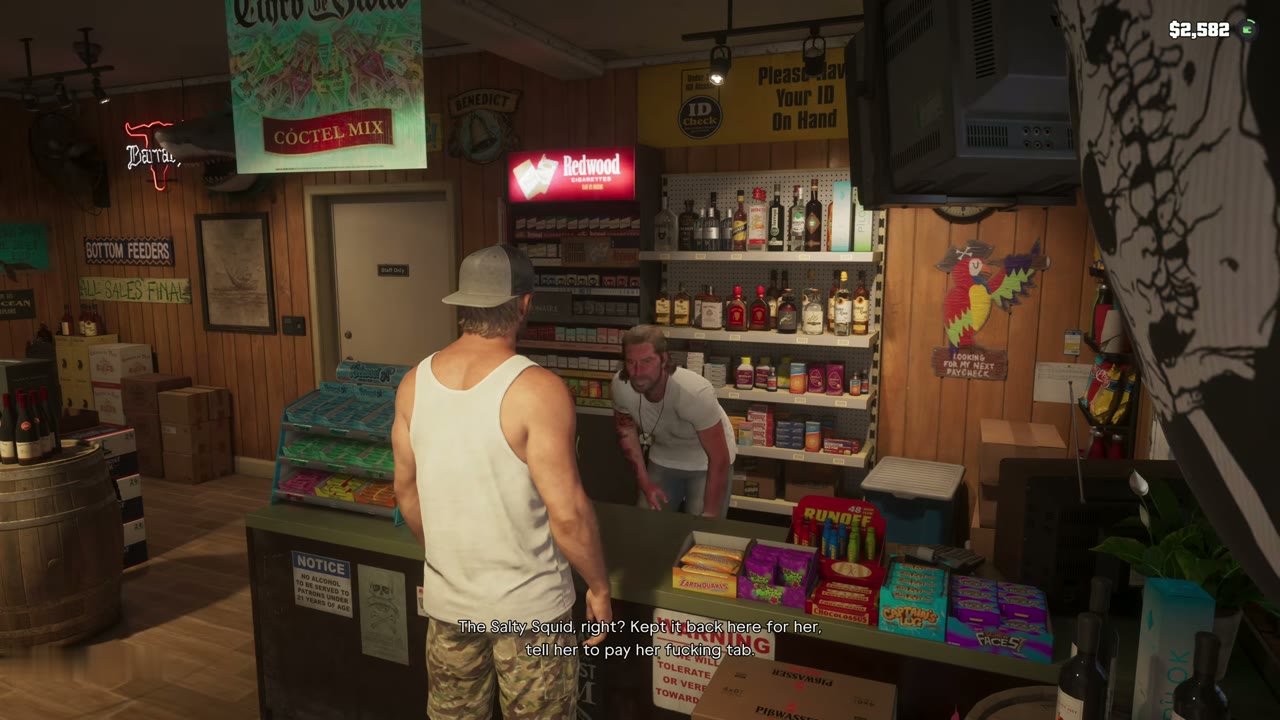
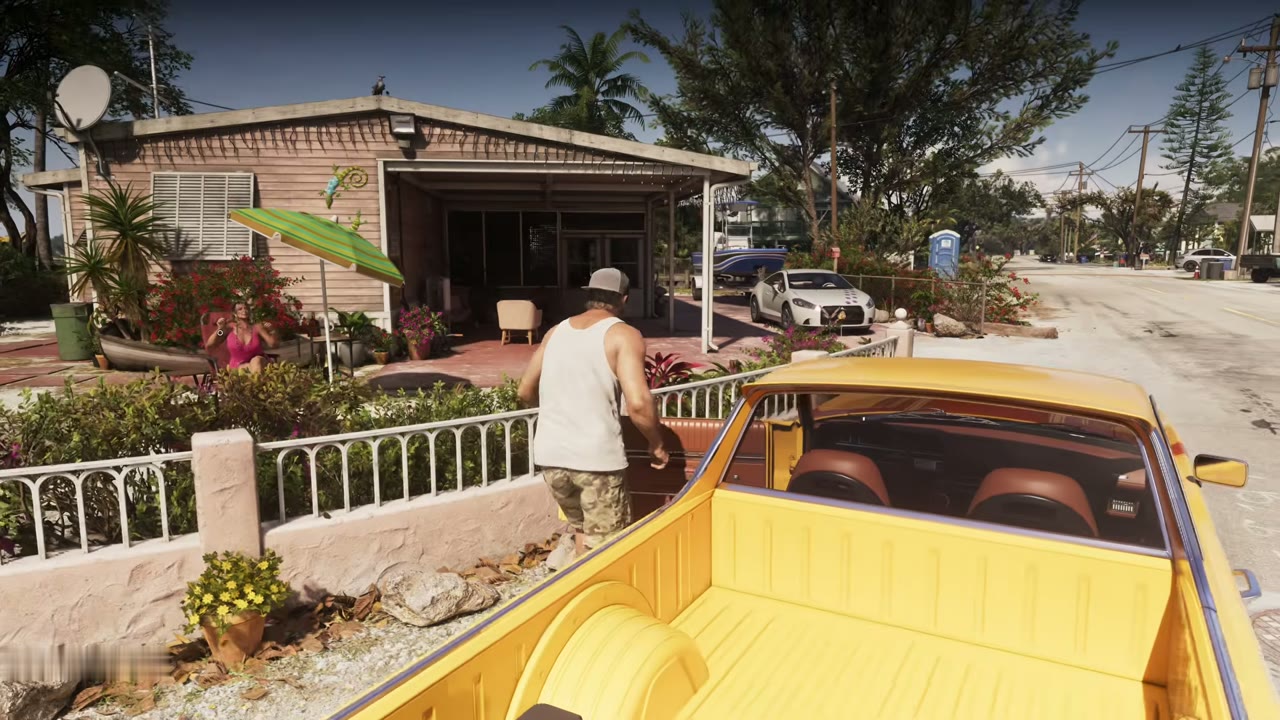
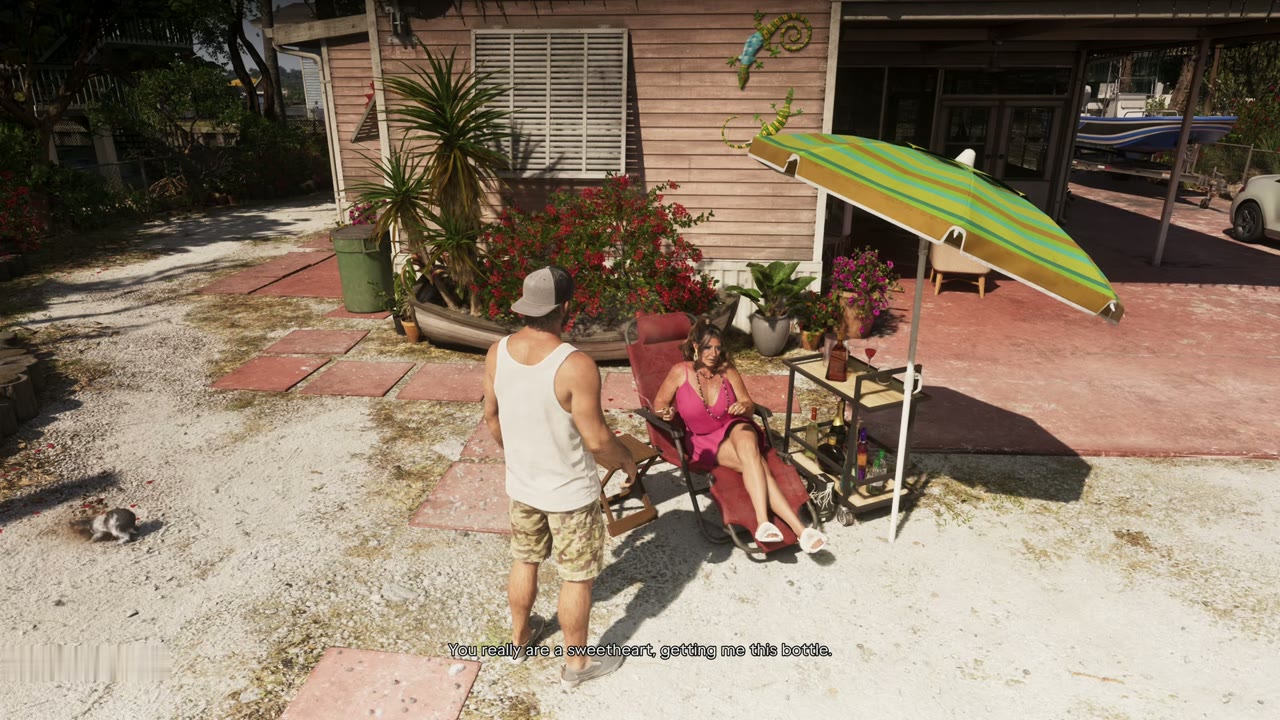
Your neighbor Shirley asks Jason for a bottle of Salty Squid rum from Three Sheets so she can make a Mai Tai. Go to the liquor store and ask the clerk for Shirley’s rum; he keeps it behind the counter for her. Bring it back to Shirley, who is sitting under her umbrella in her front yard. This errand can be missed if you leave it too long.
Find the Lost Drugs
After Clean Up After Donnie, the map marks where more of Donnie’s misdropped packages came down. One signal leads to the Grassrivers recreation area, where you search the area for two packages. One is stuck up high, and the help text says to find something to throw to knock it down. Bring finds to Brian’s lockup or another drop-off.
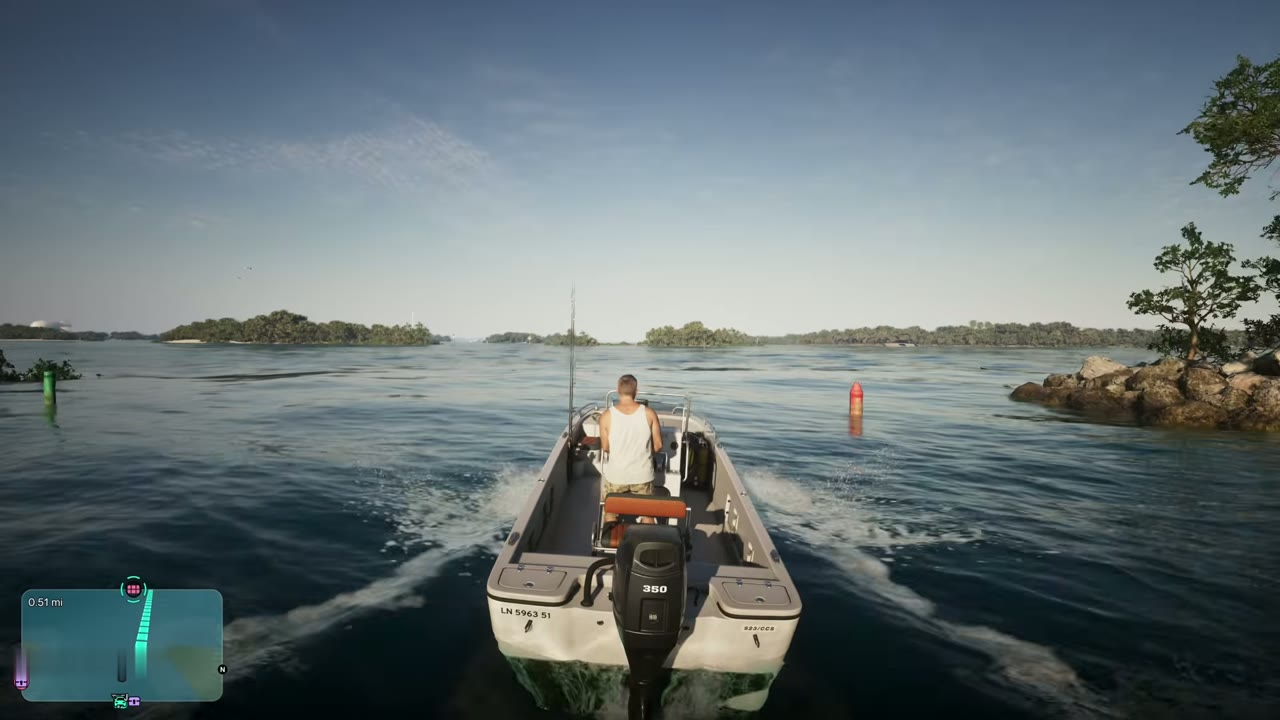
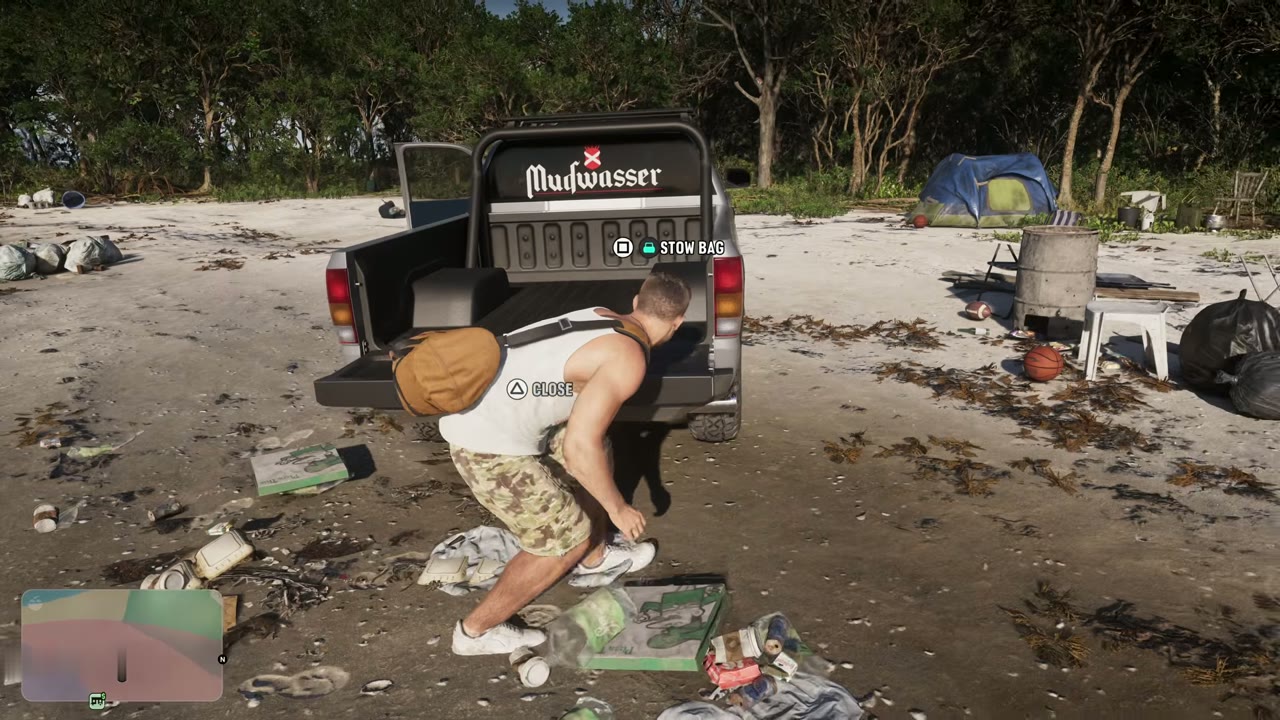
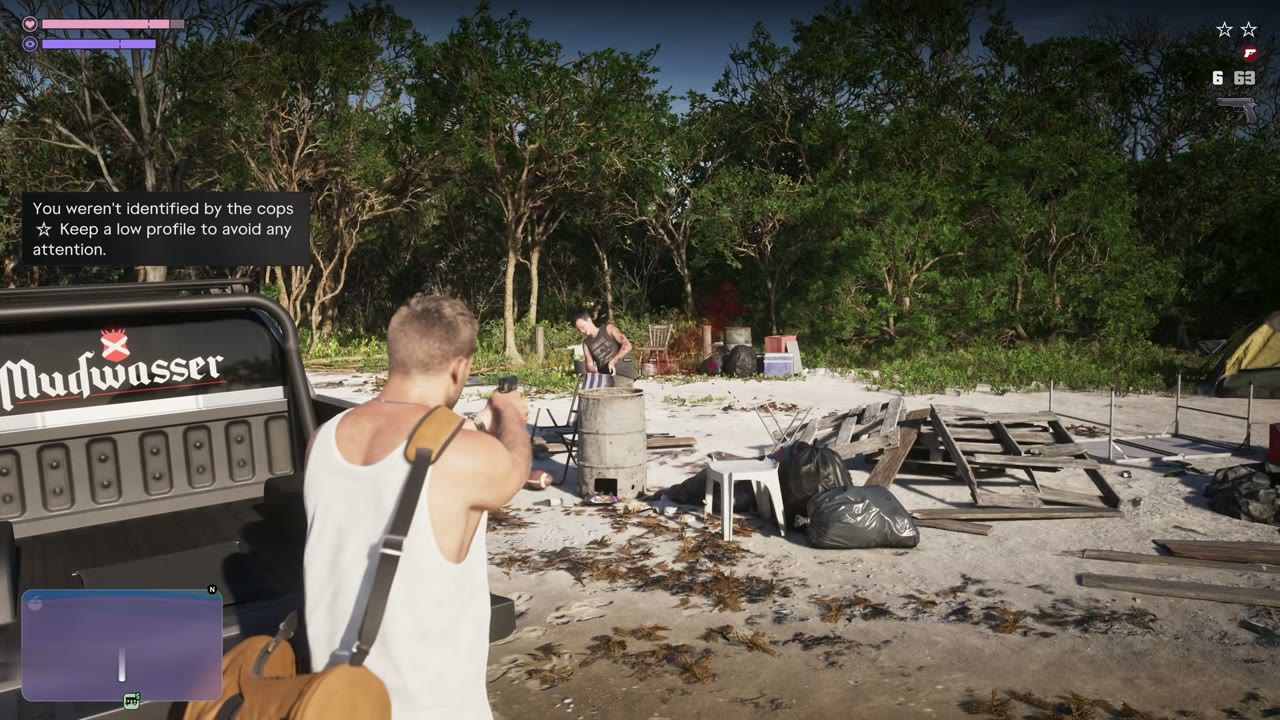
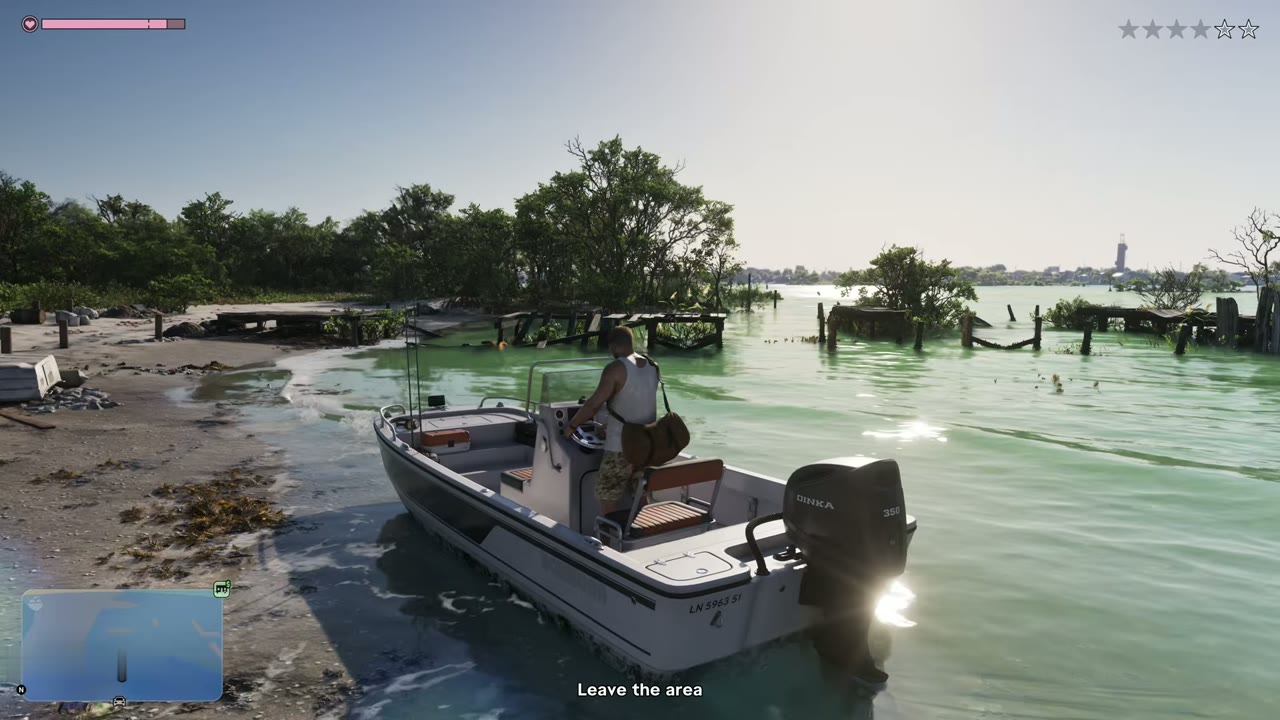
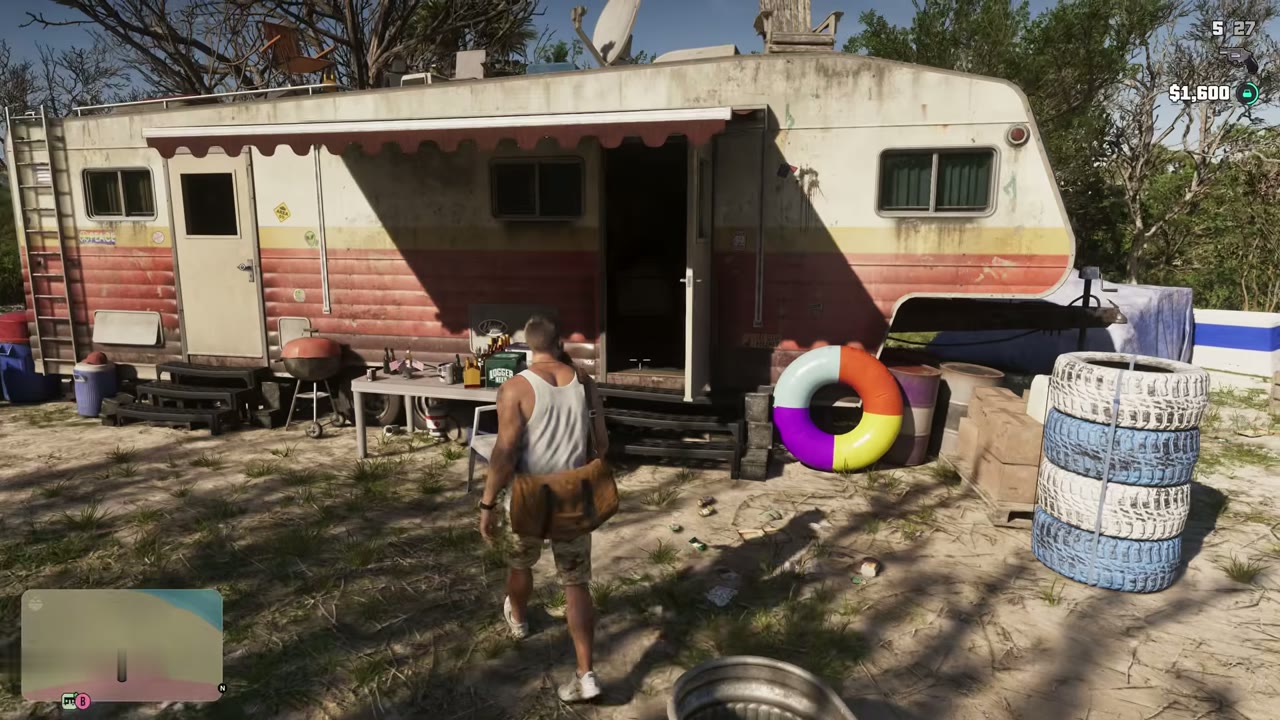
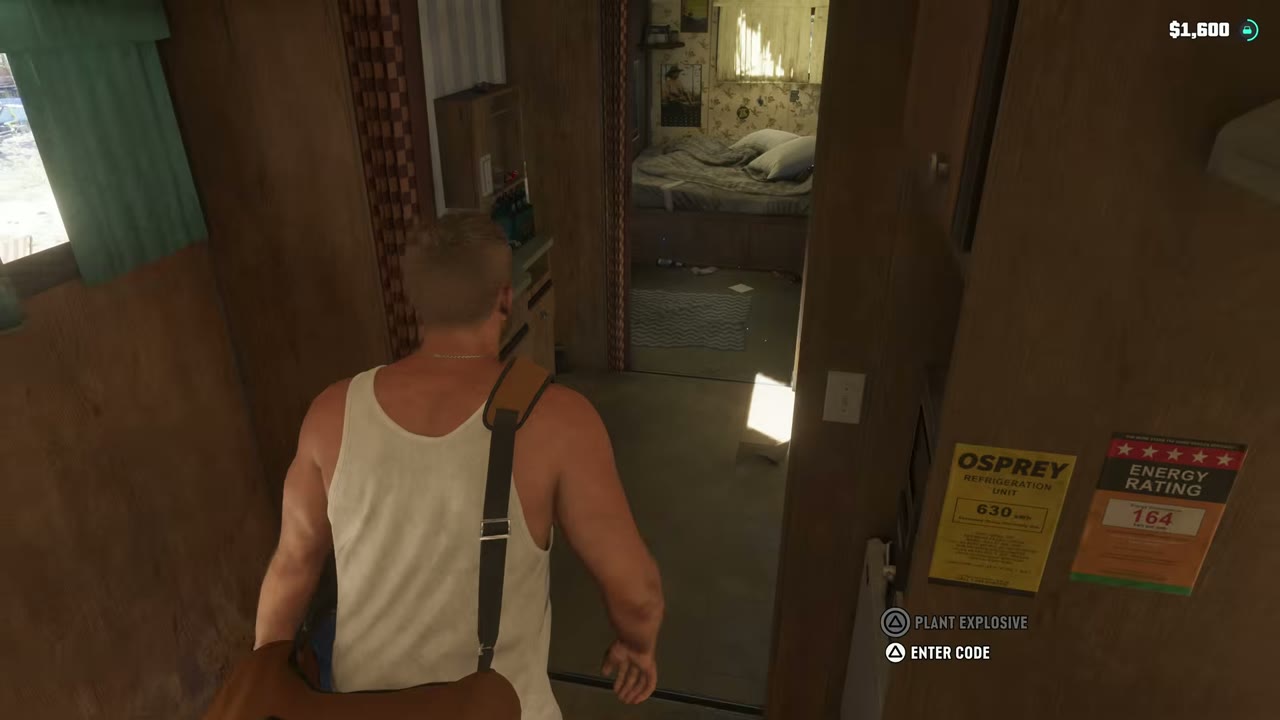
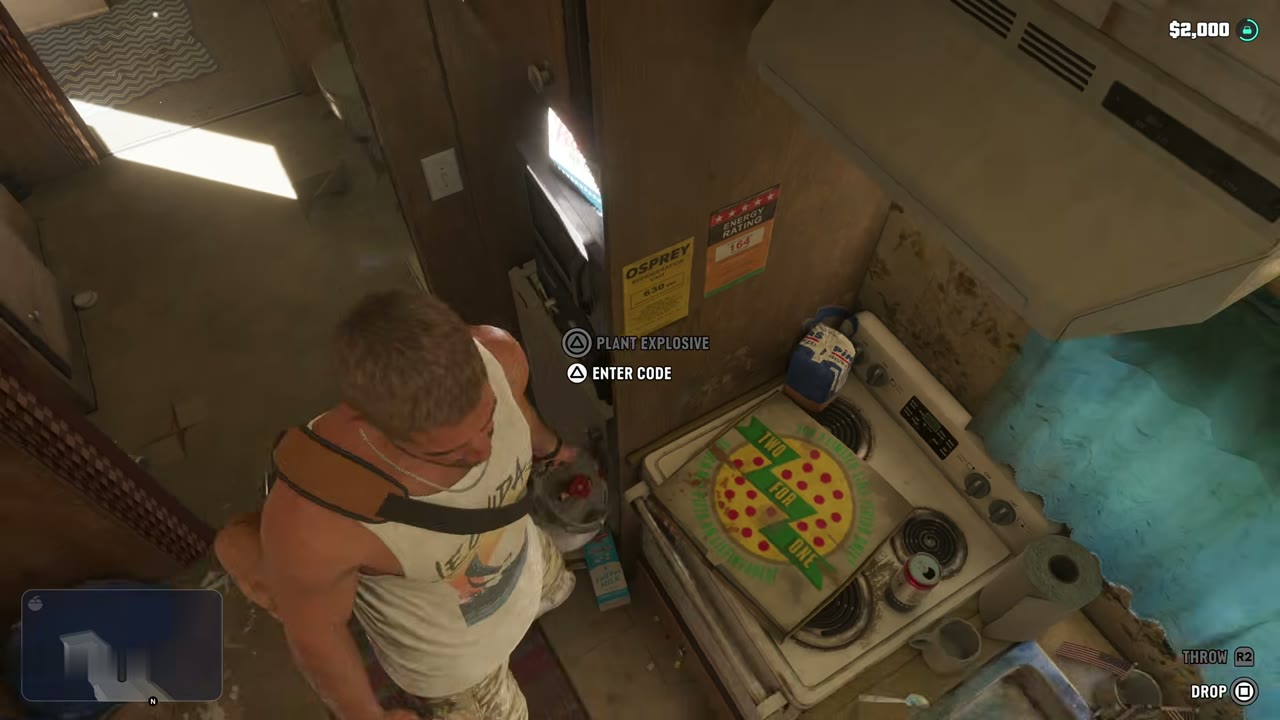
Another lead takes you to a run-down camp in the backwaters. Search the trailers for the stash. Some locations have a safe; you can attach a sticky bomb to blow it open without damaging what is inside, or find the code. The help text warns that stash bags you are carrying may be lost if you don’t escape the cops after hitting a location.
Kenton’s treasure dives
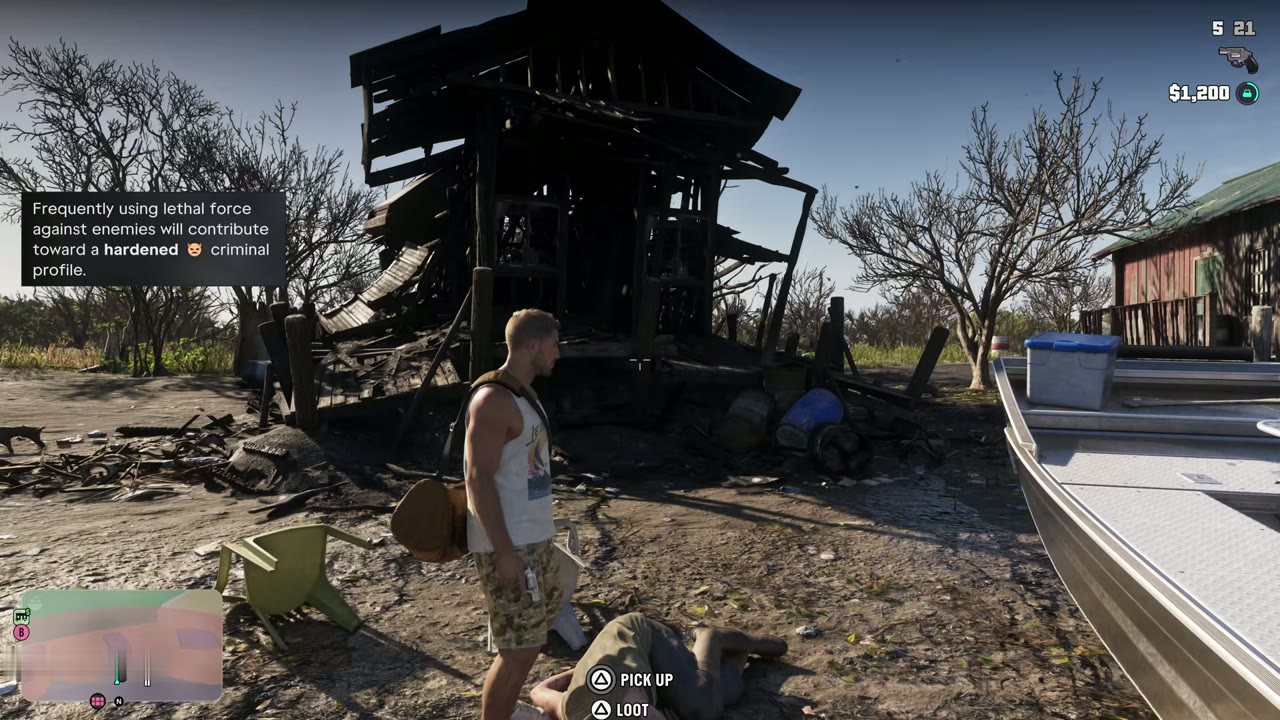
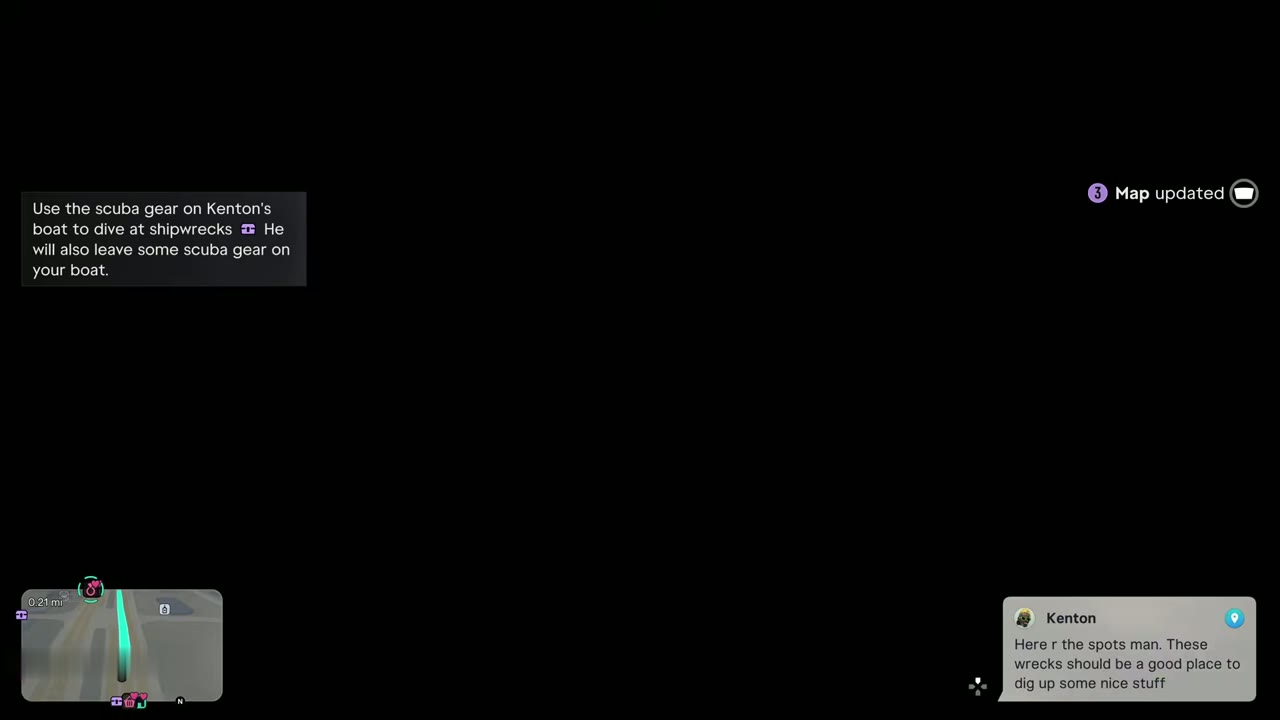
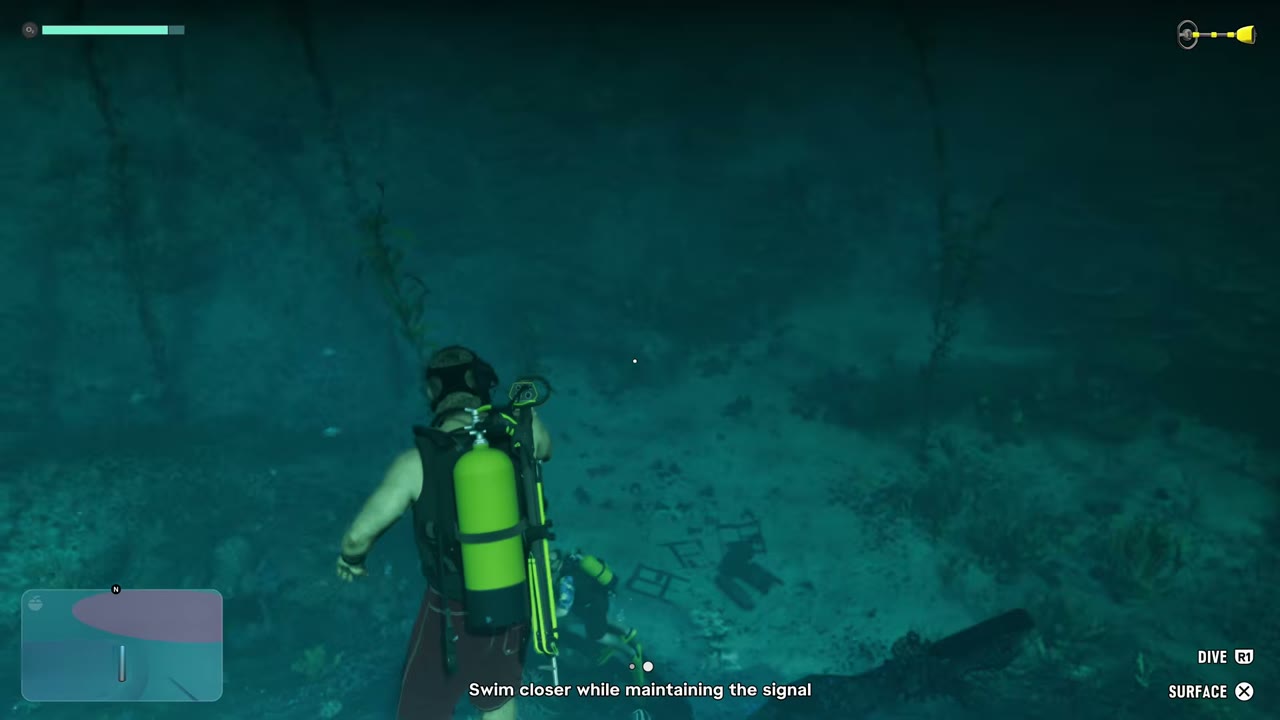
After Island Dreams, Kenton pays a finder’s fee for treasure from the shipwrecks around the Keys, plus a bonus if he finds the right buyer. Use the scuba gear on Kenton’s boat, or the set he leaves on your own boat, and the metal detector from your loadout.
Clock Out
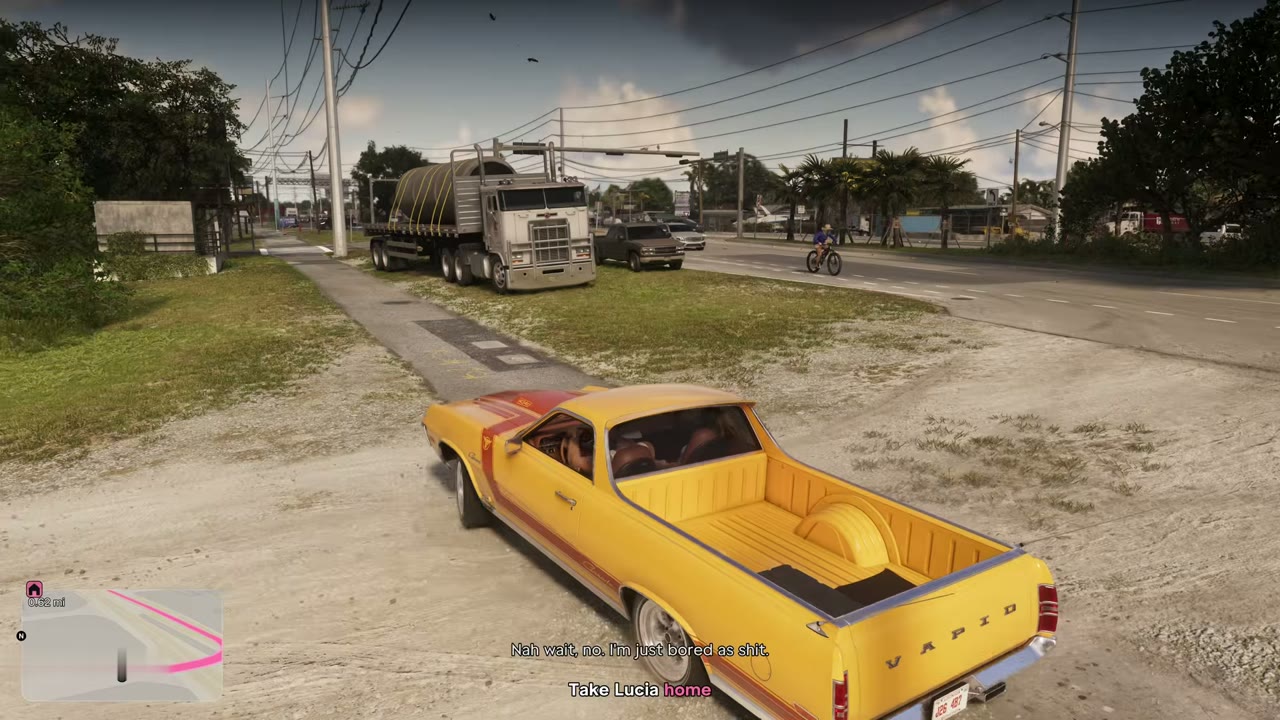
When Lucia finishes her community service shift early she texts Jason for a ride. Pick her up at the community center in Key Lento and take Lucia home. It is optional and short.
Robberies and stick-ups
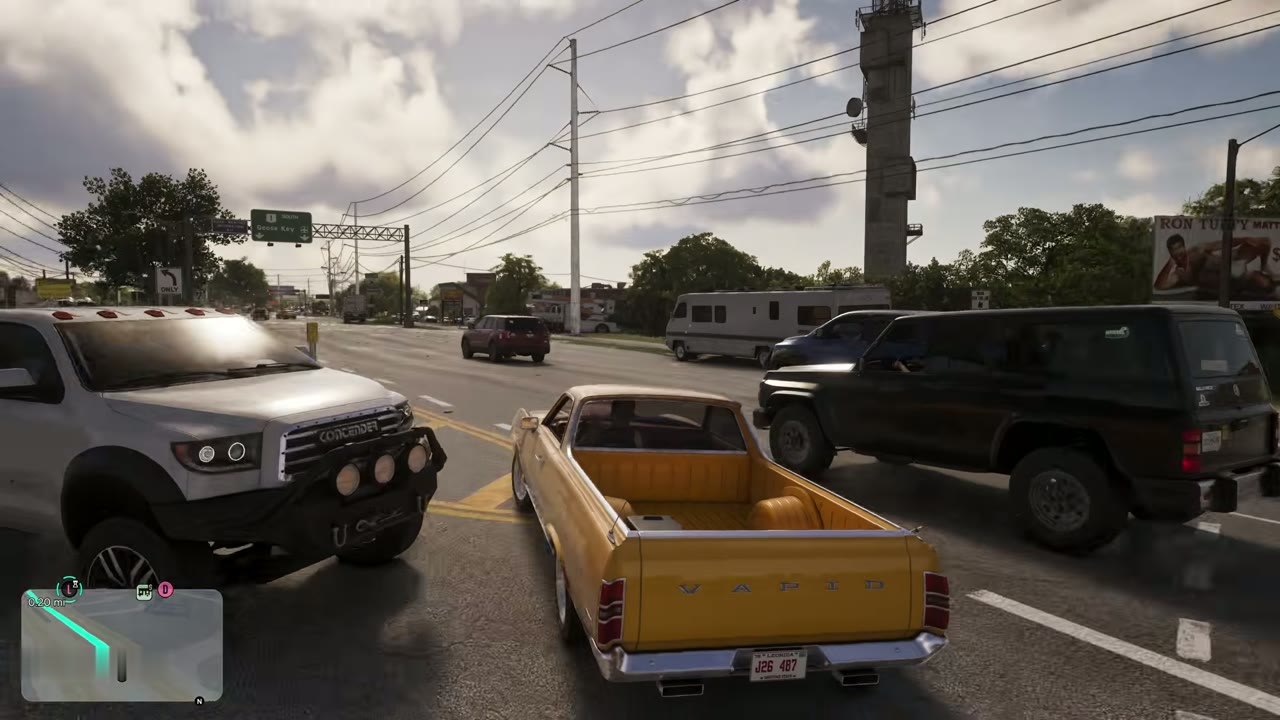
Some stores and back rooms can be robbed. The map card for one says a man confronted by the Kingfishers mentioned they move drugs on a remote island, and another says a liquor store clerk seemed distracted by noises in the back room. Clean, quiet jobs count toward a professional criminal profile. A safe code is sometimes kept on site or known by staff, and focus shows which staff members may know it. In Chapter 2 the help text adds that you can mug people at gunpoint and stick up store registers, and that some places are easier with a partner. The Robberies section of the map lists targets.
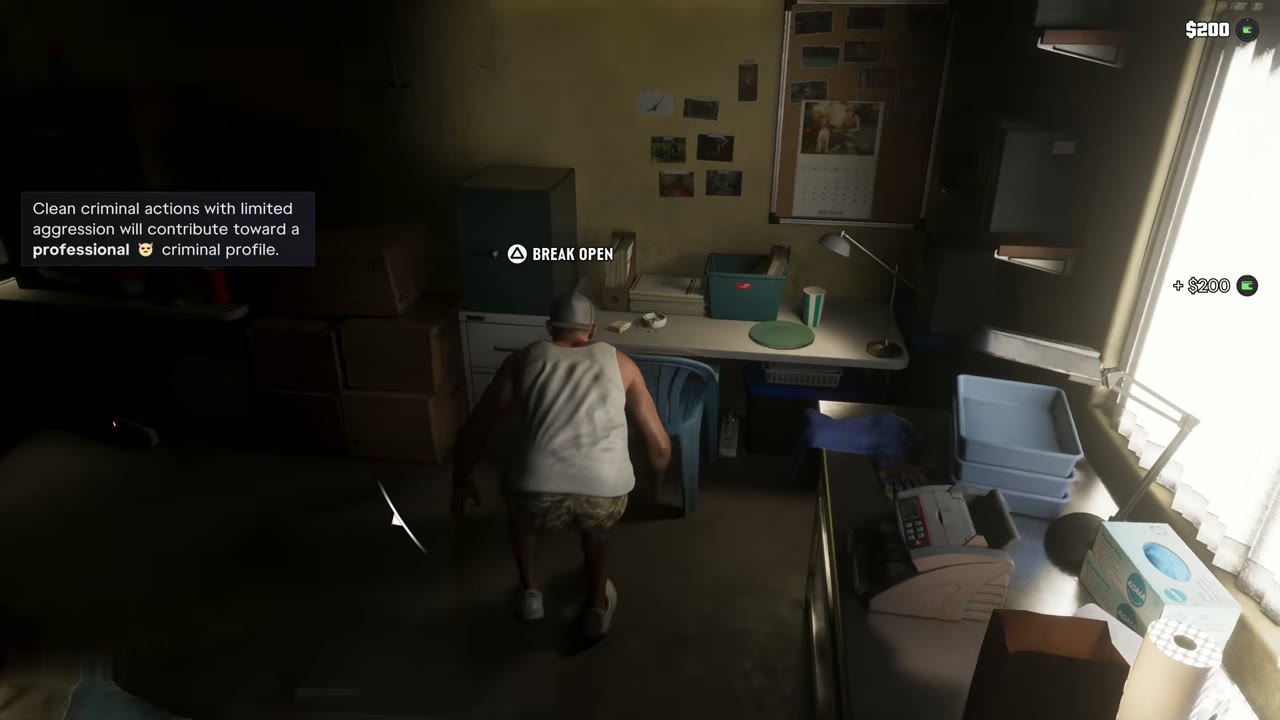
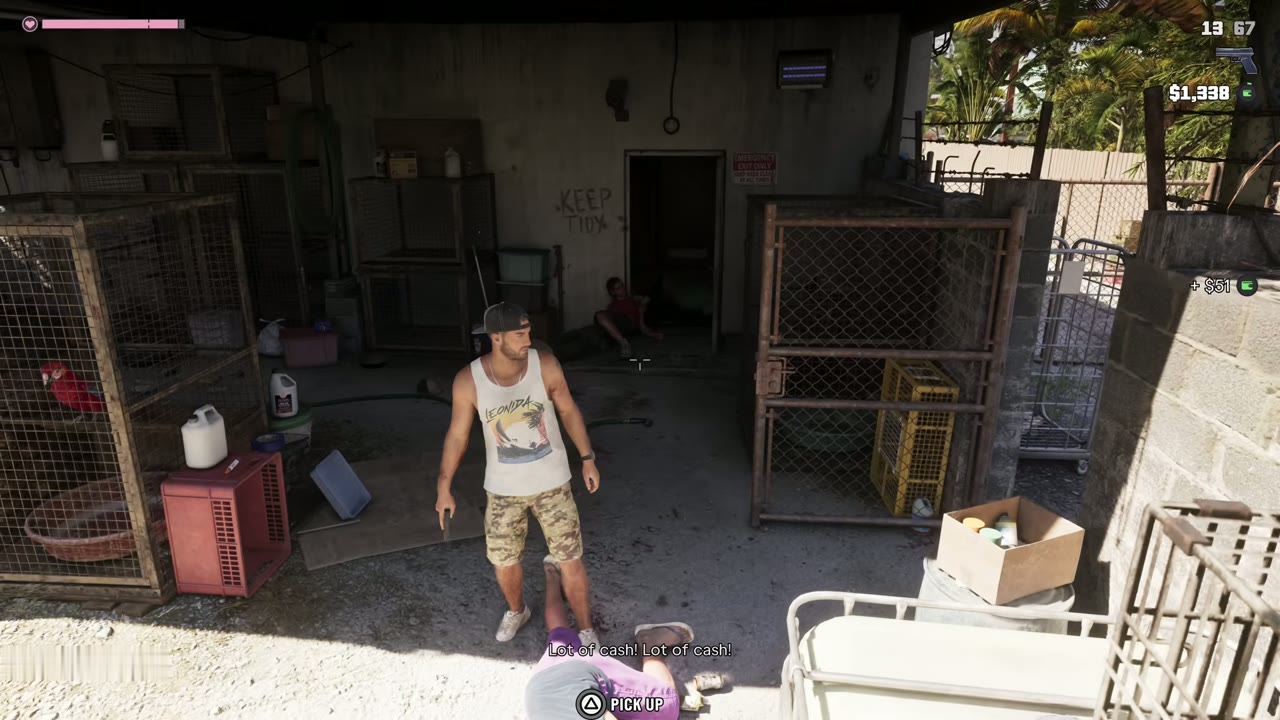
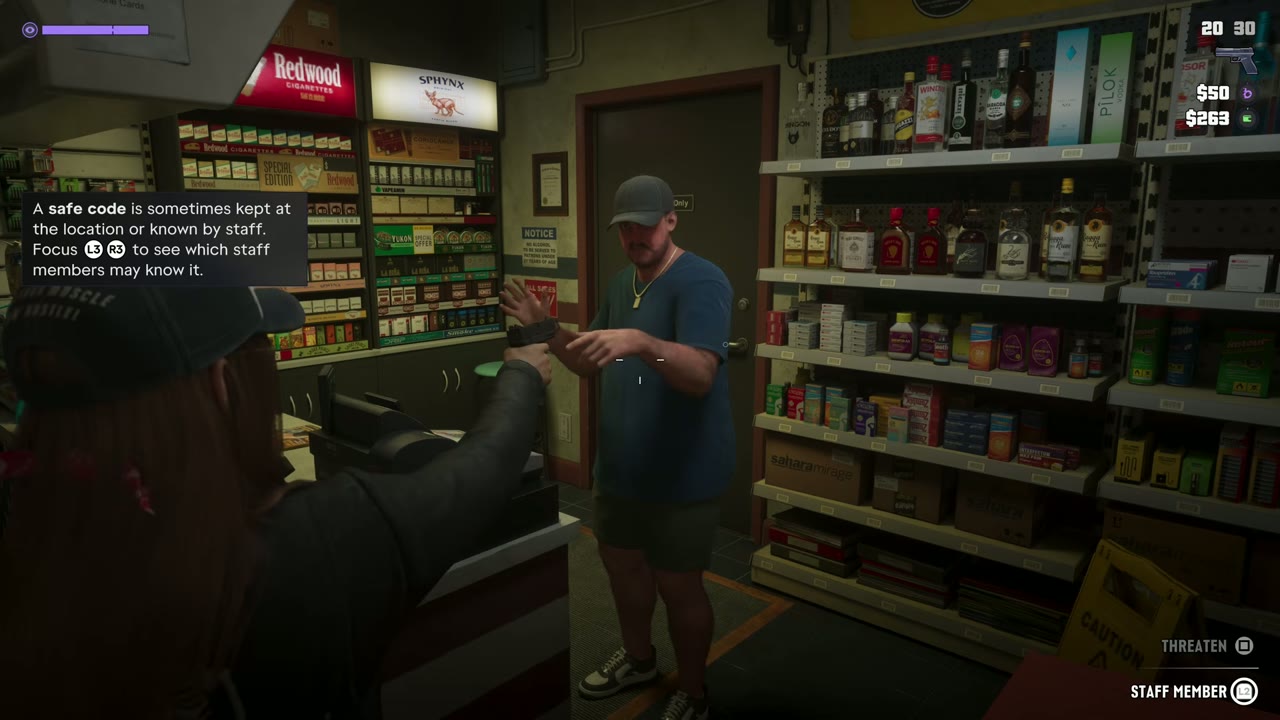
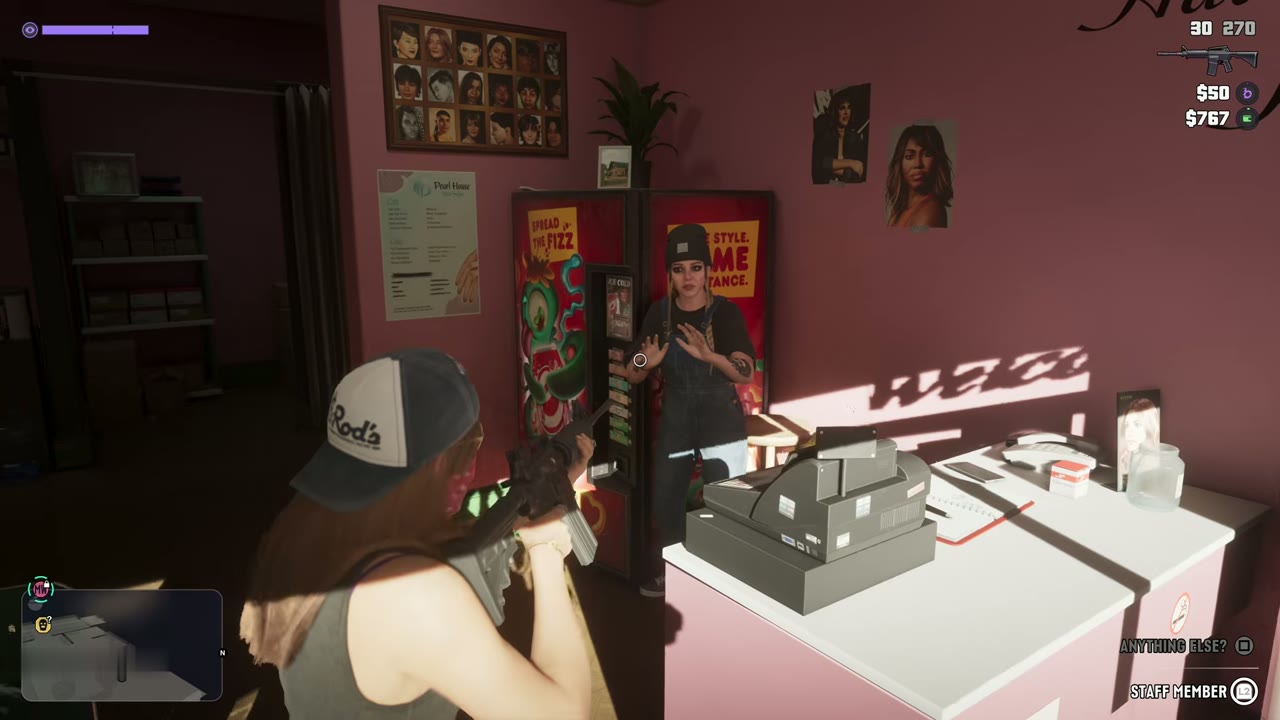
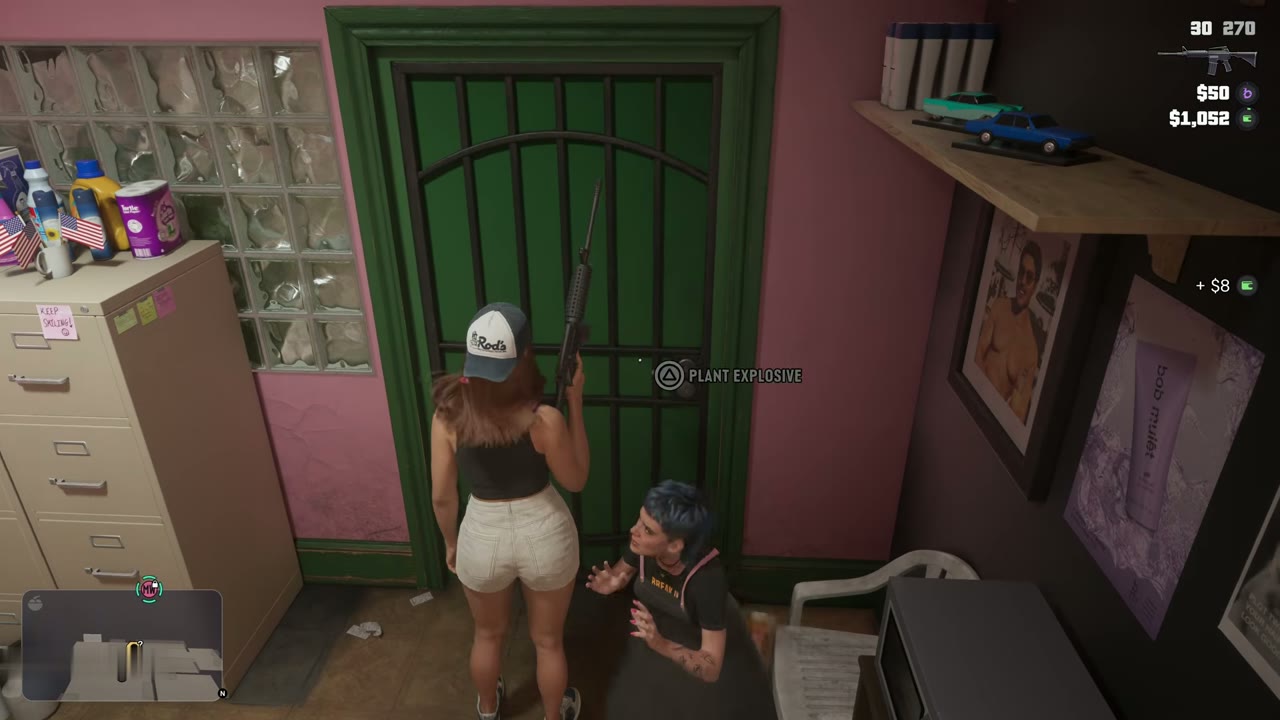
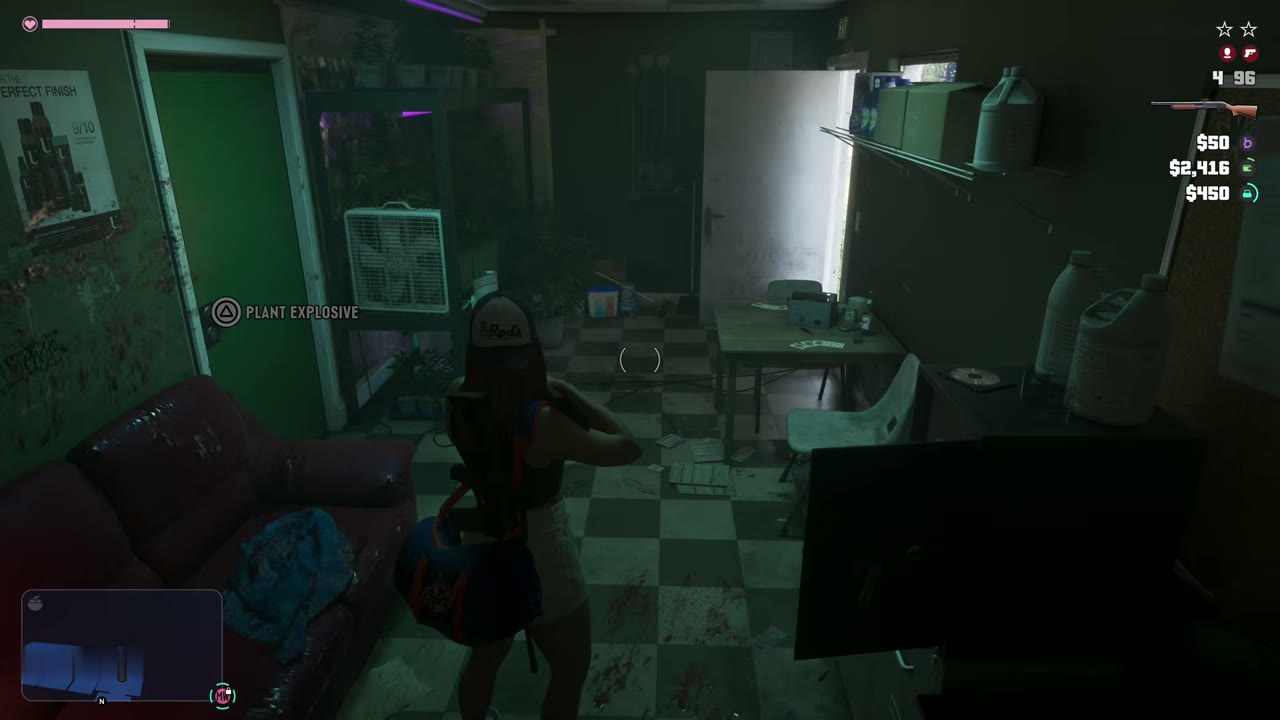
A typical Chapter 2 stick-up is a small business with something worth taking in the back. In our run Lucia held up a hair salon in Port Gellhorn: point a gun at the staff to make them empty the register, then go through to the back room, where a locked door needs an explosive. Take the weed and cash from inside and get away before the police close in. A skilled, controlled job, with nobody hurt and a clean getaway, counts toward the professional criminal profile, and the business stays closed for a while afterward.
Selling collectibles at Buck’s Jewelry and Pawn
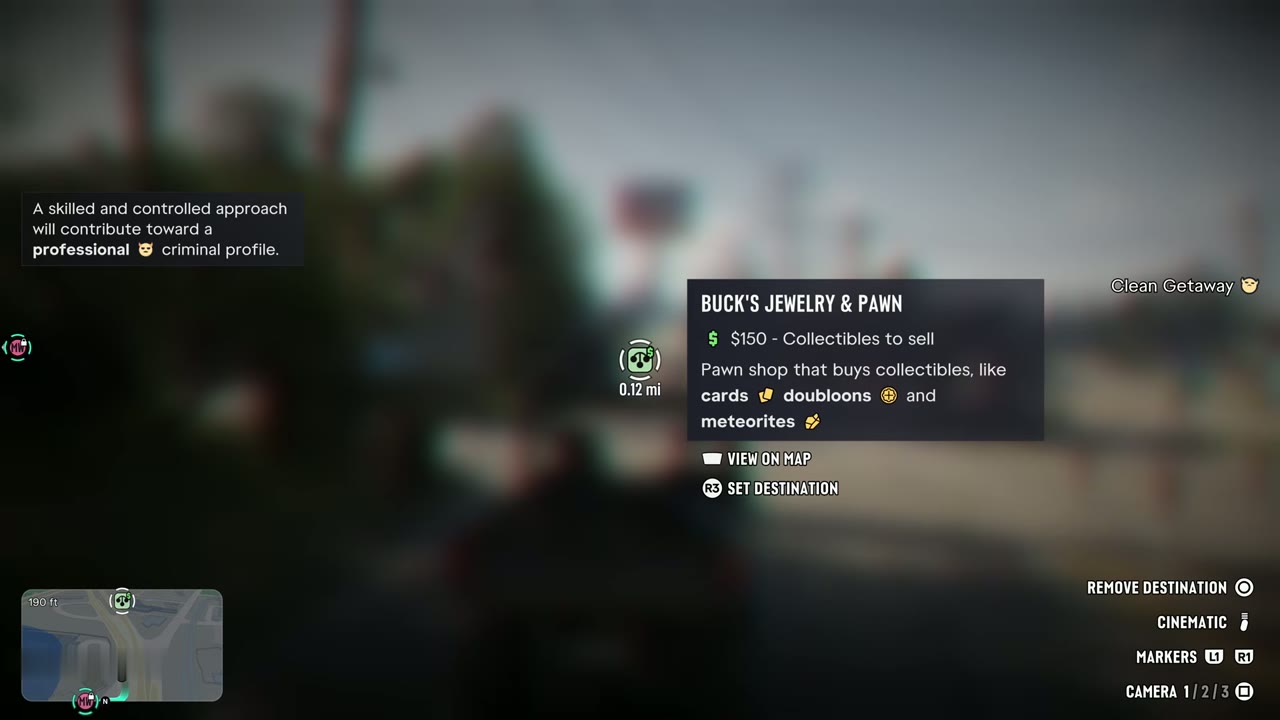
Buck’s Jewelry and Pawn in Port Gellhorn buys collectibles: trading cards, doubloons and meteorites. The shop lists 18 sets of cards and buys a whole set at once. Lucia’s Delights Dancers cards sold for $150 in our run.
Cars for Moses
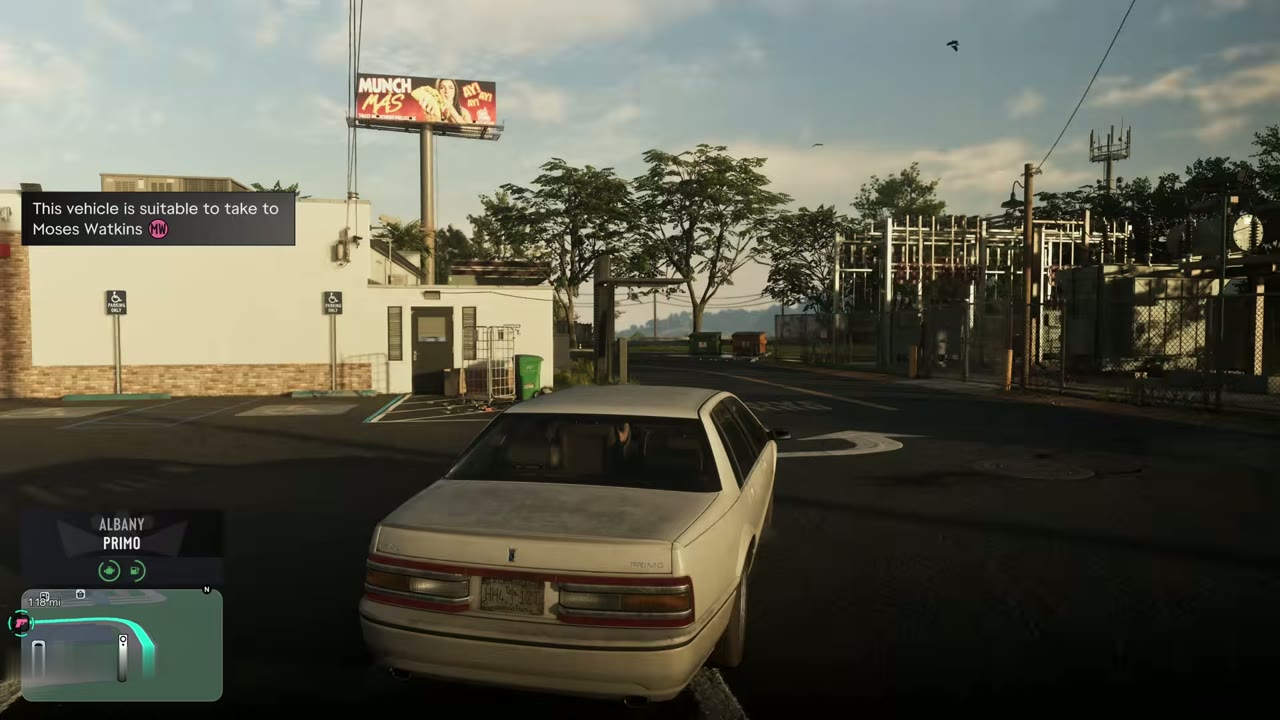
After Girls’ Trip, Lucia can steal a vehicle and take it to Moses Watkins. When a car qualifies, the help text says it is suitable to take to him. The first job with him is the Moses mission, which teaches the WAiNK scanner and the Slim Jim.
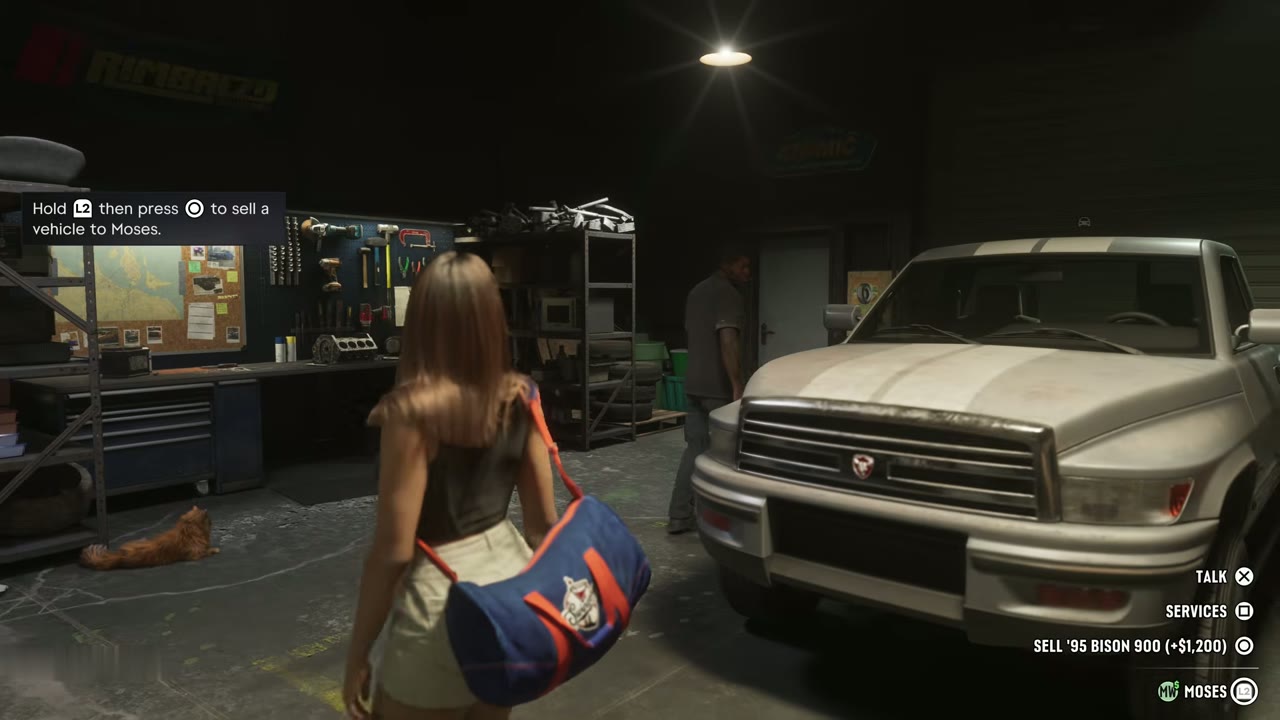
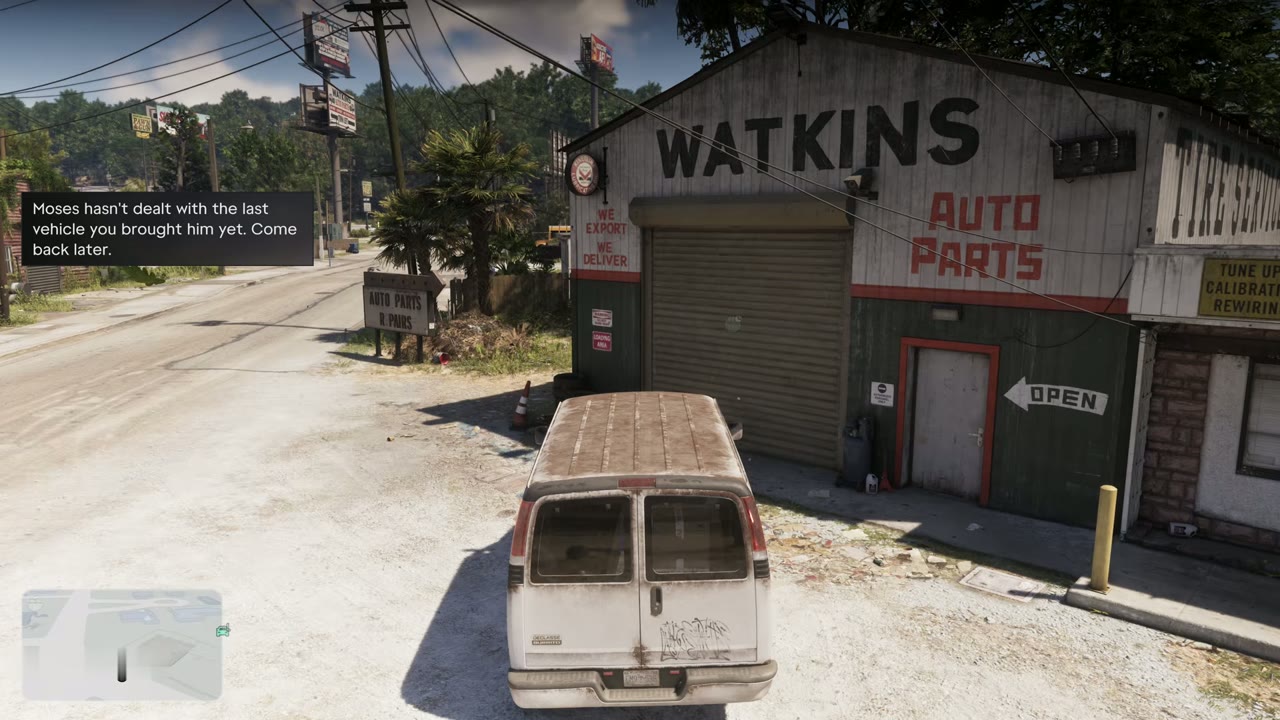
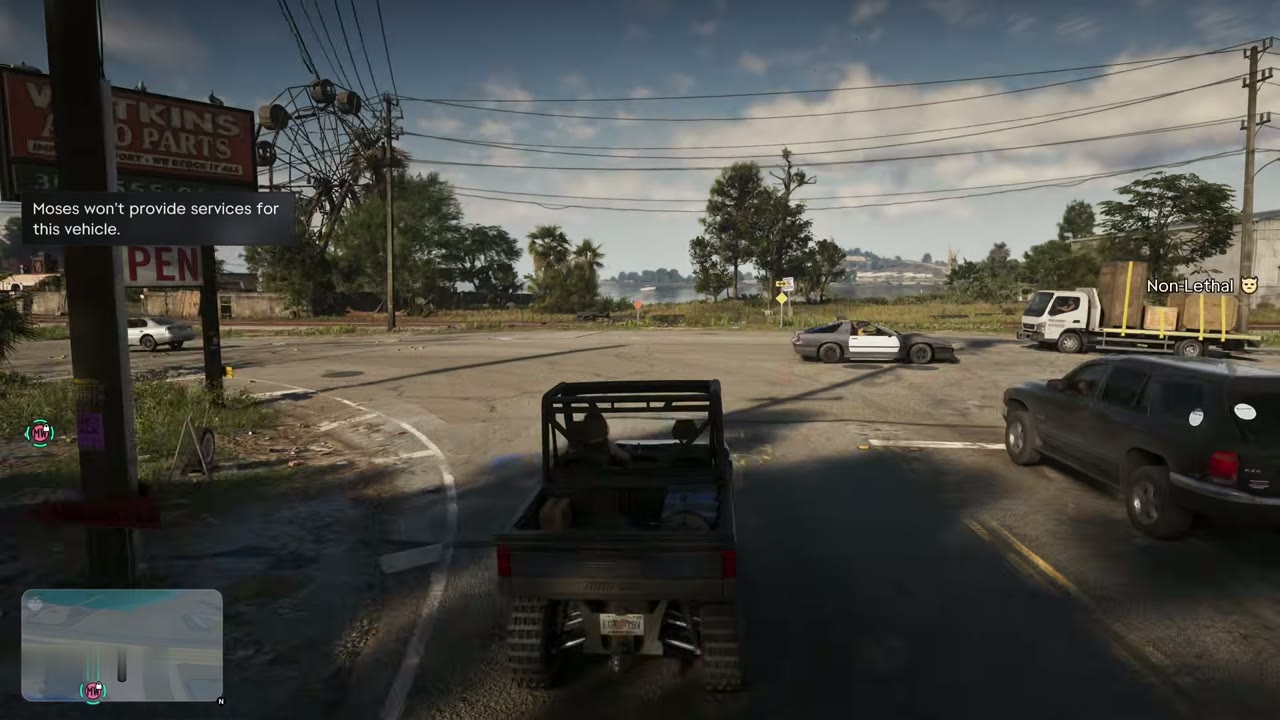
After that mission, drive a clean car into Watkins Auto Parts, then hold L2 and press the button shown to sell it. The prompt shows what he’ll pay: an old ’95 Bison 900 pickup fetched $1,200. Moses only takes one car at a time. If you come straight back with another, the help text says he hasn’t dealt with the last one yet, so go and do something else for a few minutes. Off-road buggies, cars with trackers and anything stolen near the shop get the message that Moses won’t provide services for that vehicle.
Moses’s car requests
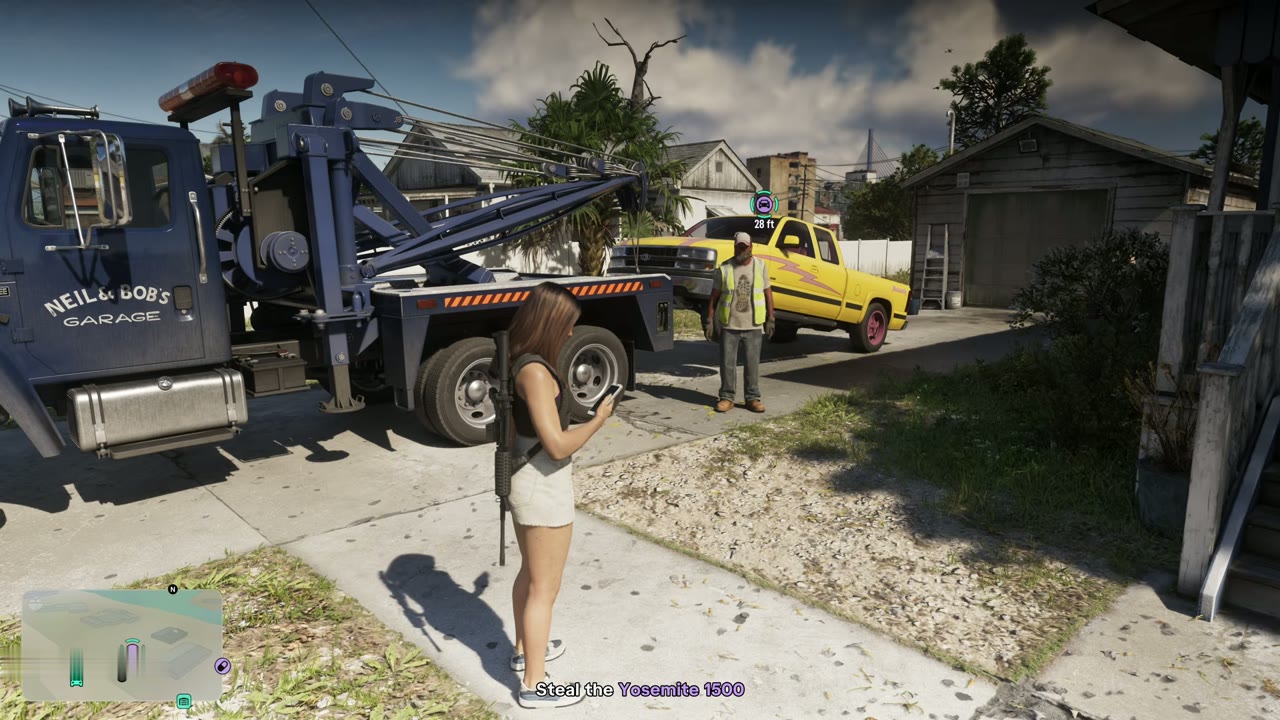
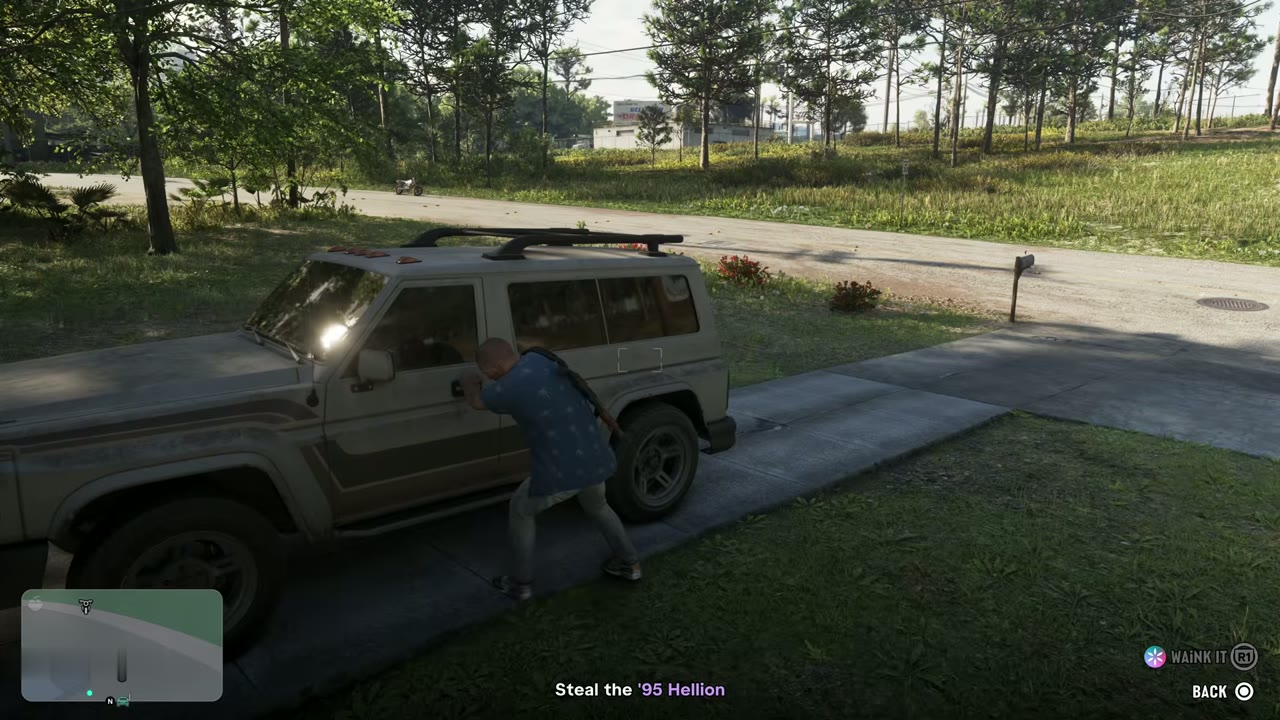
Once Daily Driver is done, Moses starts asking for particular cars, listed on the map as Steal Vehicles for Moses. Each request names the model and a street. In our run he wanted a Declasse Yosemite 1500 on Bastion Street, where a tow truck driver was about to haul it away and wasn’t happy to see Lucia drive off in it, and later an Annis ’95 Hellion parked outside a house on Orchard Avenue. Scan the car with WAiNK if you’re unsure, take it and drive it to Moses. The cars parked in his own yard belong to him and can’t be stolen.
Dunk’s robbery tips
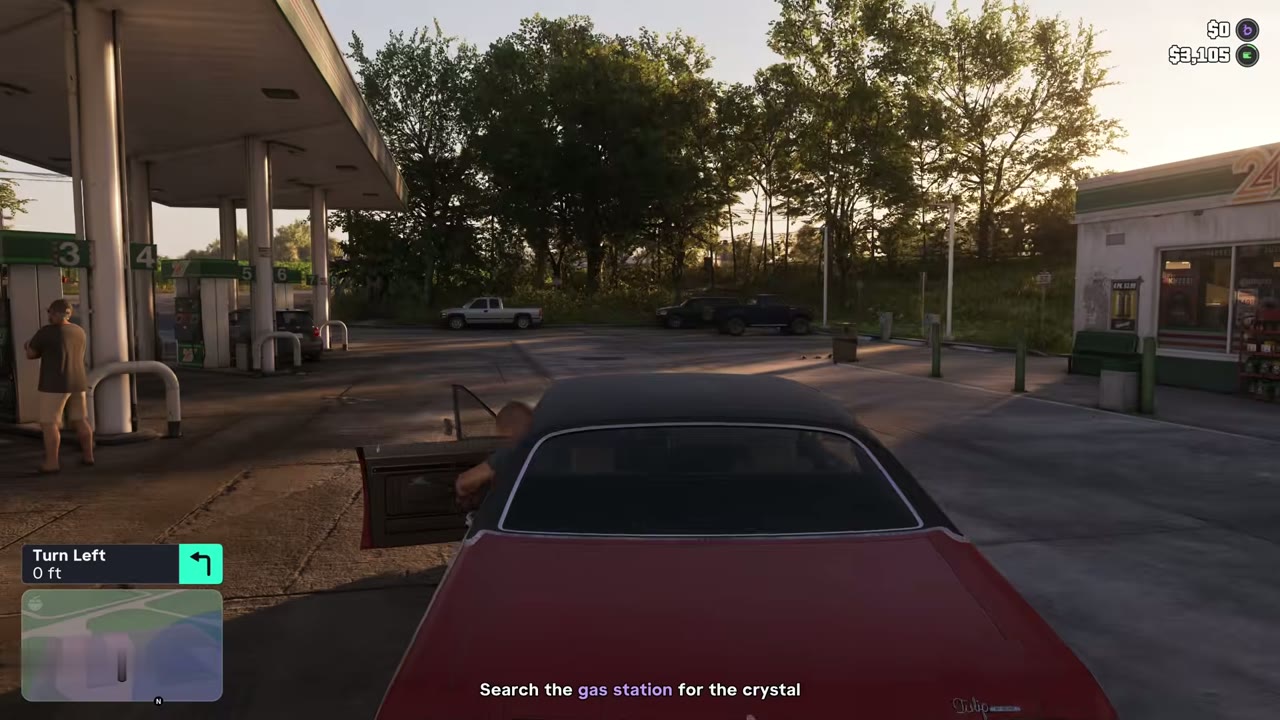
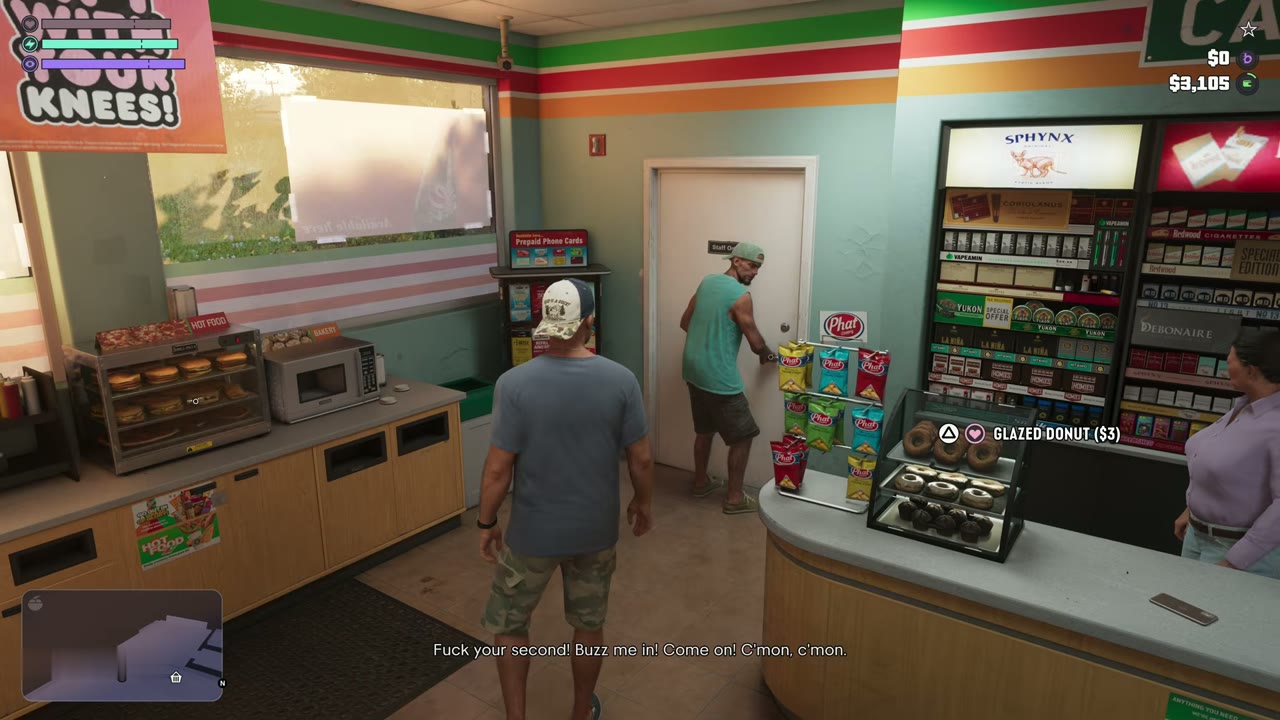
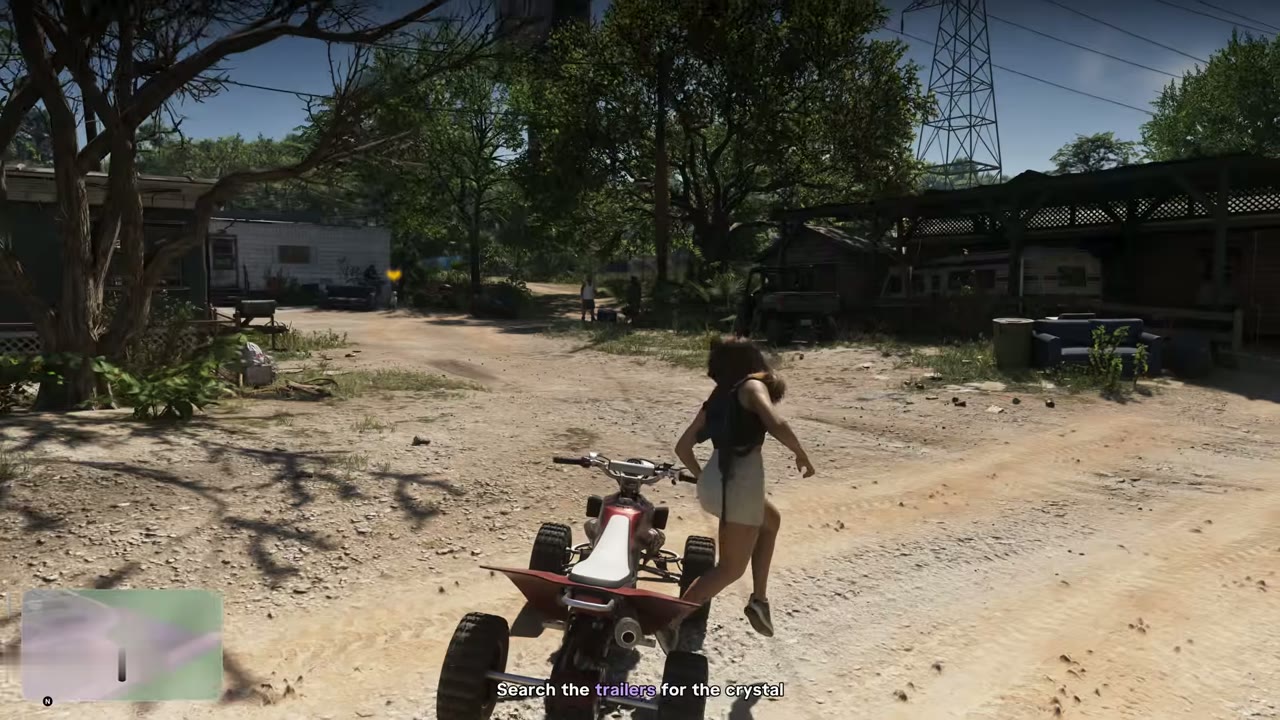
After Slam Dunk, Dunk texts Lucia a few places worth hitting, and they show on the map as Dunk’s Robbery Tips. At Scattered Pines, the trailer court behind the Dirt Merchants bike shop off Orchard Avenue, search the trailers for a dealer’s crystal. At the Lost Vista trailer park, there’s a stash of pills hidden in one of the trailers. The third tip is the 247 Gas station in West Vice-Dale County, said to be a spot for crystal dealers: a customer gets buzzed into the staff-only room at the back, and that’s where the crystal is. Expect a fight at all three.
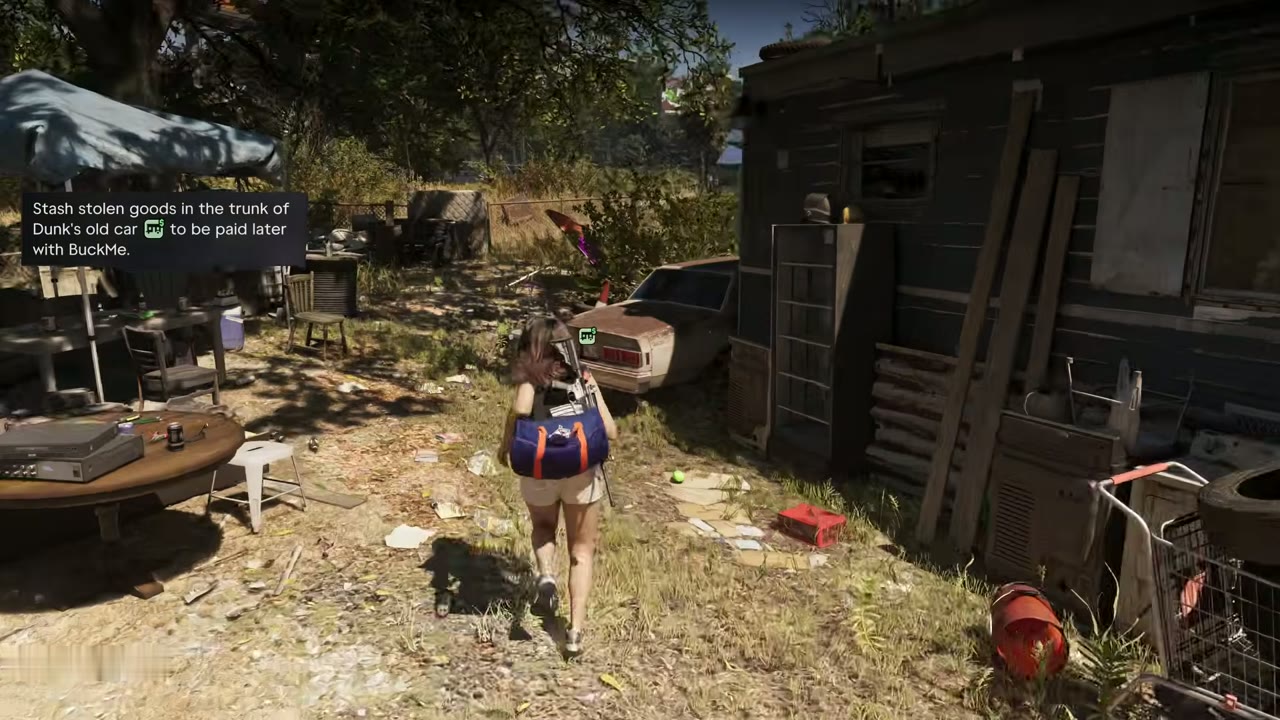
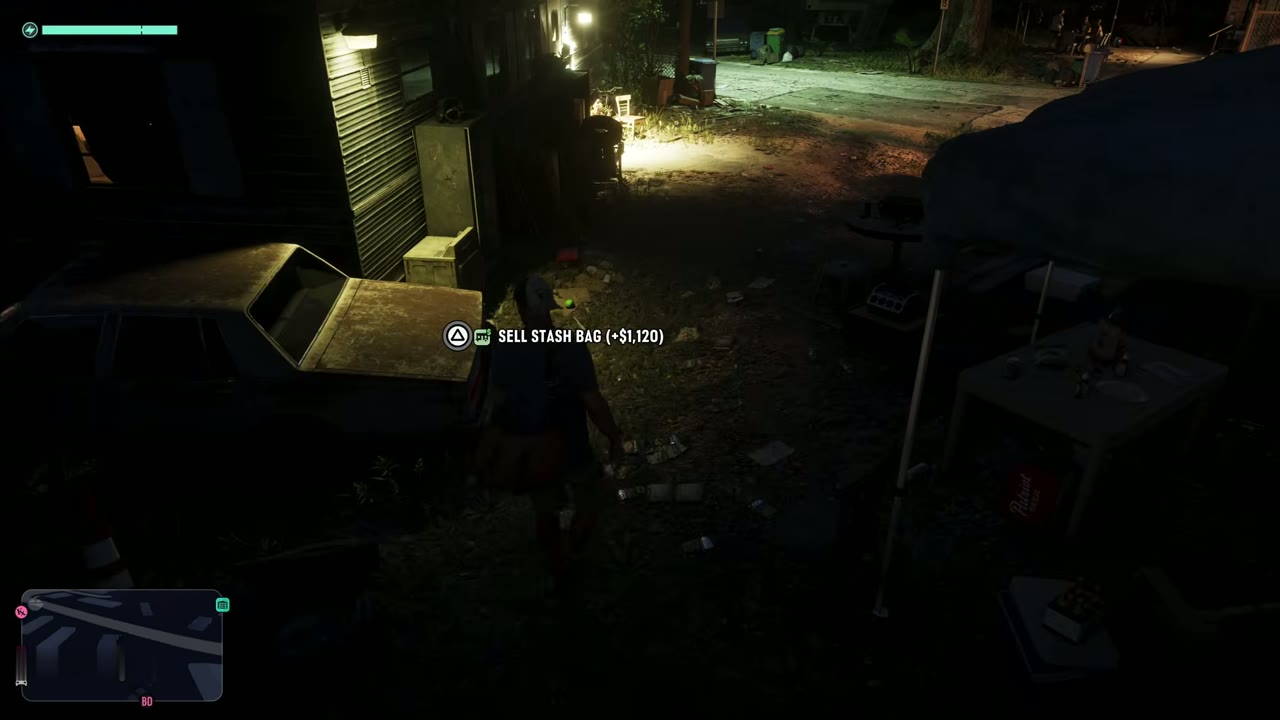
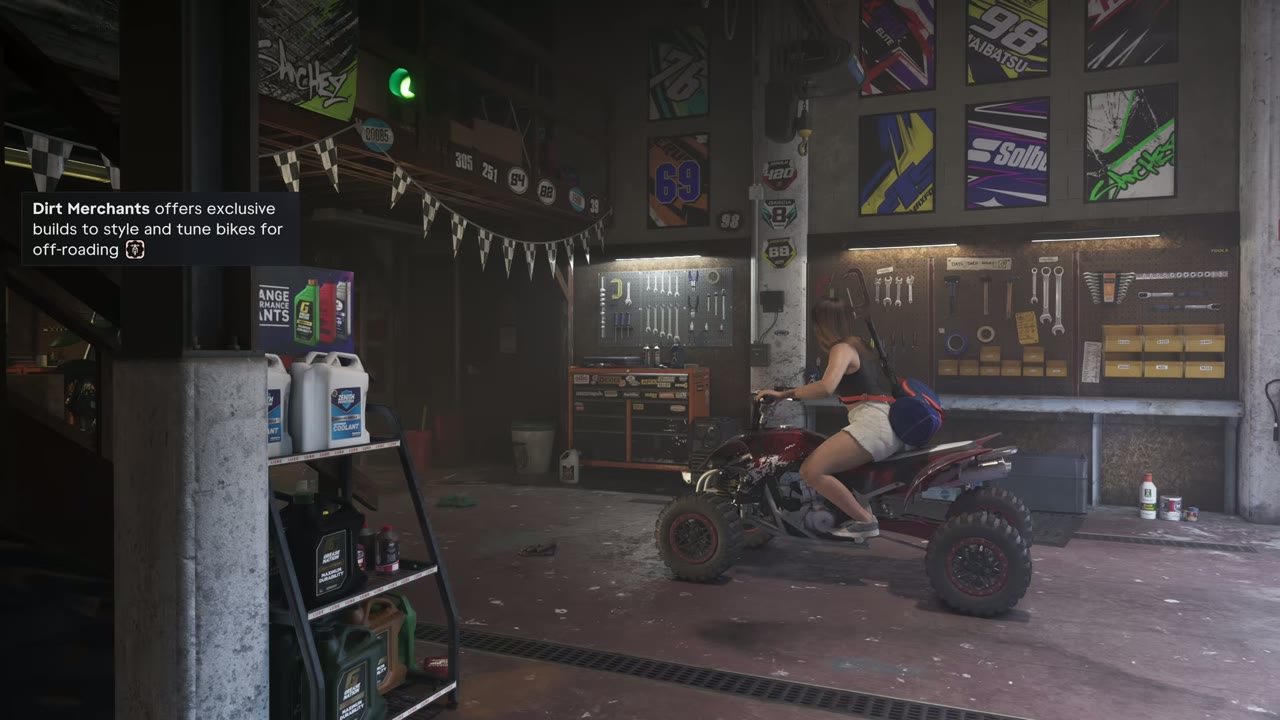
Take what you find back to Dunk’s trailer. He buys narcotics at a fair price but pays little for jewelry and very little for marked bills, so save those for someone else. If he isn’t around, leave the goods in the trunk of his old car behind the trailer and he pays you later through BuckMe. While you’re near Scattered Pines, Dirt Merchants itself is a specialty garage for dirt bikes and quads with its own builds and parts.
Gellhorn Dragway
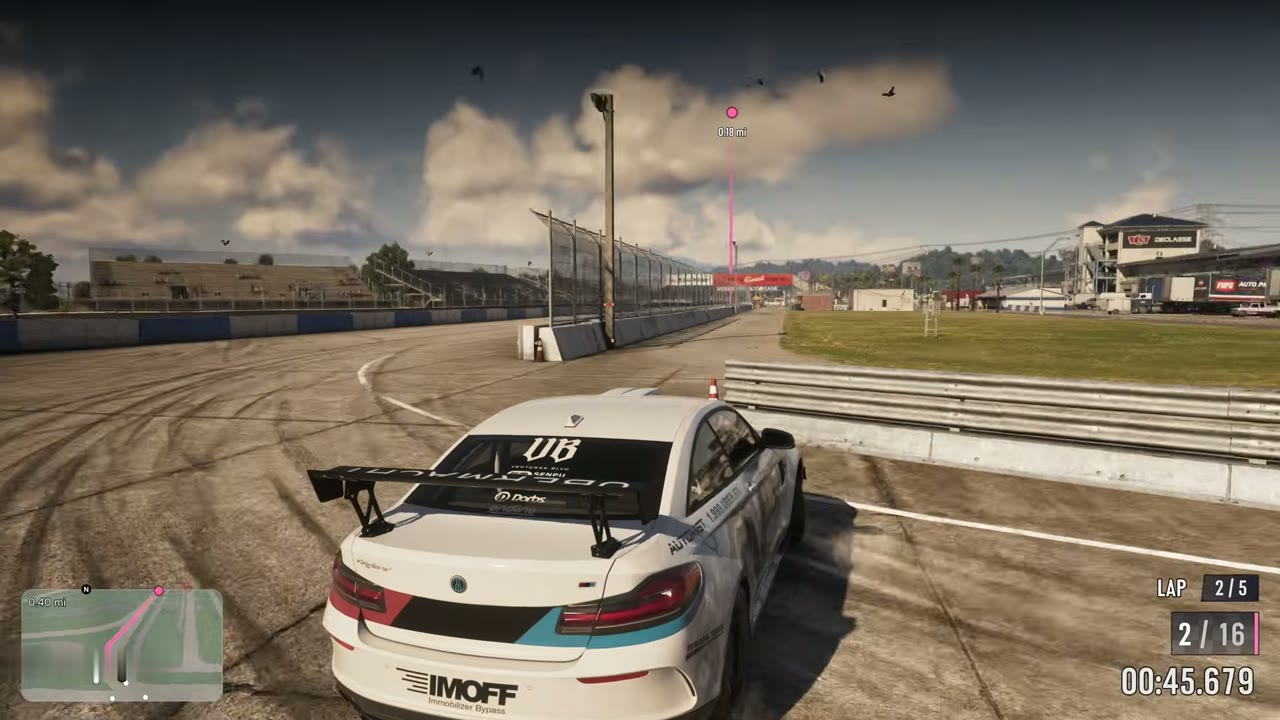
The Gellhorn Dragway is a racetrack in Port Gellhorn. Ride in and the help text sends you to the paddock area. The organizer, Beau, makes Lucia do a supervised lap before she can race there. Choose one of the cars in the garage, drive onto the track and follow him round the orientation lap, then beat a lap time of 1 minute on the timed lap. Going the wrong way gets you a telling-off, so watch the arrows.
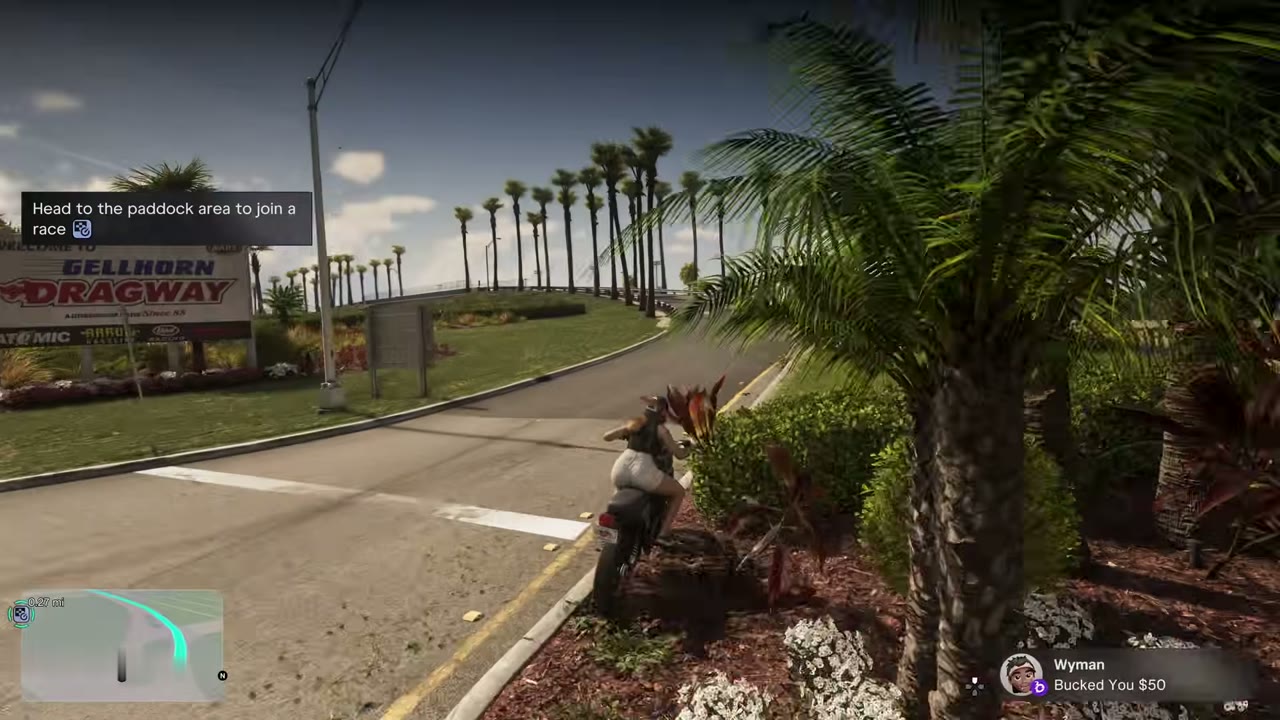
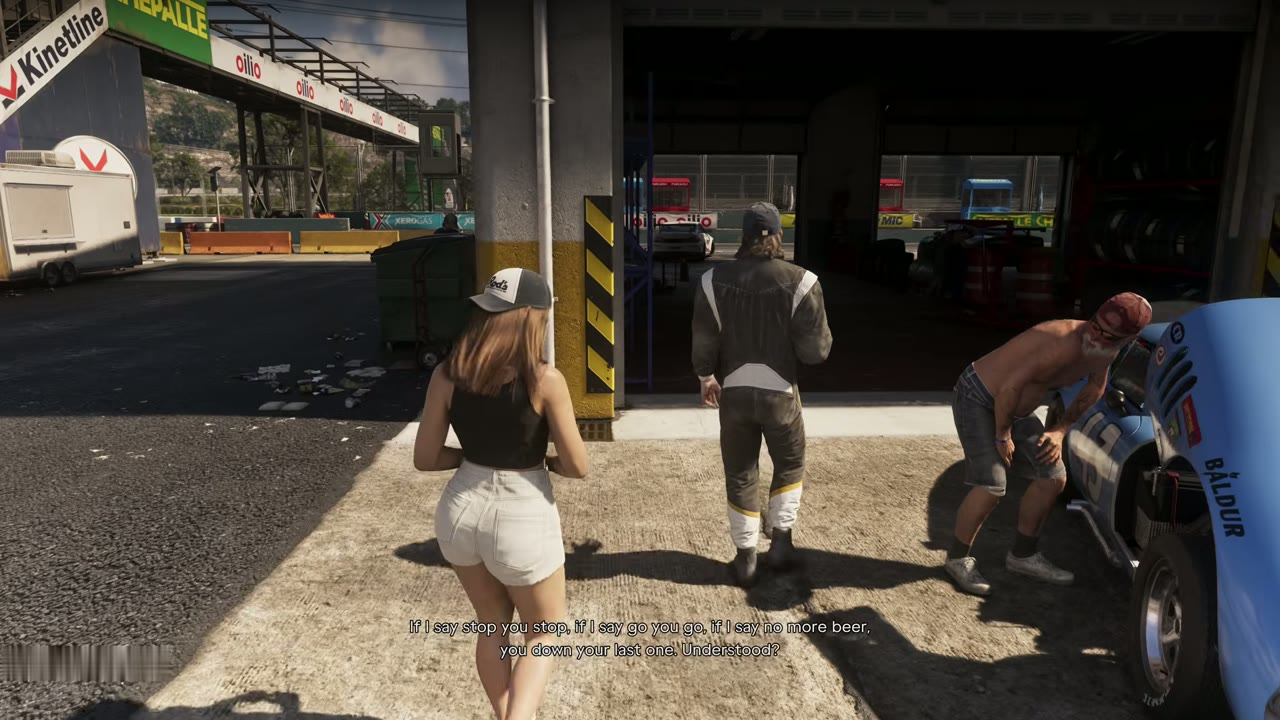
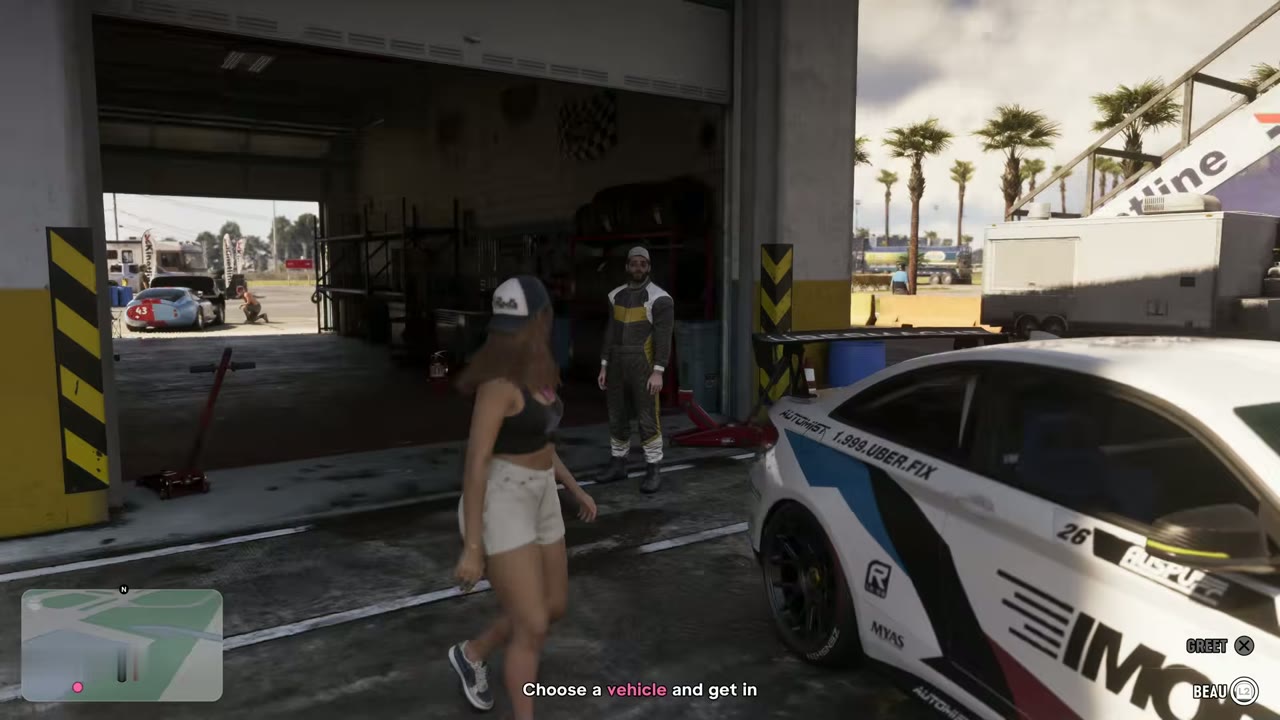
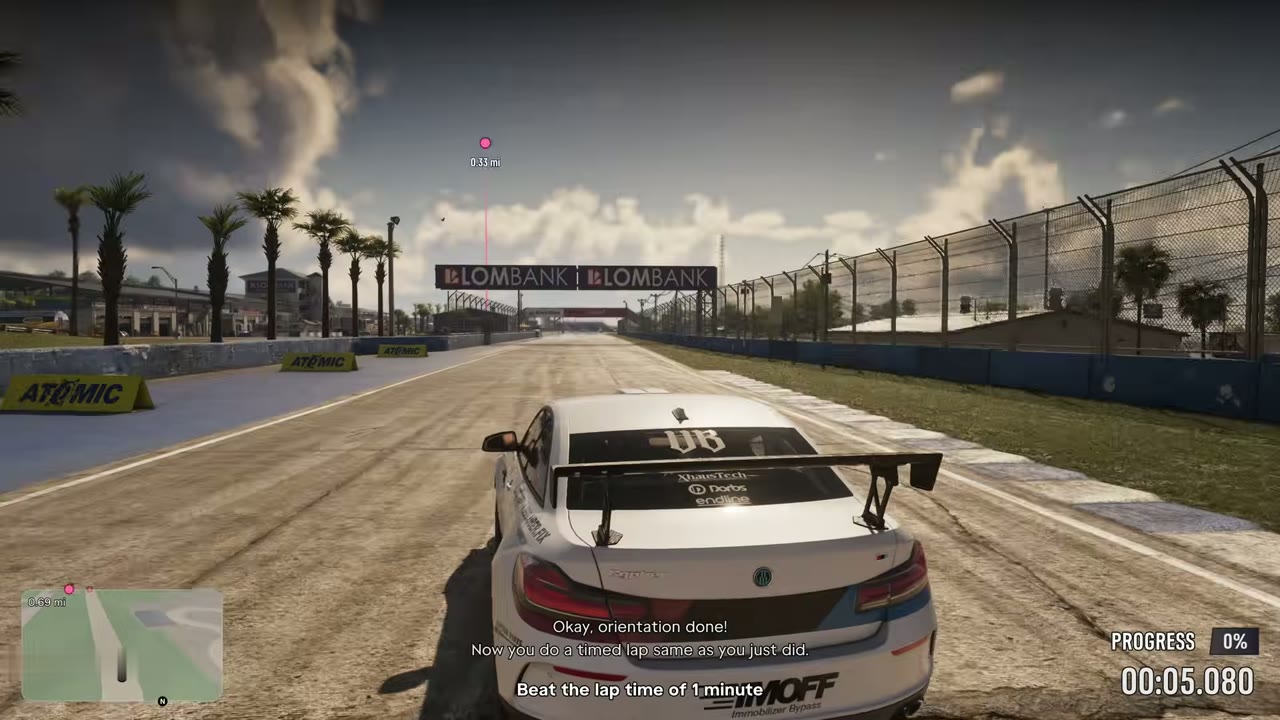
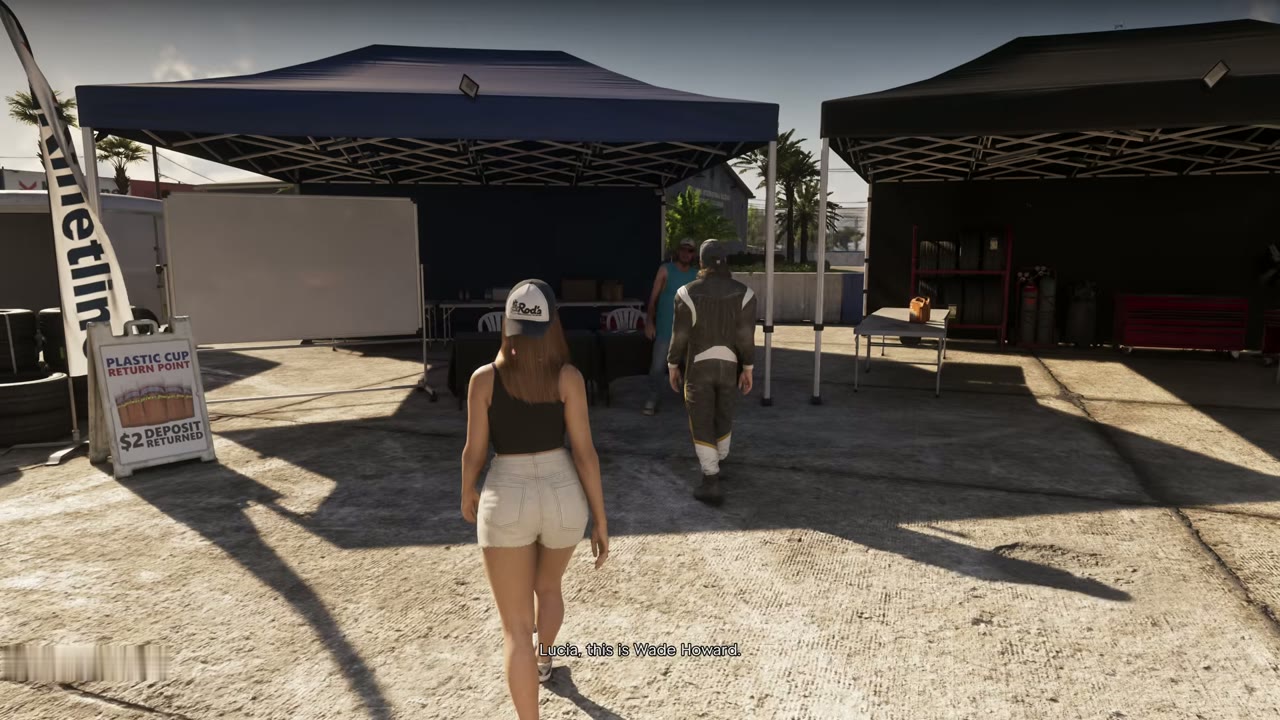
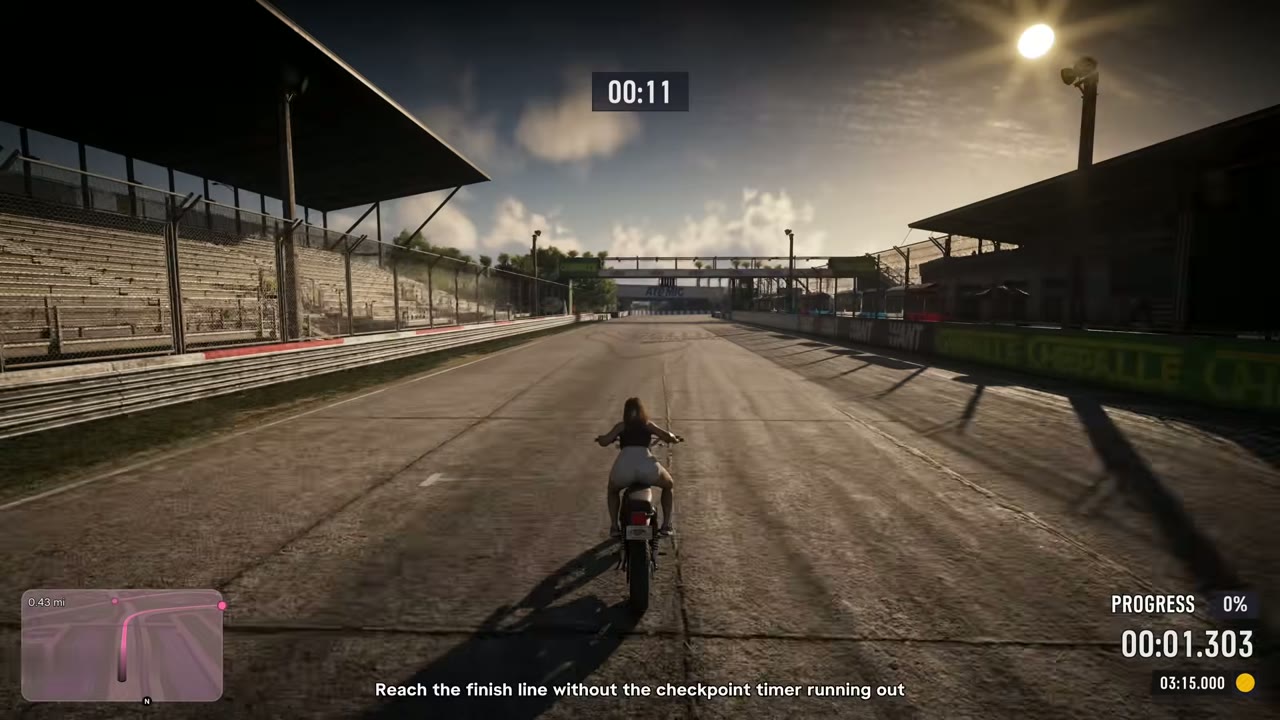
Return to the pit lane and Beau introduces Lucia to Wade Howard, who runs a race league that is open to anyone. Lucia gets added to the group chat, so she can come back and race whenever she wants, and you can join a race straight away. The first one is five laps against a big field. Cross the start line on a bike to try the time trial, where you have to reach the finish before the checkpoint timer runs out.
Encounters on the road
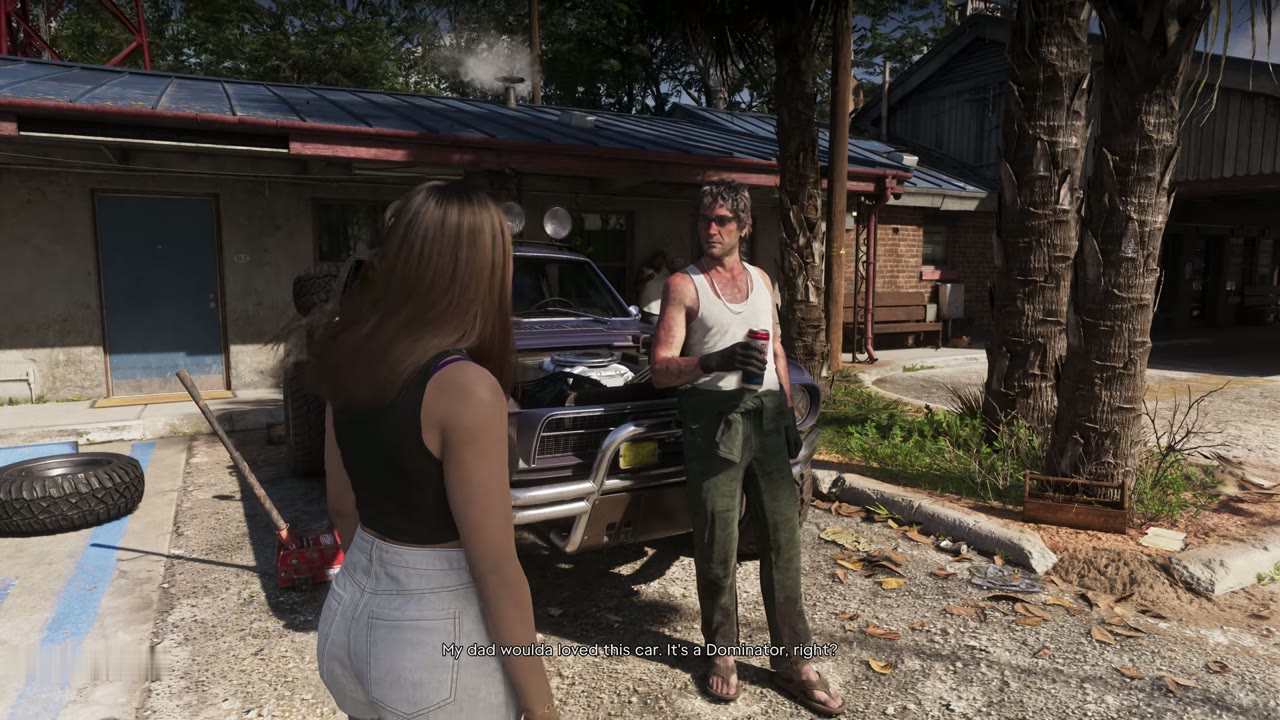
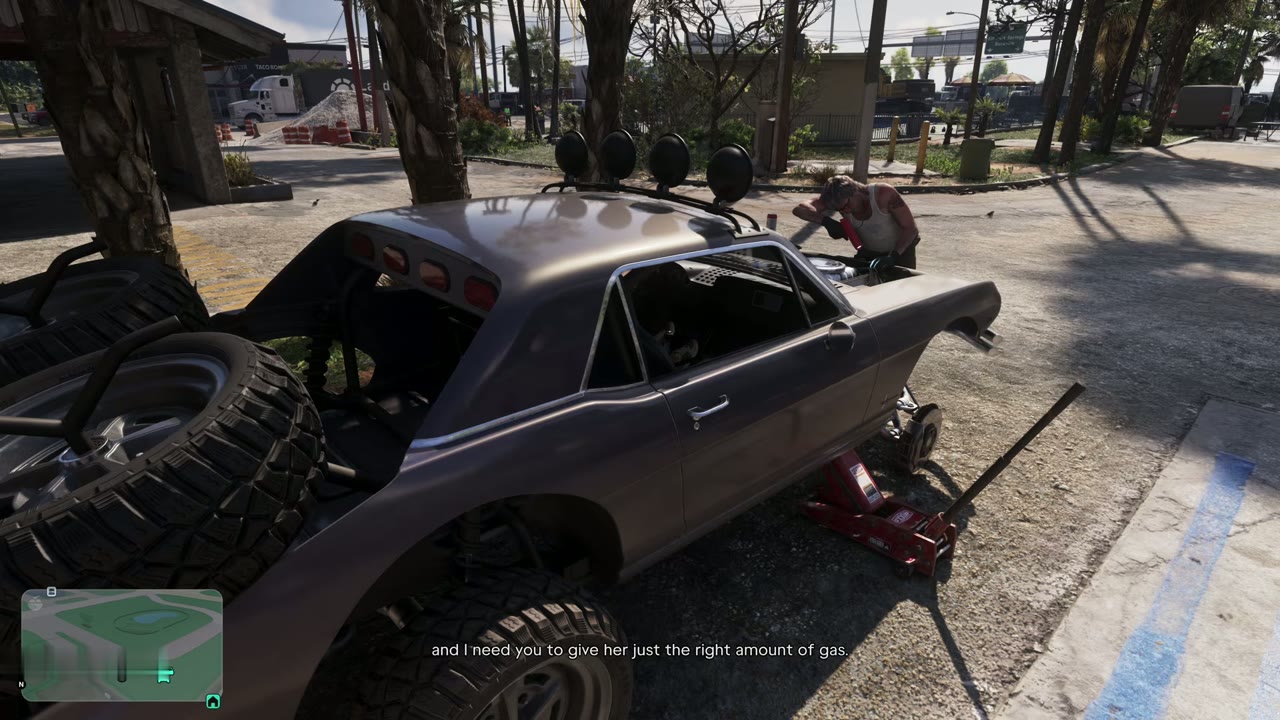
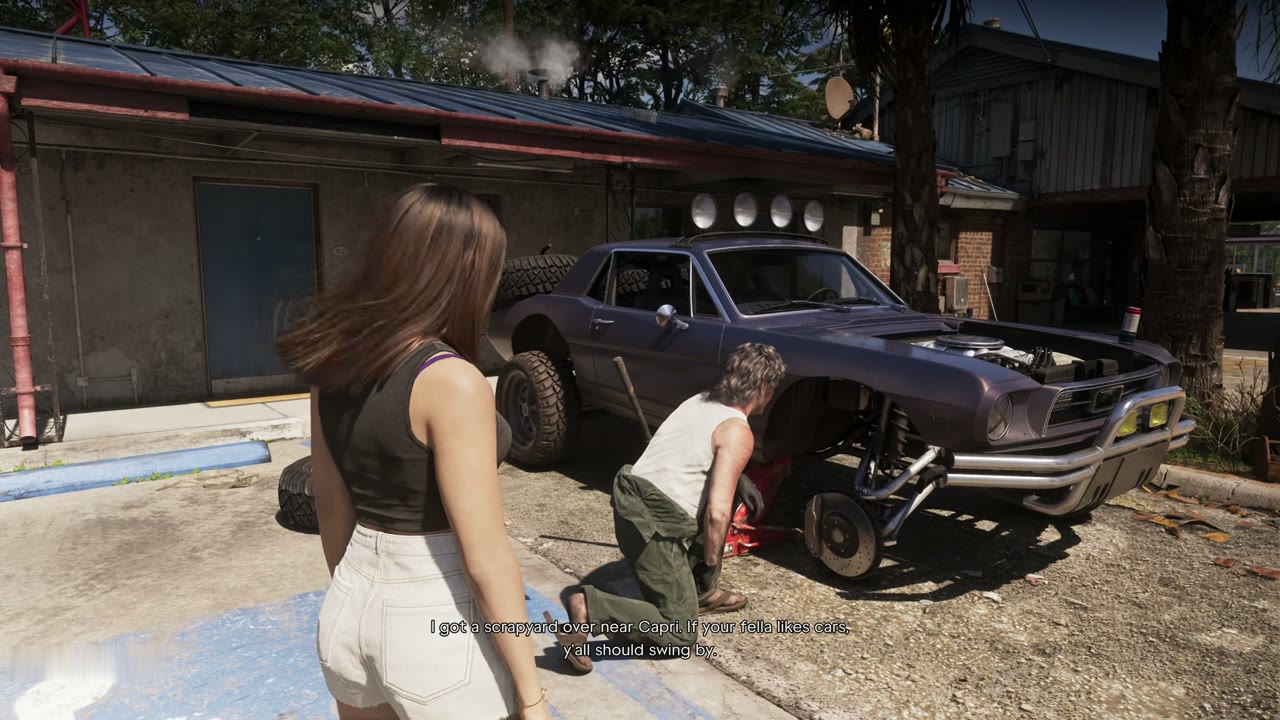
Short encounters pop up as you drive around. In Port Gellhorn, Lucia met Wyman, a mechanic fixing up an old Dominator. Sit in the car and give it just the right amount of gas while he adjusts the timing, then rev it up and floor it when he asks. He sends $50 through BuckMe afterward and mentions he has a scrapyard near Capri.
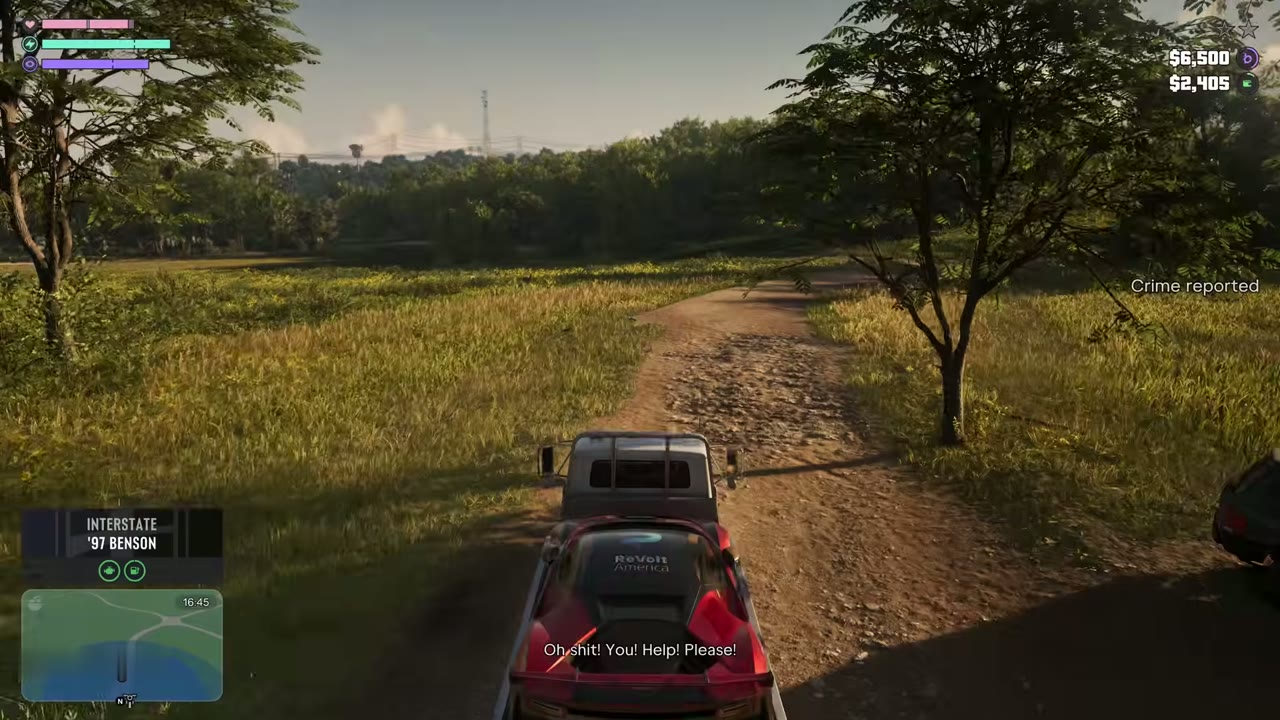
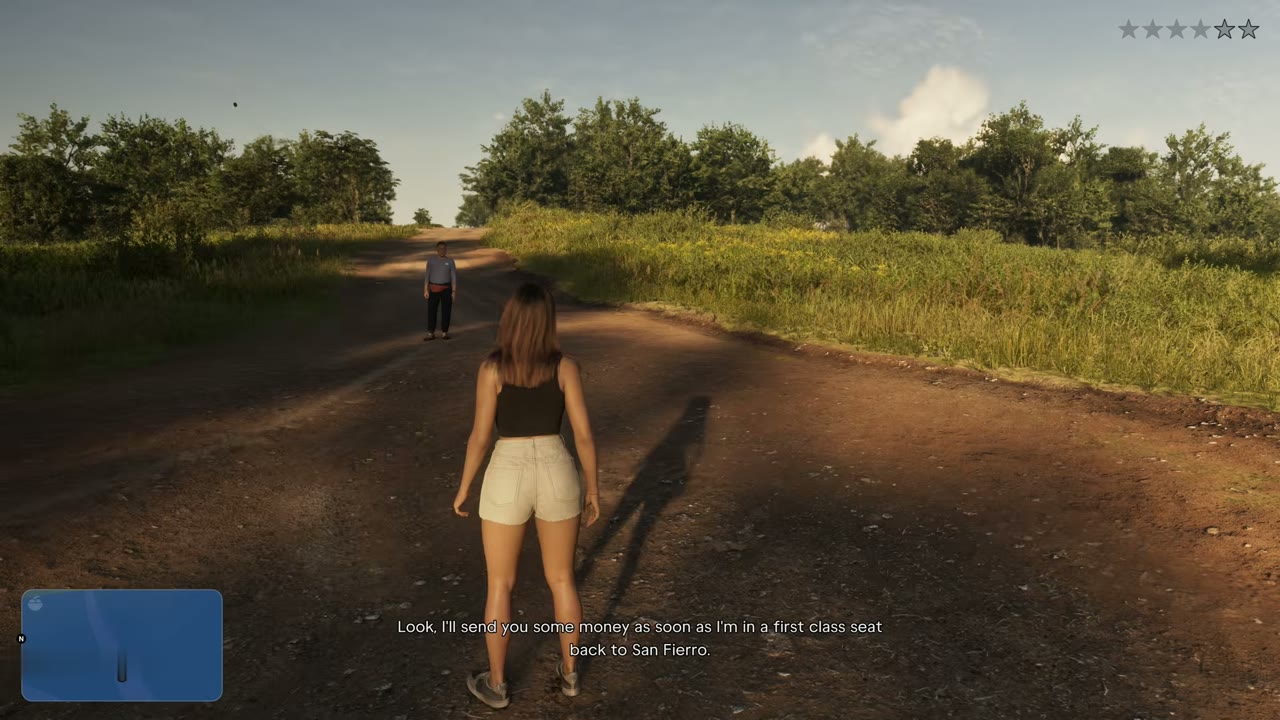
Out on a dirt track in the countryside, a tourist yells for help because an alligator is about to eat him. Deal with the alligator and he thanks Lucia, then promises to send her some money once he’s on a first class flight back to San Fierro.
Optional Chapter 2 jobs
Most of these appear around Coffee Break, while Lucia is saving up for the move to Vice City. None of them is needed for the story, but they pay well and introduce people you meet again later.
Kyle’s farm jobs
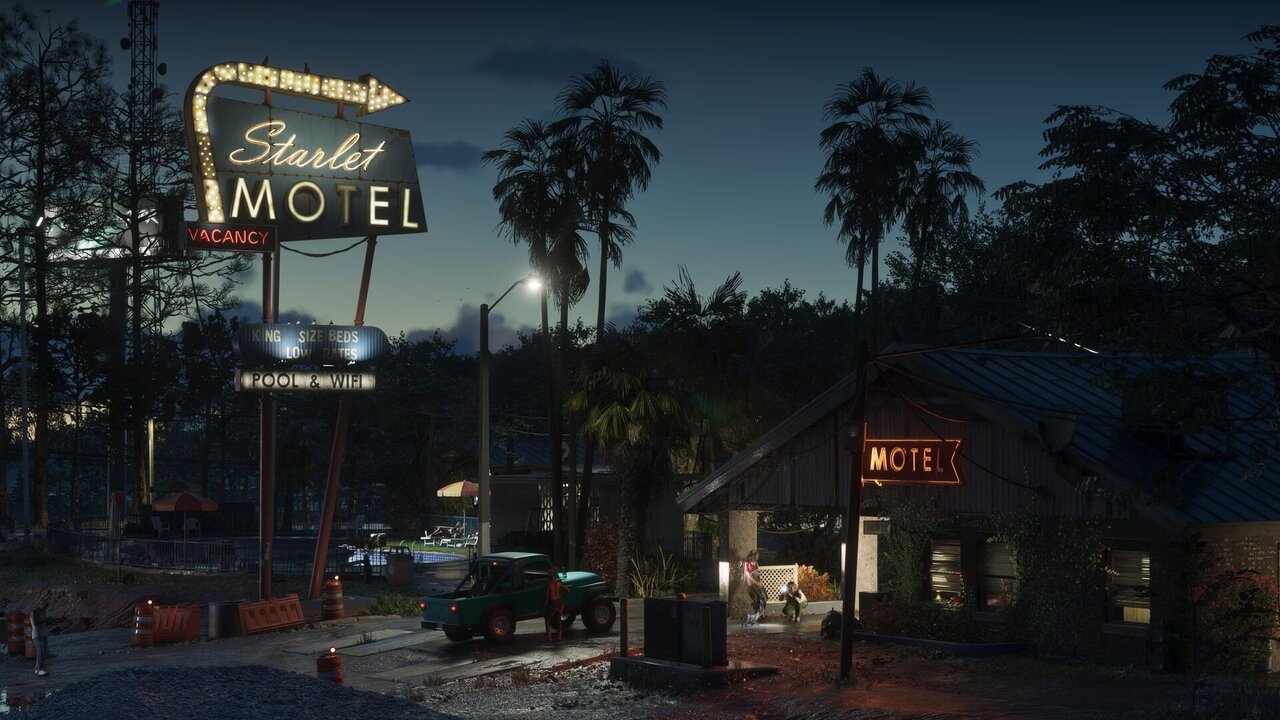
Read one of Kyle’s flyers on the wall outside the Starlet Motel reception to mark Check Out McKittrick Farm. Go to the airstrip east of the motel and talk to Kyle when he lands. He has hurt his hand and needs someone to dust his crops. Take off straight down the airstrip, pick Spray Chemicals from the weapon wheel and hold fire over the field Kyle drives to, then land and park the plane where you found it. He pays $400 and adds himself to your contacts.
About a day later Kyle texts about Collect Chemicals for Kyle, in Leonard County. The woman at the gate lets you in, and at the far end the Final Chapter gang wants $5,000 for the chemicals in their white van. Haggle too hard and they open fire. You can pay, but it’s cheaper to take the van: fight them off, drive to the gate, and if it stays shut, get out and walk up to it so it opens, then park something in the gap. Expect a two-star wanted level and a chase back to Kyle’s barn. He pays $1,000 and explains the chemicals are for his mutated strawberries. From then on you can eat one at his farm for a short stat boost with no downside.
Billy and the Thrillbilly Mud Club
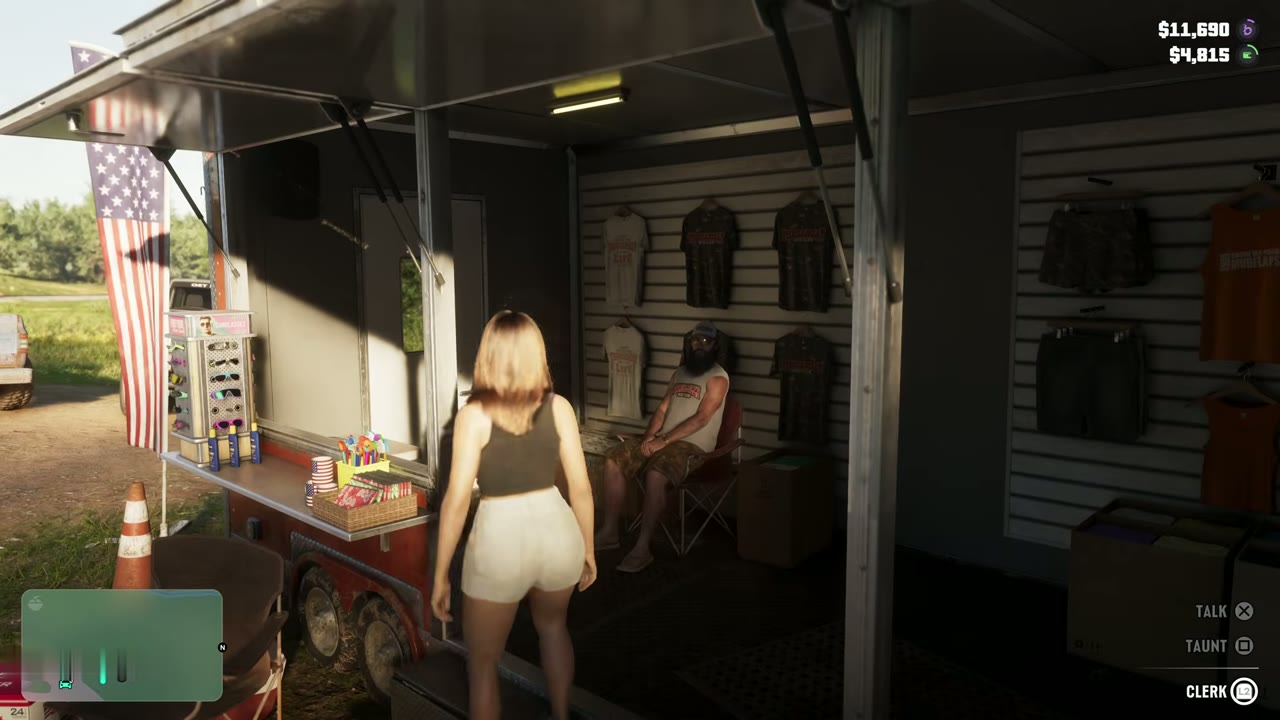
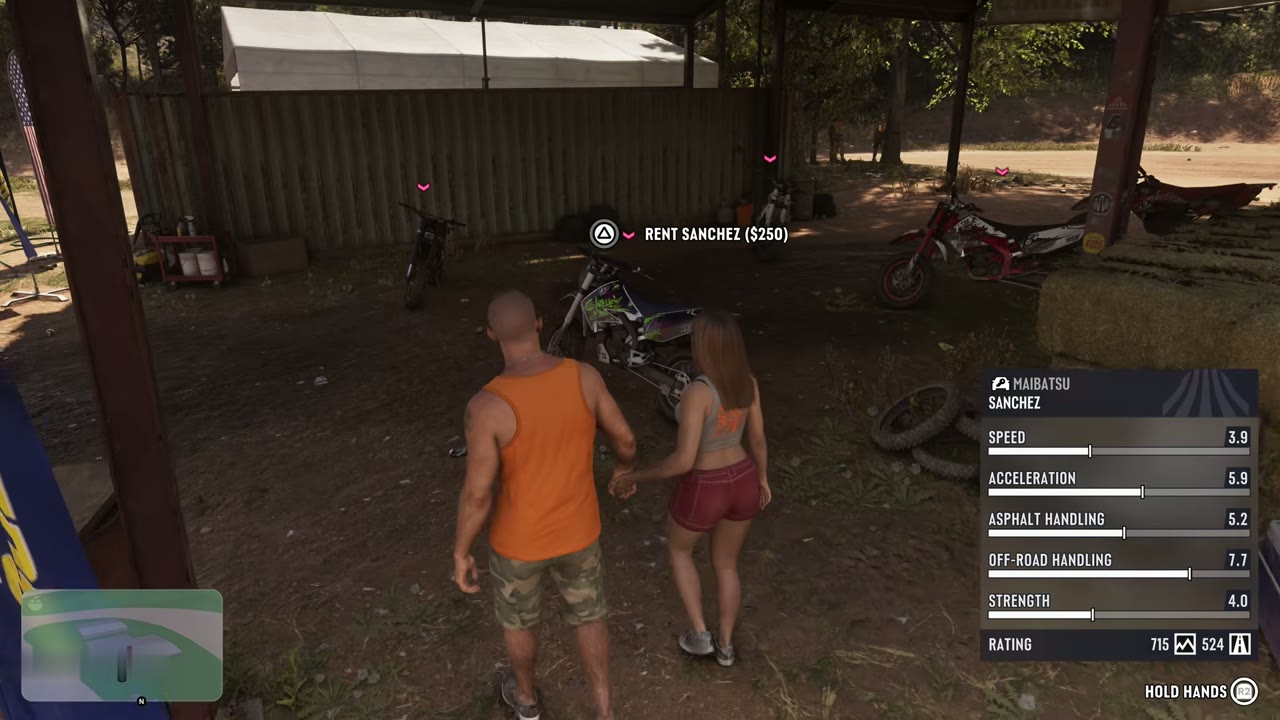
After Coffee Break, Wyman tells you about the dirt bike races at the Thrillbilly Mud Club. Buy outfits for both characters at the souvenir shop by the entrance, meet Billy and his crew, then rent a bike at Roostere’s Rentals. The Sanchez costs more than the Manchez but is faster. Race 13 other riders. You don’t have to win, just avoid finishing last, and try not to hit cars, because it throws you off the bike. First place pays $2,500.
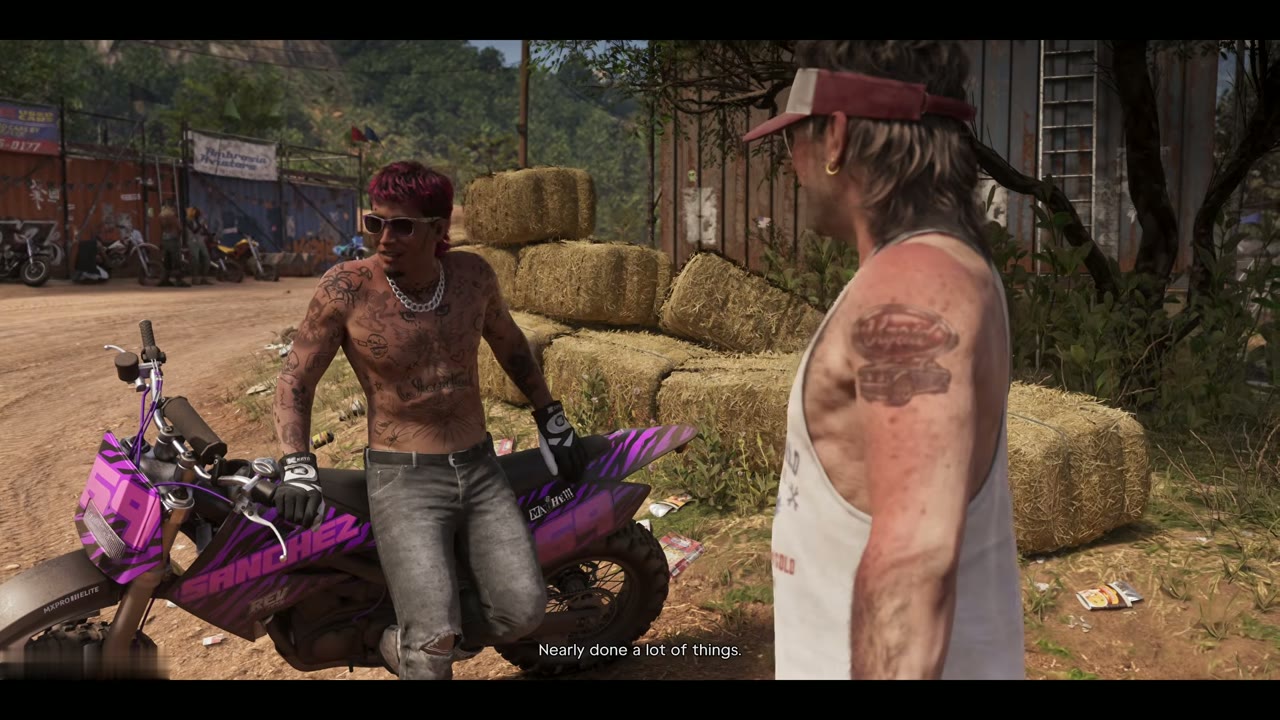
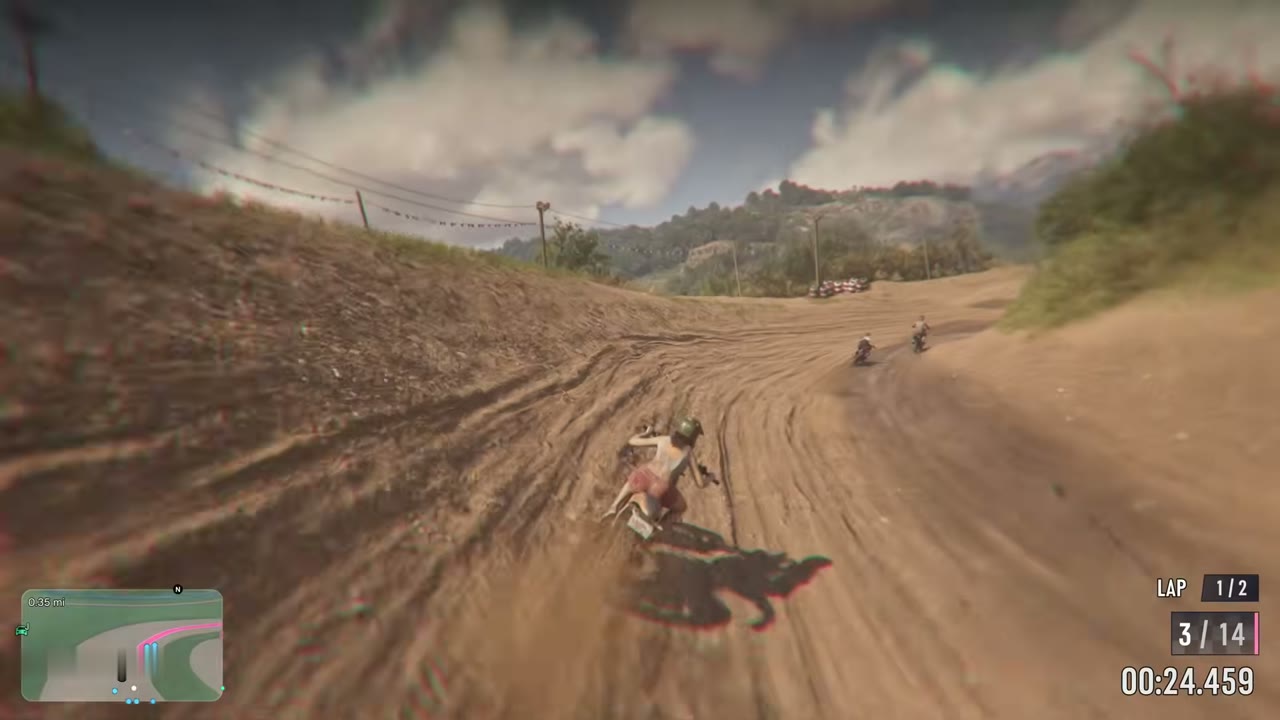
A few hours later Billy texts about Twist Wrist, Smash, Grab. Sit on the bench at the marker in Port Gellhorn and he turns up with a Highwayman Sanchez for you. Follow him and his crew after an armored truck until it crashes into a tree. You only need to ride, not shoot. Plant a charge on the back door and set it off, deal with the guard however you like, grab the bag and follow Billy up the mountain. He pays $2,000. Keep the Highwayman Sanchez in a garage if you want it, and Moses can register it. It’s a good bike for stunt jumps.
Avery Pawn and Kingpin Bowling
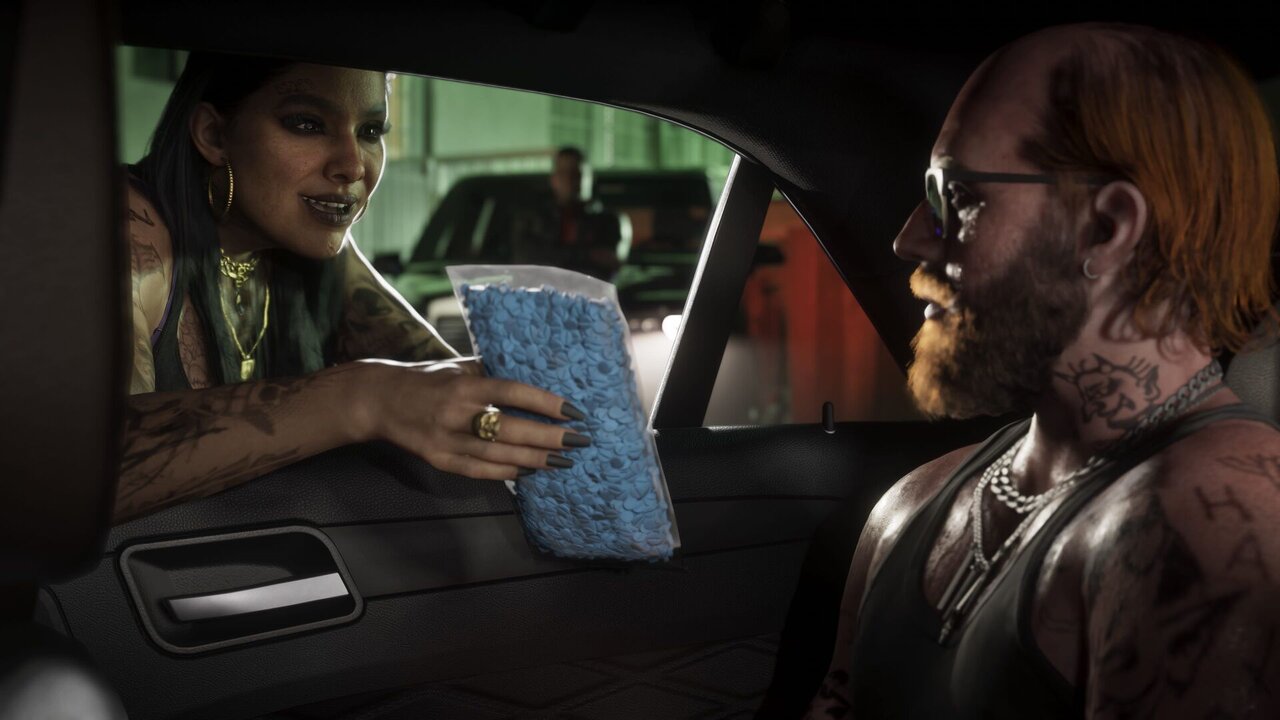
After Coffee Break, Lucia suggests two robberies in Port Gellhorn. At Avery Pawn, threaten the staff, smash the display cases for jewelry, and get the safe combination out of them or break the door to the back. Smashing anything brings a two-star wanted level. Leave early for less loot or stay for more, then lose the police. A fast bike through traffic or off the road works well. Sell the jewelry at Dunk’s trailer.
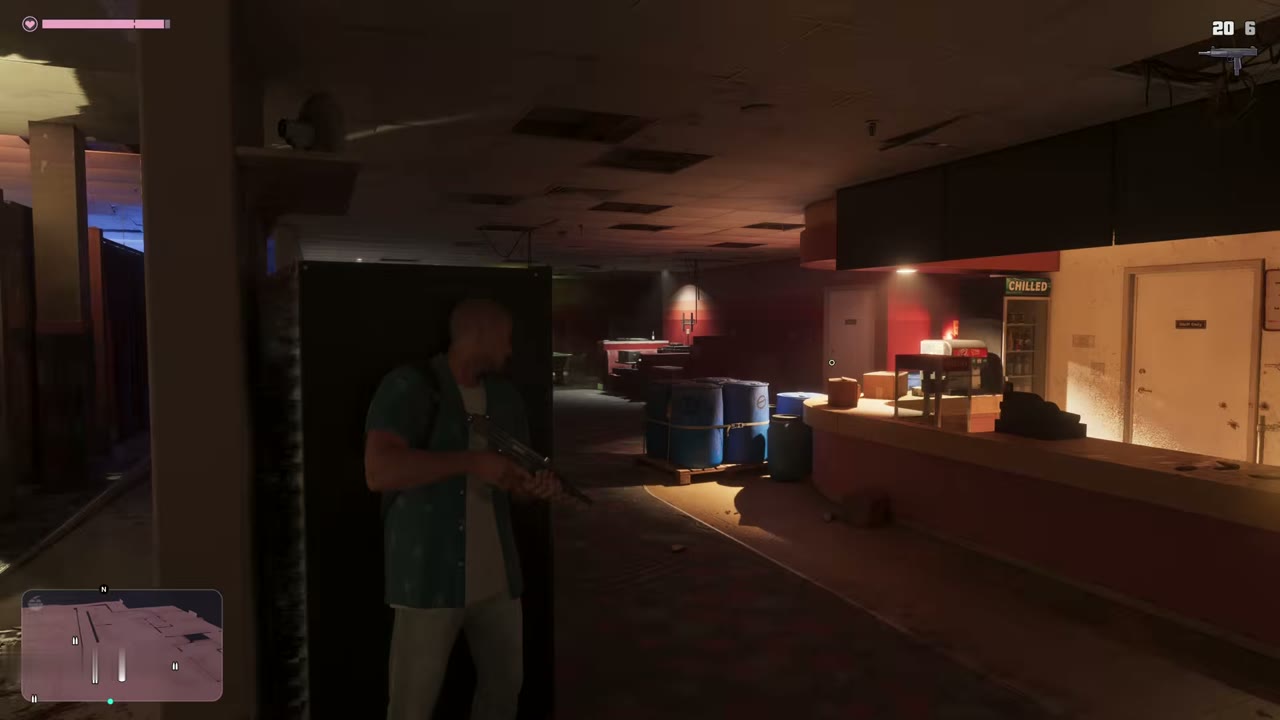
Kingpin Bowling is the Kolts’ hideout that Dunk mentioned in Slam Dunk, and it’s a proper fight. Call your partner in, stock up on five Zombix and body armor first, and buy sticky bombs at Ammu-Nation for the safe. The three things worth taking are the luxury watch in the southeast room, the unique Gutterball Moreland 850 shotgun on the pool table in the northeast corner, and the safe in the small northeast office. Then grab a car and lose the police. The place restocks after a long wait, so anything you miss can be taken later.
Getting Lucia’s car back from the impound
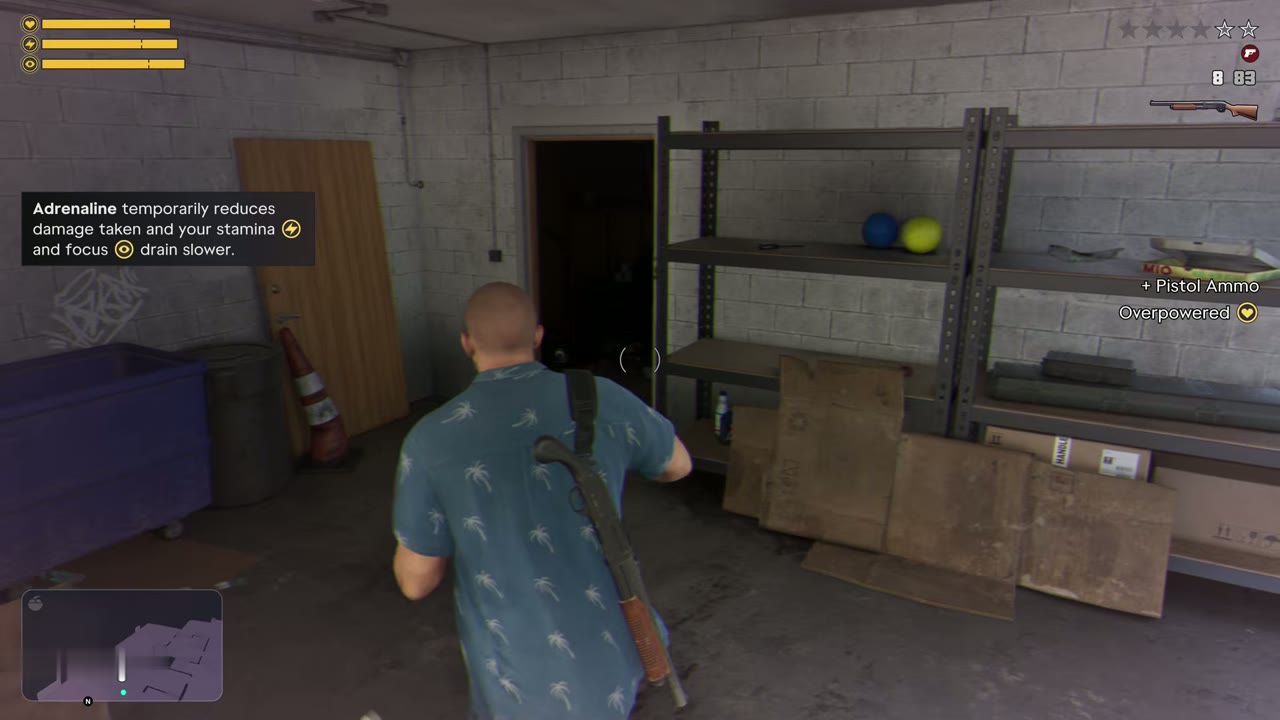
Lucia’s car is towed after Breakfast Run, and it shows as a green car icon at the impound by the Port Gellhorn police station. Drive through the fence, get in quickly and escape the two-star wanted level from the officers there. Later, the Scooter Bros app can bring an impounded car back straight away for a fee.
Hunting with Bret
While Lucia is saving for Vice City, Jason gets a text from Bret Vogel, an old army friend, about Veteran Hunted. It’s in Lummox County in the far north, and Jason has to go alone. Bret hands him the Killtelligence SM-69 hunting rifle. Drive into the woods, use focus to pick up the white scent line and follow it until it turns yellow, study the deer through the scope or binoculars, then drop it with one shot to the head or heart for the best quality. Carry it to Bret’s truck and drive back to his cabin to unload it. Bret pays $500 through BuckMe and offers more hunts later. Studying 100 different animals is part of the 100% checklist.
Chapter 3 jobs in Vice City
Yasmani’s Jewelry Jobs
After Boobie Time, Yasmani asks Jason and Lucia to rob three jewelry stores for one particular piece each: the buffalo skull chain at Casa de Empeno, the diamond ring at Richardson Jewelry and the amethyst necklace at Donovan Banks and Co. Each piece is in the store’s safe, and you can do them in any order with either character. Start with Casa de Empeno. It’s the smallest, and it has no back door, so it’s the one you can’t use the Snap Gun on anyway. Bringing Yasmani the first piece gets you the Snap Gun, which opens doors without setting off alarms, and that makes the other two stores easier.

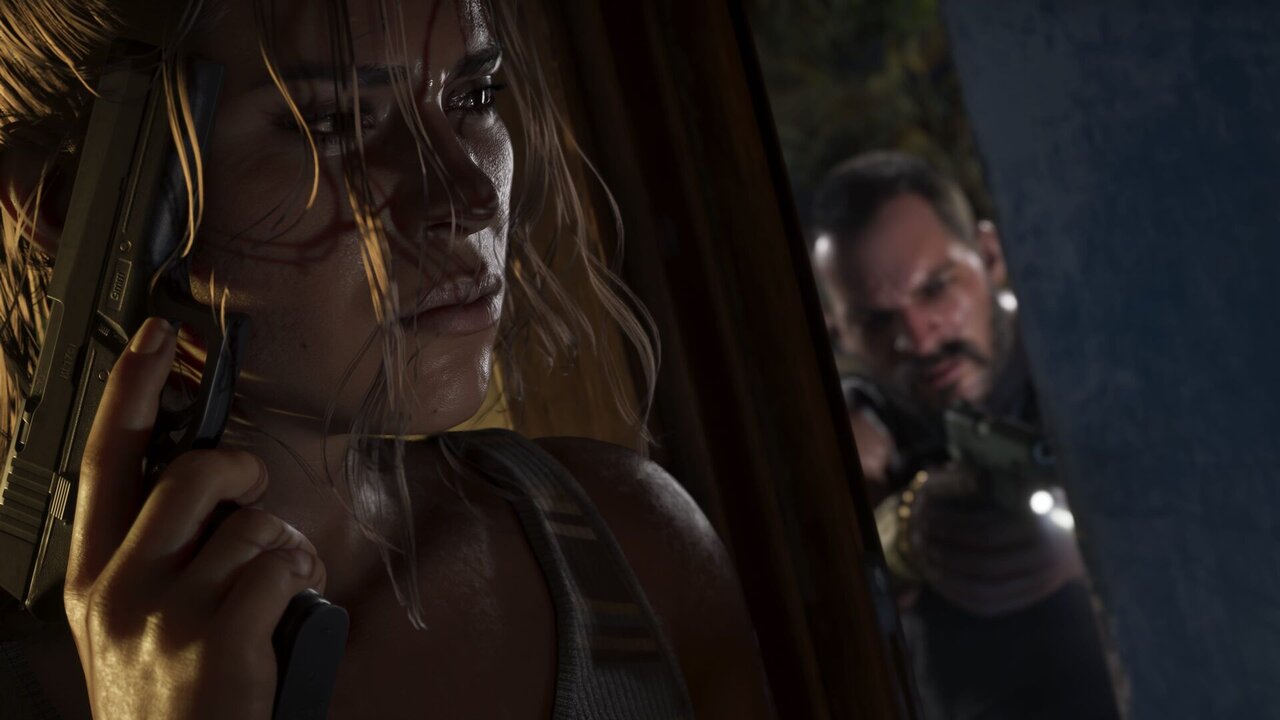
Once the safe is open, you can slip out quietly or smash the display cases for extra money. Destroy the security footage before you leave so the police don’t get your description. The three pieces are worth $20,000 together, plus whatever else you take, and afterward Yasmani also picks up stolen goods from garage drop-offs.
Street racing with Yago
A few minutes after Dealer’s Choice, Dre’Quan’s contact Manuel adds Jason to a street racing group chat. Join a Street Race is in Salton: rent one of three cars for $600 to $900 and race the Hit ‘n’ Run VC crew. The most expensive car has the best stats and makes winning much easier, and first place pays $3,000. A racer called Yago introduces himself before the start and talks to Jason afterward.
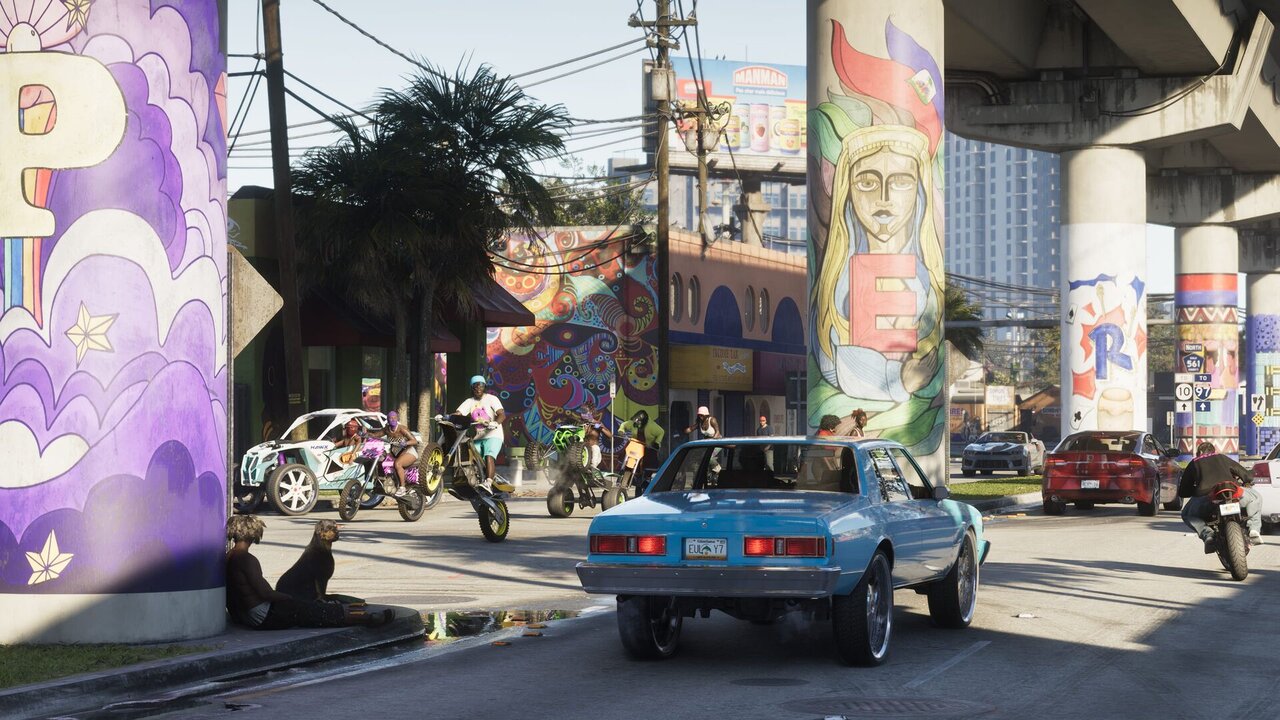
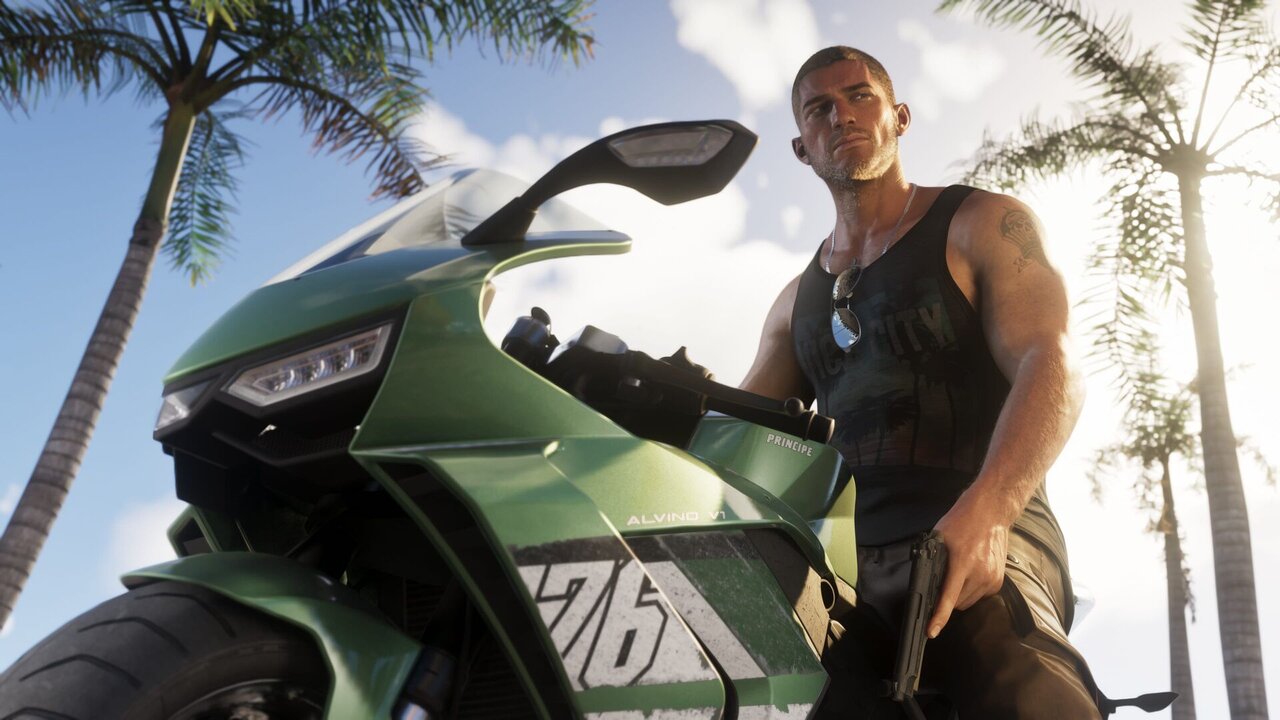
Several days later Yago asks for help with his car in Bumper to Bumper. Take it to a mod shop and fit the Custom Street Racing Build (under Pro Builds, Full Kits) and the Nitrous Boost (under Performance, Boost). Yago pays for the parts. Race with his crew at the same spot as before, then lose the police afterward. He pays $500. If the mission shows a lock on the map, sleep at the apartment and wait a few days.
Race Against Yago comes next, and it’s on a timer: it shows as a pink optional mission with an hourglass, and it disappears if you leave it too long. Talk to Santiago at the race meet, choose the second race, Freeway Run, rent a car and finish. First place pays $3,800.
The last of Yago’s jobs, Brother to Brother, starts at the back door of the El Rincon Notorio restaurant. Jason backs Yago up at a deal with the Guardia gang in west Vice City. It goes wrong when Yago shoots the Guardia brother who mocked him, so fight back to the car, picking up weapons on the way. The chase ends badly for Yago whatever you do, but you get to keep his race car, and these four jobs count toward Strangers and Freaks.
Buddy? Kyle’s last job
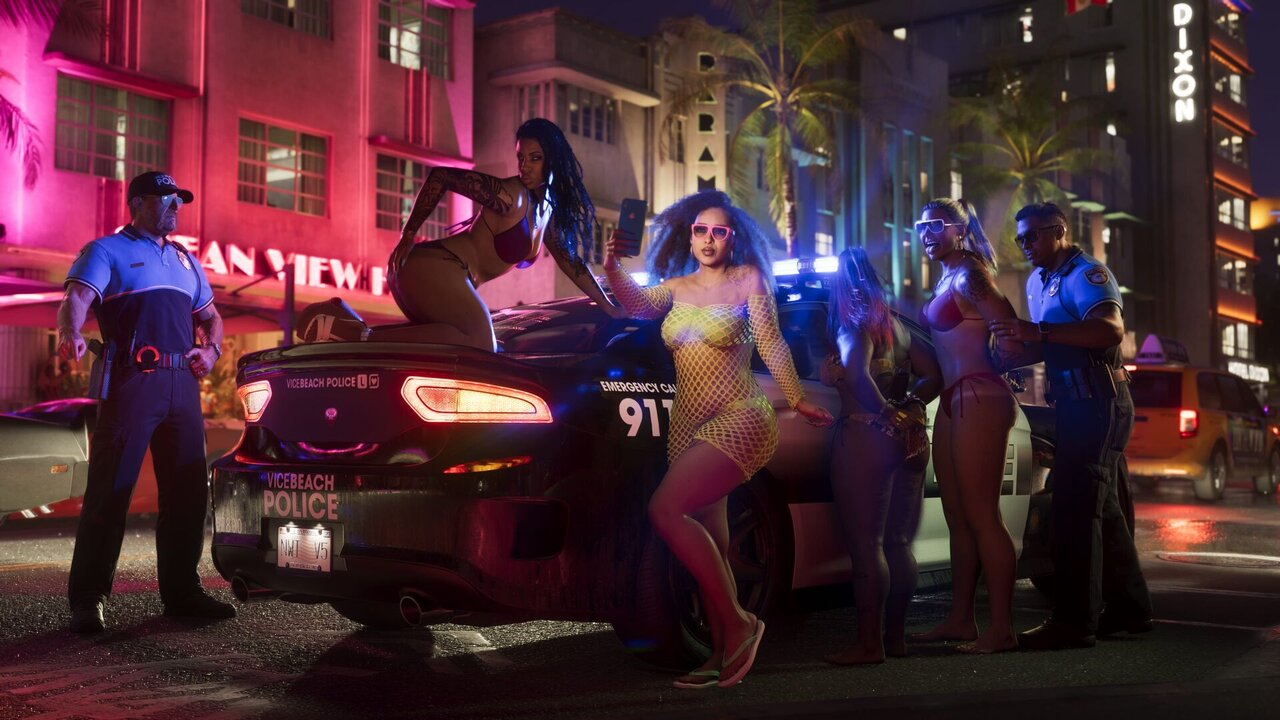
Long after Collect Chemicals for Kyle, sometime in Chapter 3, Kyle texts again and McKittrick Farm comes back on the map. When you get there, police have sealed the farm off. You can stay hidden and keep out of the officers’ sight, and the chemicals’ effect on Kyle plays out by itself. Afterward he sits by the barn, and you can talk to him before he leaves for good. Or you can tell the police you’re Kyle’s friend, put on a hazmat suit with the Mutandis agent and go into the barn, where you have to stop Kyle before he hurts the officers. Only the second way pays: $5,000 through BuckMe from the agent. Both count toward Strangers and Freaks.
Mall Rats with Billy
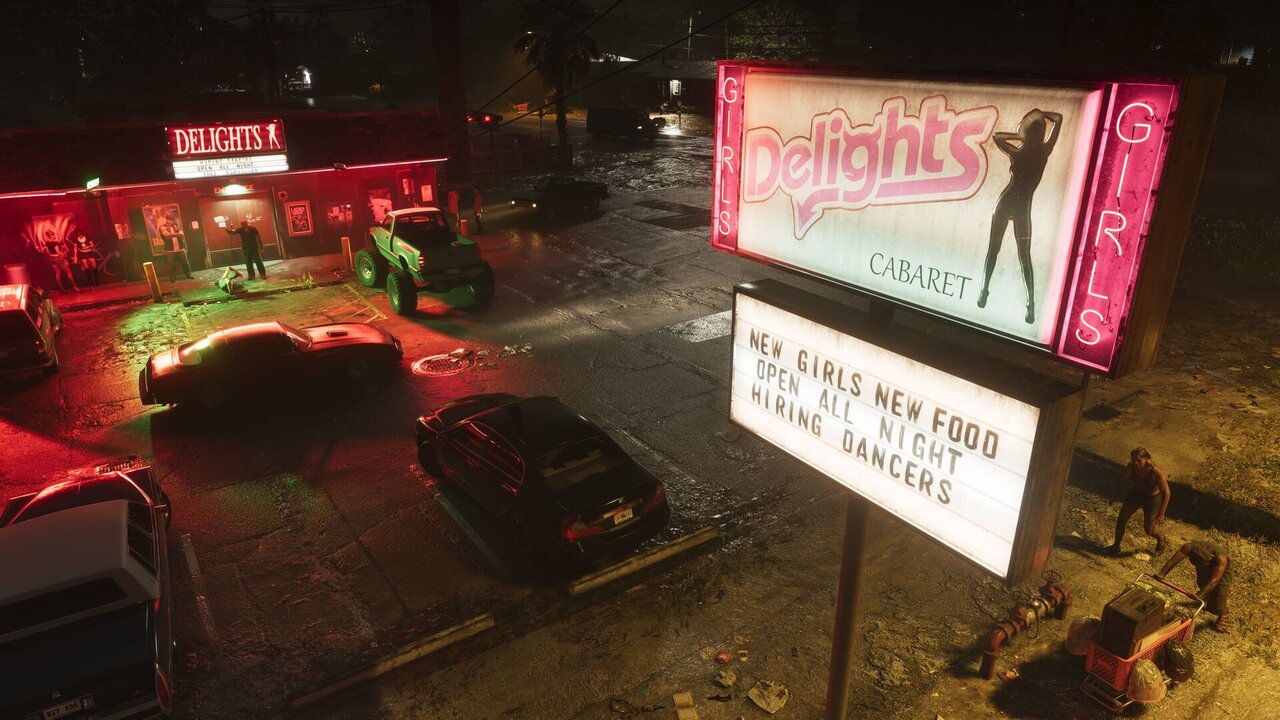
Billy gets back in touch during Chapter 3 for one more job, in Ocean Beach, and it has to be done alone. Ride a dirt bike with his crew through a parking garage and into a shopping mall, right up to a jewelry store. Smash the cases and open the safe at the back, either with an explosive or by letting Billy scare the combination out of the staff. Go in well armed. Ride back out with the police behind you, stay close to Billy, and follow the crew to a van. Ride straight into the back of it to lose the police. Billy pays $12,000.

Chapter 4 jobs
Bad Driver! (missable)
After Party Hard, Andrea tells you where to find Felipe, the getaway driver who bailed on the Cartel Heist: a bar in Millport, Lummox County. Do it before the story mission Power Play, because it disappears for good after that. Felipe comes out of the bathroom and runs into the woods behind the bar. Slow him down with a shot to the legs, catch him and keep hitting him until he gives up, then question him. Shoot him and Andrea pays $20,000. Spare him and you unlock Collect Felipe’s Gift, where you pick up his car.
Eddie Acosta’s party
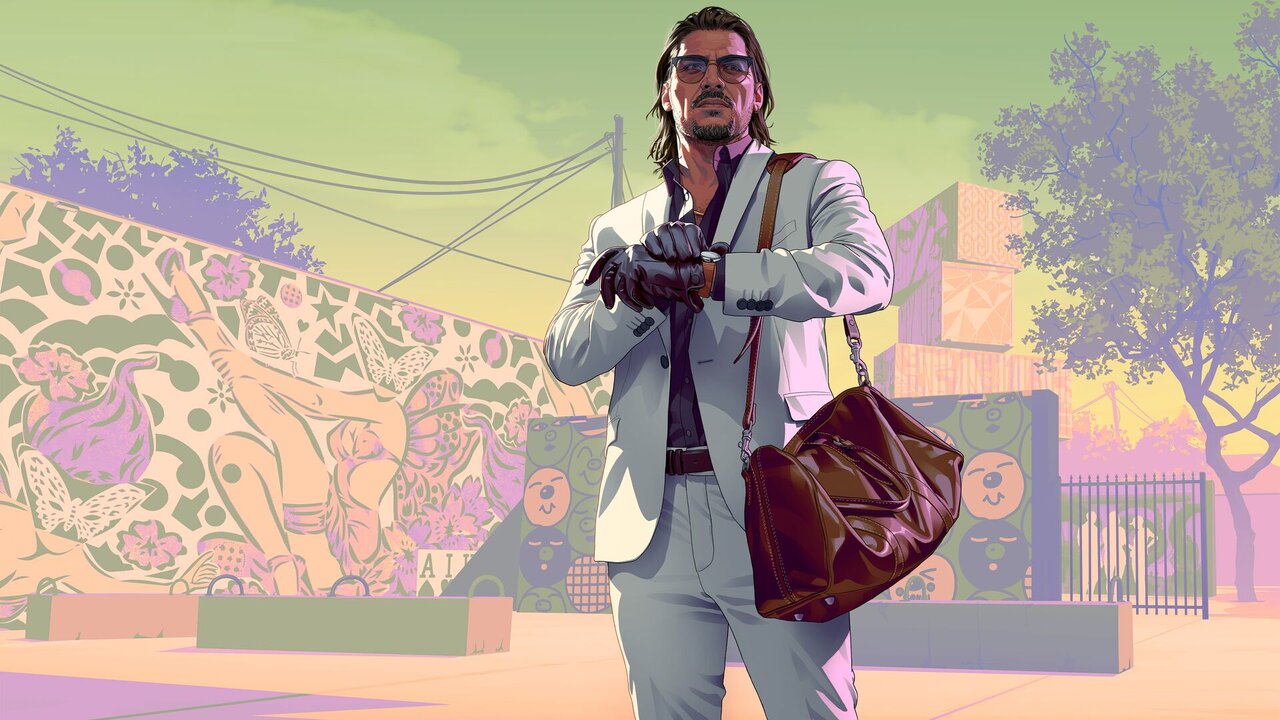
Eddie Acosta, the crypto fan who stops Jason at the bar in Pool Day, texts an invitation a few days later. Go alone to Heathcliff Heights. Eddie meets you in the lobby and takes you up to the roof, then locks you out there until you agree to put $50,000 into his scheme. Don’t pay. All you get for it is a worthless picture. Refuse, take the bike on the roof and ride it across the solar panels at full speed to jump to the next building, then take the elevator down. Eddie is waiting in the lobby afterward if you want a word with him.

That’s Where the Money Is: vault robberies
After VCIA Takedown, Yasmani has a tip about a bank vault. Sit by the window at Cafe Orquidea in Ocean Beach and wait for the security van. Follow it at a distance so the driver doesn’t notice, park near the bank where it stops, and follow the guard inside. Put on a disguise, draw your gun, blow the door at the back and deal with the vault guards. Take every stack of marked bills from the cart in the corner. It comes to more than one bag, so hand a bag to your partner or switch to them.
You get a four-star wanted level straight away, and the bank has no back door, so fight out through the front. Switching cars in a parking lot off the main road loses the police better than the highway, which is full of roadblocks. Take the disguise off and put on a hat and glasses. Sell the bills to Yasmani for around $80,000 if you took them all. He then sells security van tips, so you can keep hitting vaults.