














| Total | 21 Kill Frenzies, 7 in each of the three main chapters |
|---|---|
| Chapters | Mods and Sods, Chelsea Smile, Dead Certainty |
| Counts as | “Secrets found” on each chapter’s stats screen |
| Start one by | Breaking a weapon crate, or taking certain parked vehicles |
| Kill Frenzy icon |  Skull and crossbones beside the brief |
Every main chapter of GTA London 1969 hides seven Kill Frenzies, 21 in all. Six of the seven in each chapter start when you break a weapon crate (Rocket Launcher, Machine Gun or Flamethrower); the seventh is the Royal Pain frenzy, which starts when you take a parked Royal Pain. Each one counts towards “secrets found” on the chapter’s stats screen. The separate London 1961 pack has its own seven, listed on its own page.
How a Kill Frenzy works
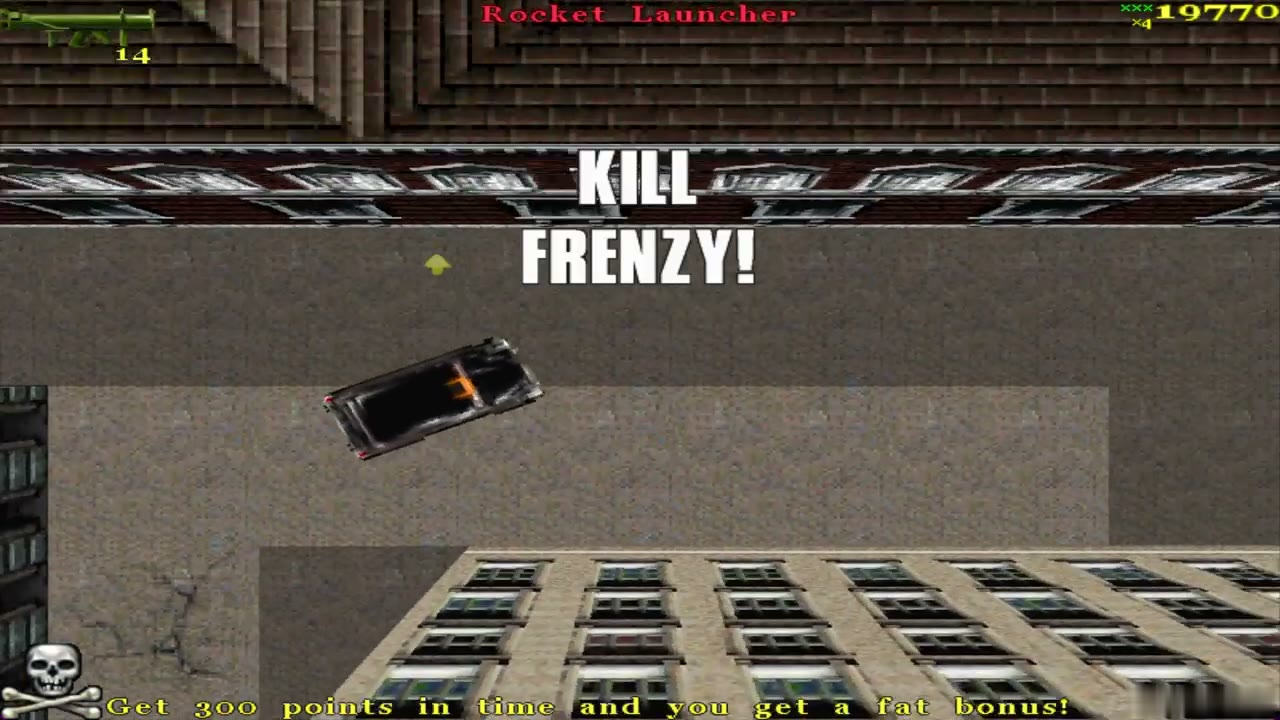
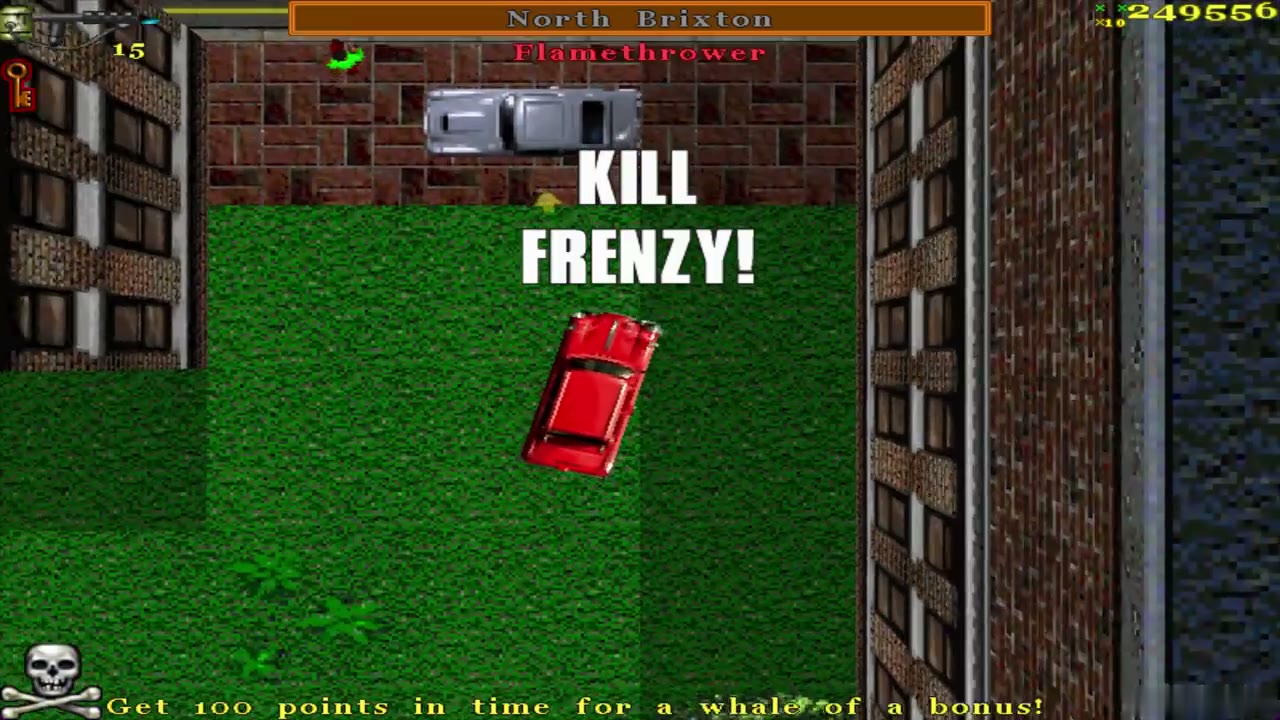
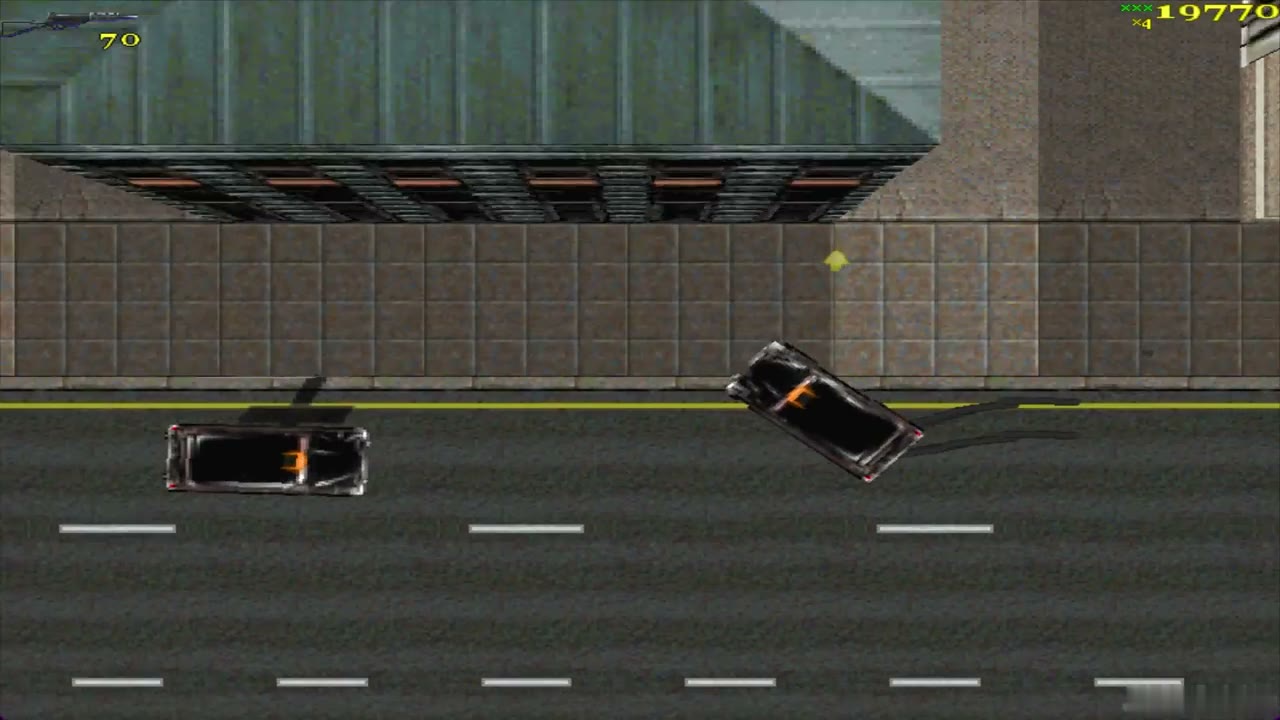
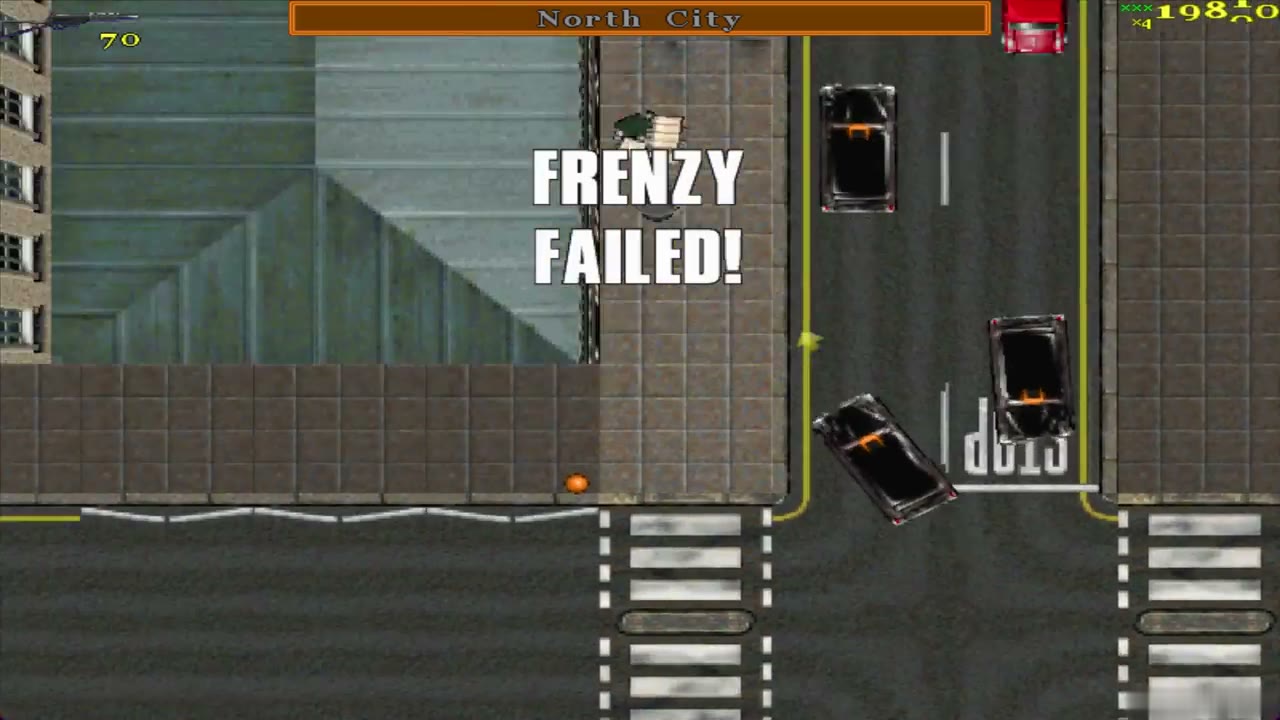
A frenzy begins the moment you break its crate or take its vehicle. The words KILL FRENZY appear on screen, with a skull and crossbones and a short brief along the bottom, for example “Get 300 points in time and you get a fat bonus!”. The weapon from the crate is now yours, and a timer starts. Score the points before it runs out and you pass; run out of time and the screen shows FRENZY FAILED.
The points come from hitting pedestrians and wrecking vehicles, so aim at traffic on the nearest busy street. Targets come in two sizes in the London 1969 chapters: 100 points (“a whale of a bonus”) and 300 points (“a fat bonus”), almost always in 15 seconds. The exceptions are the first frenzy of Mods and Sods (23 seconds) and the Royal Pain frenzy in each chapter, which gives you 2 minutes to do 500 pounds of damage.
Quick reference: all 21 locations
Use these tables to plan a route. Areas are the names shown at the top of the screen; the full entry for each frenzy, with a location picture, follows further down.
Mods and Sods
| # | Area | Trigger | Time | Target |
|---|---|---|---|---|
| 1 | South Angel | 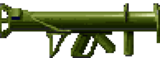 Rocket Launcher | 0:23 | 300 points |
| 2 | Southwest Soho |  Machine Gun | 0:15 | 100 points |
| 3 | West Westminster | Rocket Launcher | 0:15 | 100 points |
| 4 | Northwest Southwark | Royal Pain | 2:00 | 500 pounds of damage |
| 5 | Northwest Bermondsey | 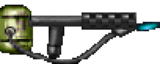 Flamethrower | 0:15 | 100 points |
| 6 | Southeast Brixton | Machine Gun | 0:15 | 300 points |
| 7 | Southeast Camberwell | Flamethrower | 0:15 | 300 points |
Chelsea Smile
| # | Area | Trigger | Time | Target |
|---|---|---|---|---|
| 1 | Northeast City | Flamethrower | 0:15 | 300 points |
| 2 | Southeast Bow | Rocket Launcher | 0:15 | 100 points |
| 3 | Northeast Bermondsey | Flamethrower | 0:15 | 300 points |
| 4 | Southwest Southwark | Machine Gun | 0:15 | 300 points |
| 5 | Central Westminster | Flamethrower | 0:15 | 300 points |
| 6 | North Chelsea | Flamethrower | 0:15 | 100 points |
| 7 | Northeast Hyde Park | Royal Pain | 2:00 | 500 pounds of damage |
Dead Certainty
| # | Area | Trigger | Time | Target |
|---|---|---|---|---|
| 1 | Southwest City | Rocket Launcher | 0:15 | 300 points |
| 2 | Central Westminster | Machine Gun | 0:15 | 300 points |
| 3 | West Brixton | Rocket Launcher | 0:15 | 100 points |
| 4 | Central Brixton | Flamethrower | 0:15 | 100 points |
| 5 | North Southwark | Flamethrower | 0:15 | 300 points |
| 6 | Southeast Bow | Royal Pain | 2:00 | 500 pounds of damage |
| 7 | South Bow | Machine Gun | 0:15 | 300 points |
Mods and Sods Kill Frenzies
The first chapter’s seven frenzies are spread across the whole city, from South Angel in the north to Camberwell in the south. You can find them in any order while you work through Mods and Sods.
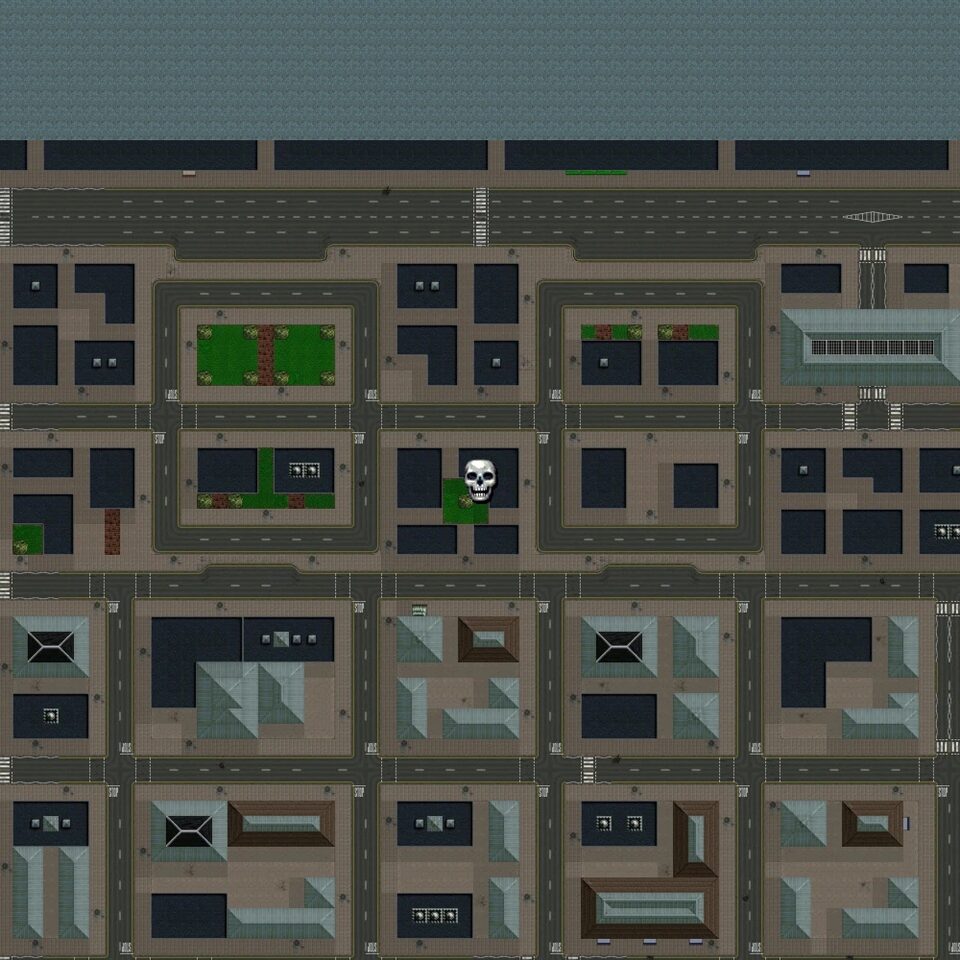
Kill Frenzy 1: South Angel
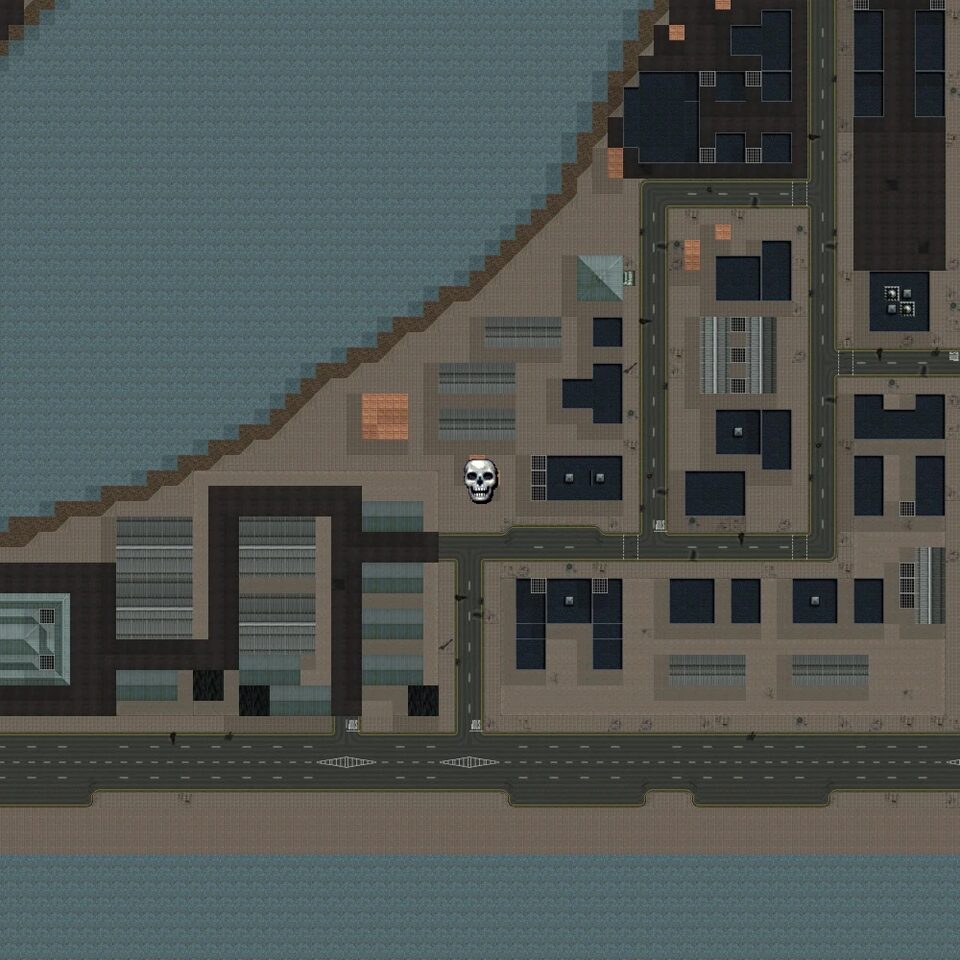
In South Angel, in a grid of small city blocks just below the riverside road. Break the Rocket Launcher crate to start the frenzy, then score 300 points within 23 seconds. Cars on the nearby streets pay best, so stay on the roads and keep firing.
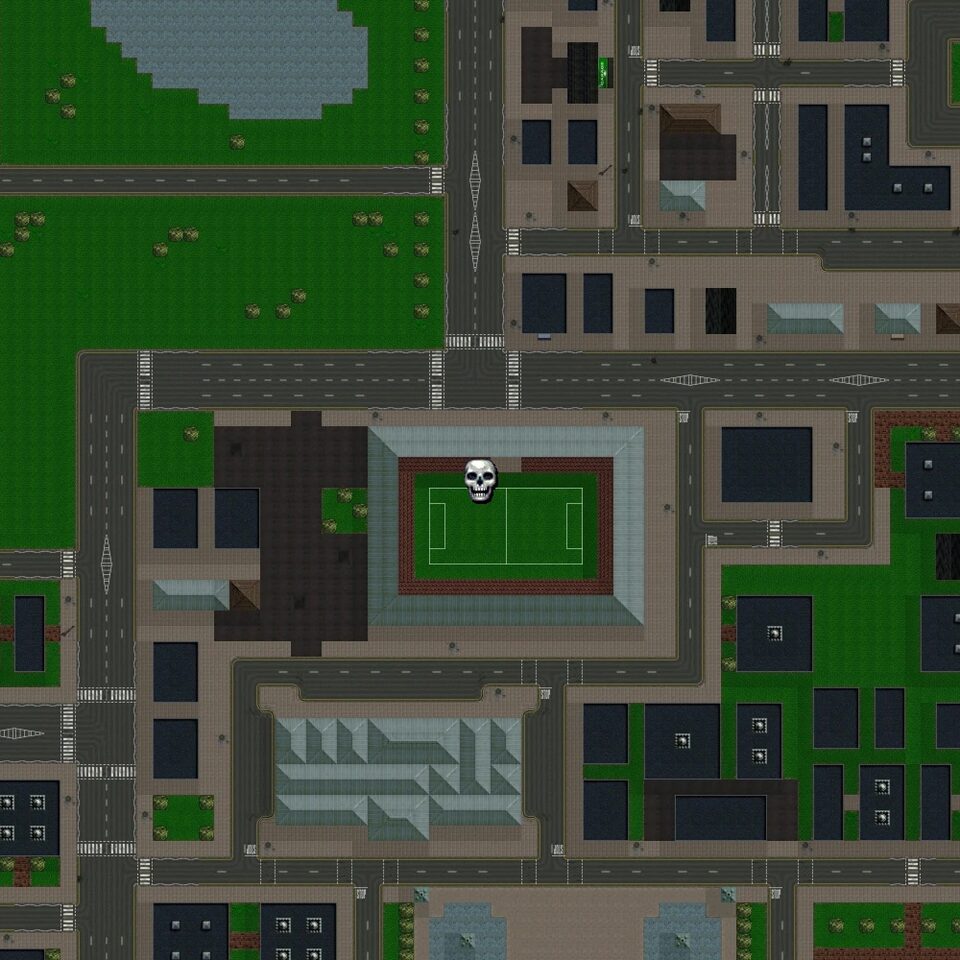
Kill Frenzy 2: Southwest Soho
In Southwest Soho, right beside the football ground with its green pitch, with a park to the northwest. Break the Machine Gun crate and score 100 points in 15 seconds. Start shooting at once, because the clock runs while you look for targets.
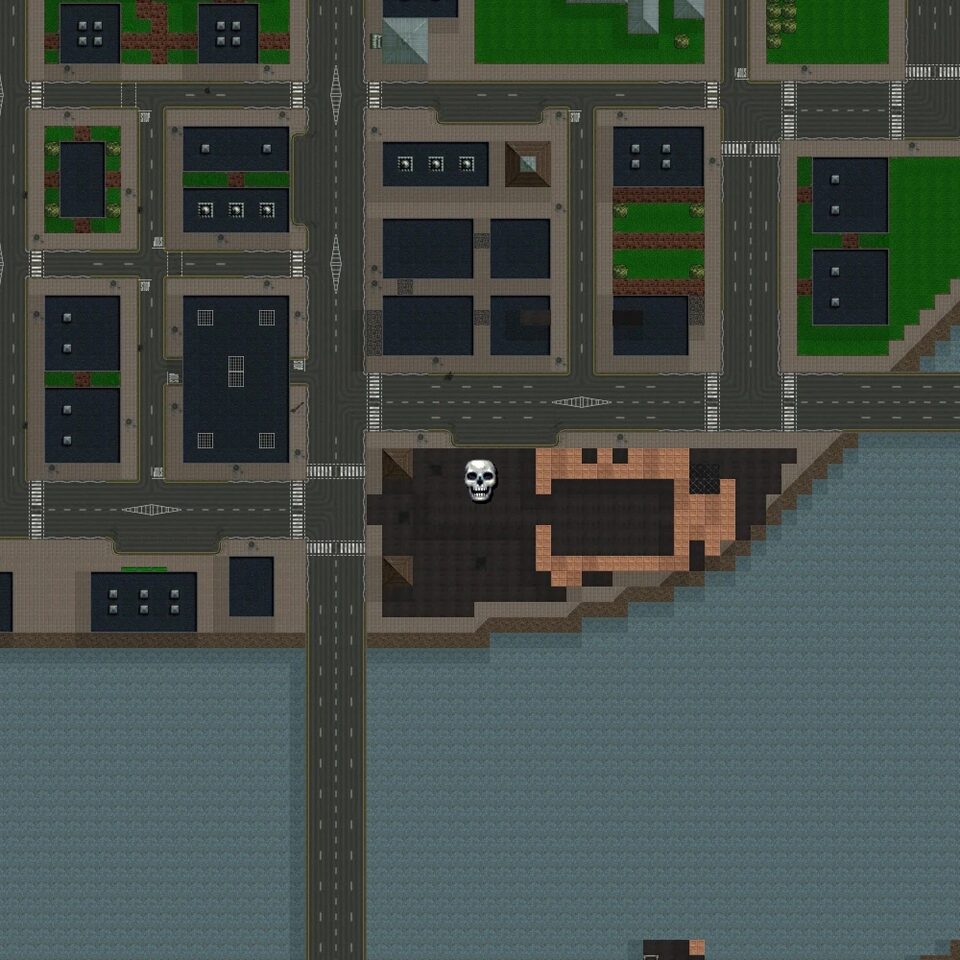
Kill Frenzy 3: West Westminster
In West Westminster, on open paved ground at a bend of the river just west of the main north-south road. Break the Rocket Launcher crate and score 100 points in 15 seconds. Wait for traffic on the road before you break the crate.
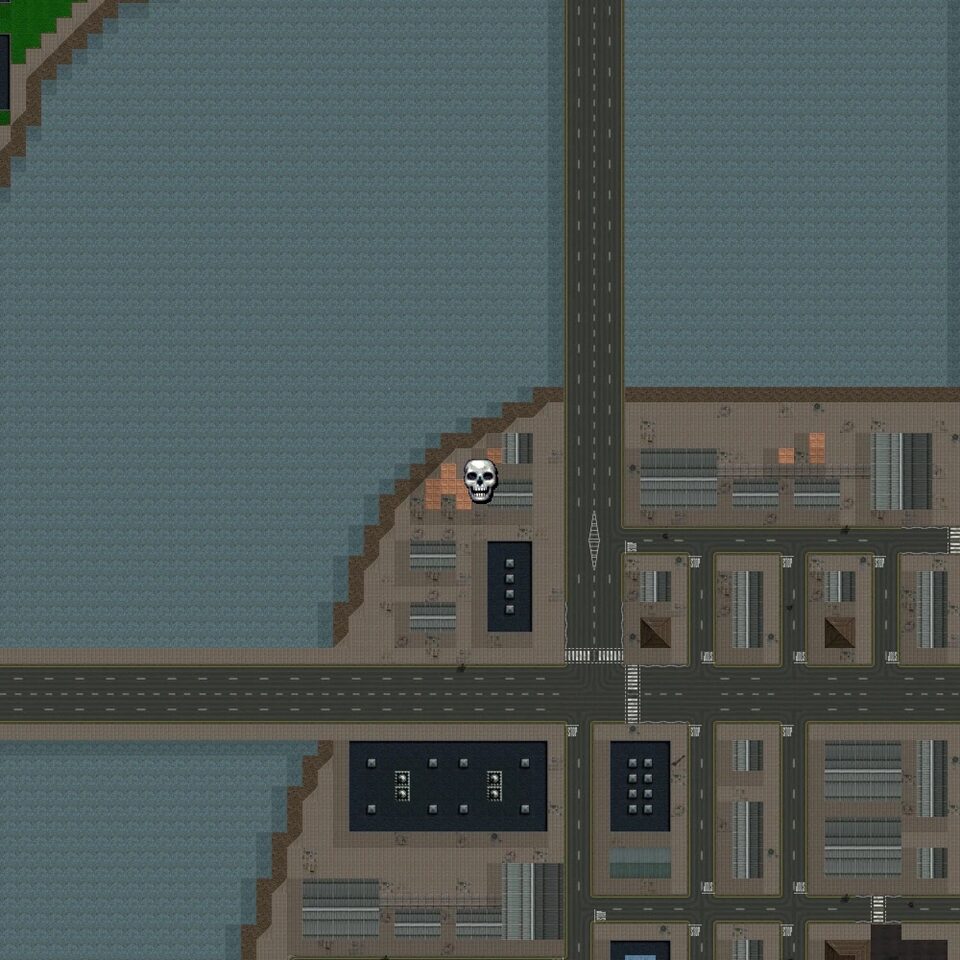
Kill Frenzy 4: Northwest Southwark
In Northwest Southwark, on the riverbank among warehouses beside the main road. Take the Royal Pain parked here and you have 2 minutes to do 500 pounds of damage. Ram parked and moving cars without stopping.
Kill Frenzy 5: Northwest Bermondsey
In Northwest Bermondsey, on the riverside works with three tall chimneys, close to the bridge. Break the Flamethrower crate and score 100 points in 15 seconds. The flames are short range, so move up to the people and cars on the streets south of the works.
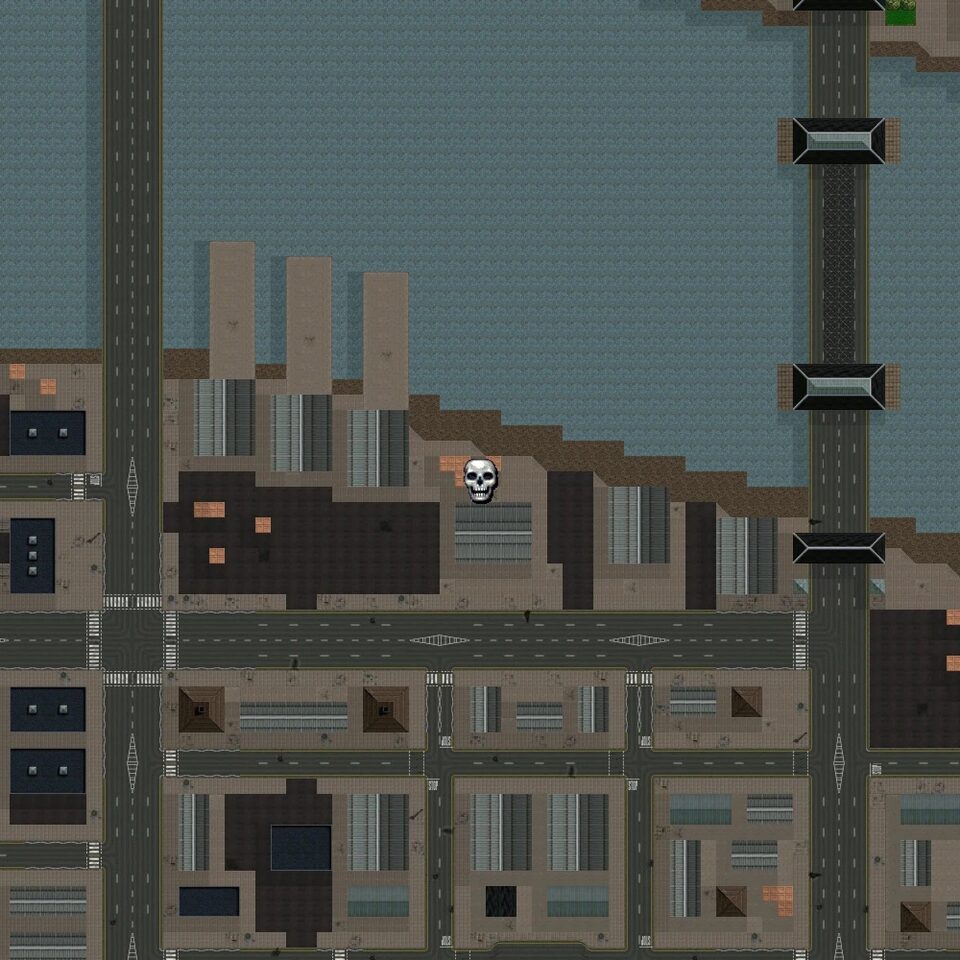
Kill Frenzy 6: Southeast Brixton
In Southeast Brixton, along a street of brick houses with a park and the river just below. Break the Machine Gun crate and score 300 points in 15 seconds. Run to the street junction with the heaviest traffic before the timer eats into your window.
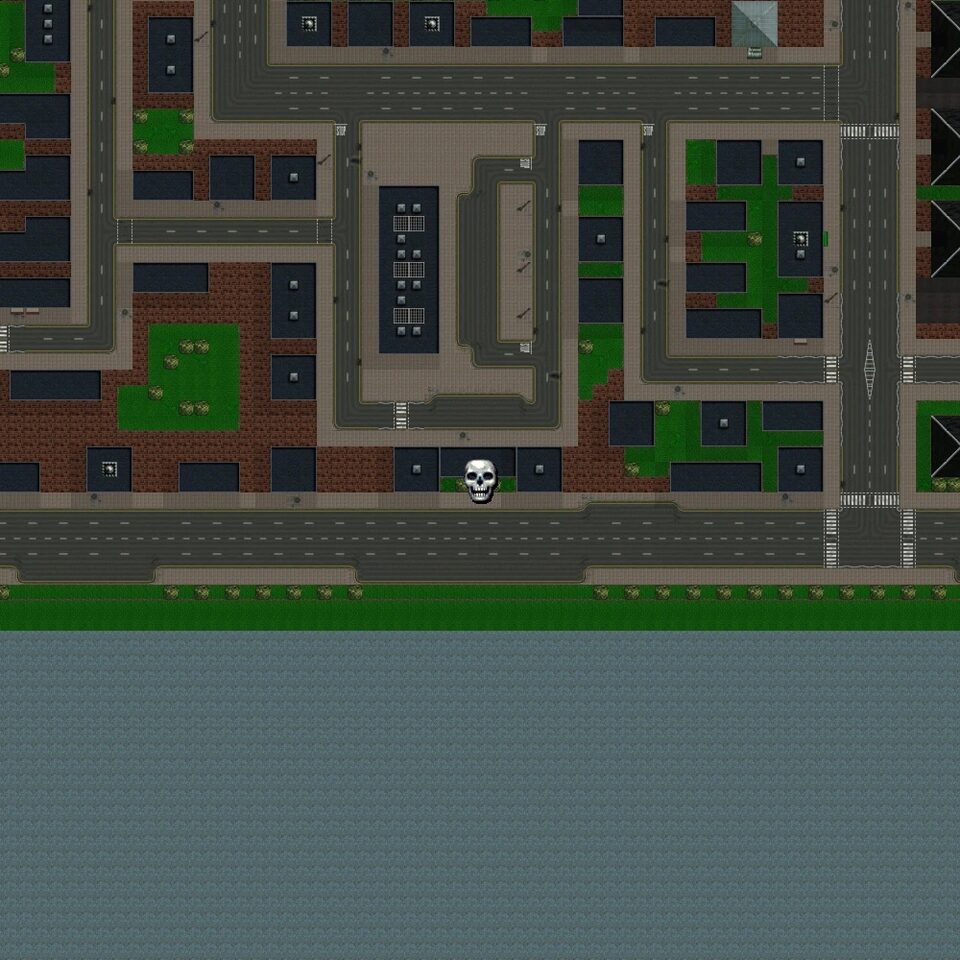
Kill Frenzy 7: Southeast Camberwell
In Southeast Camberwell, in the park at the river’s corner. Break the Flamethrower crate and score 300 points in 15 seconds. The park is quiet, so head for the streets on its eastern side where cars and pedestrians gather.
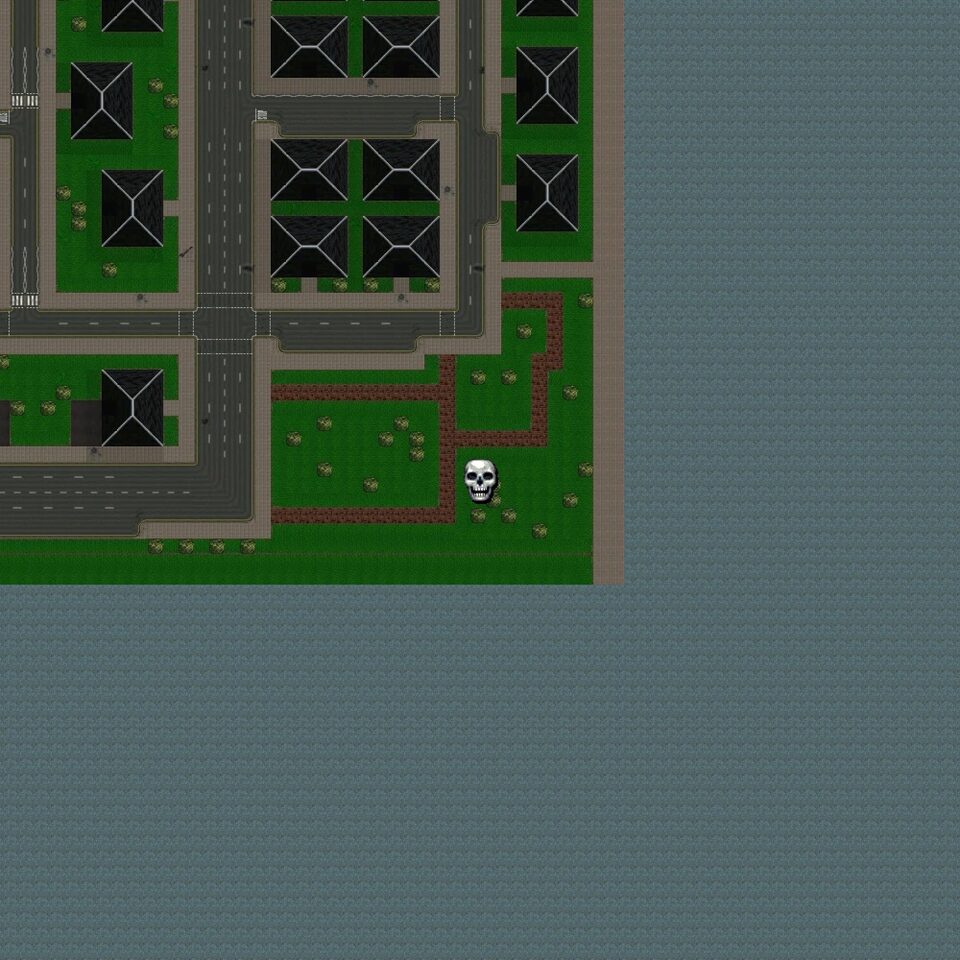
Chelsea Smile Kill Frenzies
Five of the seven frenzies in Chelsea Smile use the Flamethrower or Rocket Launcher, so you will be at short range or firing at cars rather than people.
Kill Frenzy 1: Northeast City
In Northeast City, in a grid of blocks north of the big crossroads. Break the Flamethrower crate and score 300 points in 15 seconds. Stay close to the crowded roads to reach 300 in time.
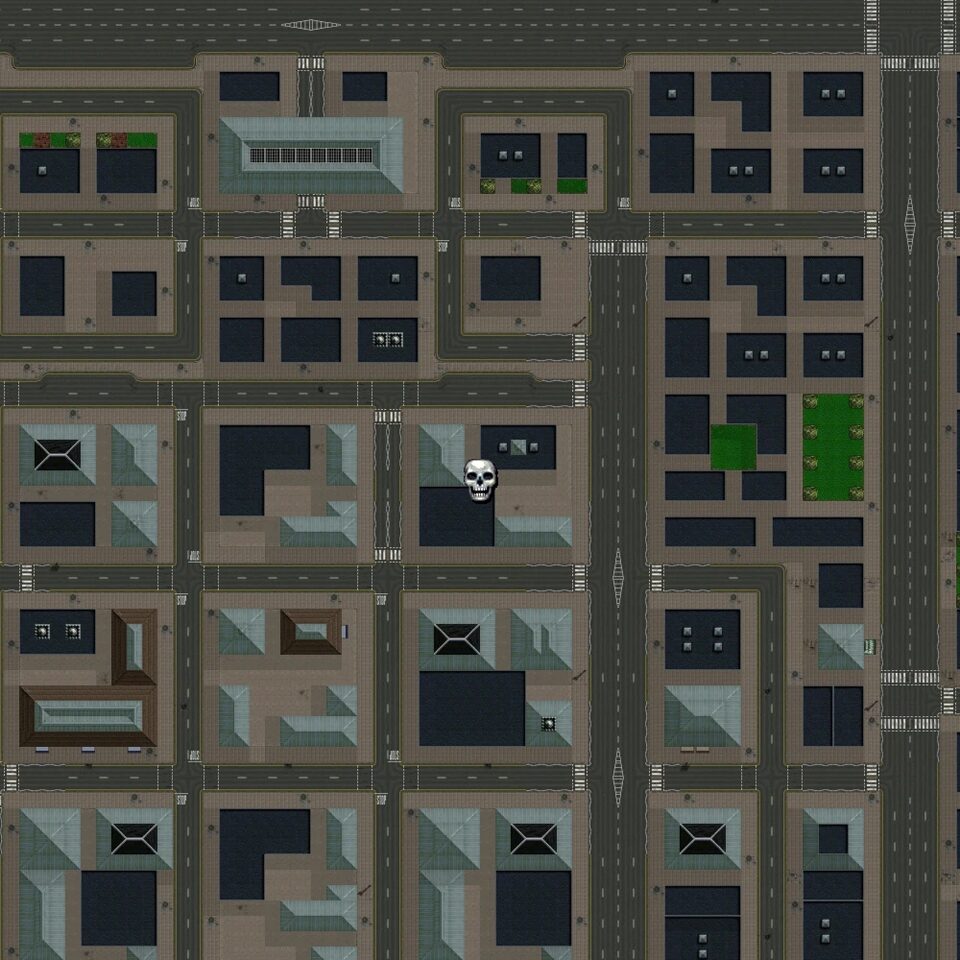
Kill Frenzy 2: Southeast Bow
In Southeast Bow, on a small green plot at the riverbank with bridges close by. Break the Rocket Launcher crate and score 100 points in 15 seconds. Aim at cars on the bridge approaches for quick points.
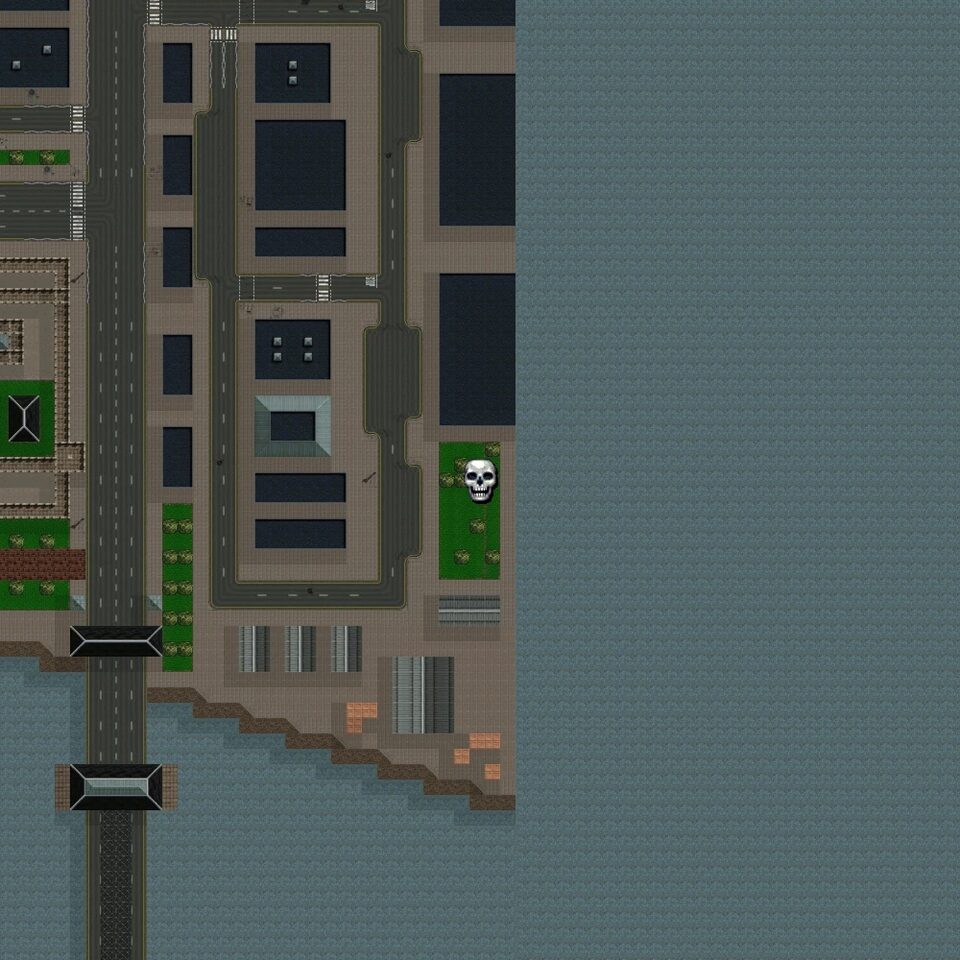
Kill Frenzy 3: Northeast Bermondsey
In Northeast Bermondsey, on the wharf with the orange-roofed building next to the jetty. Break the Flamethrower crate and score 300 points in 15 seconds. Move to the main road beside the wharf as soon as you start.
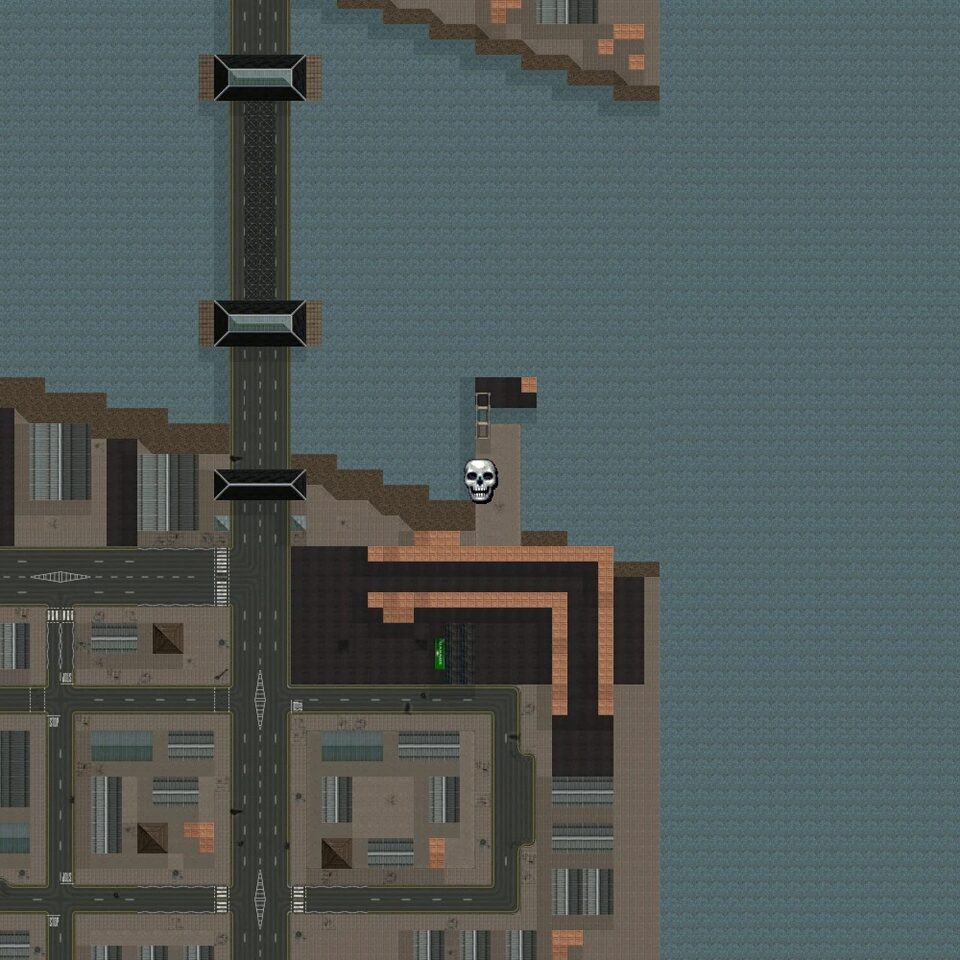
Kill Frenzy 4: Southwest Southwark
In Southwest Southwark, beside the football ground with the green pitch. Break the Machine Gun crate and score 300 points in 15 seconds. Keep firing along the streets around the ground, where traffic is thickest.
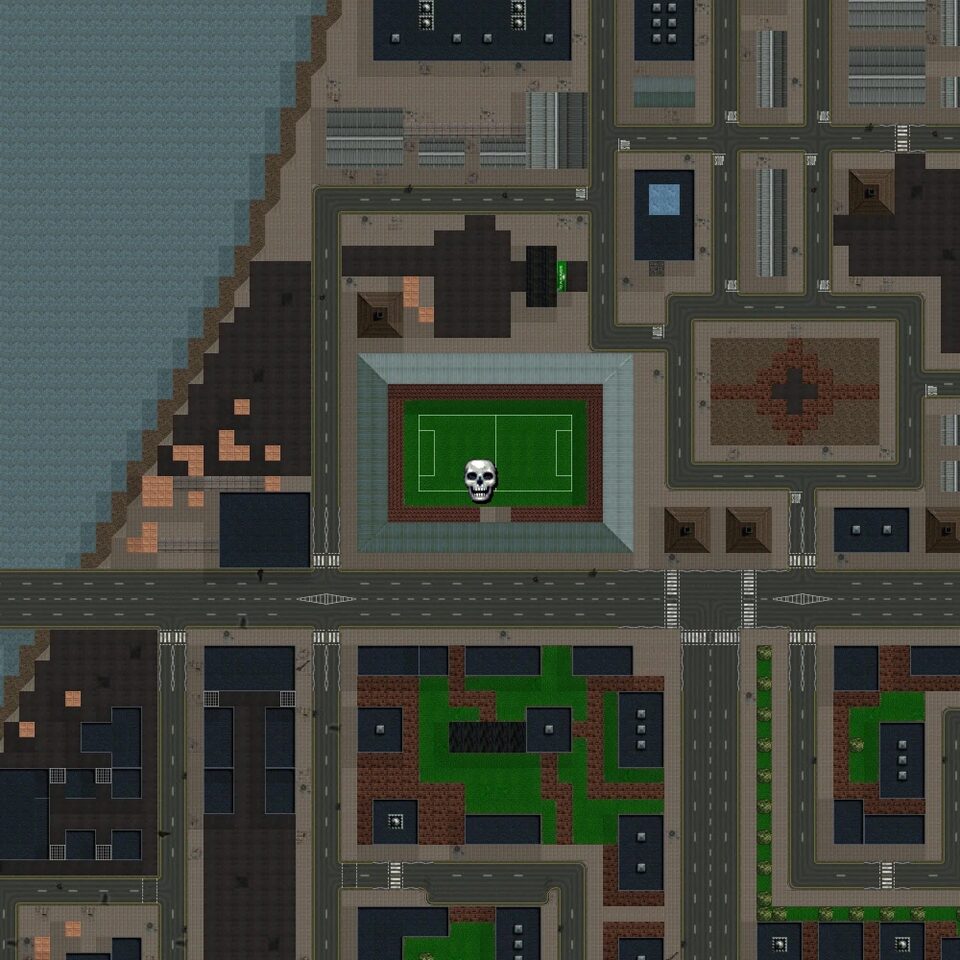
Kill Frenzy 5: Central Westminster
In Central Westminster, in the wide paved square ringed by a long building and parks. Break the Flamethrower crate and score 300 points in 15 seconds. The square holds parked cars, so burn those first and then take the road.
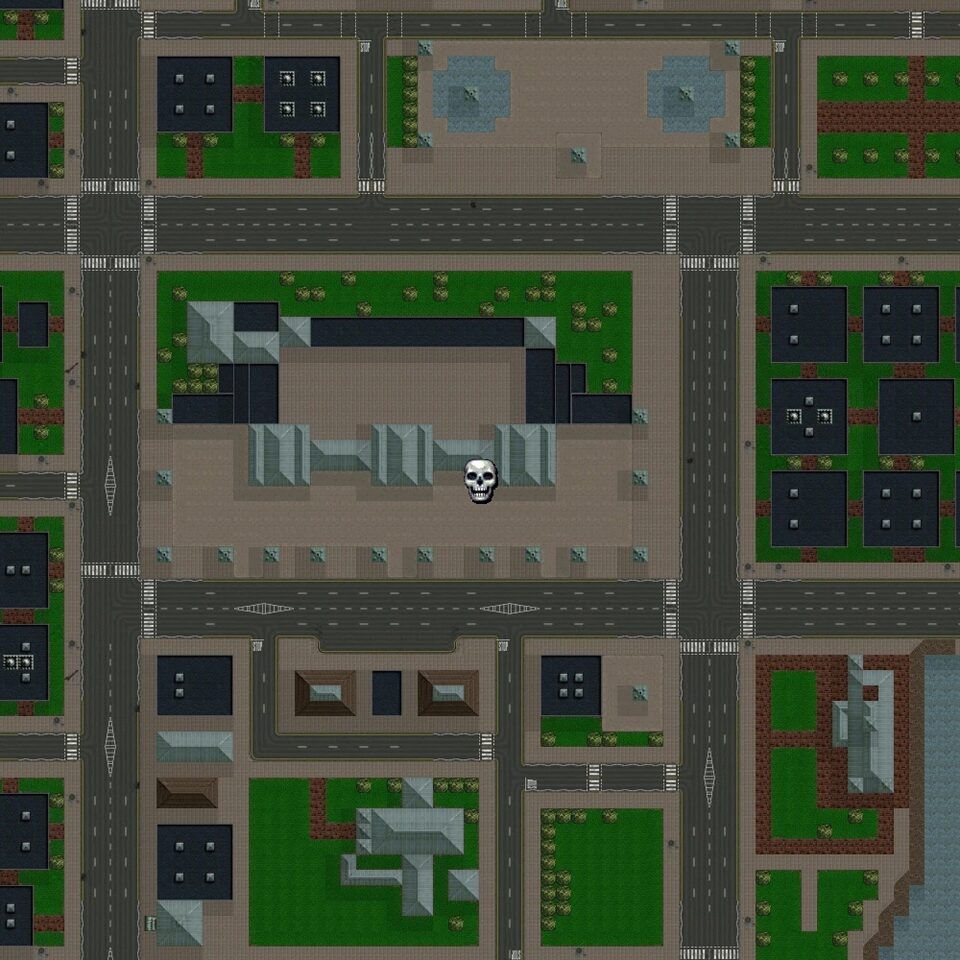
Kill Frenzy 6: North Chelsea
In North Chelsea, in a park beside the river with a block of houses to the south. Break the Flamethrower crate and score 100 points in 15 seconds. The target is low, so go straight for the cars on the road beside the park.
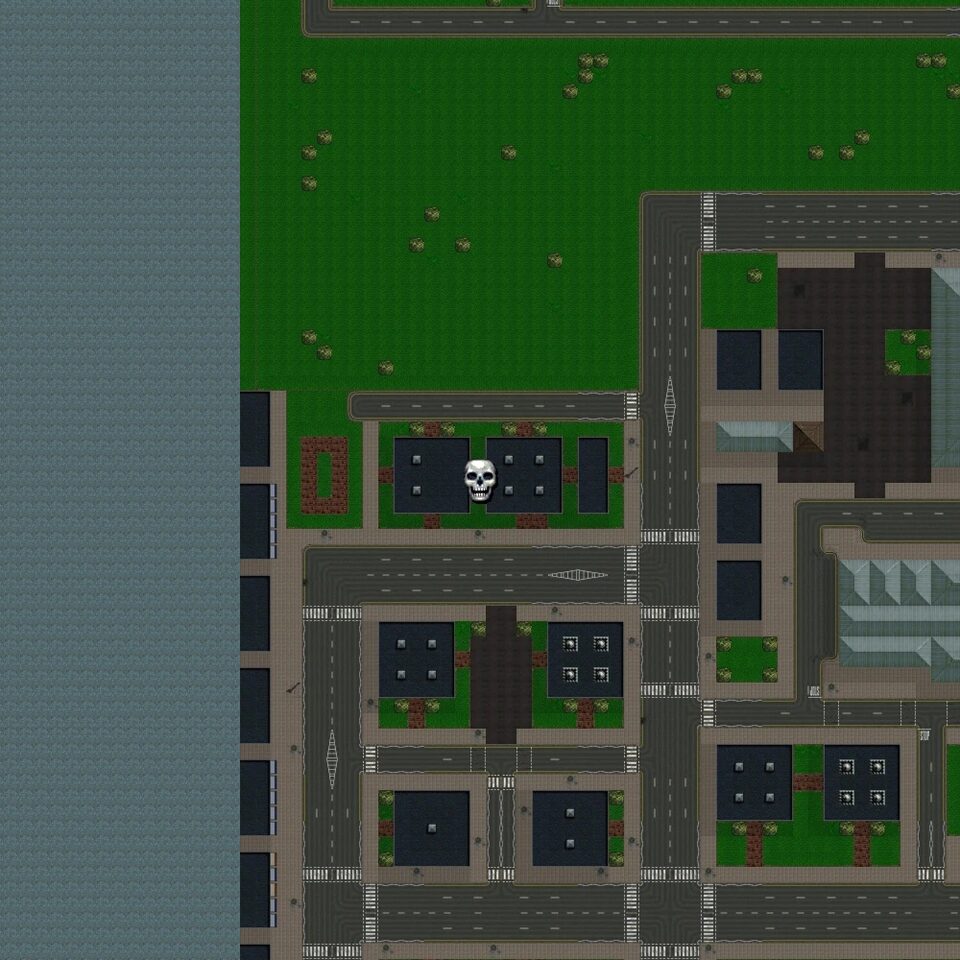
Kill Frenzy 7: Northeast Hyde Park
In Northeast Hyde Park, on the park’s riverside corner. Take the Royal Pain parked here and you have 2 minutes to do 500 pounds of damage. Drive out to the roads around the park, where there is plenty to ram.
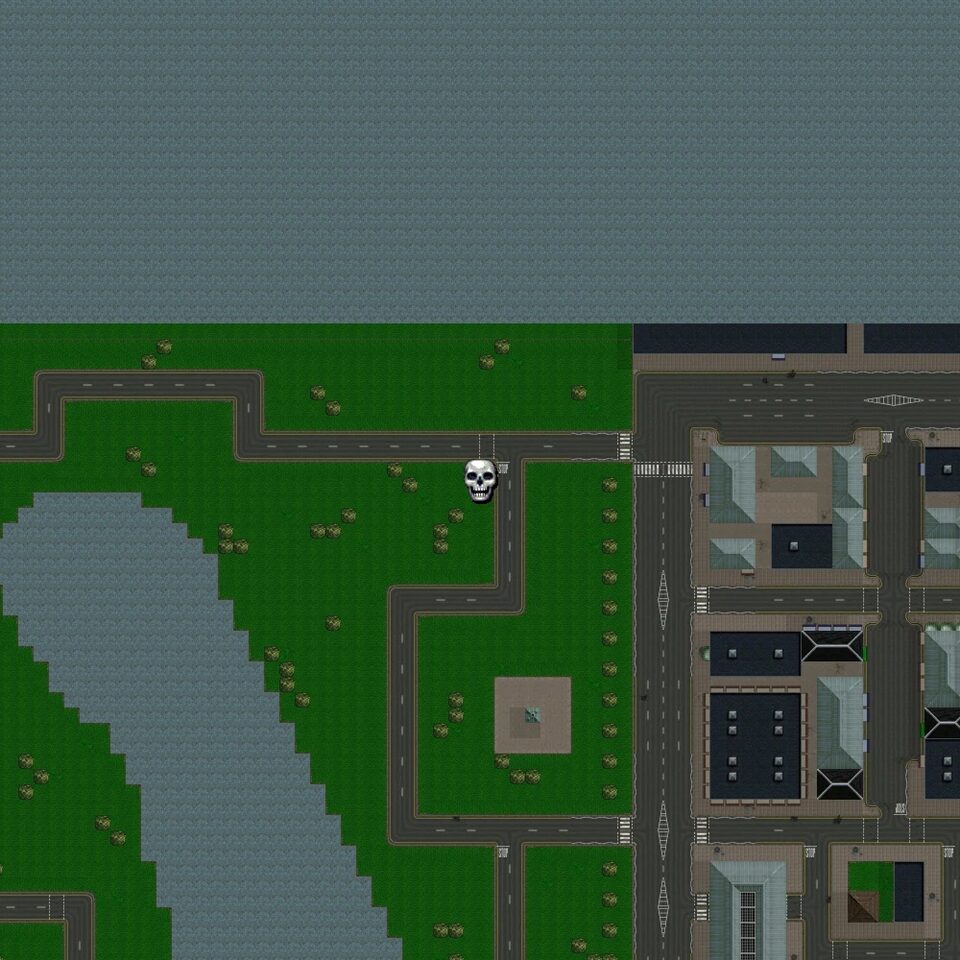
Dead Certainty Kill Frenzies
The last chapter, Dead Certainty, has crates in Brixton, Southwark, Bow, Westminster and the City. Five of its seven sit on the same ground as five of the London 1961 frenzies.
Kill Frenzy 1: Southwest City
In Southwest City, in a narrow alley beside a tall office building, close to the river. Break the Rocket Launcher crate and score 300 points in 15 seconds. Walk out to the main road at once, as cars are the quickest way to 300.
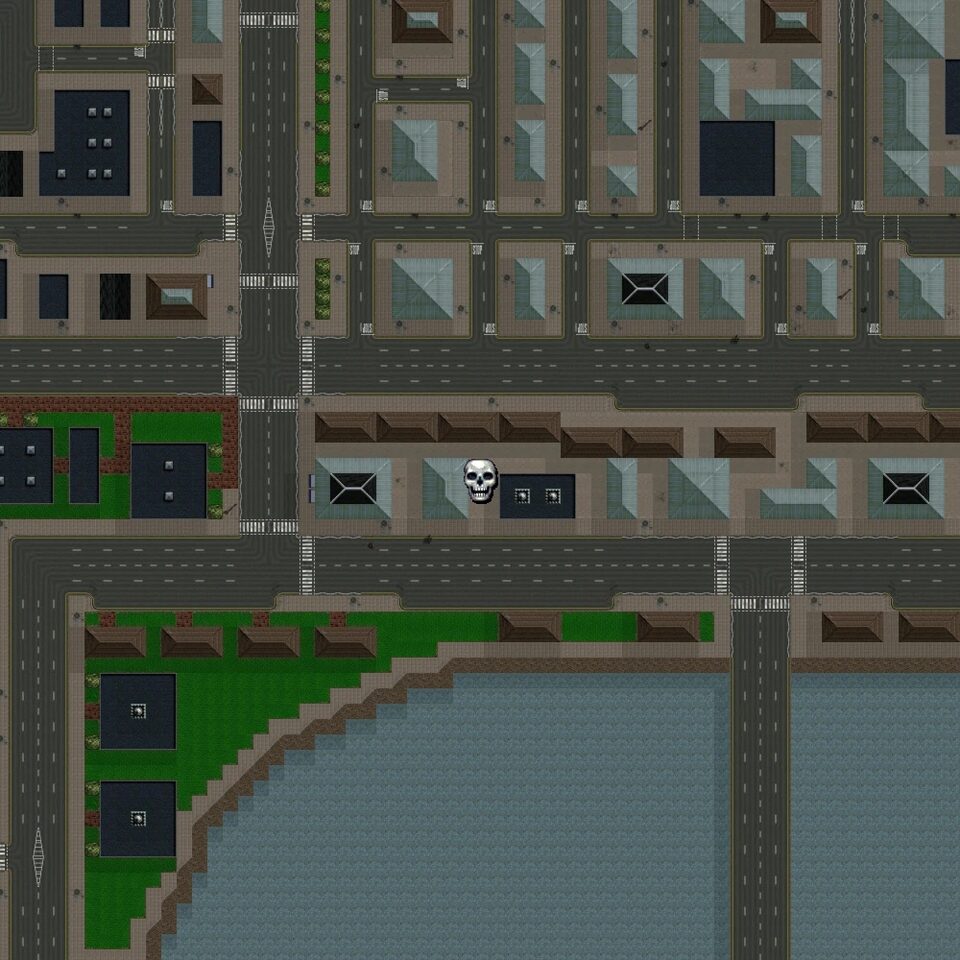
Kill Frenzy 2: Central Westminster
In Central Westminster, in the paved yard where many cars are parked. Break the Machine Gun crate and score 300 points in 15 seconds. The parked cars make easy early points, then move on to the road.
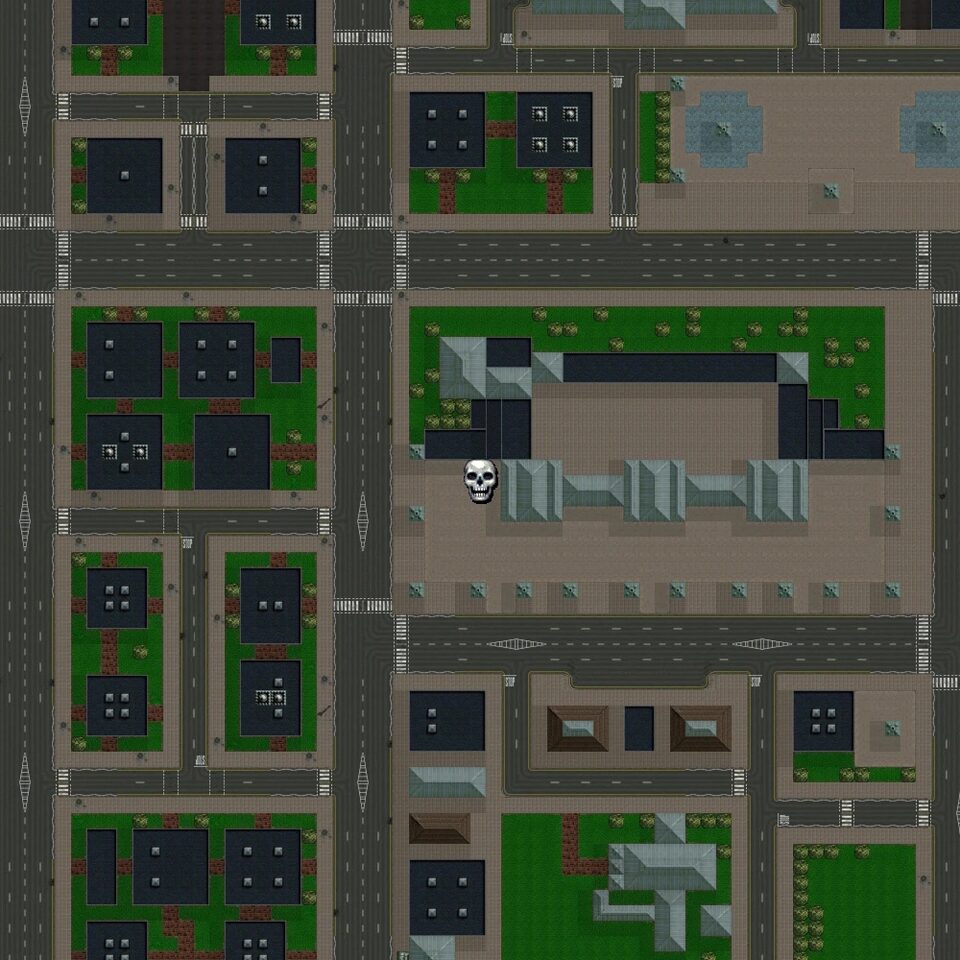
Kill Frenzy 3: West Brixton
In West Brixton, beside a fenced car park with stacked crates. Break the Rocket Launcher crate and score 100 points in 15 seconds. Blow up the parked cars next to you, as they alone nearly cover the target.
Kill Frenzy 4: Central Brixton
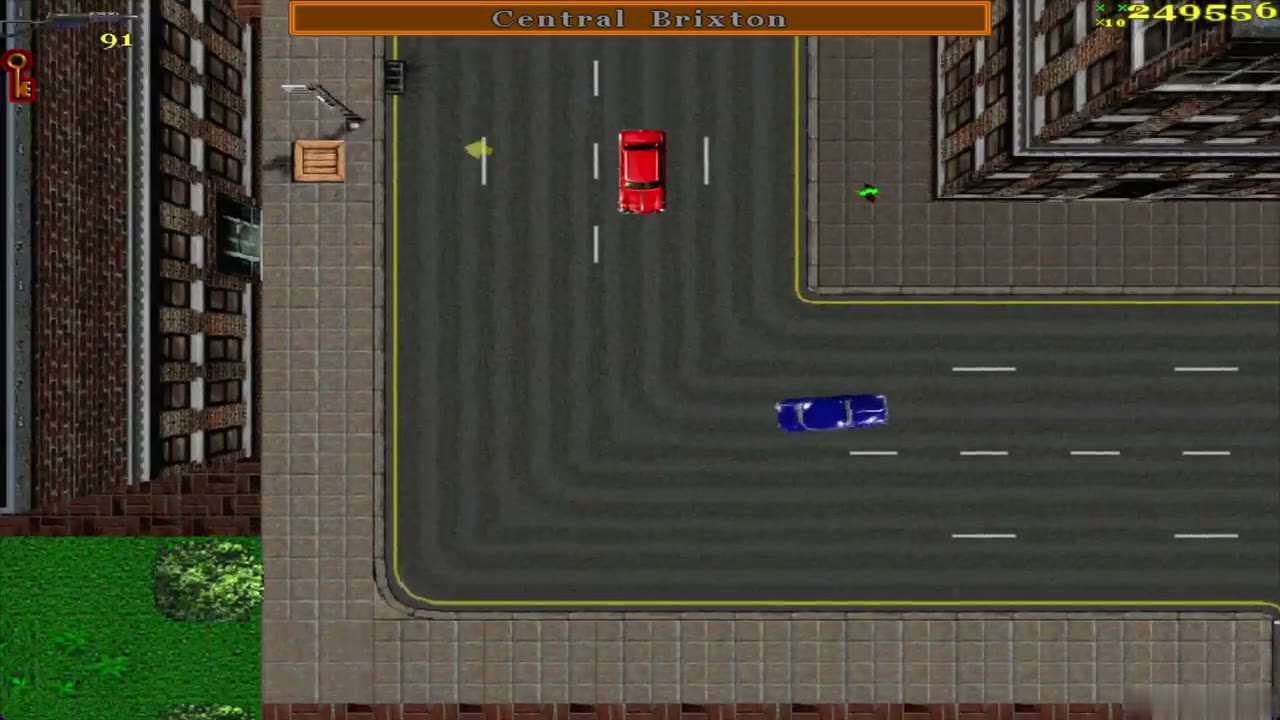
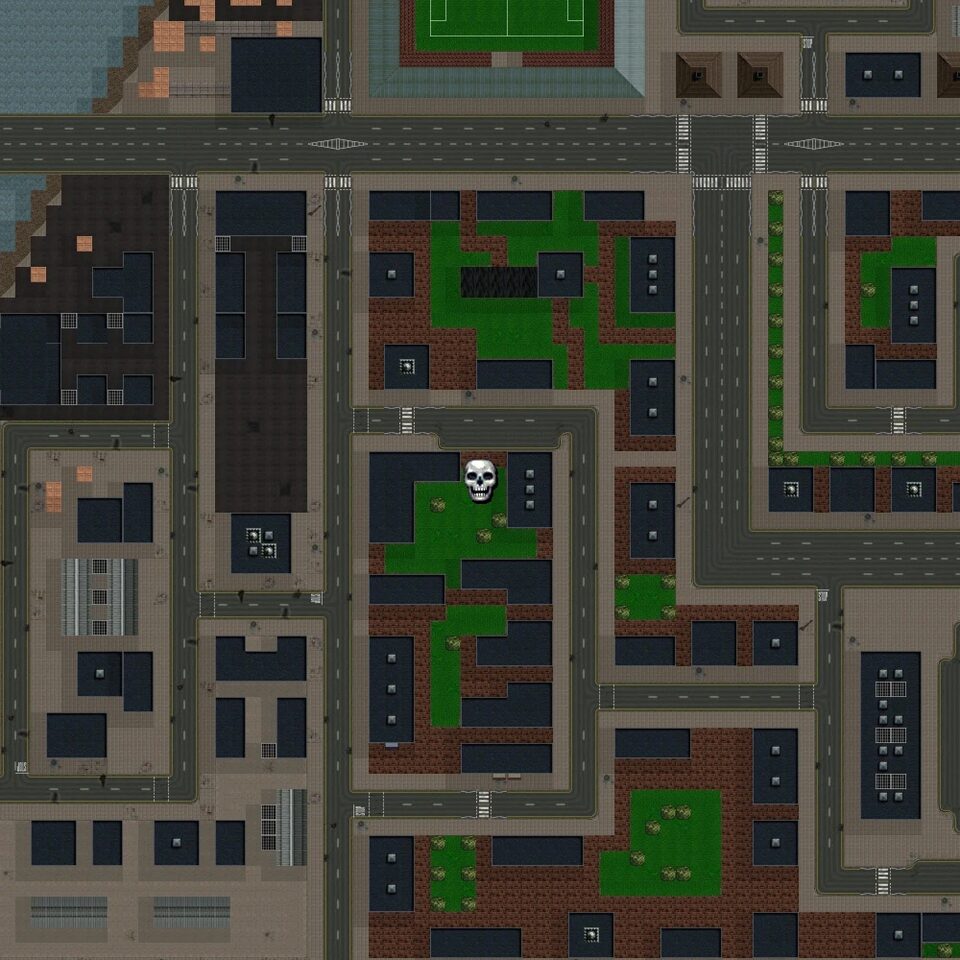
In Central Brixton, in a grassy courtyard enclosed by brick houses. Break the Flamethrower crate and score 100 points in 15 seconds. A parked car sits just inside the courtyard to the north, so start there.
Kill Frenzy 5: North Southwark
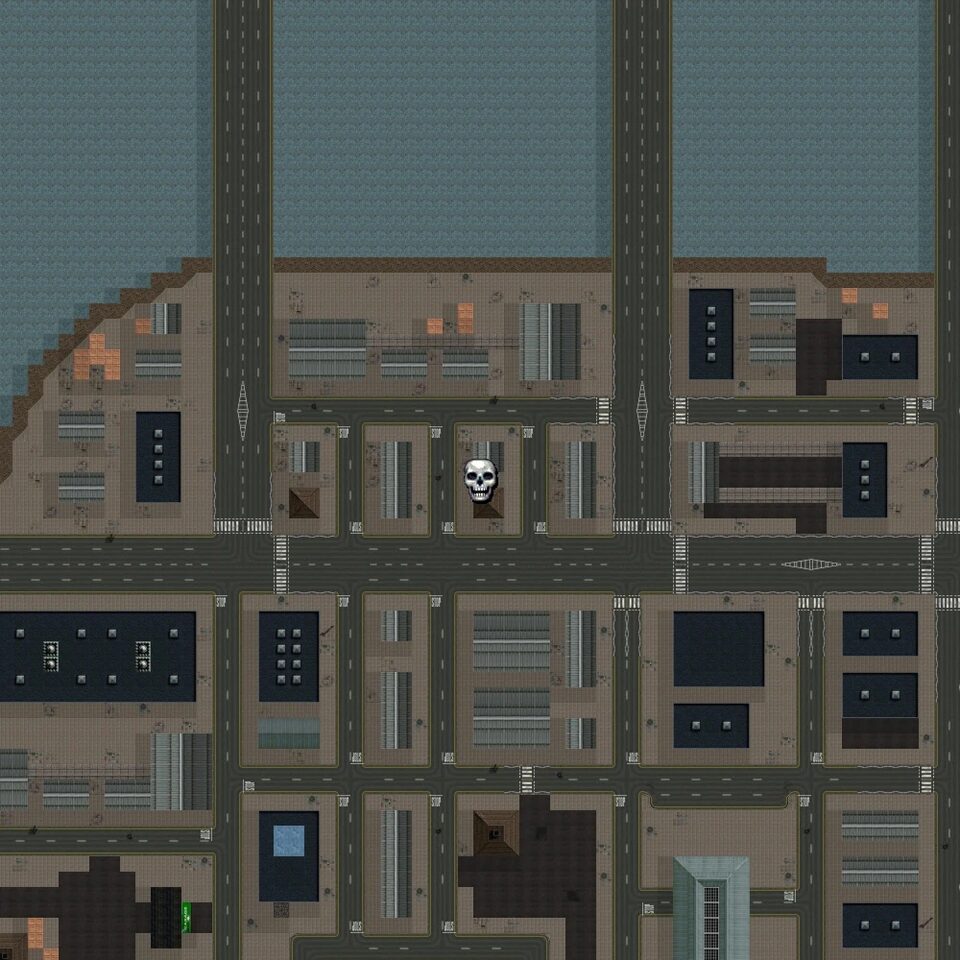
In North Southwark, beside a corrugated warehouse roof on the riverbank bend. Break the Flamethrower crate and score 300 points in 15 seconds. Keep to the street at the warehouse’s side, where cars park and pass.
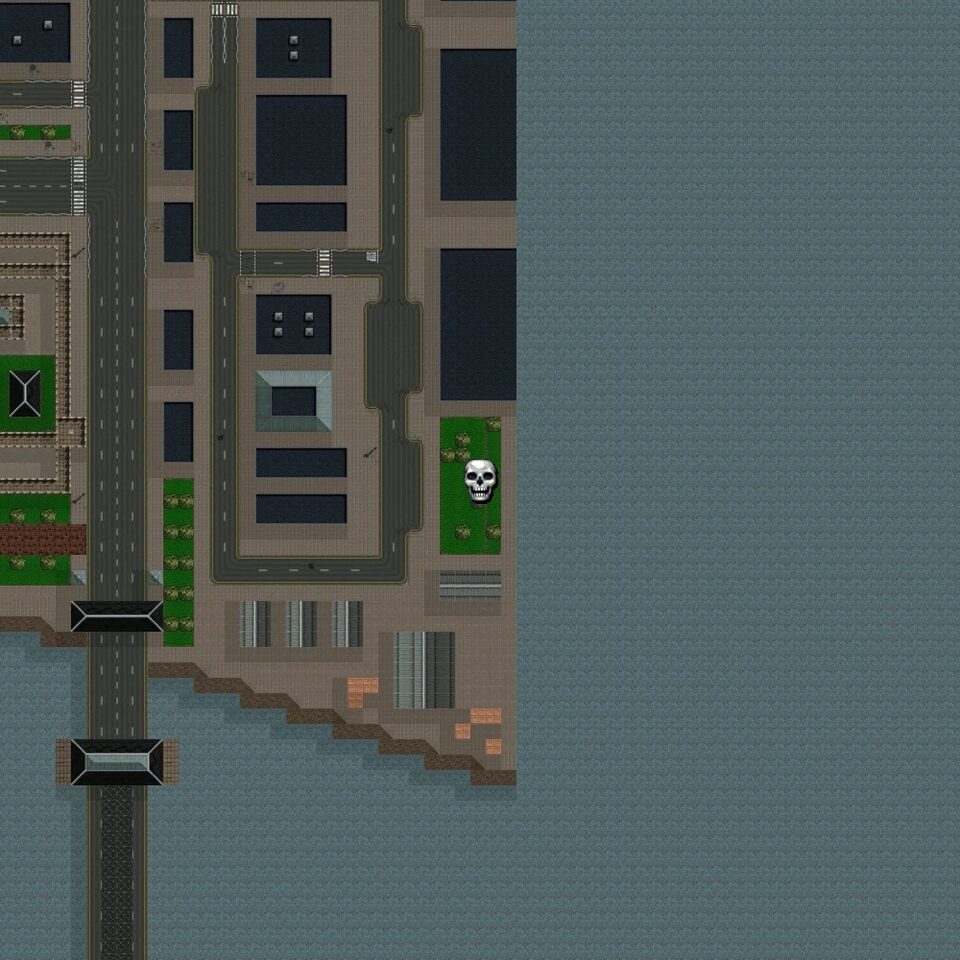
Kill Frenzy 6: Southeast Bow
In Southeast Bow, on the riverside park corner near the two bridges. Take the Royal Pain parked here and you have 2 minutes to do 500 pounds of damage. Head for the bridge approaches, where traffic is heaviest.
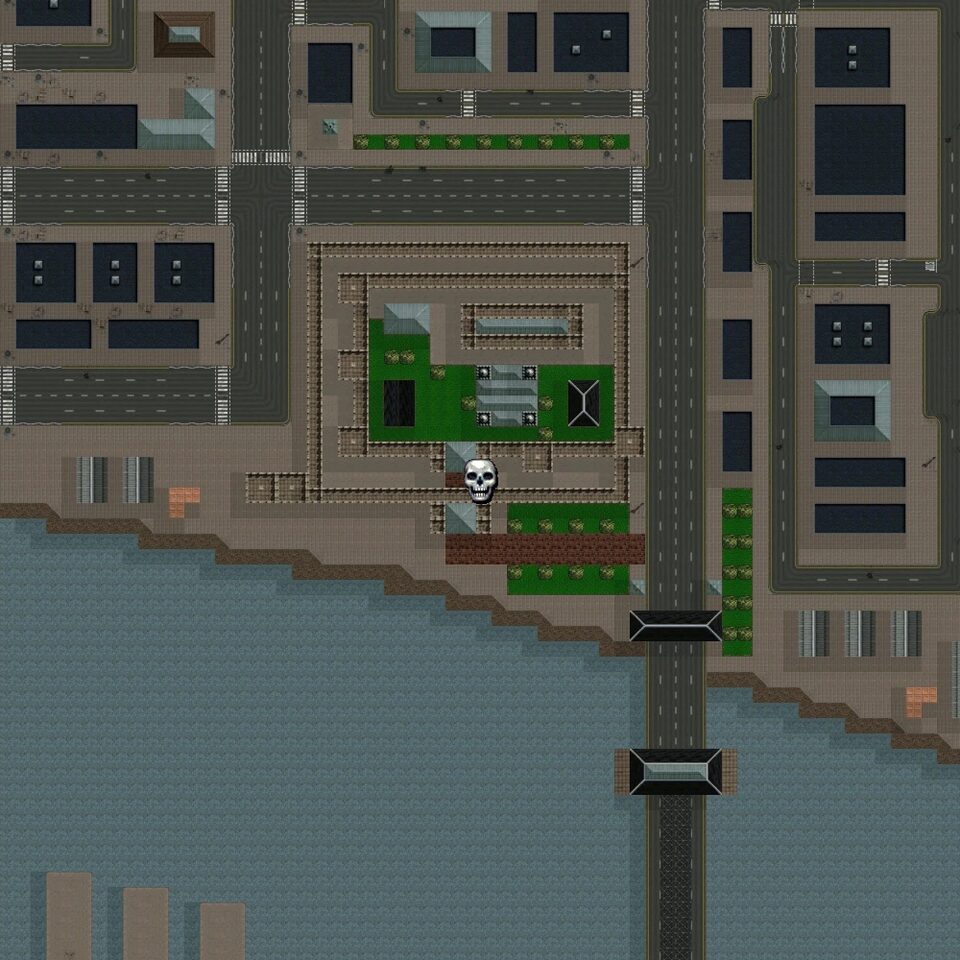
Kill Frenzy 7: South Bow
In South Bow, inside a stone-walled compound with a garden in the middle. Break the Machine Gun crate and score 300 points in 15 seconds. Leave the compound by the nearest gate, because the walls block your shots.
Tips for passing every frenzy
Pick a frenzy that sits on a busy road, and plan the first 5 seconds before you break the crate. Keep moving along the road after the crate breaks rather than standing still, because the timer does not wait. Take the Royal Pain frenzy where long straight roads lead away from the vehicle, then ram everything on the road for 2 minutes. Check the 100% checklist to see how frenzies fit with the other chapter requirements.