

| Chapters | Bent Cop Blues and Rasta Blasta |
|---|---|
| Total | 32 Kill Frenzies (15 and 17) |
| Starts with | Weapon crates and parked vehicles |
| Targets | $3,000 to $210,000 of damage |
| Time limits | 80 or 100 seconds |
| Reward | Crate stash in Little Dominica after each chapter |
Vice City has 32 Kill Frenzies, fifteen in Bent Cop Blues and seventeen in Rasta Blasta. You have 80 or 100 seconds to cause the stated amount of damage, which ranges from $3,000 to $210,000. When one ends, a message sends you to a prize spot and starts a second timer.
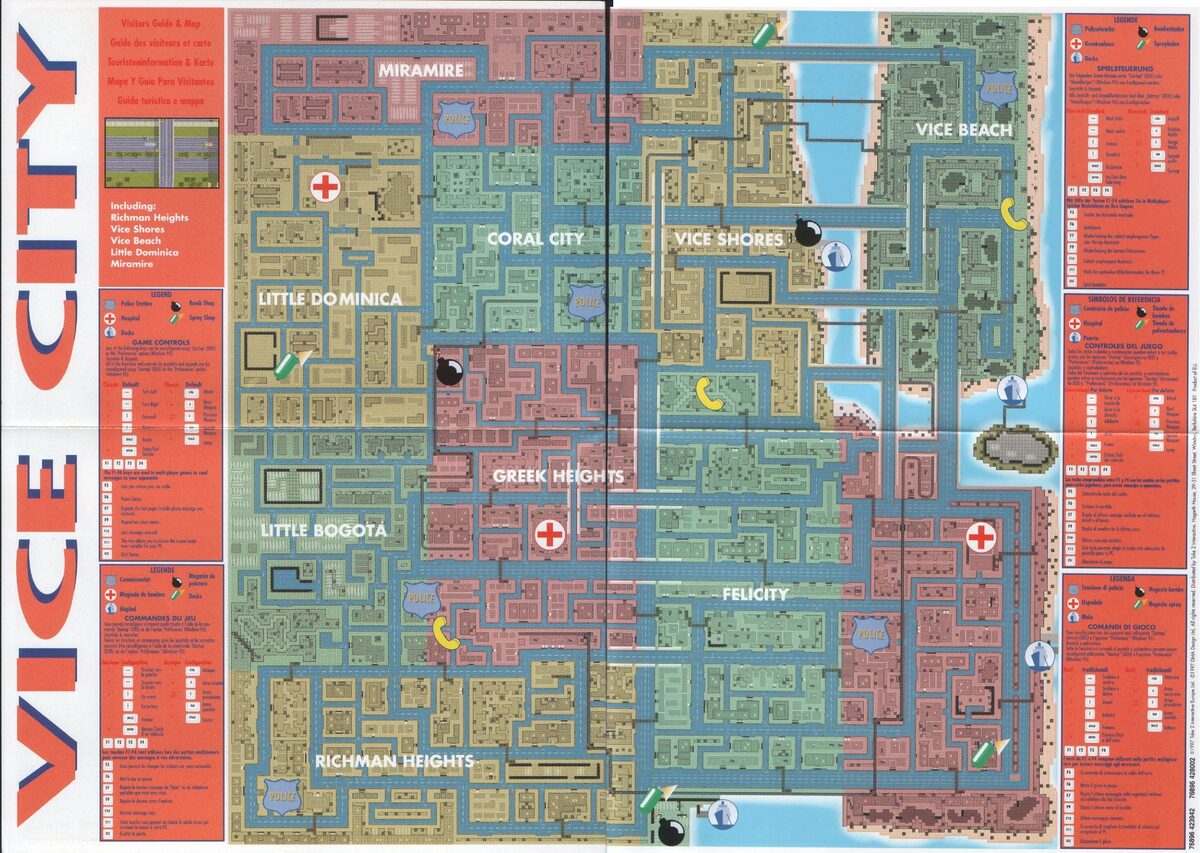
How Kill Frenzies work

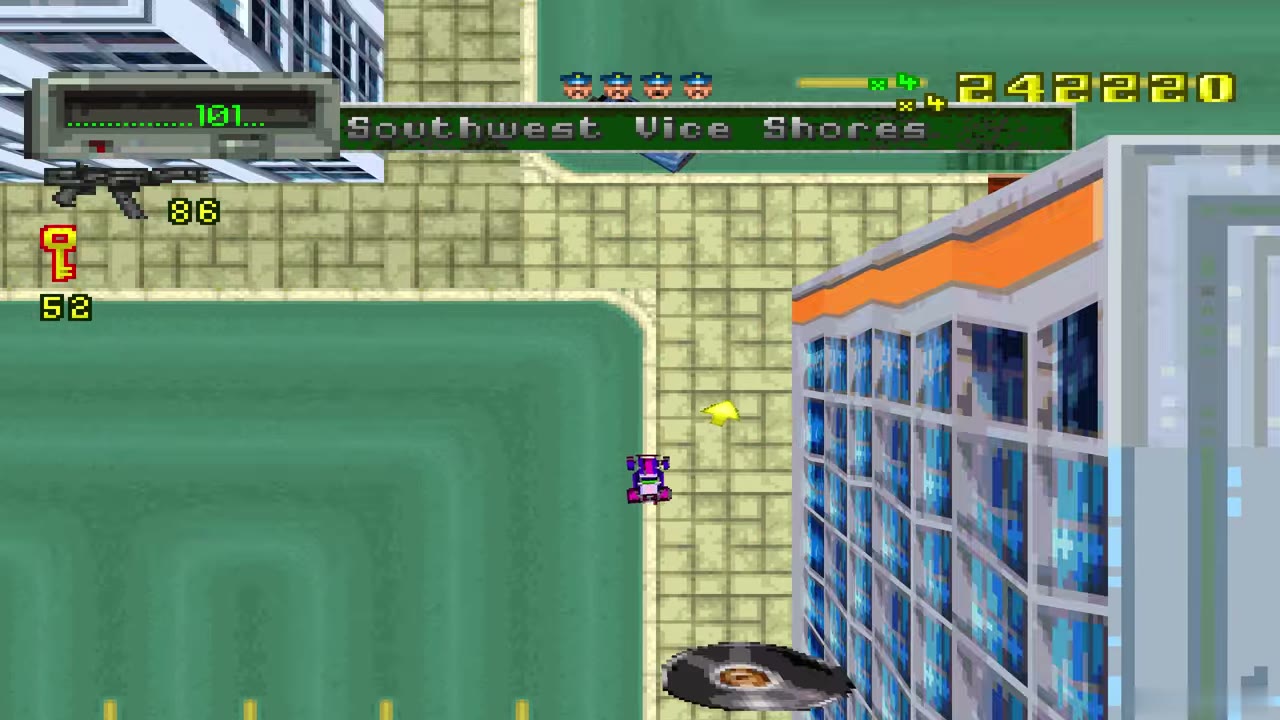
Some frenzies are weapon crates (Machine Gun, Rocket Launcher or Flamethrower) and some are parked vehicles (Tank, Bus, Love Wagon, Monster Bug or Transit Van). Break the crate or take the vehicle and the message area shows a Kill Frenzy icon with the target and a countdown timer at the top left.
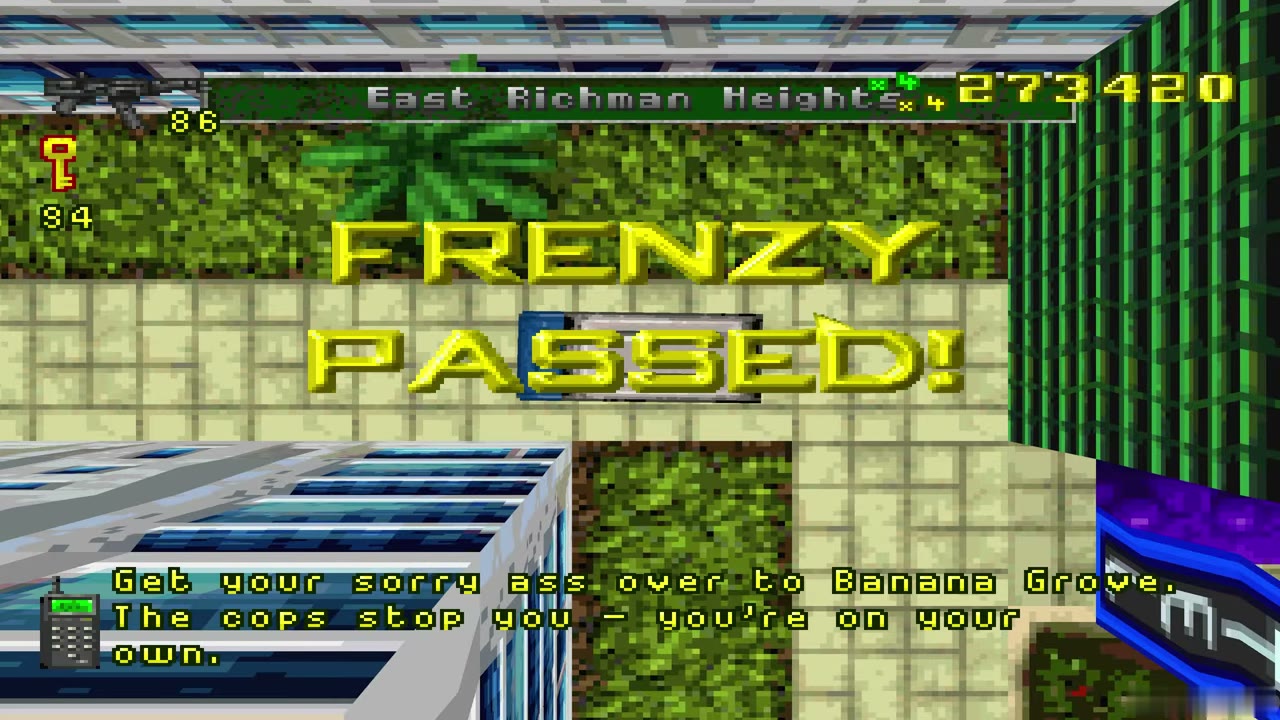
You do not have to use the frenzy weapon or kill anyone: any points you earn count towards the target, so picking up a person or delivering a car works as well. The least risky way is to start a frenzy just before a job that pays a lot, so the job’s score finishes it. A finished frenzy clears your wanted level. Each one you complete is added to the “secrets found” figure on the chapter’s stats screen, which is how the game counts a chapter at 100%. See the 100% checklist and points and multipliers for how that fits with the rest of a chapter.
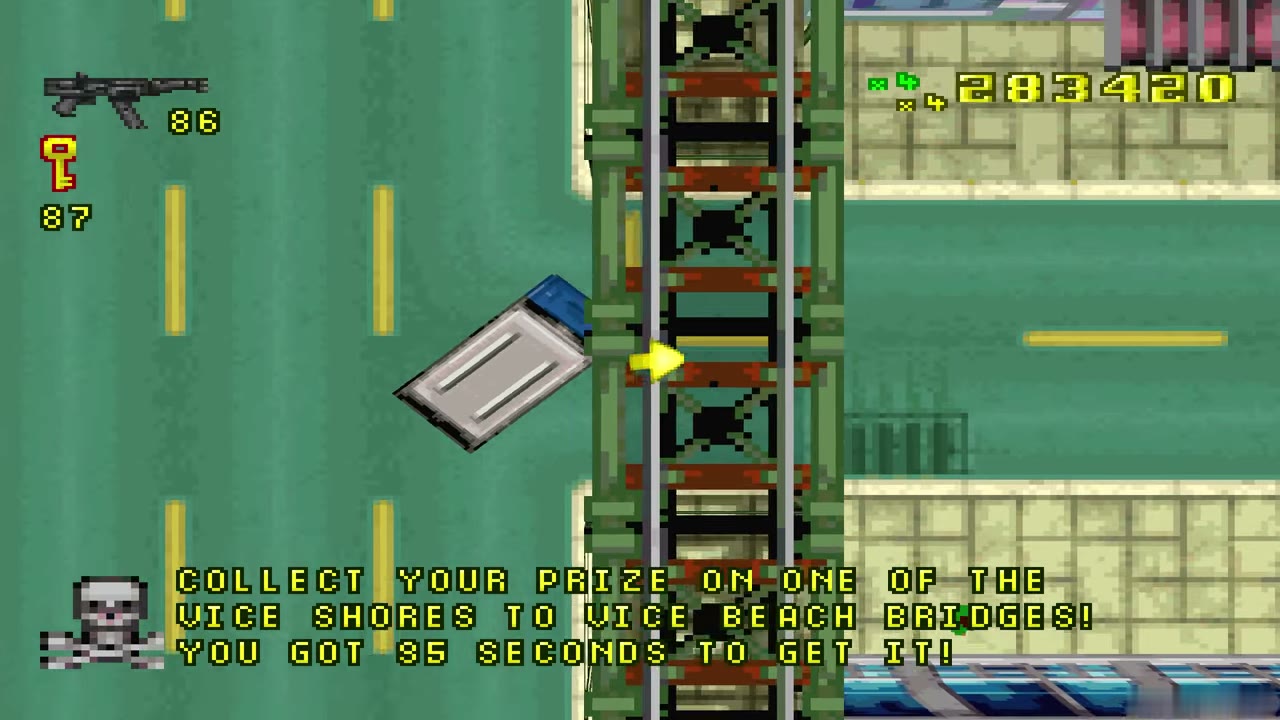
In Vice City the message that ends a frenzy also names a place to collect a prize and gives a second timer. The countdown runs at the top left, and “FRENZY PASSED!” appears across the screen when you reach the target.
Quick reference
Bent Cop Blues
| # | Area | Weapon or vehicle | Target | Time |
|---|---|---|---|---|
| 1 | East Richman Heights | Transit Van | $9,000 damage | 80 seconds |
| 2 | Northwest Miramire | 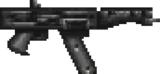 Machine Gun | $30,000 damage | 100 seconds |
| 3 | North Miramire | 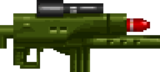 Rocket Launcher | $5,000 damage | 80 seconds |
| 4 | Northeast Miramire | Machine Gun | $10,000 damage | 100 seconds |
| 5 | Southwest Little Bogota | Machine Gun | $70,000 damage | 100 seconds |
| 6 | Southwest Felicity | Rocket Launcher | $25,000 damage | 80 seconds |
| 7 | Northwest Miramire | Tank | $25,000 damage | 80 seconds |
| 8 | North Vice Shores | Transit Van | $15,000 damage | 80 seconds |
| 9 | Northeast Banana Grove | Tank | $5,000 damage | 100 seconds |
| 10 | Southwest Little Dominica | 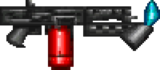 Flamethrower | $30,000 damage | 100 seconds |
| 11 | East Felicity | Rocket Launcher | $15,000 damage | 80 seconds |
| 12 | Northeast Coral City | Flamethrower | $150,000 damage | 100 seconds |
| 13 | Northeast Vice Beach | Machine Gun | $50,000 damage | 100 seconds |
| 14 | North Greek Heights | Rocket Launcher | $35,000 damage | 80 seconds |
| 15 | South Vice Beach | Transit Van | $3,000 damage | 80 seconds |
Rasta Blasta
| # | Area | Weapon or vehicle | Target | Time |
|---|---|---|---|---|
| 1 | Northeast Banana Grove | Rocket Launcher | $5,000 damage | 80 seconds |
| 2 | Northeast Banana Grove | Tank | $5,000 damage | 100 seconds |
| 3 | Northwest Vice Shores | Flamethrower | $150,000 damage | 100 seconds |
| 4 | Northwest Little Dominica | Machine Gun | $30,000 damage | 100 seconds |
| 5 | East Miramire | Transit Van | $15,000 damage | 80 seconds |
| 6 | South Vice Beach | Flamethrower | $90,000 damage | 100 seconds |
| 7 | Northeast Greek Heights | Flamethrower | $210,000 damage | 100 seconds |
| 8 | Northeast Felicity | Rocket Launcher | $15,000 damage | 80 seconds |
| 9 | West Greek Heights | Rocket Launcher | $25,000 damage | 80 seconds |
| 10 | East Vice Shores | Machine Gun | $10,000 damage | 100 seconds |
| 11 | East Little Dominica | Flamethrower | $30,000 damage | 100 seconds |
| 12 | West Banana Grove | Transit Van | $9,000 damage | 80 seconds |
| 13 | Northwest Vice Beach | Rocket Launcher | $35,000 damage | 80 seconds |
| 14 | Southwest Banana Grove | Machine Gun | $50,000 damage | 100 seconds |
| 15 | North Miramire | Tank | $25,000 damage | 80 seconds |
| 16 | West Little Dominica | Transit Van | $3,000 damage | 80 seconds |
| 17 | South Richman Heights | Machine Gun | $70,000 damage | 100 seconds |
Reward for finishing every frenzy
Bent Cop Blues
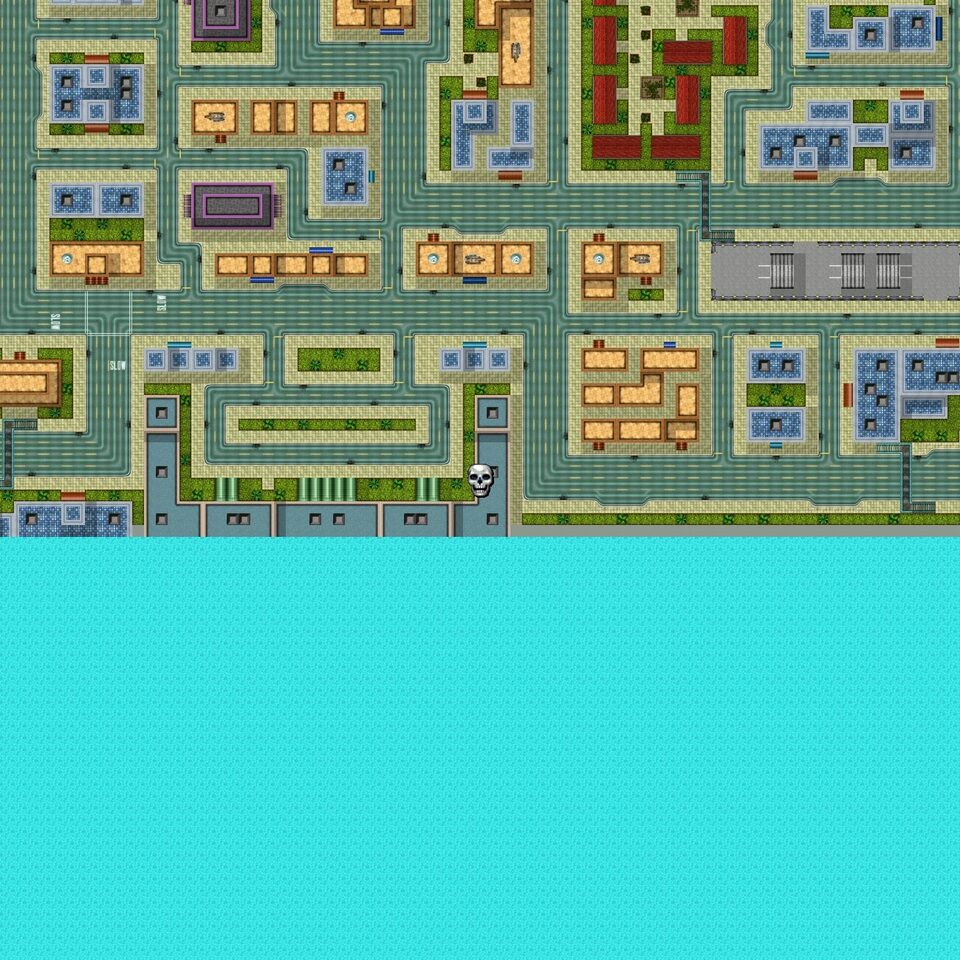
Finish every frenzy in Bent Cop Blues and the game tells you to collect a reward. At the courts in Southwest Little Dominica, in the courtyard. The prize sits inside crates arranged to spell out letters spelling the letters DMA. It holds ten extra lives, nine score multipliers, a Machine Gun, a Rocket Launcher, a Flamethrower, Armor, a Speed Up and a Police Bribe.
Rasta Blasta
Finish every frenzy in Rasta Blasta and the game tells you to collect a reward. At the courts in Southwest Little Dominica, in the courtyard. The prize sits inside crates arranged to spell out letters spelling the letters DMA. It holds ten extra lives, nine score multipliers, a Machine Gun, a Rocket Launcher, a Flamethrower, Armor, a Speed Up and a Police Bribe.
Tips for the big targets
The $150,000 and $210,000 frenzies use the Flamethrower, so stay close to crowds and traffic and keep moving. The Transit Van frenzies with small targets ($3,000 and $9,000) are the easy ones. The message after a frenzy gives a prize spot and a timer, so look at the map for the route before you start. After finishing, head to the prize spot at once.
Bent Cop Blues Kill Frenzies
Target score for the chapter: 3,000,000. Each entry below gives the area, what starts it and the target.
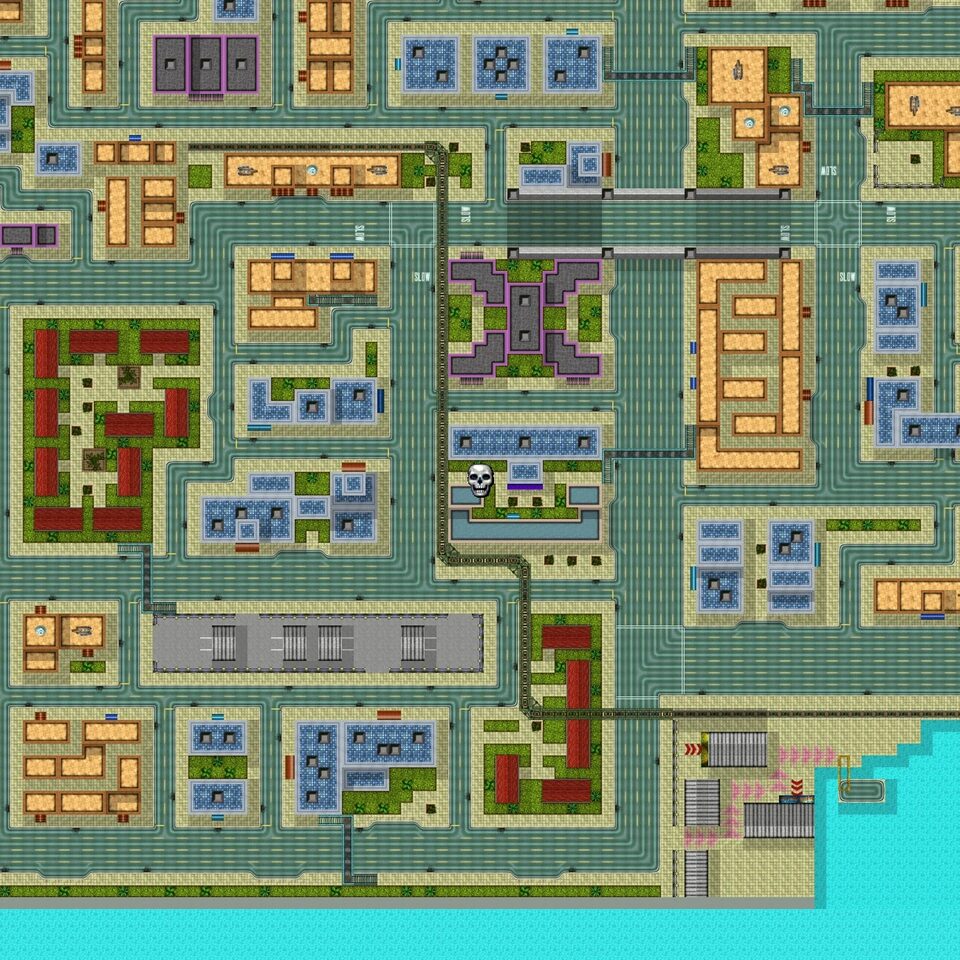
Kill Frenzy 1: East Richman Heights
In East Richman Heights, the frenzy spot is in a dense block of shops, a short drive from the south shore. Take the parked Transit Van to start it, then score $9,000 of damage within 80 seconds. When you finish, the message names a prize spot on one of the Vice Shores to Vice Beach bridges, with 95 seconds to reach it. The on-screen text tells you to use the model cars; hit as much as you can in the van.
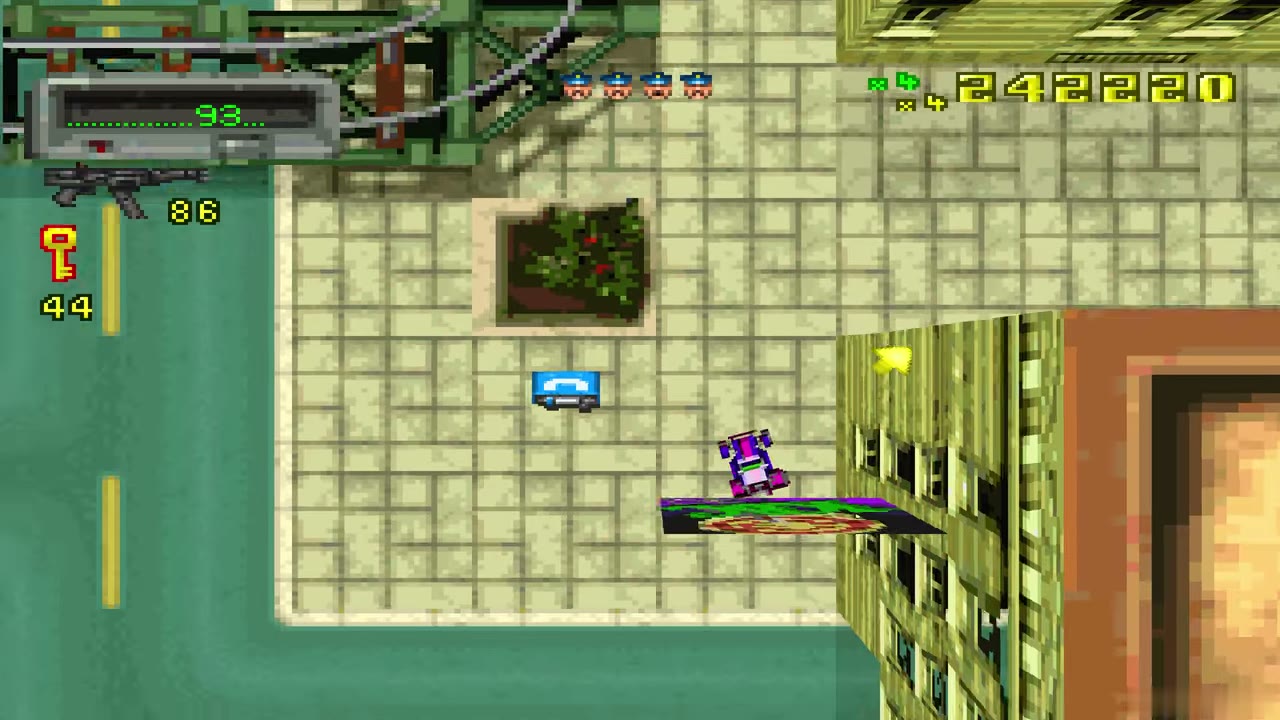
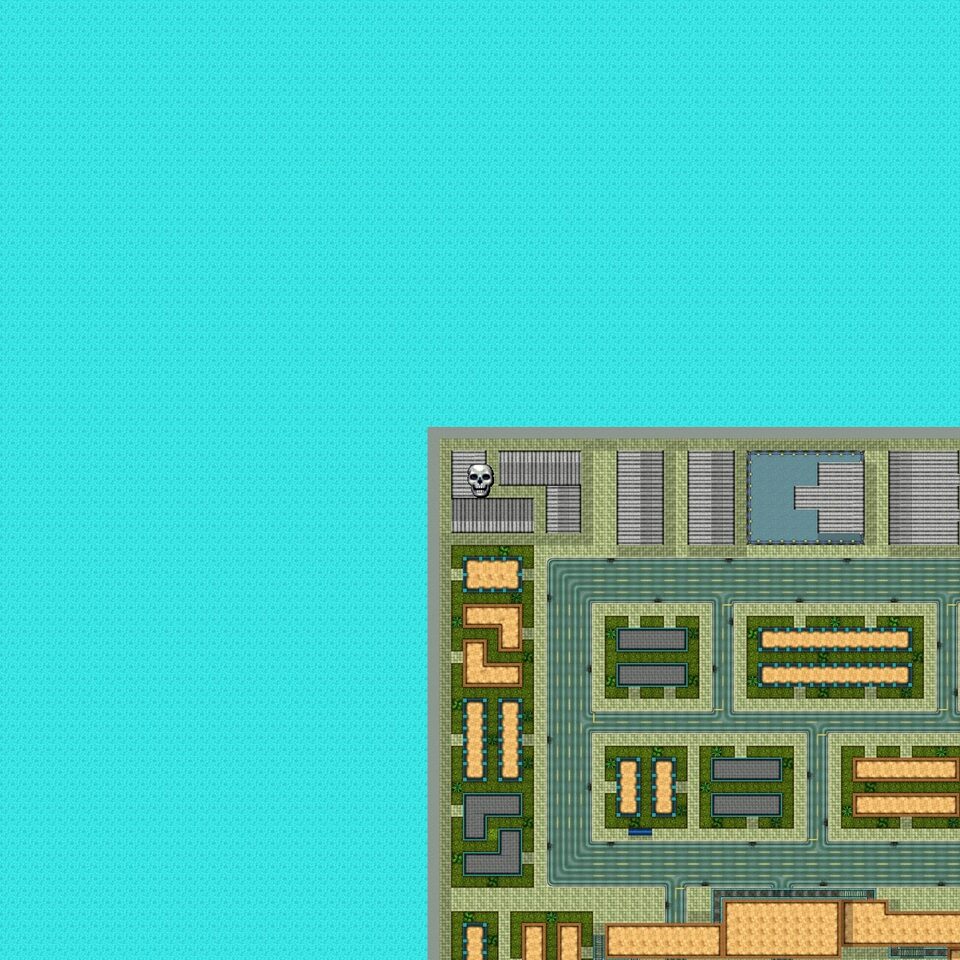
Kill Frenzy 2: Northwest Miramire
In Northwest Miramire, the frenzy spot is on a pier-like strip jutting into the water. Break the Machine Gun crate to start it, then score $30,000 of damage within 100 seconds. When you finish, the message names a prize spot at the docks in Vice Shores, with 90 seconds to reach it. Stay on foot and keep firing; reaching the target ends the frenzy and clears your wanted level.
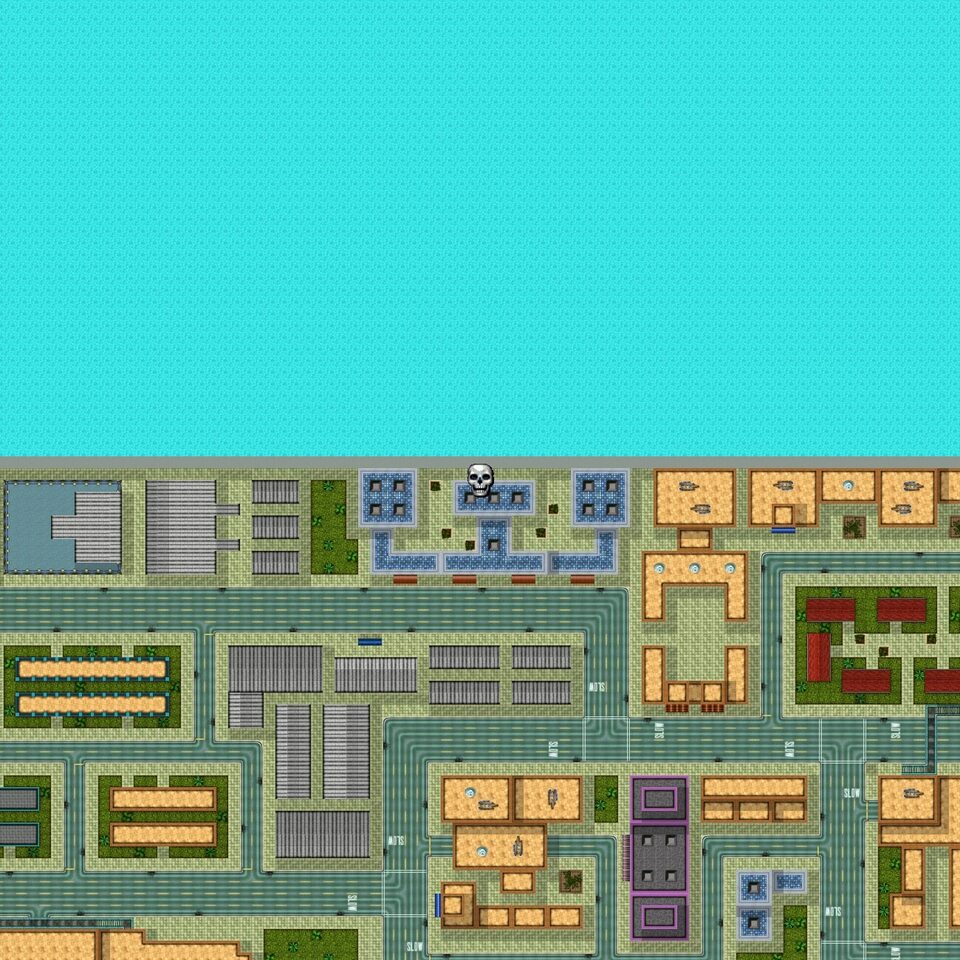
Kill Frenzy 3: North Miramire
In North Miramire, the frenzy spot is on a waterfront road along the north edge of the map. Break the Rocket Launcher crate to start it, then score $5,000 of damage within 80 seconds. When you finish, the message names a prize spot on the police station roof in Coral City, with 105 seconds to reach it. Fire at cars in traffic; each wreck adds to the total.
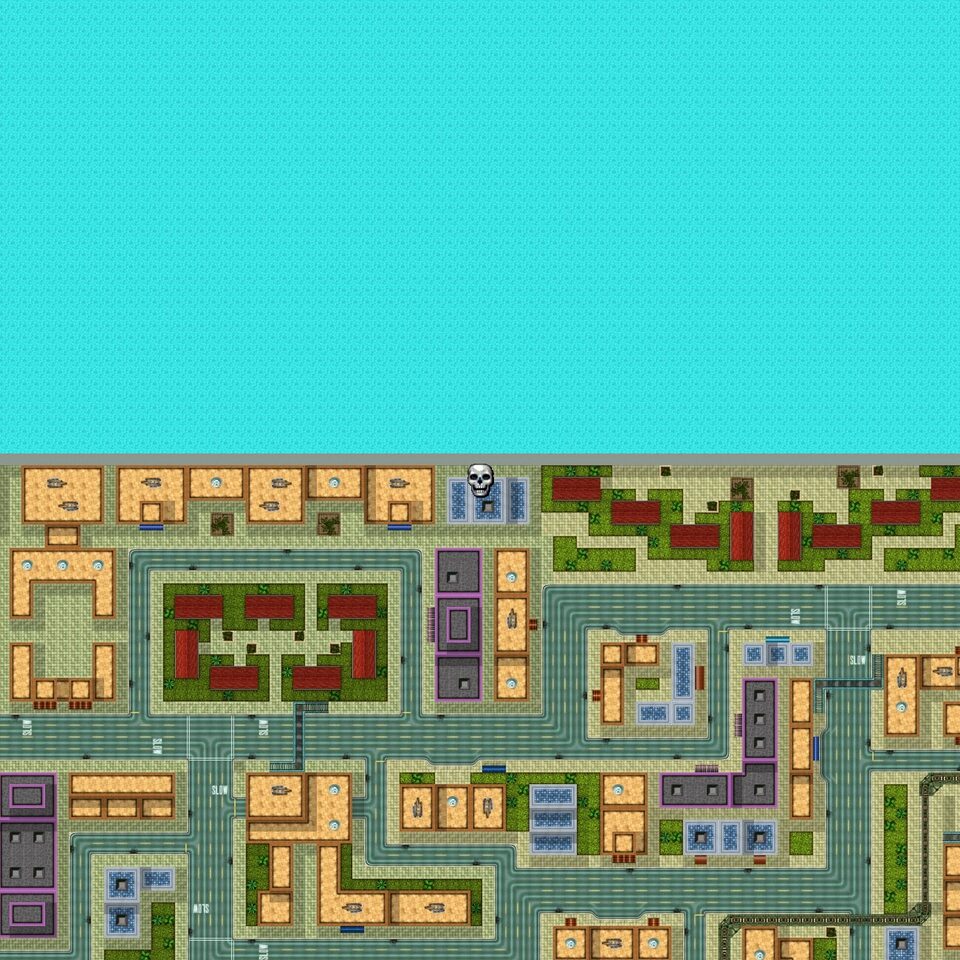
Kill Frenzy 4: Northeast Miramire
In Northeast Miramire, the frenzy spot is on the north waterfront, next to a row of low buildings. Break the Machine Gun crate to start it, then score $10,000 of damage within 100 seconds. When you finish, the message names a prize spot in the car park in Little Bogota, with 90 seconds to reach it. Stay on foot and keep firing; reaching the target ends the frenzy and clears your wanted level.
Kill Frenzy 5: Southwest Little Bogota
In Southwest Little Bogota, the frenzy spot is on a main street under an elevated rail line. Break the Machine Gun crate to start it, then score $70,000 of damage within 100 seconds. When you finish, the message names a prize spot at the hospital in Banana Grove, with 80 seconds to reach it. Pick up the gun and head for the busiest street, because every pedestrian counts.
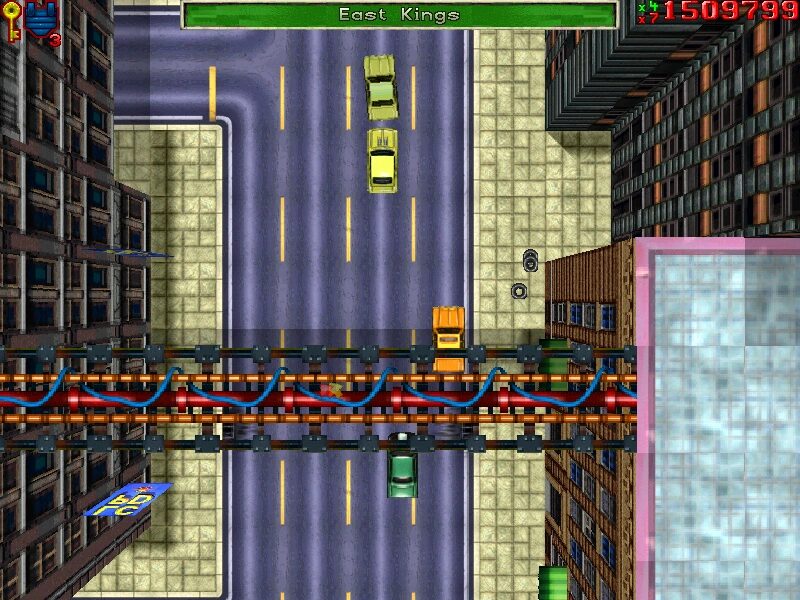
Kill Frenzy 6: Southwest Felicity
In Southwest Felicity, the frenzy spot is on a street a block inland from a bay. Break the Rocket Launcher crate to start it, then score $25,000 of damage within 80 seconds. When you finish, the message names a prize spot outside the police station in South Miramire, with 80 seconds to reach it. Keep your distance from the blast and aim at groups of cars at junctions.
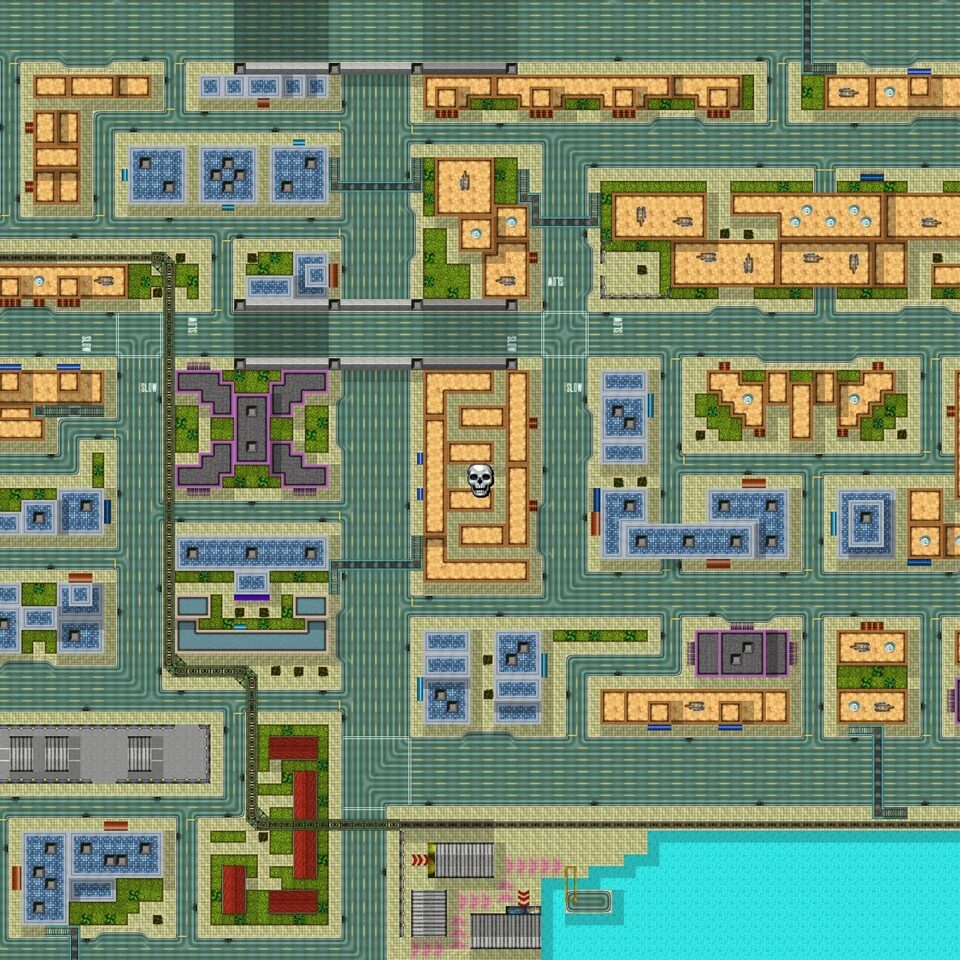
Kill Frenzy 7: Northwest Miramire
In Northwest Miramire, the frenzy spot is on a pier at the north waterfront. Take the parked Tank to start it, then score $25,000 of damage within 80 seconds. When you finish, the message names a prize spot on the Vice Beach to Vice Shores train station ped walkway, with 110 seconds to reach it. Drive onto a busy street and run over and shoot everything in reach.
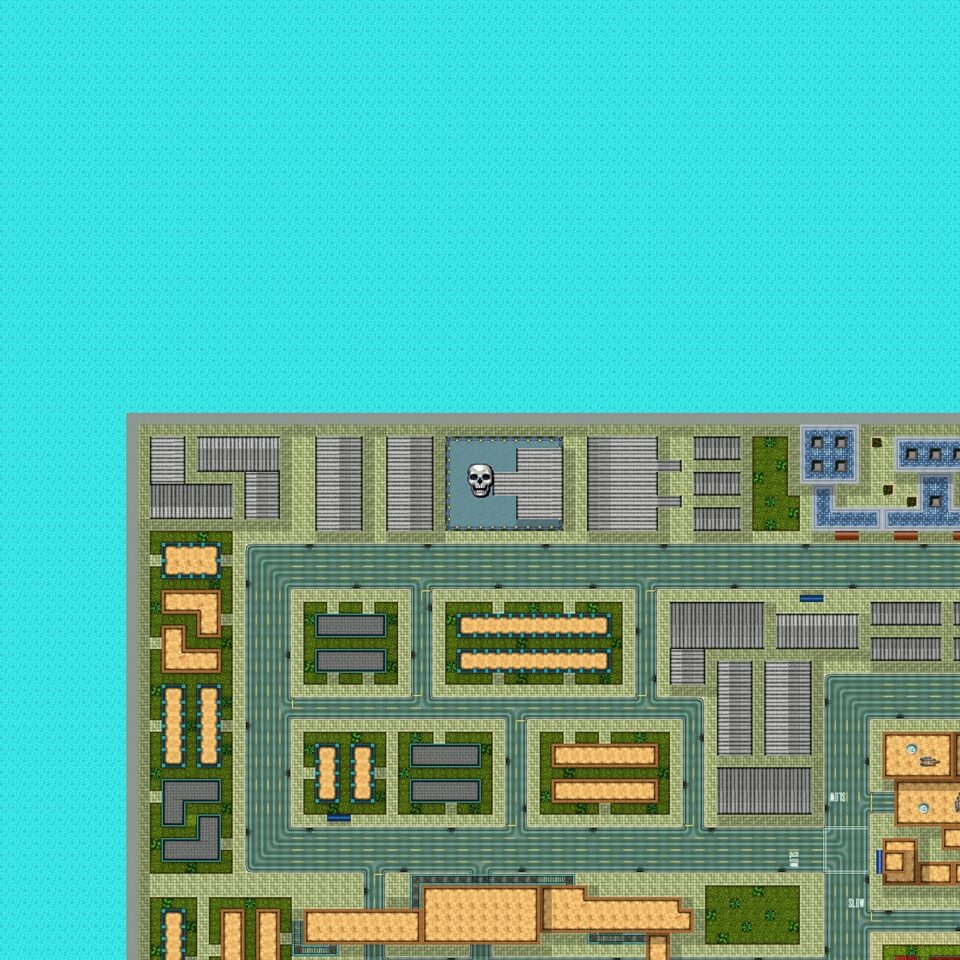
Kill Frenzy 8: North Vice Shores
In North Vice Shores, the frenzy spot is on a block beside the sea, close to a bridge. Take the parked Transit Van to start it, then score $15,000 of damage within 80 seconds. When you finish, the message names a prize spot at the train station in Vice Shores, with 125 seconds to reach it. Drive hard through the nearest traffic to build the damage total.
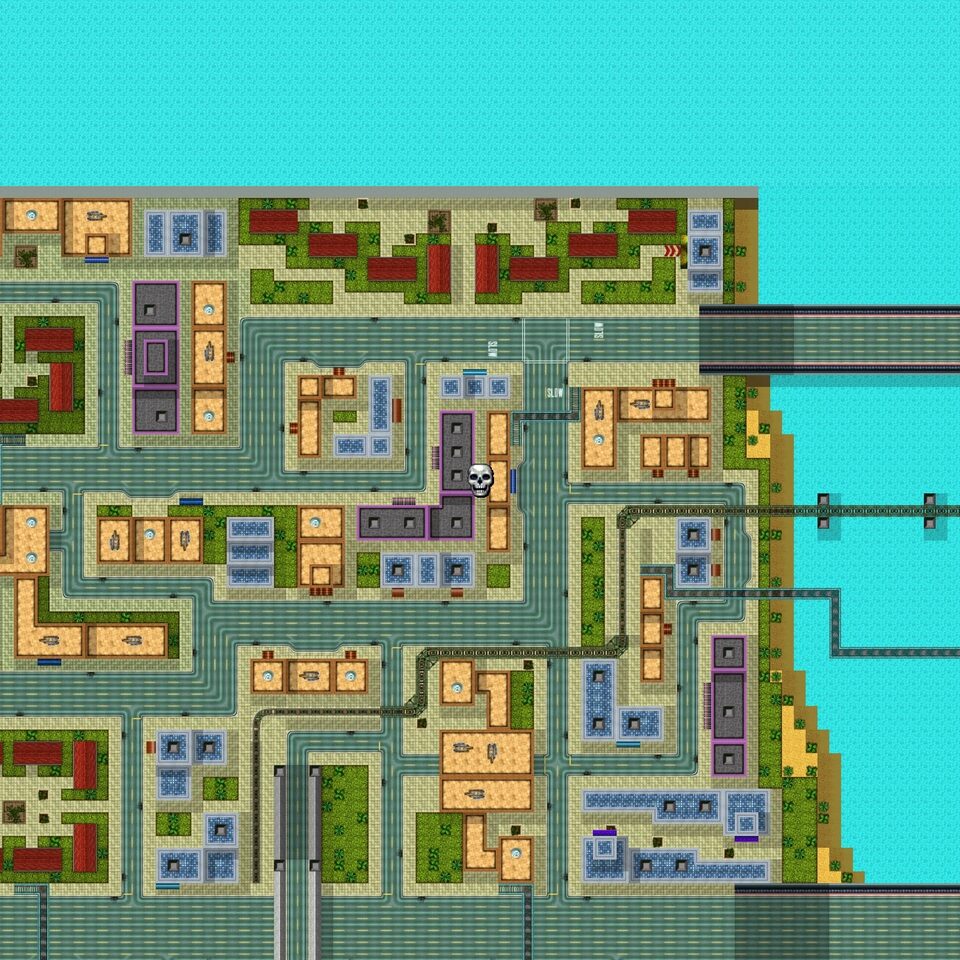
Kill Frenzy 9: Northeast Banana Grove
In Northeast Banana Grove, the frenzy spot is on a small island with a pond, joined to the mainland by a causeway. Take the parked Tank to start it, then score $5,000 of damage within 100 seconds. When you finish, the message names a prize spot at the docks in South Felicity, with 90 seconds to reach it. Drive onto a busy street and run over and shoot everything in reach.
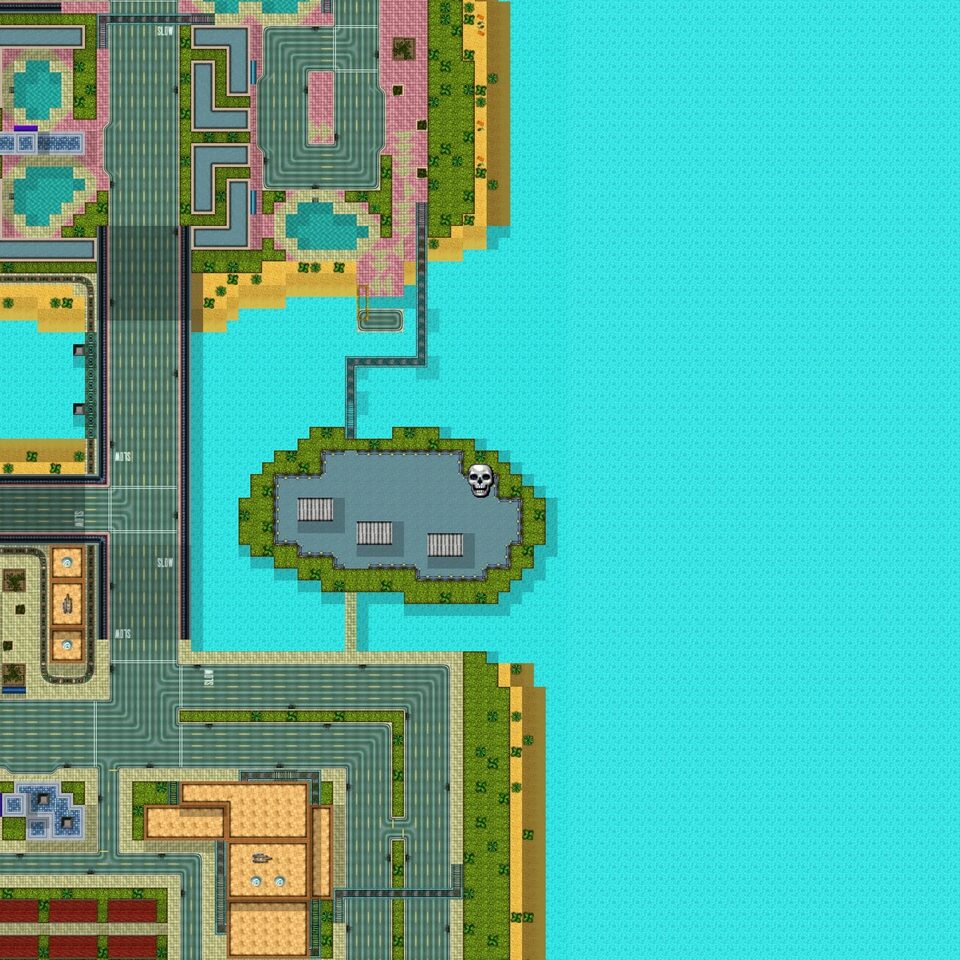
Kill Frenzy 10: Southwest Little Dominica
In Southwest Little Dominica, the frenzy spot is at the edge of the district, beside the sea. Break the Flamethrower crate to start it, then score $30,000 of damage within 100 seconds. When you finish, the message names a prize spot at the train station in North Banana Grove, with 100 seconds to reach it. Keep moving through traffic; burning vehicles add damage quickly.
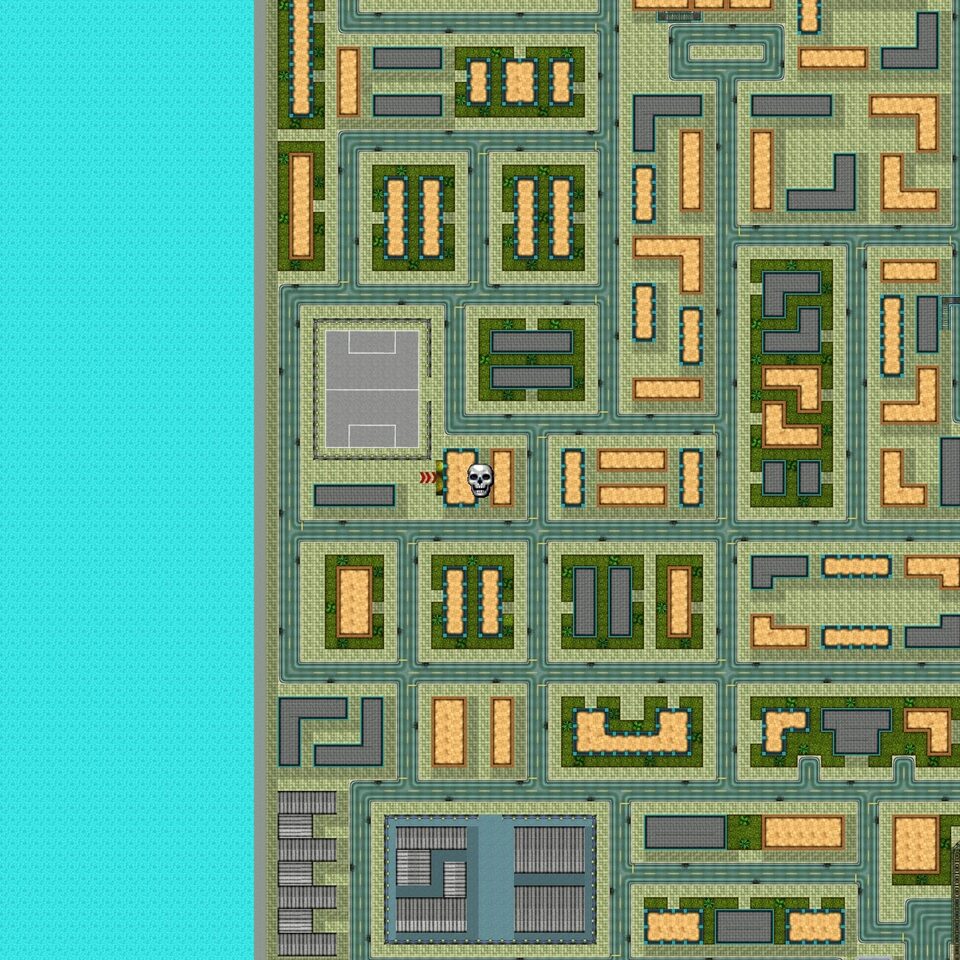
Kill Frenzy 11: East Felicity
In East Felicity, the frenzy spot is at a plaza near a bus stop. Break the Rocket Launcher crate to start it, then score $15,000 of damage within 80 seconds. When you finish, the message names a prize spot on one of the Vice Shores to Vice Beach bridges, with 70 seconds to reach it. Fire at cars in traffic; each wreck adds to the total.
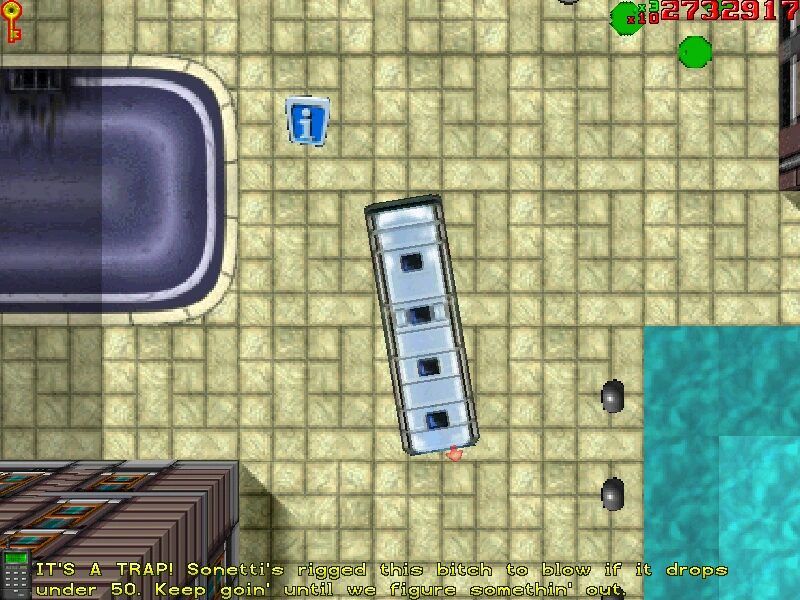
Kill Frenzy 12: Northeast Coral City
In Northeast Coral City, the frenzy spot is in the middle of a district of long buildings. Break the Flamethrower crate to start it, then score $150,000 of damage within 100 seconds. When you finish, the message names a prize spot on the hospital roof in Banana Grove, with 100 seconds to reach it. Keep moving through traffic; burning vehicles add damage quickly.
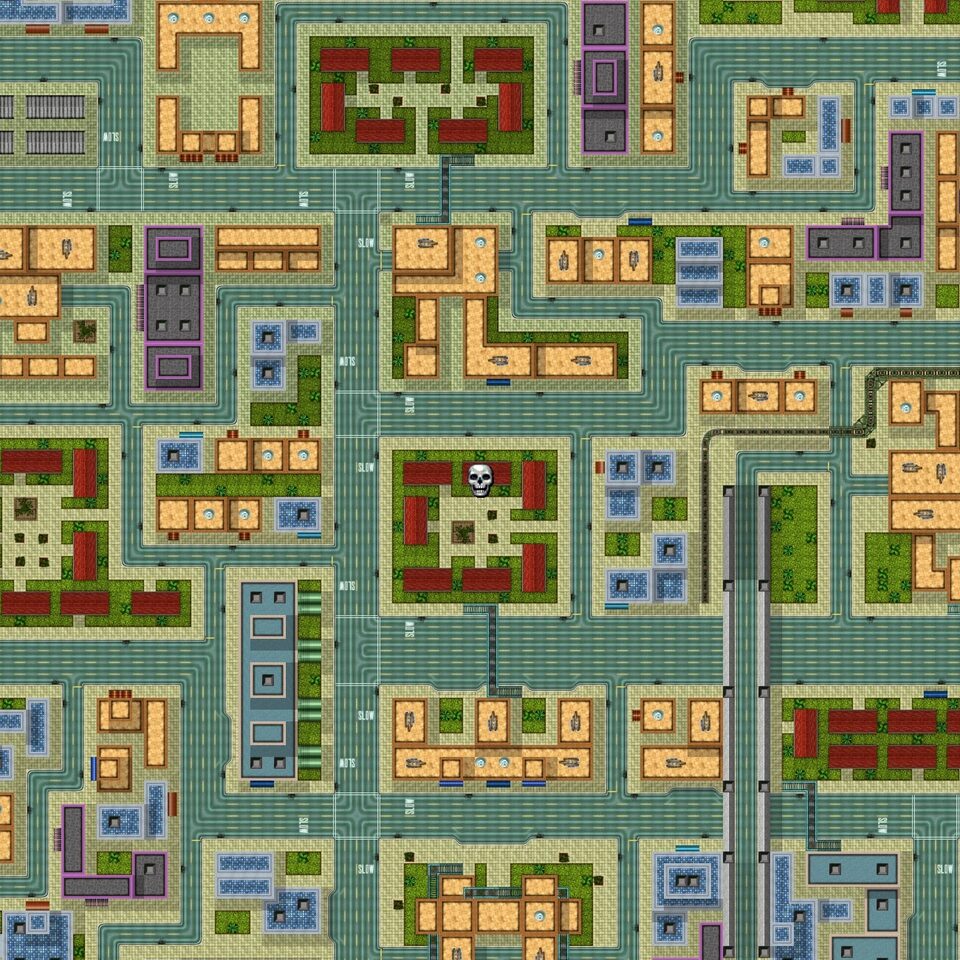
Kill Frenzy 13: Northeast Vice Beach
In Northeast Vice Beach, the frenzy spot is on a beach-resort island with swimming pools. Break the Machine Gun crate to start it, then score $50,000 of damage within 100 seconds. When you finish, the message names a prize spot by one of the swimming pools in South Banana Grove, with 90 seconds to reach it. Pick up the gun and head for the busiest street, because every pedestrian counts.
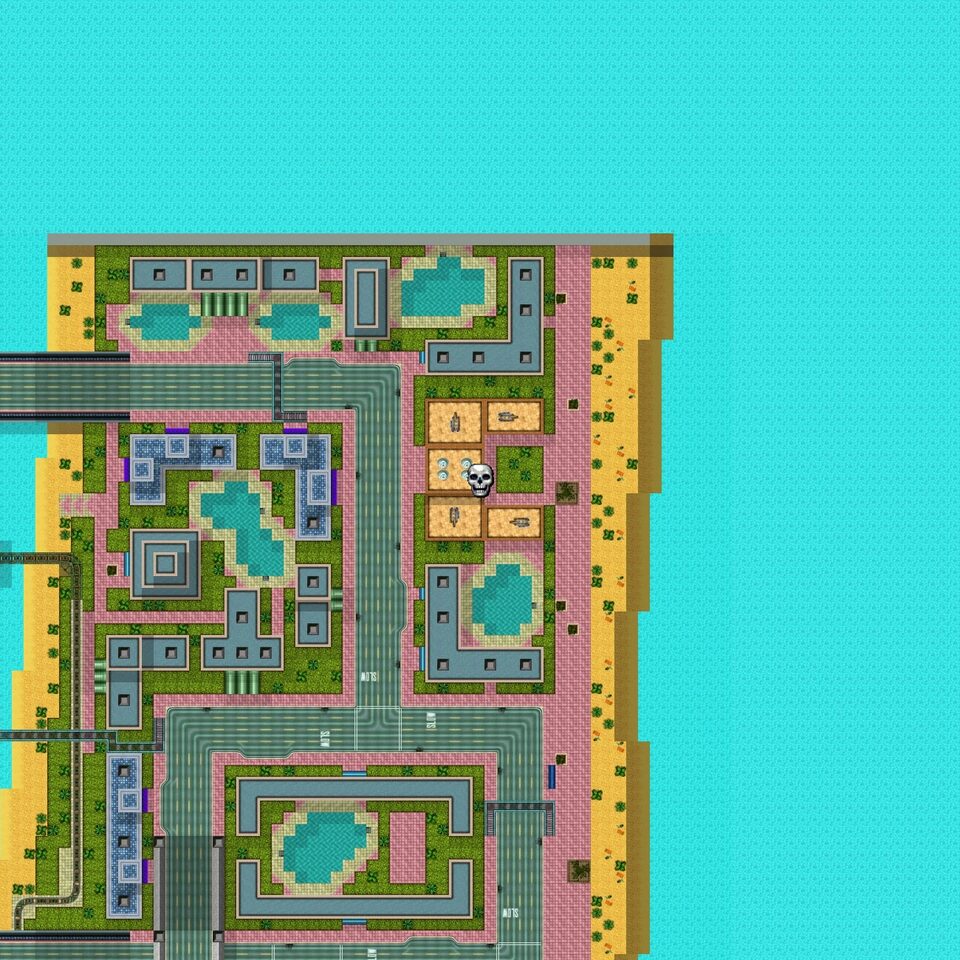
Kill Frenzy 14: North Greek Heights
In North Greek Heights, the frenzy spot is in the middle of a block grid. Break the Rocket Launcher crate to start it, then score $35,000 of damage within 80 seconds. When you finish, the message names a prize spot by one of the swimming pools in South Banana Grove, with 100 seconds to reach it. Keep your distance from the blast and aim at groups of cars at junctions.
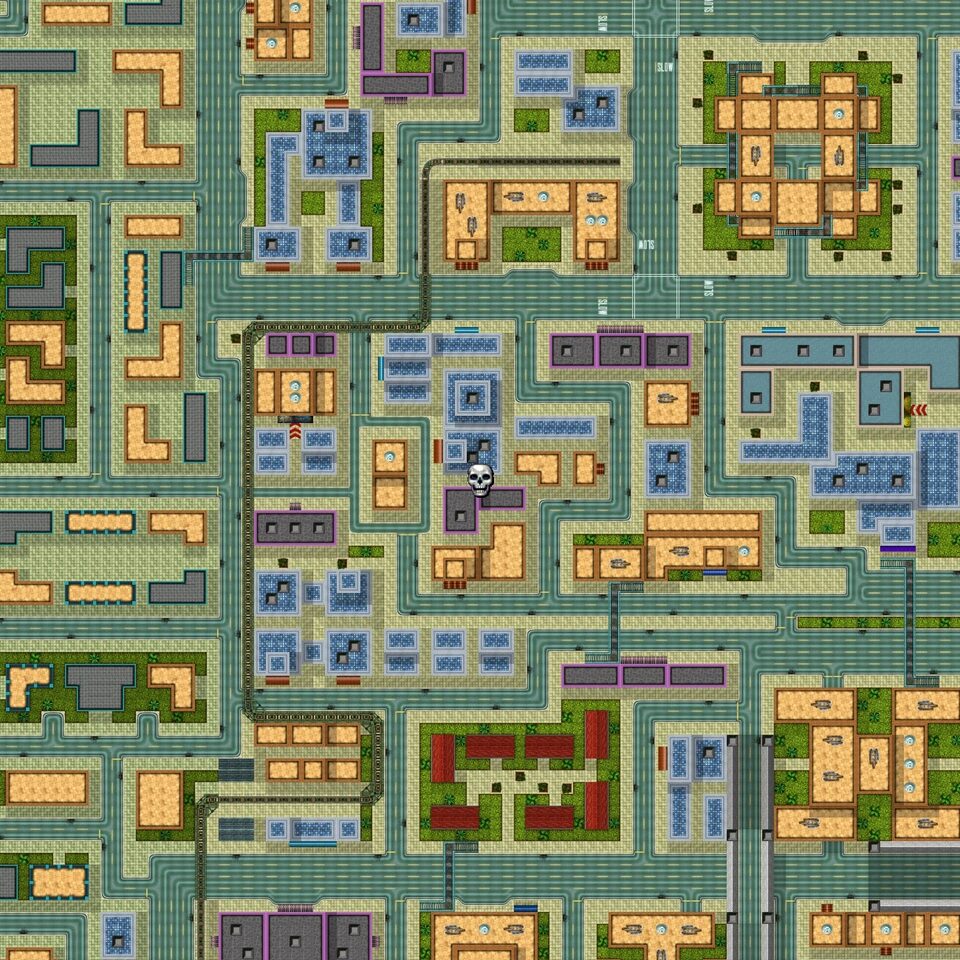
Kill Frenzy 15: South Vice Beach
In South Vice Beach, the frenzy spot is on a beachfront strip lined with swimming pools. Take the parked Transit Van to start it, then score $3,000 of damage within 80 seconds. When you finish, the message names a prize spot in the court in Little Dominica, with 125 seconds to reach it. The on-screen text tells you to use the model cars; hit as much as you can in the van.
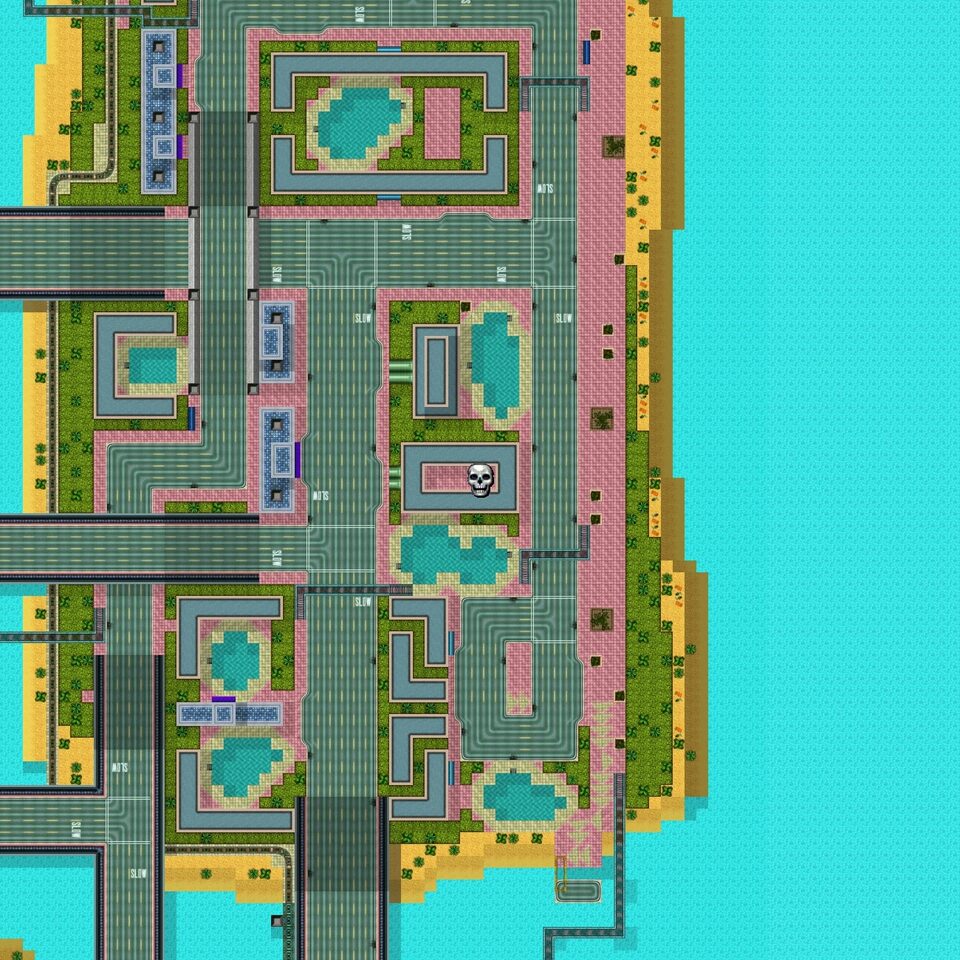
Rasta Blasta Kill Frenzies
Target score for the chapter: 5,000,000. Each entry below gives the area, what starts it and the target.
Kill Frenzy 1: Northeast Banana Grove
In Northeast Banana Grove, the frenzy spot is on the east shore, close to a small round island with a pond. Break the Rocket Launcher crate to start it, then score $5,000 of damage within 80 seconds. When you finish, the message names a prize spot at the docks in South Vice Beach, with 70 seconds to reach it. Fire at cars in traffic; each wreck adds to the total.
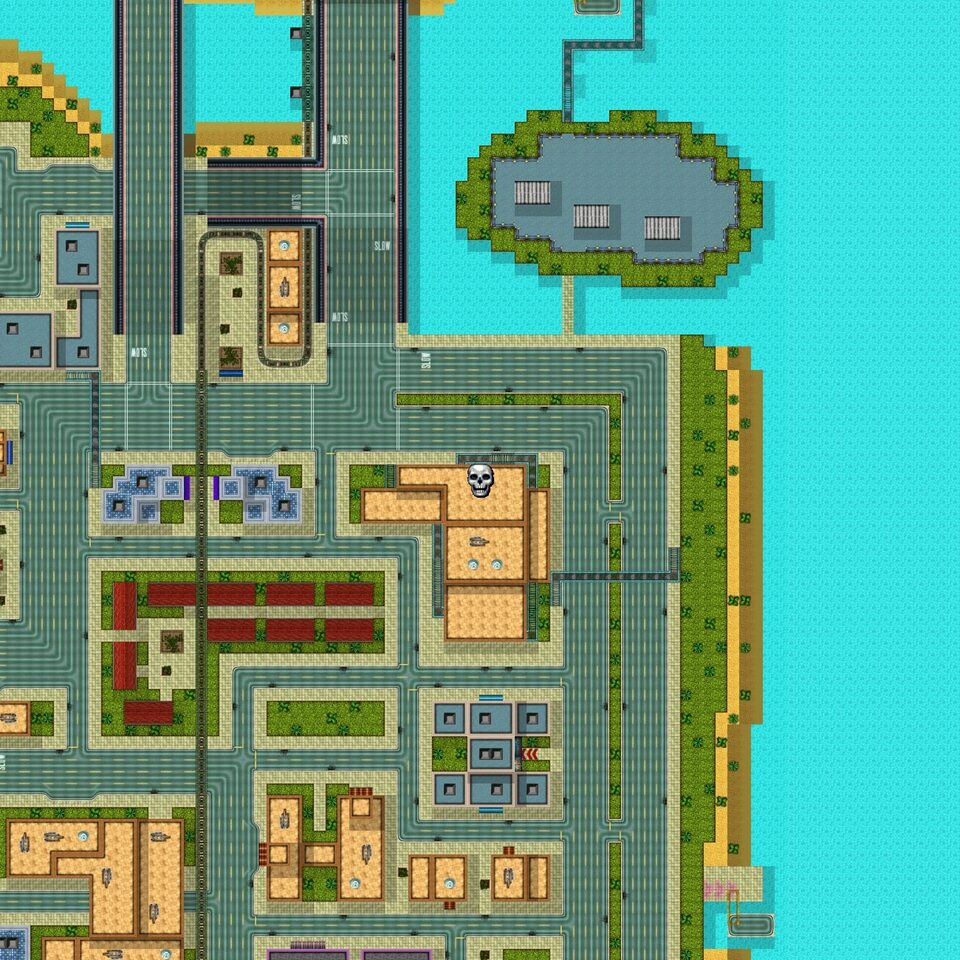
Kill Frenzy 2: Northeast Banana Grove
In Northeast Banana Grove, the frenzy spot is on a causeway beside a small round island with a pond. Take the parked Tank to start it, then score $5,000 of damage within 100 seconds. When you finish, the message names a prize spot outside the police station in South West Greek Heights, with 70 seconds to reach it. Use the cannon on cars at junctions and crush what you cannot shoot.
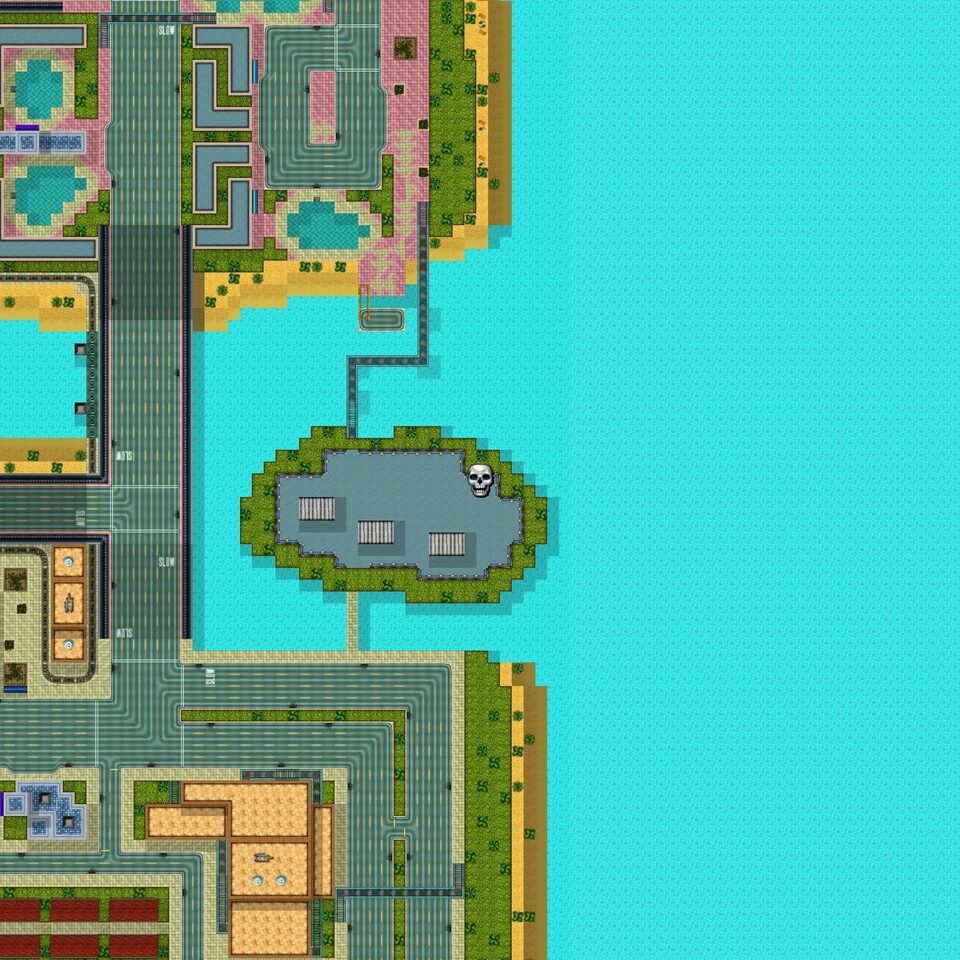
Kill Frenzy 3: Northwest Vice Shores
In Northwest Vice Shores, the frenzy spot is on the north edge of the district, beside a rail bridge. Break the Flamethrower crate to start it, then score $150,000 of damage within 100 seconds. When you finish, the message names a prize spot on the hospital roof in Little Dominica, with 130 seconds to reach it. The range is short, so walk straight into crowds and cars to run up the total.
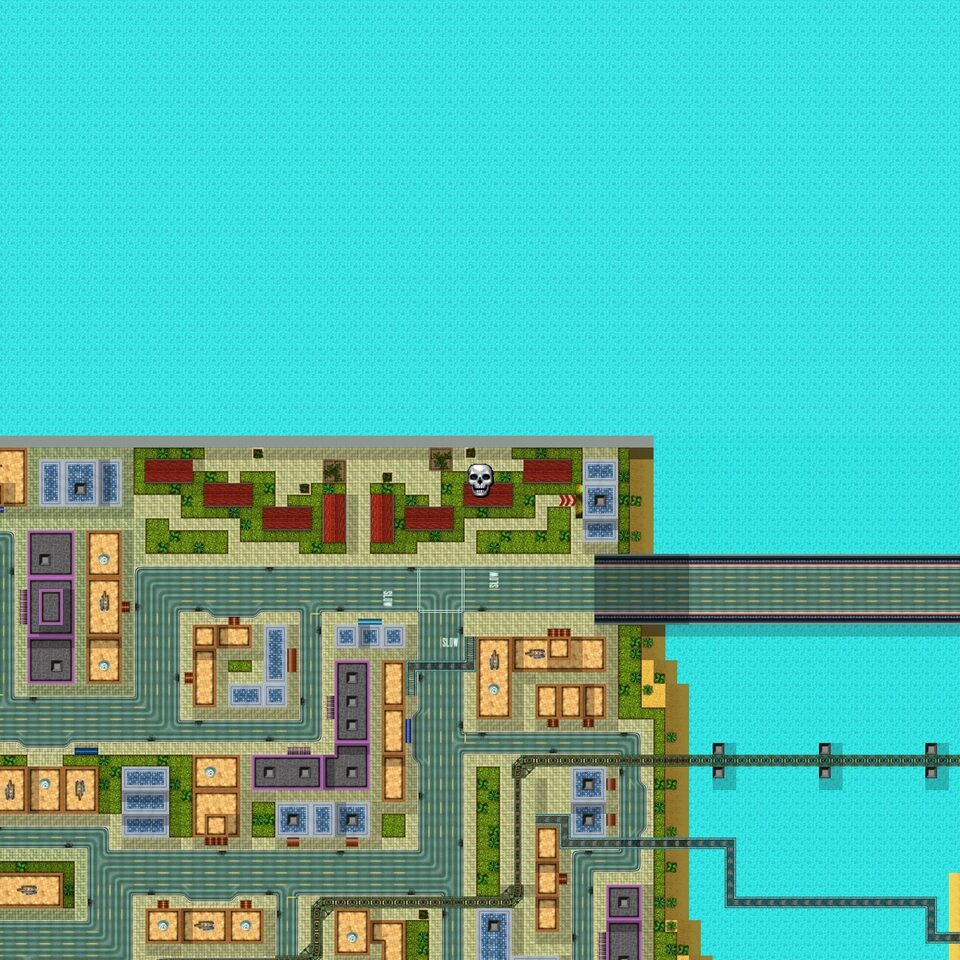
Kill Frenzy 4: Northwest Little Dominica
In Northwest Little Dominica, the frenzy spot is at the west edge of the map, on a long north-south street. Break the Machine Gun crate to start it, then score $30,000 of damage within 100 seconds. When you finish, the message names a prize spot at the TV station in Vice Shores, with 70 seconds to reach it. Stay on foot and keep firing; reaching the target ends the frenzy and clears your wanted level.
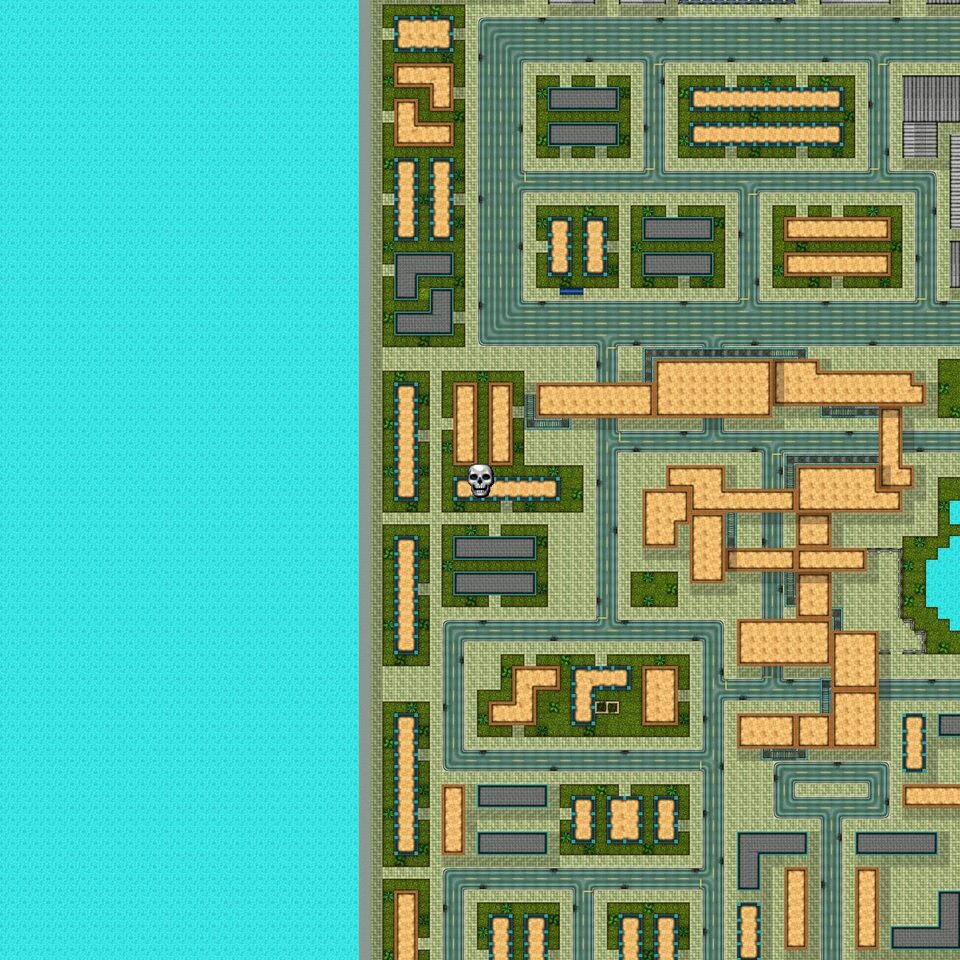
Kill Frenzy 5: East Miramire
In East Miramire, the frenzy spot is on the north waterfront, in a block of shops and flats. Take the parked Transit Van to start it, then score $15,000 of damage within 80 seconds. When you finish, the message names a prize spot on the military island by Vice Shores, with 100 seconds to reach it. The on-screen text tells you to use the model cars; hit as much as you can in the van.
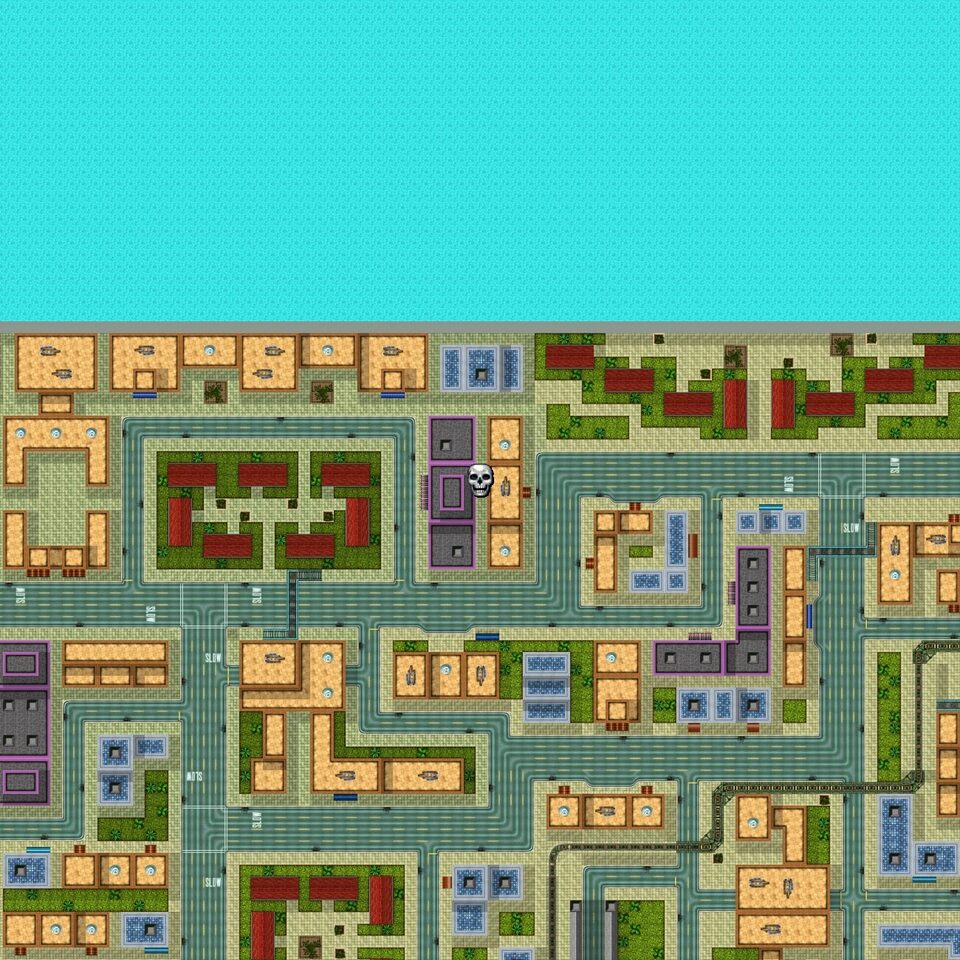
Kill Frenzy 6: South Vice Beach
In South Vice Beach, the frenzy spot is on a beachfront strip with swimming pools. Break the Flamethrower crate to start it, then score $90,000 of damage within 100 seconds. When you finish, the message names a prize spot at the park in South Vice Shores, with 85 seconds to reach it. Keep moving through traffic; burning vehicles add damage quickly.
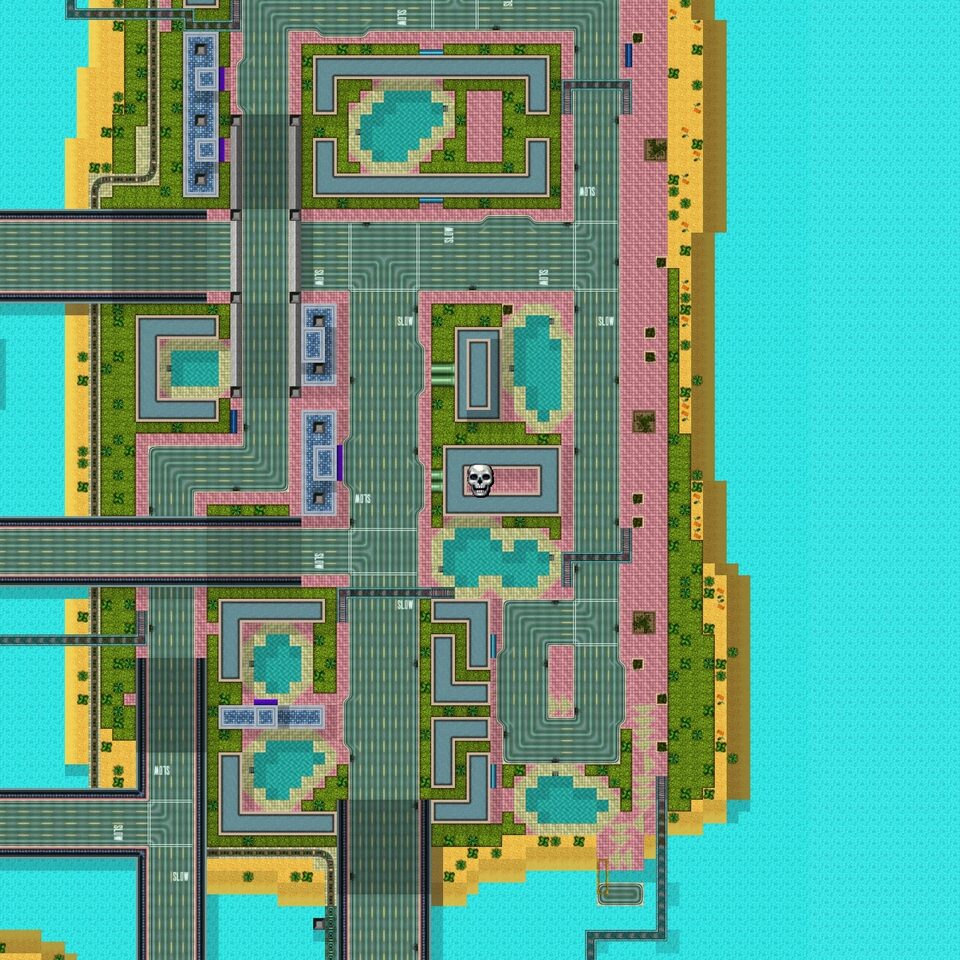
Kill Frenzy 7: Northeast Greek Heights
In Northeast Greek Heights, the frenzy spot is in a block grid beside a park with ponds. Break the Flamethrower crate to start it, then score $210,000 of damage within 100 seconds. When you finish, the message names a prize spot on the Banana Grove to Vice Beach bridge, with 70 seconds to reach it. The range is short, so walk straight into crowds and cars to run up the total.
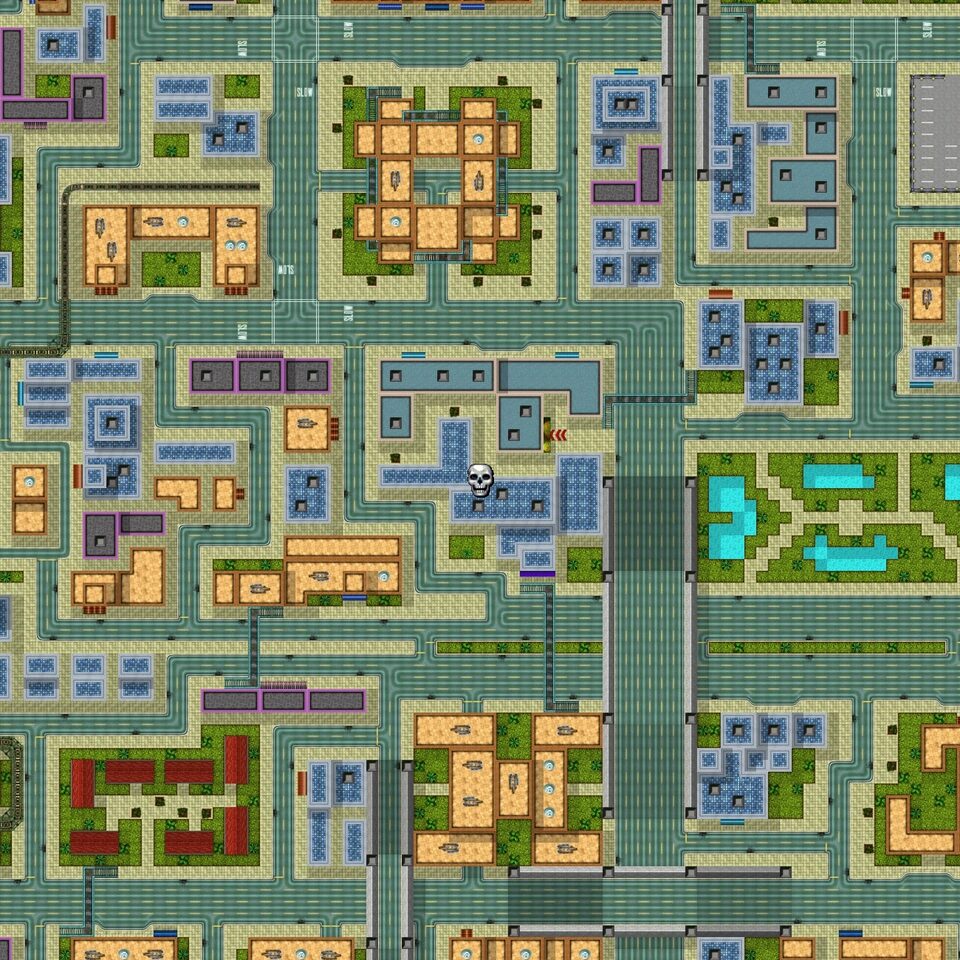
Kill Frenzy 8: Northeast Felicity
In Northeast Felicity, the frenzy spot is in a block between two parks. Break the Rocket Launcher crate to start it, then score $15,000 of damage within 80 seconds. When you finish, the message names a prize spot at the train station in West Greek Heights, with 70 seconds to reach it. Keep your distance from the blast and aim at groups of cars at junctions.
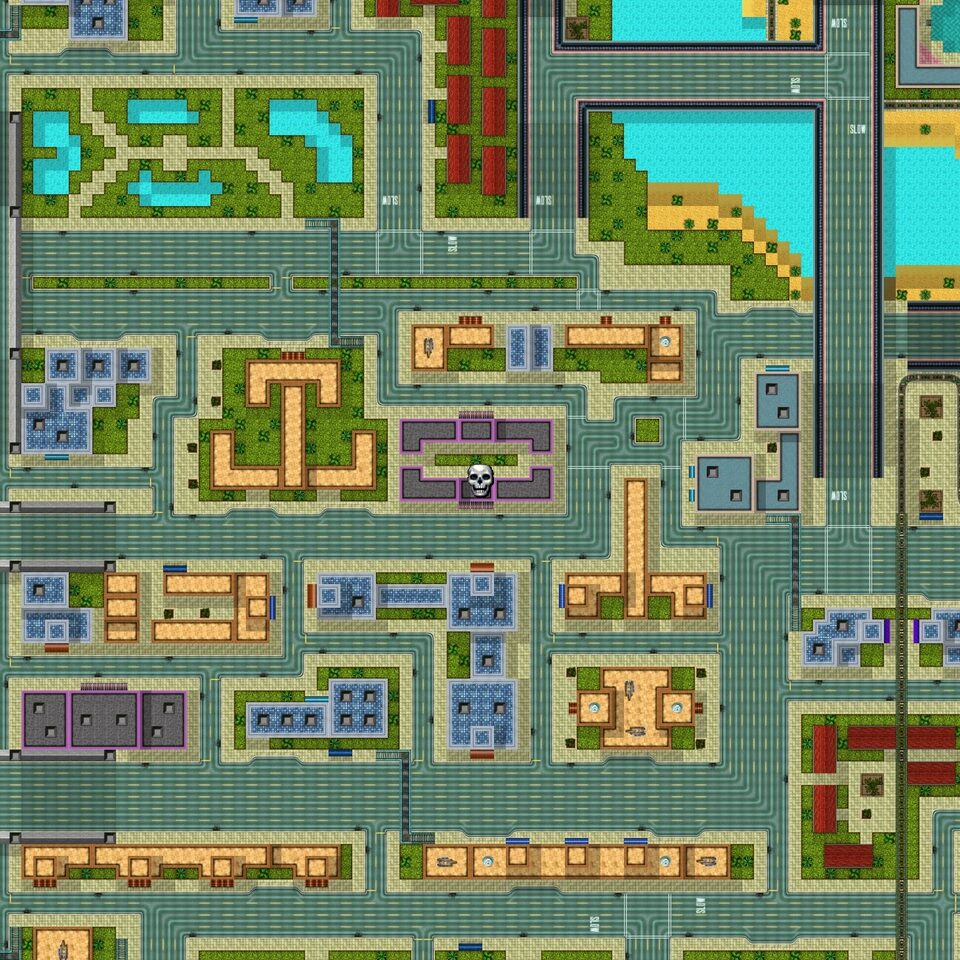
Kill Frenzy 9: West Greek Heights
In West Greek Heights, the frenzy spot is in the middle of a block grid, near the western shore. Break the Rocket Launcher crate to start it, then score $25,000 of damage within 80 seconds. When you finish, the message names a prize spot at the car showroom in Vice Shores, with 70 seconds to reach it. Fire at cars in traffic; each wreck adds to the total.
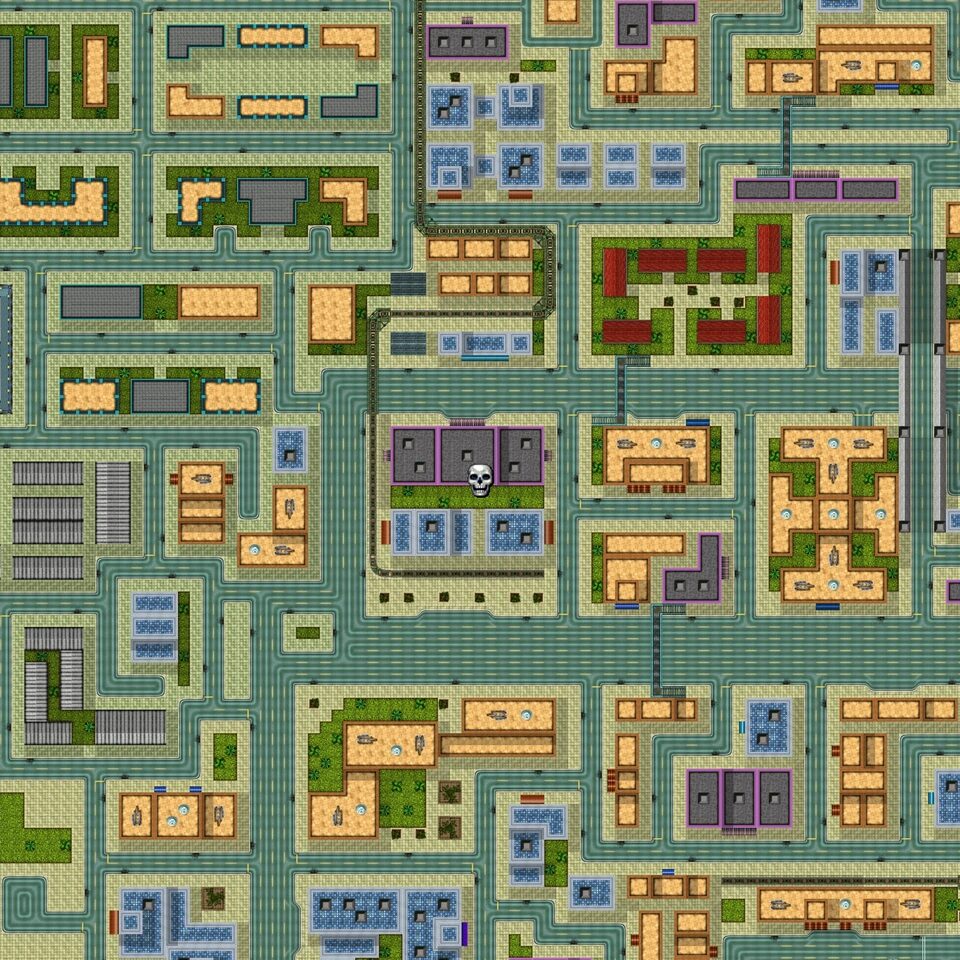
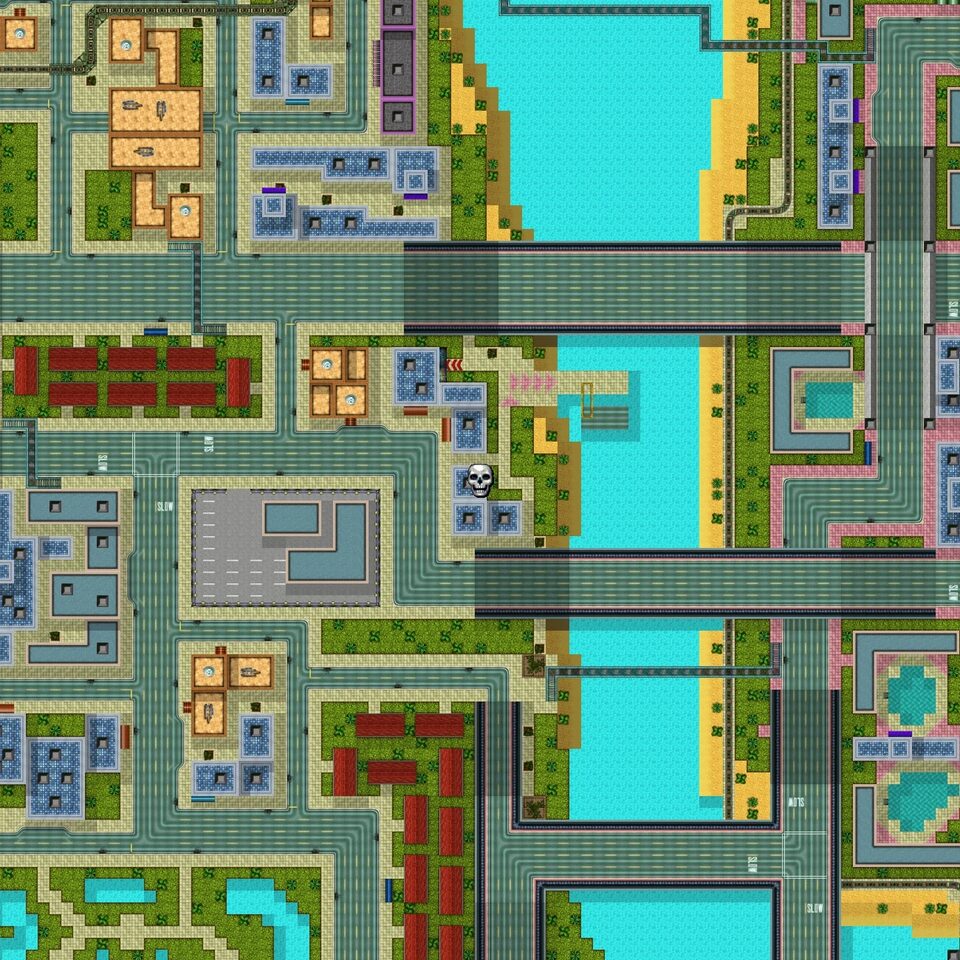
Kill Frenzy 10: East Vice Shores
In East Vice Shores, the frenzy spot is beside a river with two road bridges. Break the Machine Gun crate to start it, then score $10,000 of damage within 100 seconds. When you finish, the message names a prize spot at the hospital in Greek Heights, with 70 seconds to reach it. Stay on foot and keep firing; reaching the target ends the frenzy and clears your wanted level.
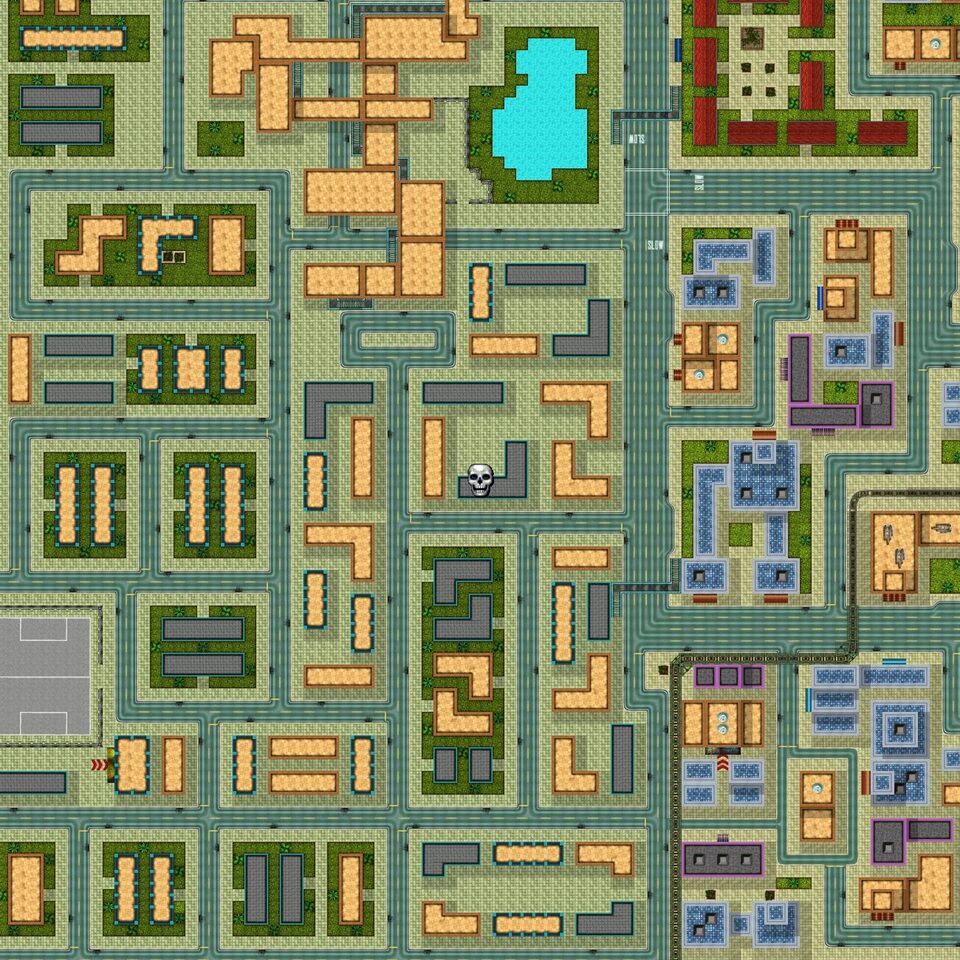
Kill Frenzy 11: East Little Dominica
In East Little Dominica, the frenzy spot is in a block grid with a park and a small lake. Break the Flamethrower crate to start it, then score $30,000 of damage within 100 seconds. When you finish, the message names a prize spot at the graveyard in South West Little Bogota, with 80 seconds to reach it. The range is short, so walk straight into crowds and cars to run up the total.
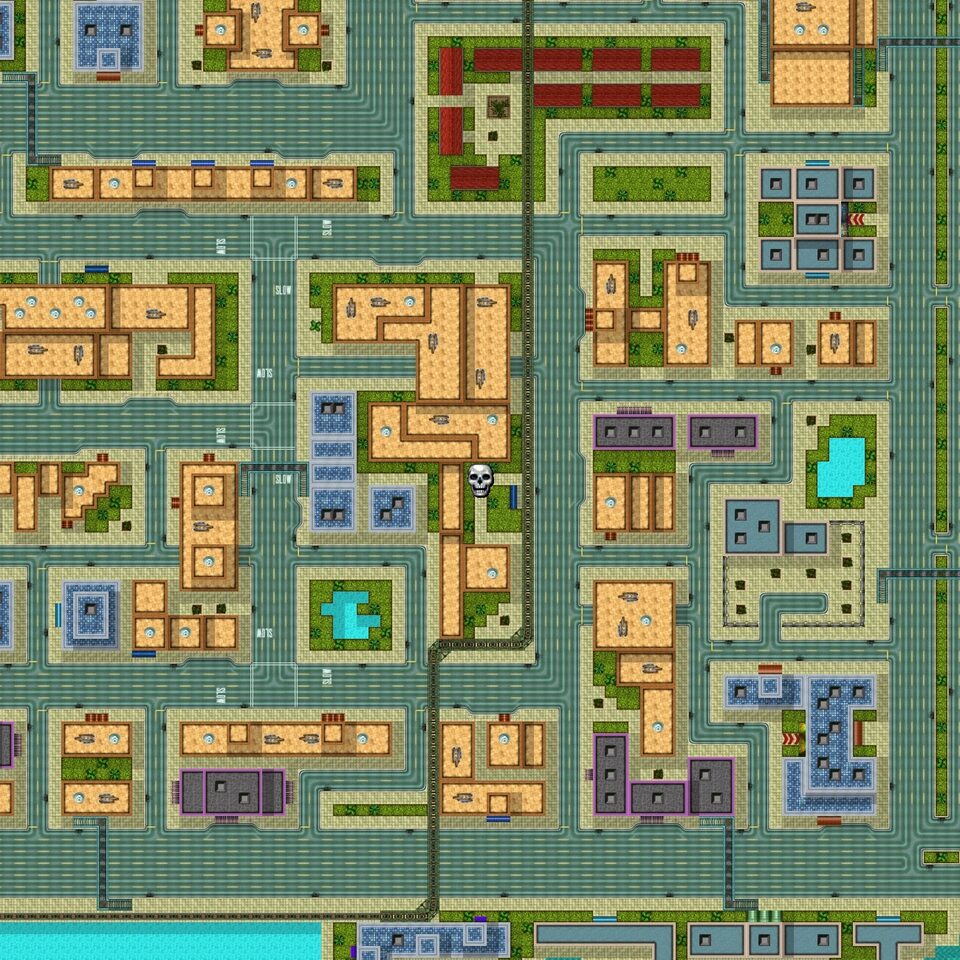
Kill Frenzy 12: West Banana Grove
In West Banana Grove, the frenzy spot is in the middle of a block grid, not far from the south shore. Take the parked Transit Van to start it, then score $9,000 of damage within 80 seconds. When you finish, the message names a prize spot outside the police station in North Vice Beach, with 80 seconds to reach it. Drive hard through the nearest traffic to build the damage total.
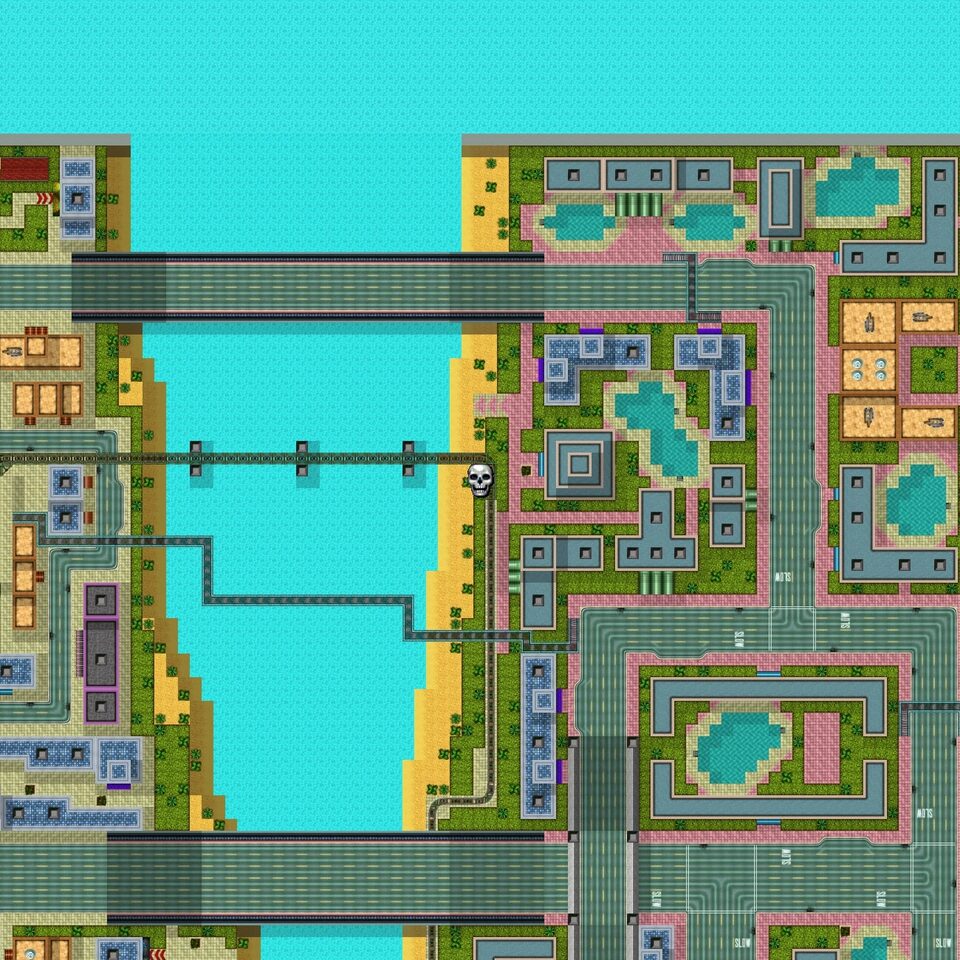
Kill Frenzy 13: Northwest Vice Beach
In Northwest Vice Beach, the frenzy spot is on a block between two bridges, beside the water. Break the Rocket Launcher crate to start it, then score $35,000 of damage within 80 seconds. When you finish, the message names a prize spot at the TV station in Felicity, with 70 seconds to reach it. Fire at cars in traffic; each wreck adds to the total.
Kill Frenzy 14: Southwest Banana Grove
In Southwest Banana Grove, the frenzy spot is in the middle of a block grid, close to the coast. Break the Machine Gun crate to start it, then score $50,000 of damage within 100 seconds. When you finish, the message names a prize spot on the Vice Shores to Vice Beach walkway, with 80 seconds to reach it. Stay on foot and keep firing; reaching the target ends the frenzy and clears your wanted level.
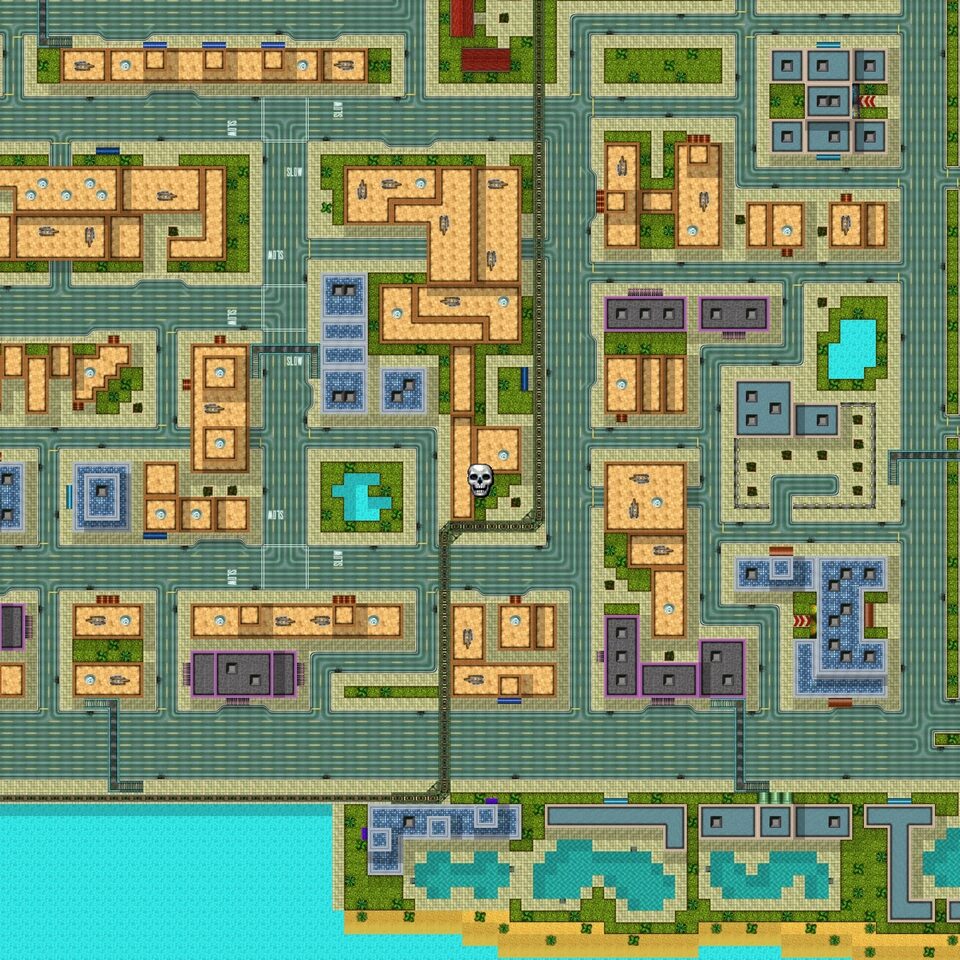
Kill Frenzy 15: North Miramire
In North Miramire, the frenzy spot is on a pier at the north waterfront. Take the parked Tank to start it, then score $25,000 of damage within 80 seconds. When you finish, the message names a prize spot on one of the Vice Shores to Vice Beach bridges, with 100 seconds to reach it. Drive onto a busy street and run over and shoot everything in reach.
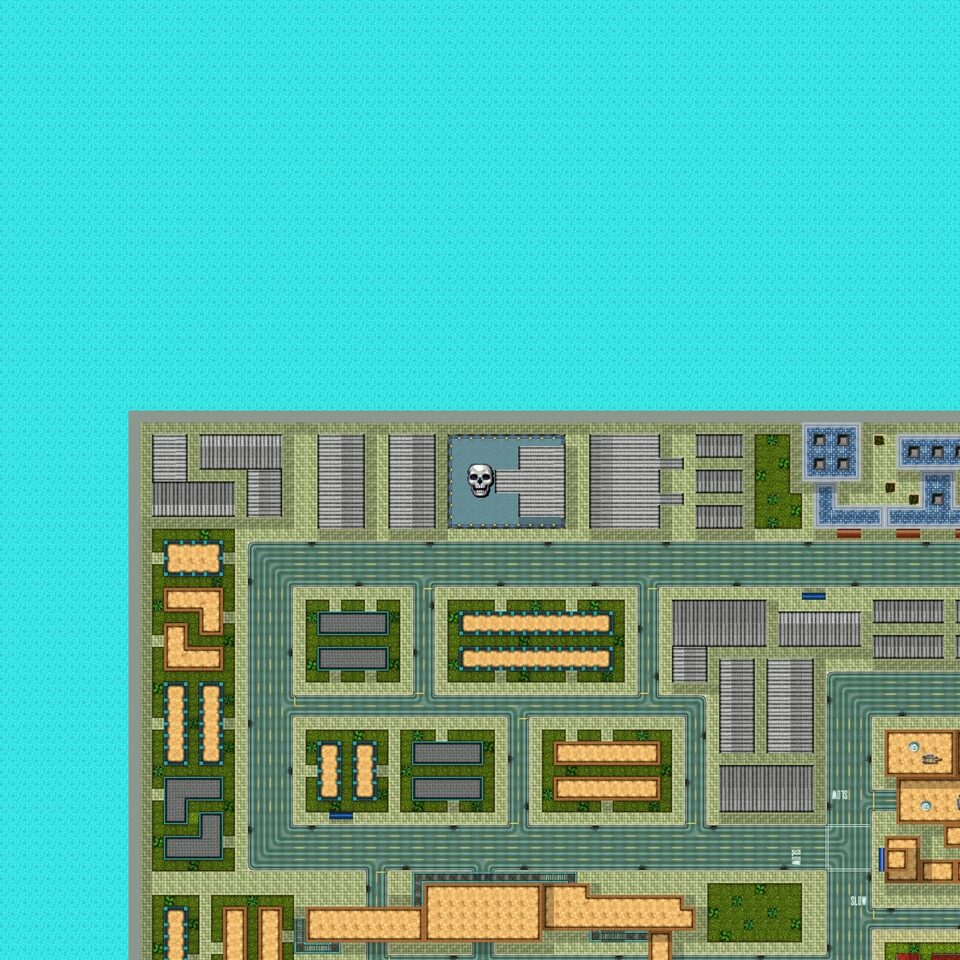
Kill Frenzy 16: West Little Dominica
In West Little Dominica, the frenzy spot is at a street corner near a police car park. Take the parked Transit Van to start it, then score $3,000 of damage within 80 seconds. When you finish, the message names a prize spot outside the police station in South West Richman Heights, with 100 seconds to reach it. Drive hard through the nearest traffic to build the damage total.
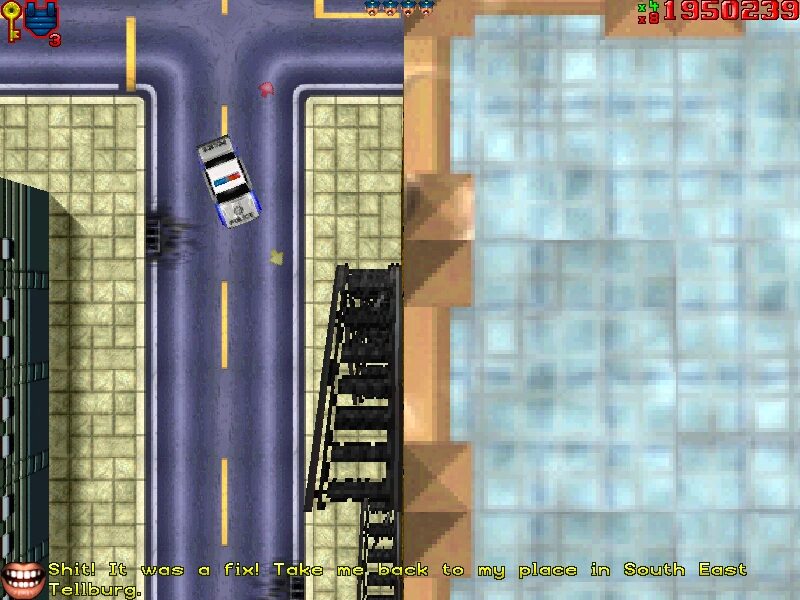
Kill Frenzy 17: South Richman Heights
In South Richman Heights, the frenzy spot is along the south shore, at the foot of a block grid. Break the Machine Gun crate to start it, then score $70,000 of damage within 100 seconds. When you finish, the message names a prize spot by one of the swimming pools in South Banana Grove, with 80 seconds to reach it. Pick up the gun and head for the busiest street, because every pedestrian counts.