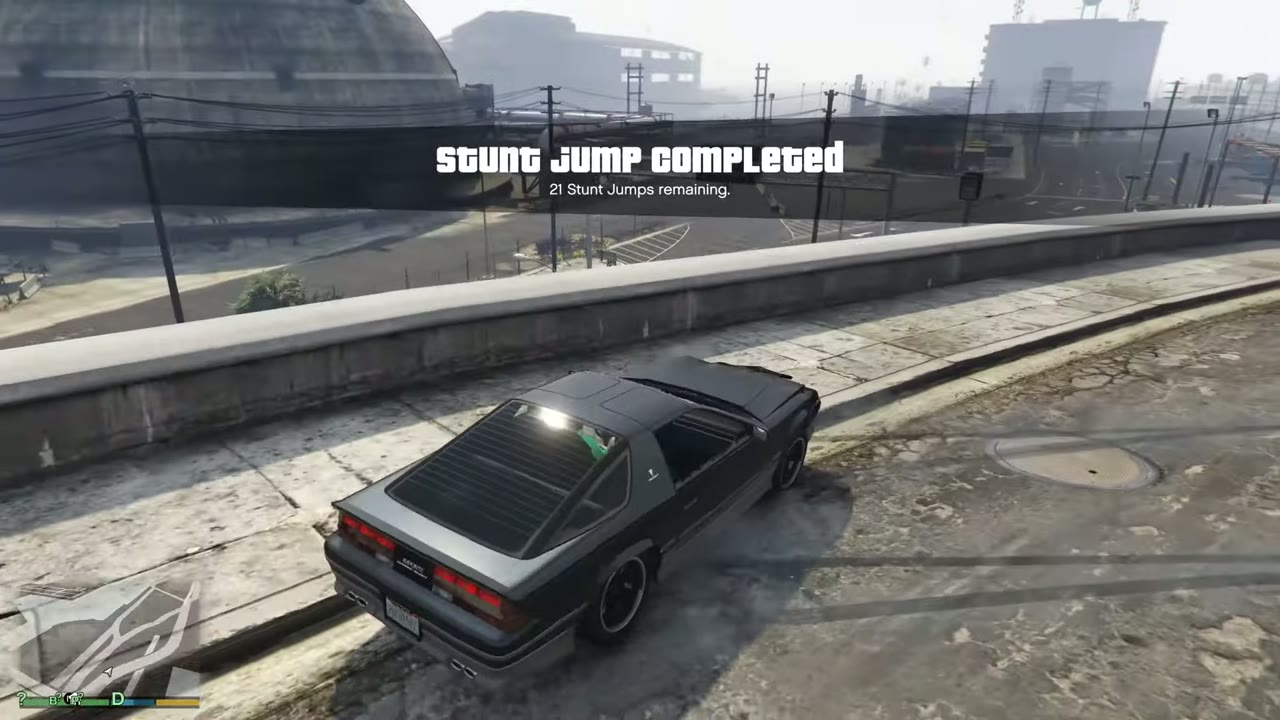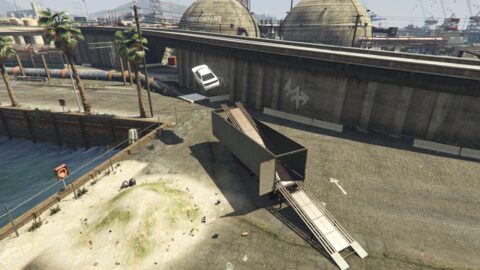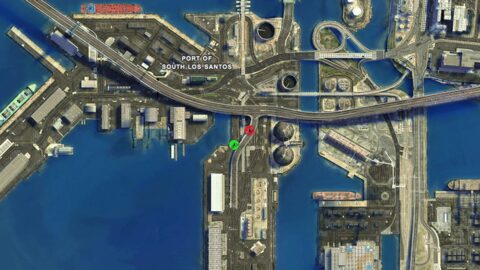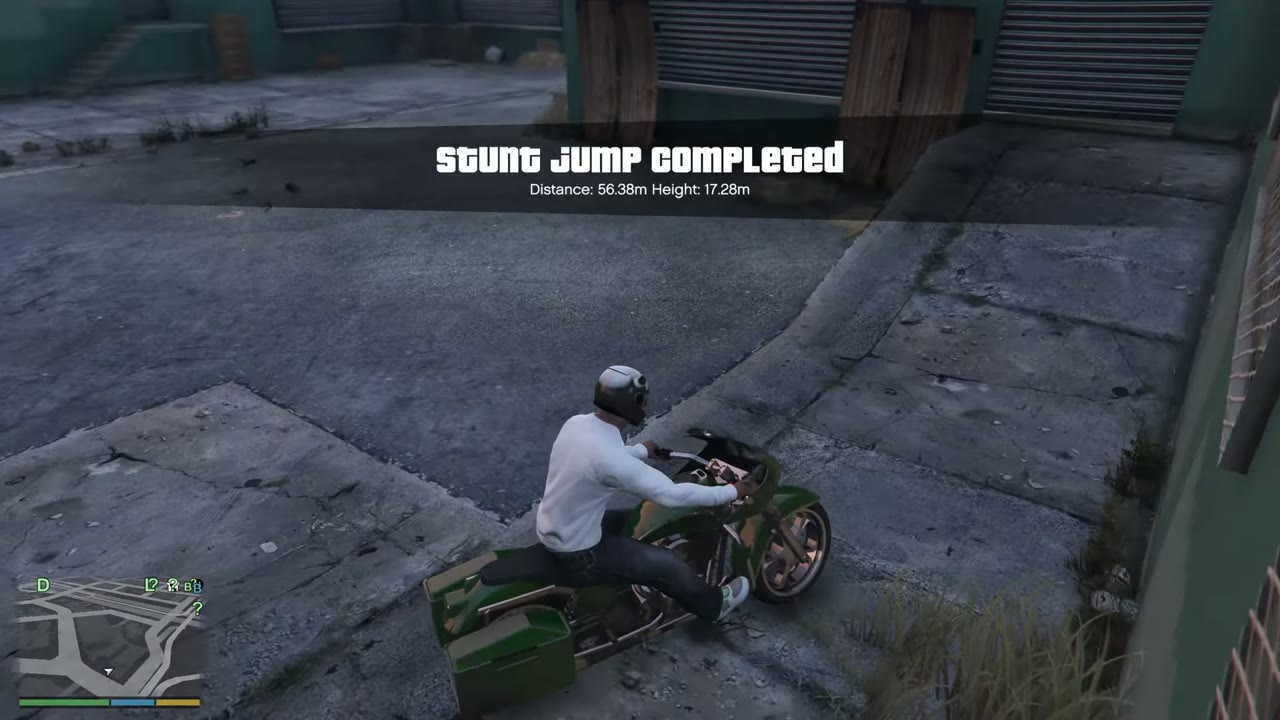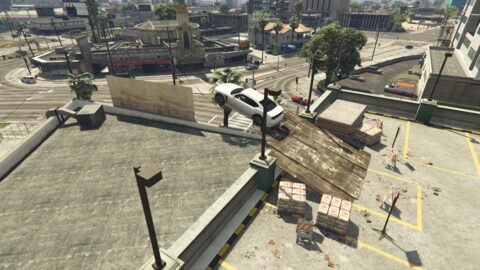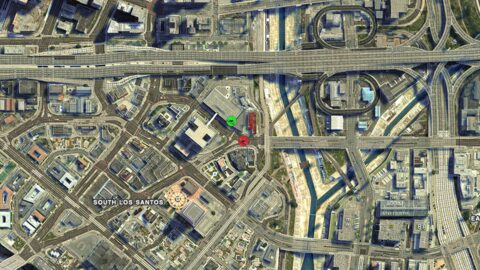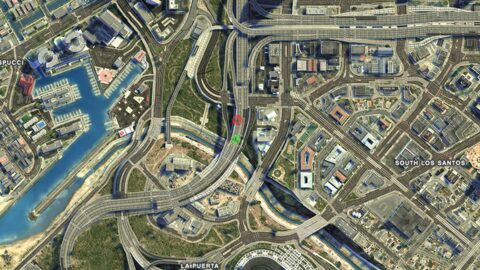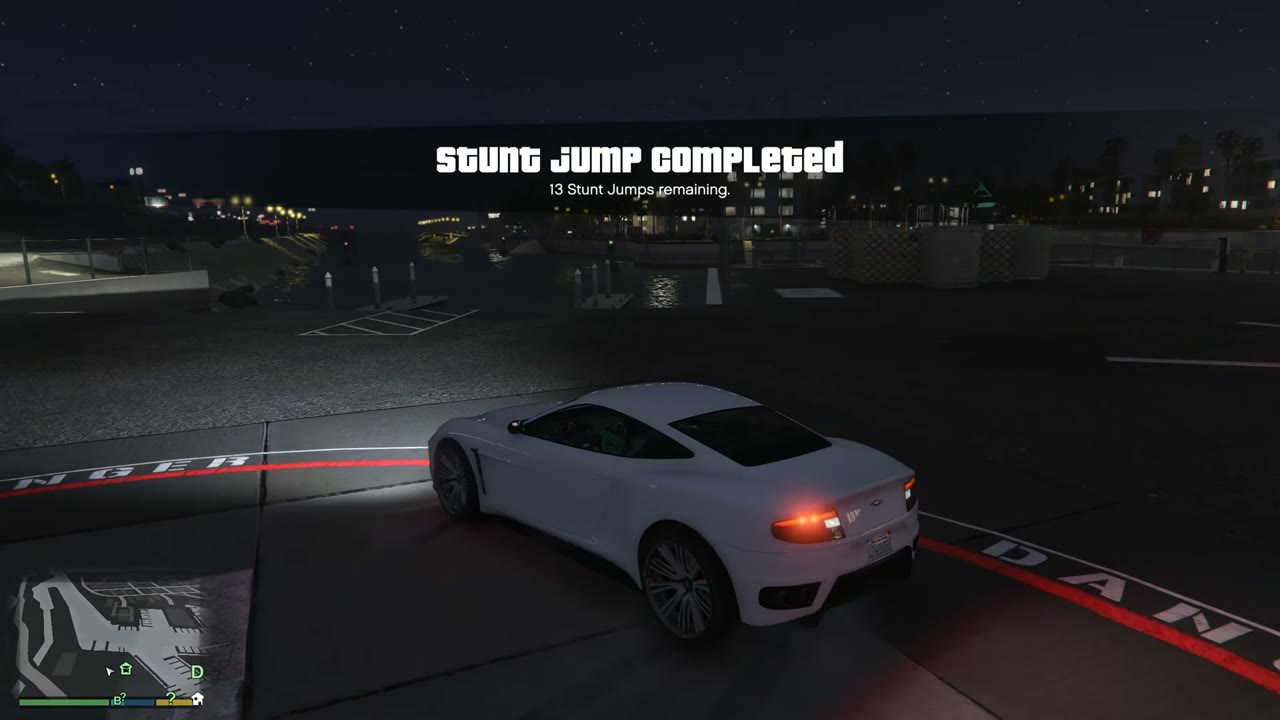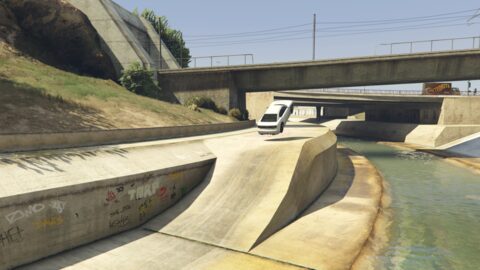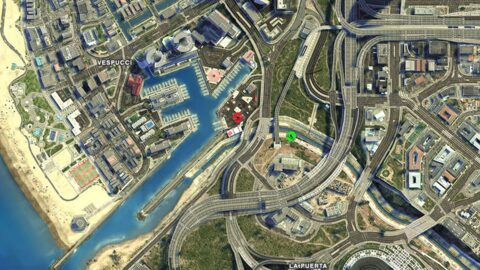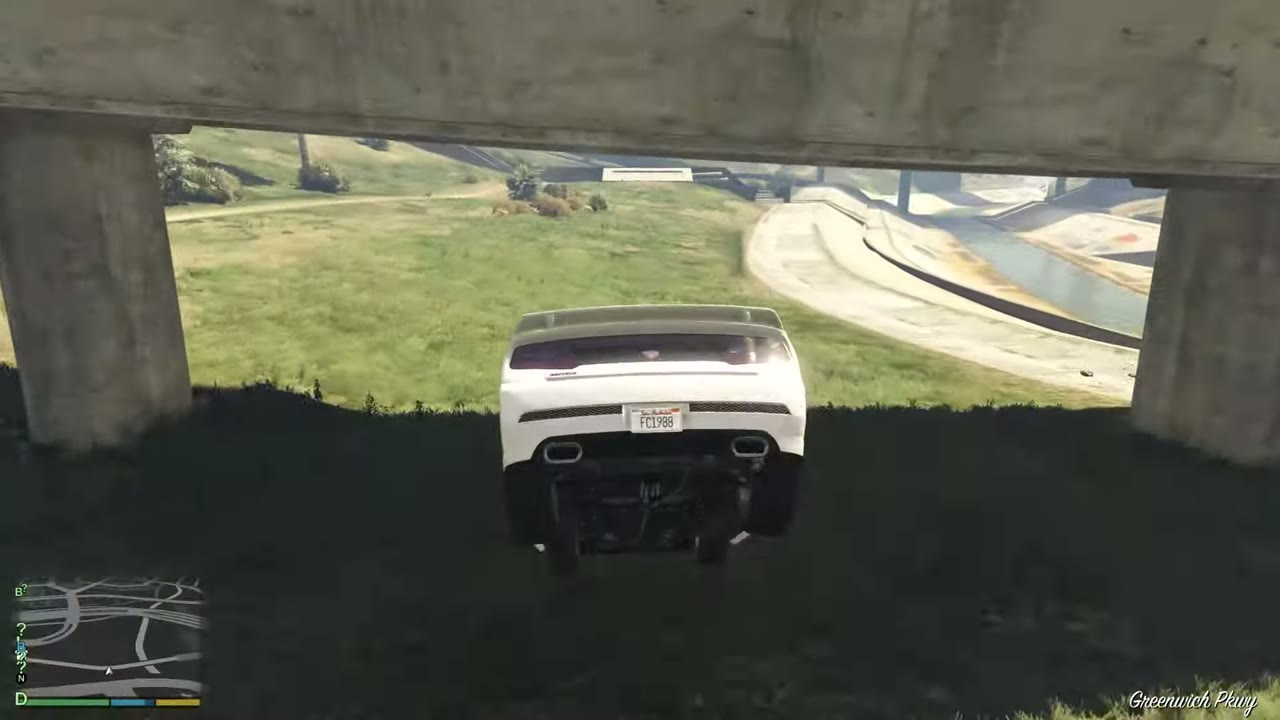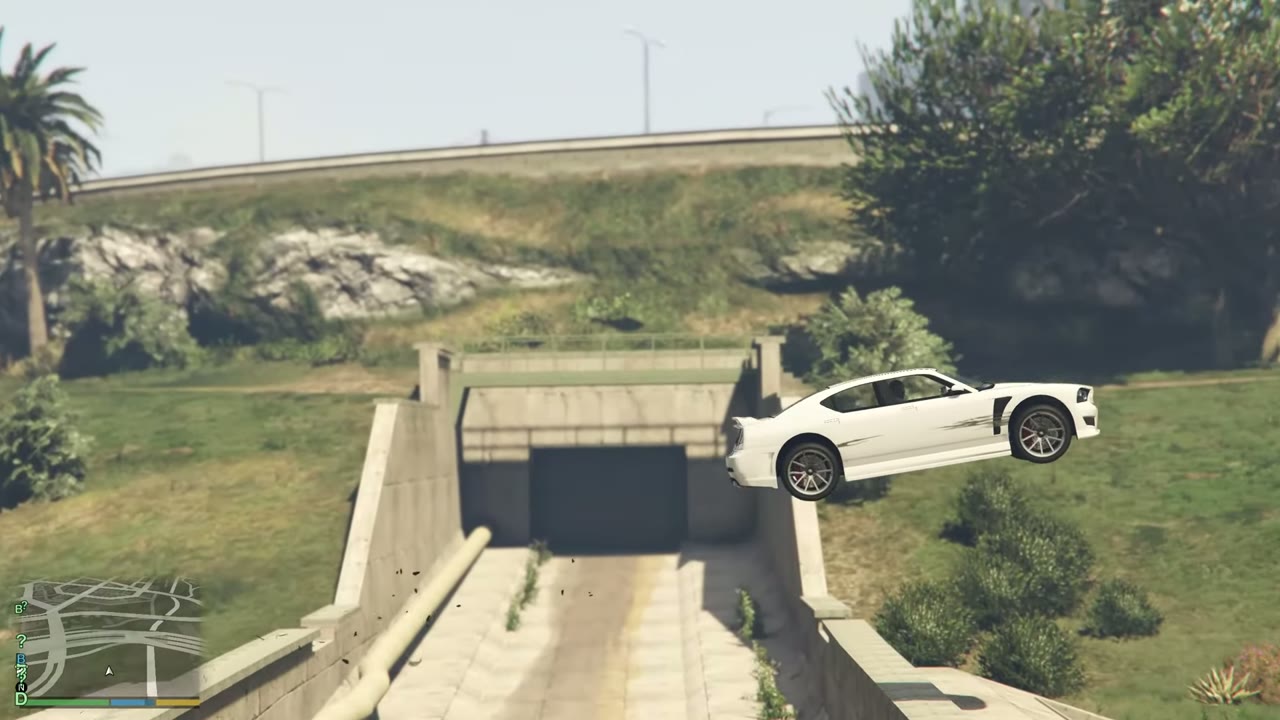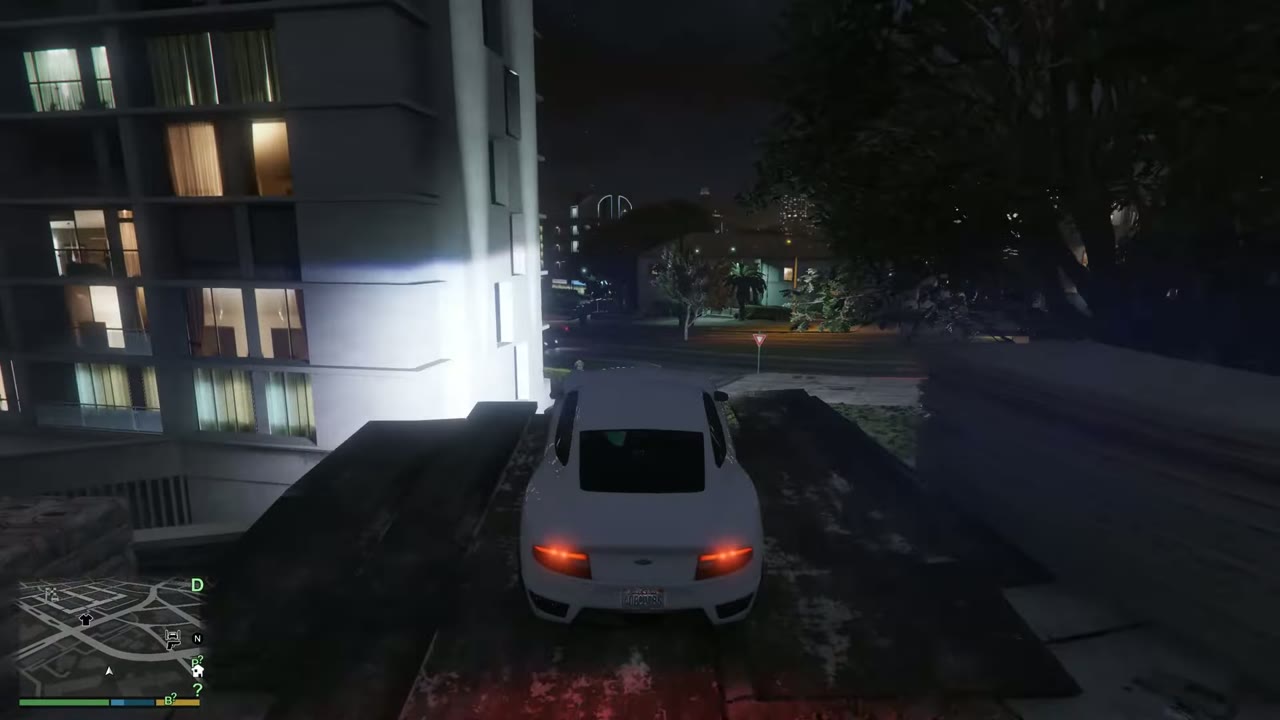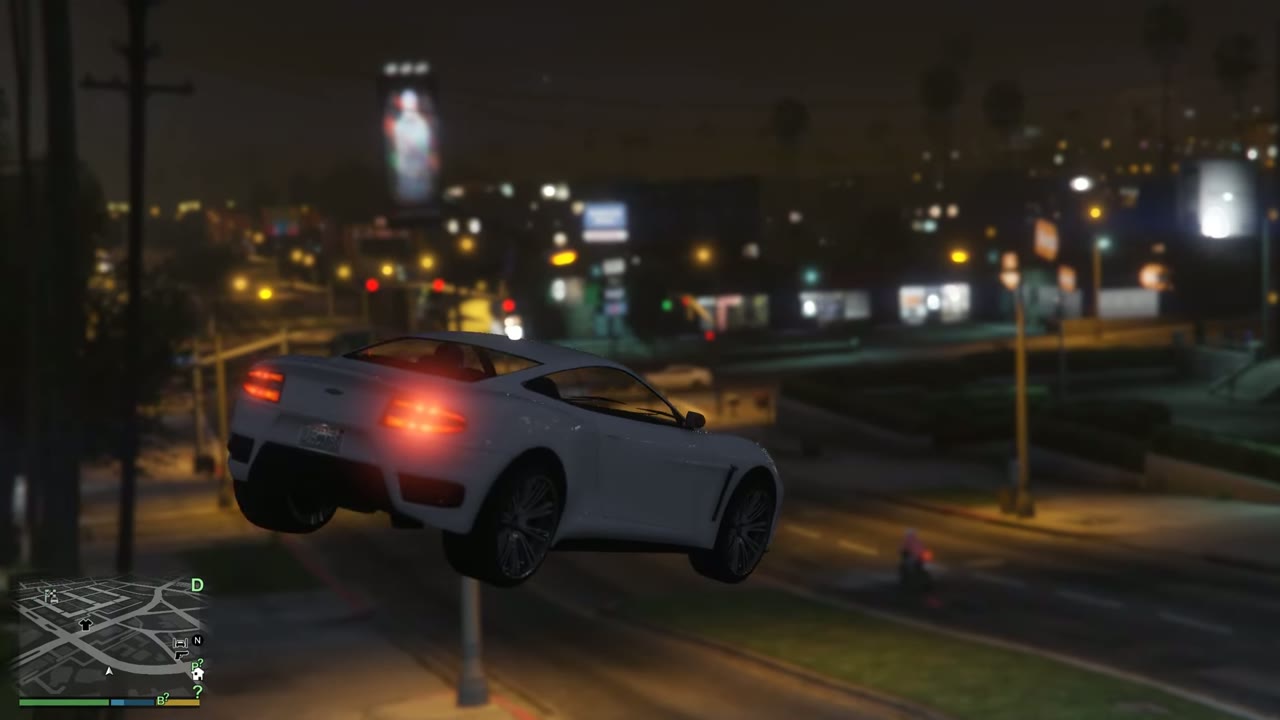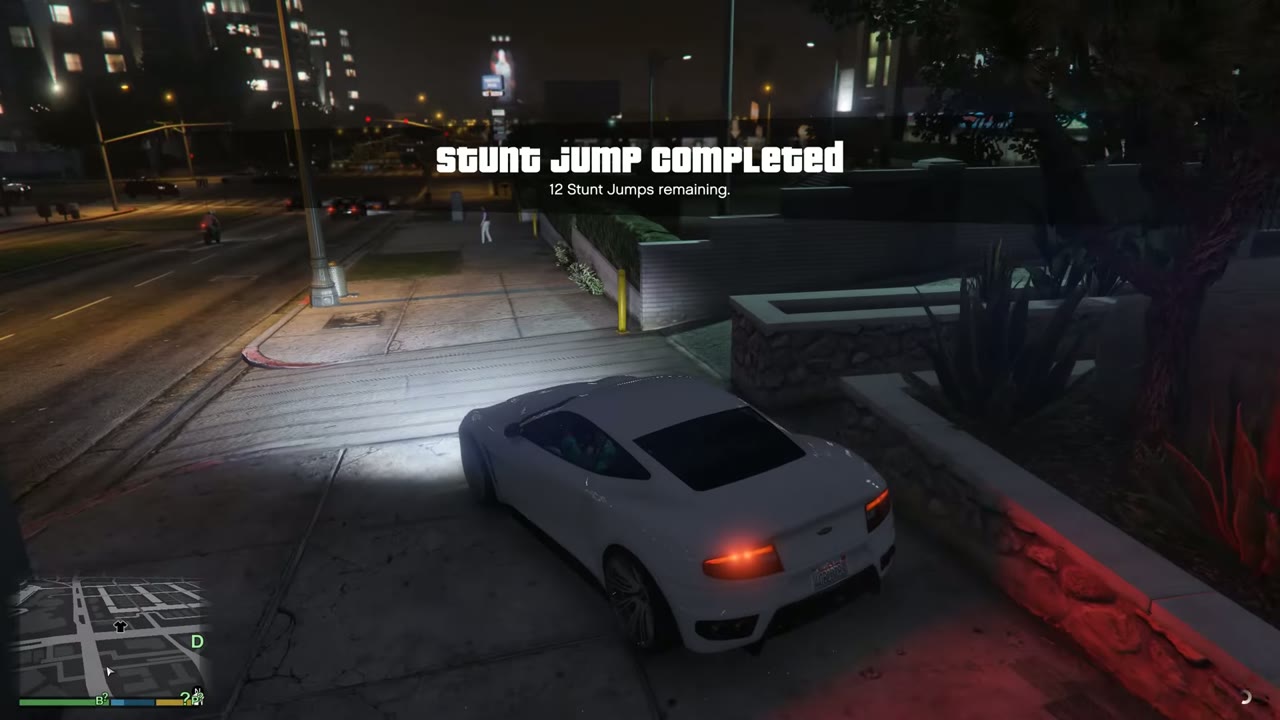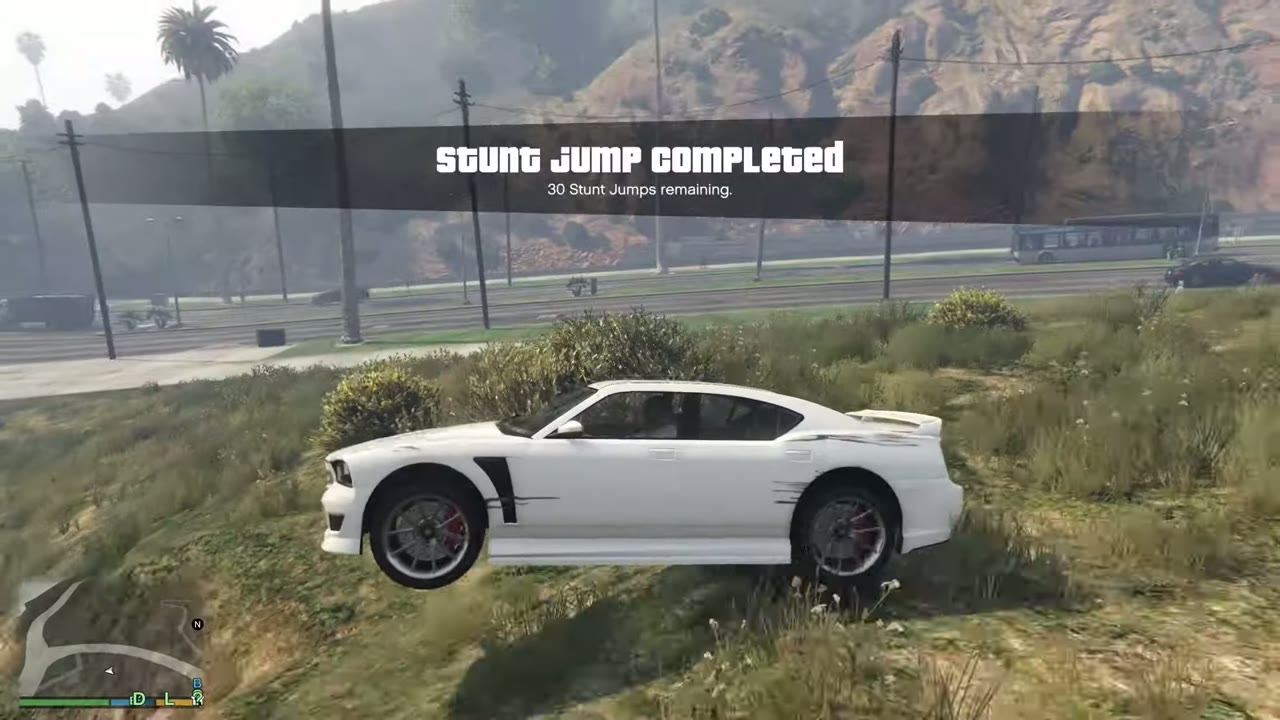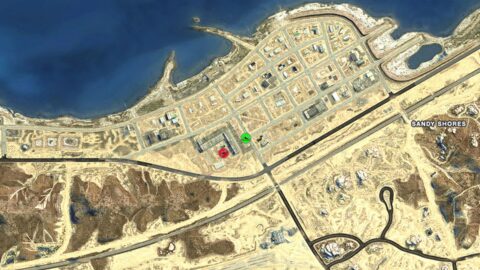









All 50 GTA 5 Stunt Jump Locations (25 for 100%)

Show Off

You need any 25 of these for 100%, and all 50 only for Show Off. Jumps count after Franklin and Lamar. They will not count during mission replays.
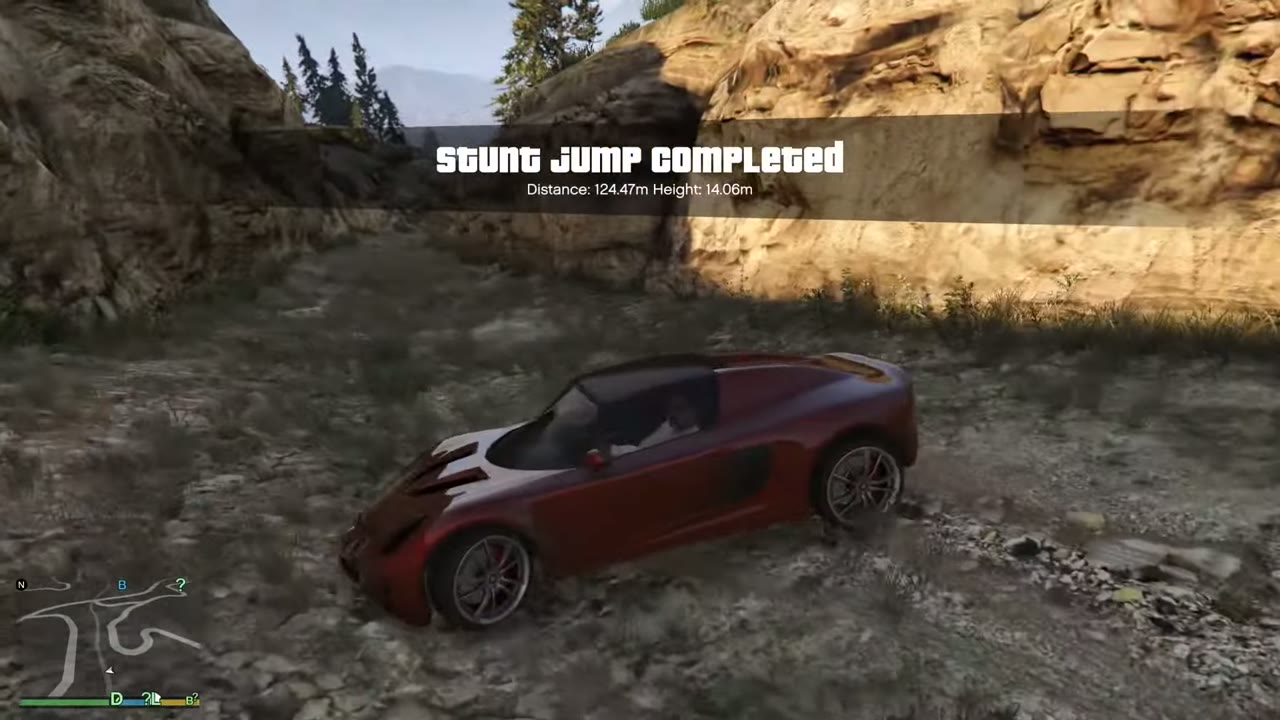
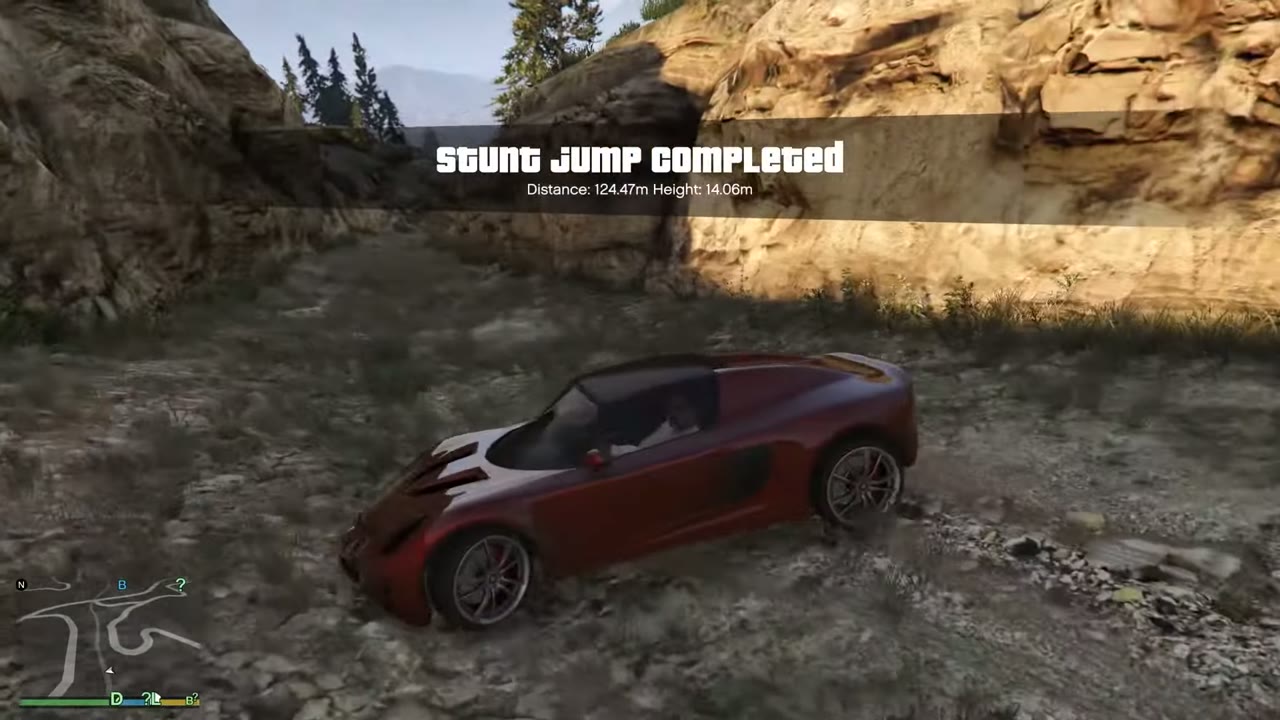
A red sports car lands on rocky ground in a desert canyon under a Stunt Jump Completed notice.
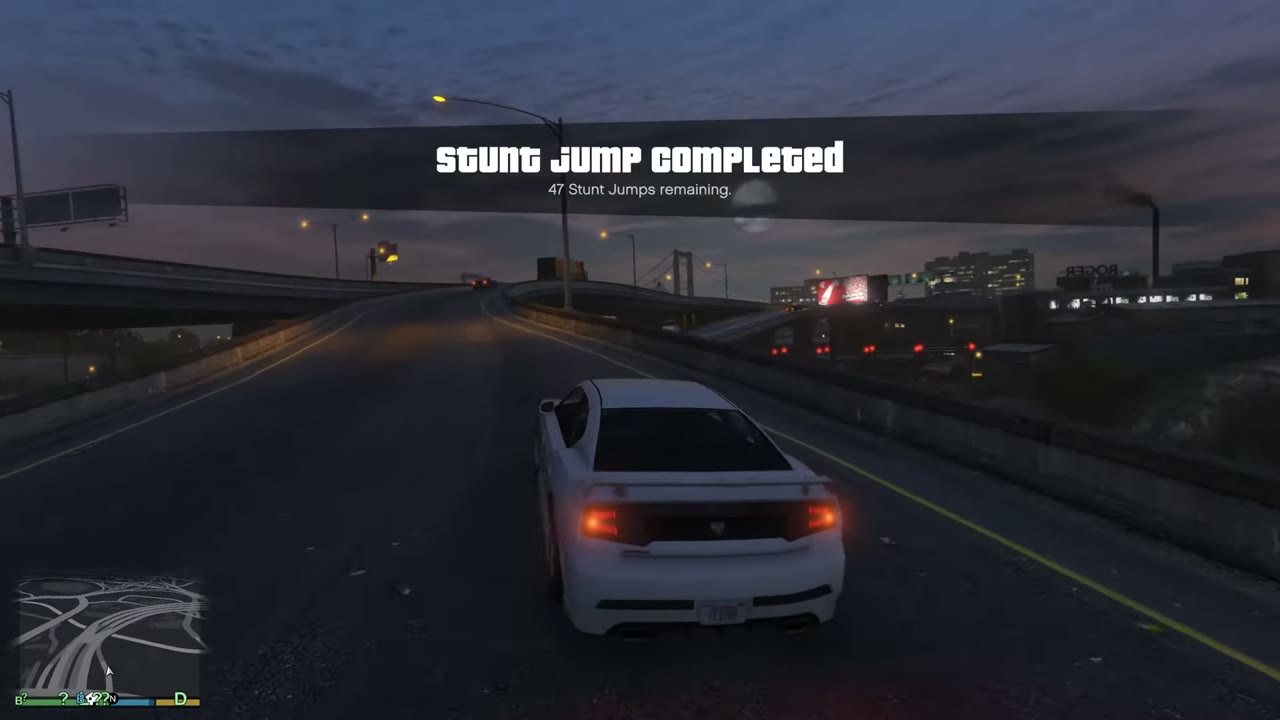
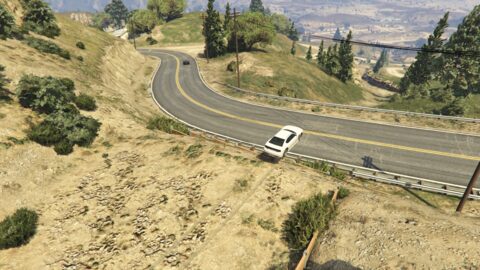
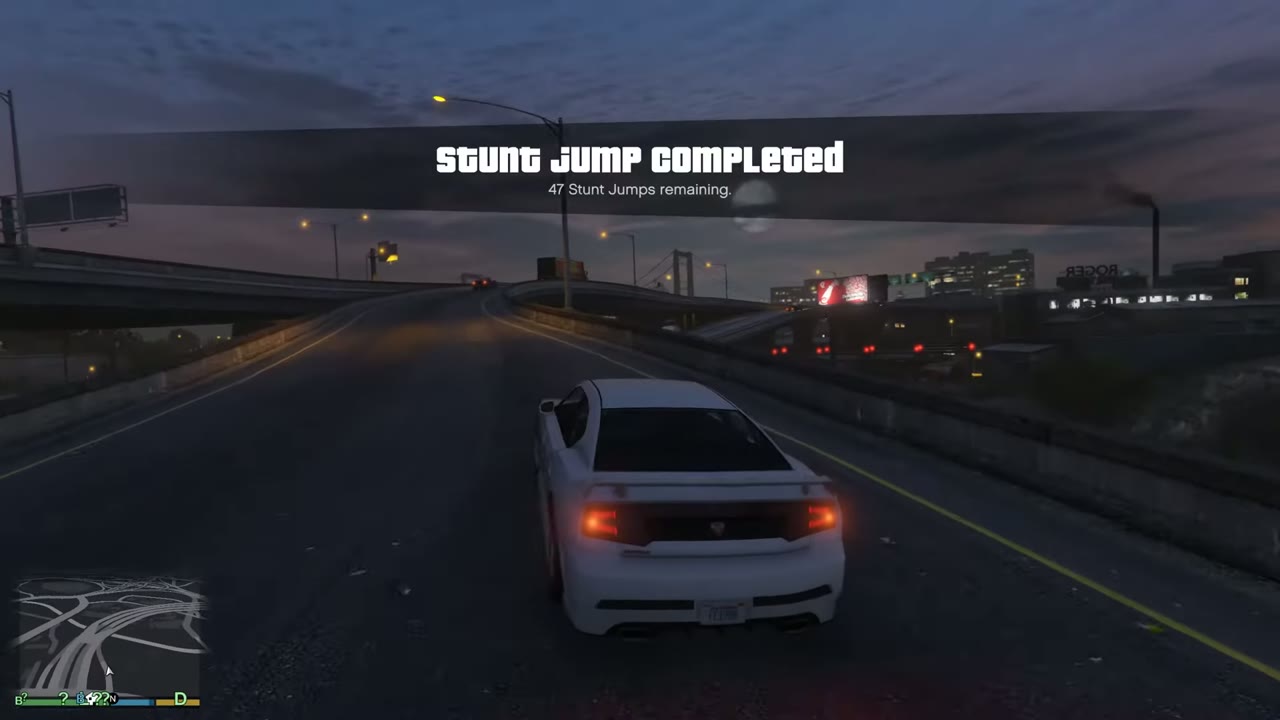
A white sedan on a dusk freeway under a Stunt Jump Completed notice with 47 jumps remaining.
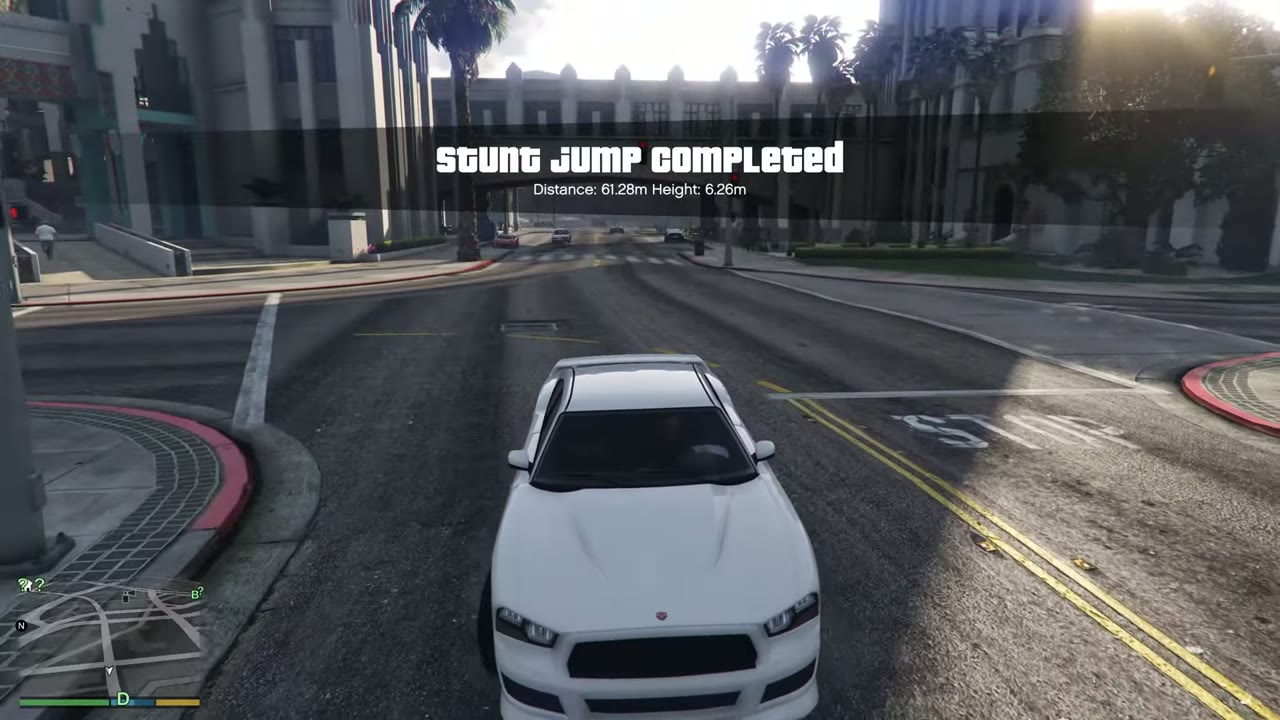
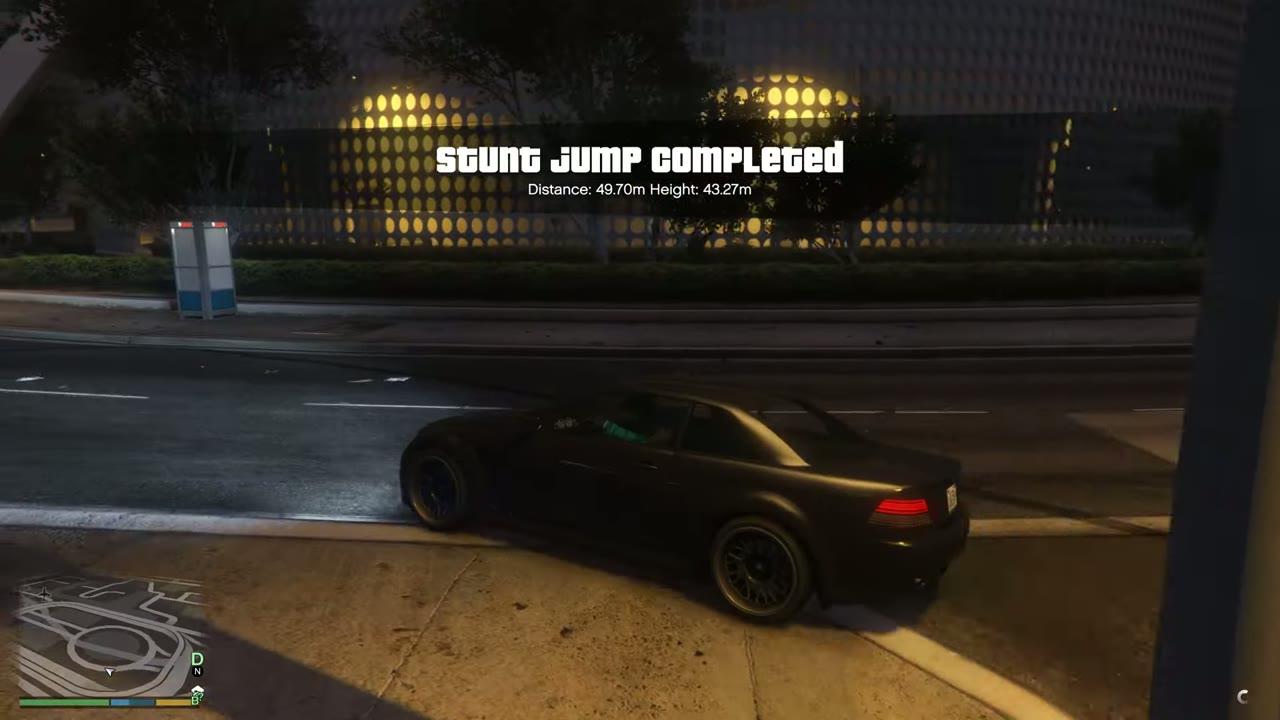
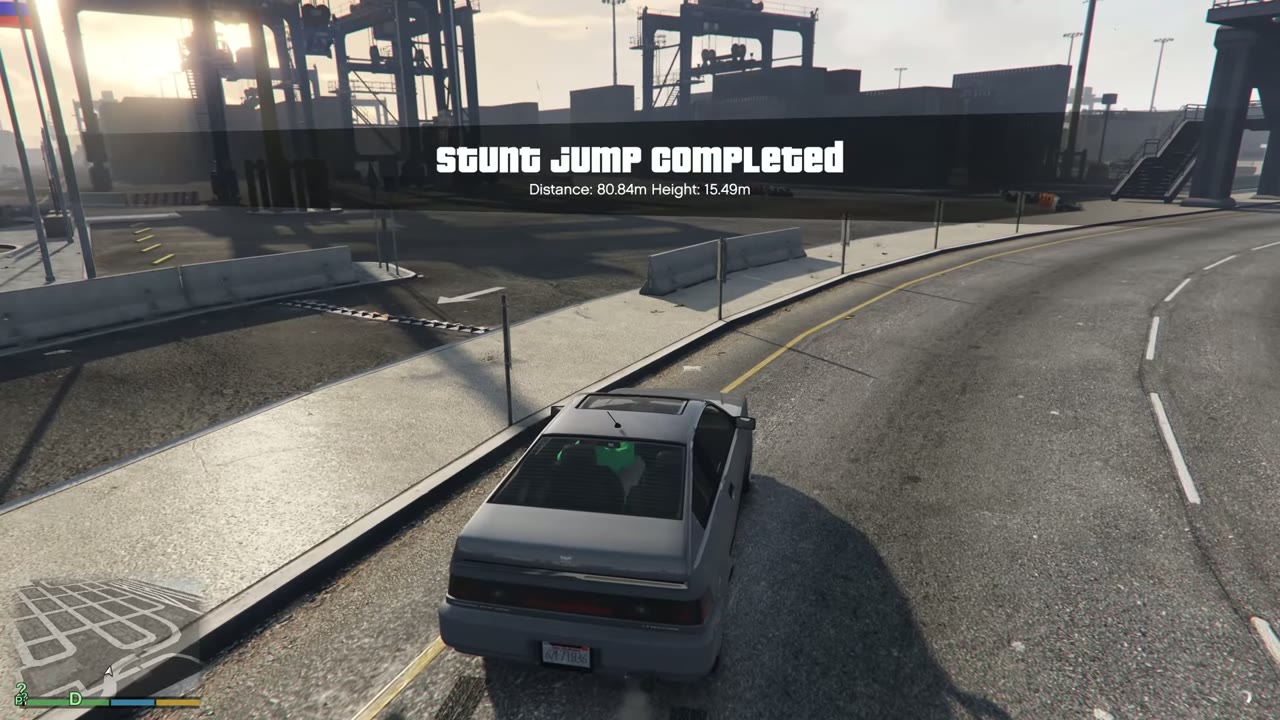
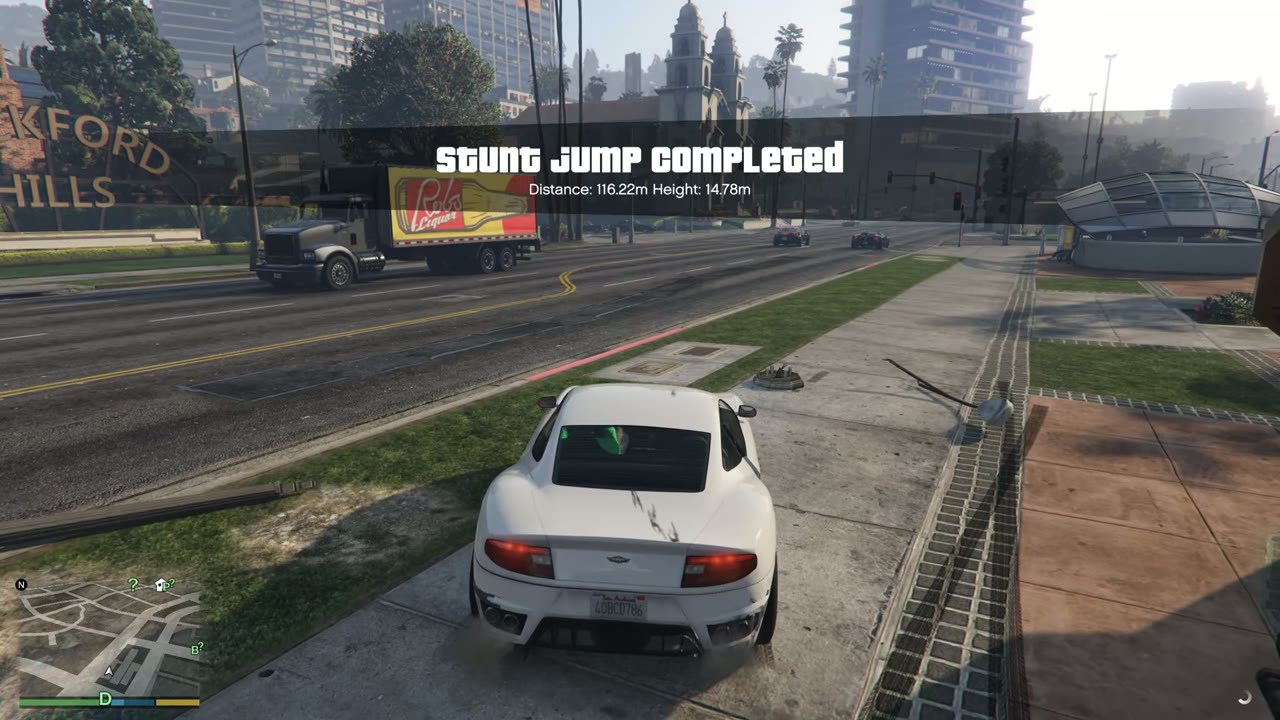
A white sedan on a Los Santos street under a Stunt Jump Completed notice, 61 meters in distance.
Found # Area Details Screenshot
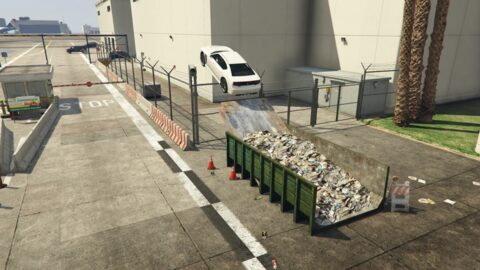
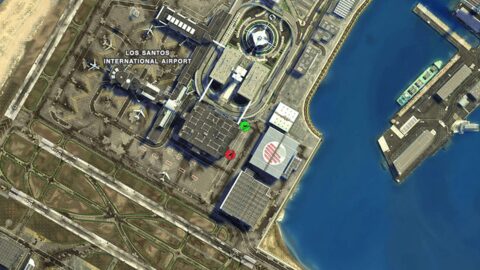
1 LSIA Approach: Trash container on the right of the eastern airport entrance, heading south
Landing: Clear the fence and land past the gates. It can bring a three-star wanted level.
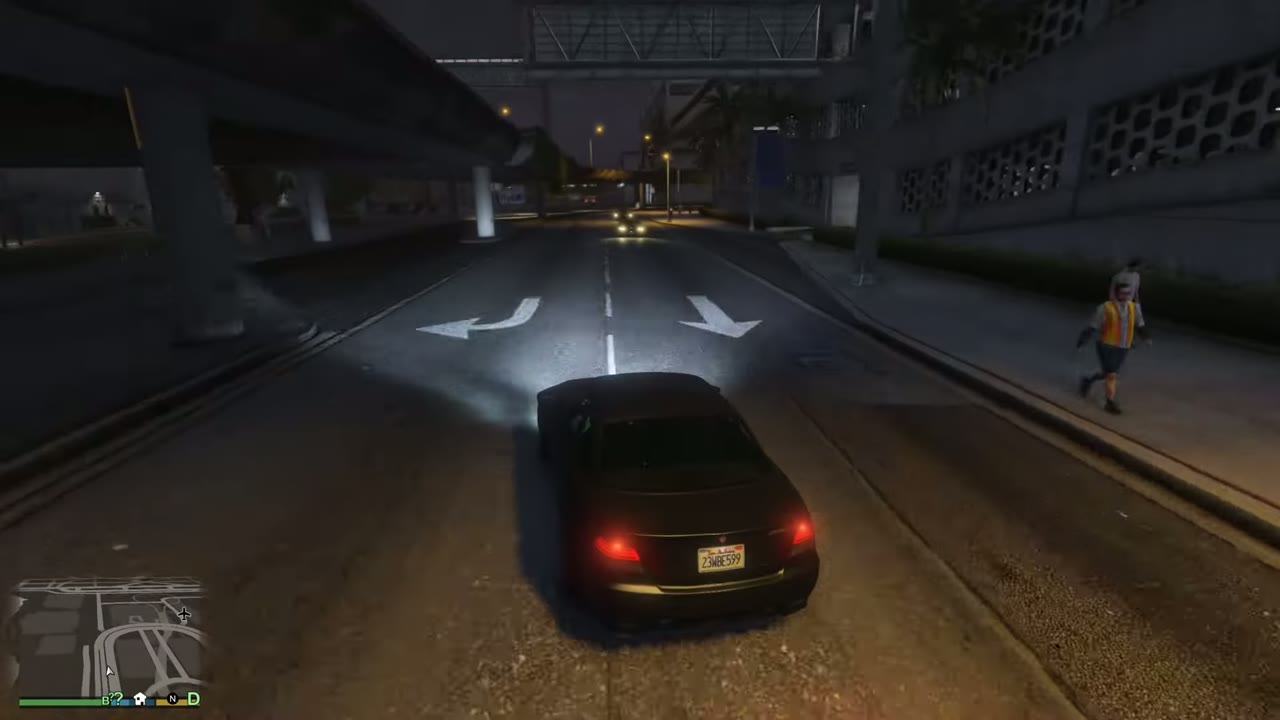
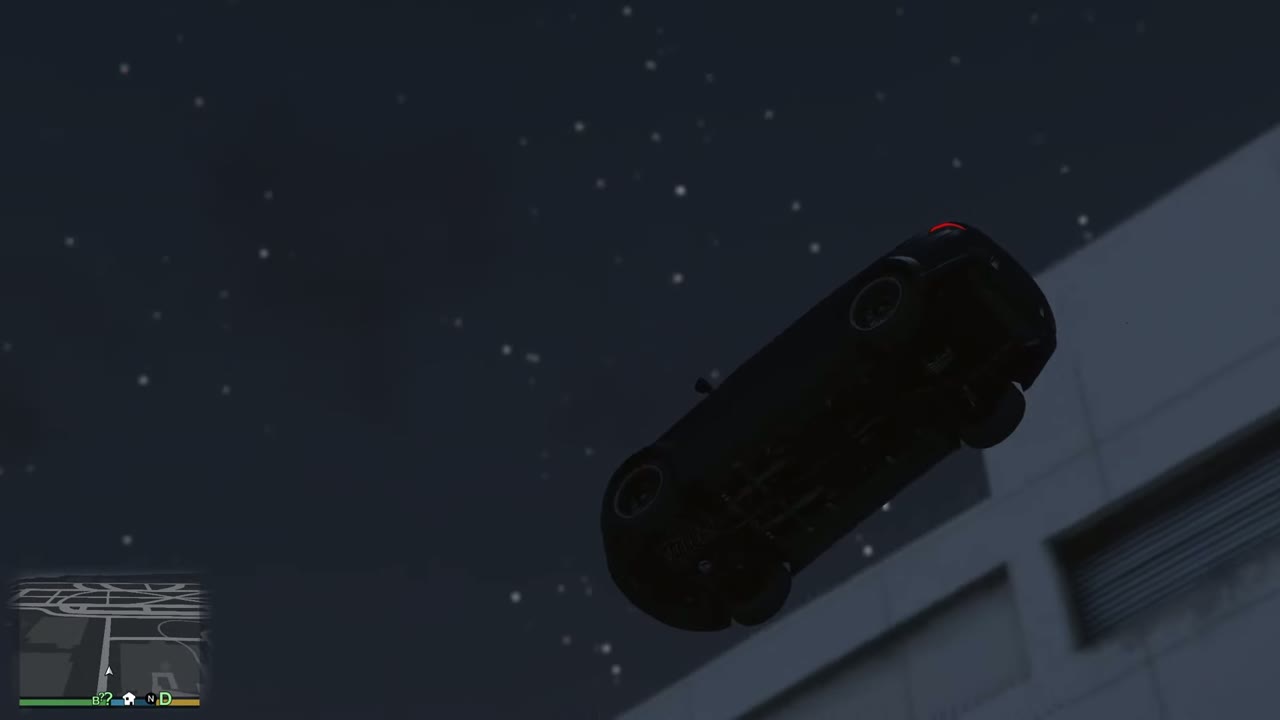
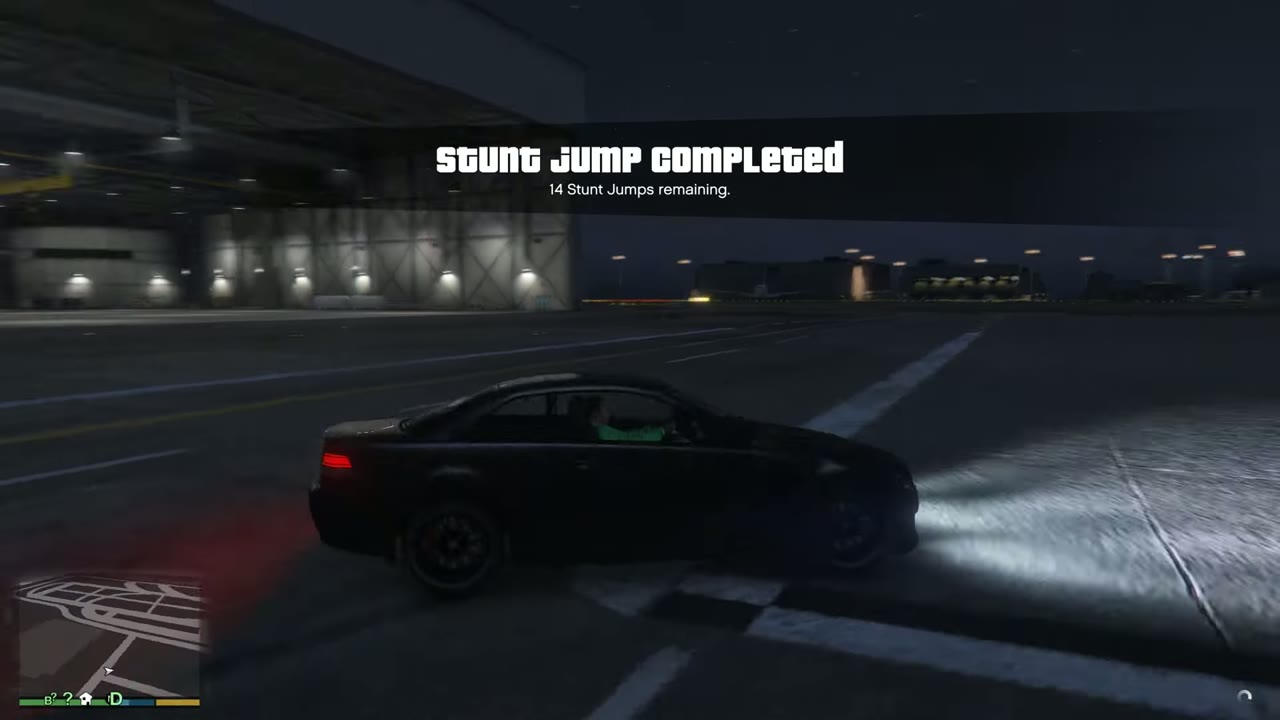
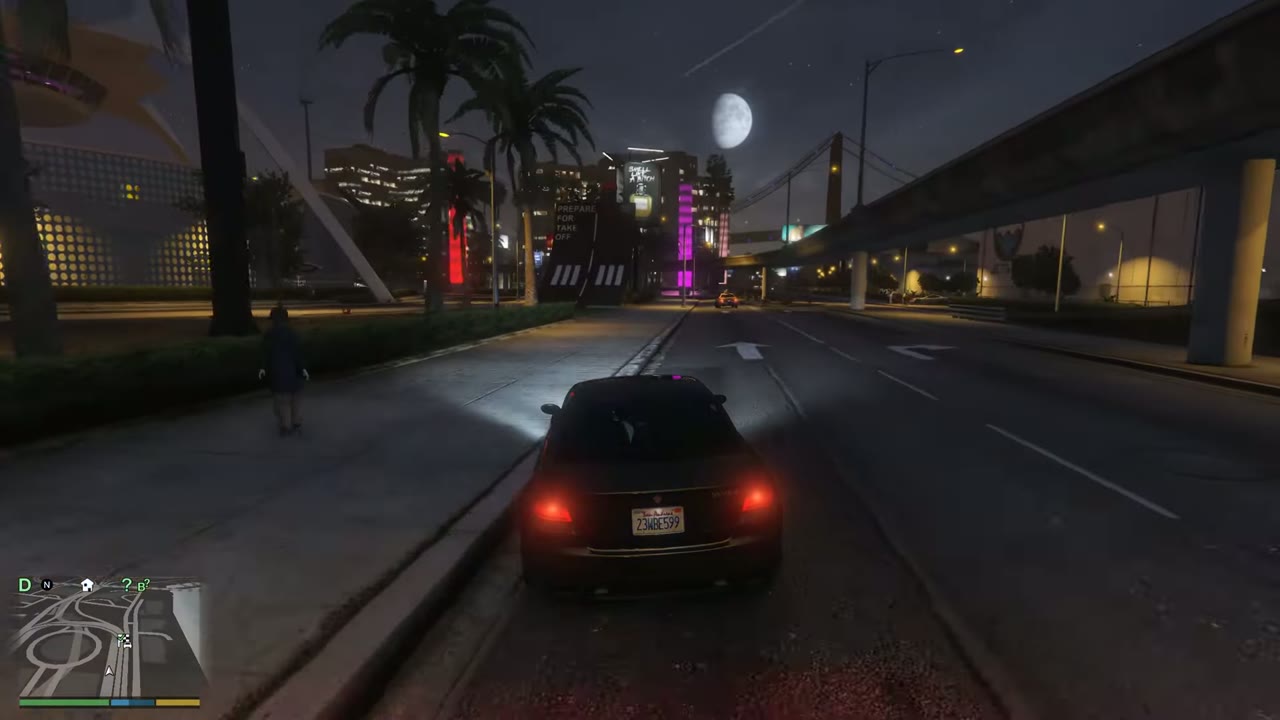
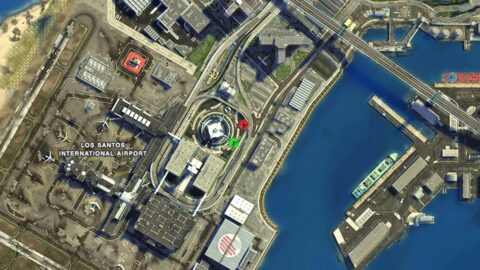
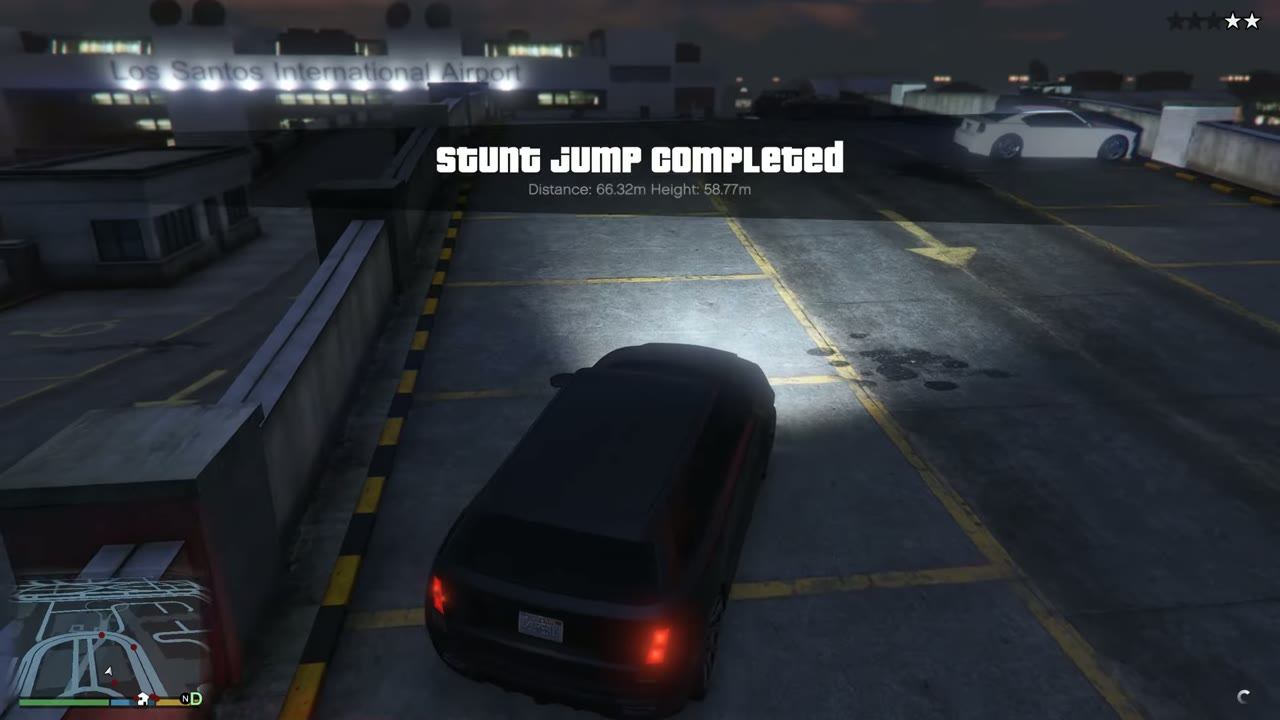
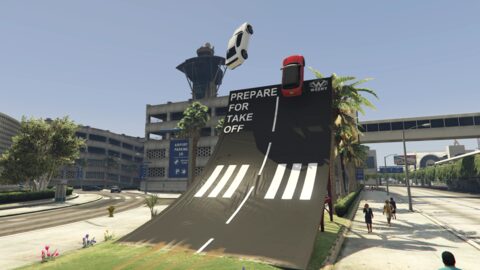
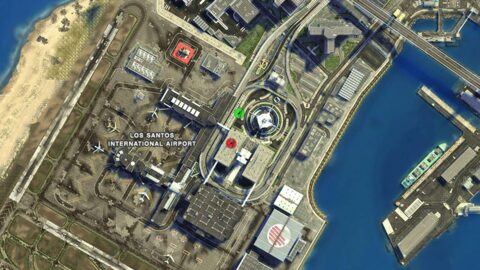
A dark coupe drives along a city road under an overpass at dusk, with turn arrows painted on the lanes.Dark coupe flips in the air over an airport building at night after the jump.Stunt Jump Completed banner as the coupe lands past the gates beside an airport hangar at night.Stunt Jump 1 locationMap showing Stunt Jump 1
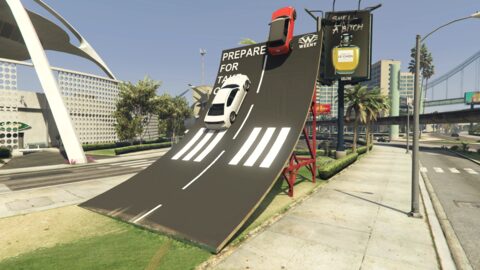
2 LSIA Approach: Weeny Issi advert ramp on New Empire Way, east side, heading north
Landing: Land in the parking lot or on the road.
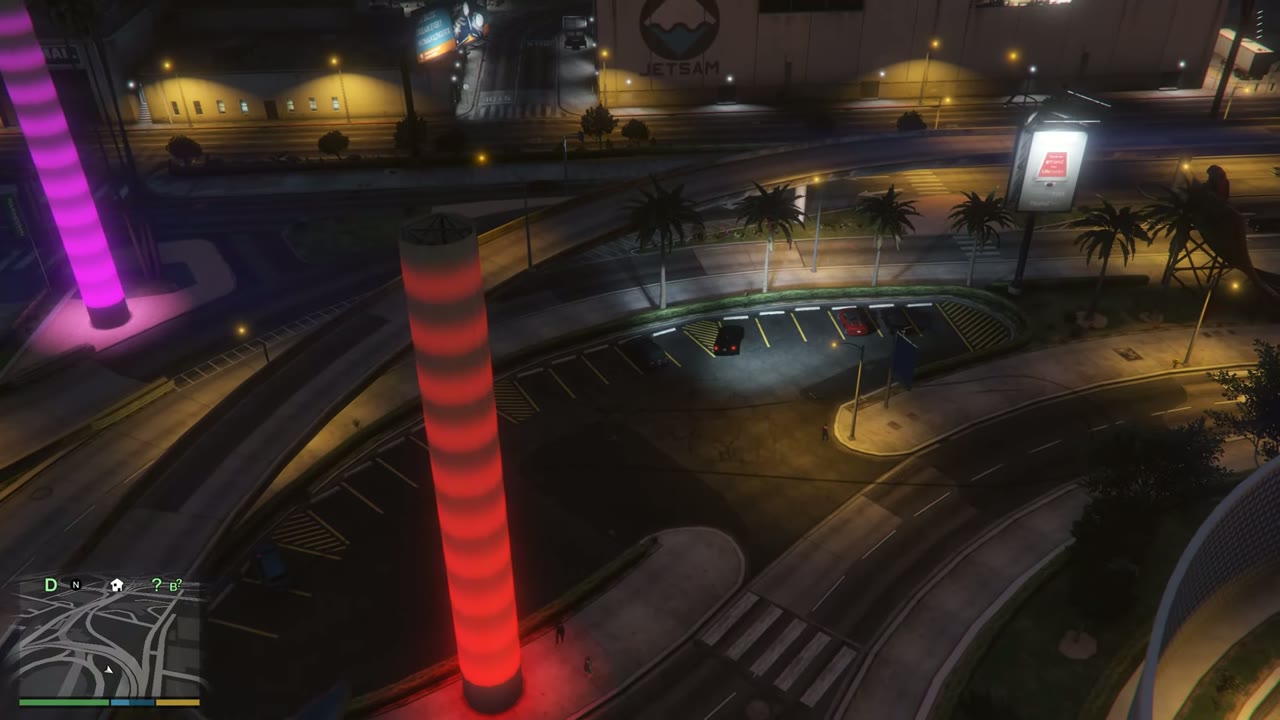
Dark coupe driving along the airport road at night, passing a lit pink tower.View over the airport parking lot and the red-banded tower from the jump.Stunt Jump Completed banner as the coupe lands on the airport road in front of the terminal.Stunt Jump 2 locationMap showing Stunt Jump 2
3 LSIA Approach: Weeny Issi advert ramp on New Empire Way, west side, heading south
Landing: Land on top of the western parking building.
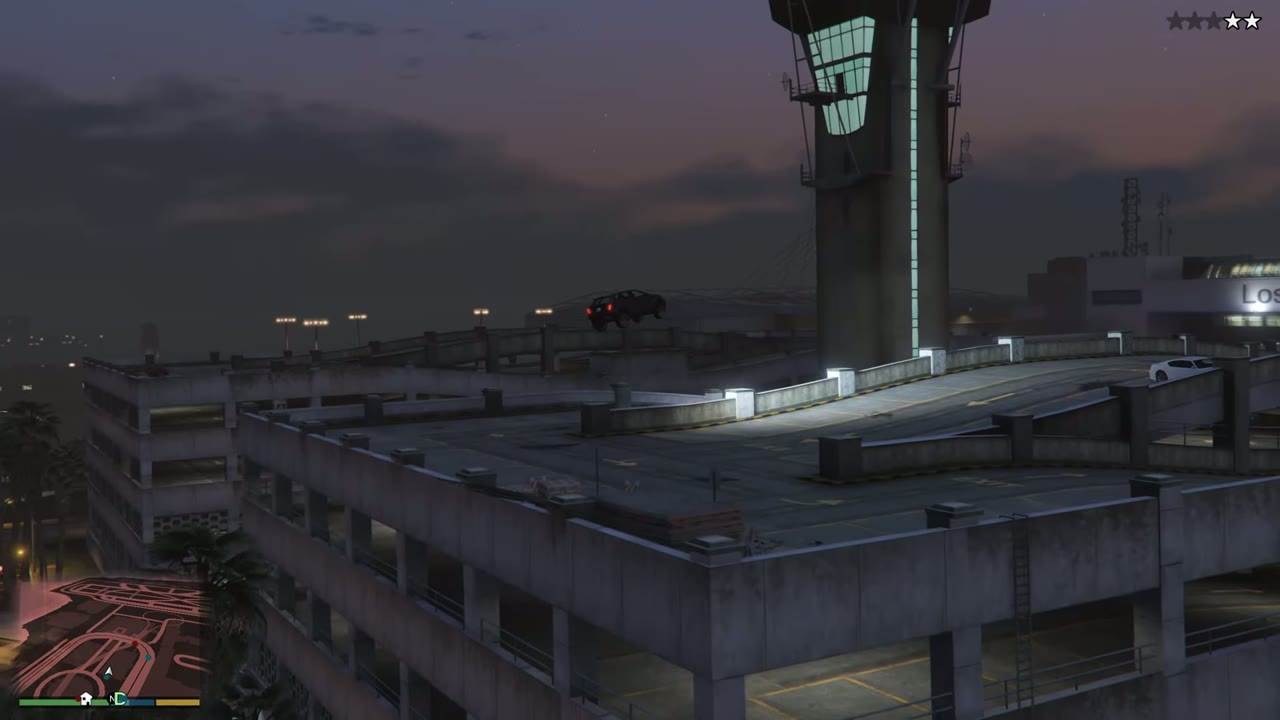
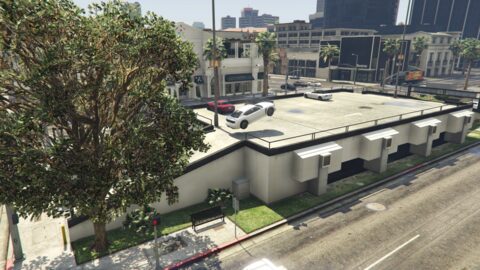
Black car airborne over an airport car park roof, with the control tower beside it.Stunt Jump Completed banner over a black car on an airport car park roof, with the airport sign behind.Stunt Jump 3 locationMap showing Stunt Jump 3
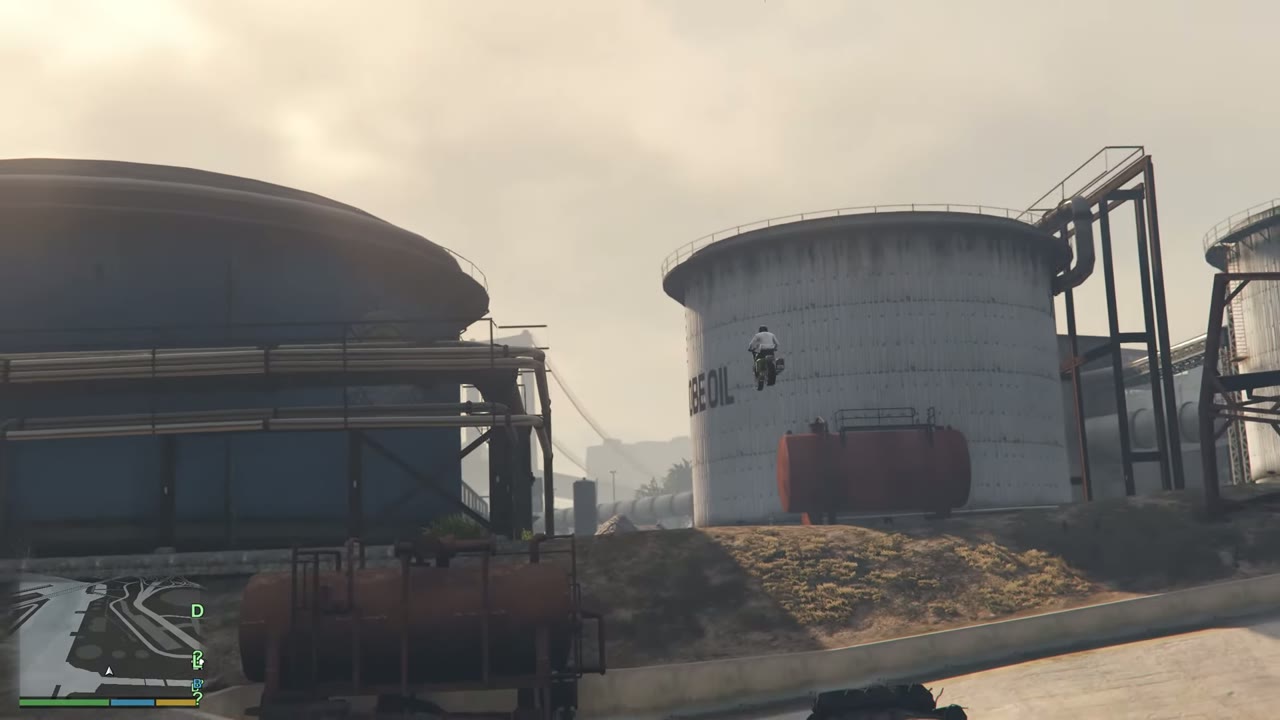
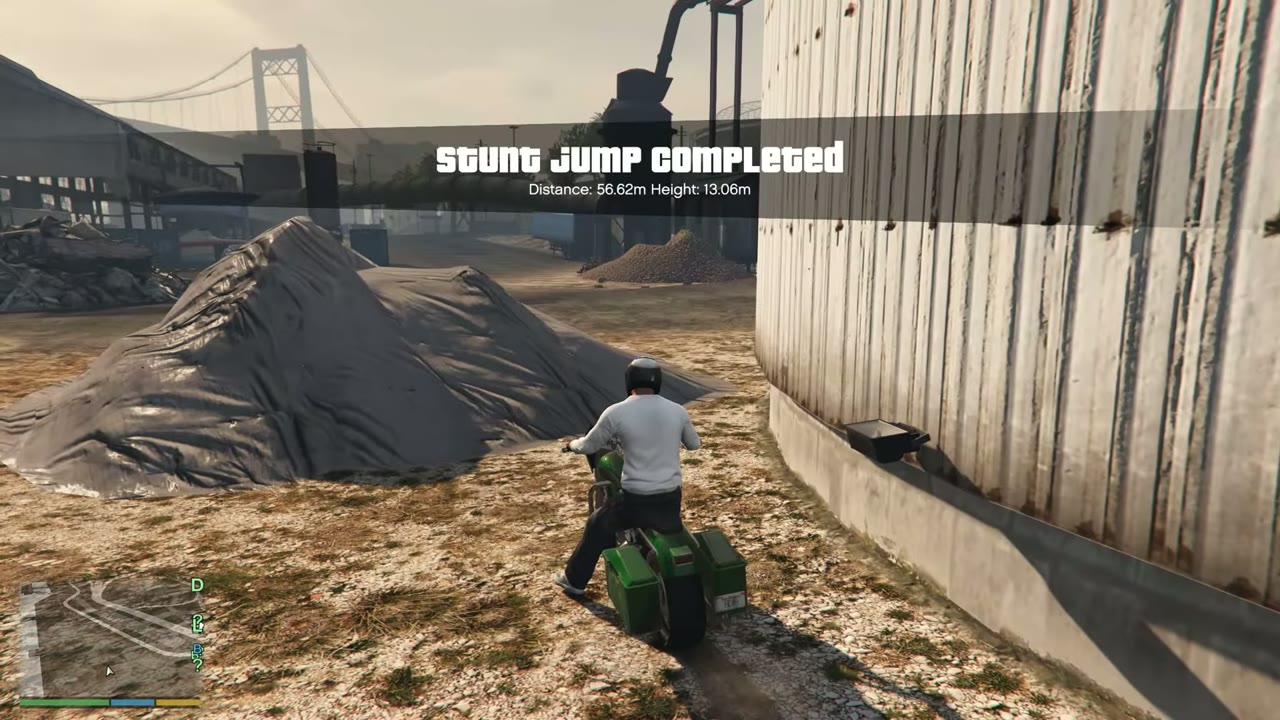
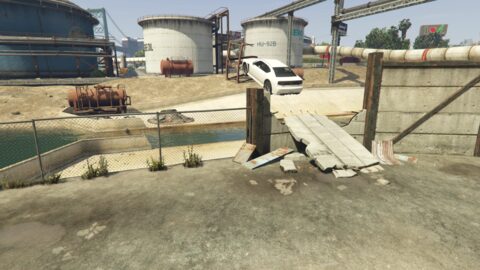
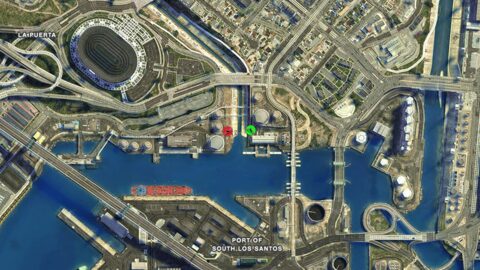
4 Banning Approach: Broken wall at the State Gas Company, south of the El Rancho Boulevard Bridge, heading west
Landing: Cross the mouth of the storm drain and land on the dirt bank.
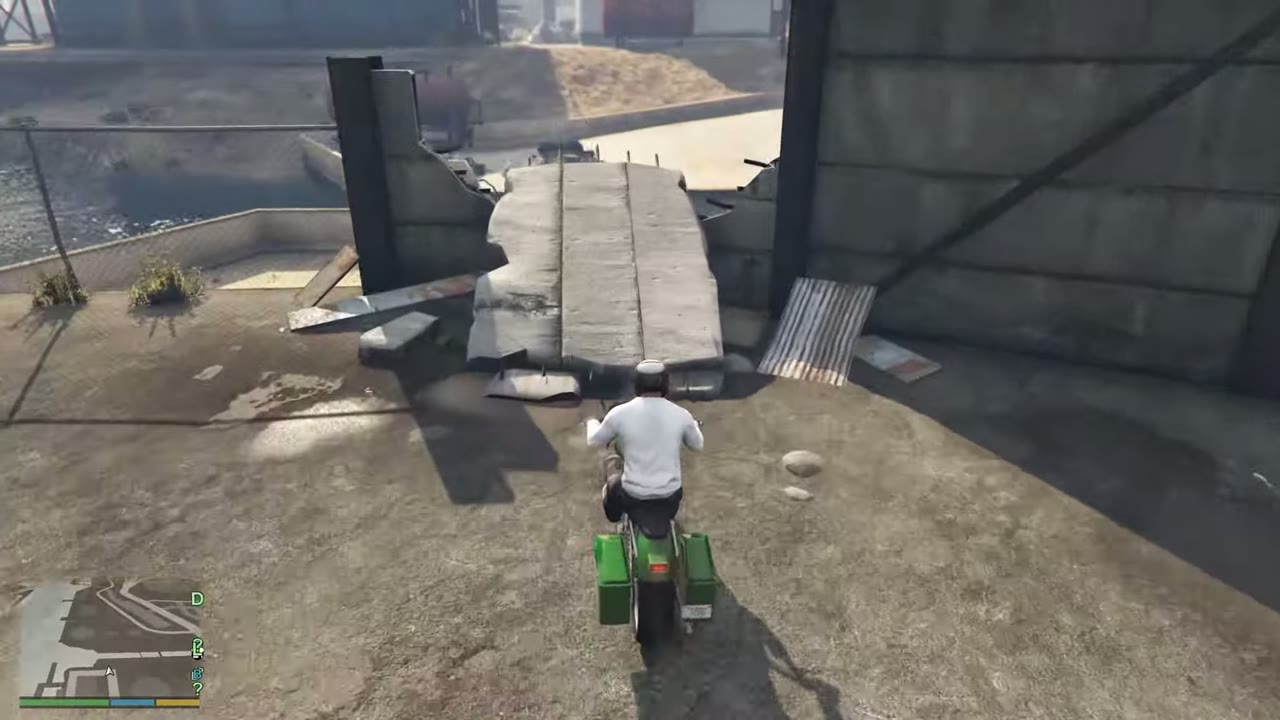
A motorbike lines up on a broken concrete wall ramp beside a storm drain at the gas company yard.The motorbike soars past a white gas storage tank above the storm drain.The motorbike lands on the dirt bank beside a tarp-covered pile, 56.62 metres on the notice.Stunt Jump 4 locationMap showing Stunt Jump 4
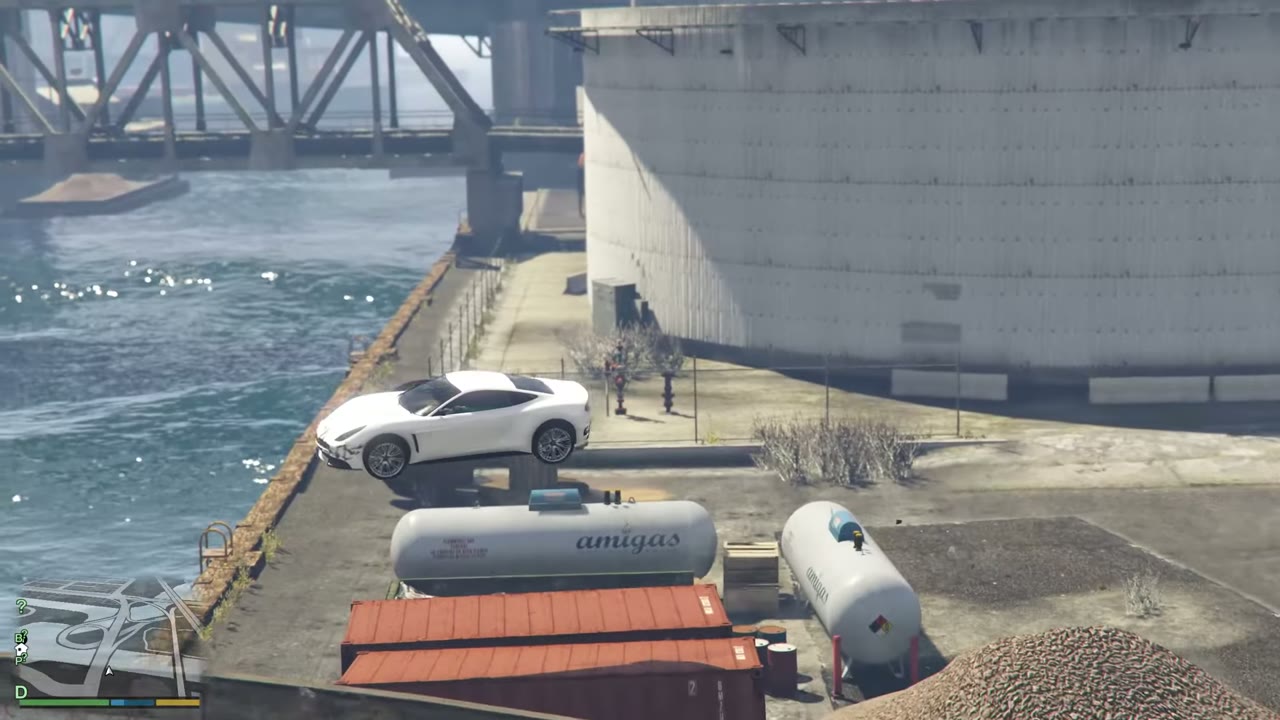
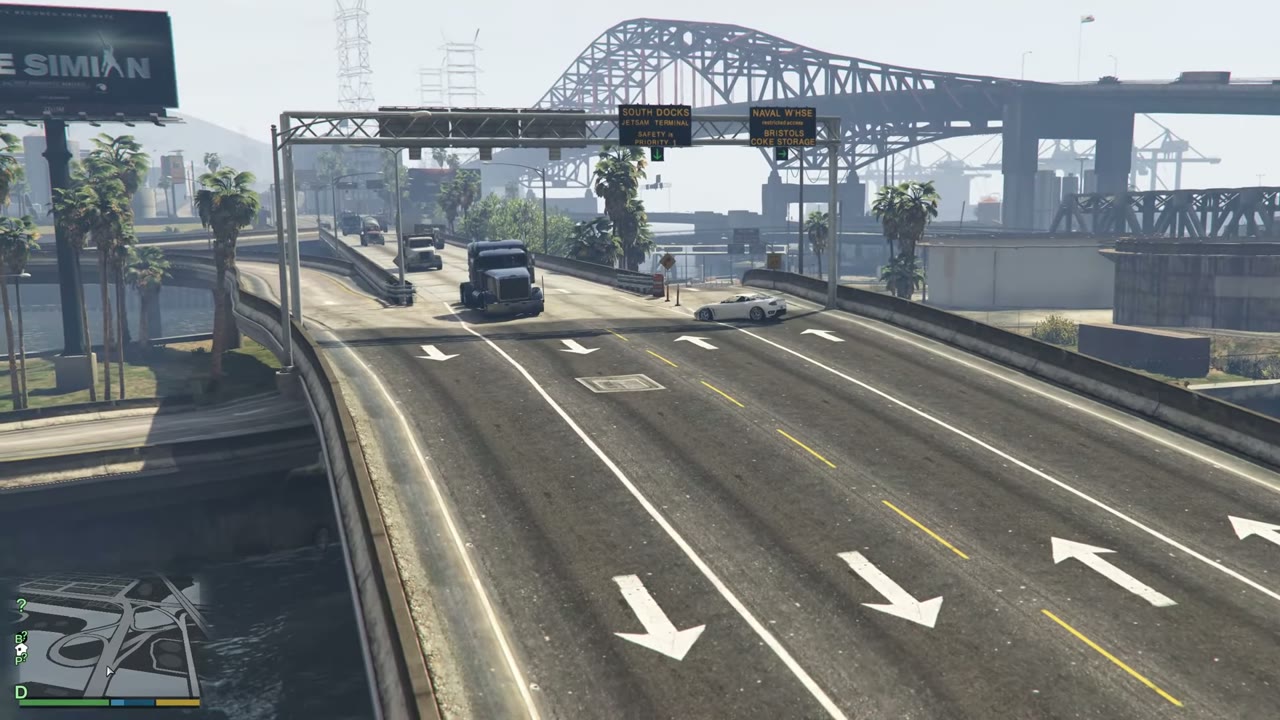
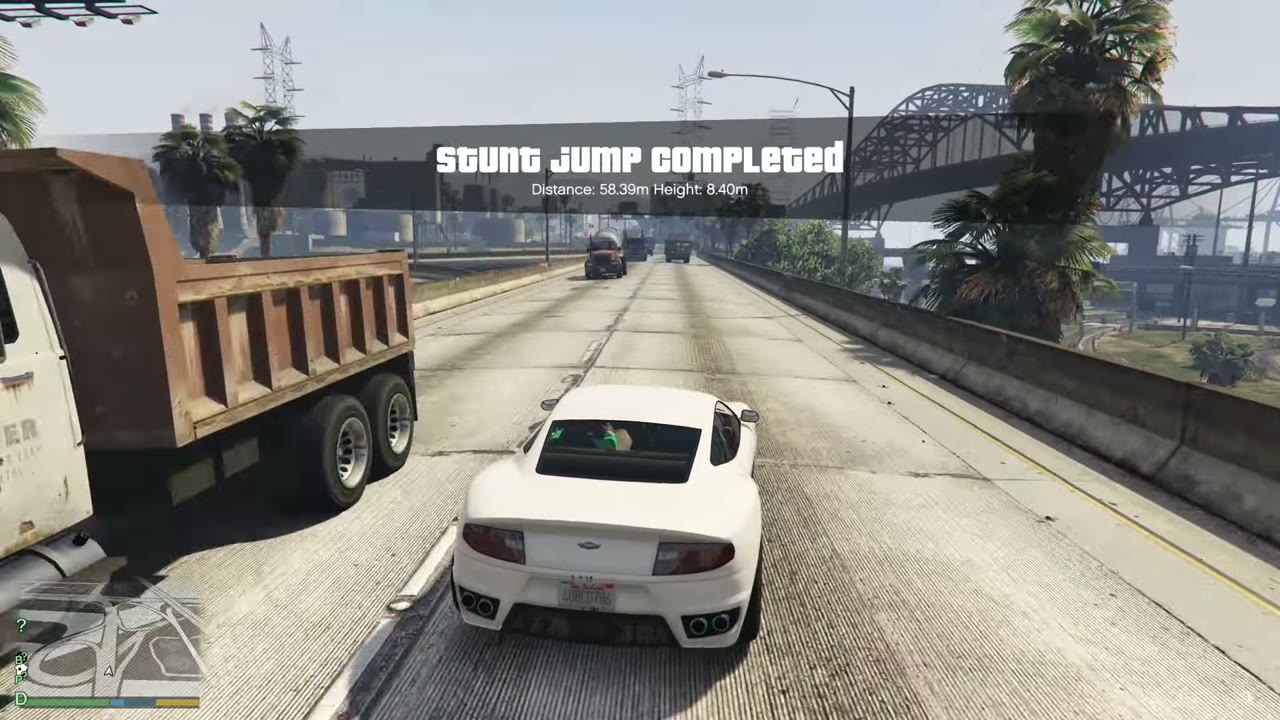
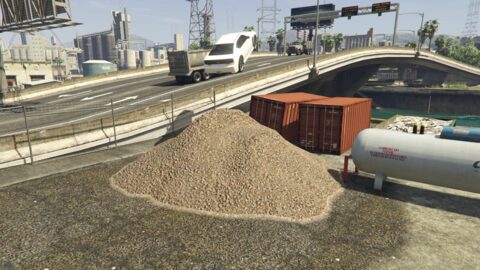
5 Elysian Island Approach: Dirt pile south of the Chum Street bridge, heading east
Landing: Land on Chum Street.
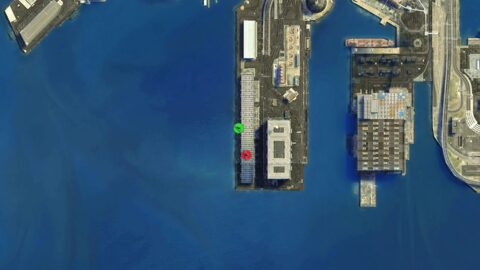
The car flies over orange containers and gas tanks beside the water with a gravel pile below.The car lands on the raised road beneath signs for the Naval Warehouse and Bristols Coke Storage.The Stunt Jump Completed notice shows 58.39 metres as the car drives on beside a dump truck.Stunt Jump 5 locationMap showing Stunt Jump 5
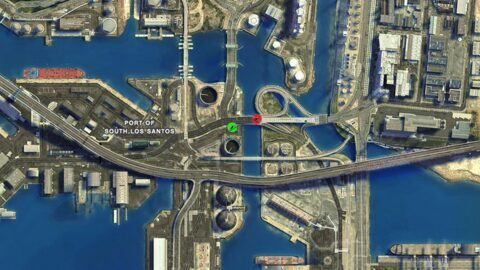
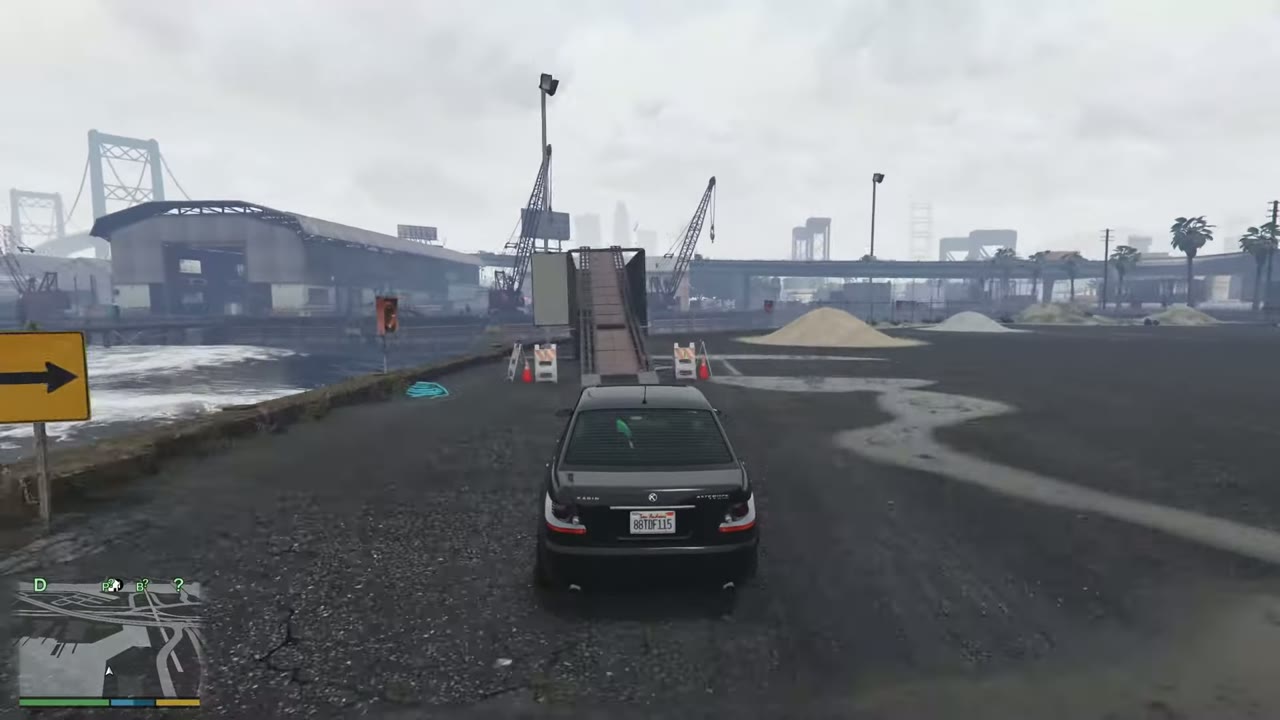
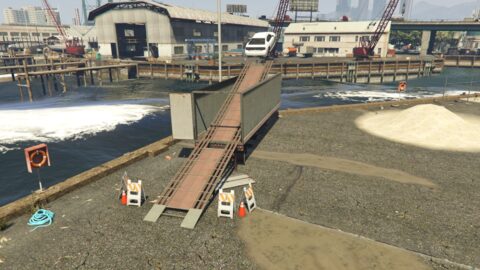
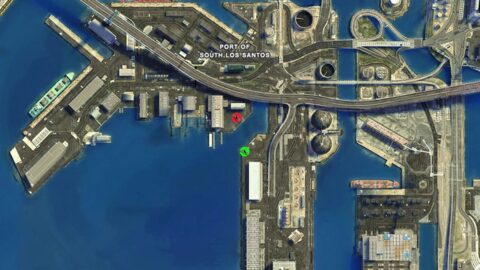
6 Elysian Island Approach: Trailer ramp at the dock edge west of Signal Street, heading north
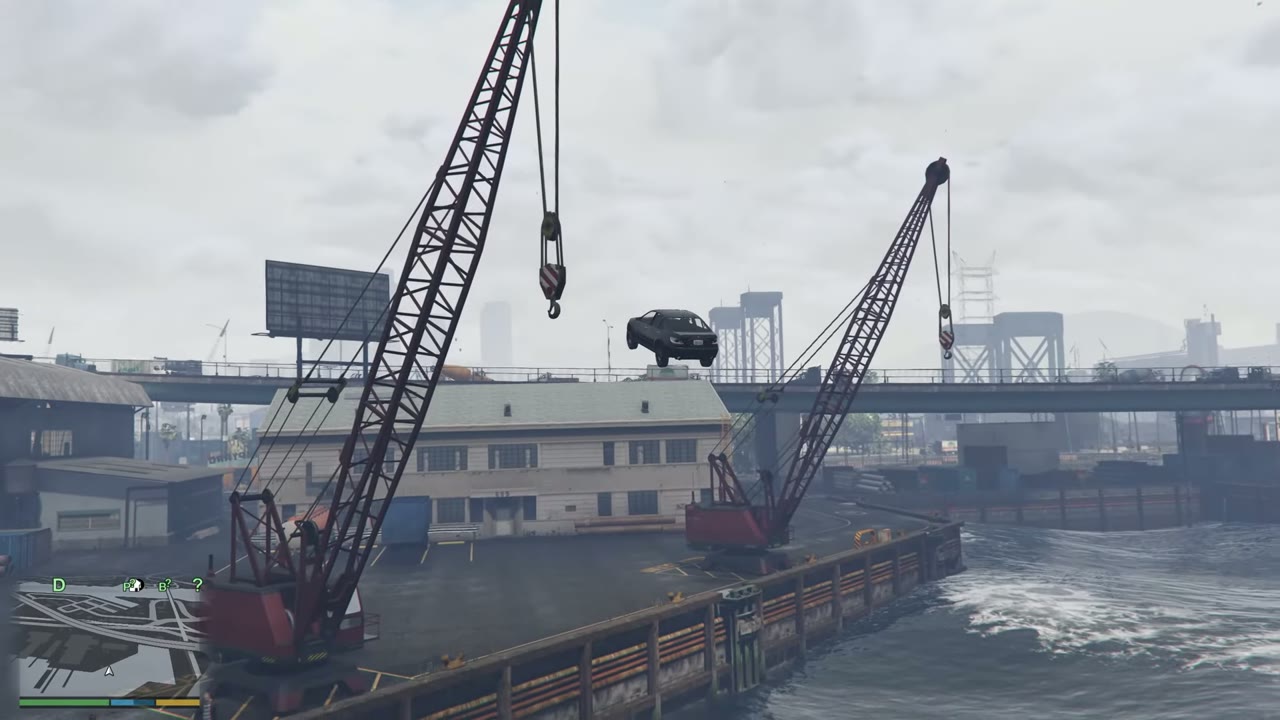
Landing: Cross the water and land between the cranes.
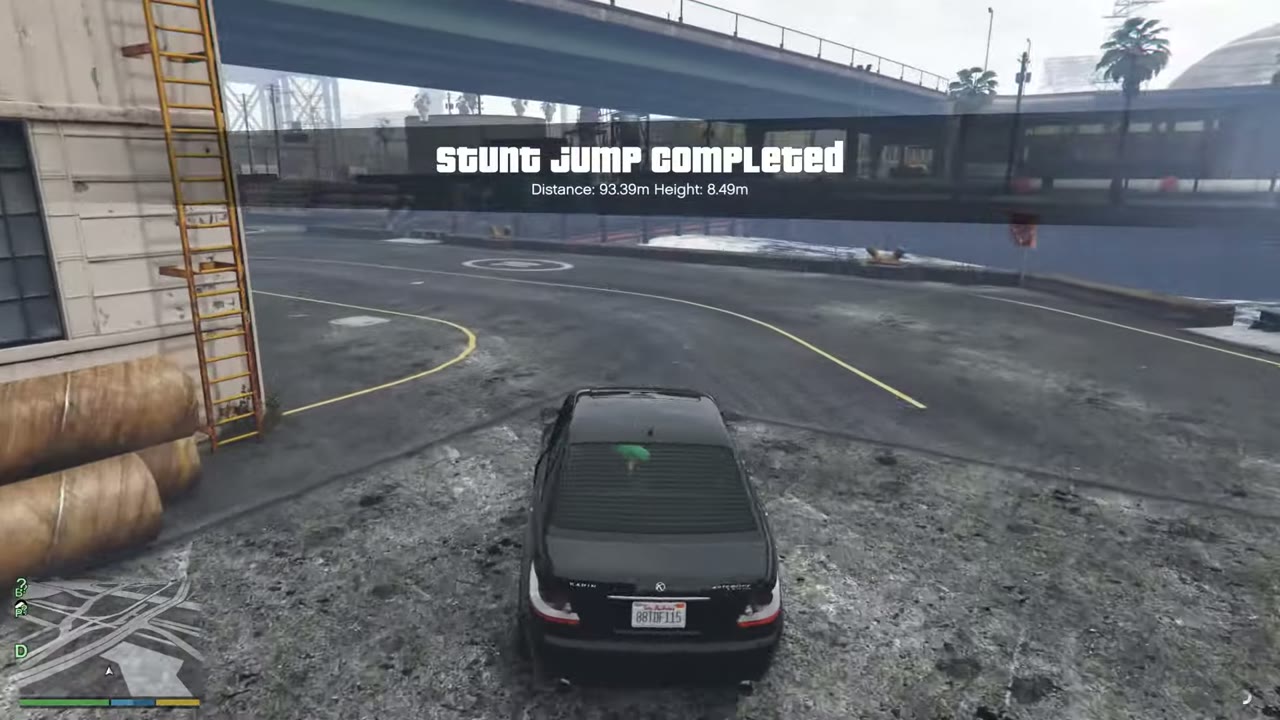
Black sedan lined up with a trailer ramp at the dock edge on Elysian Island, water to the left.Black sedan flies over the water between two red cranes.Stunt Jump Completed banner as the sedan lands on the dock road under the overpass.Stunt Jump 6 locationMap showing Stunt Jump 6
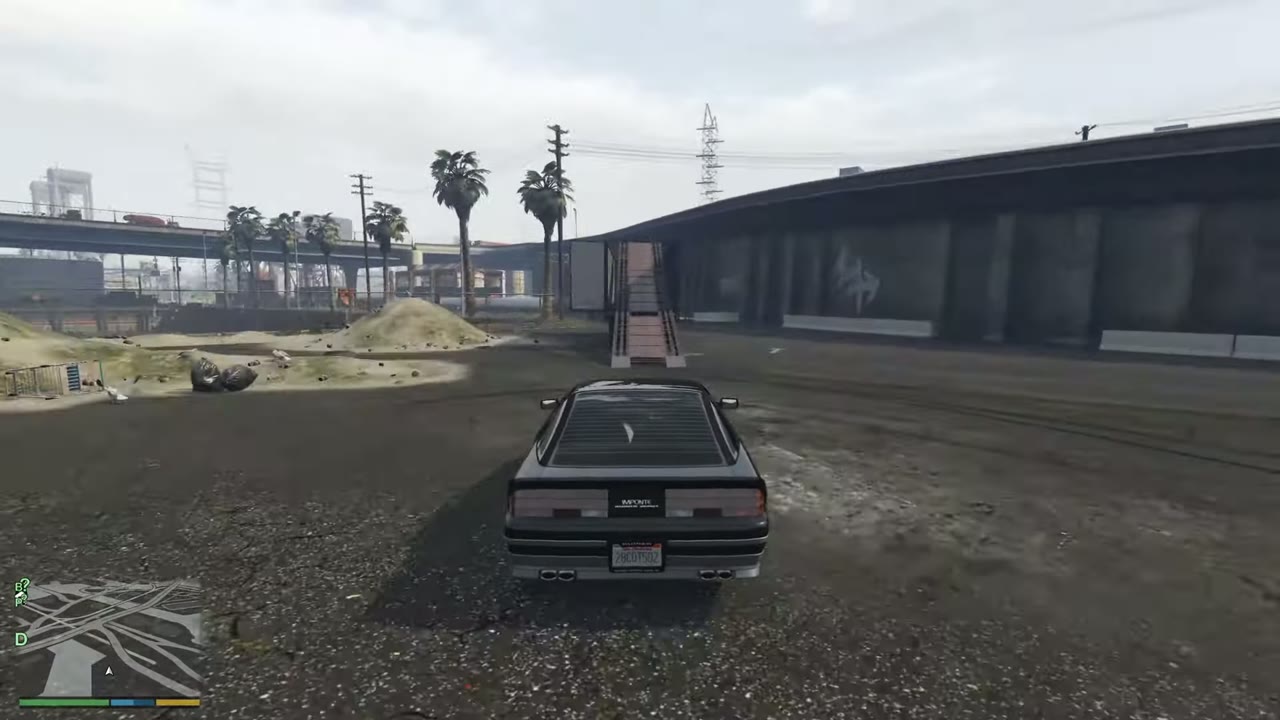
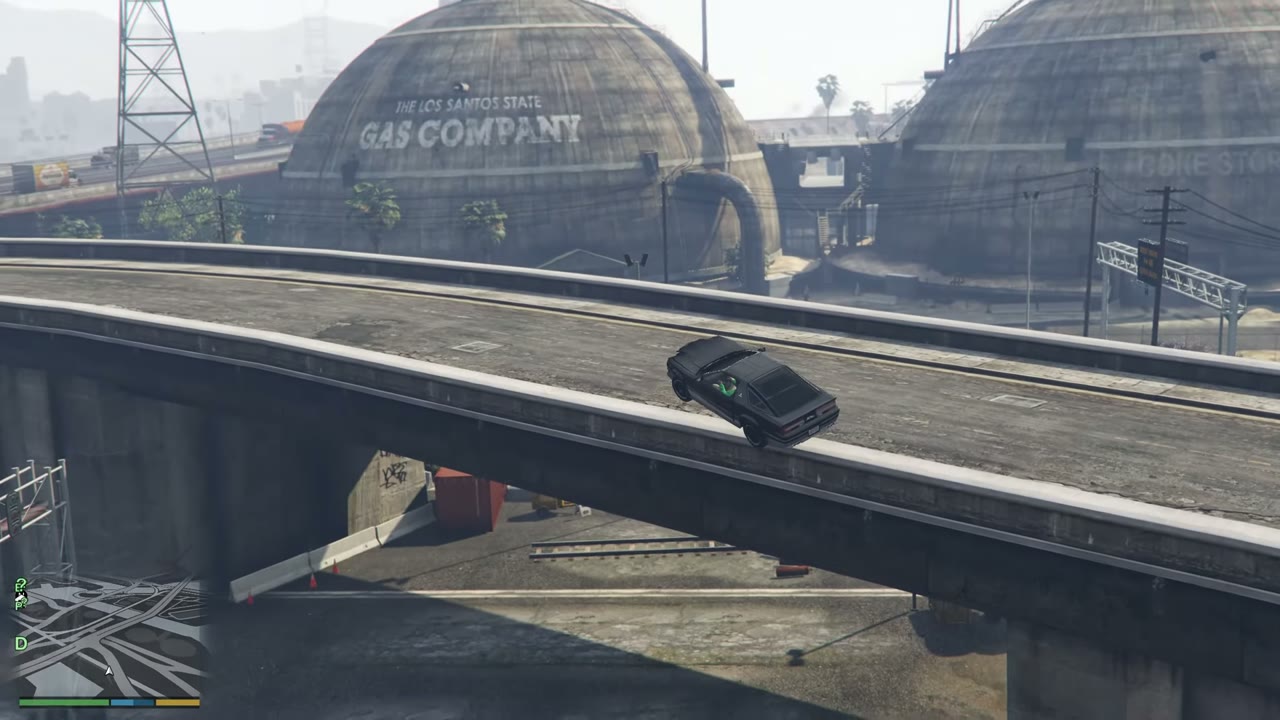
7 Elysian Island Approach: Trailer ramp just west of Signal Street, heading north
Landing: Land on Signal Street.
Black sports car faces a trailer ramp beside a concrete wall and palm trees on Elysian Island.Black sports car sails past the Gas Company domes above the raised road.Stunt Jump Completed banner as the car lands on the raised road beside the barrier.Stunt Jump 7 locationMap showing Stunt Jump 7
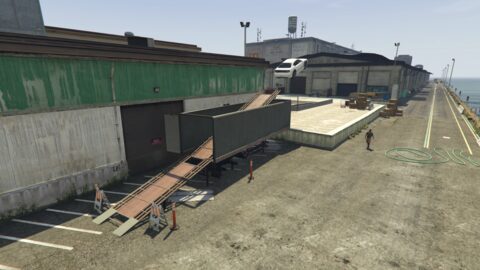
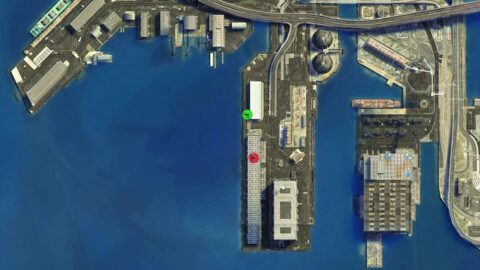
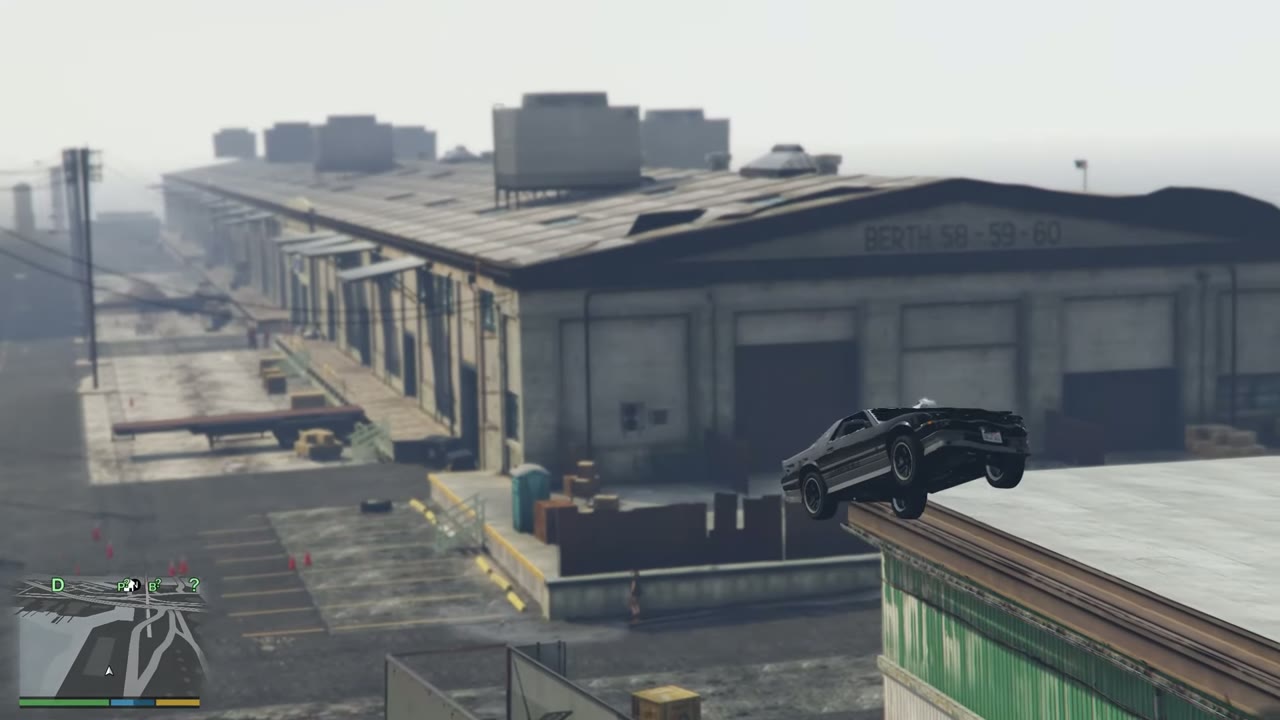
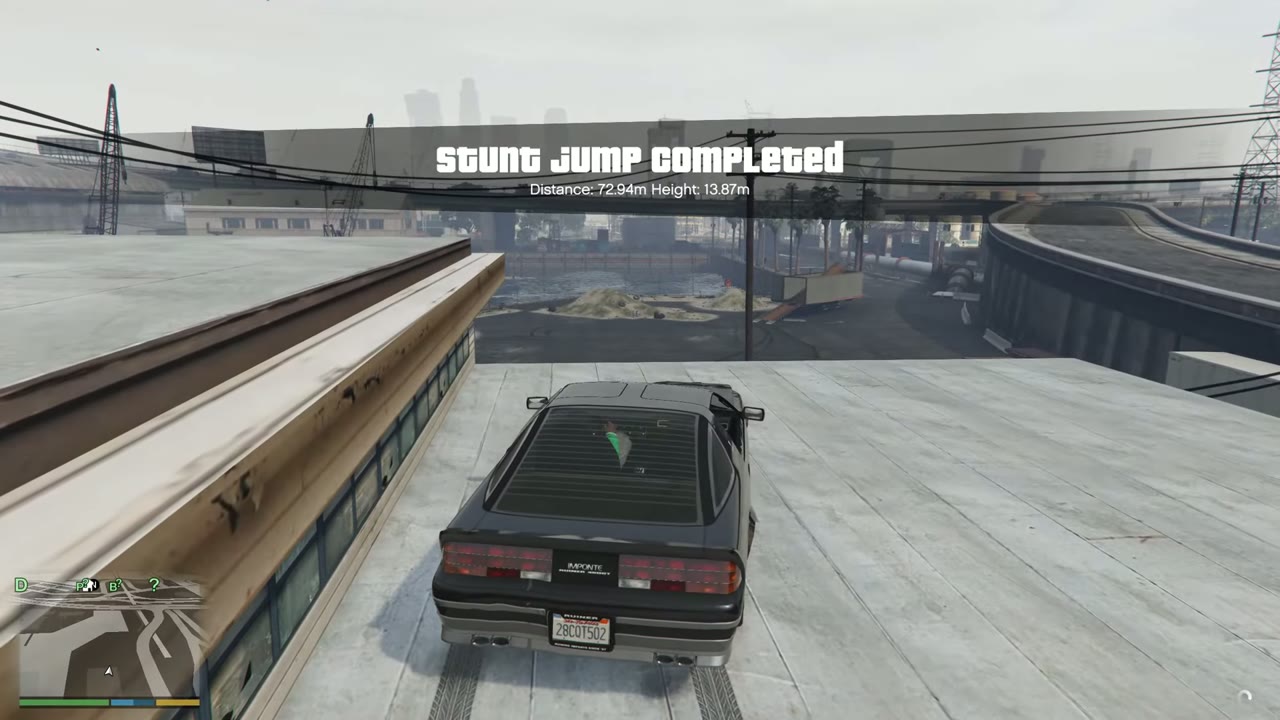
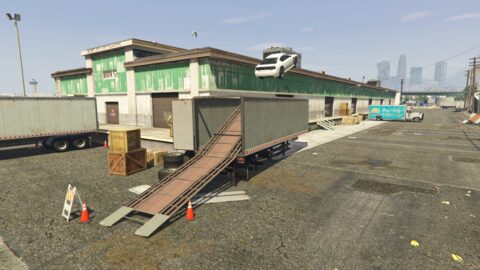
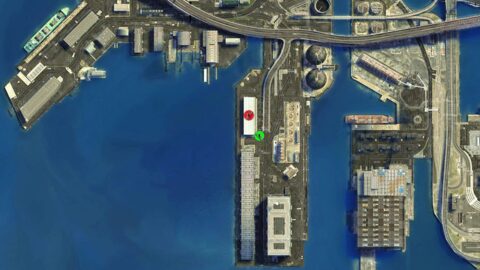
8 Elysian Island Approach: Trailer ramp at the southwest corner of the Berth 57 building, heading south
Landing: Land on the Berth 58-59-60 roof.
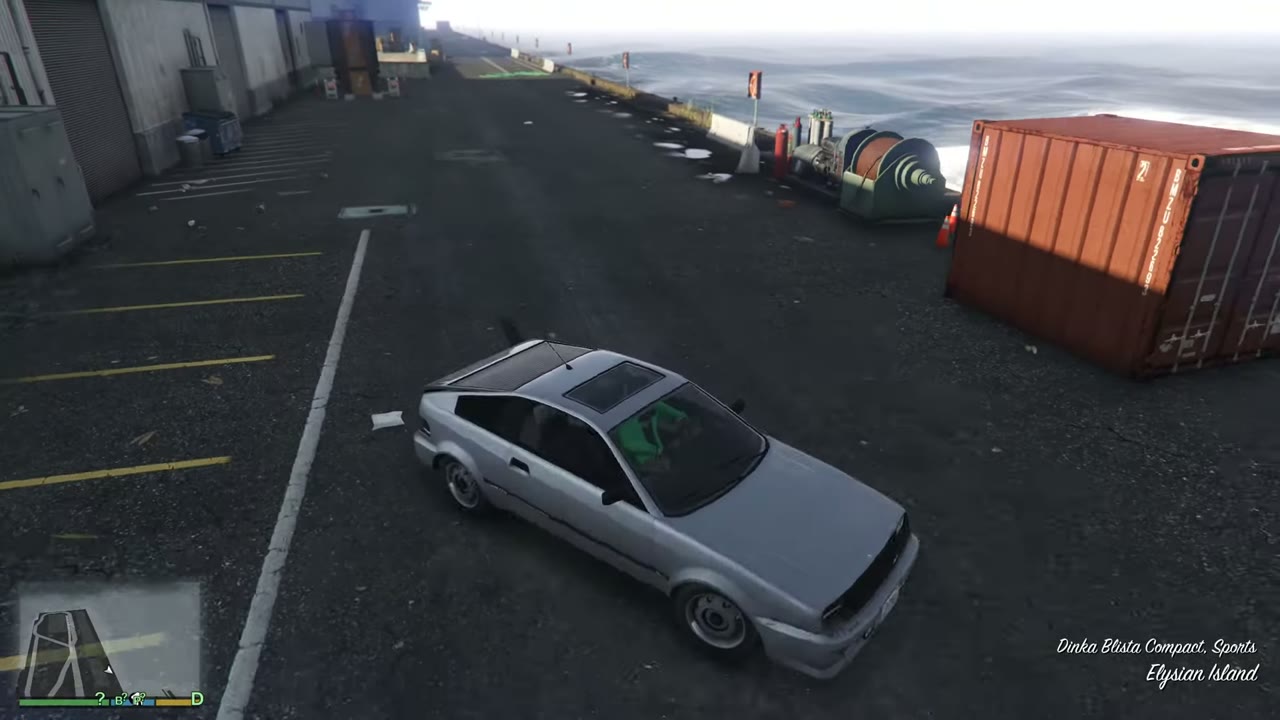
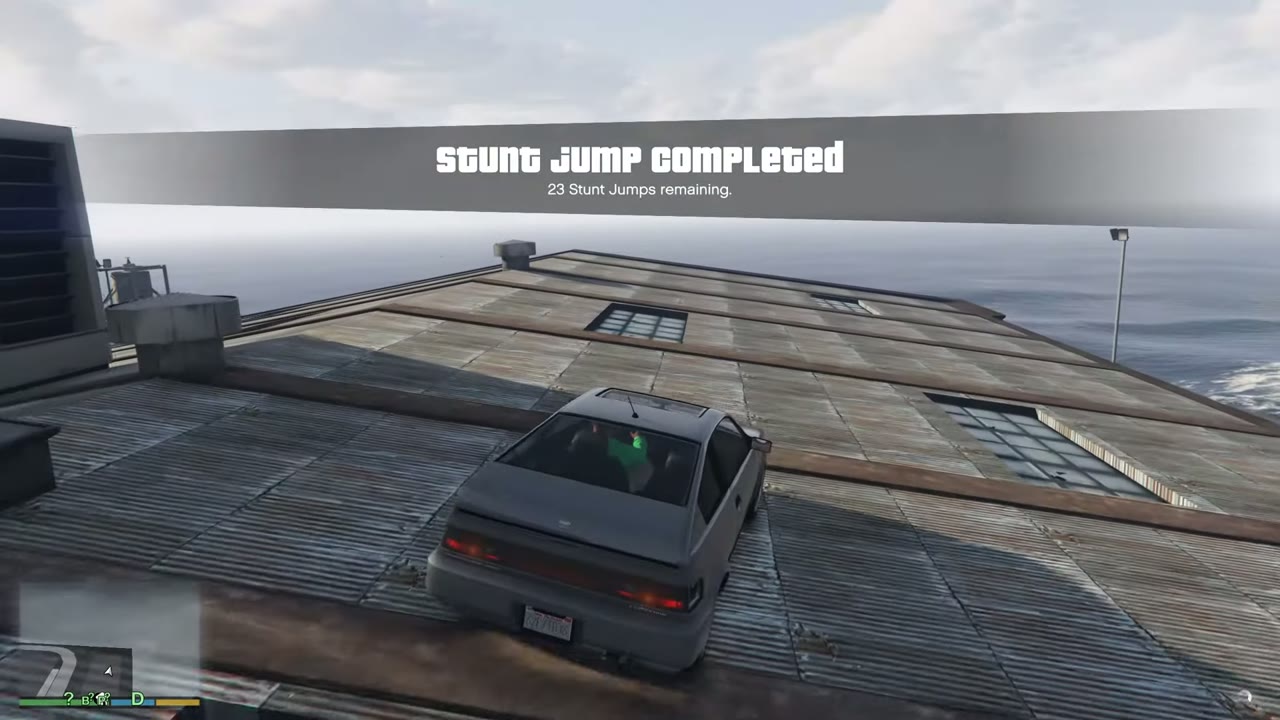
Silver compact on the dock road on Elysian Island with a container and the sea to the right.Stunt Jump Completed banner as the car lands on the corrugated Berth 58-59-60 roof.Stunt Jump 8 locationMap showing Stunt Jump 8
9 Elysian Island Approach: Trailer ramp at the southeast corner of the Berth 57 building, heading north
Landing: Land on the Berth 57 roof.
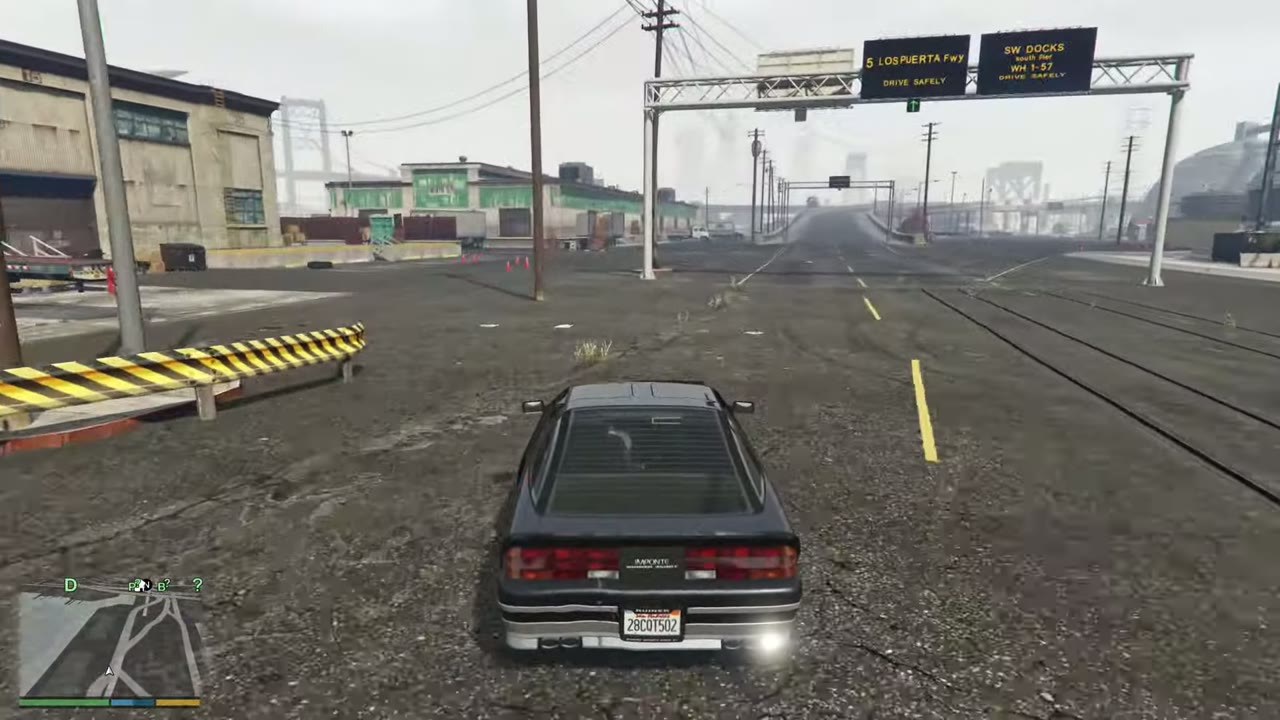
Black sports car on the port road under a sign gantry, heading toward the Berth 57 building.Black sports car in the air above the Berth 57 roof, with the Berth 58-59-60 sign behind.Stunt Jump Completed banner as the car lands on the flat Berth 57 roof.Stunt Jump 9 locationMap showing Stunt Jump 9
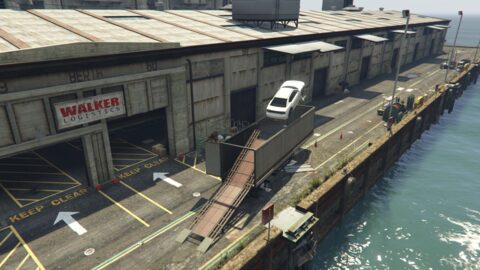
10 Elysian Island Approach: Trailer ramp at the dock edge west of the Berth 60 building, heading south
Landing: Land on the Berth 58-59-60 roof.
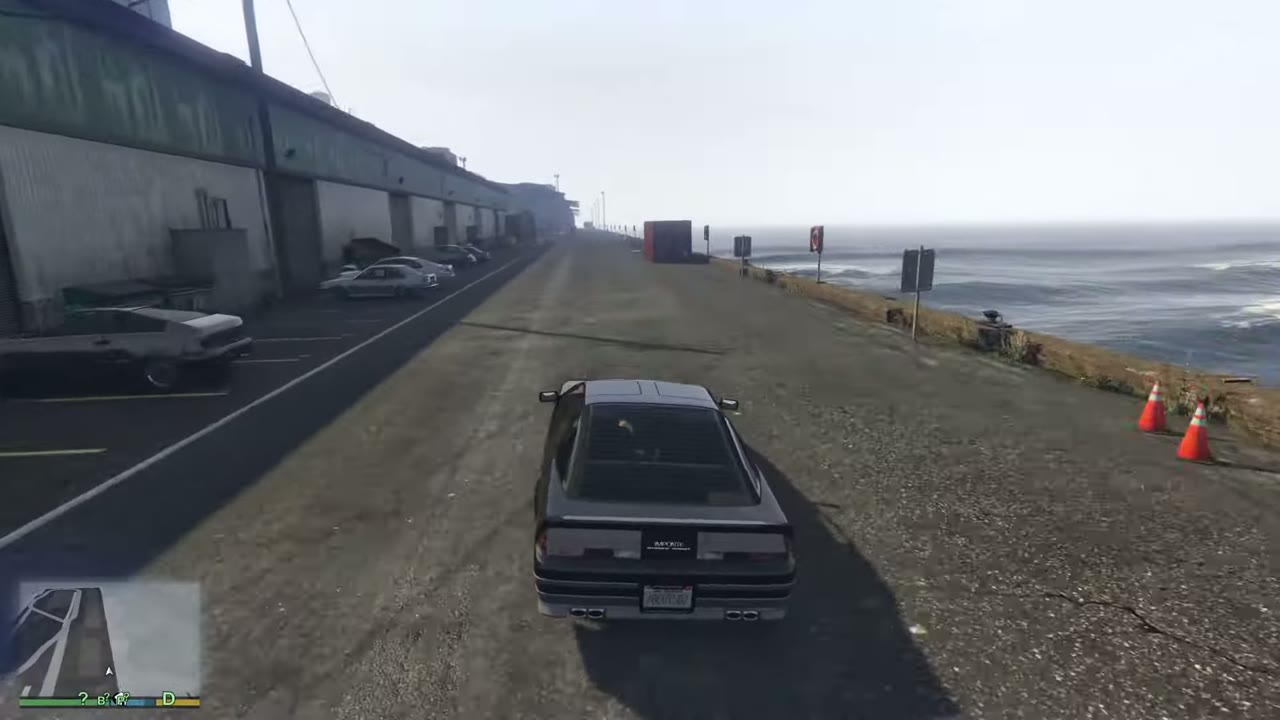
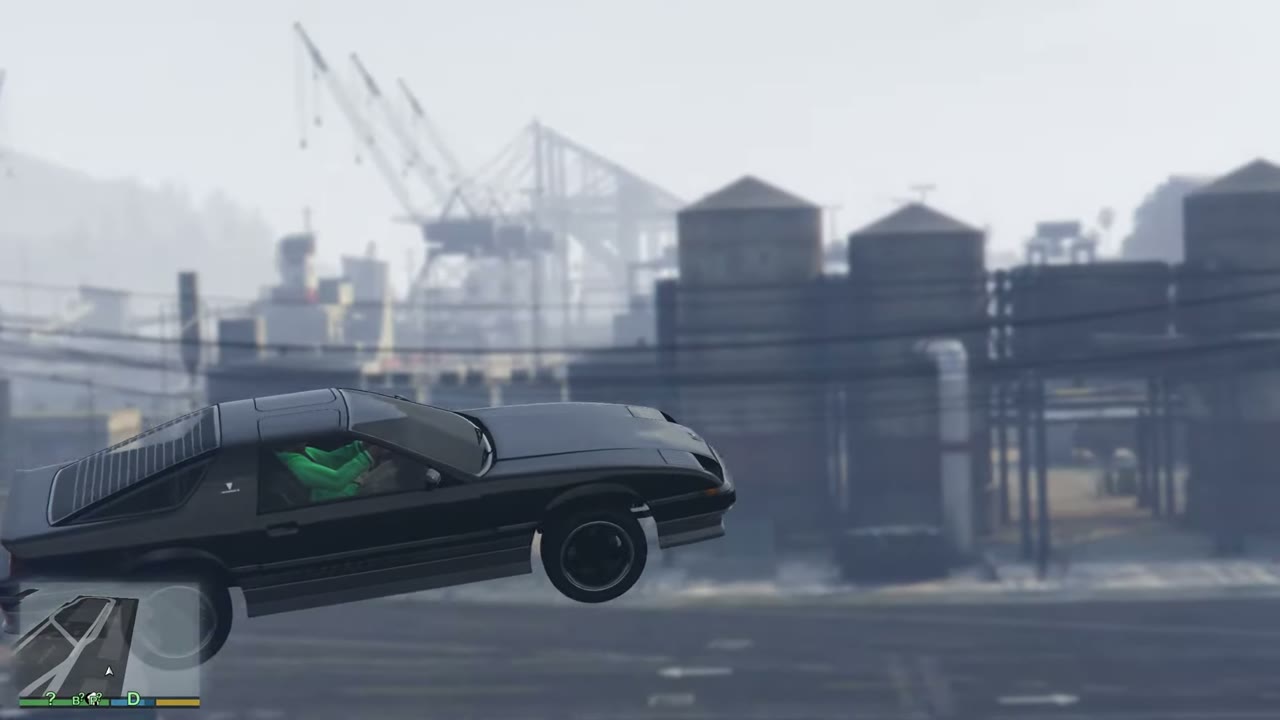
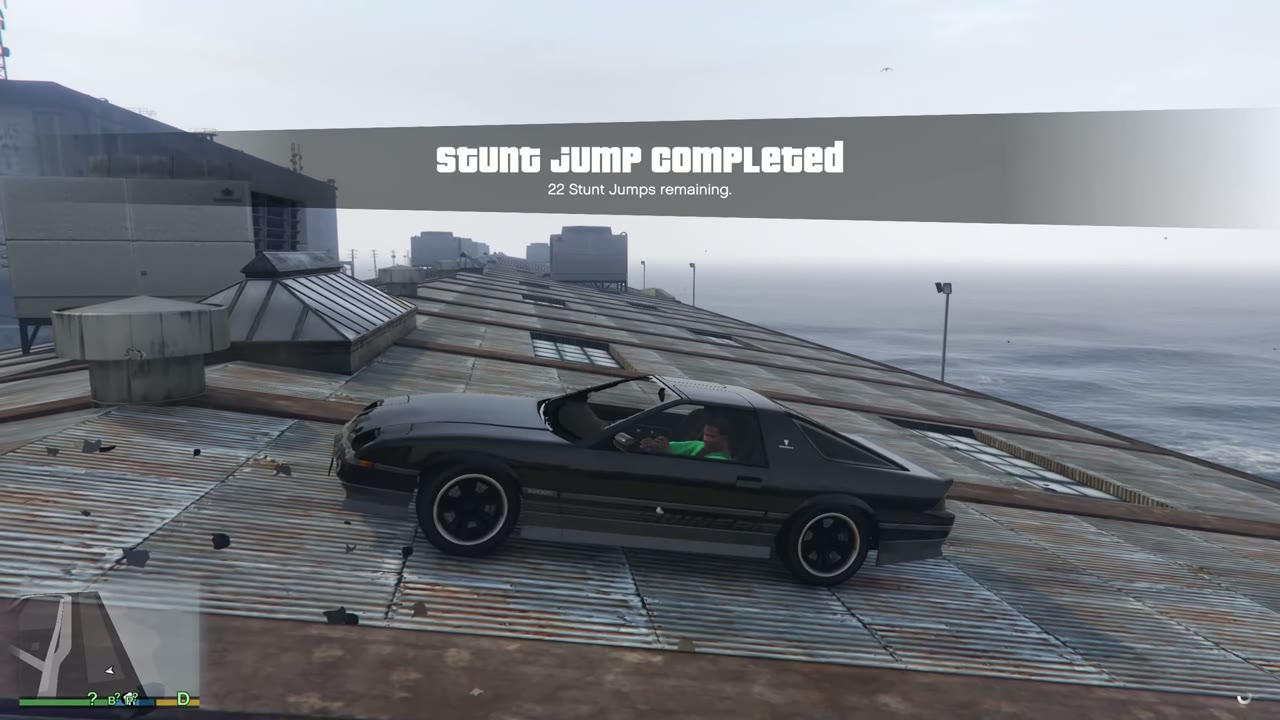
Black sports car on the dock edge road beside the sea, with traffic cones ahead.Black sports car airborne with port water towers and cranes behind it.Stunt Jump Completed banner as the car lands on the corrugated Berth 58-59-60 roof.Stunt Jump 10 locationMap showing Stunt Jump 10
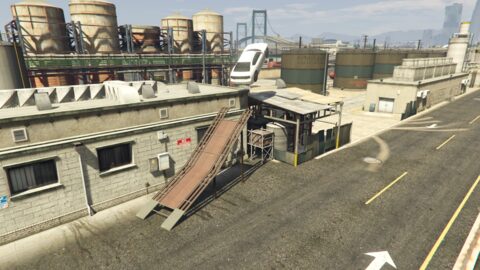
11 Elysian Island Approach: Trailer ramp on the east side of Voodoo Place, heading north
Landing: Land close to the petrol silos.
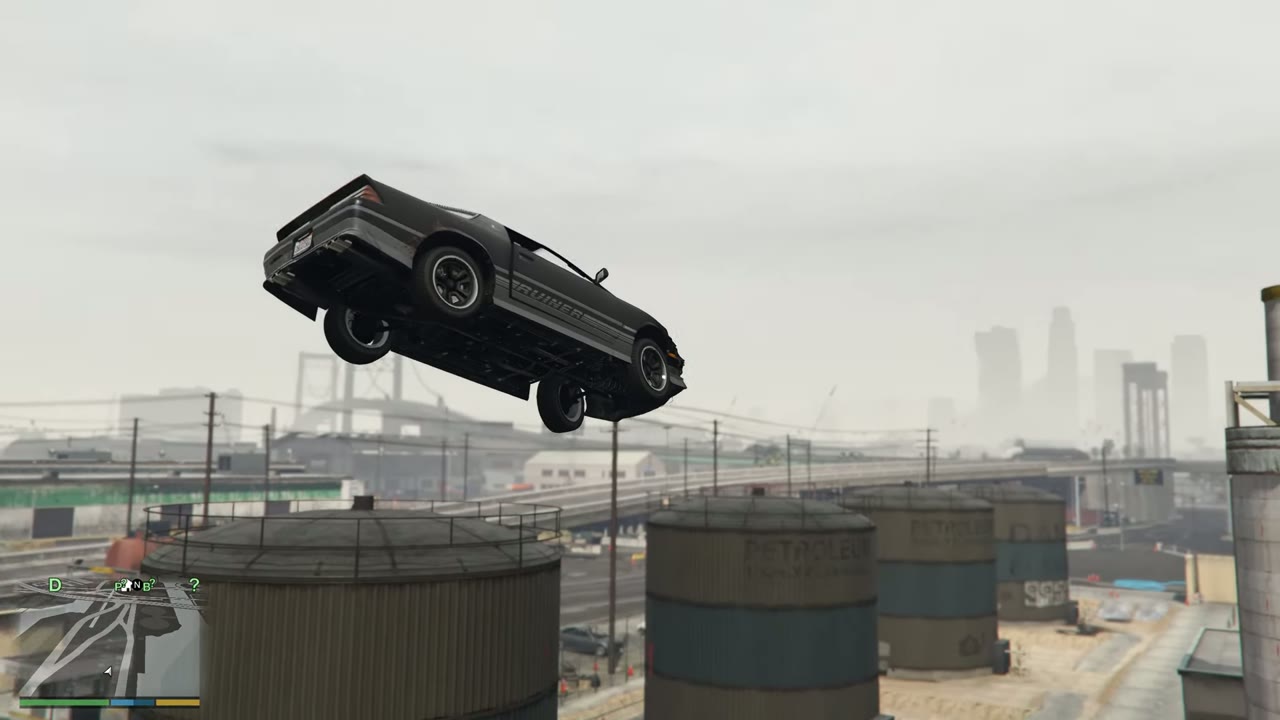
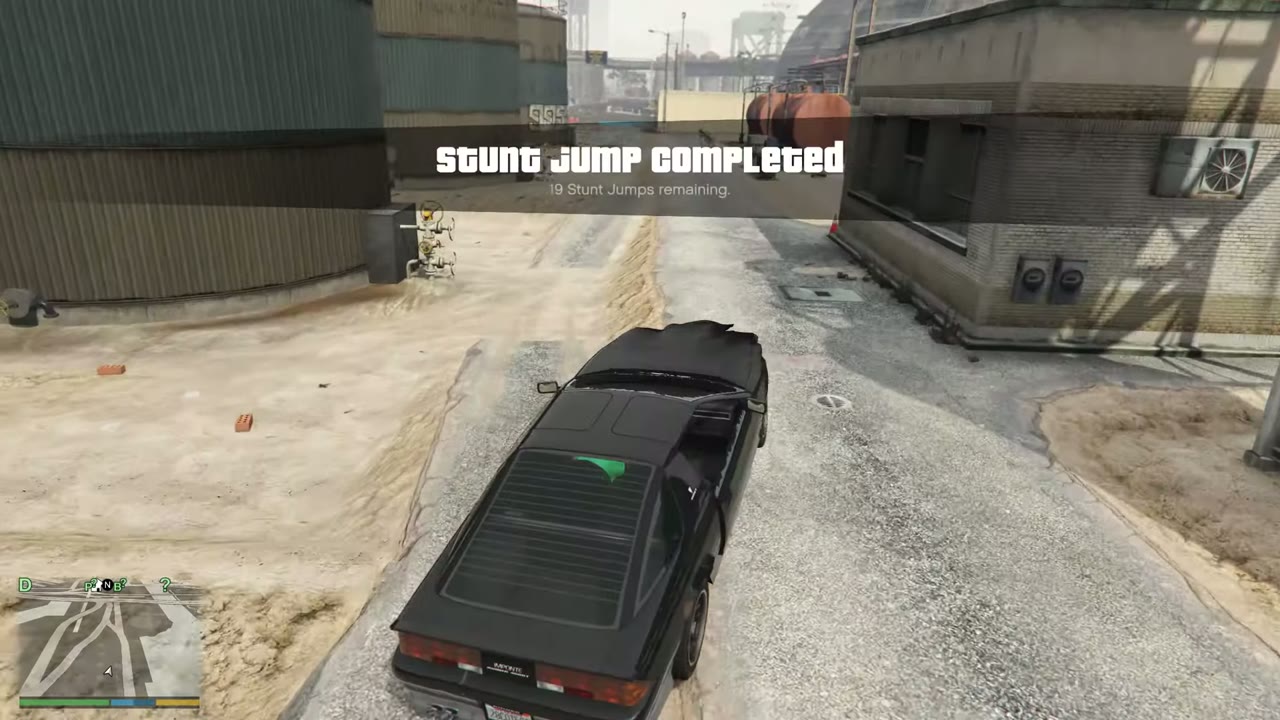
Grey muscle car in mid-air above a row of petroleum storage tanks.Stunt Jump Completed banner over a black car on a road beside the storage tanks and a brick building.Stunt Jump 11 locationMap showing Stunt Jump 11
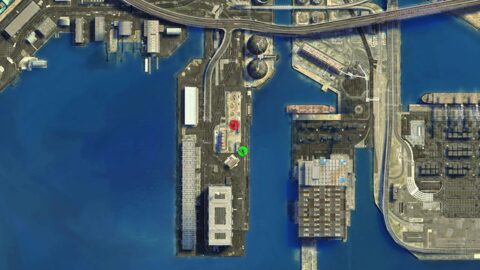
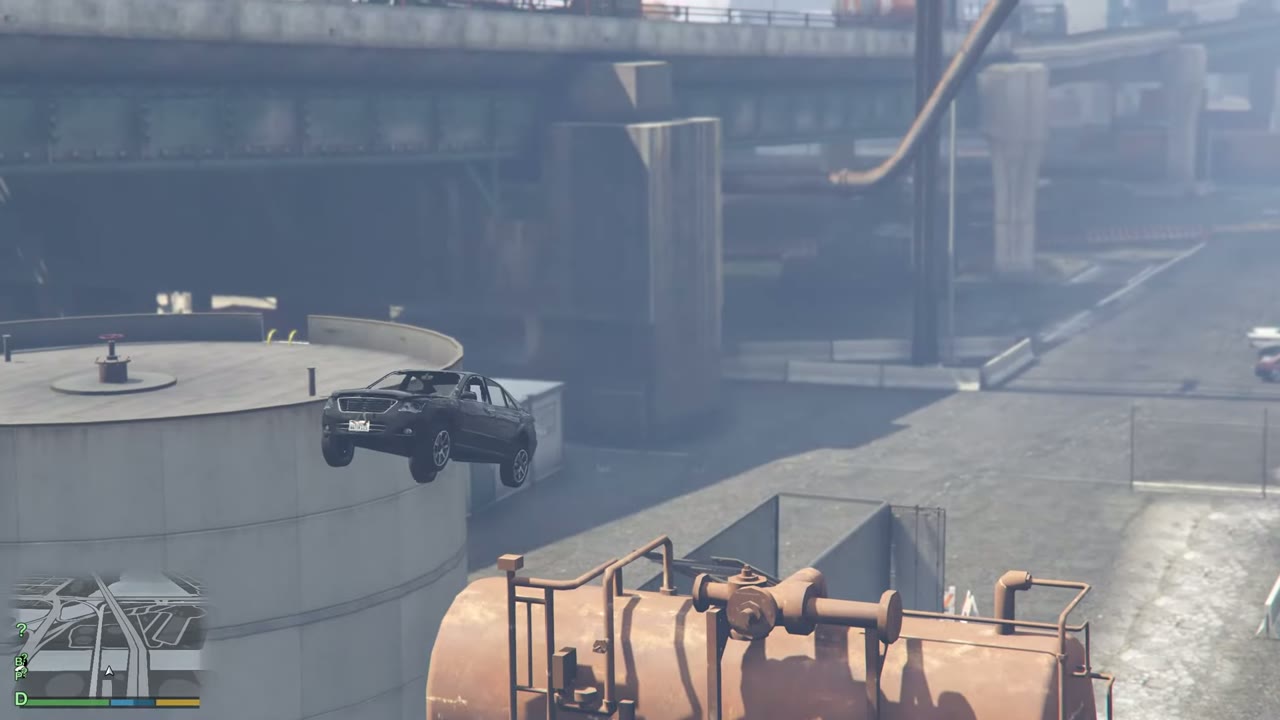
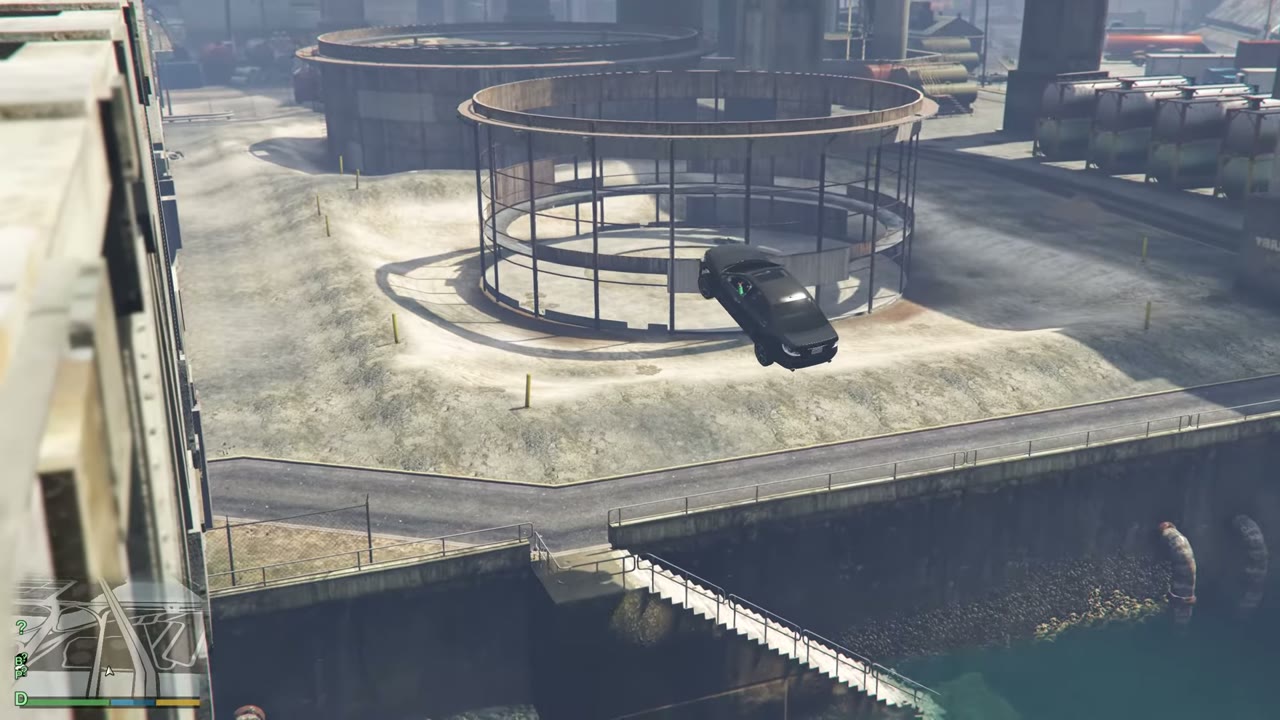
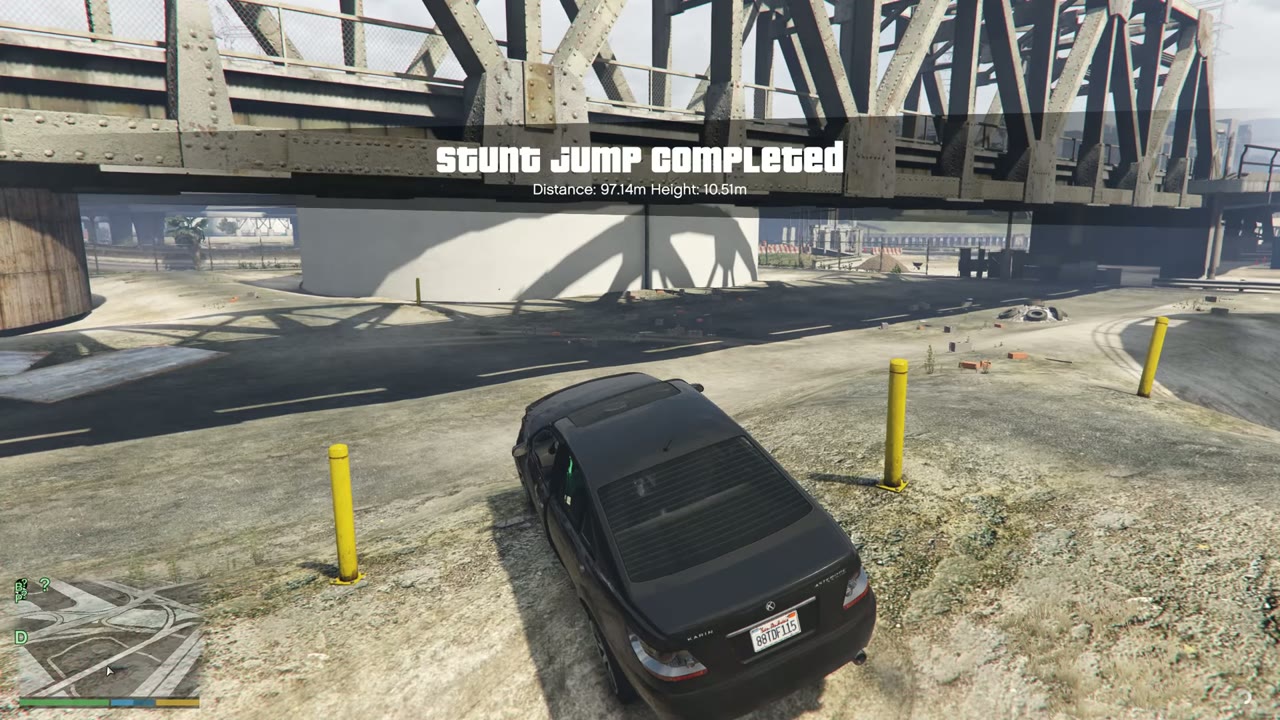
12 Elysian Island Approach: Trailer ramp at Bristols Coke Storage, north of the Elysian Fields Freeway, heading east
Landing: Cross the water to the gas storage area.
Black sedan flies over a storage tank and a rusty tank car at the gas storage area.Black sedan crosses above the dirt ground beside a circular steel cage at the gas storage area.Stunt Jump Completed banner as the sedan lands on dirt under a steel girder bridge.Stunt Jump 12 locationMap showing Stunt Jump 12
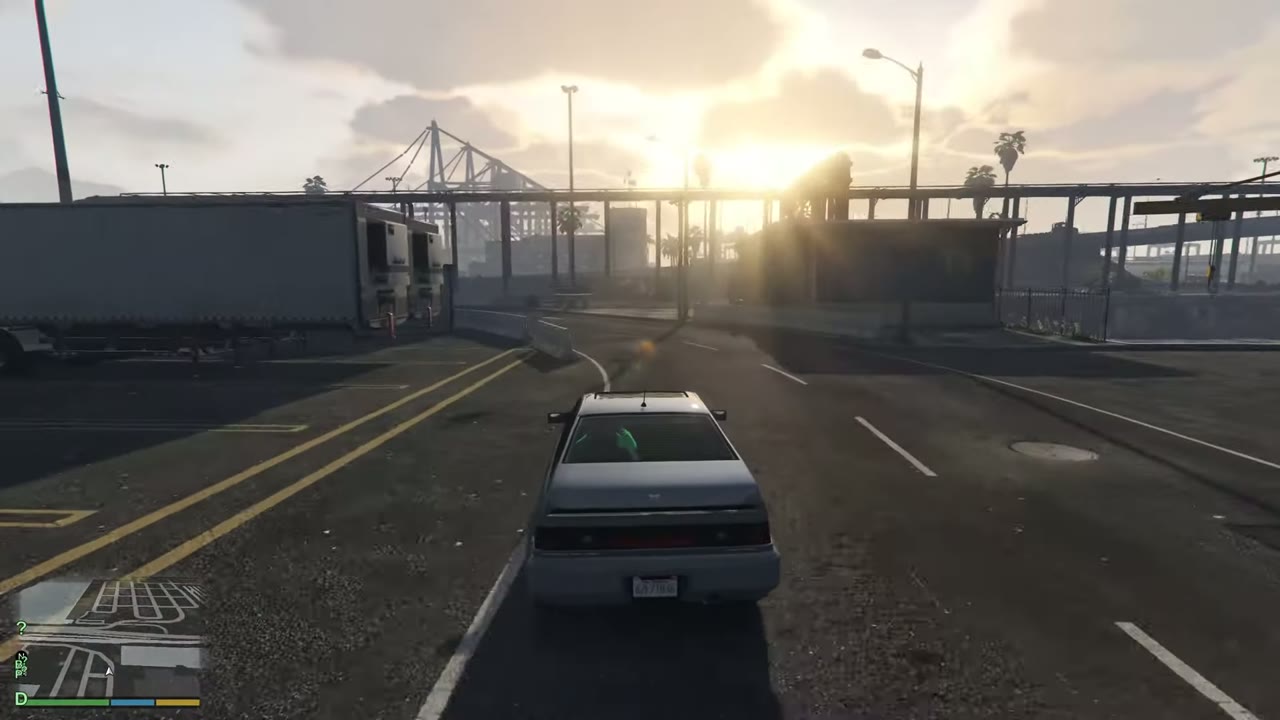
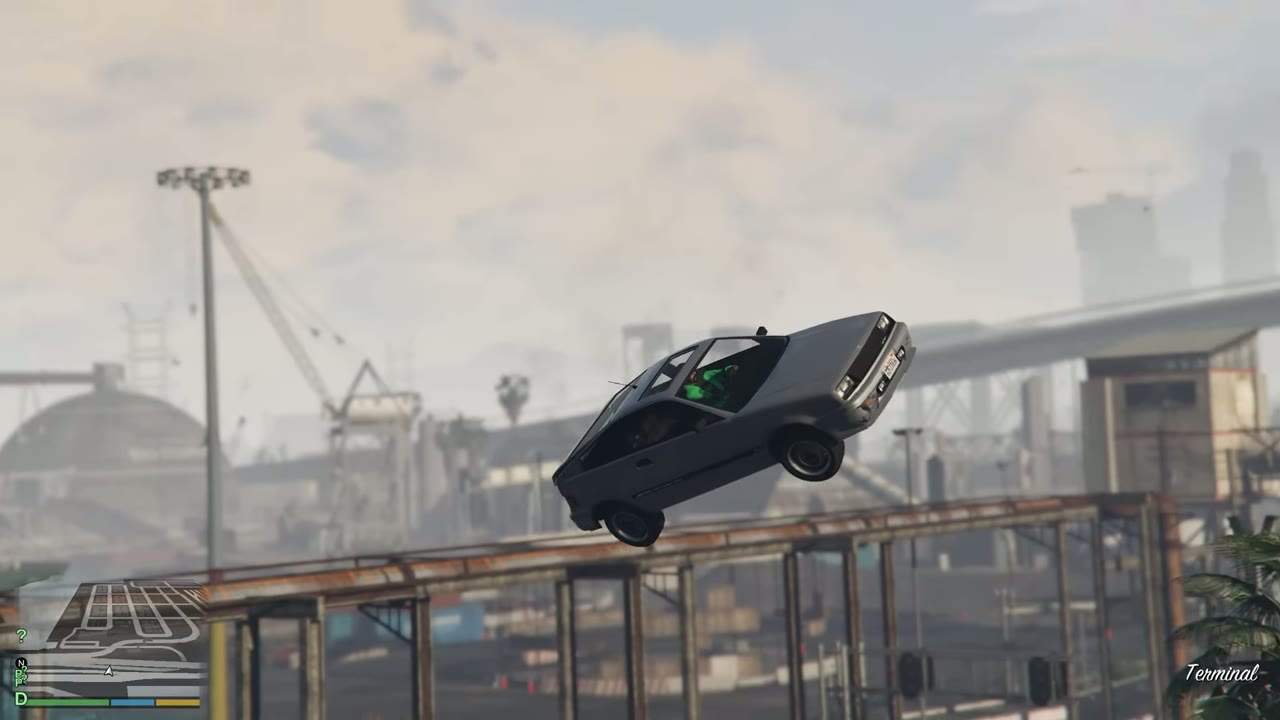
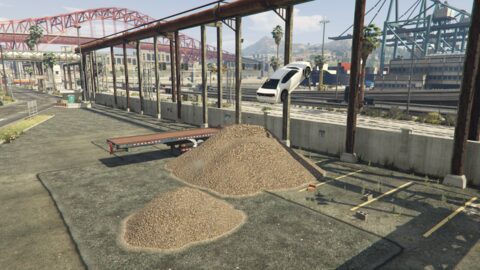
13 Naval Port Approach: Dirt pile, heading east
Landing: Cross the rail tracks to Buccaneer Way in Terminal.
Silver sedan on the port road at sunset heading toward the rail yard.Silver sedan flies over a rusty steel frame in Terminal with cranes in the distance.Stunt Jump Completed banner as the sedan lands on the curved road by the container terminal.Stunt Jump 13 locationMap showing Stunt Jump 13
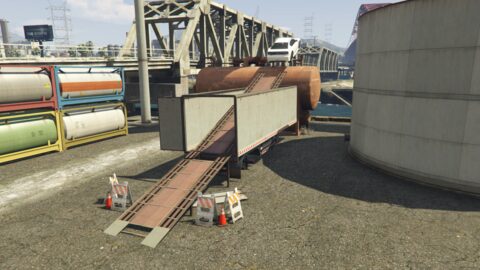
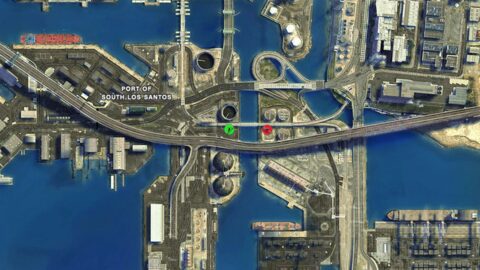
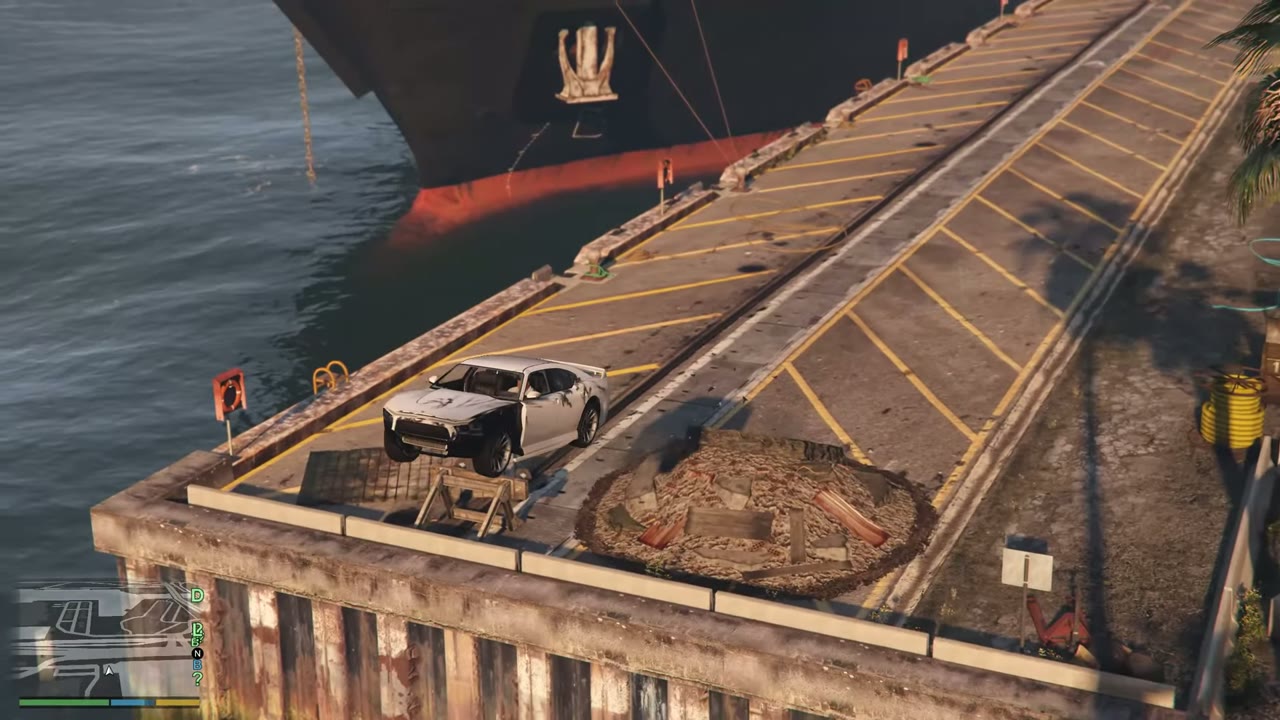
14 Terminal Approach: Concrete pile, heading west
Landing: Cross the water and Buccaneer Way to the tracks by Abattoir Avenue.
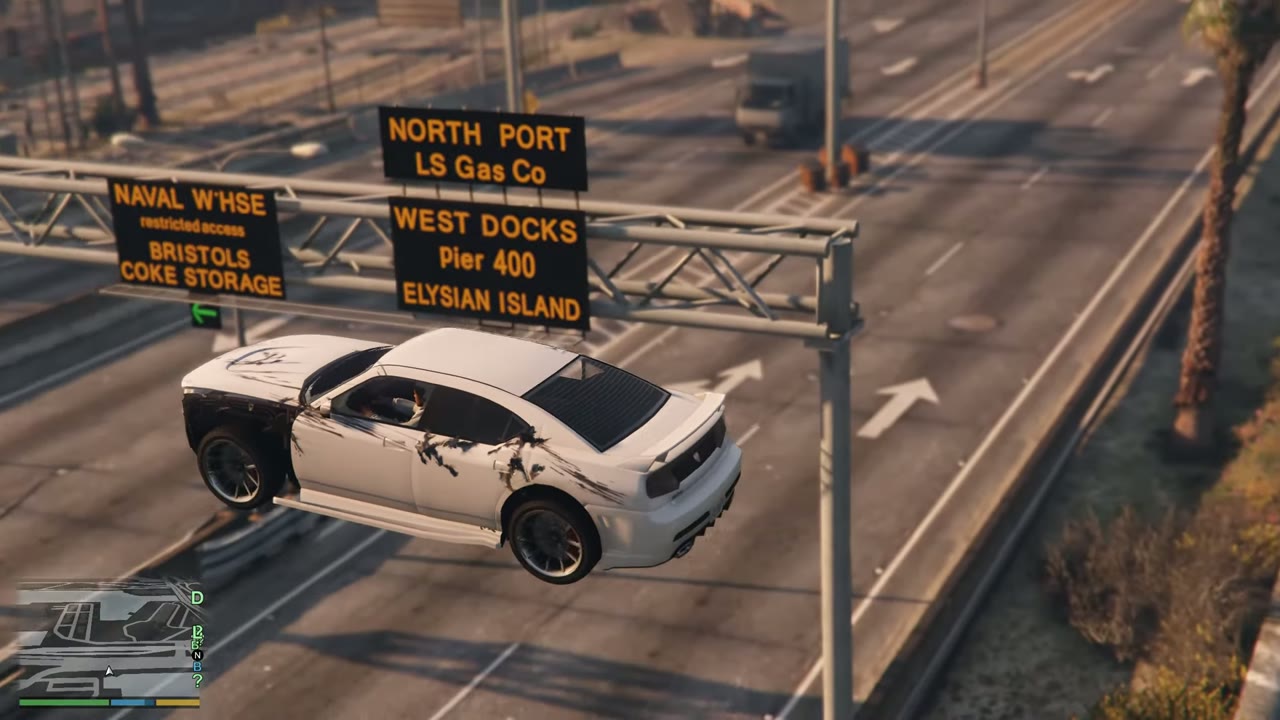
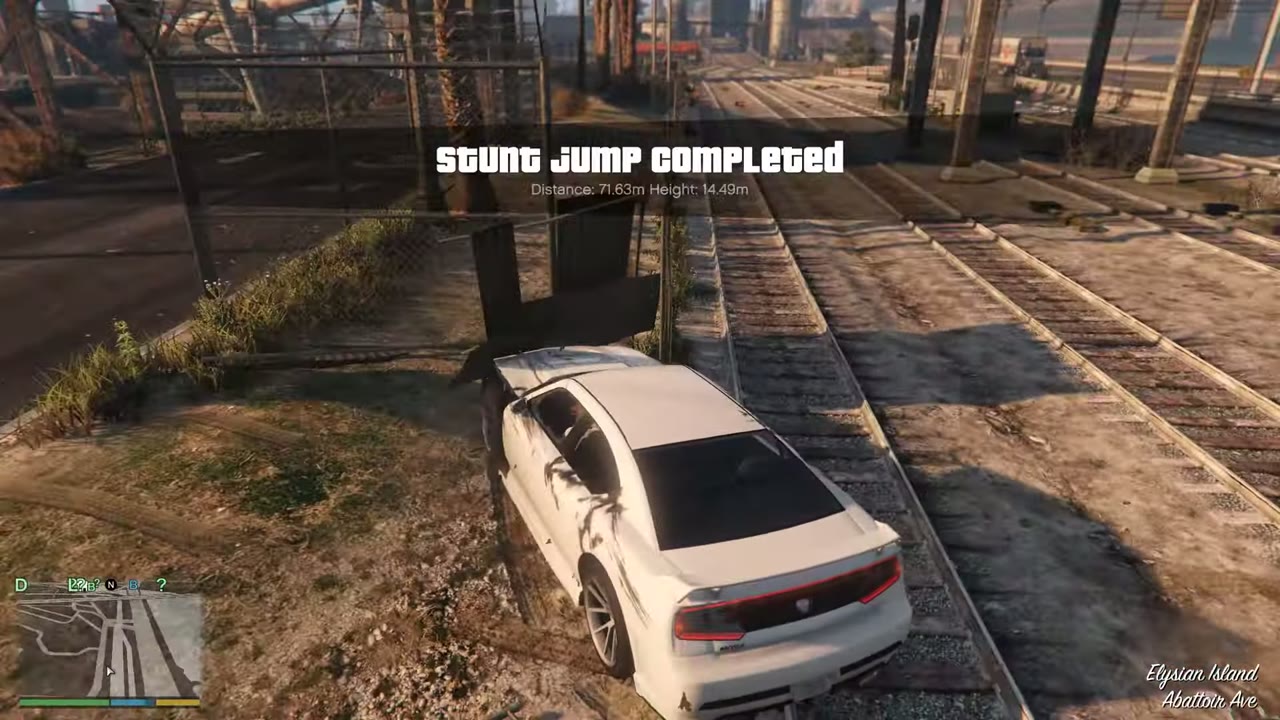
A car sits on a ramp at the dock edge beside a concrete pile and a moored cargo ship.The car flies over the road gantry signed Naval Warehouse, North Port and West Docks.The car lands beside the rail tracks on Abattoir Avenue, 71.63 metres on the notice.Stunt Jump 14 locationMap showing Stunt Jump 14
15 El Burro Heights Approach: Pallets and corrugated iron, southwest of the Car Scrapyard
Landing: Land without crashing.
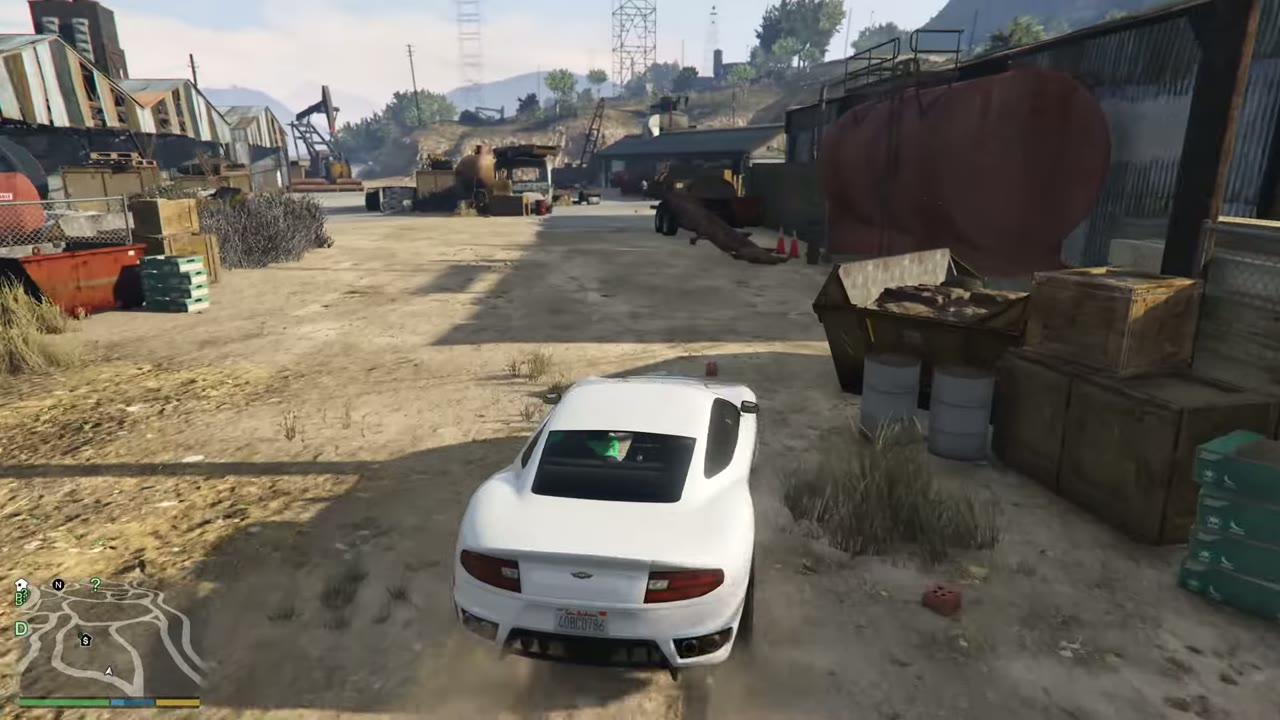
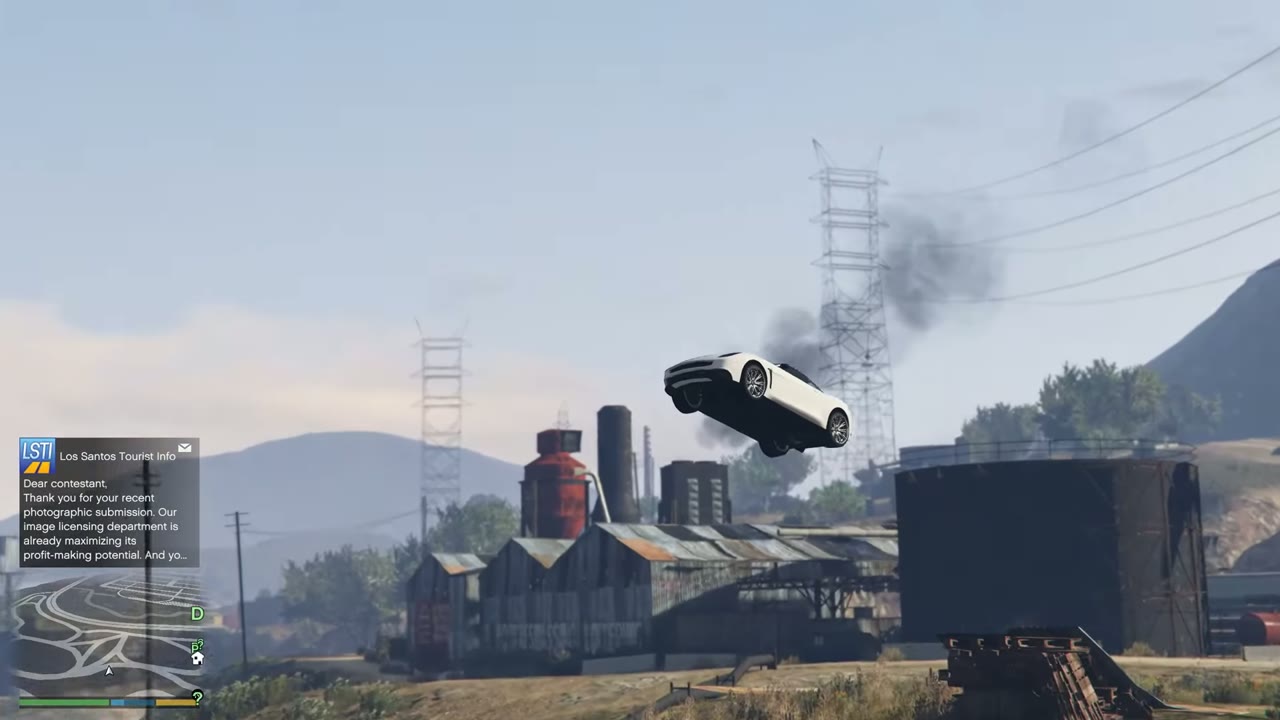
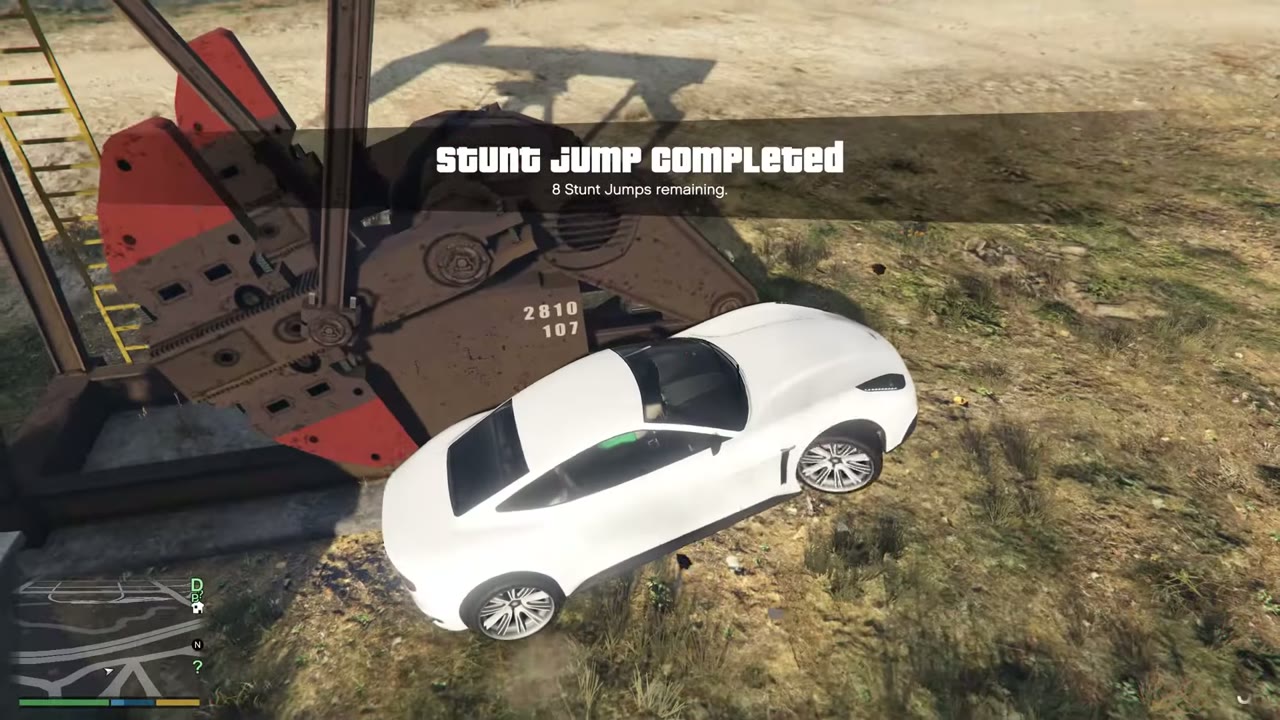
A white coupe drives through a yard of corrugated iron sheds, pallets and crates.The coupe flies high over a factory with a red storage tank.The coupe lands beside an oil pump jack, 97.29 metres on the notice.Stunt Jump 15 locationMap showing Stunt Jump 15
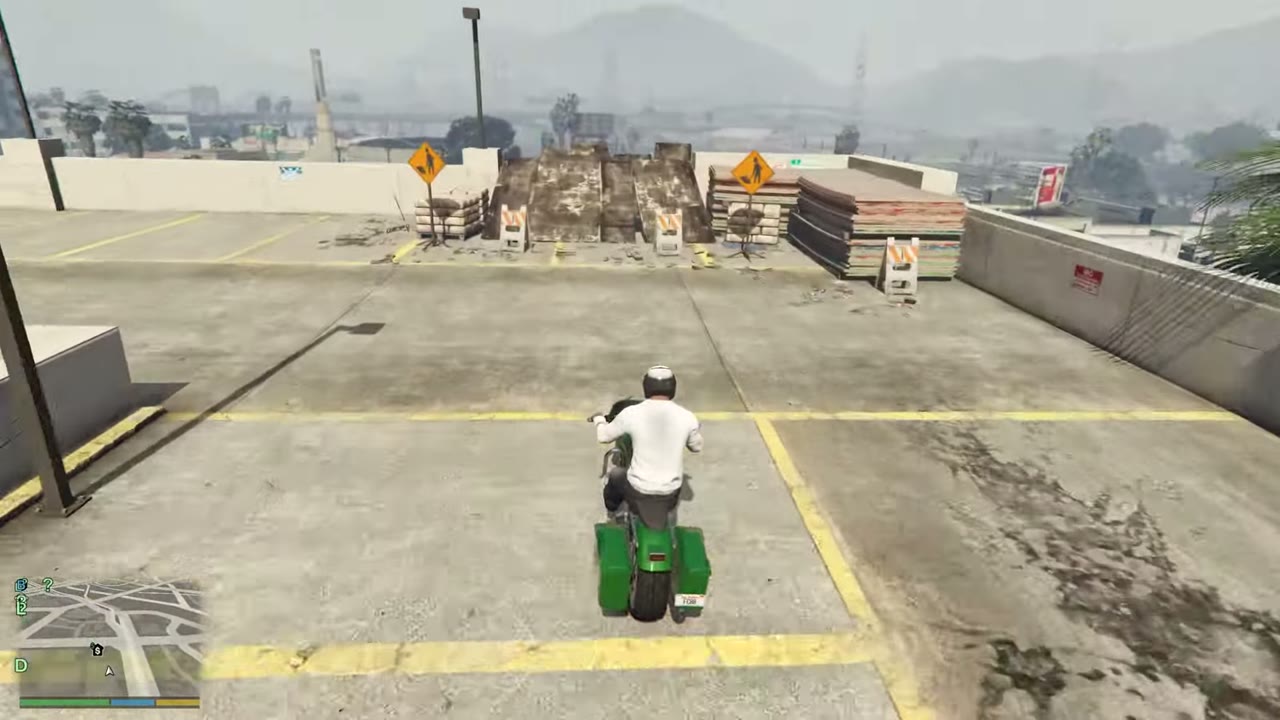
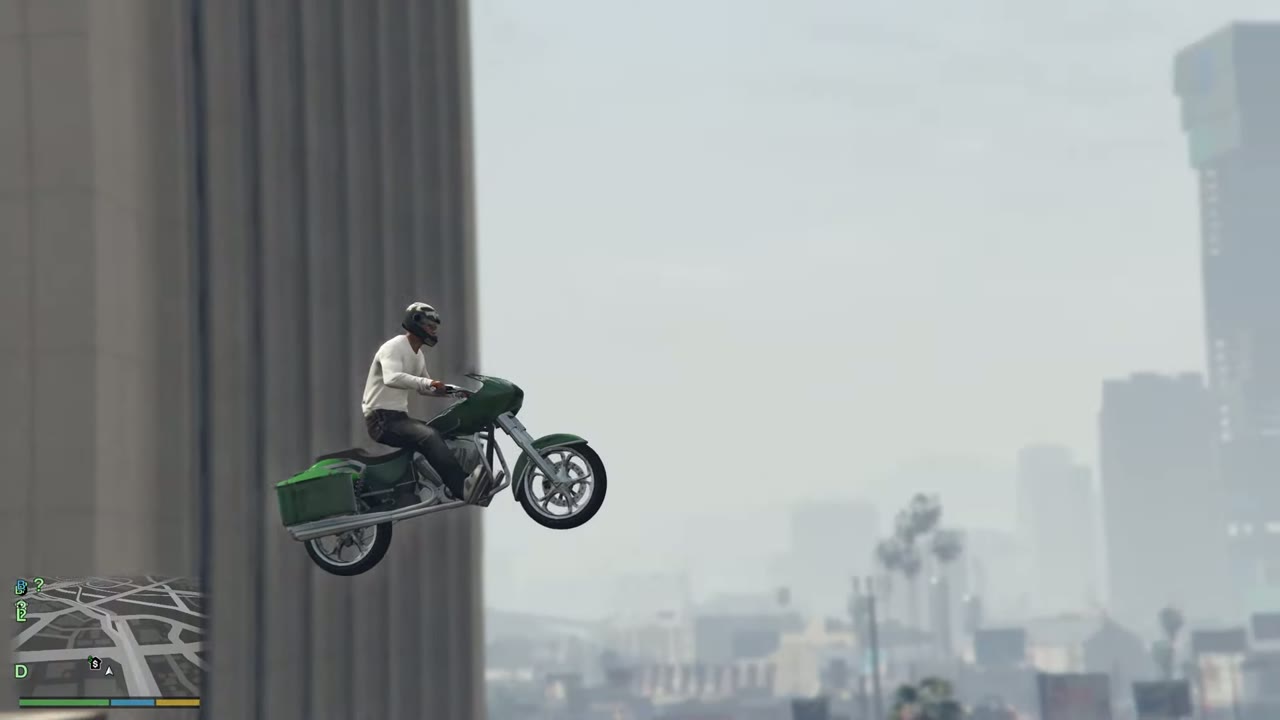
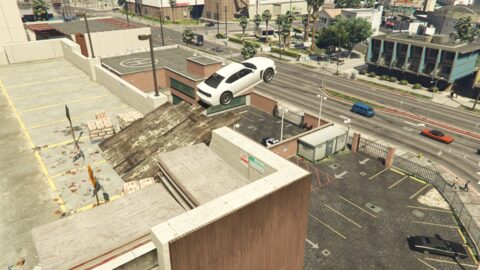
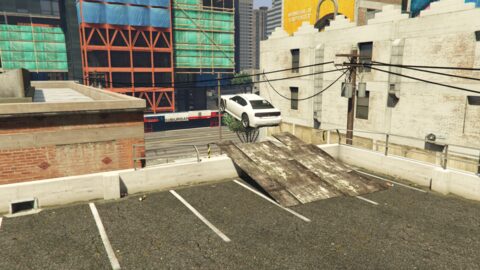
16 Rancho Approach: Construction ramp on a parking building roof on Roy Lowenstein Boulevard, heading north
Landing: Land on Innocence Boulevard.
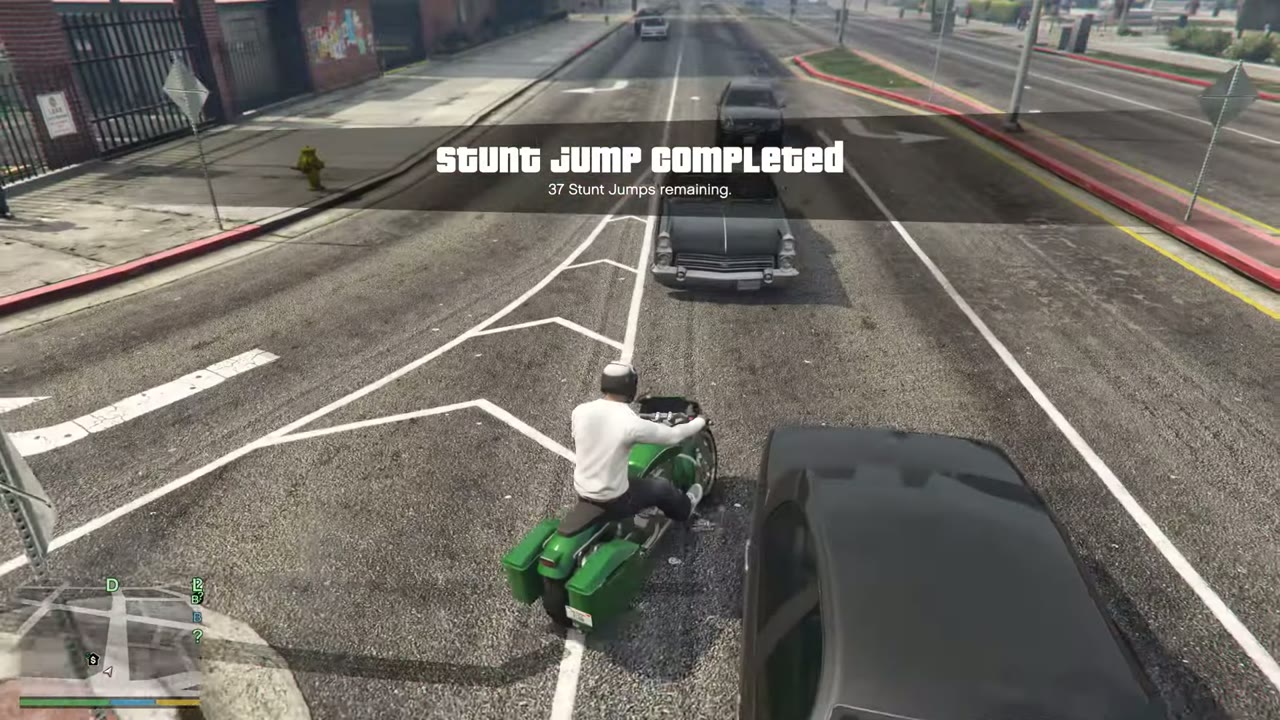
Motorbike on the parking building roof facing the construction ramp, before the jump toward Innocence Boulevard.Motorbike leaves the Rancho parking building roof, airborne against the building wall.Stunt Jump Completed banner after landing on Innocence Boulevard in Rancho.Stunt Jump 16 locationMap showing Stunt Jump 16
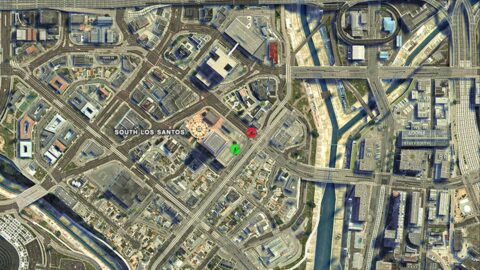
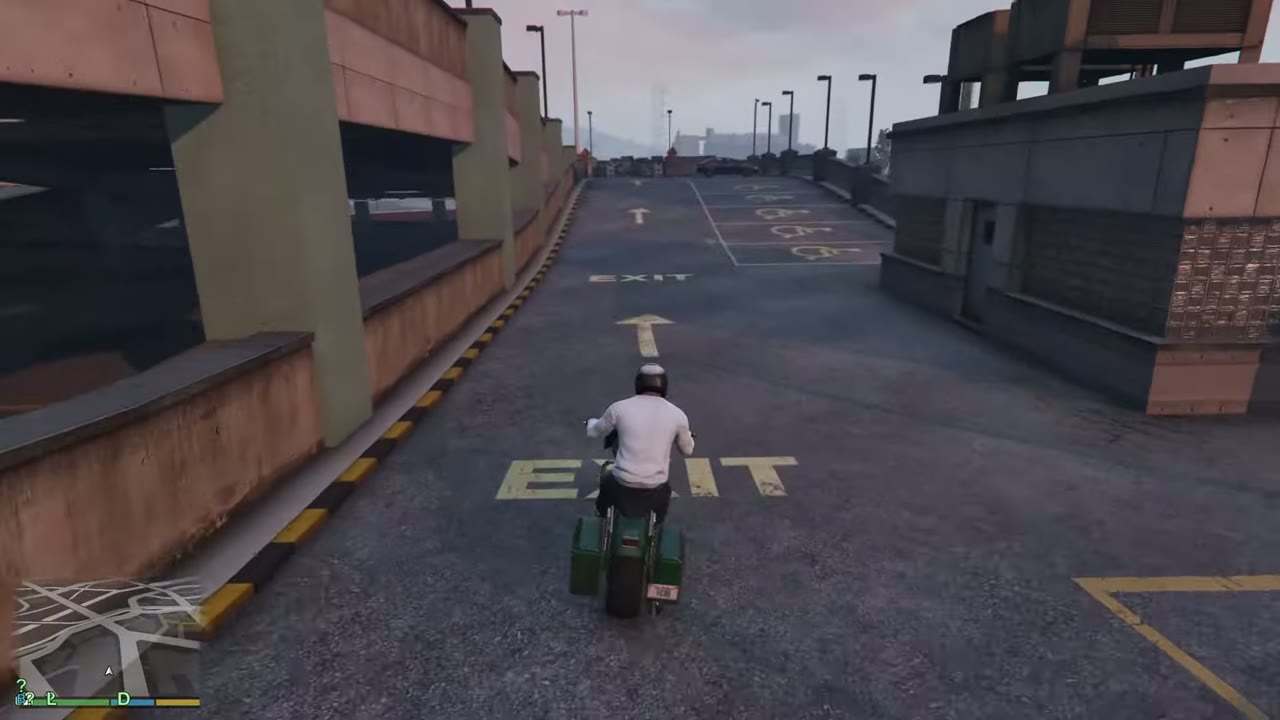
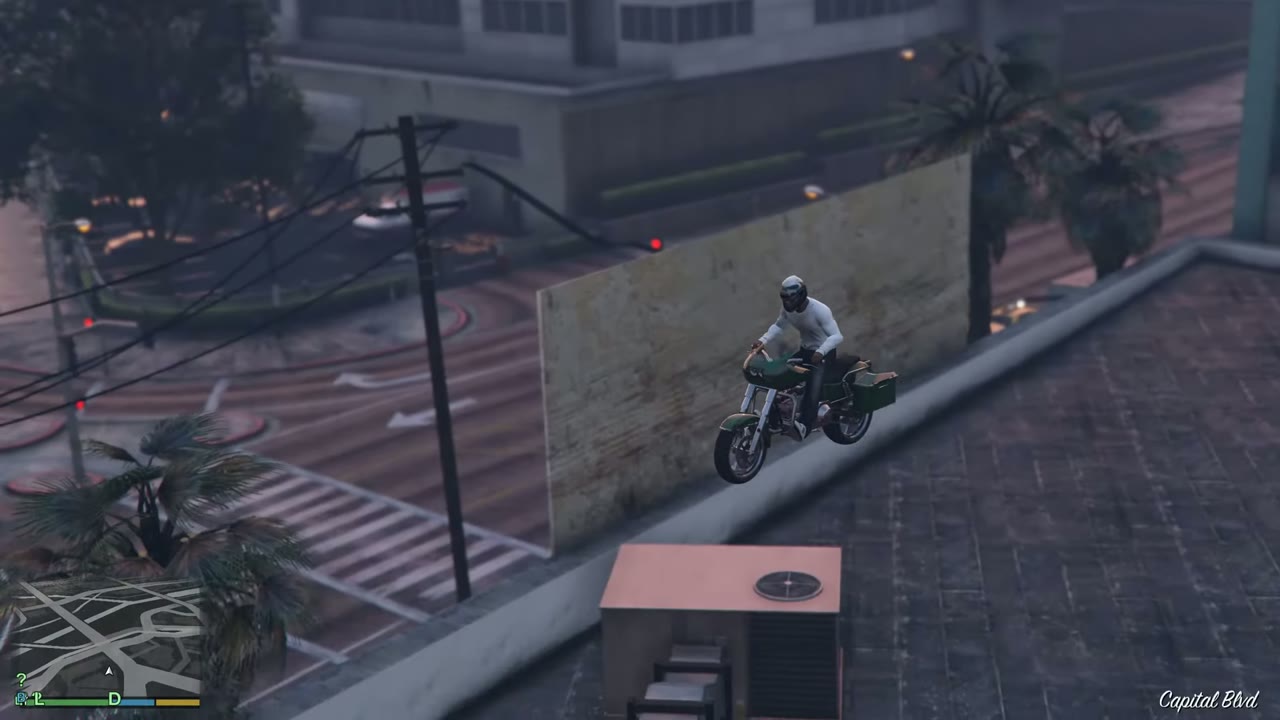
17 Strawberry Approach: Construction ramp on the hospital parking roof on Capital Boulevard, heading east
Landing: Land by Davis Avenue and Little Bighorn Avenue.
Motorbike on the hospital parking roof in Strawberry, lined up with the exit ramp before the jump.Motorbike flies off the hospital parking roof edge above Capital Boulevard.Stunt Jump Completed banner after landing below the hospital parking roof, Capital Boulevard caption.Stunt Jump 17 locationMap showing Stunt Jump 17
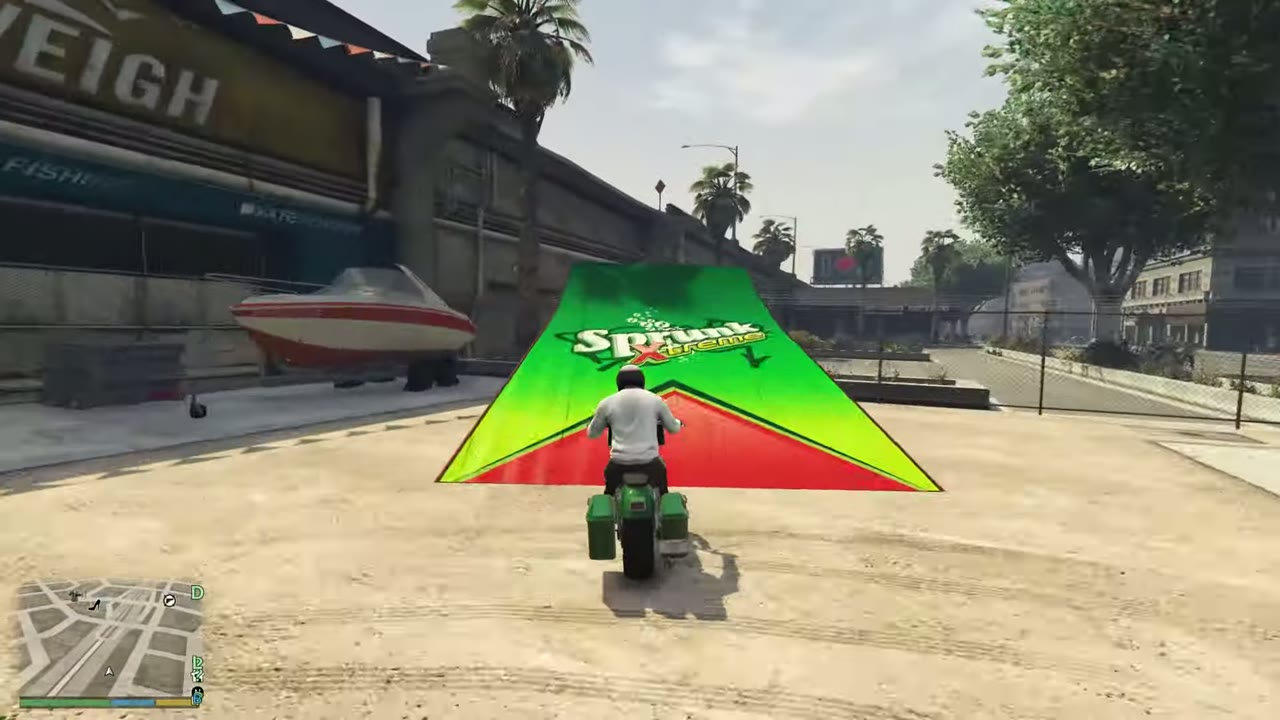
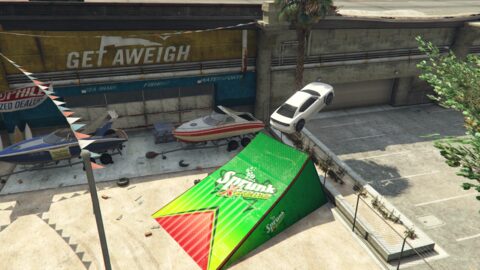
18 Strawberry Approach: Sprunk ramp at the Get Aweigh boat yard on Adam’s Apple Boulevard
Landing: Land on the Olympic Freeway.
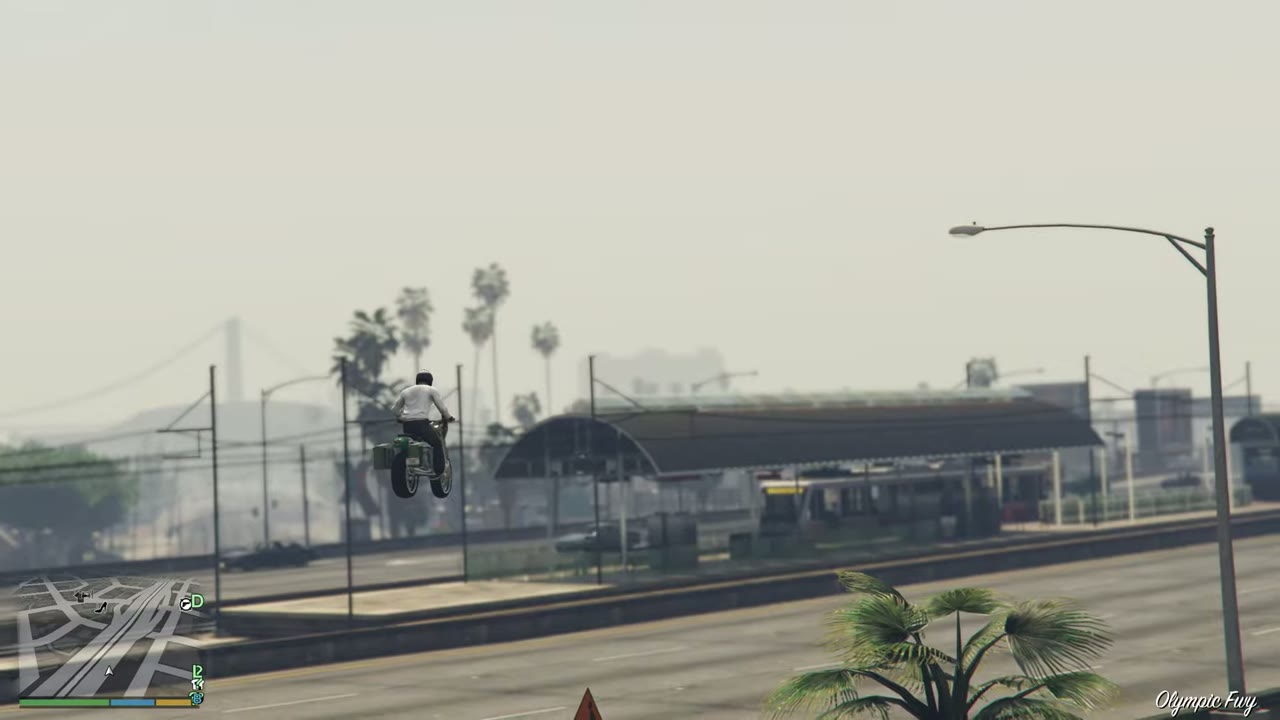
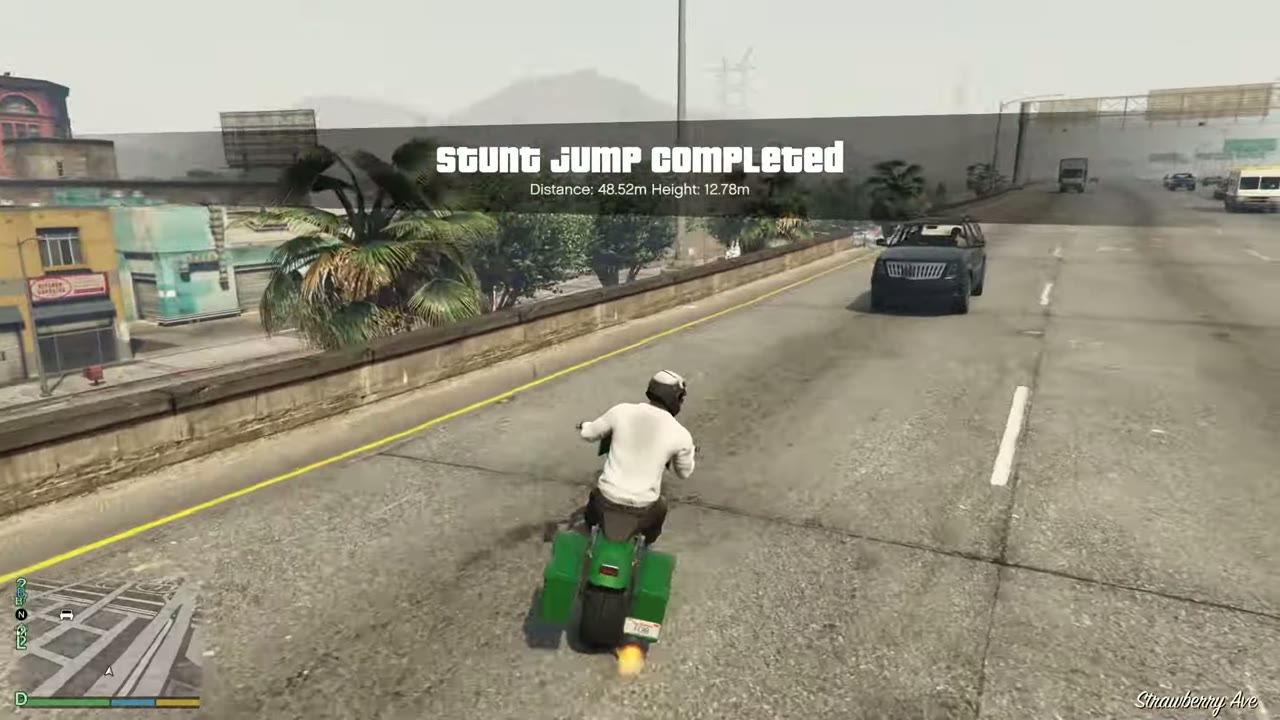
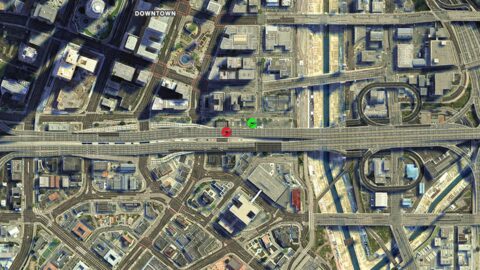
Motorbike approaching the green Sprunk ramp at the Get Aweigh boat yard on Adam's Apple Boulevard.Motorbike airborne over the Olympic Freeway after leaving the boat yard wall.Stunt Jump Completed banner after landing on the Olympic Freeway in Strawberry.Stunt Jump 18 locationMap showing Stunt Jump 18
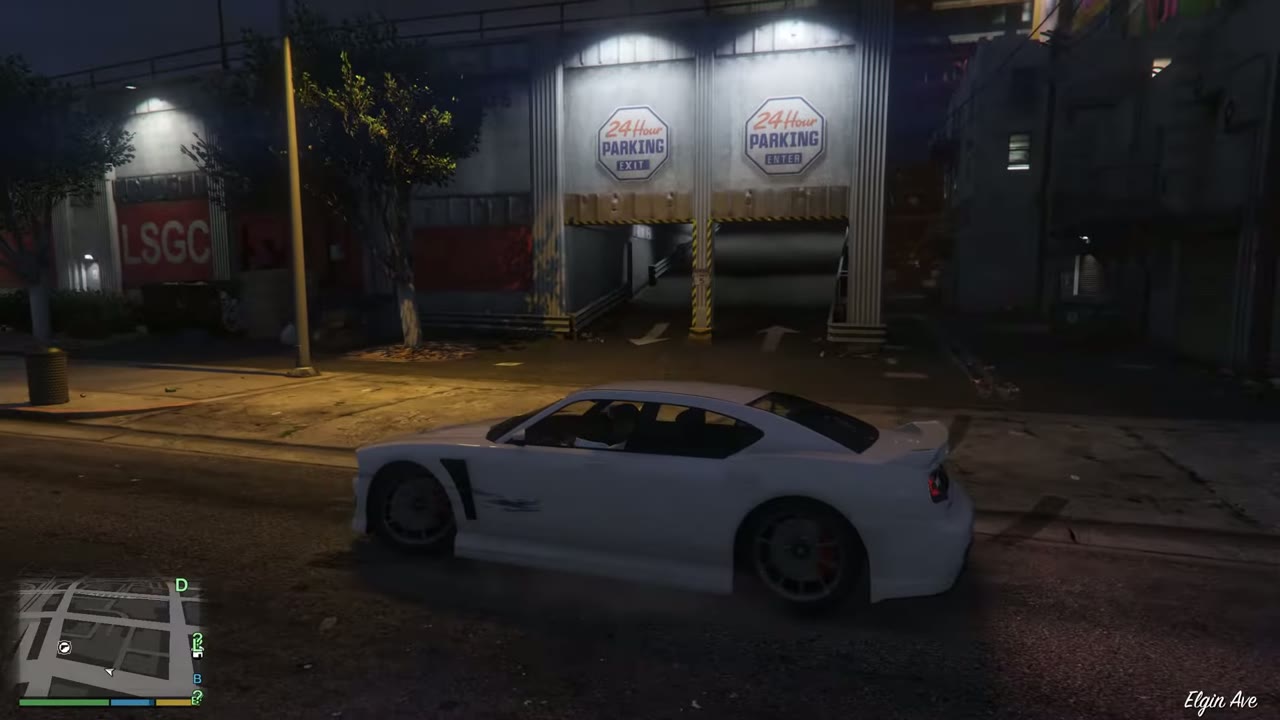
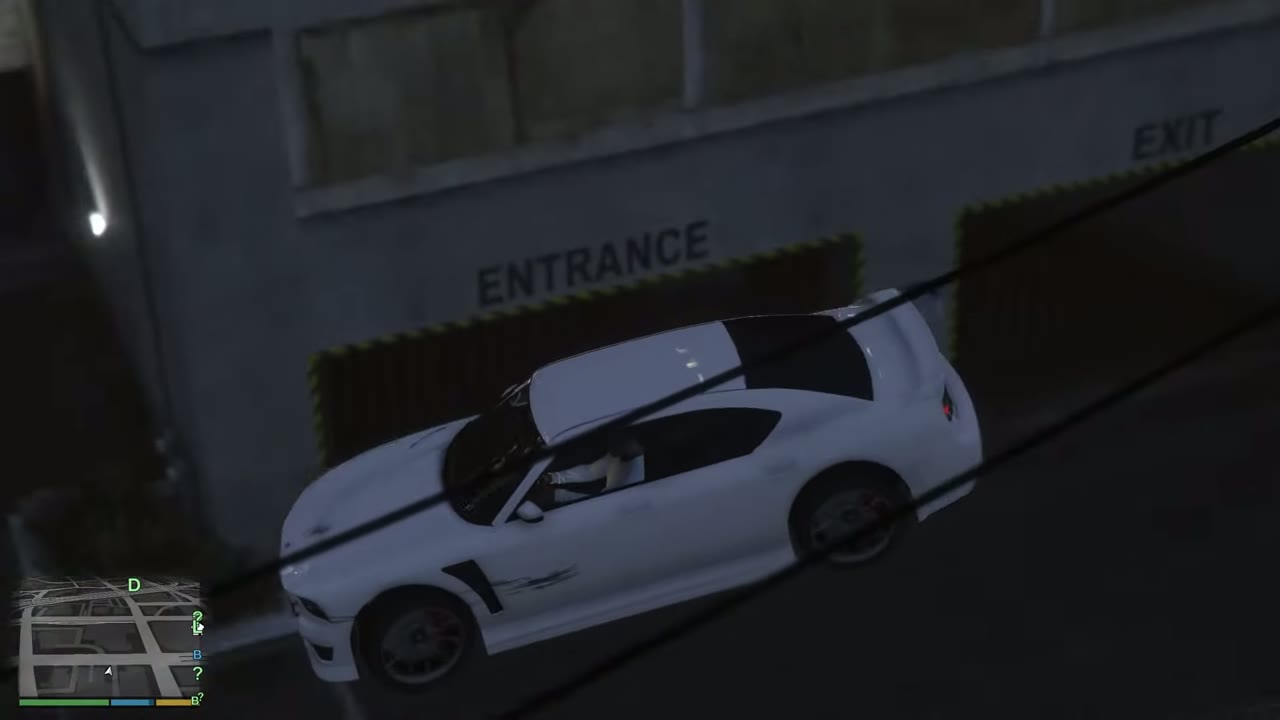
19 Pillbox Hill Approach: Parking lot above Ammu-Nation on Elgin Avenue, heading west
Landing: Drop into the alley onto Power Street.
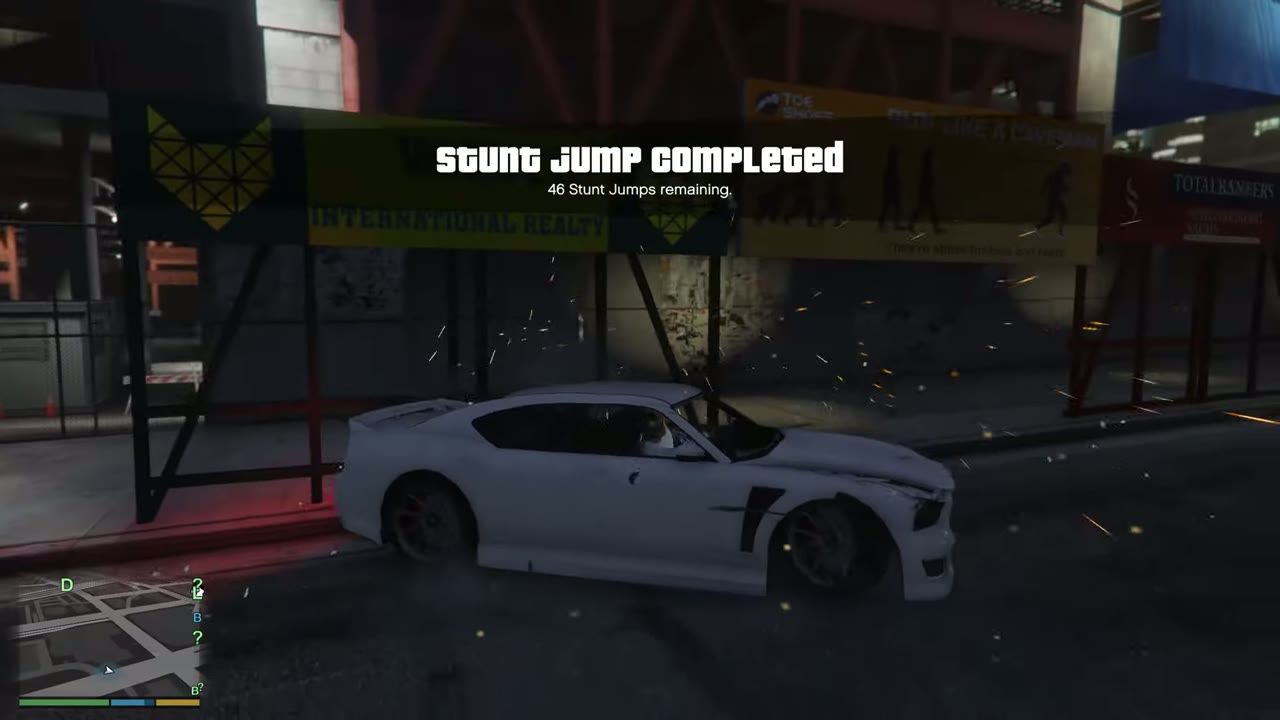
White sports car beside the 24 Hour Parking entrance on Elgin Avenue, Pillbox Hill, before the jump.Car airborne past the parking building wall above the alley as it drops toward Power Street.Stunt Jump Completed banner as the car lands in the alley off Power Street.Stunt Jump 19 locationMap showing Stunt Jump 19
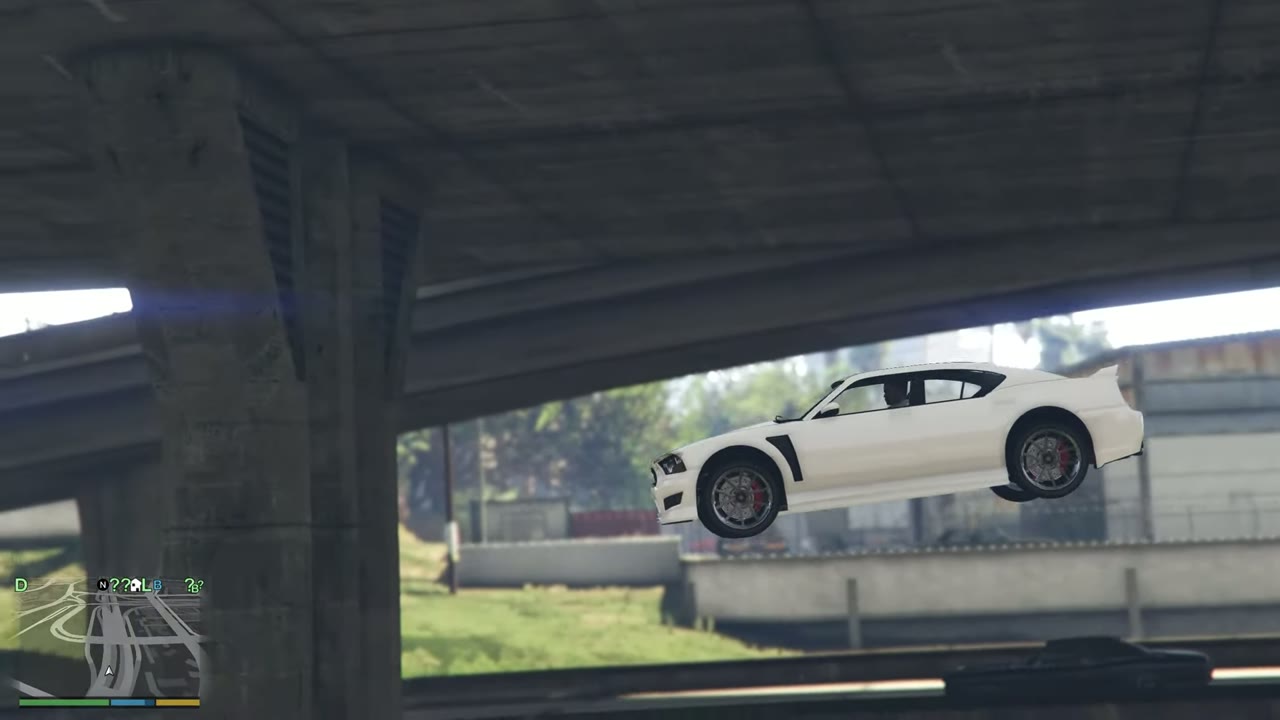
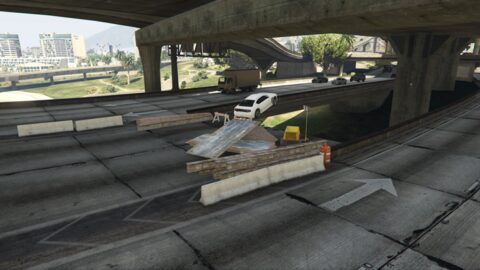
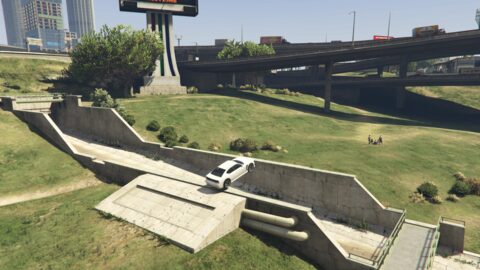
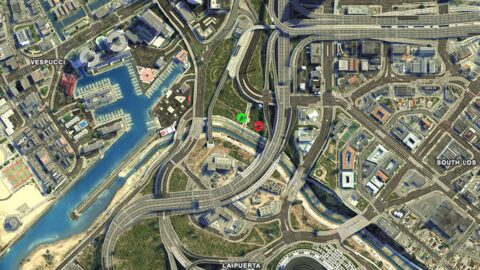
20 La Puerta Freeway Approach: Girders and a steel plate in the middle of the freeway after the storm drain, heading north
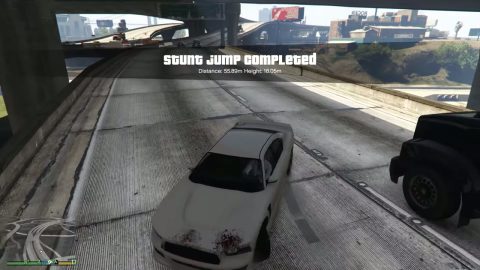
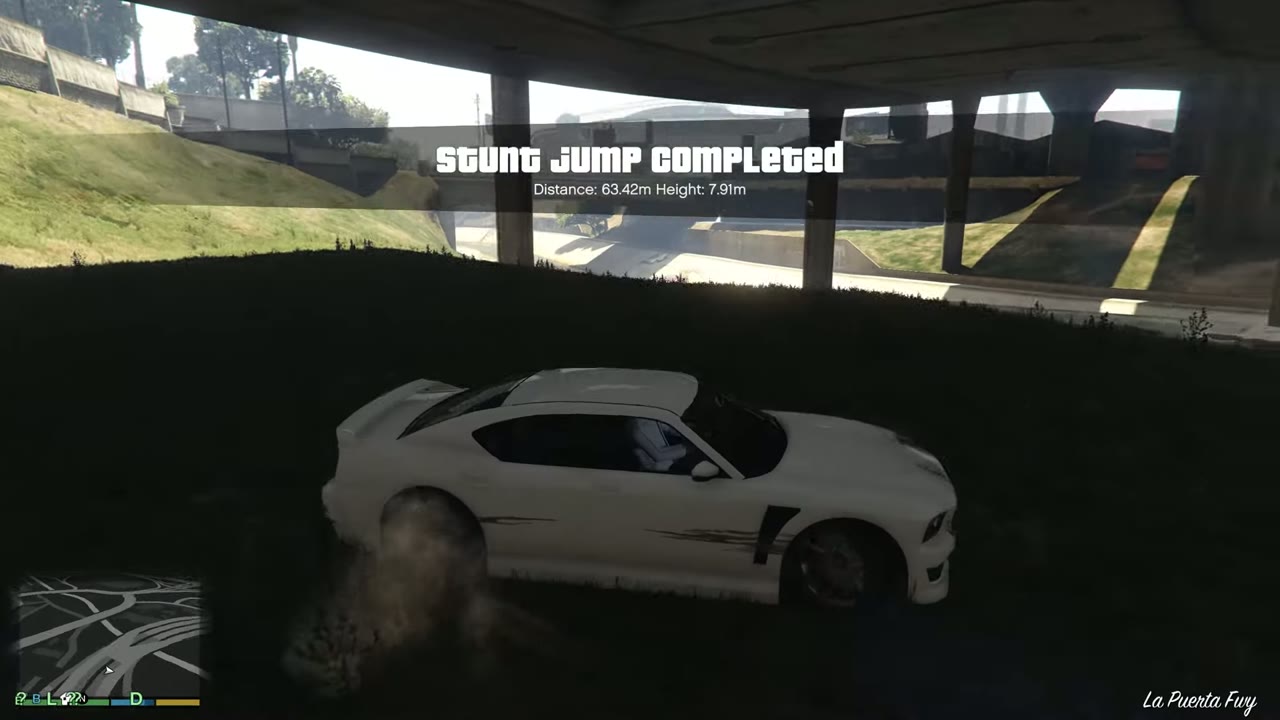
Landing: Land on the freeway, heading into the southbound lanes.
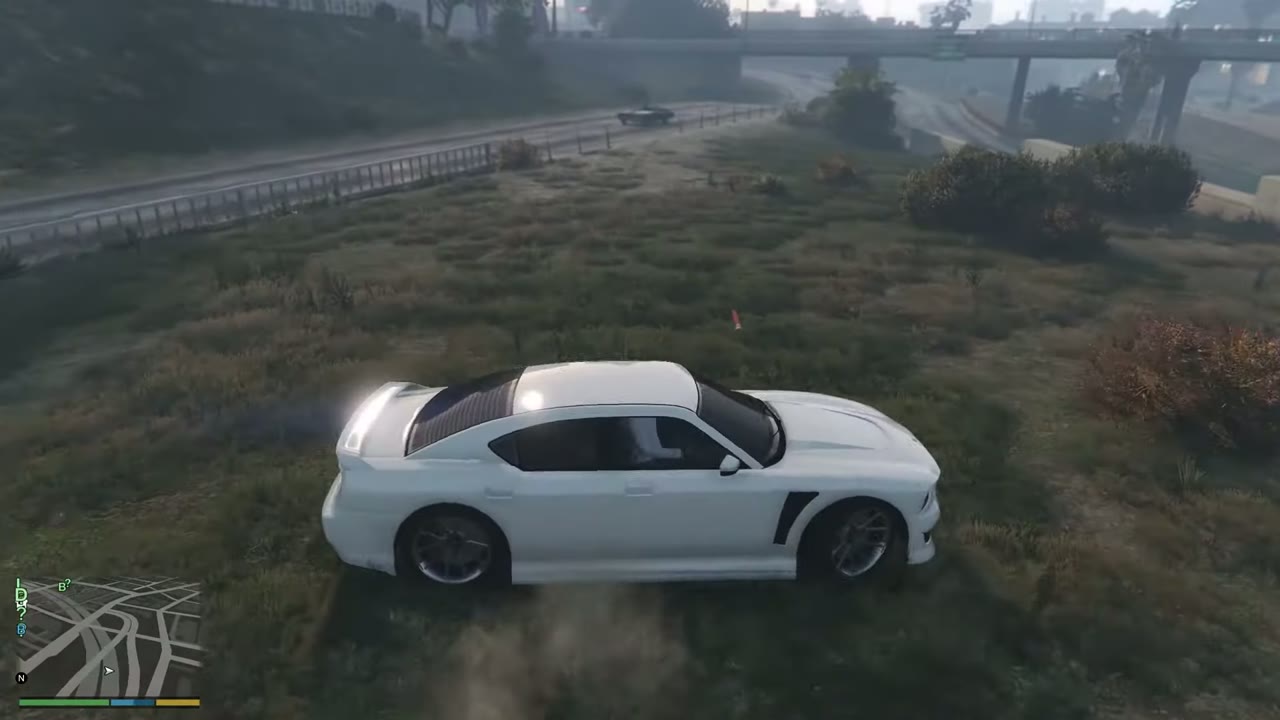
White car airborne as it leaves the shadow of a freeway overpass.Stunt Jump Completed banner over a white car landing on freeway lanes among traffic, 55.89 metres.Stunt Jump 20 locationMap showing Stunt Jump 20
21 La Puerta Approach: South bank of the storm drain under the freeway, heading west
Landing: Land at the Higgins Helitours helipad.
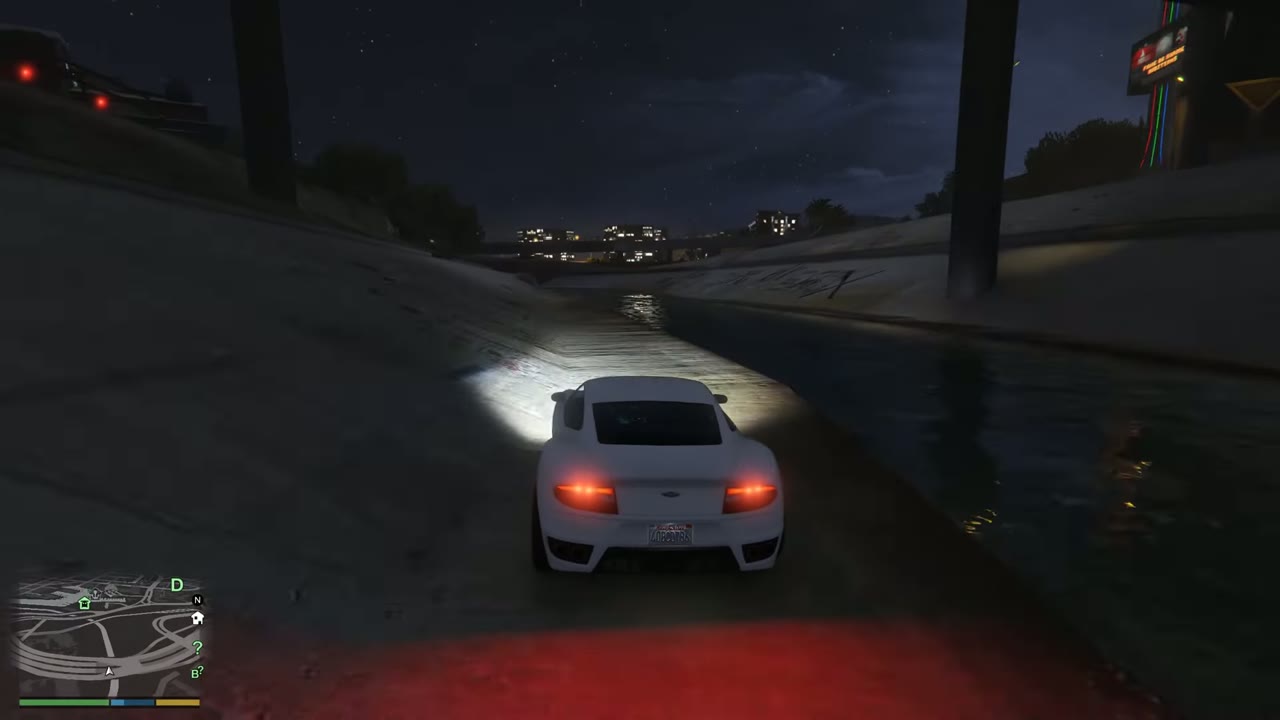
White car driving along the south bank of the La Puerta storm drain at night before the jump.Car airborne over the road above the storm drain, heading for the helipad.Stunt Jump Completed banner after landing on the Higgins Helitours helipad at night.Stunt Jump 21 locationMap showing Stunt Jump 21
22 La Puerta Approach: Concrete inlet on the north bank of the storm drain, heading east
Landing: Cross the channel to the grass.
White car on the grass bank beside the La Puerta storm drain, lining up the inlet jump.Car leaves the concrete inlet and flies across the storm drain channel.Stunt Jump Completed banner after landing on the grass beside the freeway, La Puerta Freeway caption.Stunt Jump 22 locationMap showing Stunt Jump 22
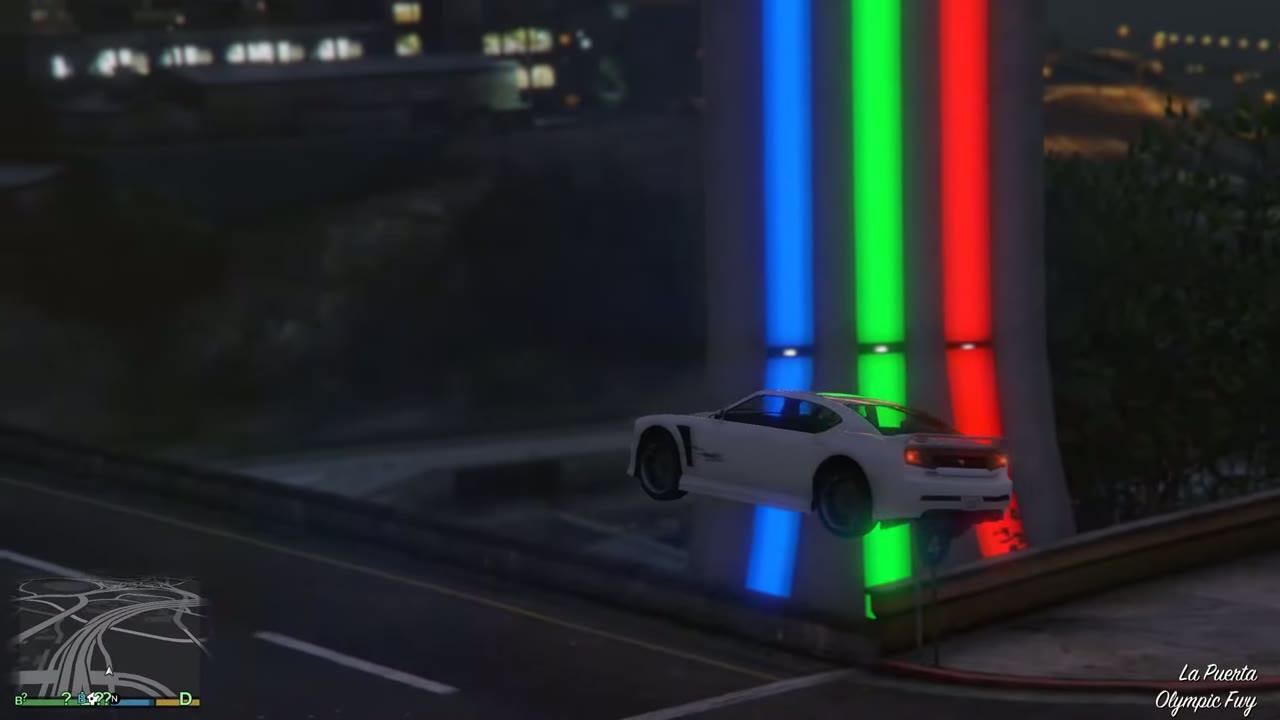
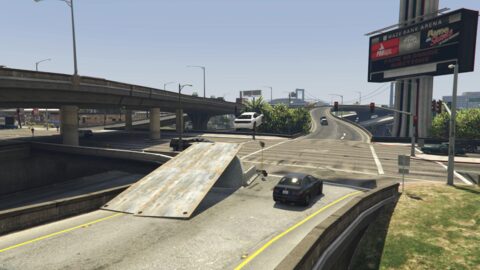
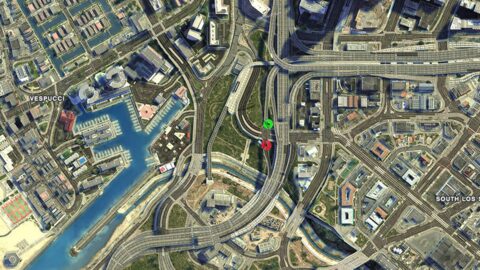
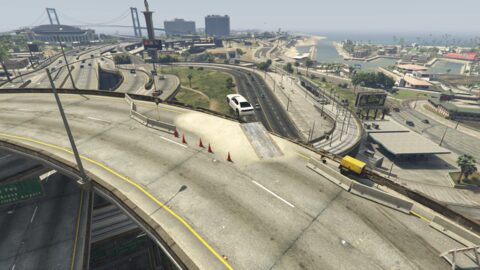
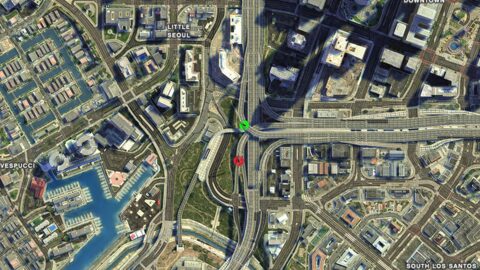
23 La Puerta Freeway Approach: Stone chip pile and steel plate on the Innocence Boulevard offramp, heading south
Landing: Cross the boulevard to the opposite onramp.
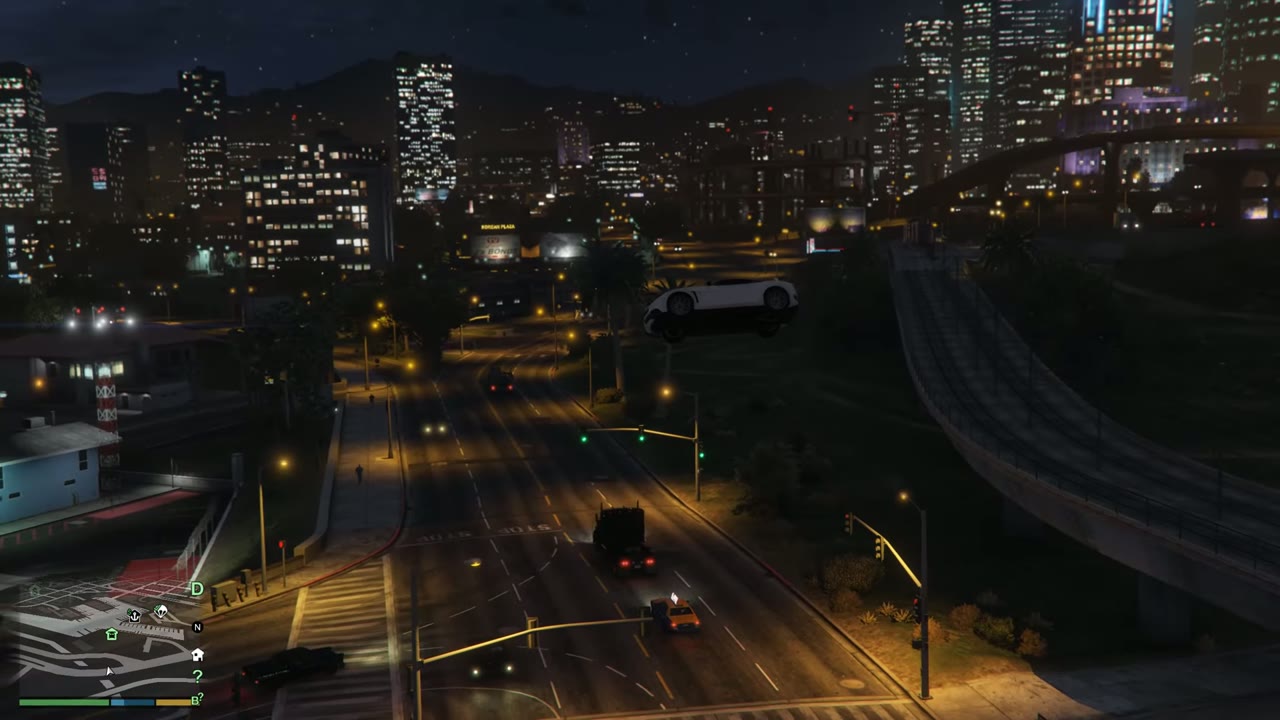
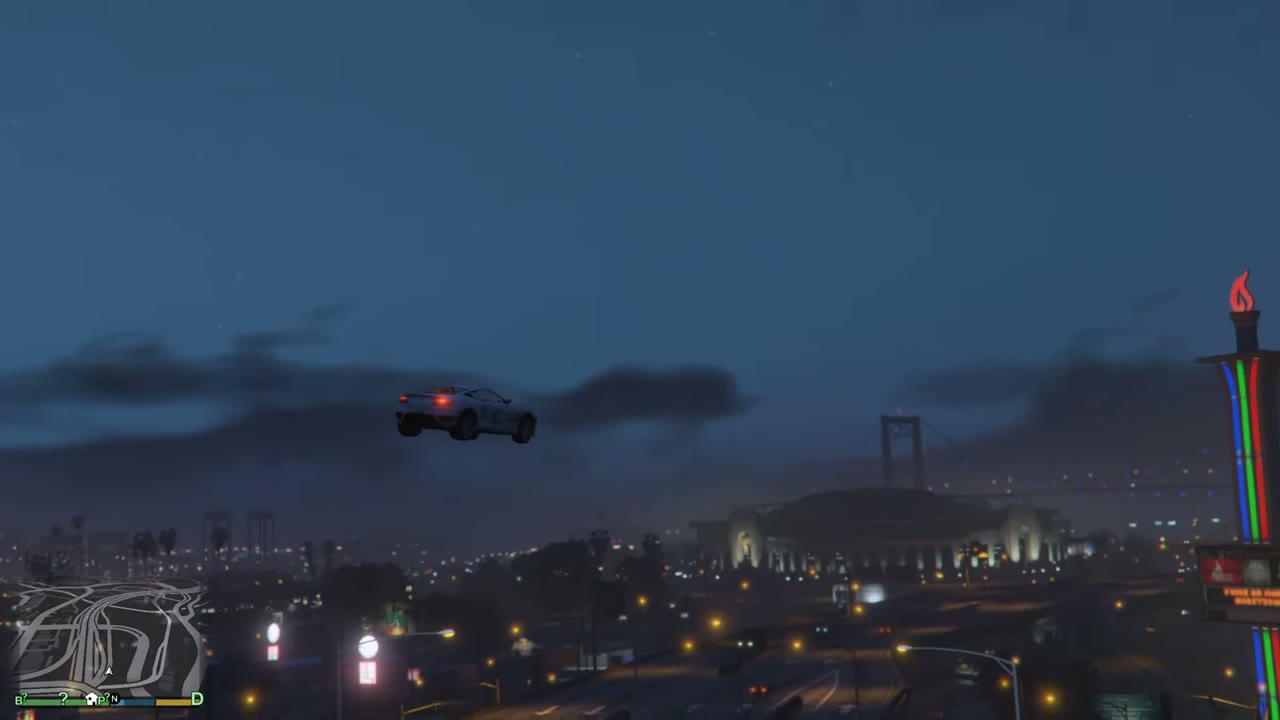
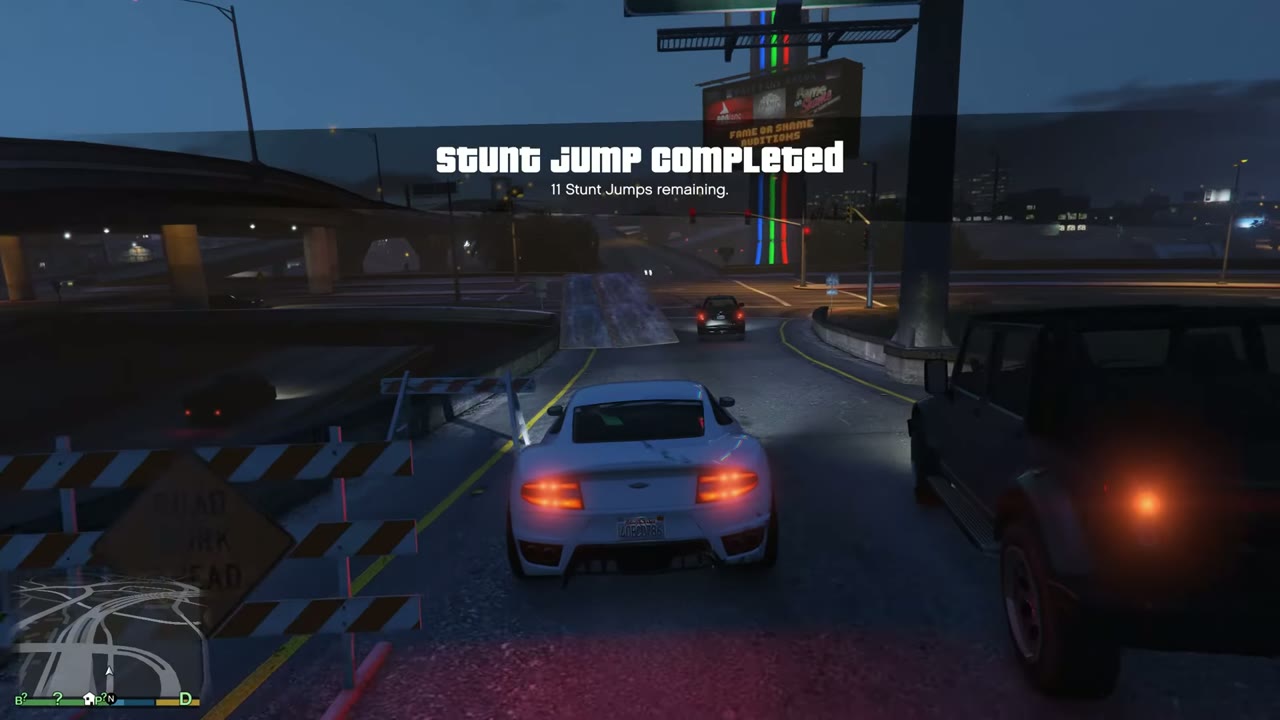
White car airborne beside a tall pillar lit blue, green and red, on a dark road.Stunt Jump Completed banner over a white car on a dusk road under an overpass, 47 jumps remaining.Stunt Jump 23 locationMap showing Stunt Jump 23
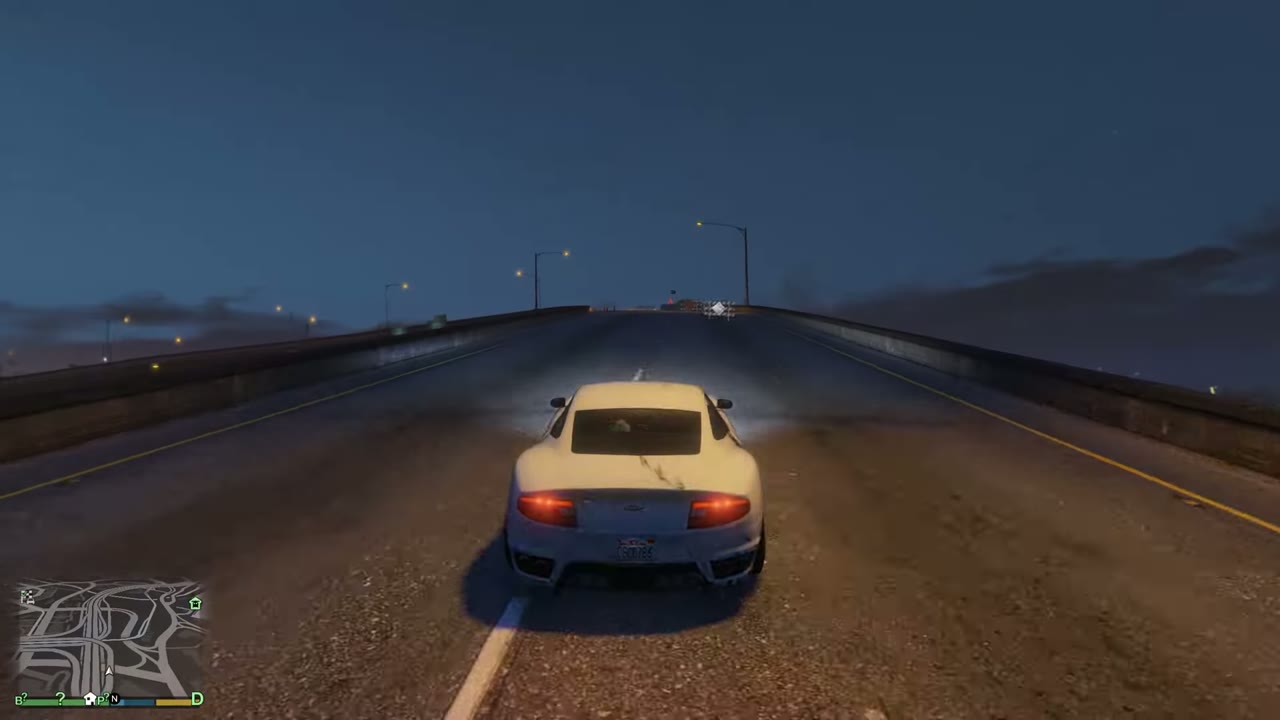
24 Olympic Freeway Approach: Repair ramp at the top of the flyover joining the Olympic Freeway, heading south
Landing: Land on the Innocence Boulevard offramp.
White car on the top of the flyover joining the Olympic Freeway at night, heading for the repair ramp.Car airborne over the freeway interchange at dusk with the rainbow tower in the distance.Stunt Jump Completed banner after landing on the Innocence Boulevard offramp.Stunt Jump 24 locationMap showing Stunt Jump 24
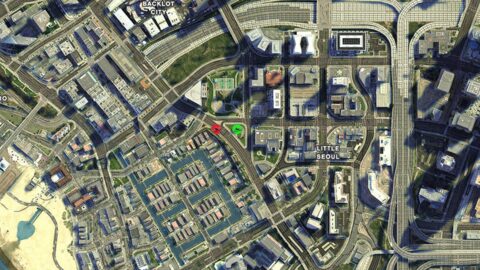
25 Little Seoul Approach: Ramp on the north side of Korean Plaza on Calais Avenue, heading west
Landing: Land on Palomino Avenue.
White car on the ramp beside the Korean Plaza building in Little Seoul at night.Car airborne over the street in Little Seoul after leaving the Korean Plaza ramp.Stunt Jump Completed banner after landing on the sidewalk near Palomino Avenue.Stunt Jump 25 locationMap showing Stunt Jump 25
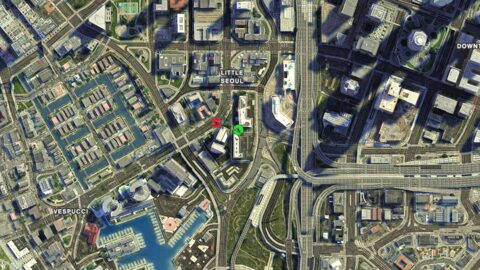
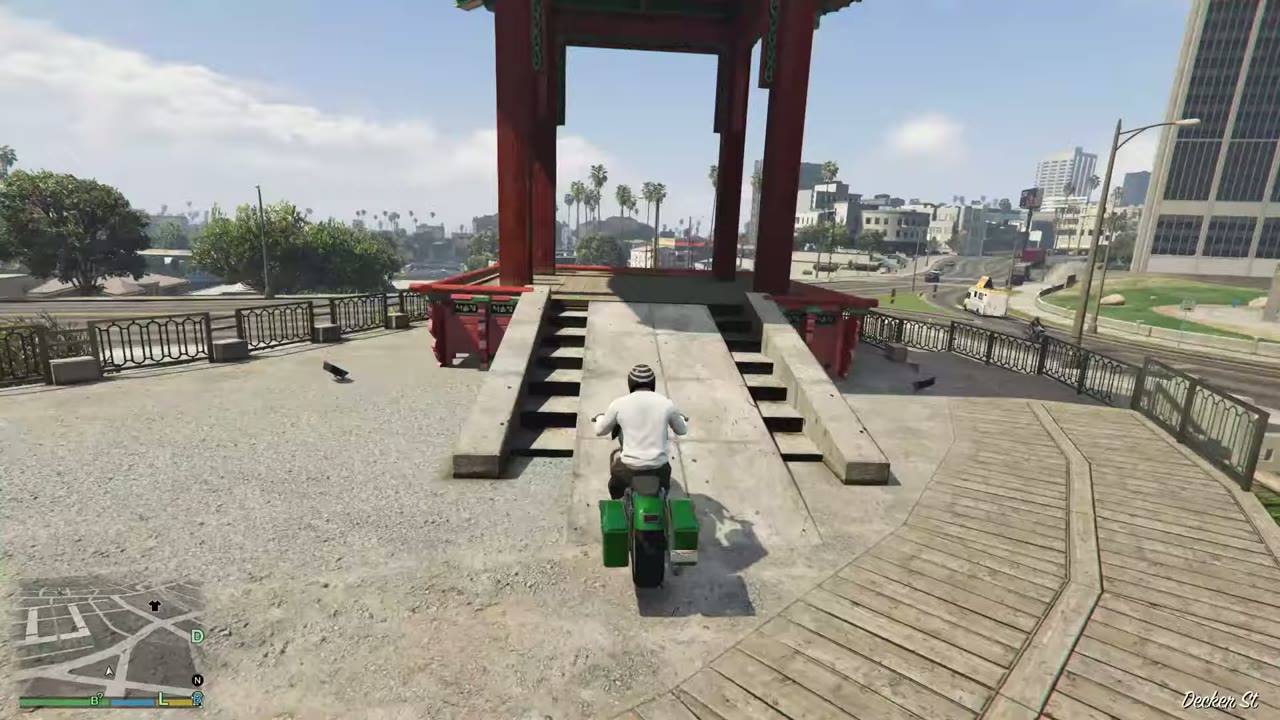
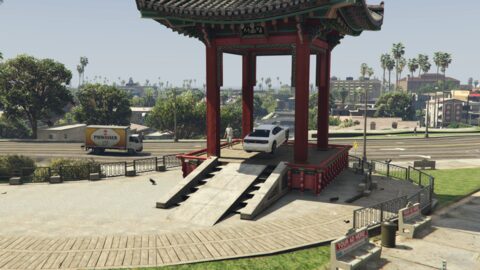
26 Vespucci Canals Approach: Through the middle of the Korean Pavilion on Vespucci Boulevard, heading west
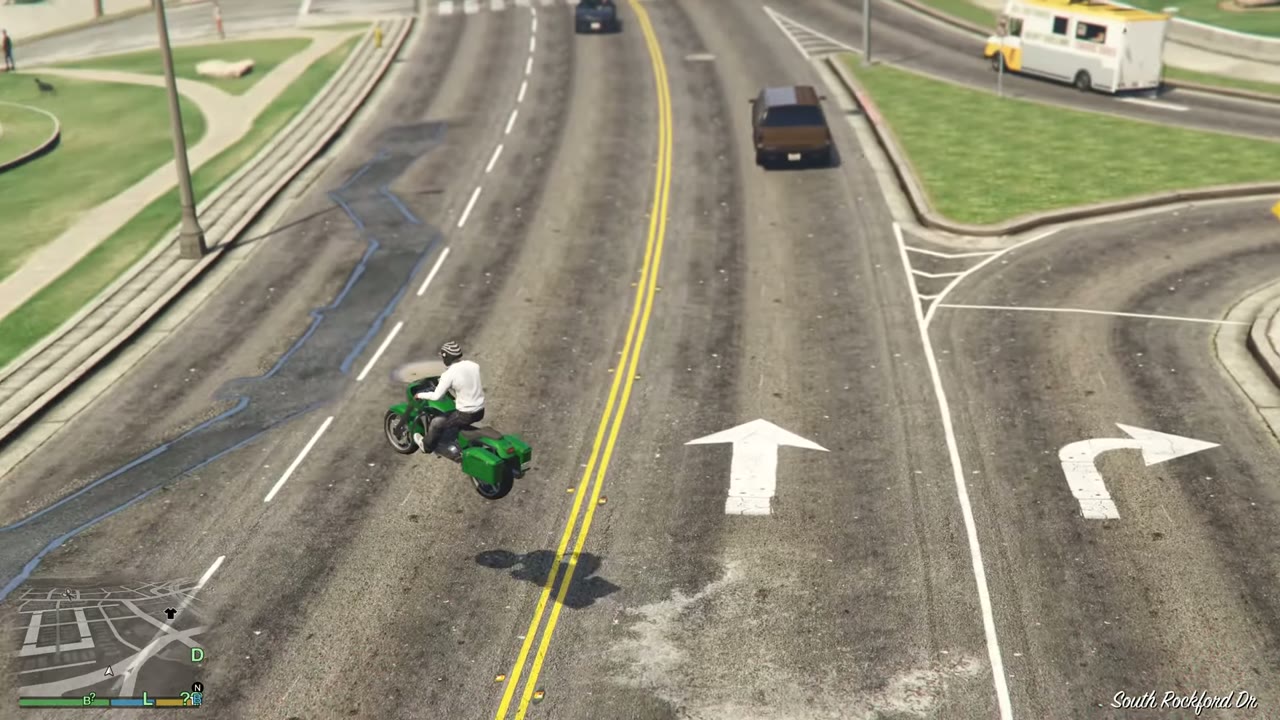
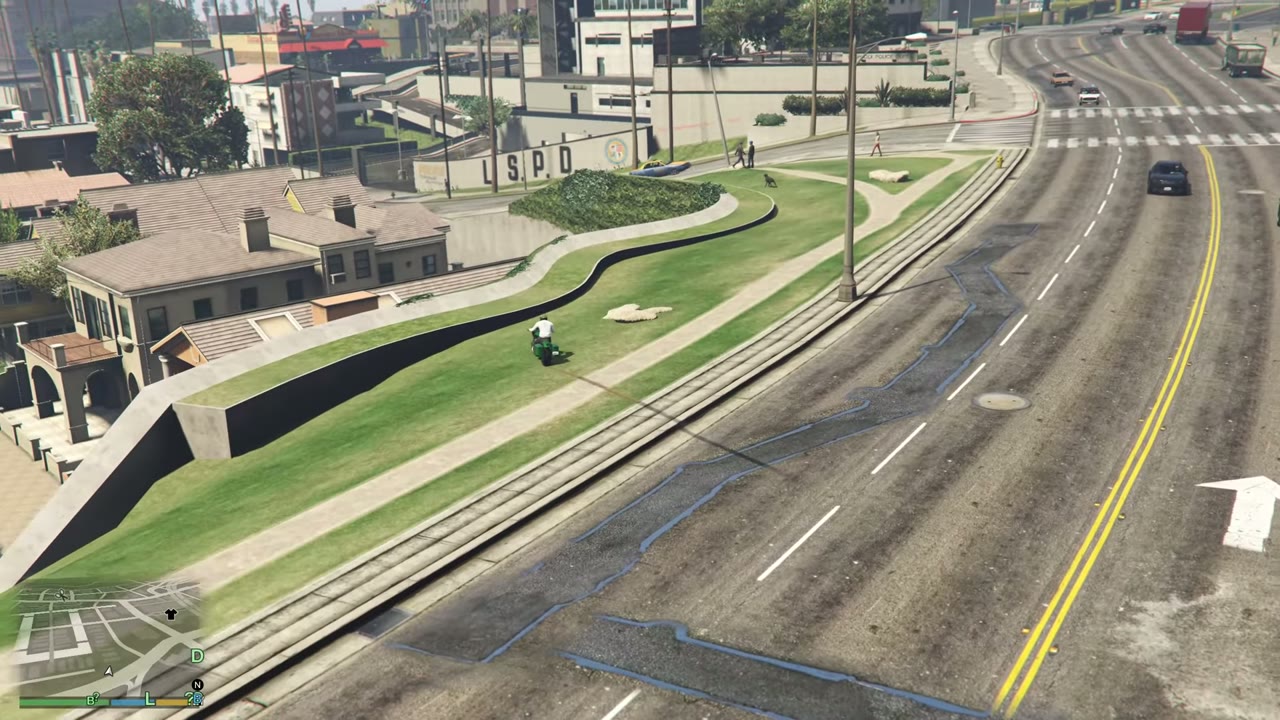
Landing: Land on South Rockford Drive.
Motorbike riding up the steps of the red Korean Pavilion on Vespucci Boulevard.Motorbike airborne over South Rockford Drive after crossing the Korean Pavilion.Motorbike riding across the grass beside South Rockford Drive and the LSPD sign after the jump.Stunt Jump 26 locationMap showing Stunt Jump 26
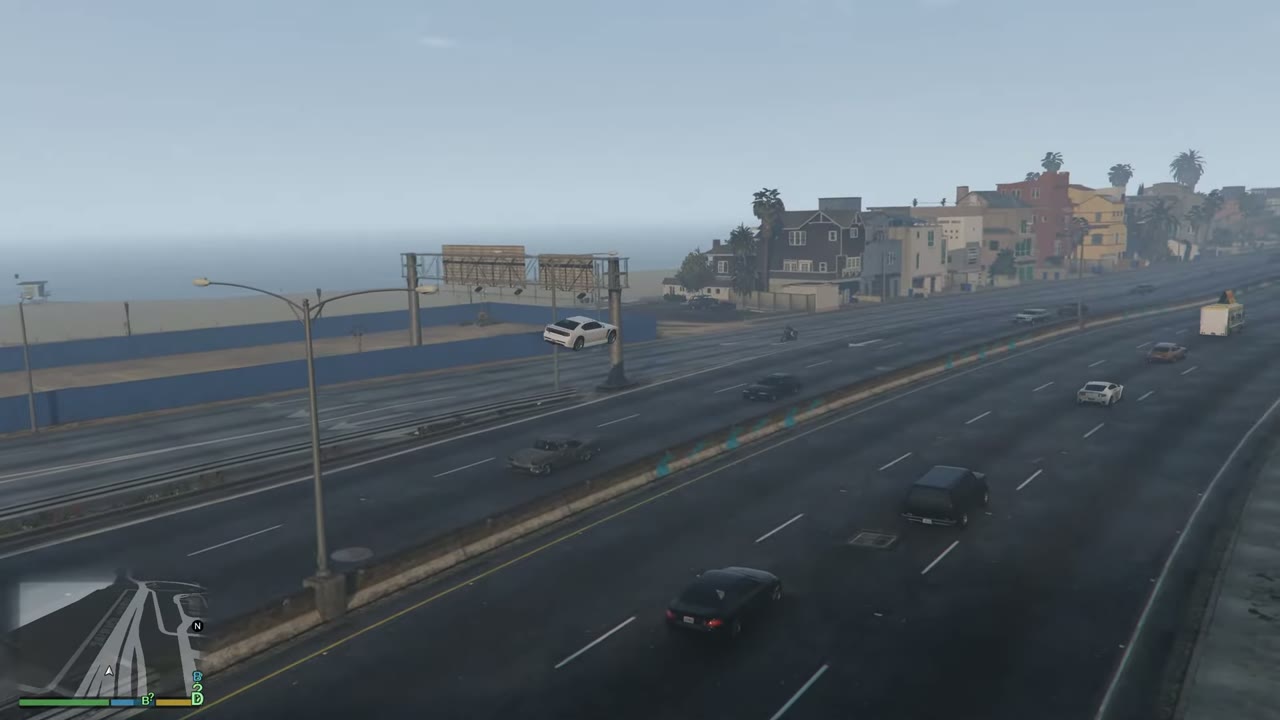
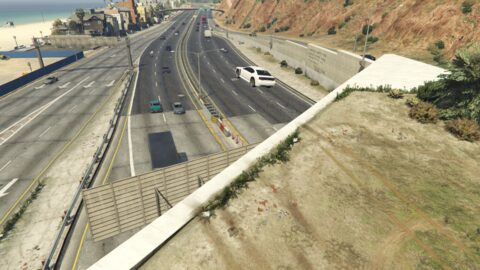
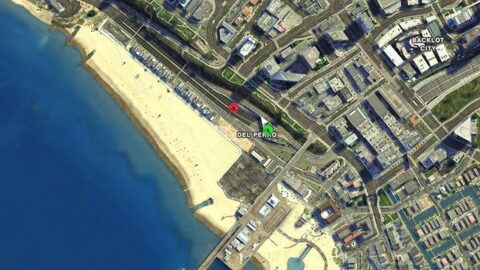
27 Del Perro Approach: Grass ramp above the freeway tunnel on Bay City Incline, heading west
Landing: Land on the Del Perro Freeway.
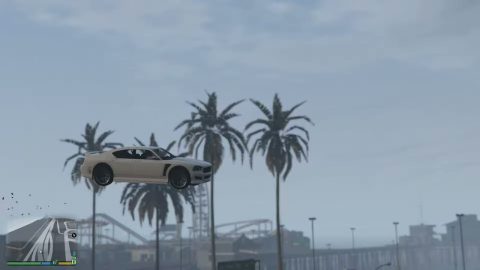
White car on the grass slope above the freeway tunnel on Bay City Incline.Car airborne over palm trees with the Del Perro pier rollercoaster behind it.White car airborne above the Del Perro Freeway lanes beside the beach, with houses on the shore.Stunt Jump 27 locationMap showing Stunt Jump 27
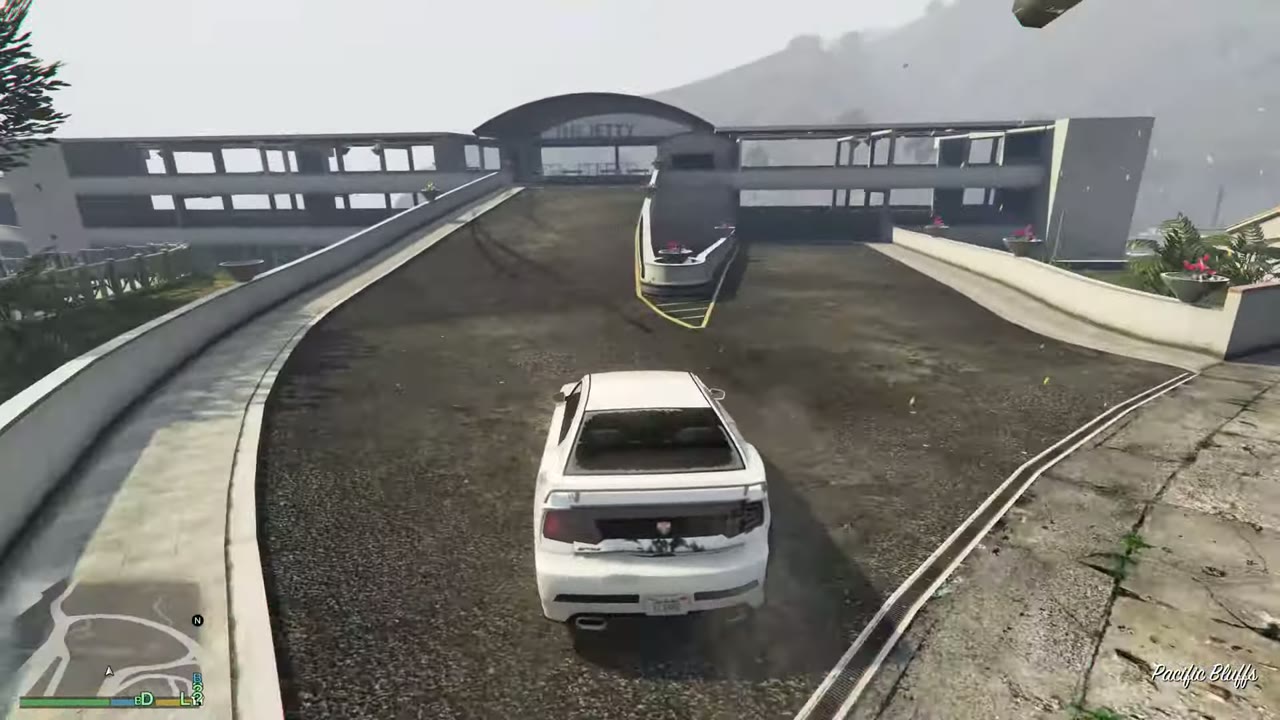
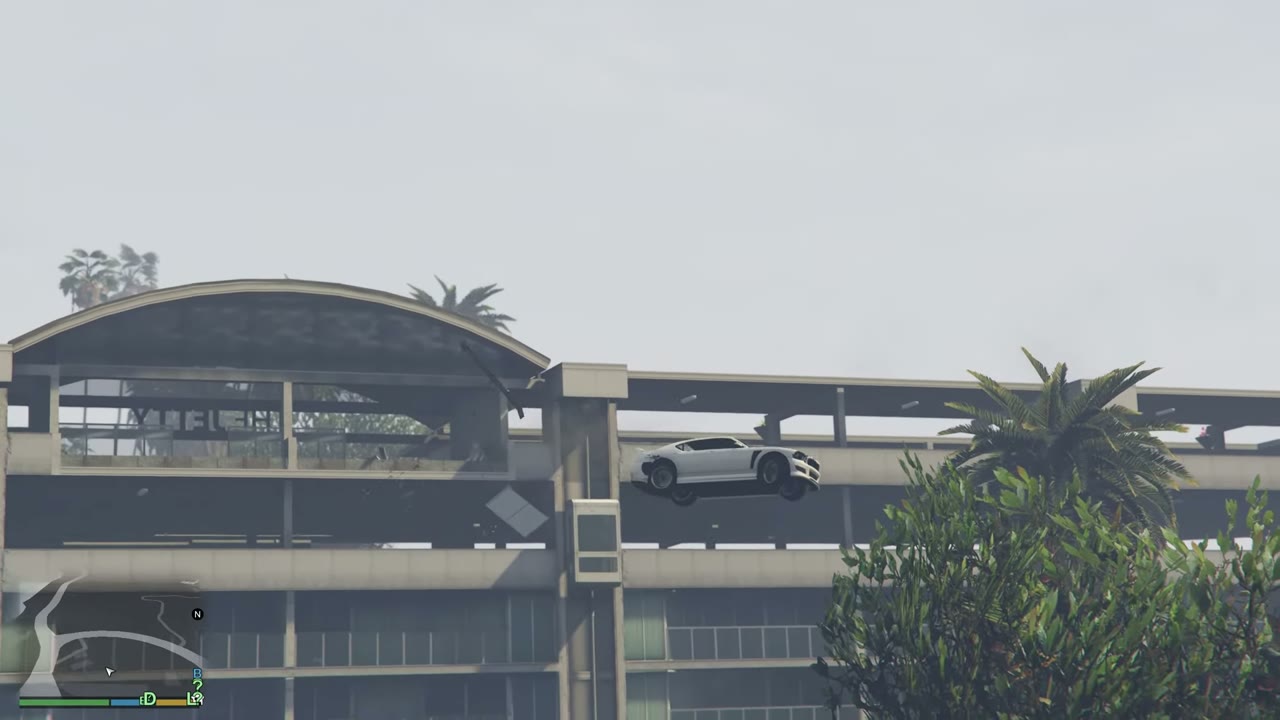
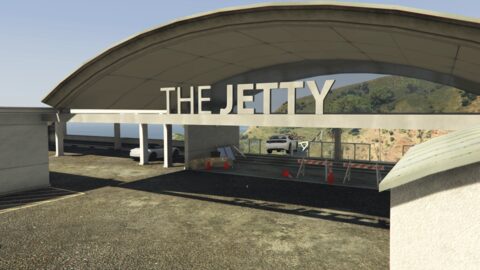
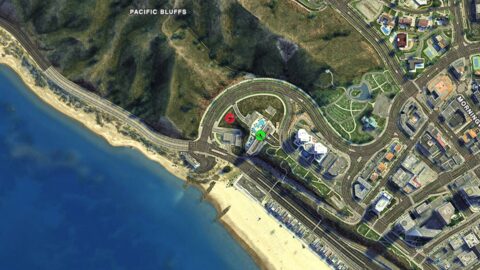
28 Pacific Bluffs Approach: Up the steps and off the balcony at The Jetty on Playa Vista, heading west
Landing: Land near West Eclipse Boulevard.
White car driving up the ramp toward The Jetty building in Pacific Bluffs.Car airborne off the balcony of The Jetty building at Playa Vista.Stunt Jump Completed banner after landing on the grassy slope below The Jetty.Stunt Jump 28 locationMap showing Stunt Jump 28
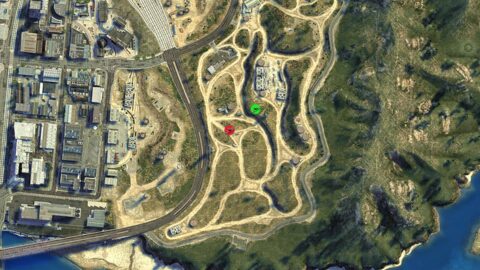
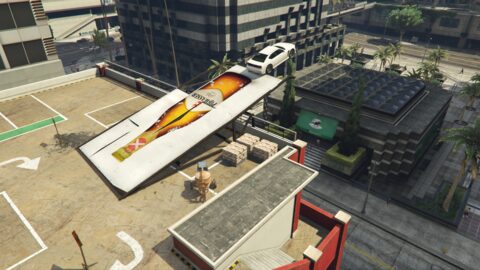
29 Pillbox Hill Approach: Collapsed Pisswasser billboard on the San Andreas Parking Counsel roof, heading east
Landing: Cross Peaceful Street to the Schlongberg Sachs courtyard.
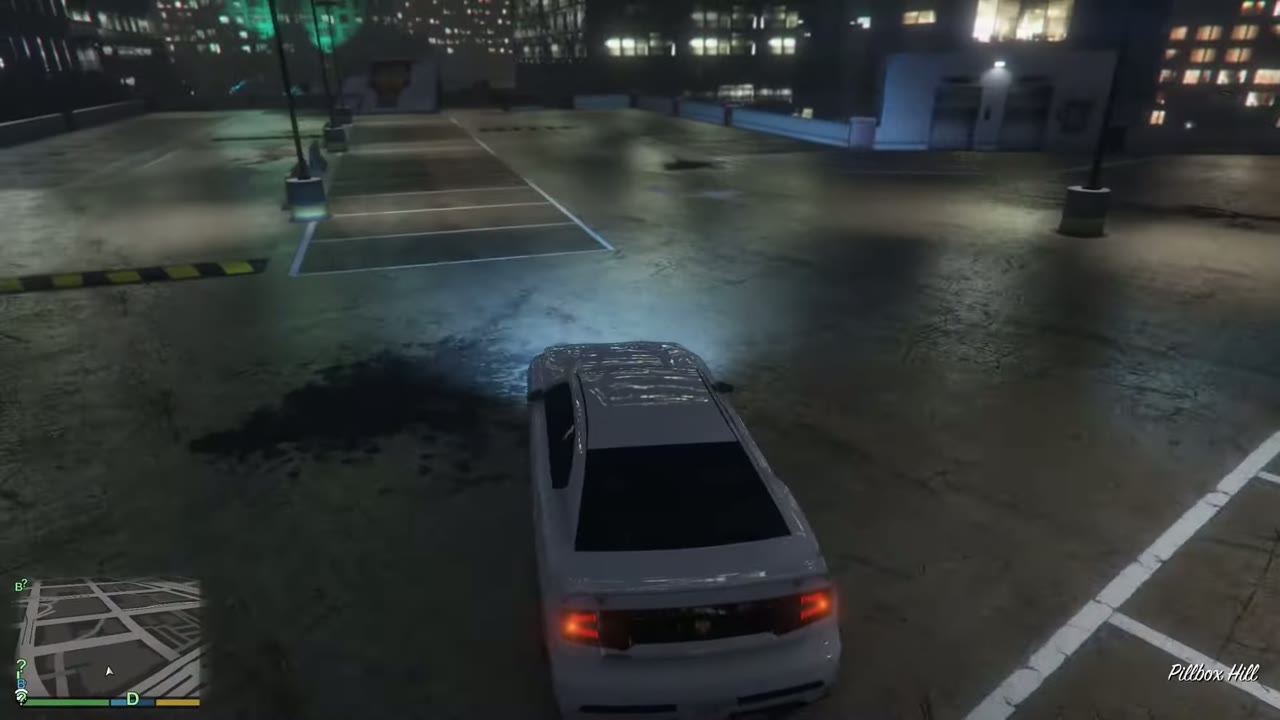
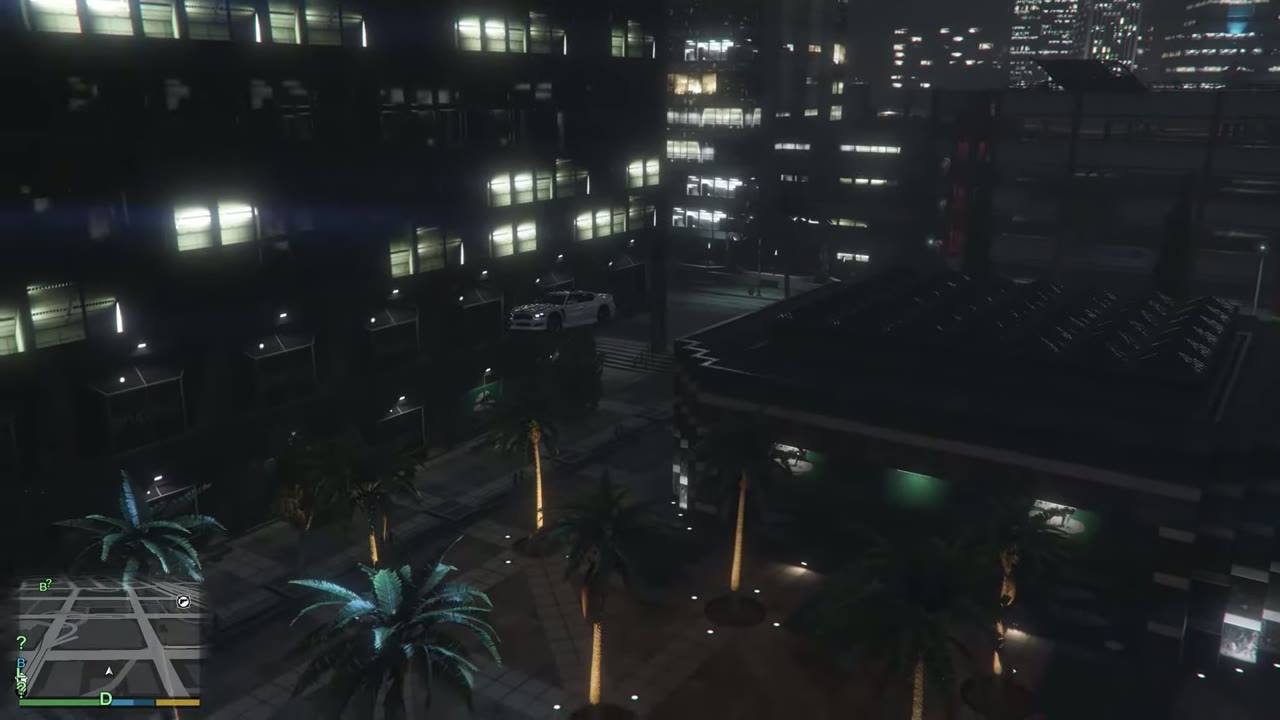
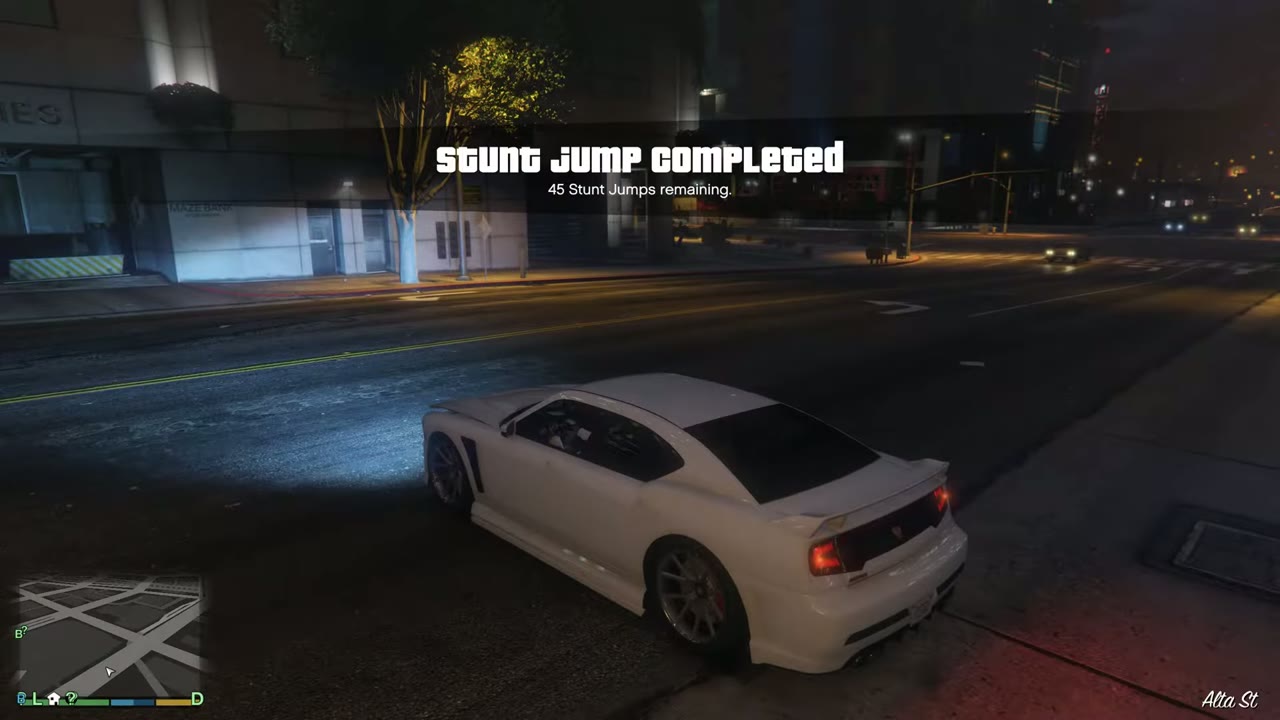
White car on the San Andreas Parking Counsel roof in Pillbox Hill at night.Car airborne over Peaceful Street toward the courtyard with palm trees.Stunt Jump Completed banner after landing on Alta Street in Pillbox Hill.Stunt Jump 29 locationMap showing Stunt Jump 29
30 Pillbox Hill Approach: Broken wall south of FIB Headquarters on San Andreas Avenue, heading east
Landing: Land on San Andreas Avenue.
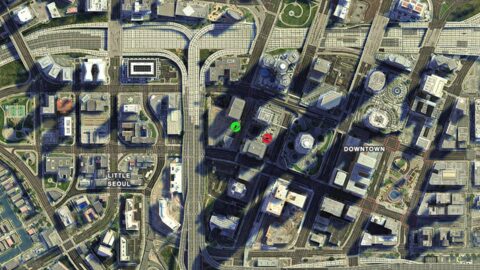
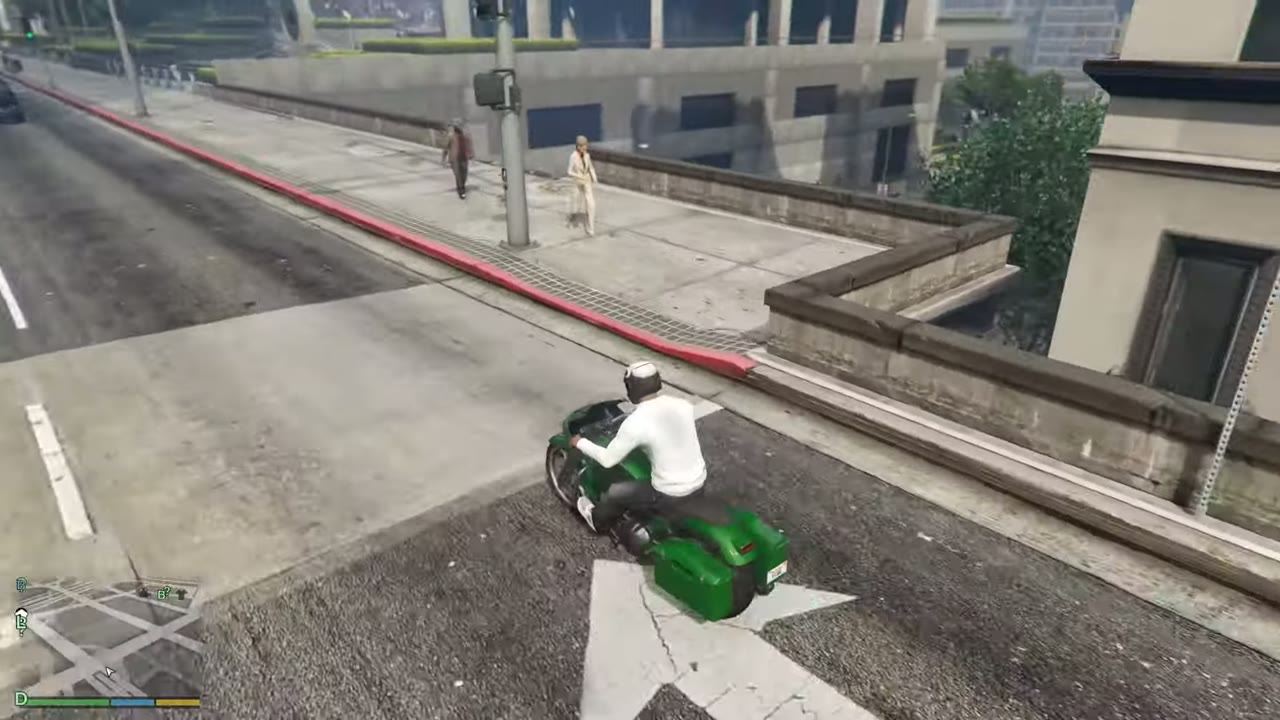
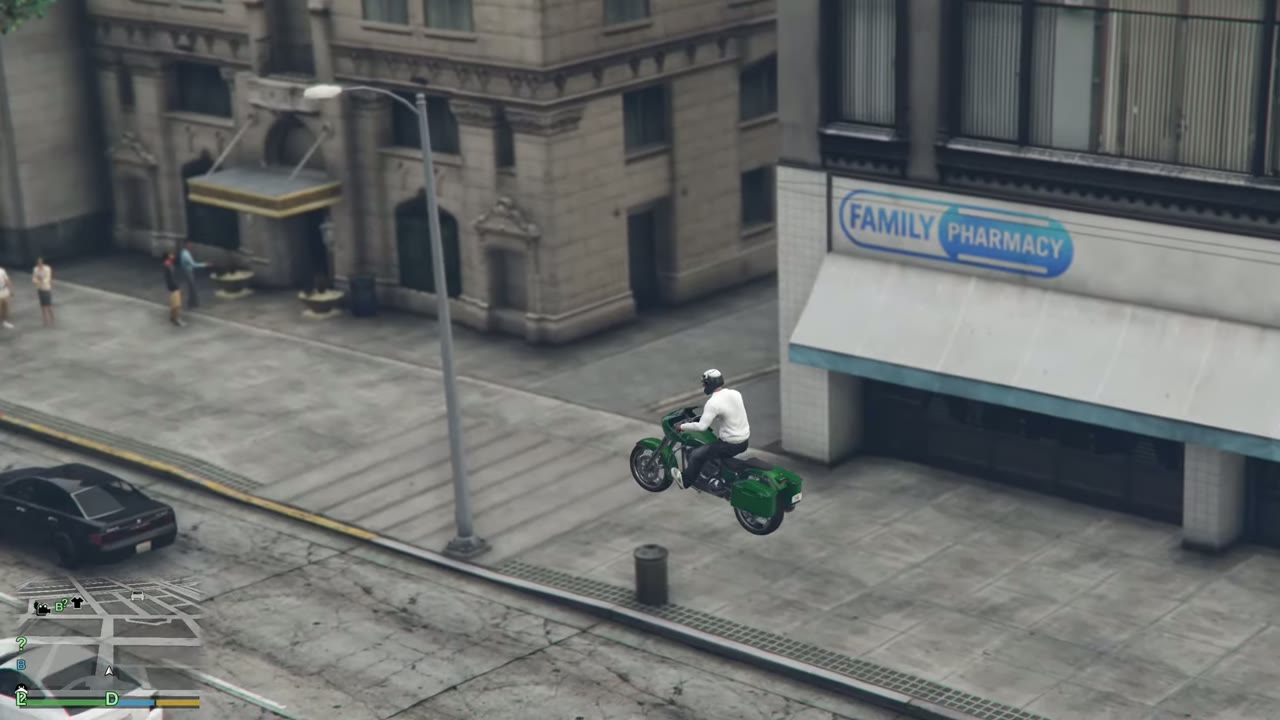
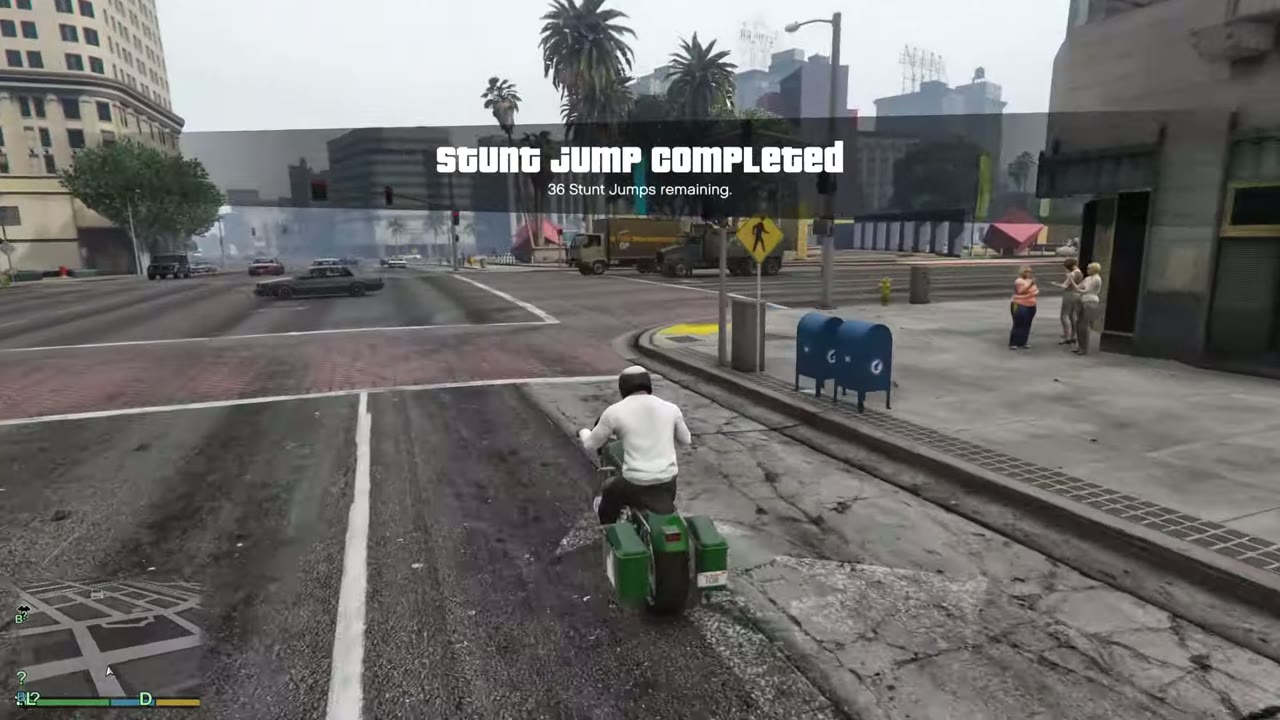
Motorbike riding toward the broken wall corner south of the FIB building in Pillbox Hill.Motorbike airborne past the Family Pharmacy building above San Andreas Avenue.Stunt Jump Completed banner after landing on San Andreas Avenue.Stunt Jump 30 locationMap showing Stunt Jump 30
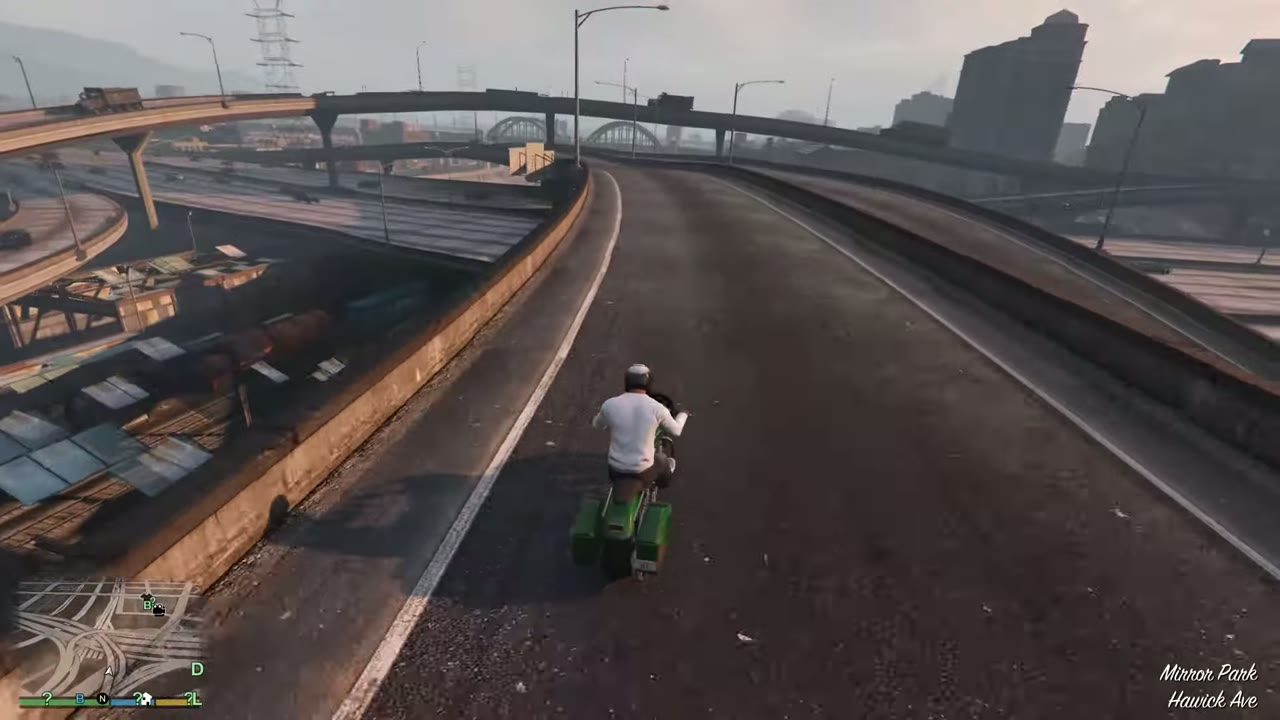
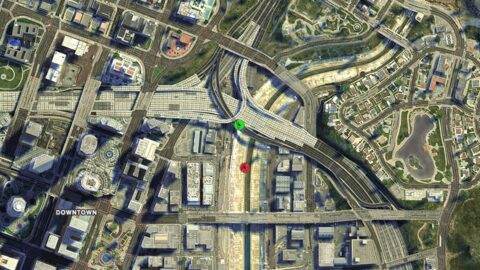
31 East Vinewood Approach: Steel plate ramp on the Hawick Avenue onramp, over the LS River
Landing: Clear the Los Santos River.
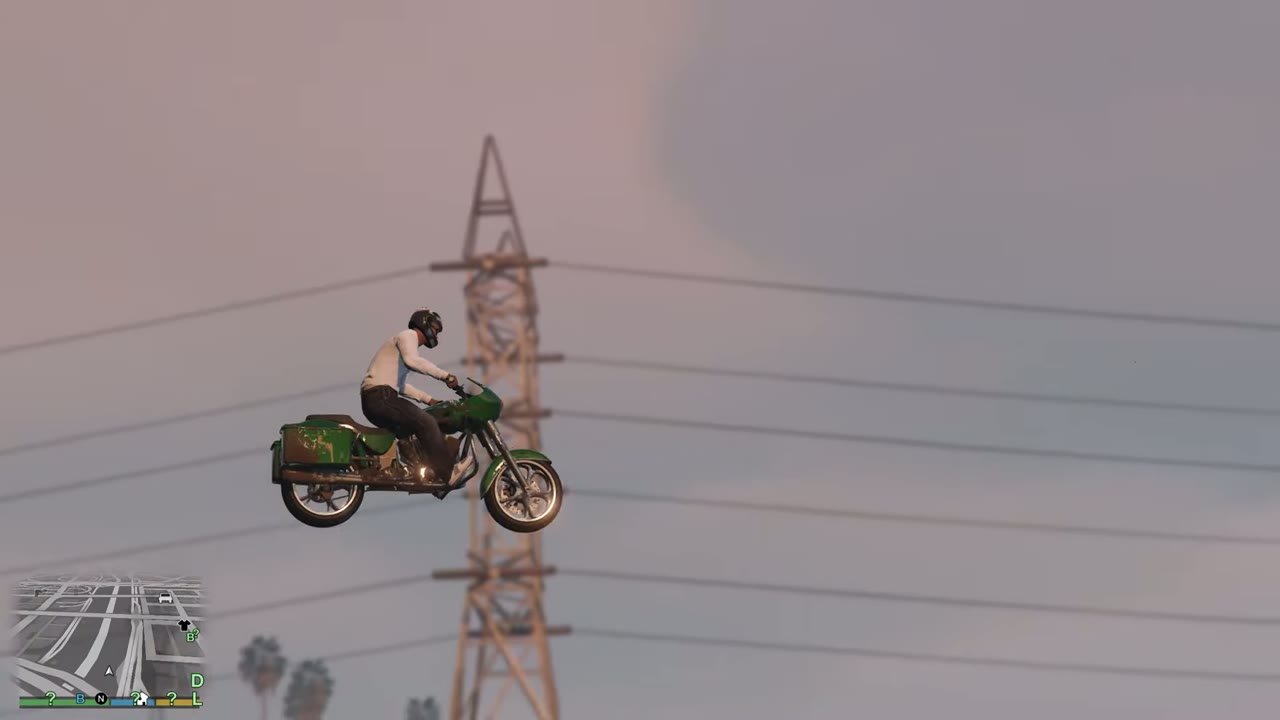
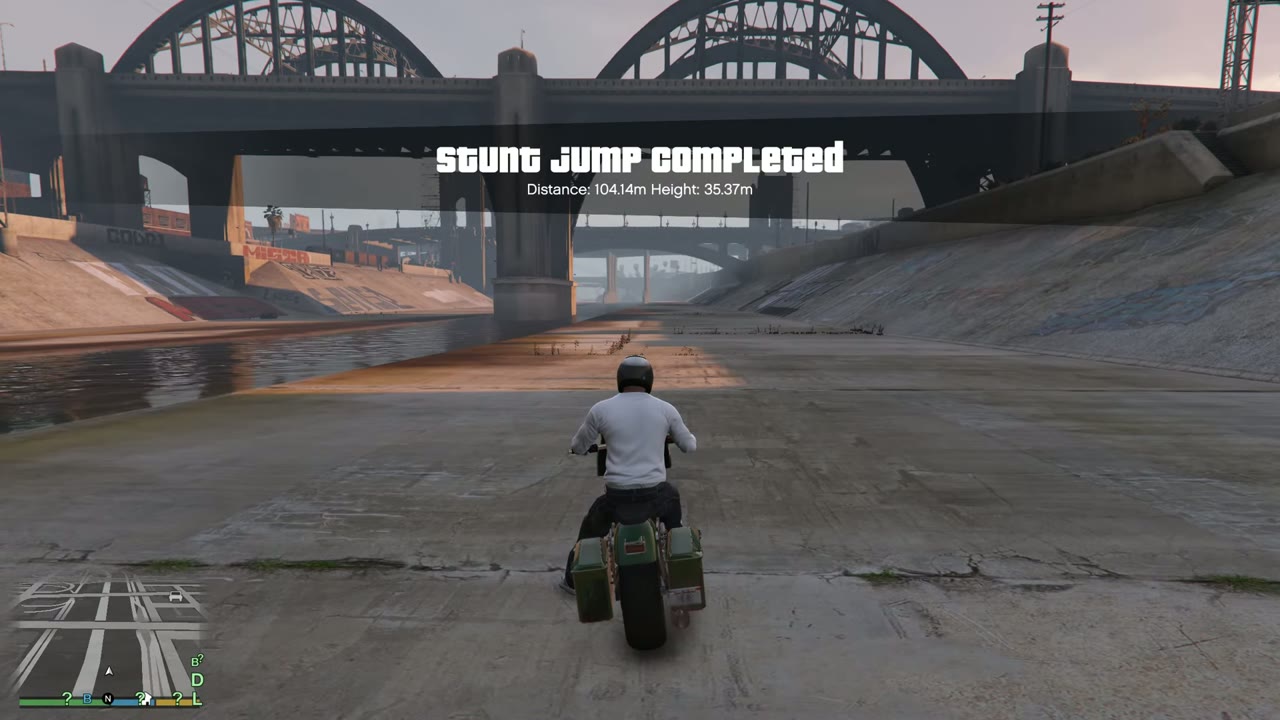
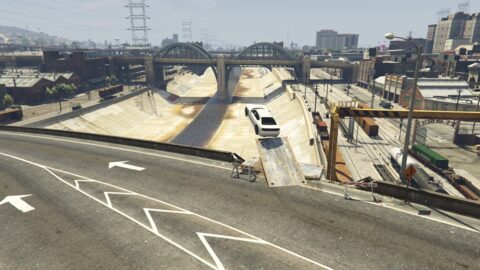
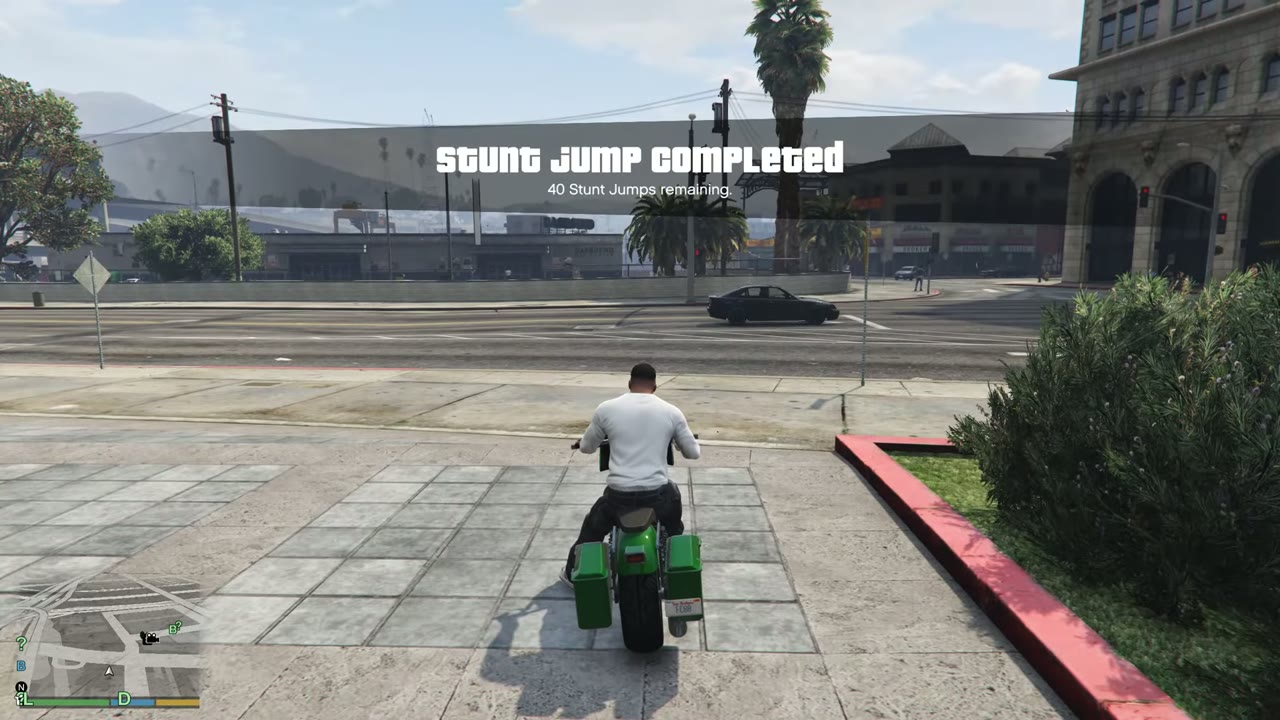
Green motorbike on the Hawick Avenue onramp above the Los Santos River, Mirror Park caption at the bottom right.Motorbike rider airborne beside a power pylon over the Los Santos River.Stunt Jump Completed banner as the motorbike lands in the concrete Los Santos River channel under the arched bridge.Stunt Jump 31 locationMap showing Stunt Jump 31
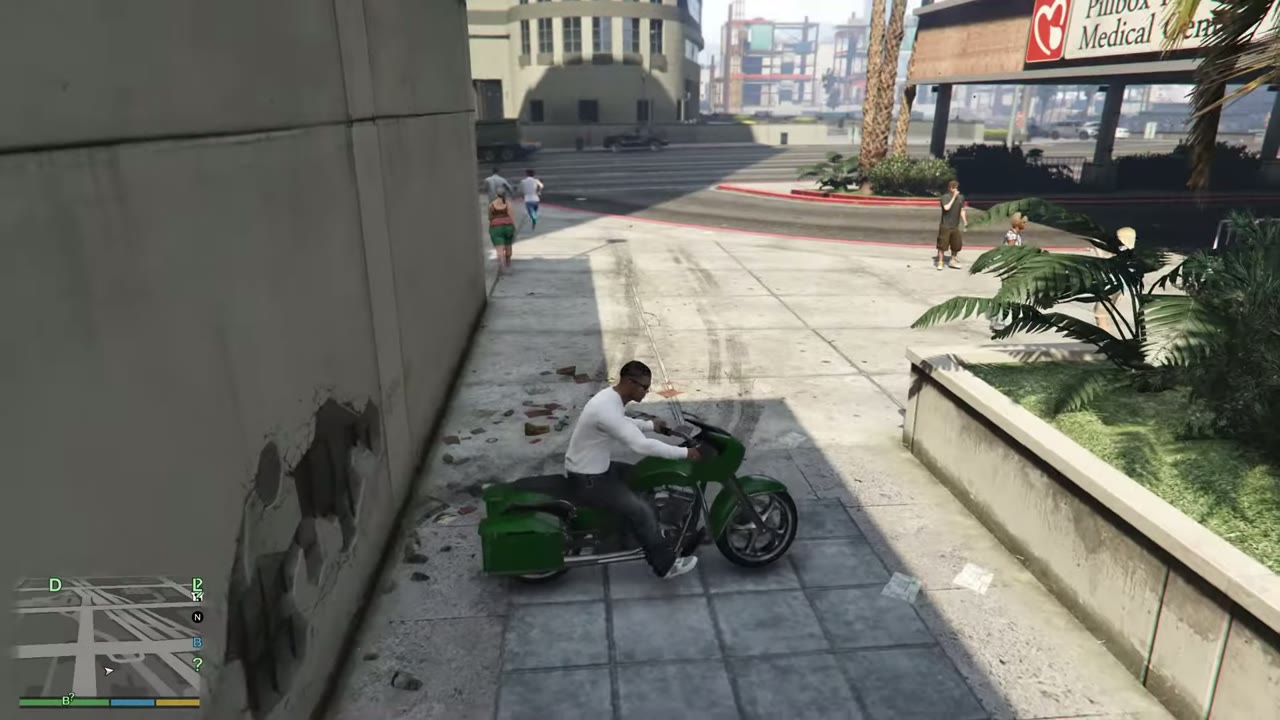
32 Textile City Approach: Broken railing above the stairs south of Pillbox Hill Medical Center, heading east
Landing: Land on Strawberry Avenue.
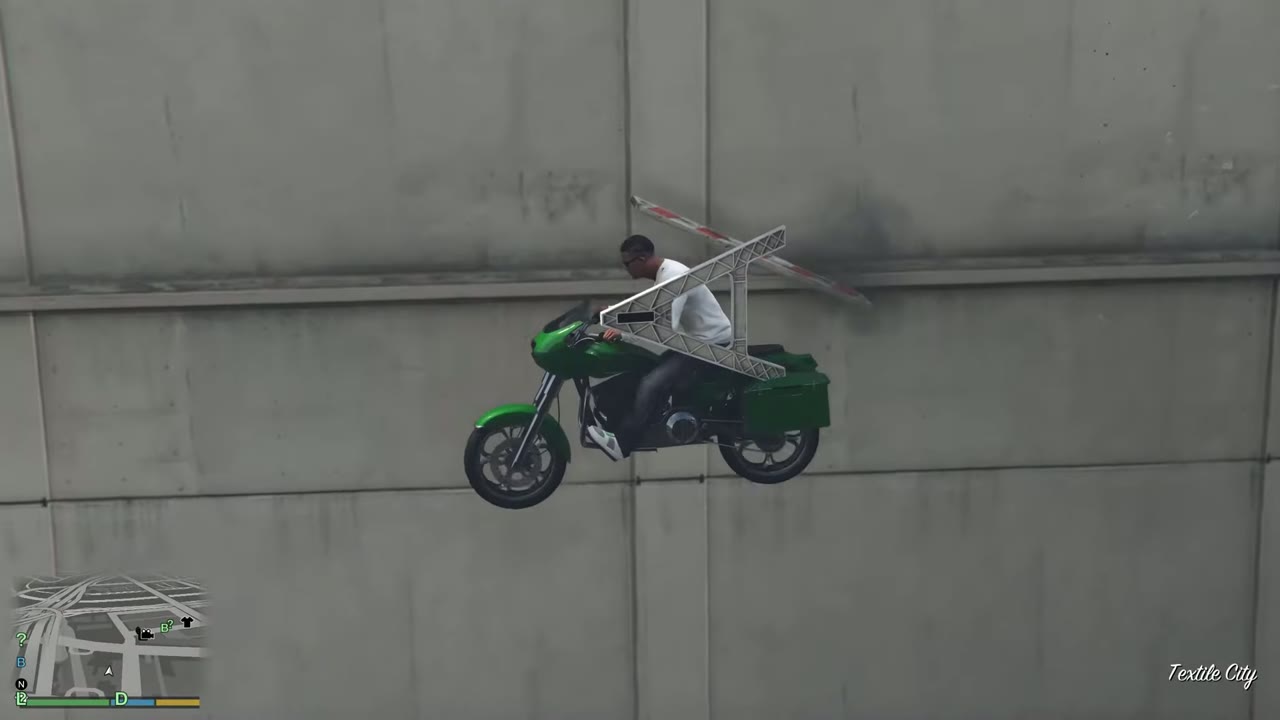
Motorbike on a paved ledge beside a wall with the Pillbox Medical Center sign behind, before the jump.Motorbike airborne against a concrete wall with a broken railing, Textile City caption at the bottom right.Stunt Jump Completed banner as the motorbike lands on a paved plaza facing the street.Stunt Jump 32 locationMap showing Stunt Jump 32
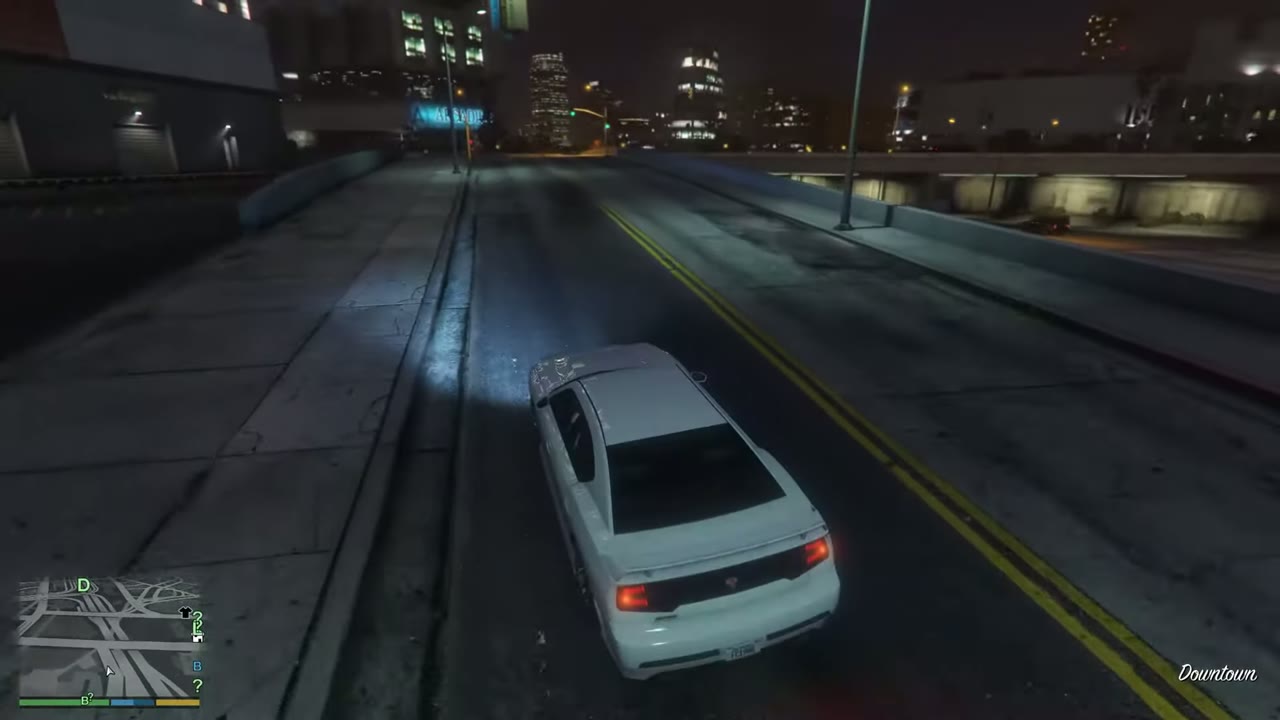
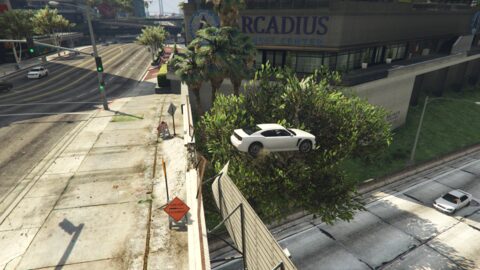
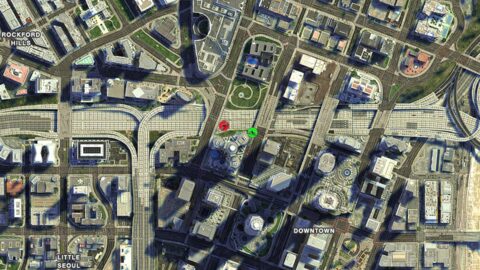
33 Downtown Approach: Sand pile on the overpass north of the Arcadius Business Center, heading west
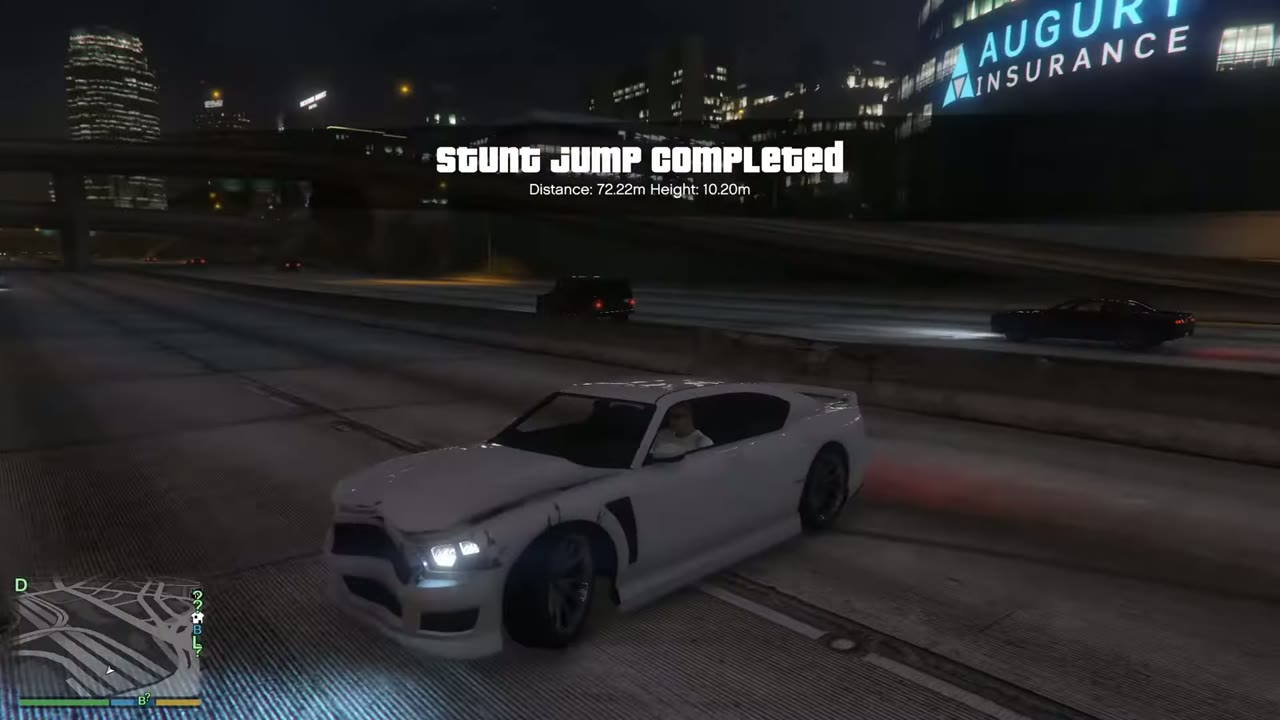
Landing: Land on the Del Perro Freeway, facing the eastbound lanes.
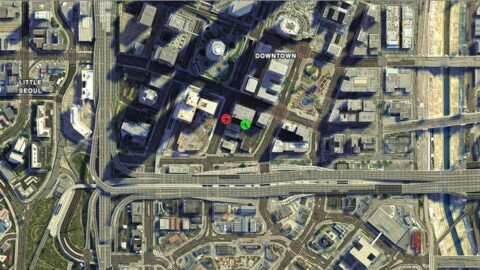
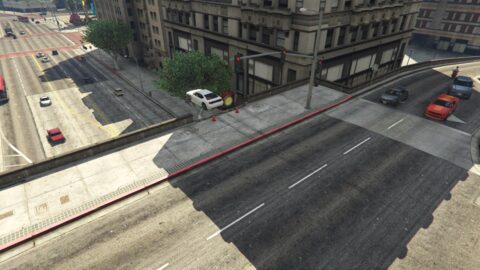
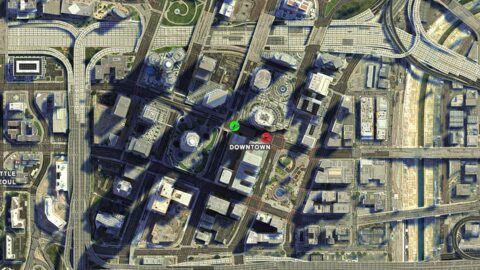
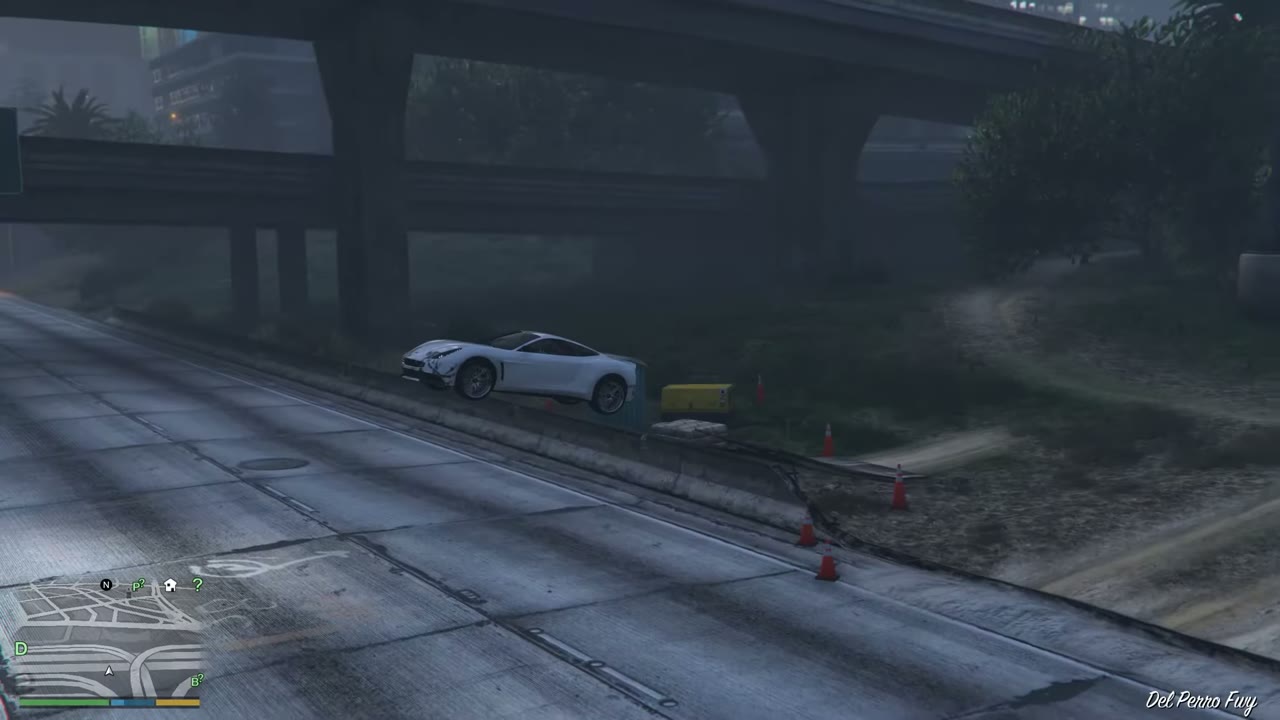
White car driving along a dark city road beside a concrete barrier, with downtown towers ahead at night.Stunt jump completed banner showing 72.22m distance over a white car on a night freeway.Stunt Jump 33 locationMap showing Stunt Jump 33
34 Del Perro Freeway Approach: Small steel plate ramp on the south side, west of the La Puerta junction
Landing: Clear the eastbound lanes and land on the westbound side.
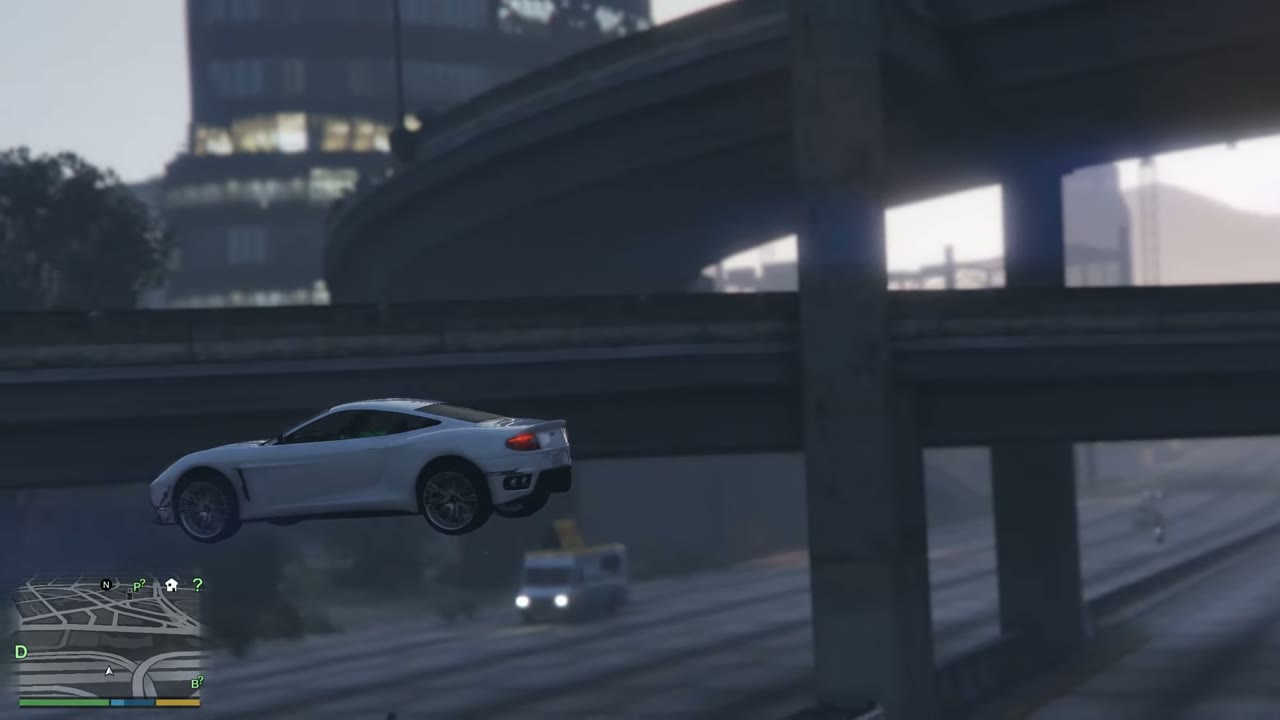
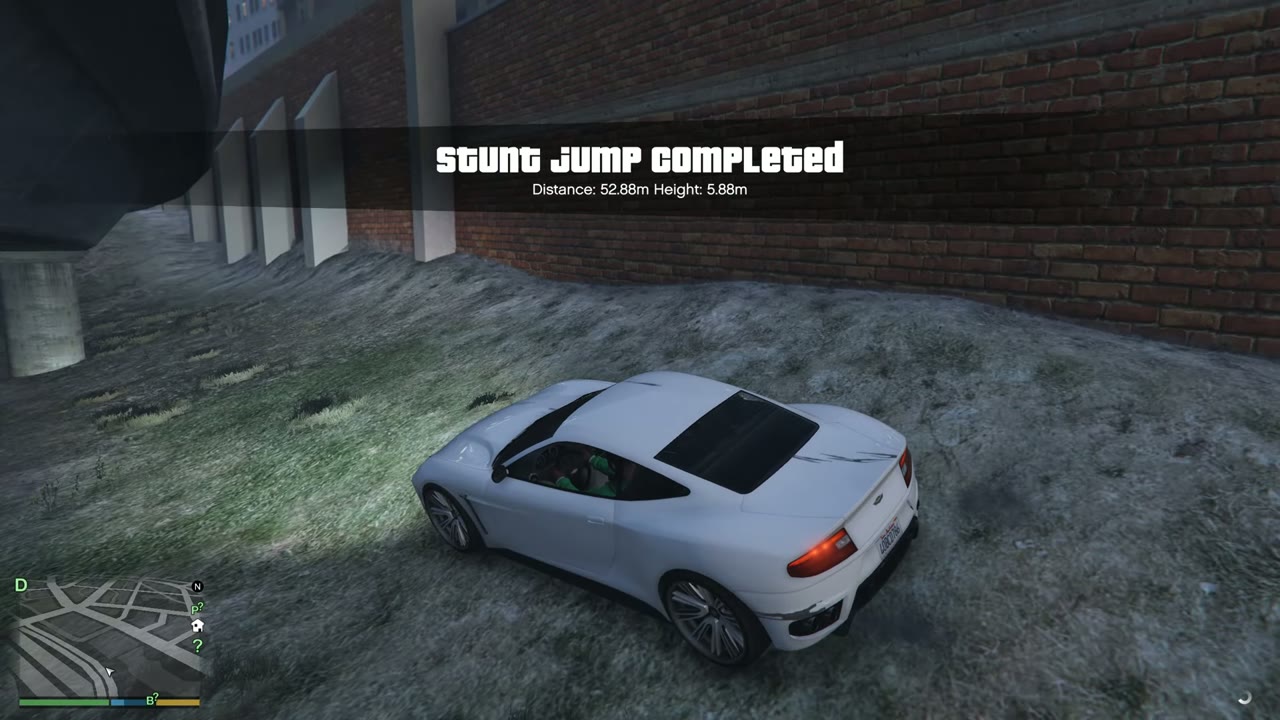
A white sports car leaves a small ramp at the edge of the Del Perro Freeway beside orange cones.The car flies across the freeway lanes beneath a pair of overpasses.The car lands on a grass bank beside a brick wall, 52.88 metres on the notice.Stunt Jump 34 locationMap showing Stunt Jump 34
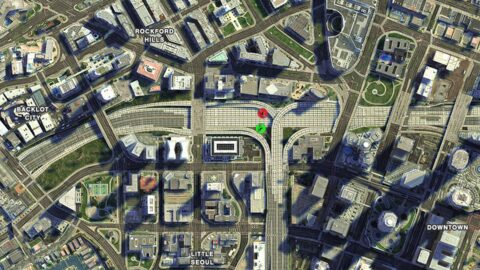
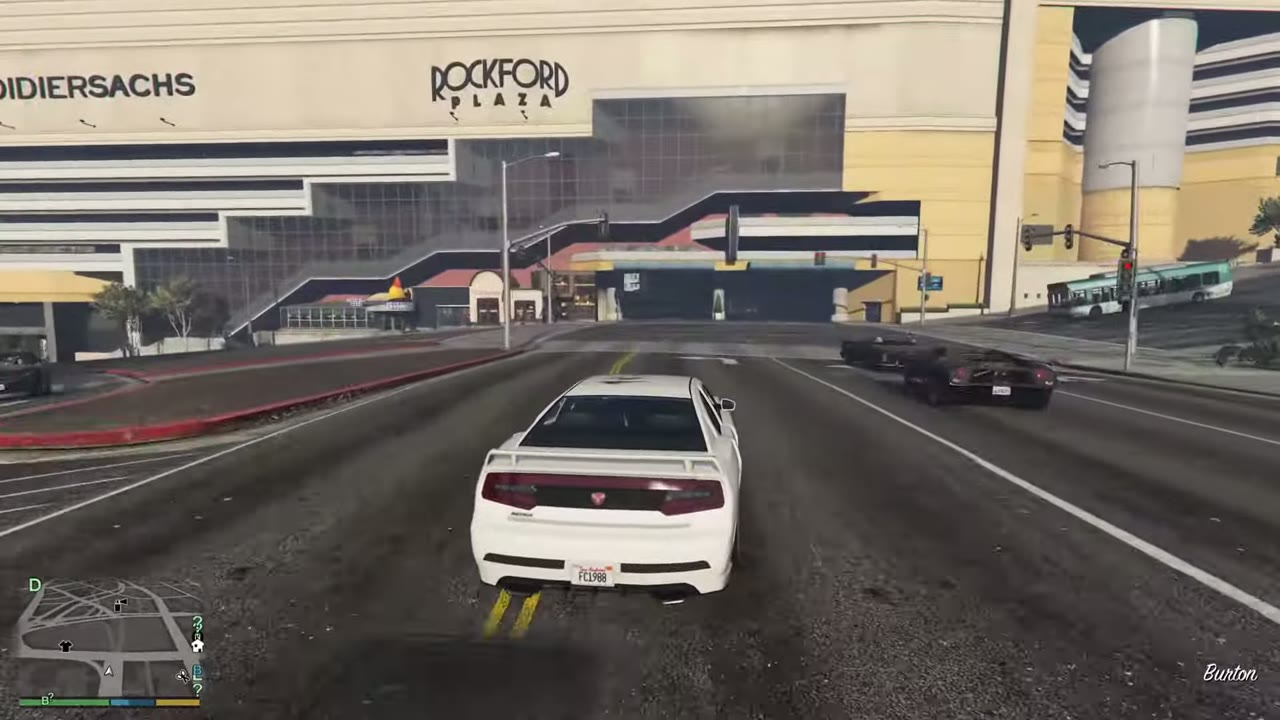
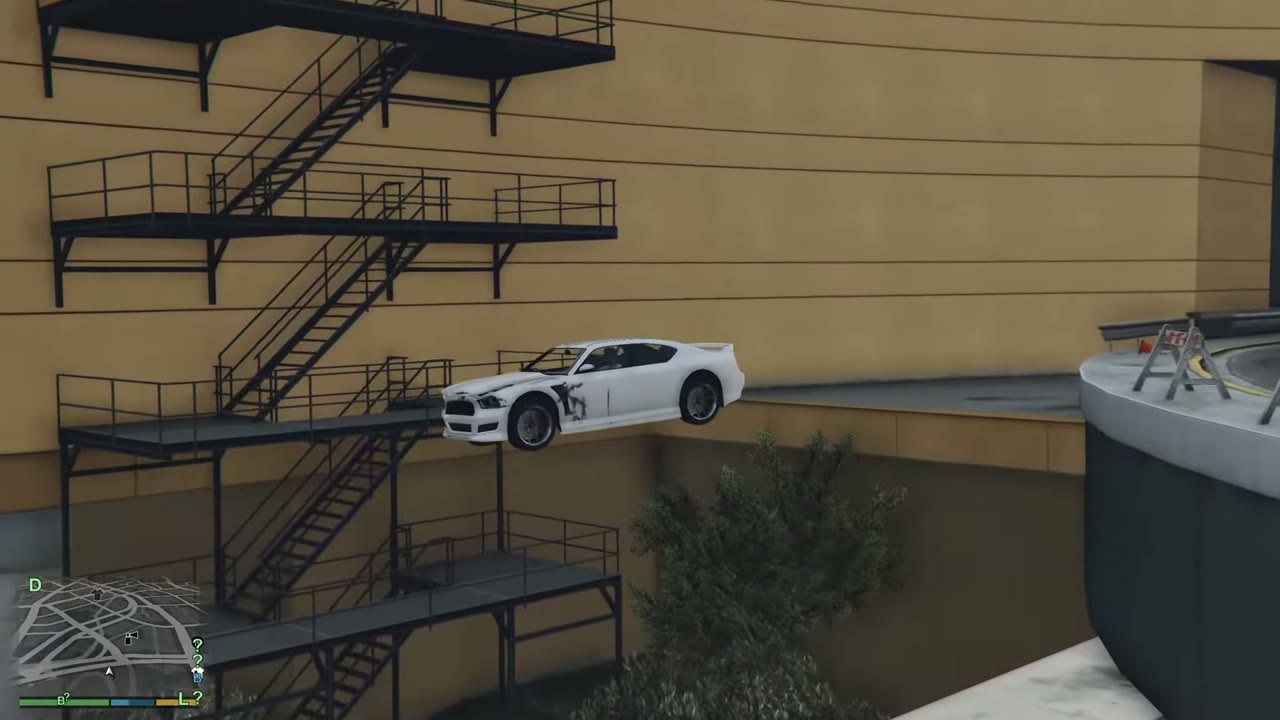
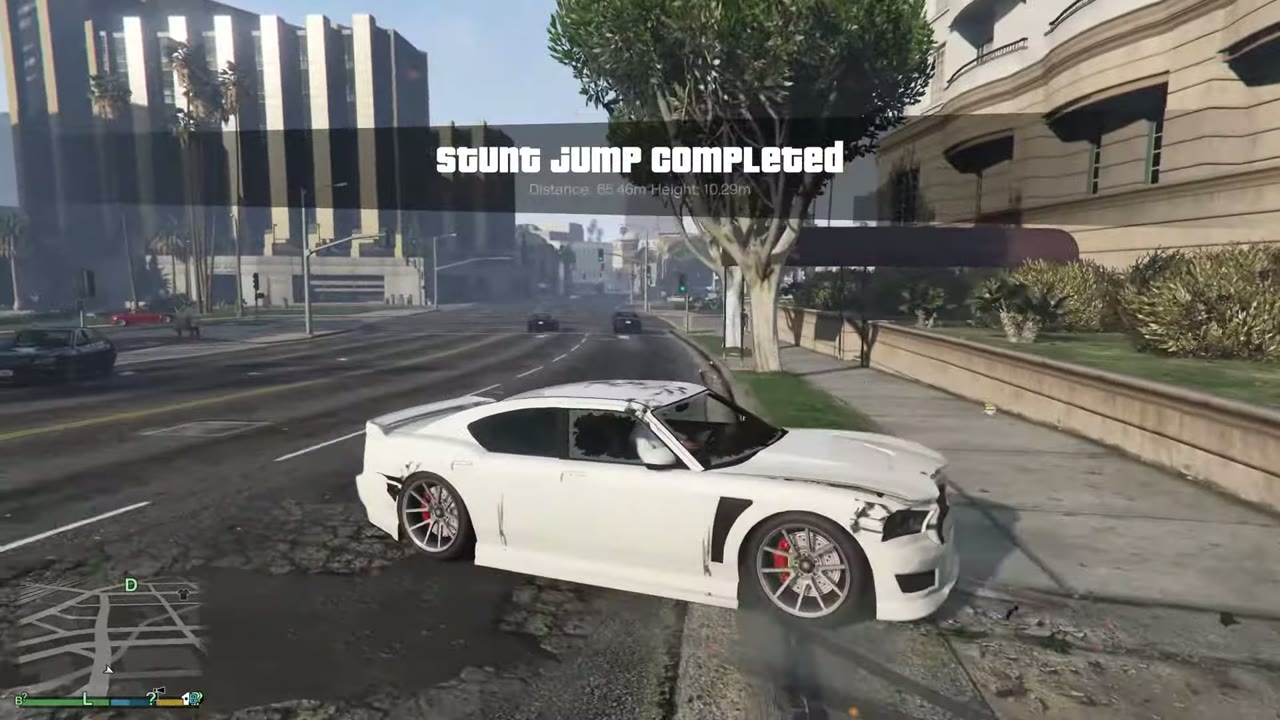
35 Burton Approach: Through Rockford Plaza on the left and out of the gap in the barrier on the right, heading west
Landing: Land on Carcer Way.
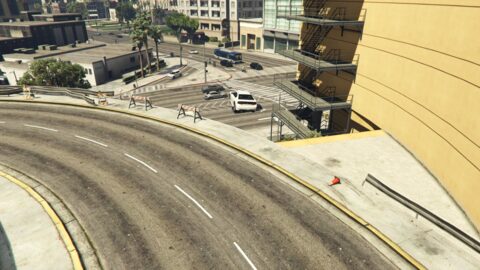
White Buffalo S driving toward Rockford Plaza in Burton, with a bus ahead on the street.White Buffalo S airborne beside the yellow building's fire escape stairs and a sawhorse barrier.Stunt Jump Completed banner as the damaged white car lands on the street beside a tree and building.Stunt Jump 35 locationMap showing Stunt Jump 35
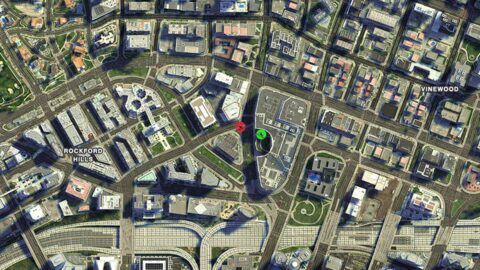
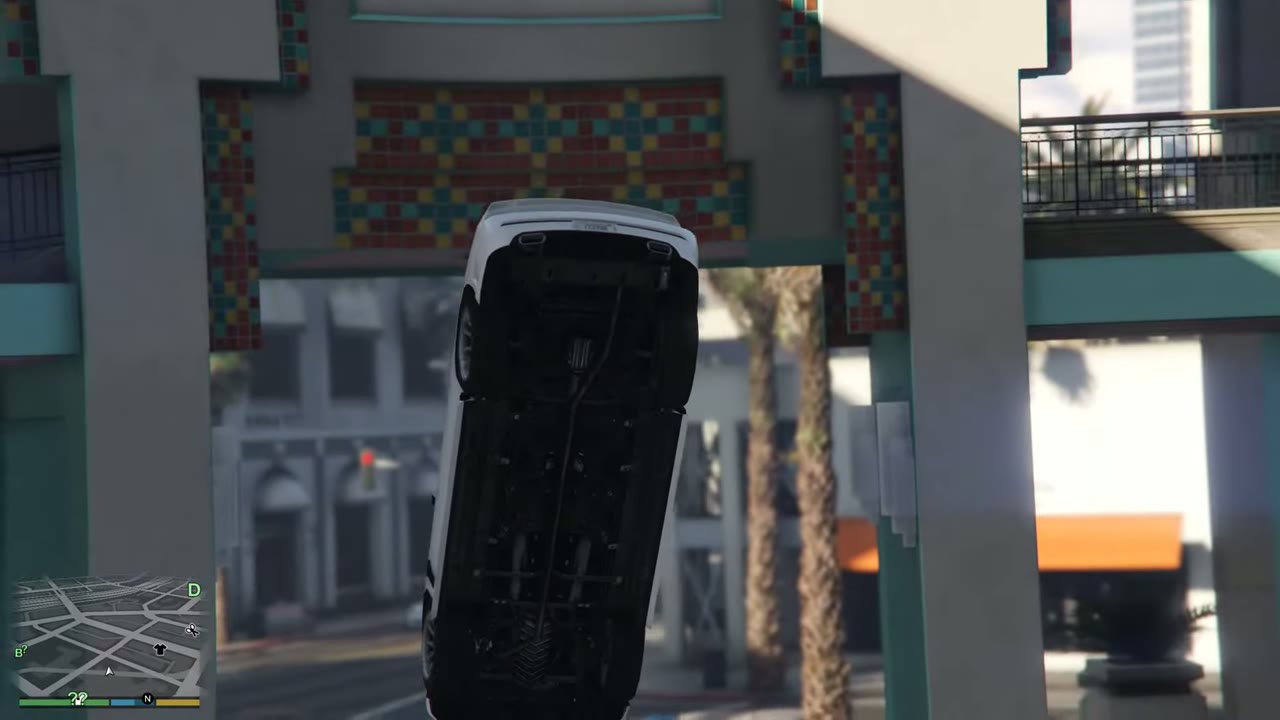
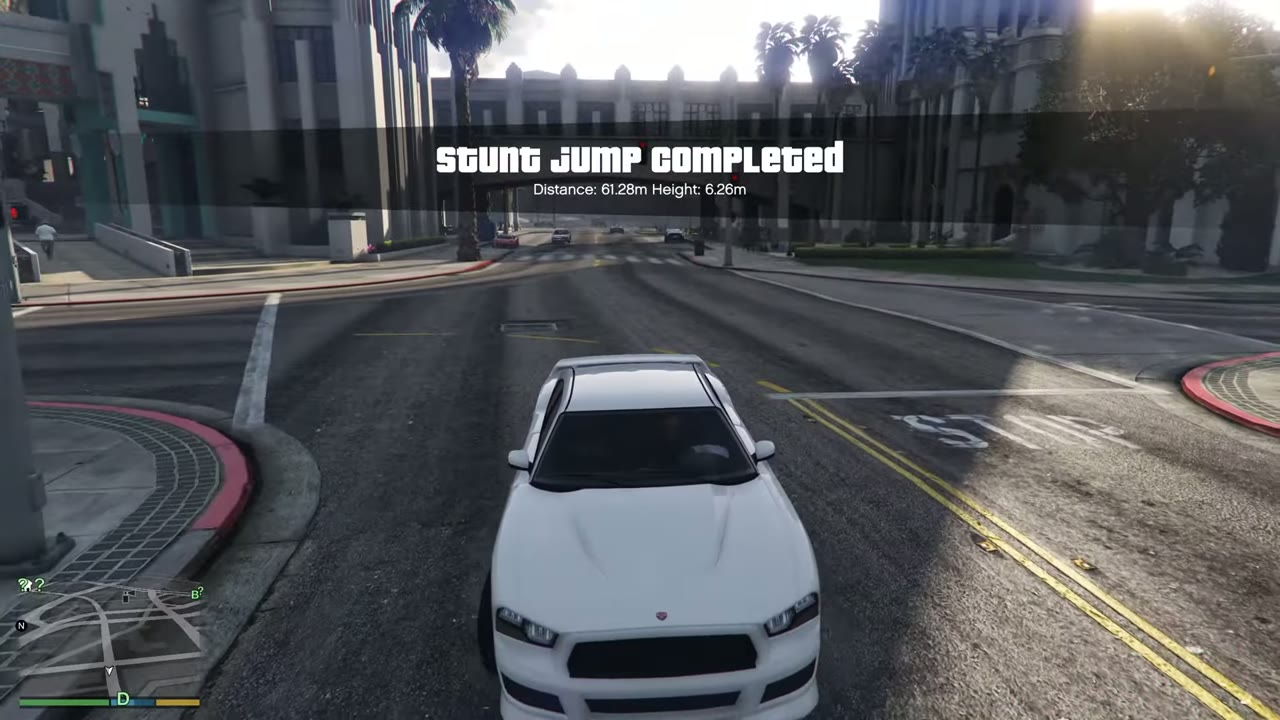
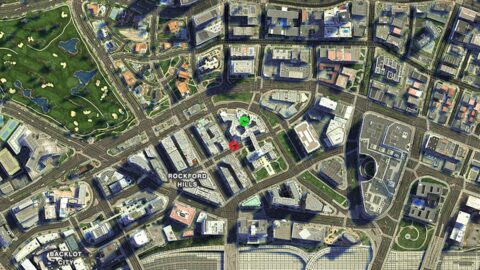
36 Rockford Hills Approach: Through the atrium of the library and fire station building, Milton Road and South Boulevard Del Perro, heading southwest
Landing: Land on Eastbourne Way.
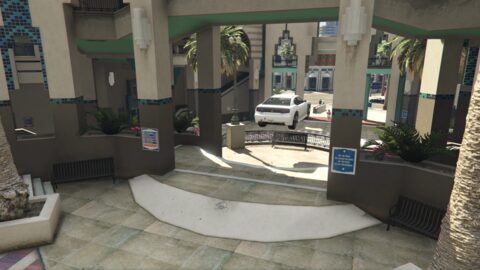
White car flipped upright, flying through the tiled arch of a teal-pillared atrium.Stunt jump completed banner showing 61.28m distance over a white car on a city street.Stunt Jump 36 locationMap showing Stunt Jump 36
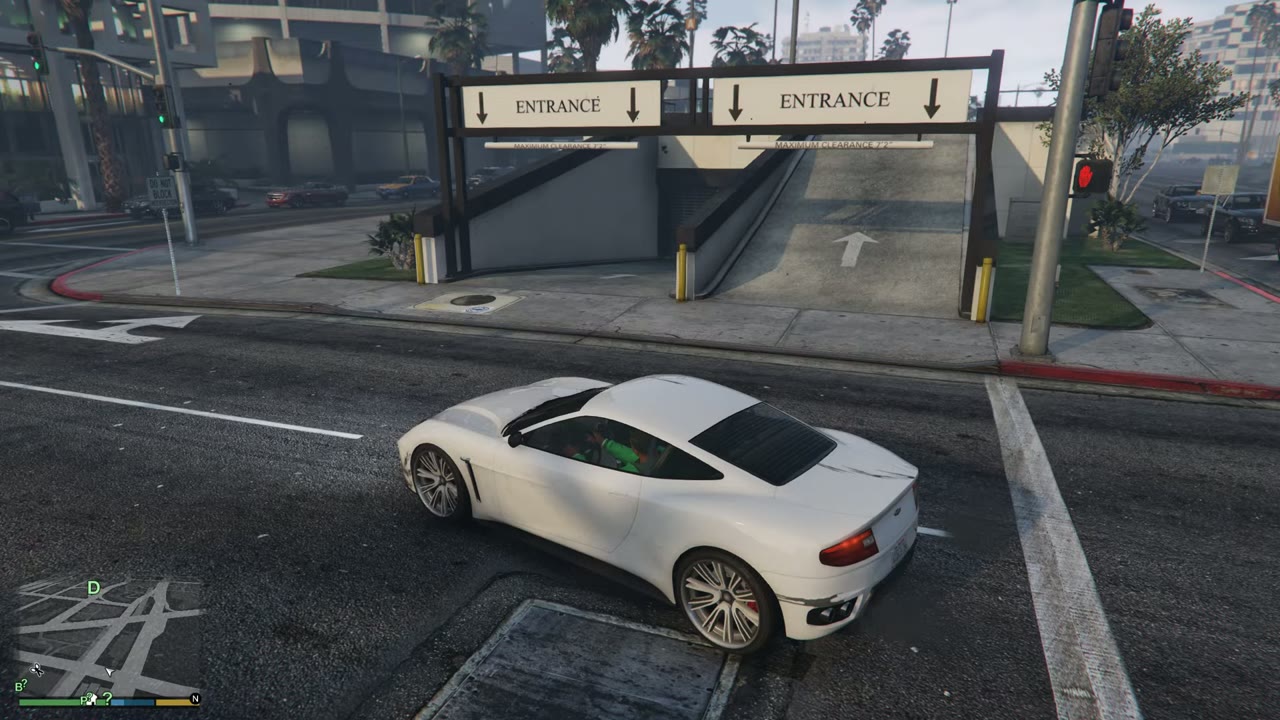
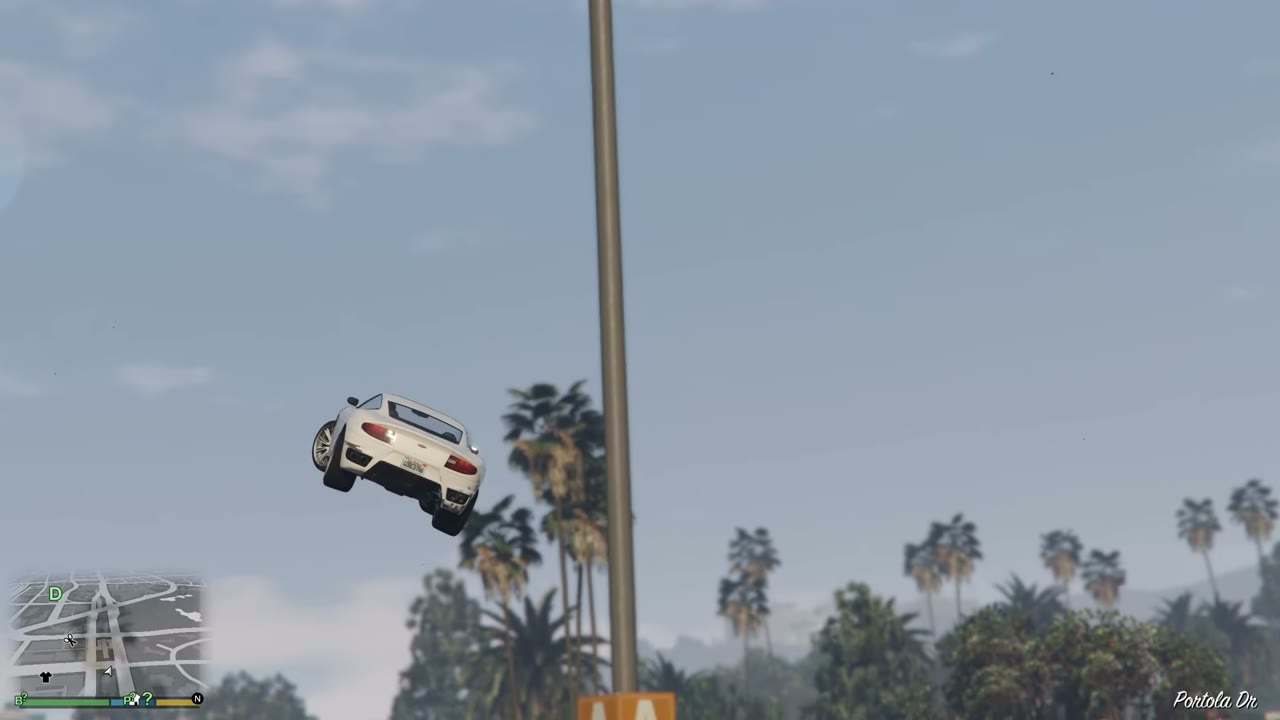
37 Rockford Hills Approach: Parking building entry ramp on Boulevard Del Perro at Rockford Drive, heading west
Landing: Land at Portola Drive and Boulevard Del Perro.
White sports car at the Entrance ramp of the parking building on Boulevard Del Perro.White sports car airborne above street lamps with palm trees below after leaving the parking ramp.Stunt Jump Completed banner as the white car lands on the roadside lawn by the Rockford Hills sign.Stunt Jump 37 locationMap showing Stunt Jump 37
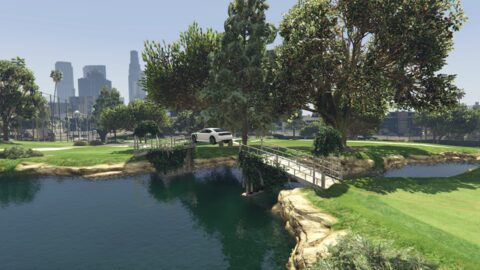
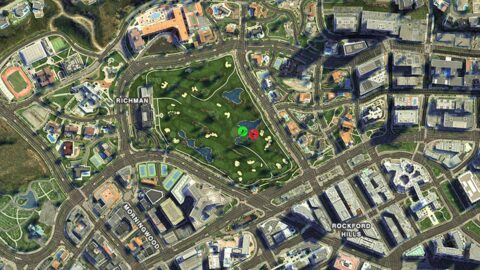
38 Los Santos Golf Club Approach: Broken footbridge over the lake behind the fourth green, heading southeast
Landing: Land on the far side of the bridge.
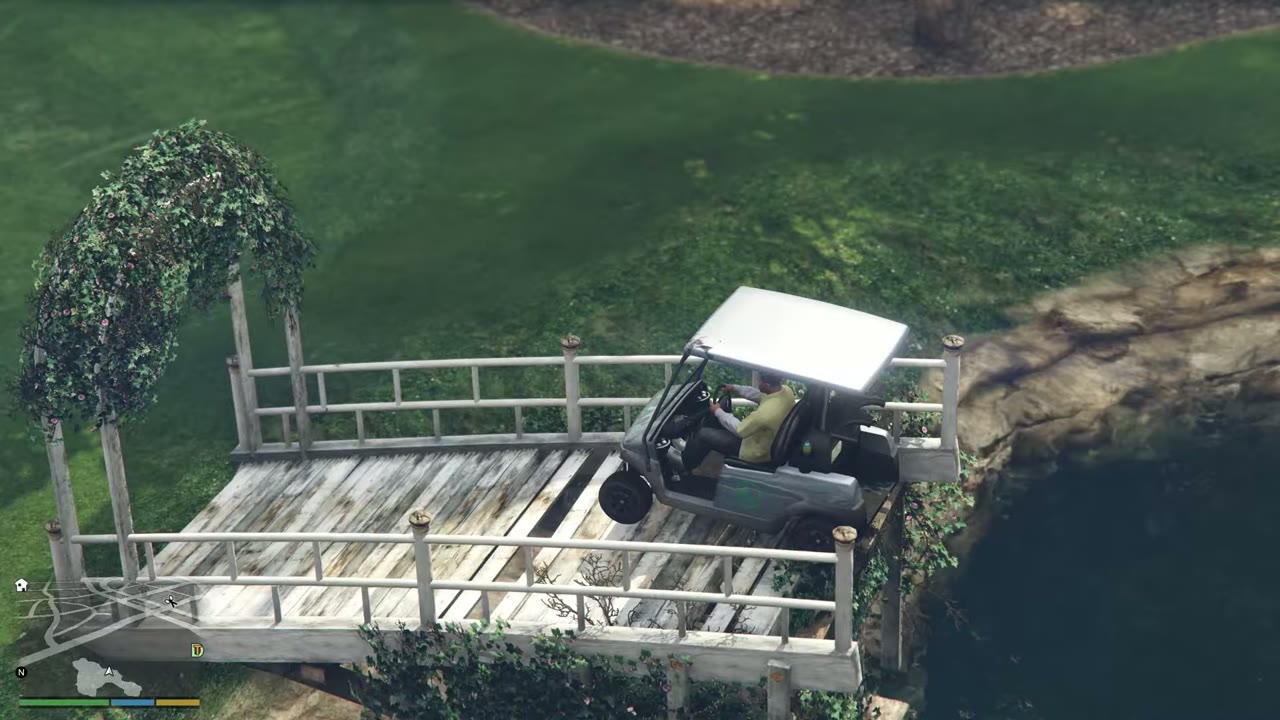
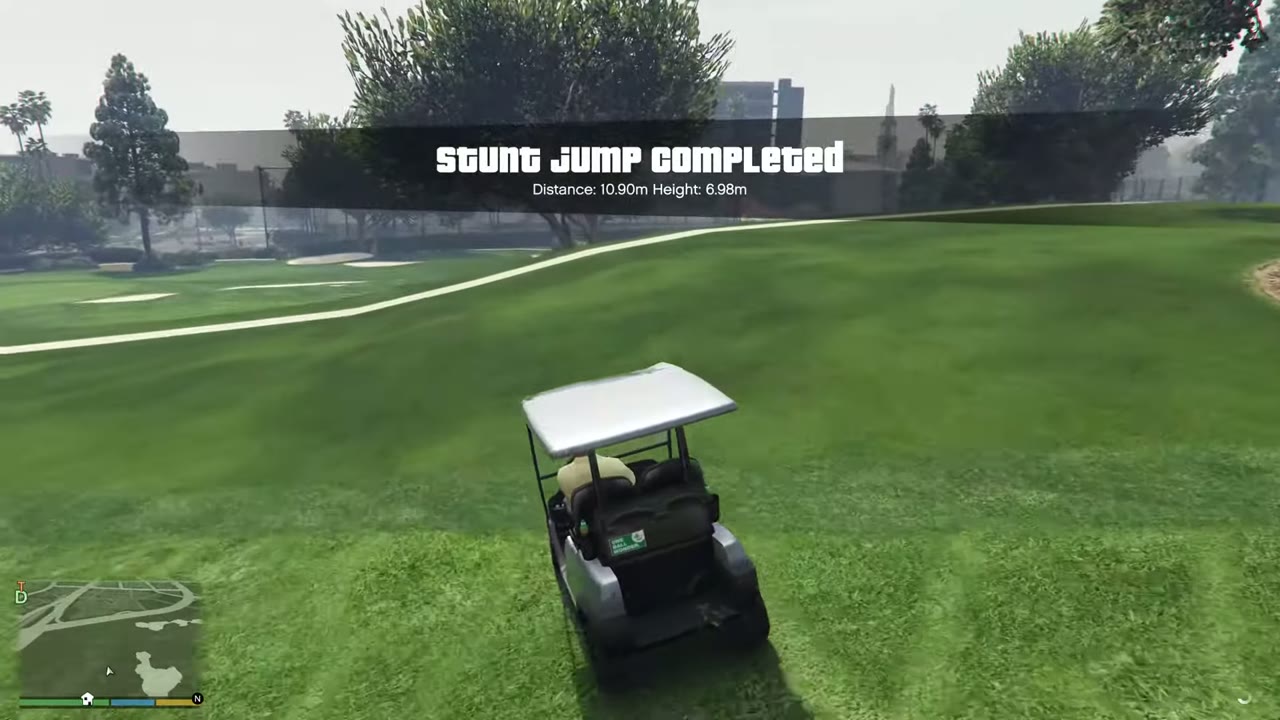
Golf cart driving onto a wooden footbridge with a vine-covered arch over a lake.Stunt jump completed banner showing 10.90m distance over a golf cart on the fairway.Stunt Jump 38 locationMap showing Stunt Jump 38
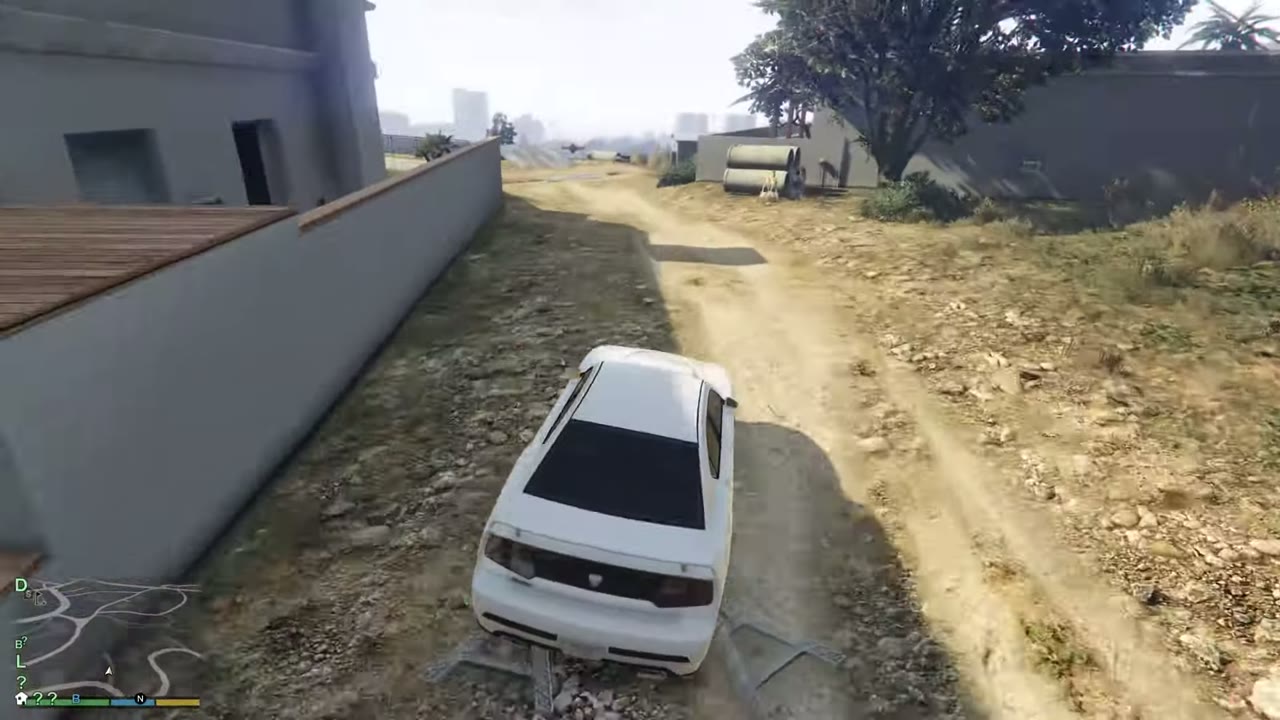
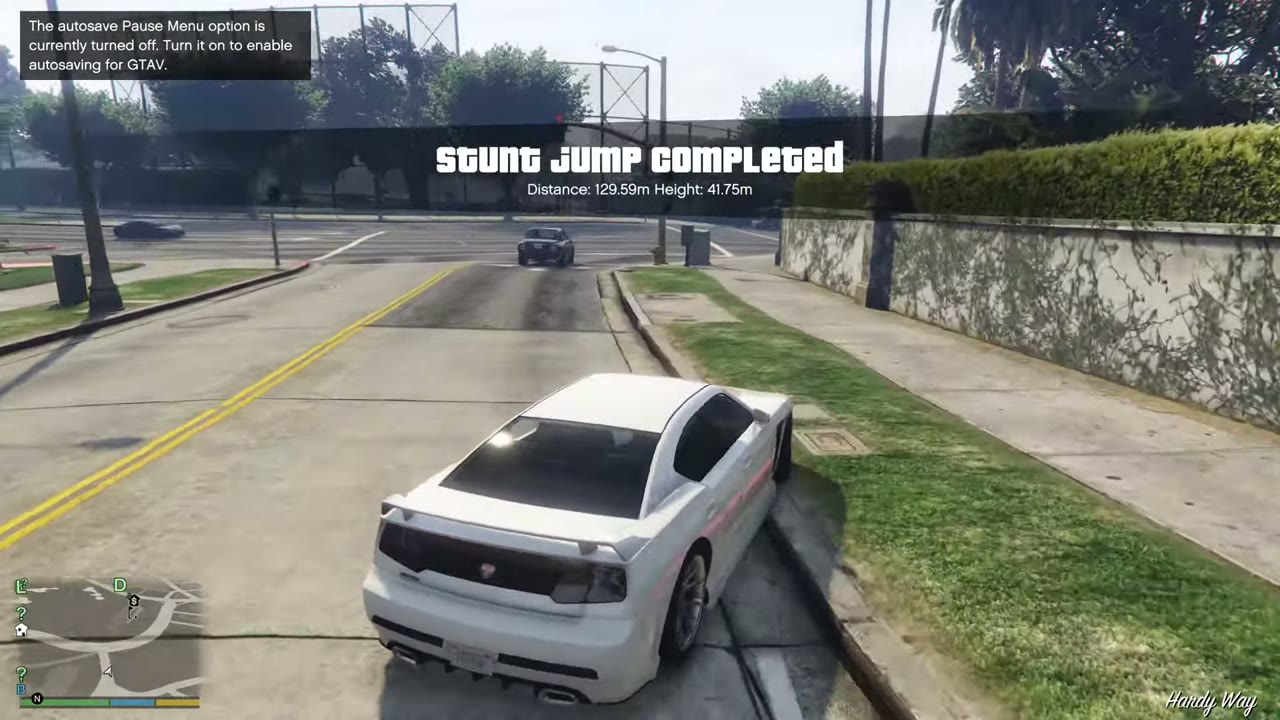
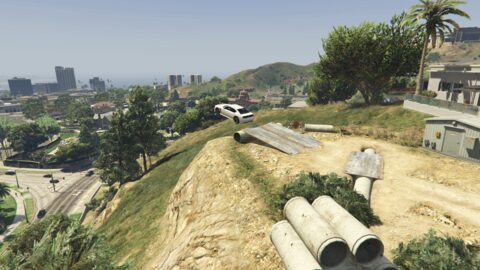
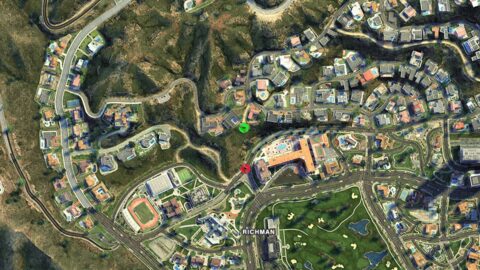
39 Richman Approach: Steel plates on a concrete pipe at the end of a dirt road on Mad Wayne Thunder Drive, heading south
Landing: Land at Picture Perfect Drive and Hardy Way.
White car on a dirt road, its rear wheels over steel plates beside a grey wall.Stunt jump completed banner showing 129.59m distance over a white car on Hardy Way.Stunt Jump 39 locationMap showing Stunt Jump 39
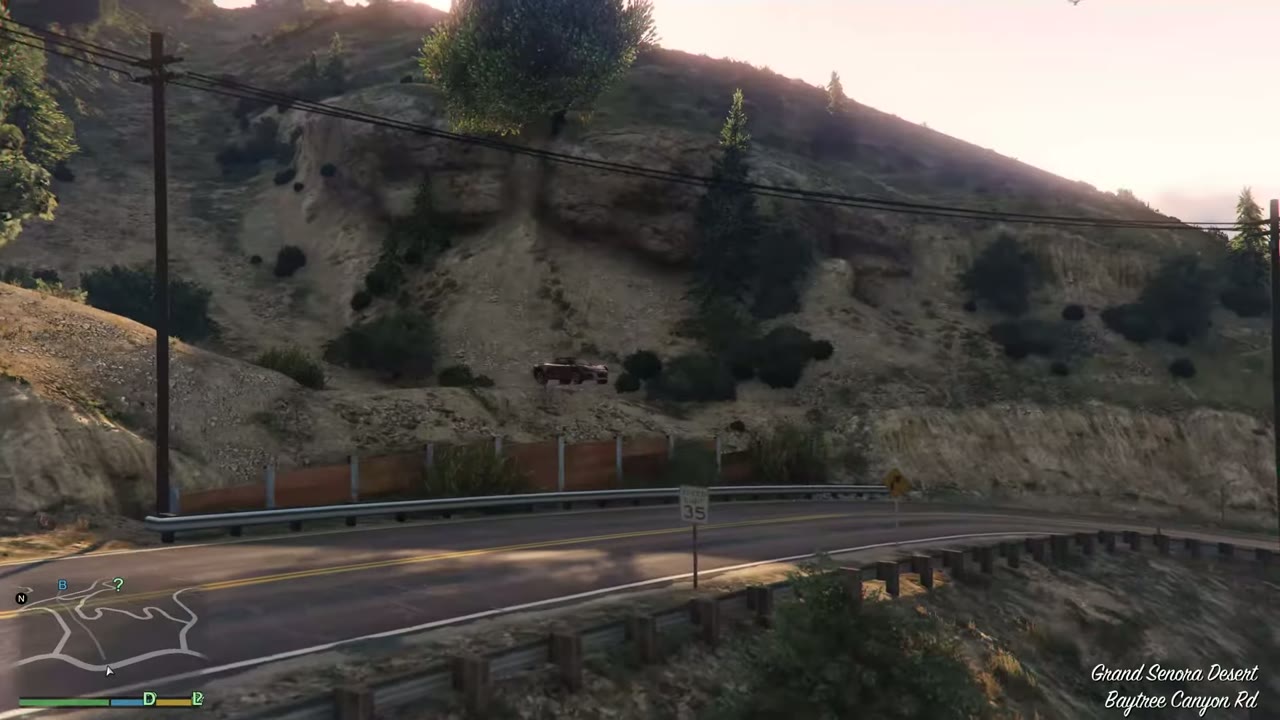
40 Great Chaparral Approach: Dirt ramp on the south side of Baytree Canyon Road, southwest of Cherry Pie Farm, heading north downhill
Landing: Land in the dry creek bed north of the road.
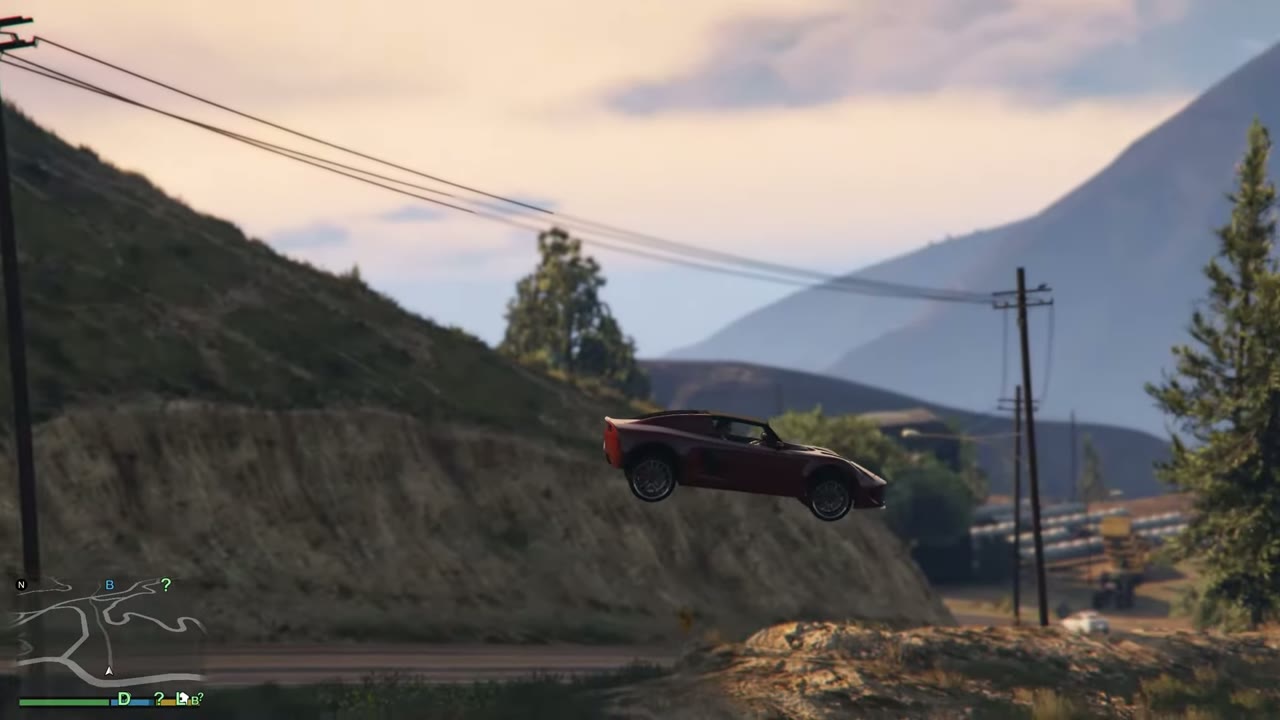
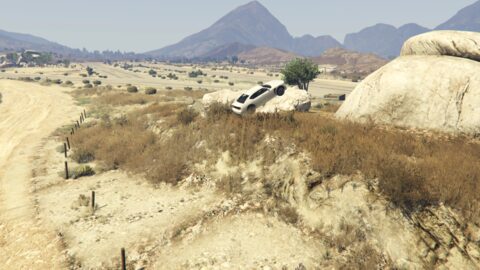
Red sports car on a dirt rise above Baytree Canyon Road, with the Grand Senora Desert caption shown.Red sports car airborne over the hillside beside power poles after leaving Baytree Canyon Road.Stunt Jump Completed banner as the red sports car lands in a rocky dry creek bed between yellow cliffs.Stunt Jump 40 locationMap showing Stunt Jump 40
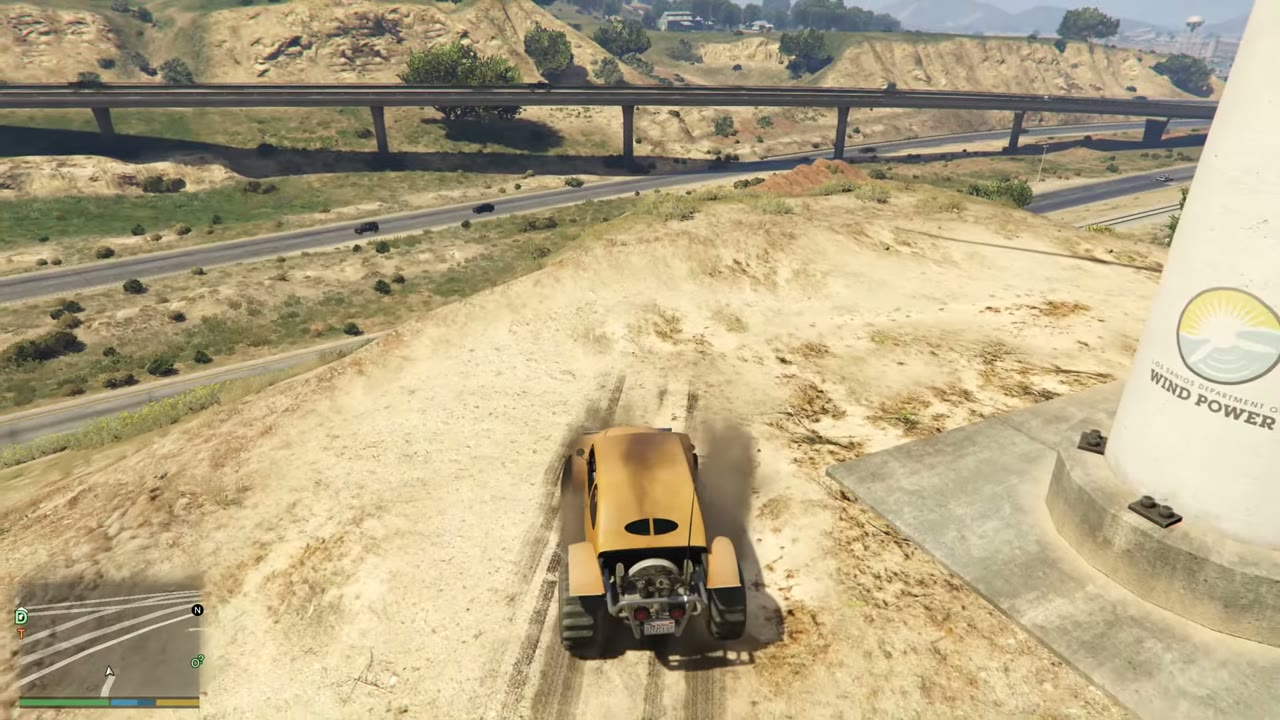
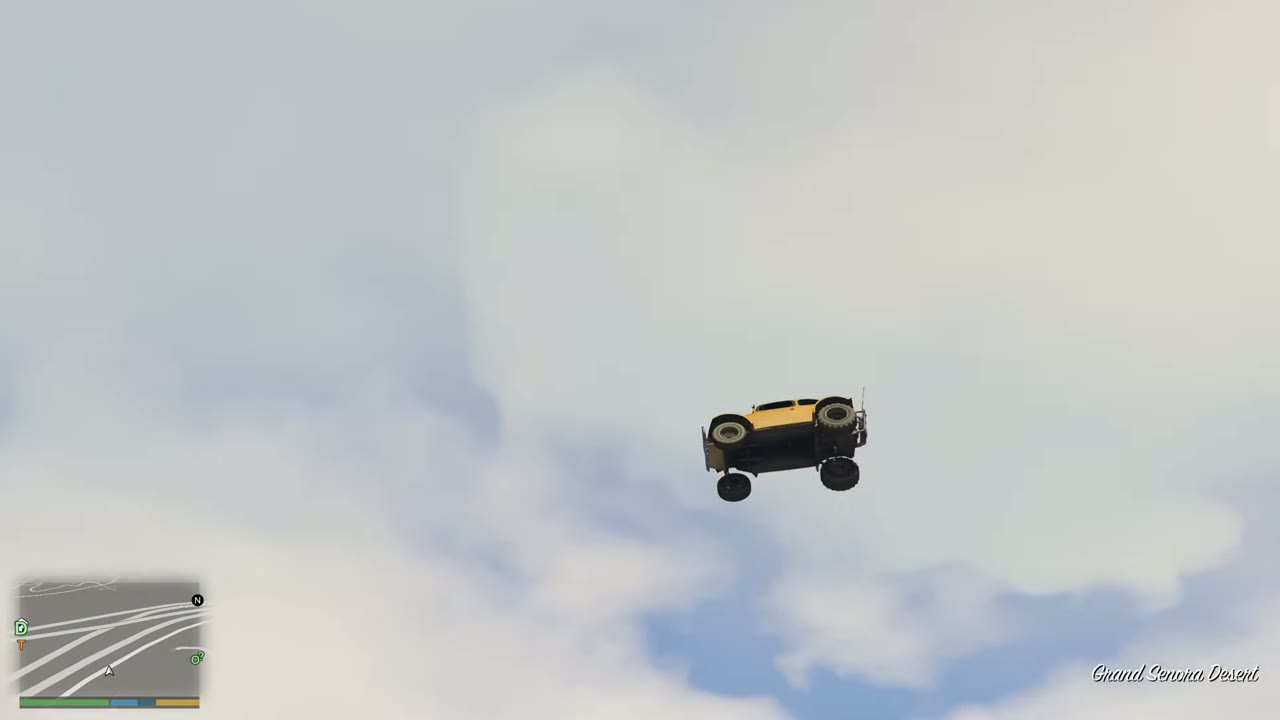
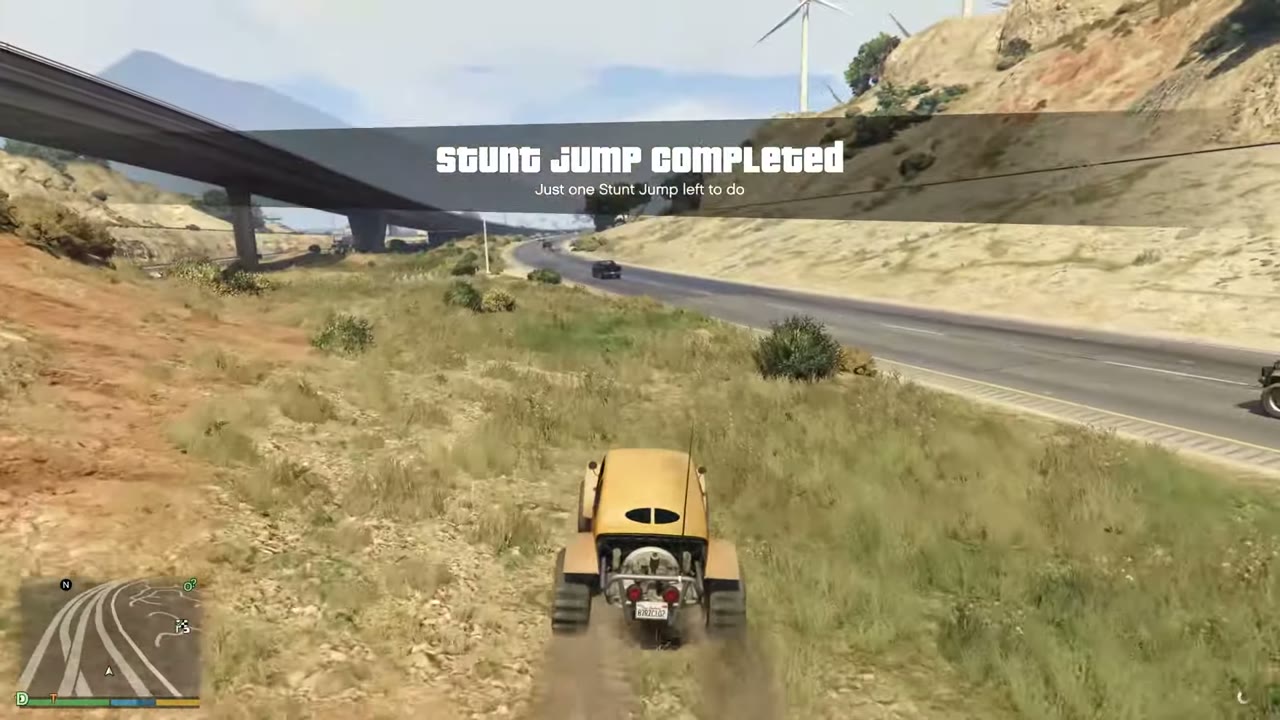
41 RON Alternates Approach: Natural dirt rise on the west side, heading northwest
Landing: Cross the rail line to Interstate 4 before it joins Interstate 1.
A yellow buggy climbs a dry dirt rise beside a wind turbine with the freeway below.The yellow buggy flies over the desert freeway against a cloudy sky.The buggy lands on grass beside the freeway under a flyover, and the notice says just one jump is left.Stunt Jump 41 locationMap showing Stunt Jump 41
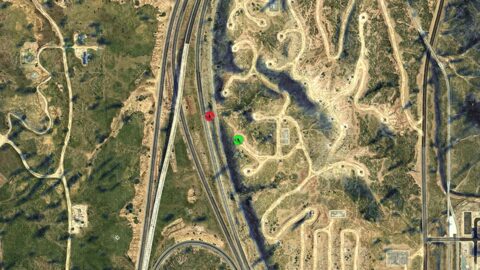
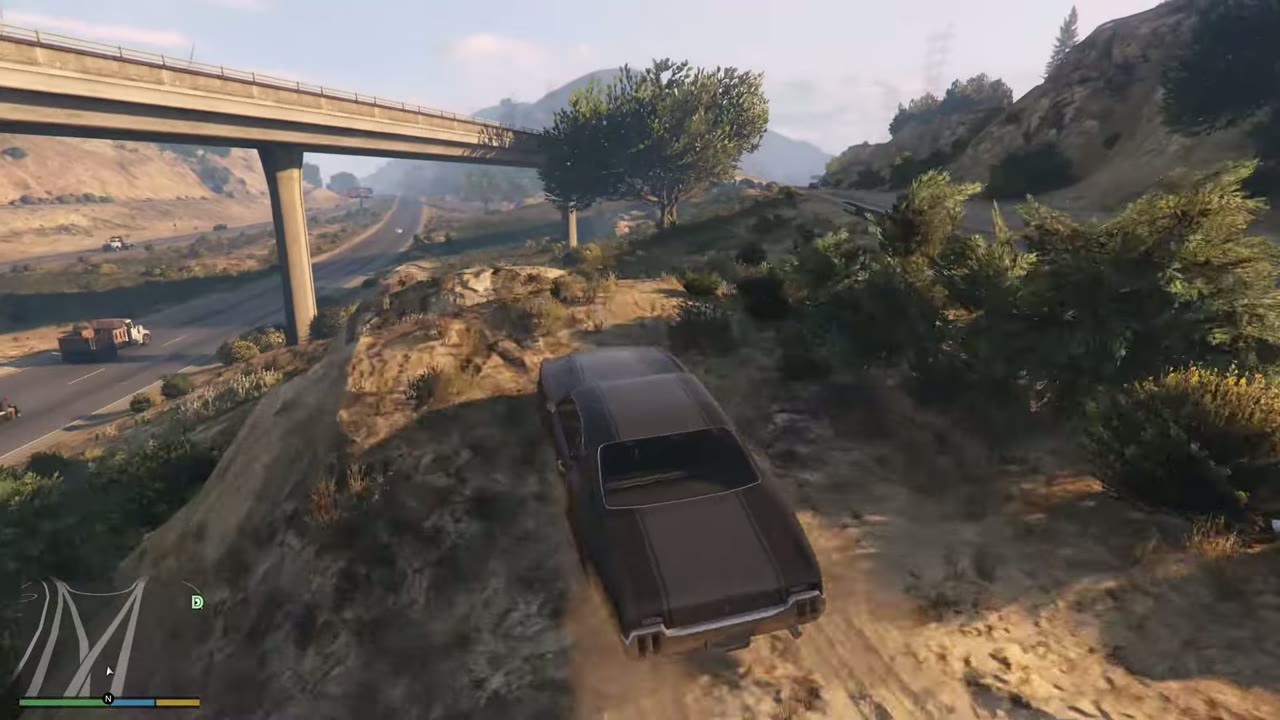
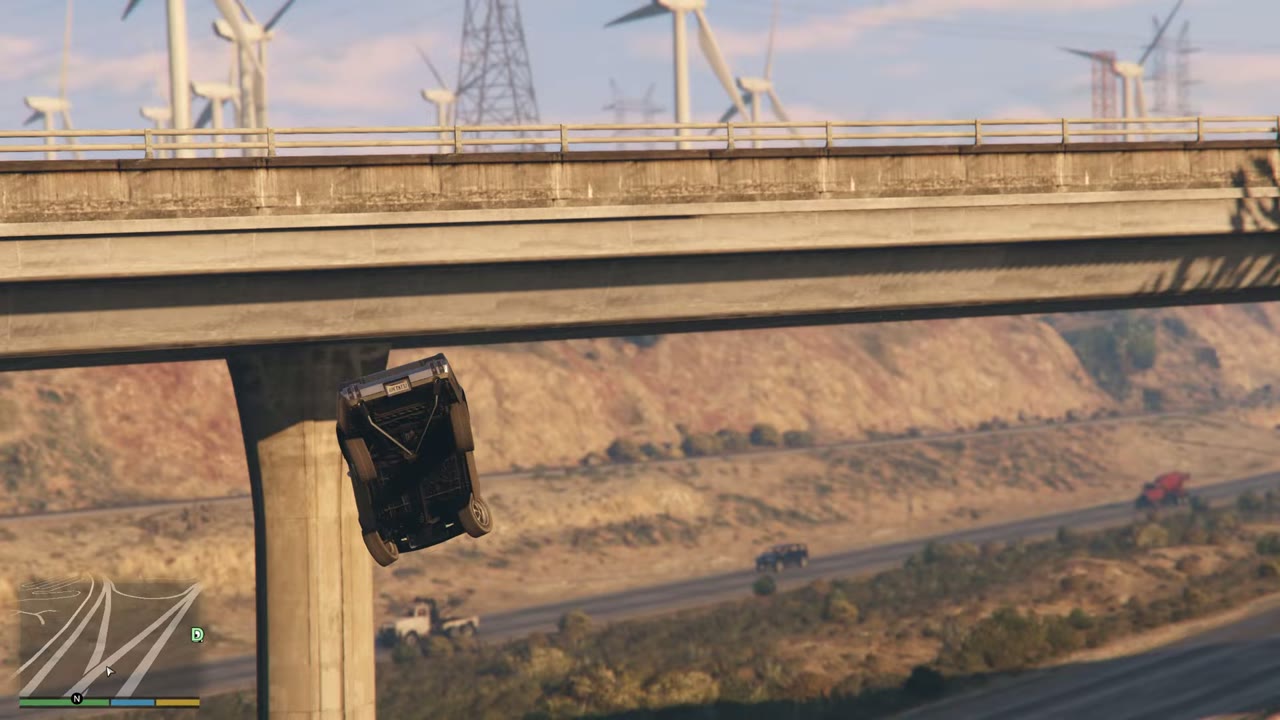
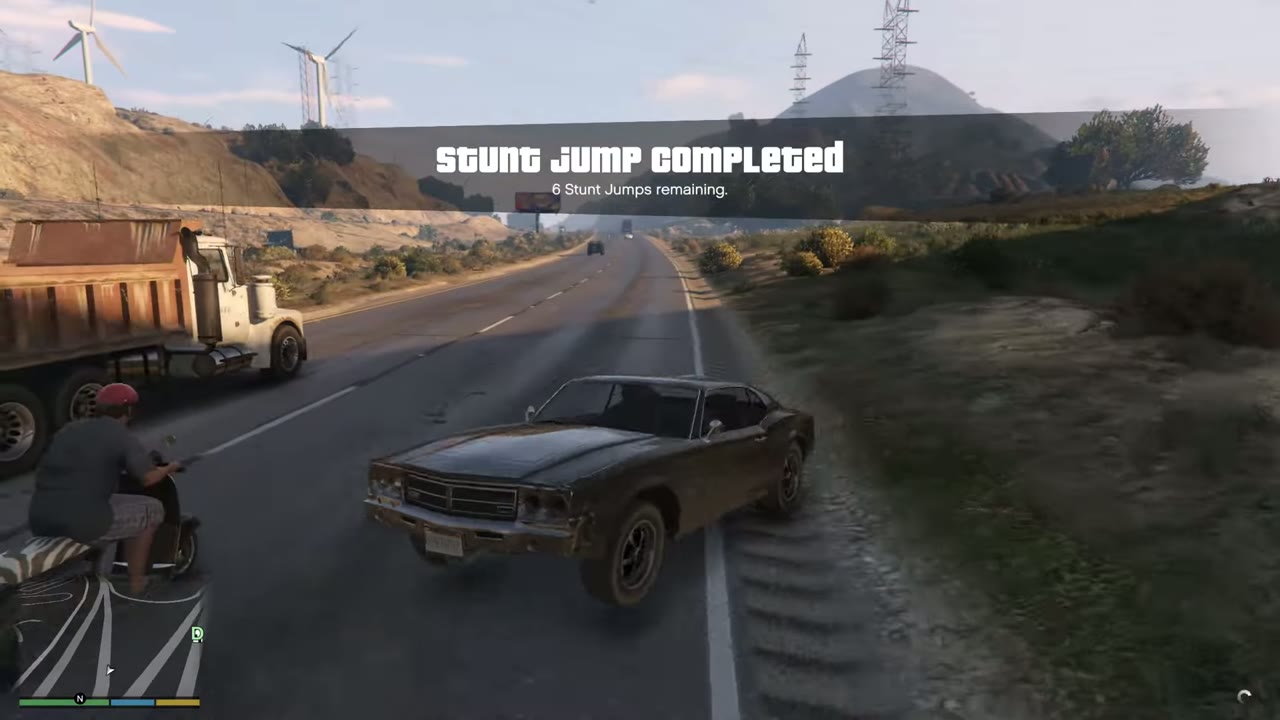
42 Grand Senora Desert Approach: Broken barrier with a dirt rise on southbound Interstate 1, after the Interstate 4 split
Landing: Land under the northbound flyover beside Interstate 4.
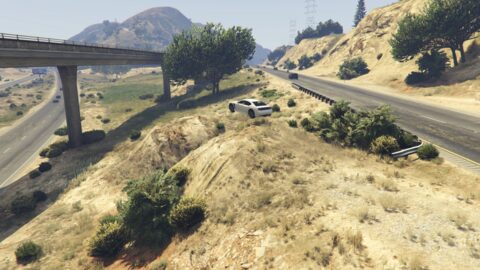
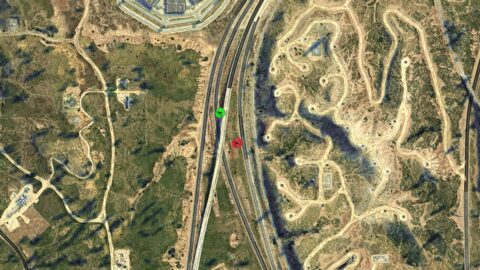
Brown muscle car on a dirt rise beside southbound Interstate 1 with the flyover and wind turbines ahead.Muscle car upended in mid-air beside the concrete pillar of the northbound flyover over the desert freeway.Stunt Jump Completed banner as the muscle car lands on the freeway beside a dump truck, 6 jumps remaining.Stunt Jump 42 locationMap showing Stunt Jump 42
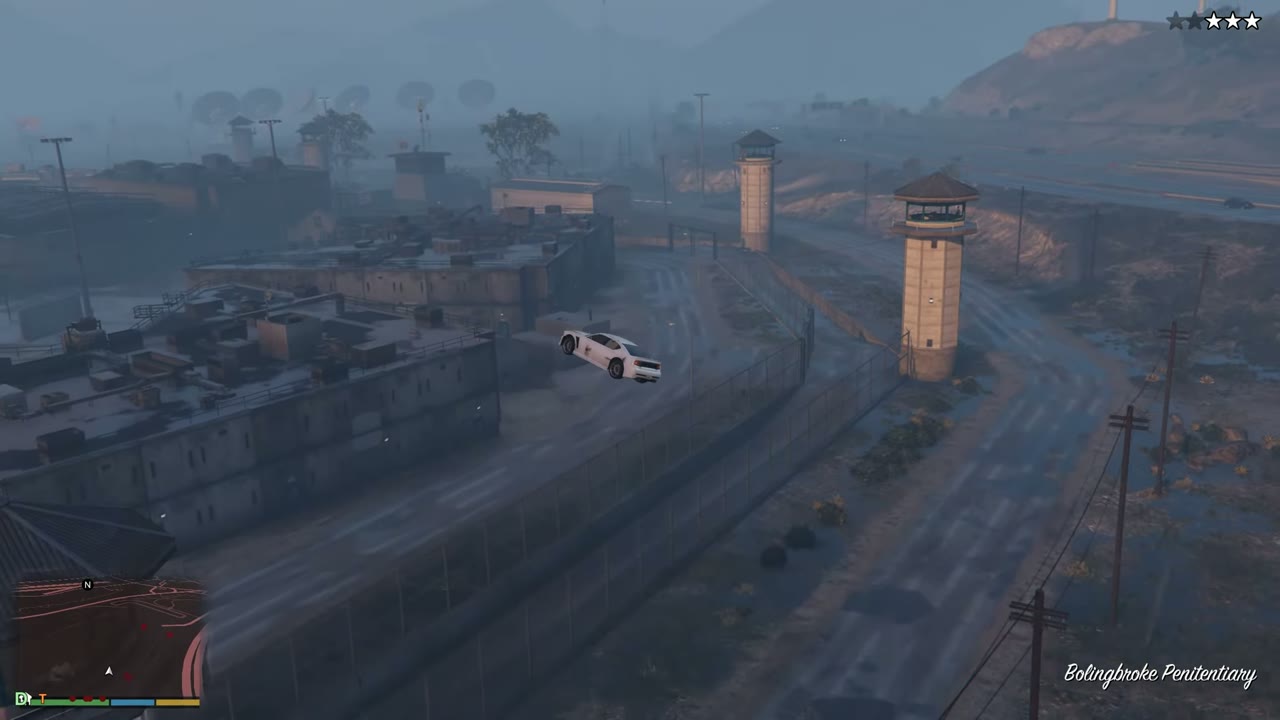
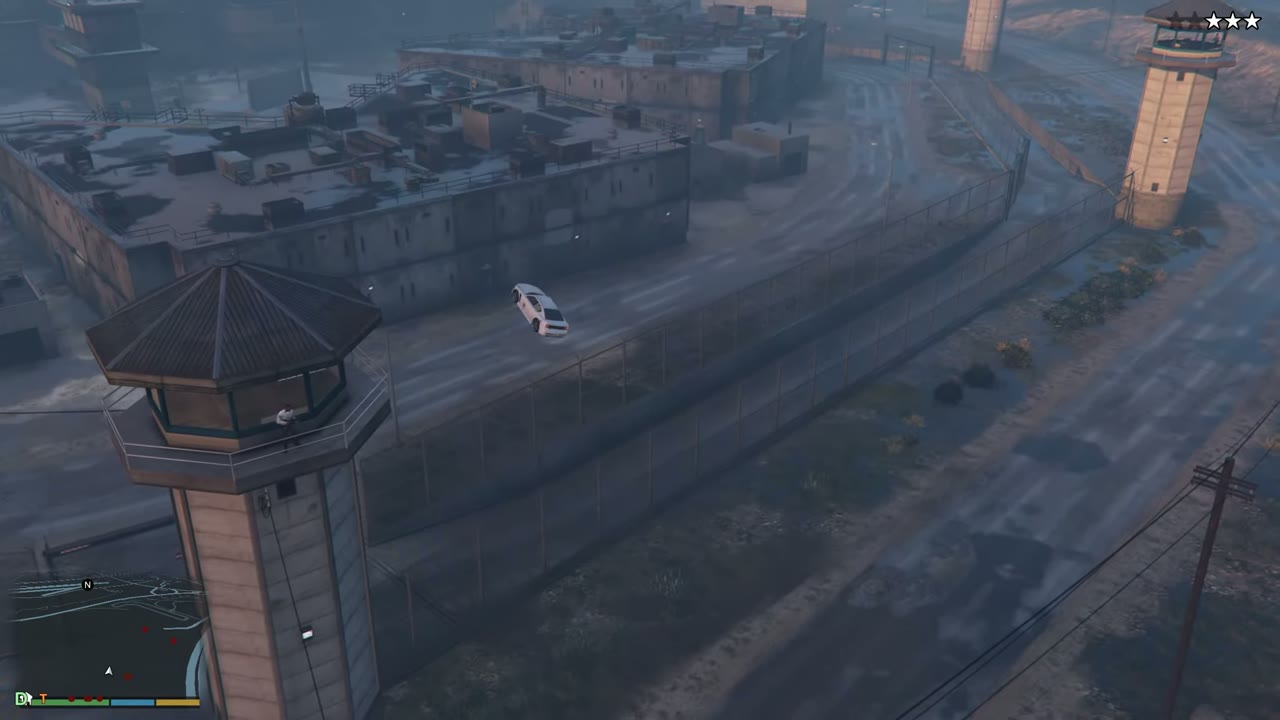
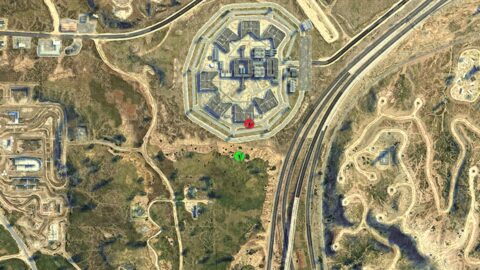
43 Bolingbroke Penitentiary Approach: Natural cliff south of the prison, heading north
Landing: Land inside the prison grounds. This brings a two-star wanted level.
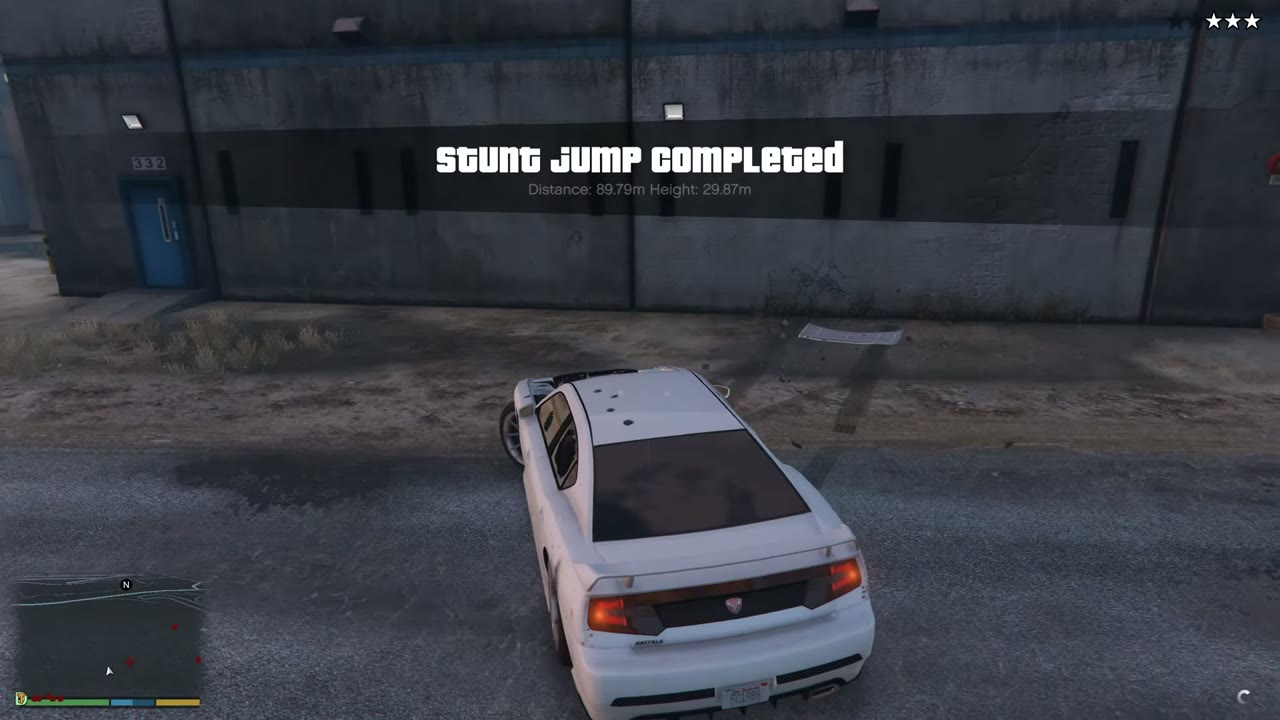
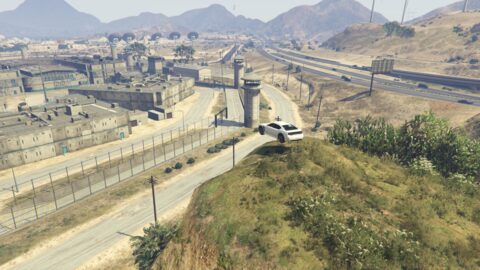
White sports car airborne above the Bolingbroke prison yard, with guard towers belowWhite car airborne above the prison fence, with a guard tower in the foregroundStunt Jump Completed banner over a white car after landing beside a grey prison wallStunt Jump 43 locationMap showing Stunt Jump 43
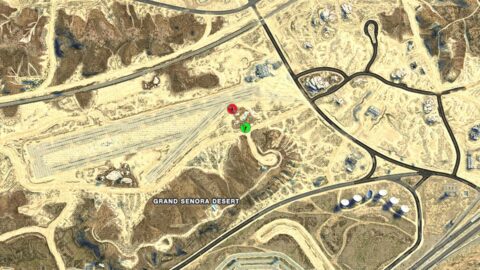
44 Sandy Shores Airfield Approach: Natural rise off the “Private Road”, over the rocks south of the airfield, heading north
Landing: Land beside the runway.
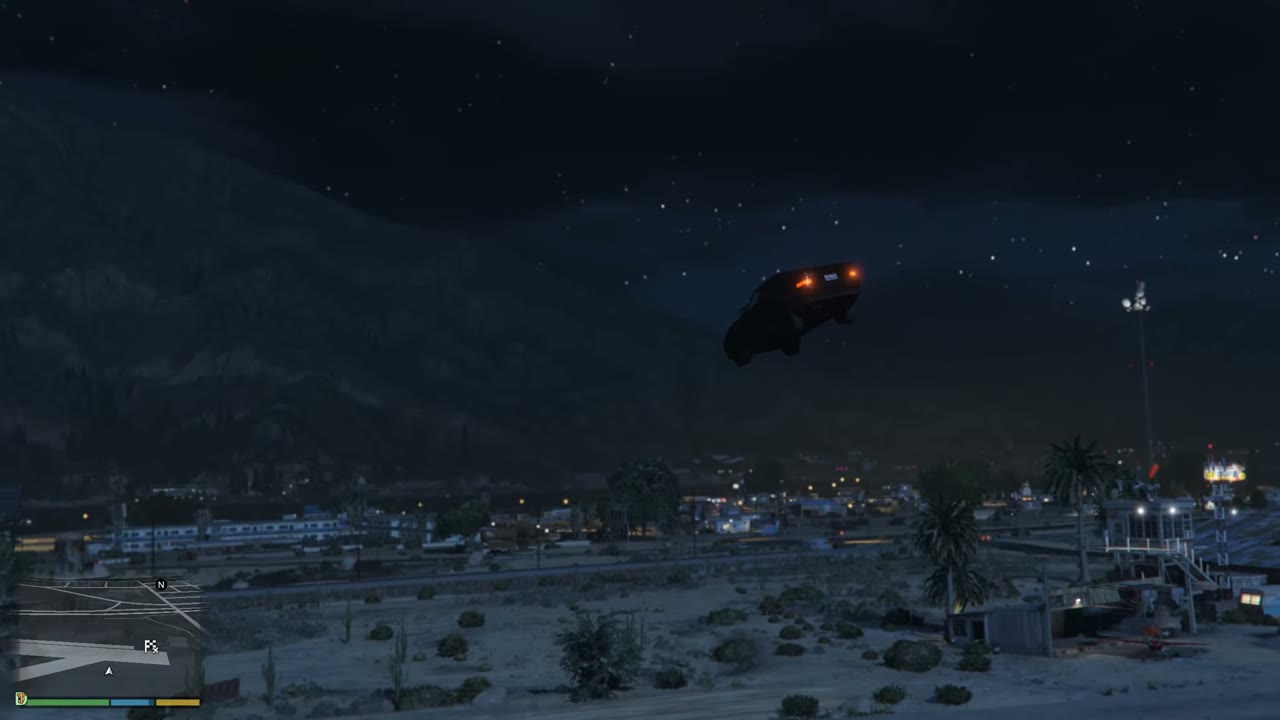
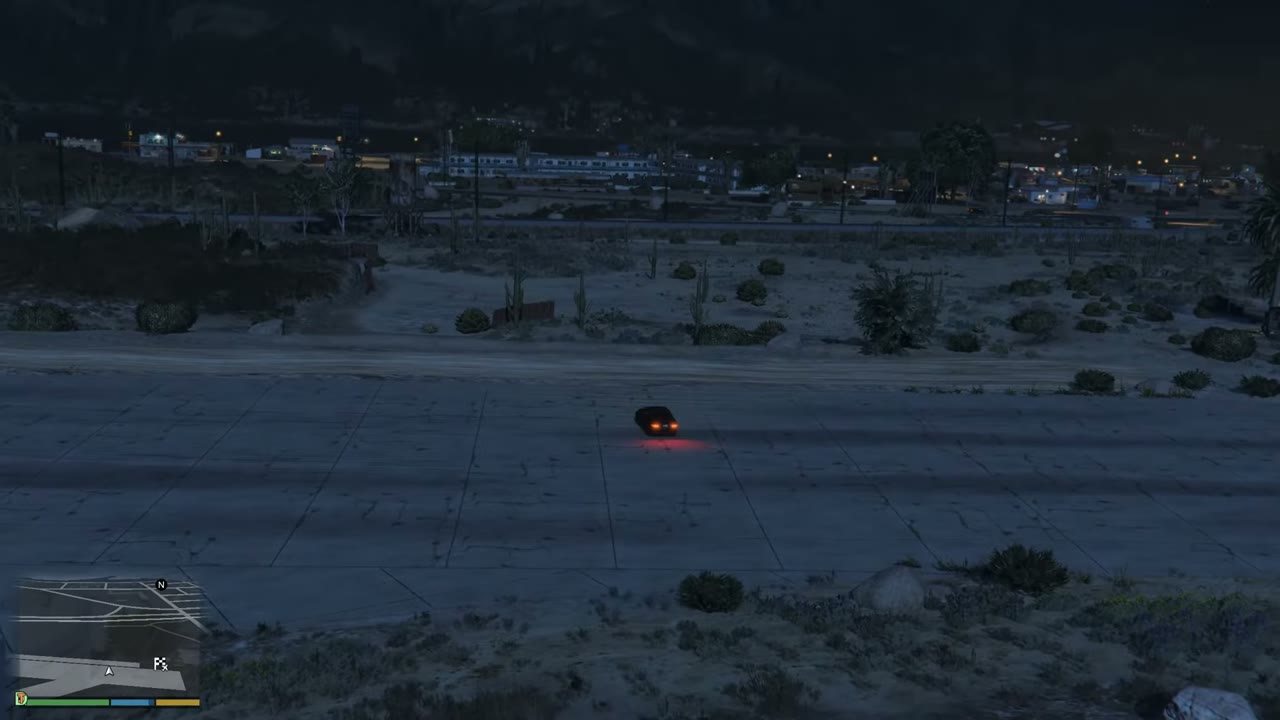
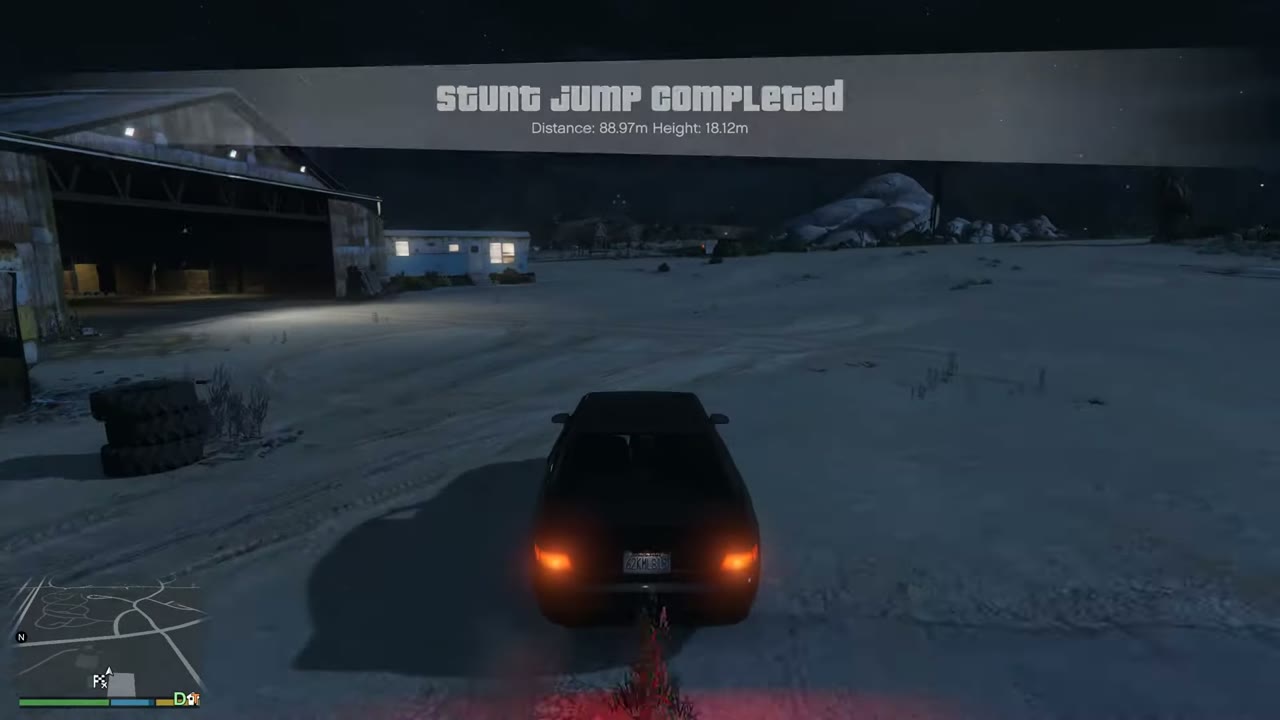
Dark car airborne at night over the desert, with a lit tower and town lights beyondCar with glowing taillights sits on the airfield's concrete apron at nightStunt Jump Completed banner over a car on sand, with an airfield hangar behind itStunt Jump 44 locationMap showing Stunt Jump 44
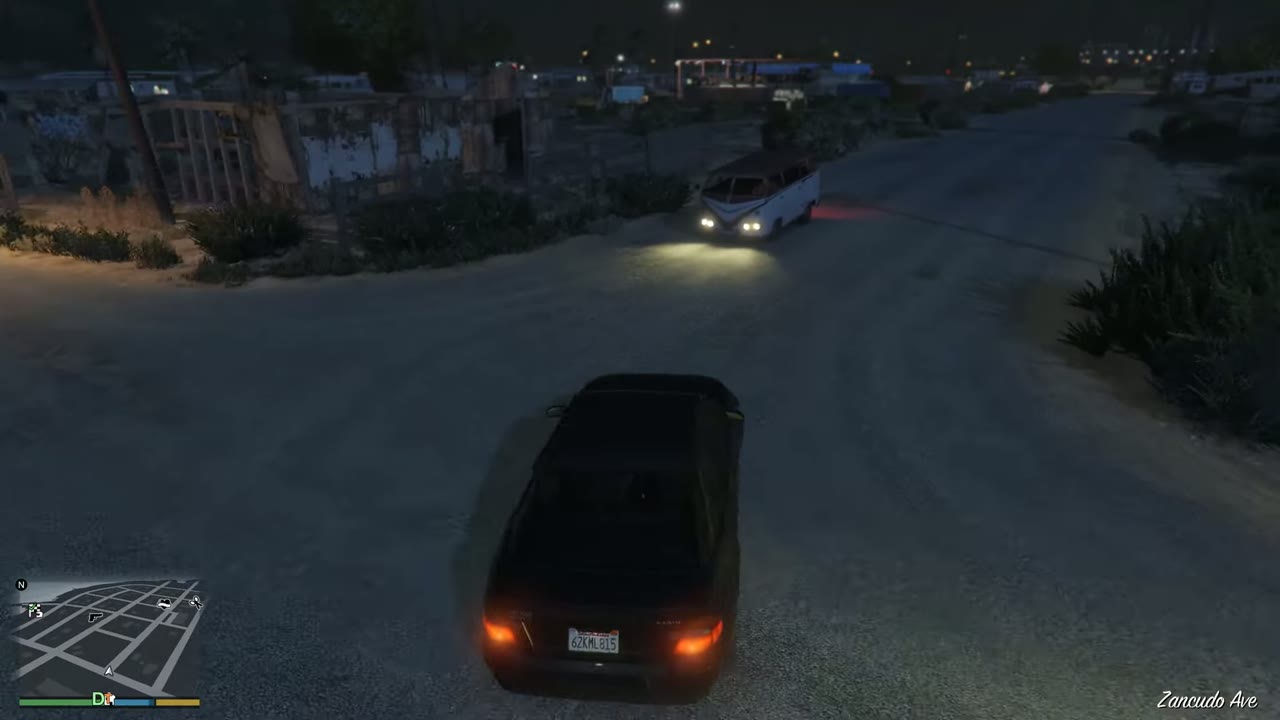
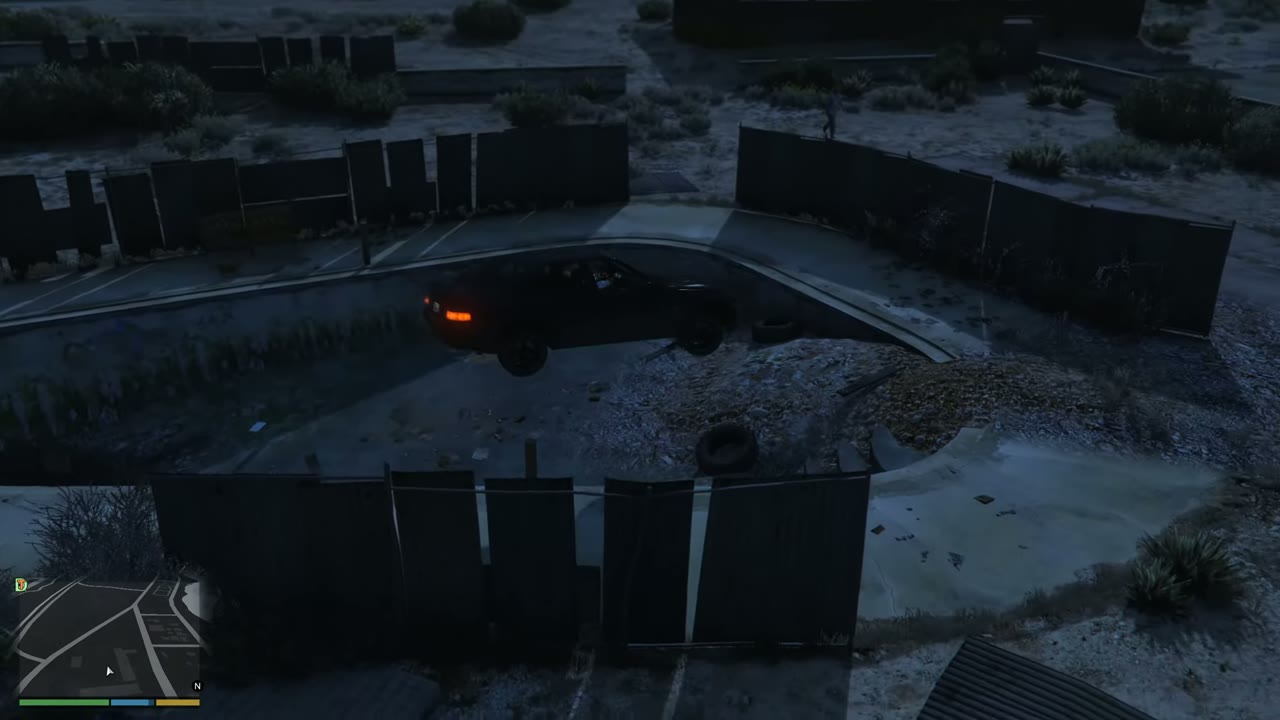
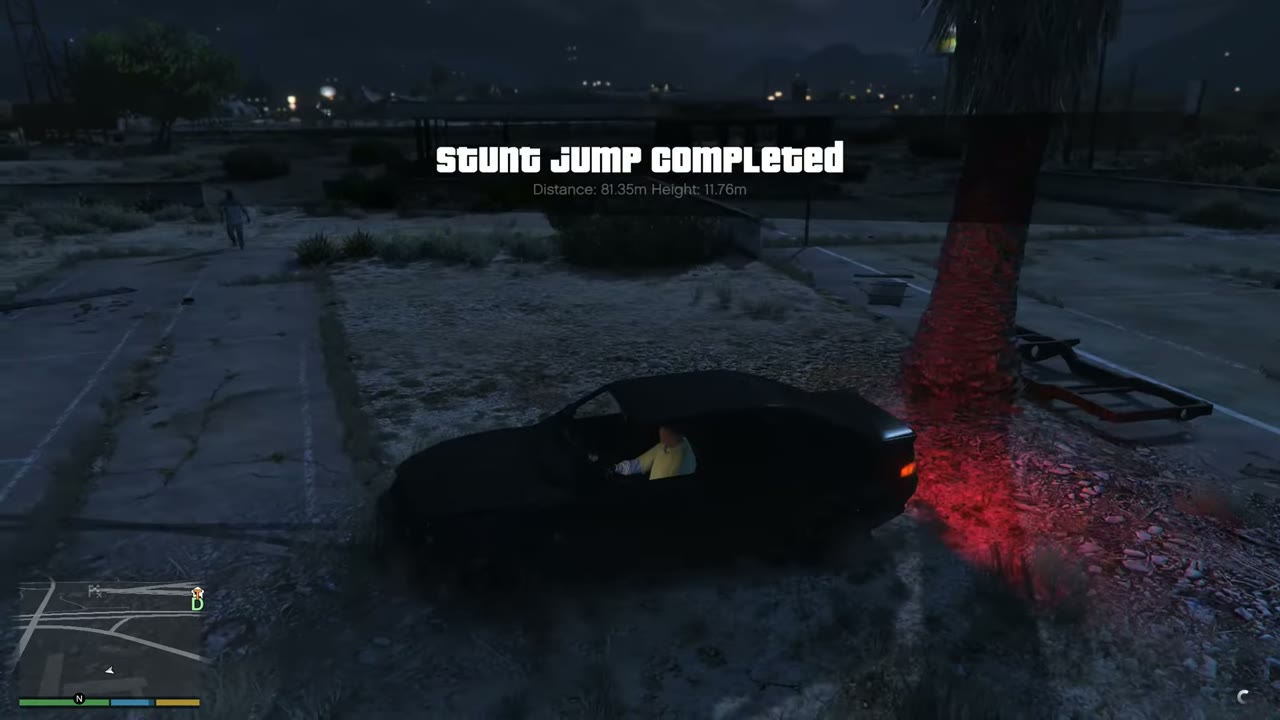
45 Sandy Shores Approach: Wood and iron in a dumpster east of the derelict motel, at the end of Zancudo Avenue, heading west
Landing: Clear the building and land by the empty pool.
Dark sedan at night on Zancudo Avenue in Sandy Shores, a pickup with headlights ahead.Dark car airborne at night above a fenced empty pool behind the derelict motel.Stunt Jump Completed banner as the dark sedan lands on a cracked lot beside a palm tree at night.Stunt Jump 45 locationMap showing Stunt Jump 45
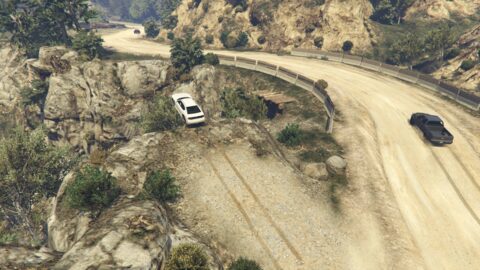
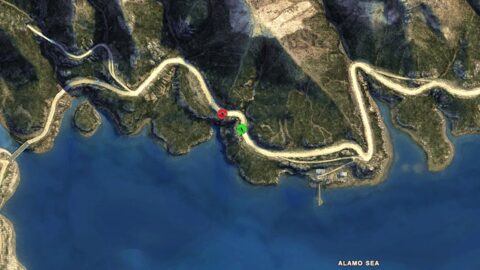
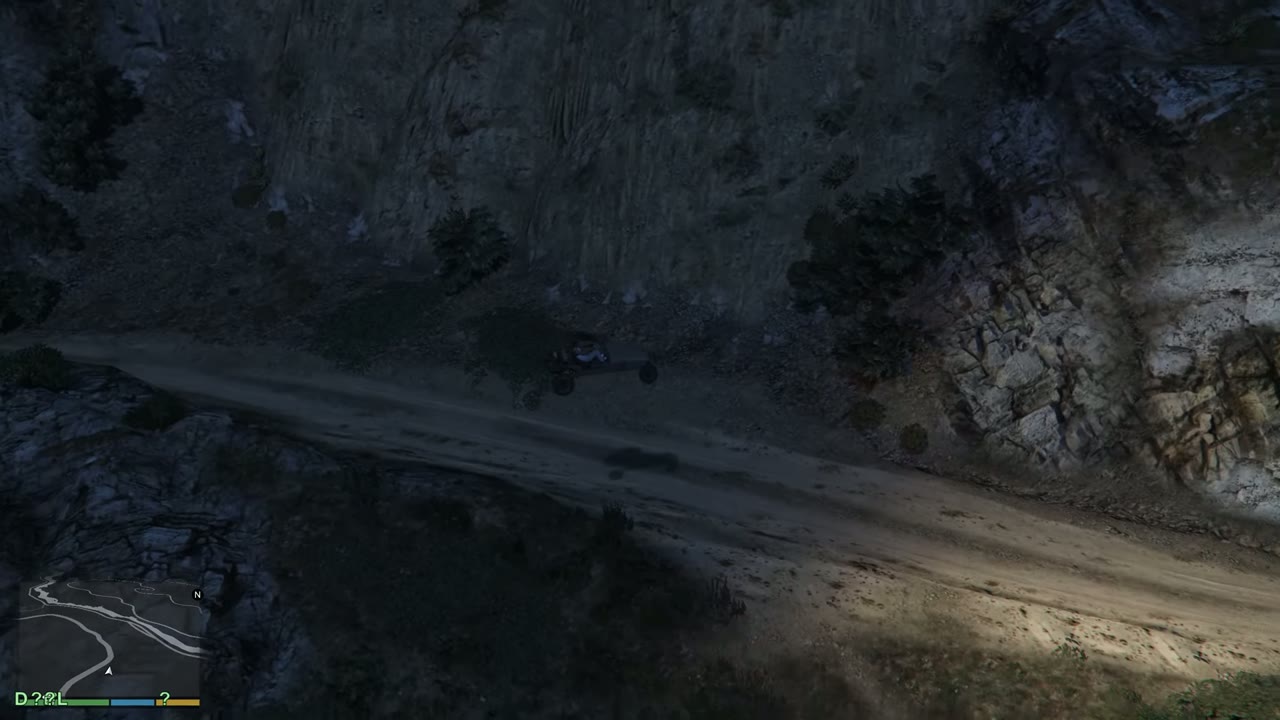
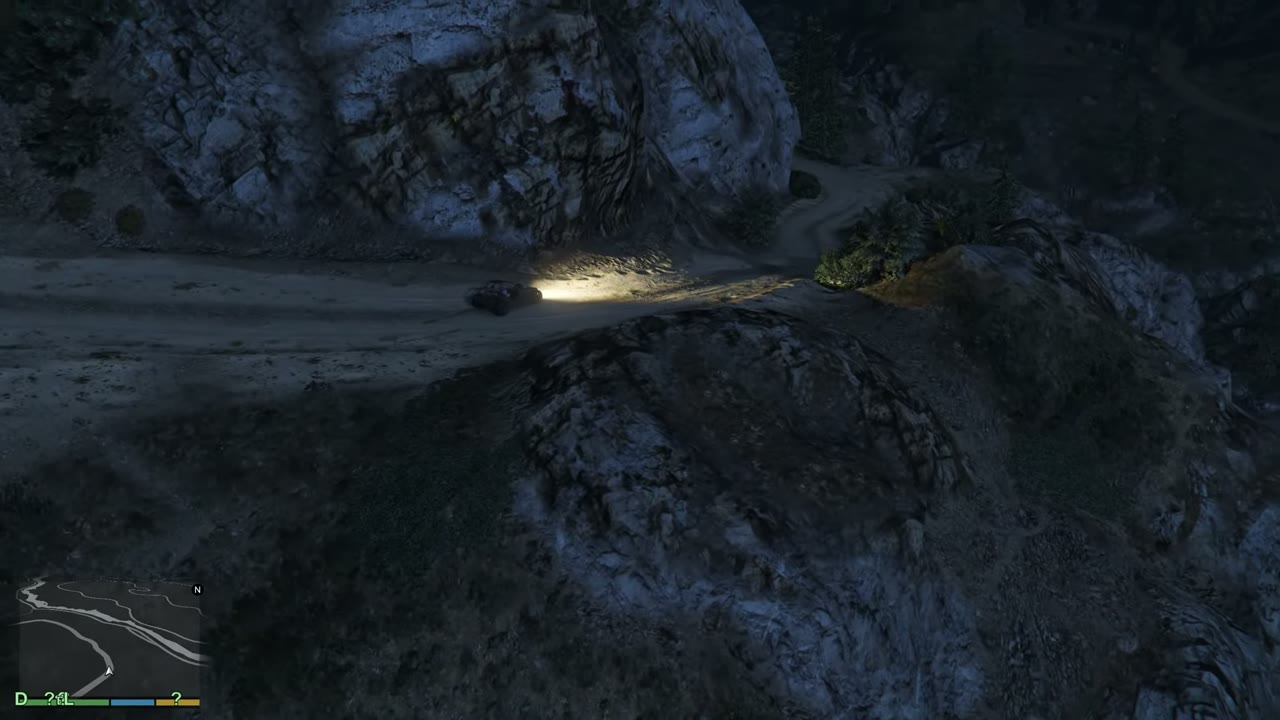
46 Alamo Sea Approach: Dirt rise on the left of North Calafia Way, west of the Foreclosed North Alamo Pier, heading west
Landing: Land back on North Calafia Way.
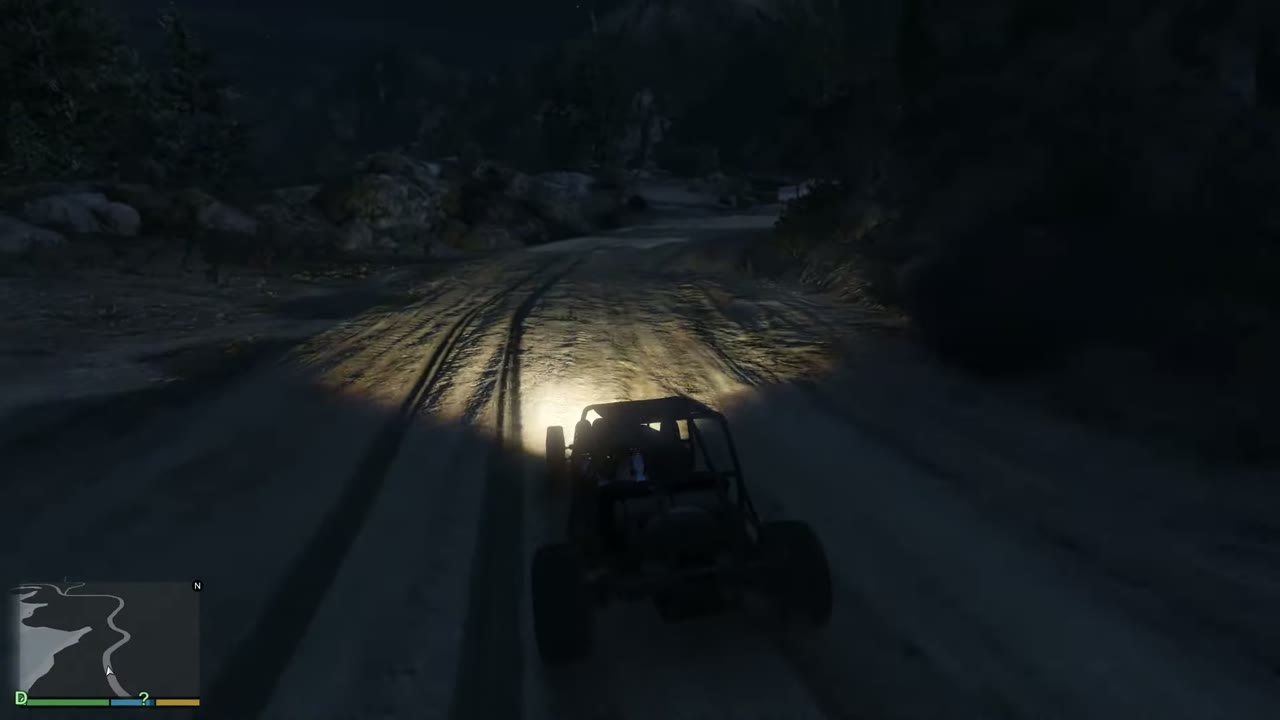
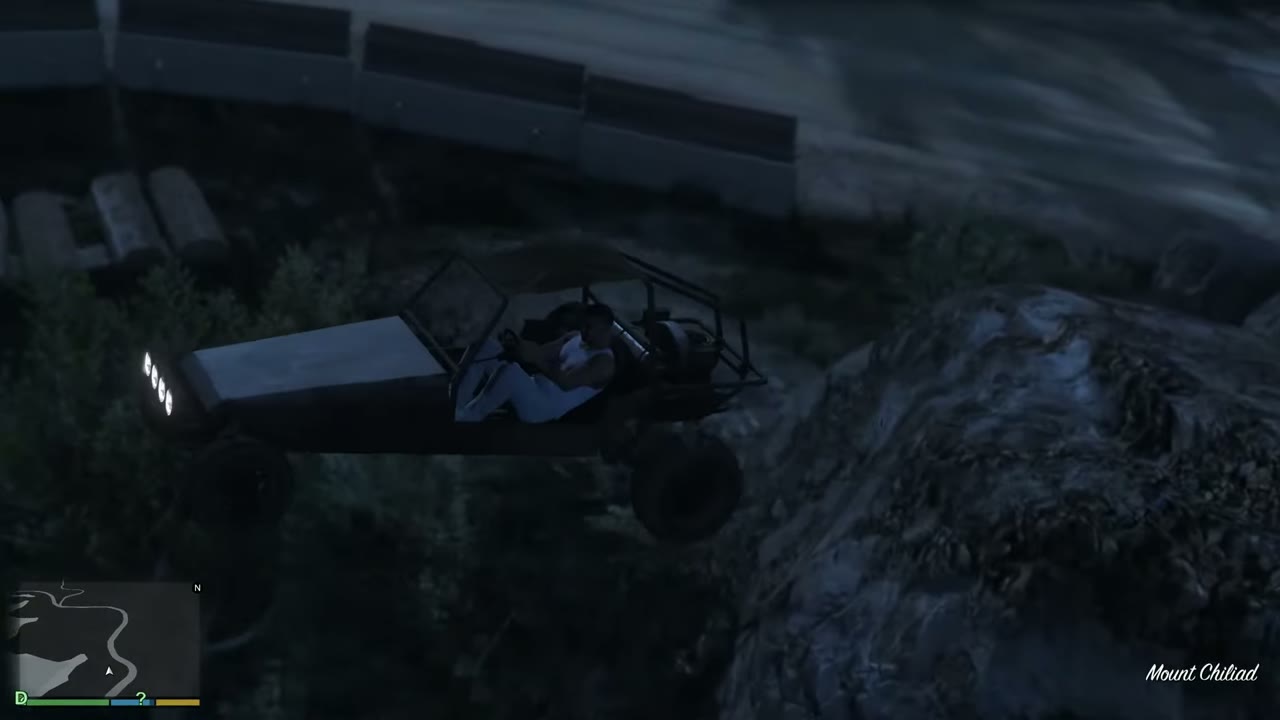
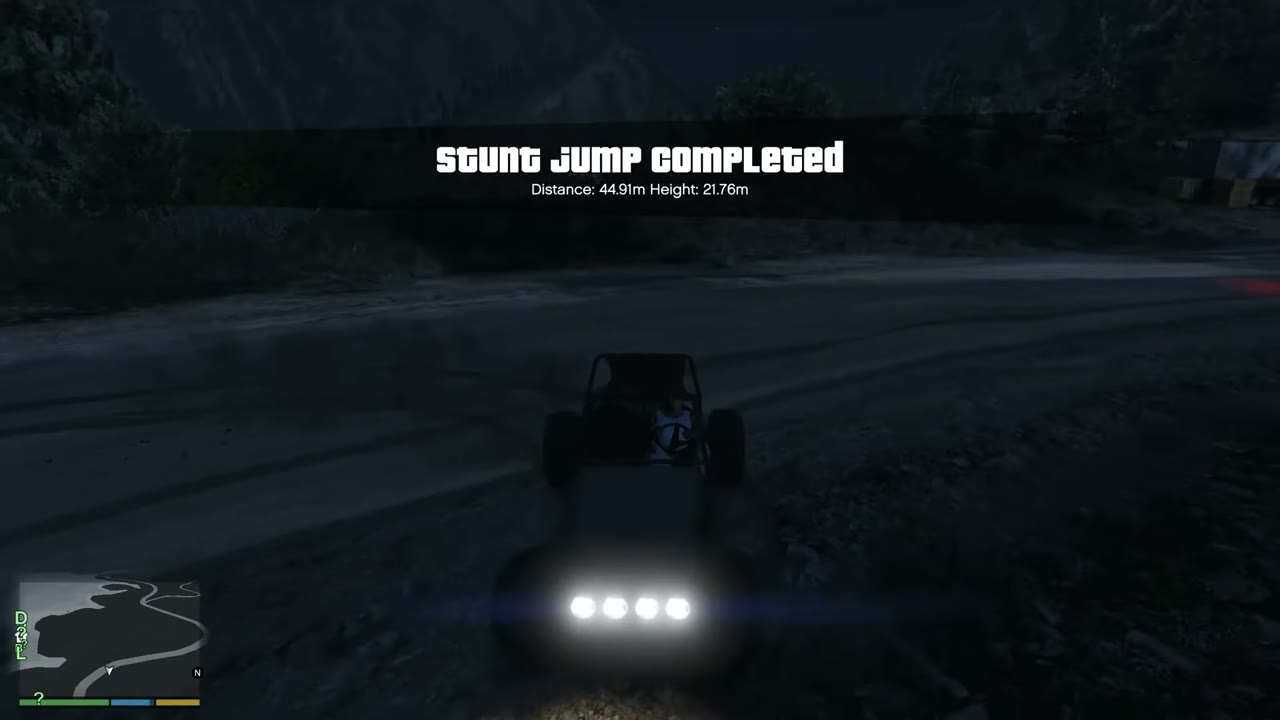
Dune buggy with headlights on, driving along a dark dirt track at nightDune buggy airborne beside a rock outcrop at night, with a dirt track belowStunt Jump Completed banner over a dune buggy on a dark road at nightStunt Jump 46 locationMap showing Stunt Jump 46
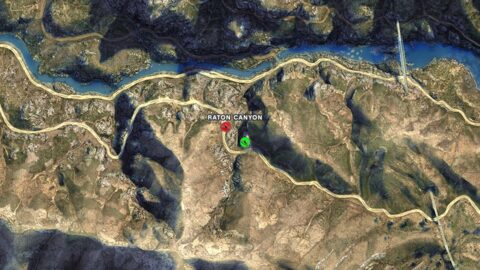
47 Raton Canyon Approach: Stone ramp on the right of Raton Pass, south of Cassidy Creek, heading west
Landing: Clear the gully and land back on Raton Pass.
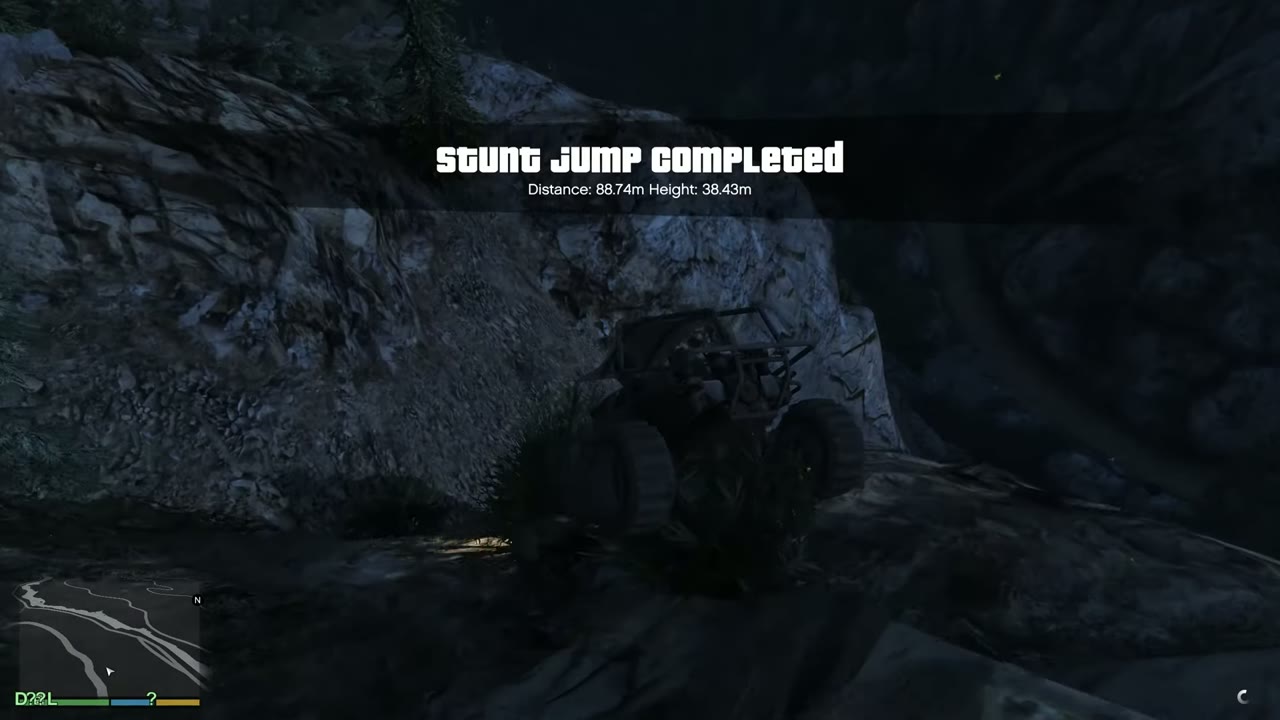
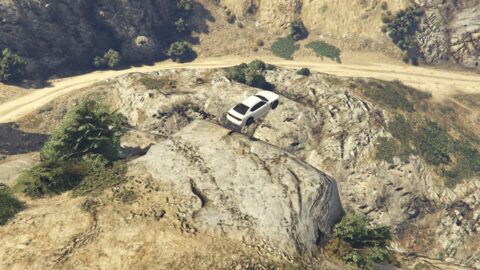
Aerial night view of a dirt track along a rocky gully in Raton Canyon with a buggy's headlights.Buggy headlights on the dirt road above a rocky gully in Raton Canyon at night.Stunt Jump Completed banner as the buggy lands on a rocky ledge in Raton Canyon at night.Stunt Jump 47 locationMap showing Stunt Jump 47
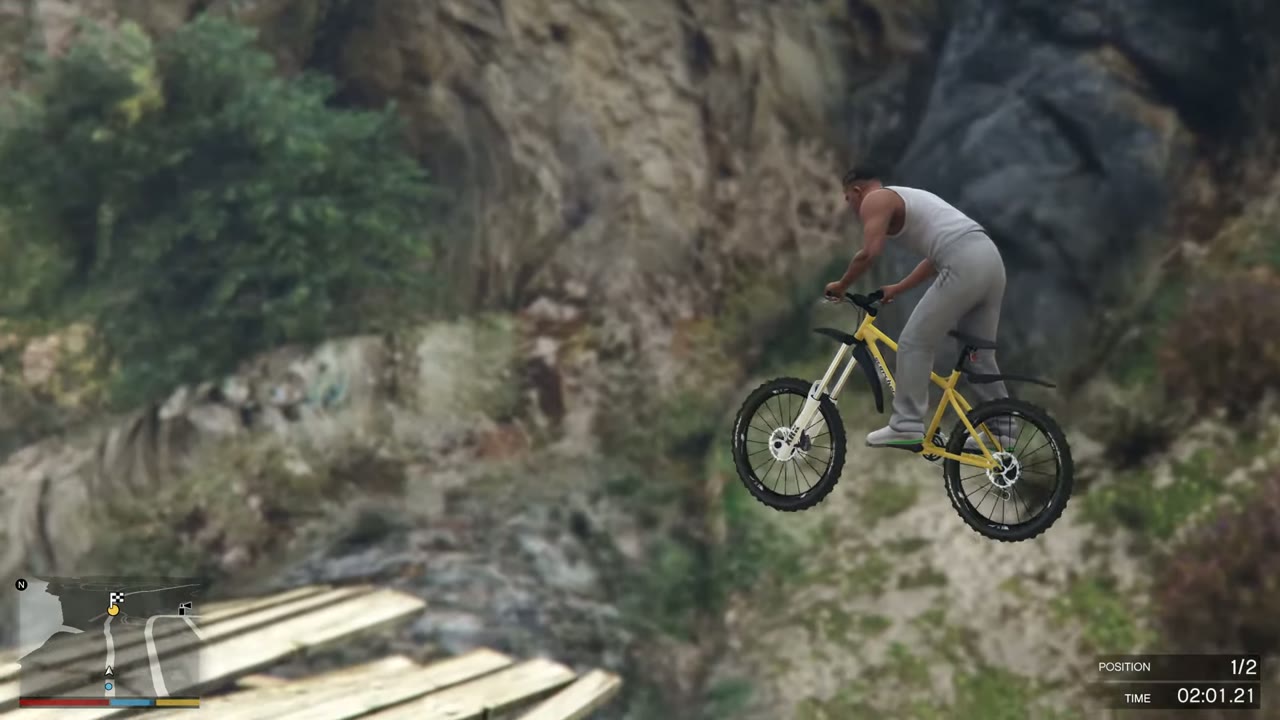
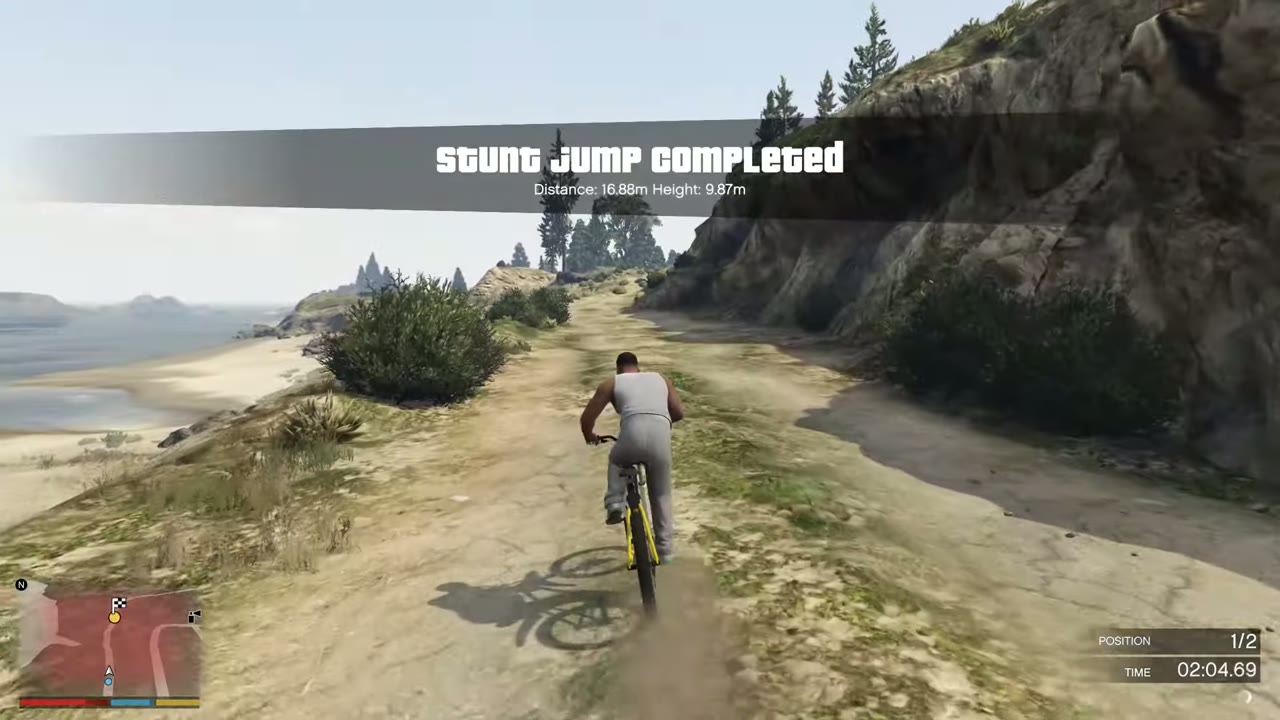
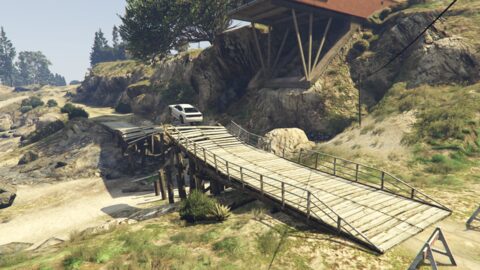
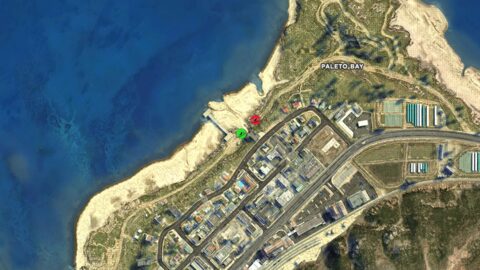
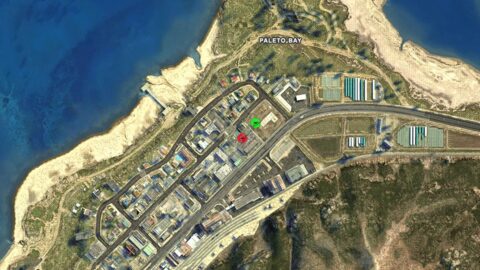
48 Paleto Bay Approach: Broken wooden bridge on Procopio Promenade, heading northeast
Landing: Land on the north side of the bridge.
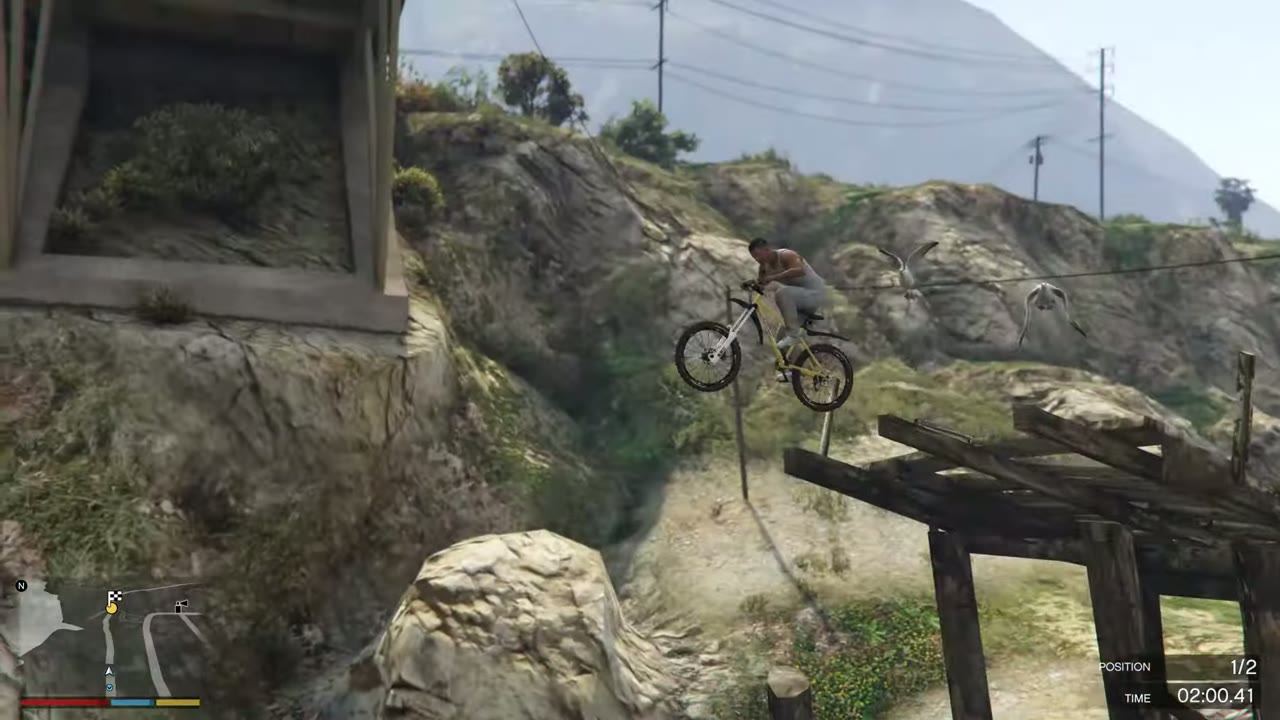
A cyclist rides up the planked broken wooden bridge on the Paleto coast.The cyclist leaps off the end of the bridge planks toward a rocky cliff.The cyclist lands on the dirt track by the beach, 16.88 metres on the notice.Stunt Jump 48 locationMap showing Stunt Jump 48
49 Paleto Bay Approach: Dirt and rubble rise at the Paleto Construction Company on Procopio Drive, heading south
Landing: Land in the alleys behind Ray’s Electronics.
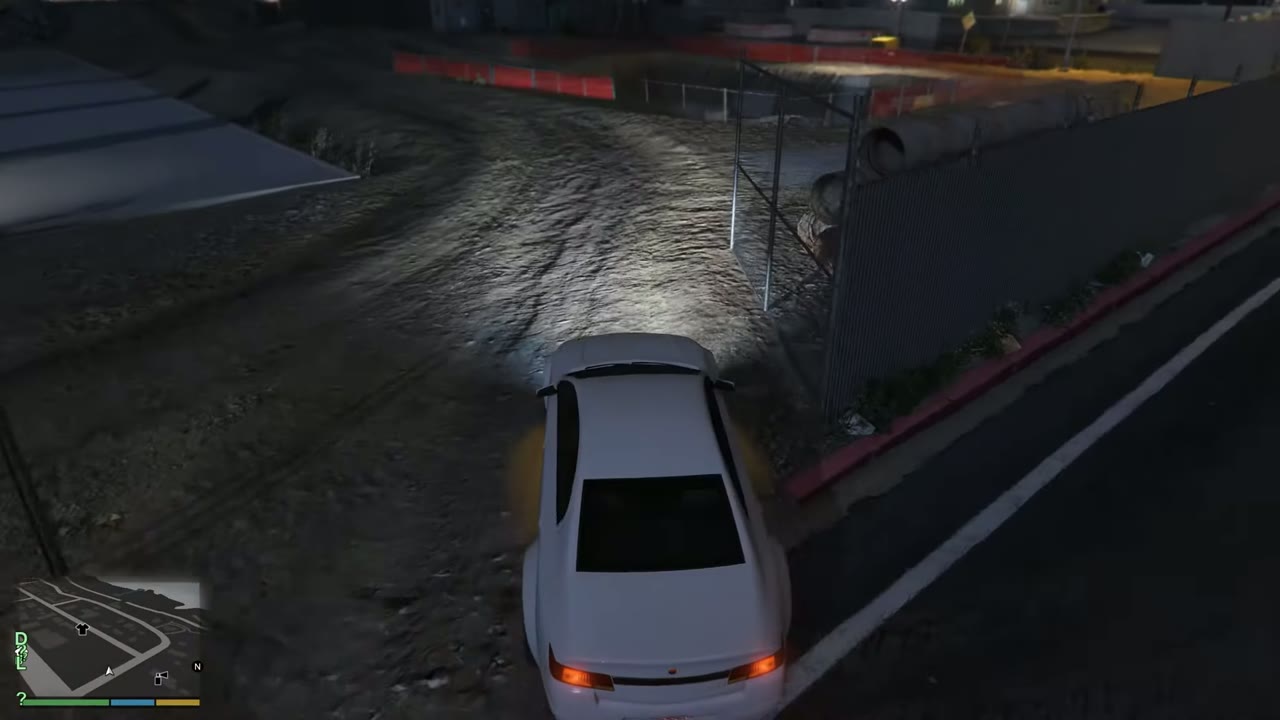
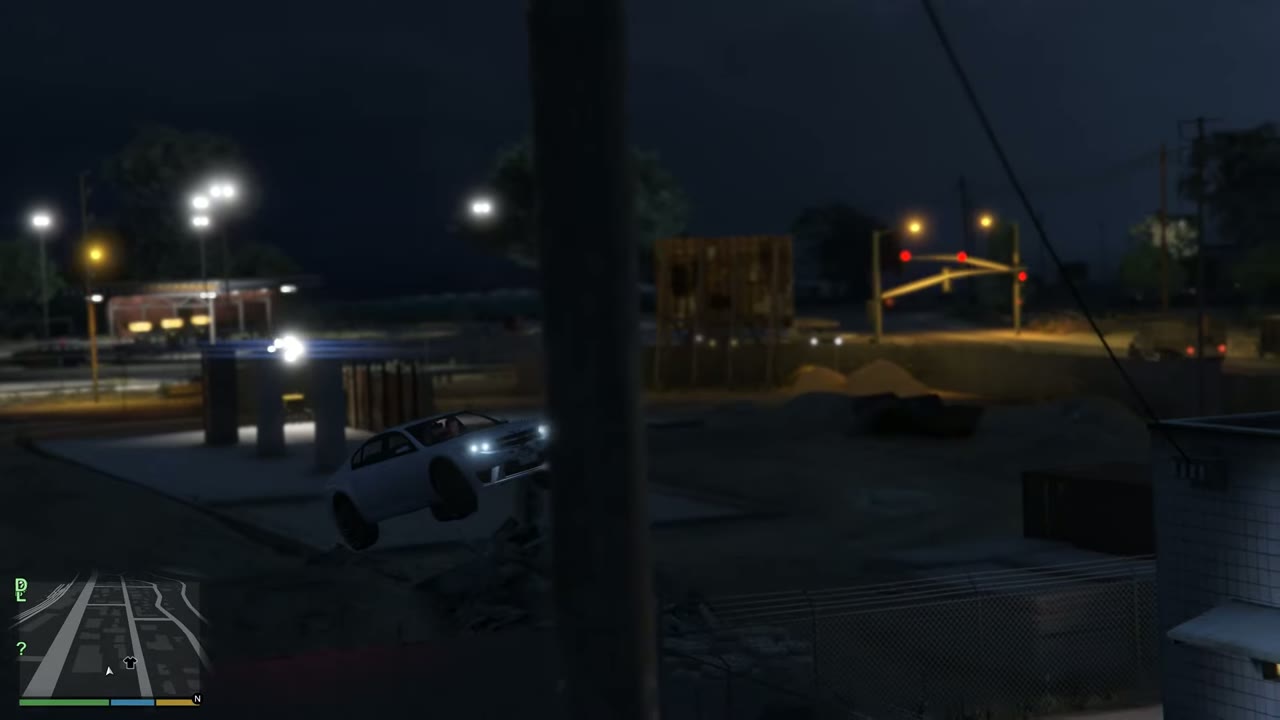
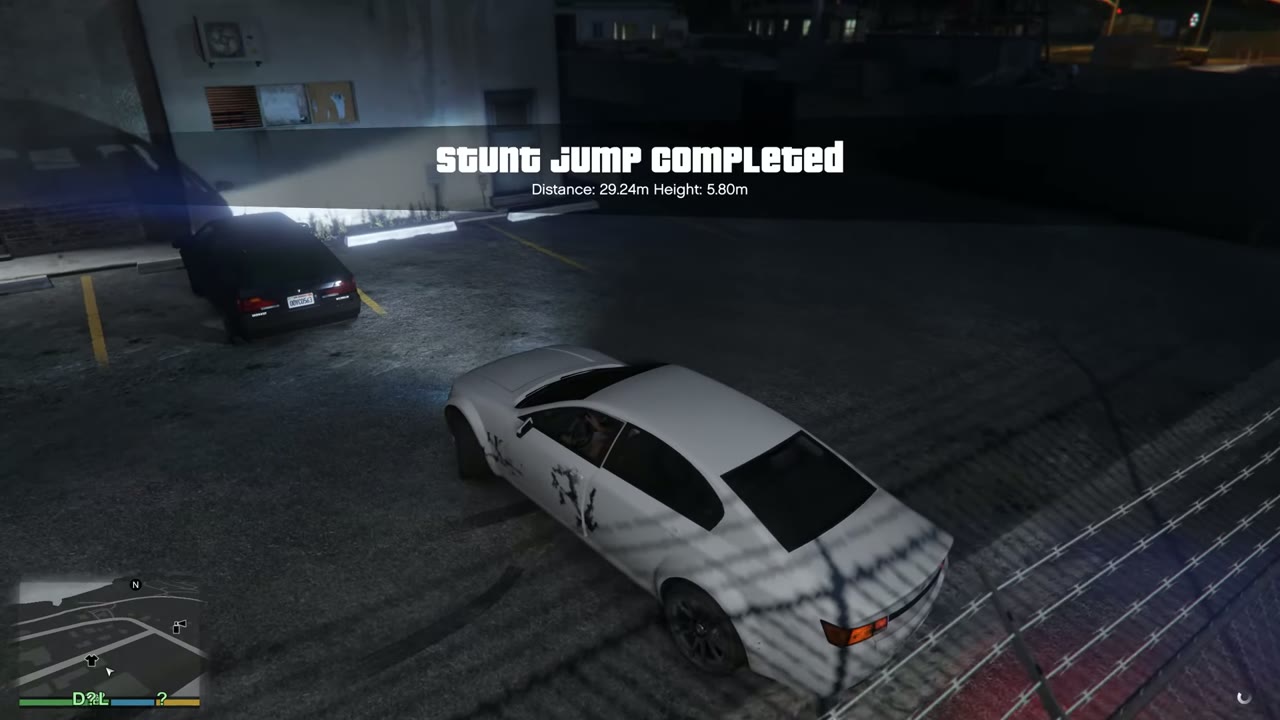
White sedan at night on a dirt rise beside an orange construction fence on Procopio Drive in Paleto Bay.White sedan airborne at night over the lot with street lights and traffic signals beyond in Paleto Bay.Stunt Jump Completed banner as the white sedan lands in a back alley beside a parked dark car.Stunt Jump 49 locationMap showing Stunt Jump 49
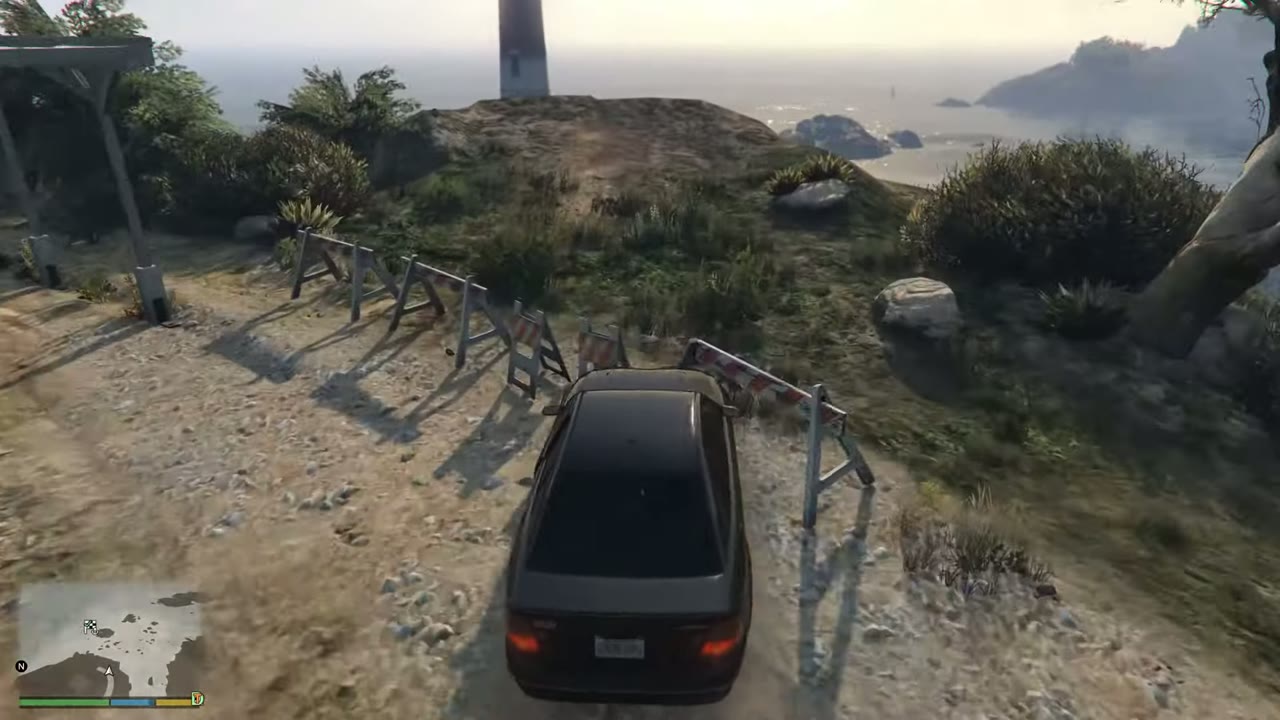
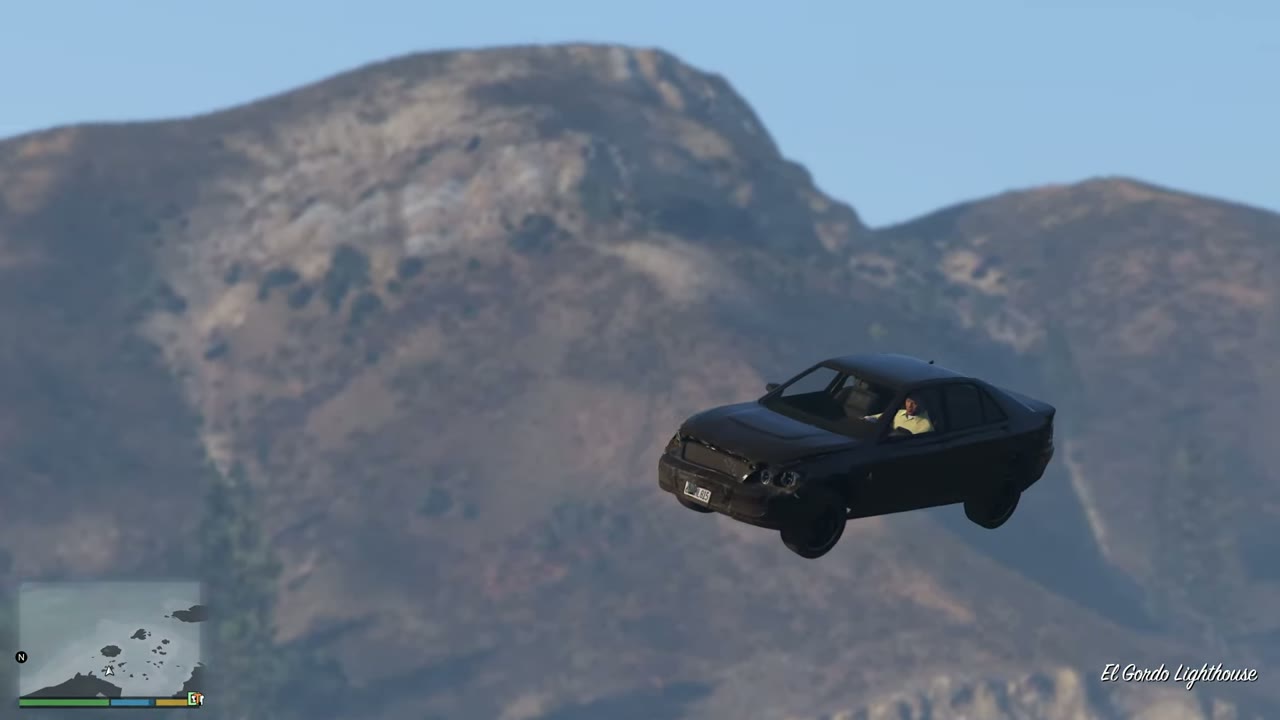
50 Mount Gordo Approach: Dirt rise on El Gordo Drive past Ursula’s house, heading east
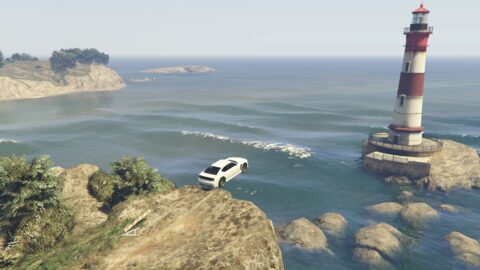
Landing: Land on the lighthouse island.
Dark sedan on the dirt track above the cliff with El Gordo Lighthouse in the distance.Dark sedan airborne against the Mount Gordo hillside, El Gordo Lighthouse caption at the bottom right.Stunt Jump 50 locationMap showing Stunt Jump 50