














| Given by | Nobody. The ramps are always on the map, and a jump counts the moment you land it |
|---|---|
| Opens after | Broker, Dukes and Bohan are open from the start. Algonquin opens in Blow Your Cover, and Alderney opens in Three Leaf Clover |
| Counts toward 100% | Yes. Collectibles are worth 5 percent in total, and the jumps are 2.5 of it. See the 100% checklist. |
| Reward | The Dare Devil achievement. There is no cash or vehicle prize |
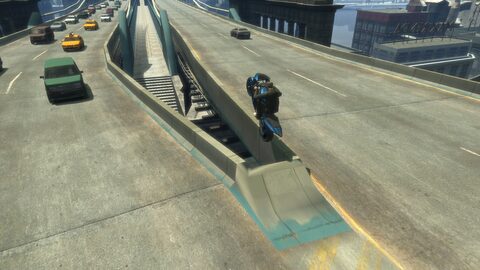
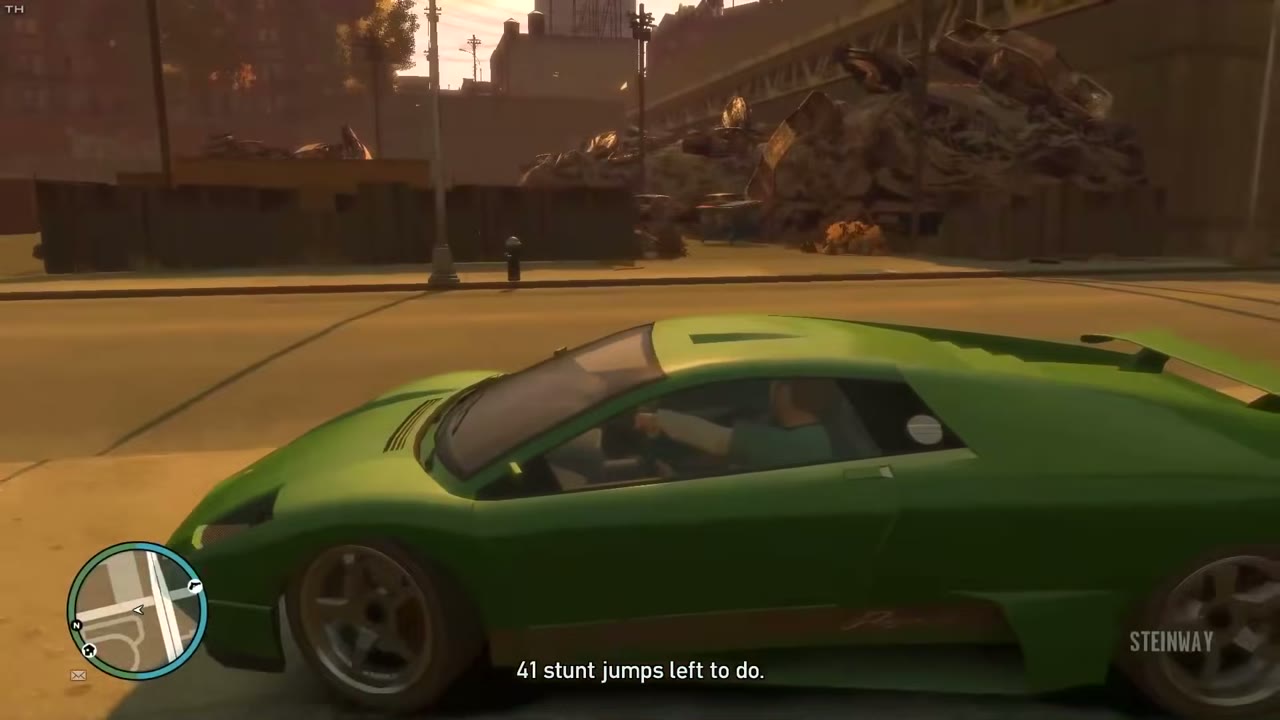
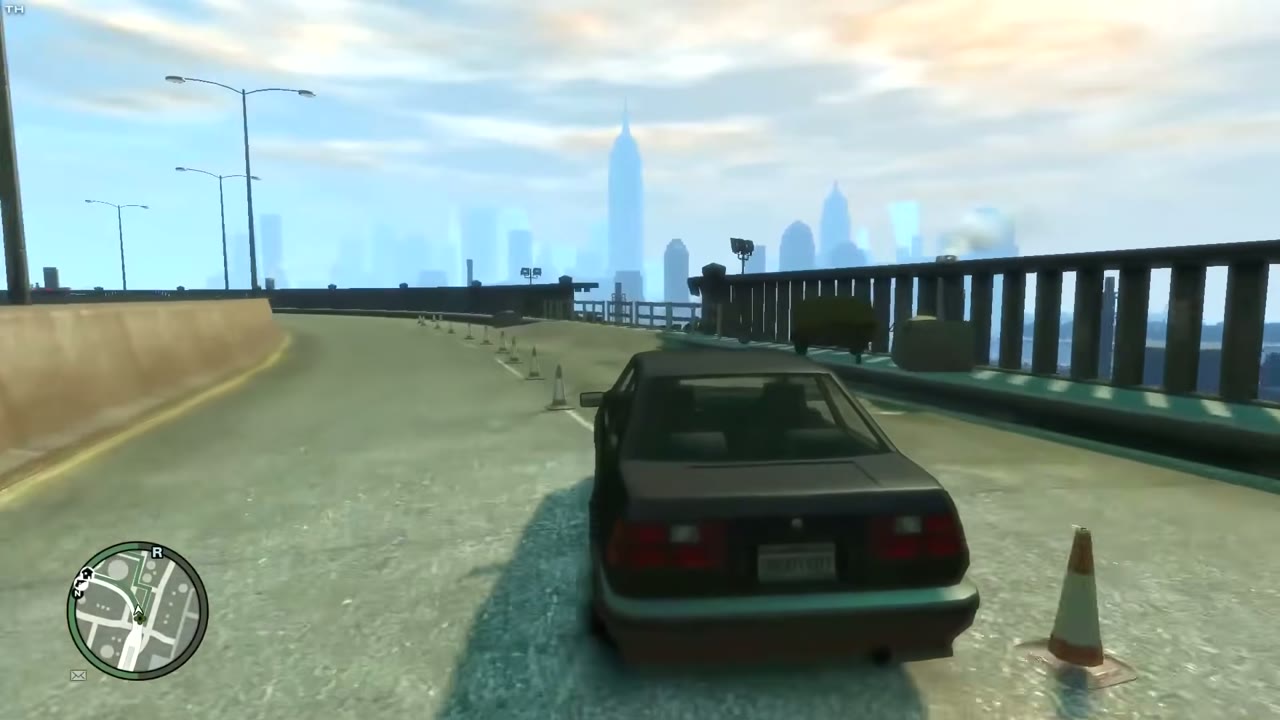
There are 50 stunt jumps scattered across Liberty City and Alderney. Each one is a ramp built from a plank, a dumpster, a dirt pile or a pile of rubble, and you have to launch off it and land in the right place. Land it and the game tells you so, then counts down how many are left. Finish all 50 and you earn Dare Devil, plus the second half of the collectibles score.
How stunt jumps work
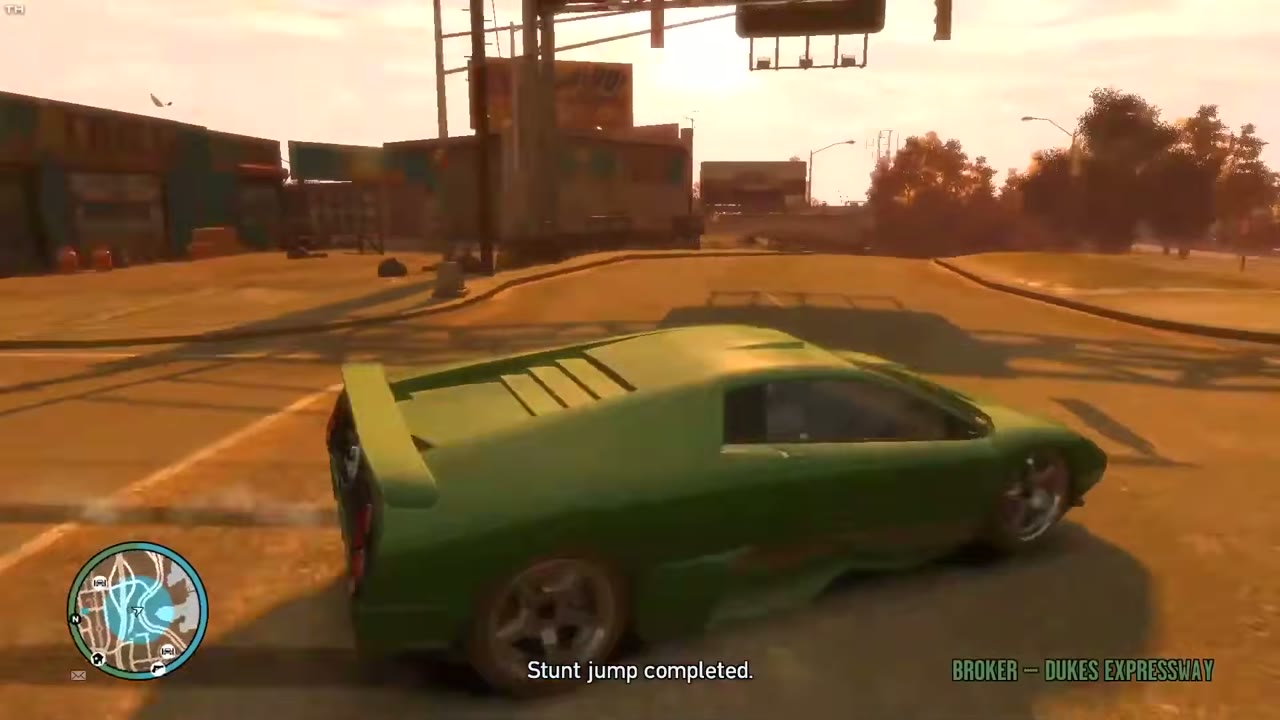
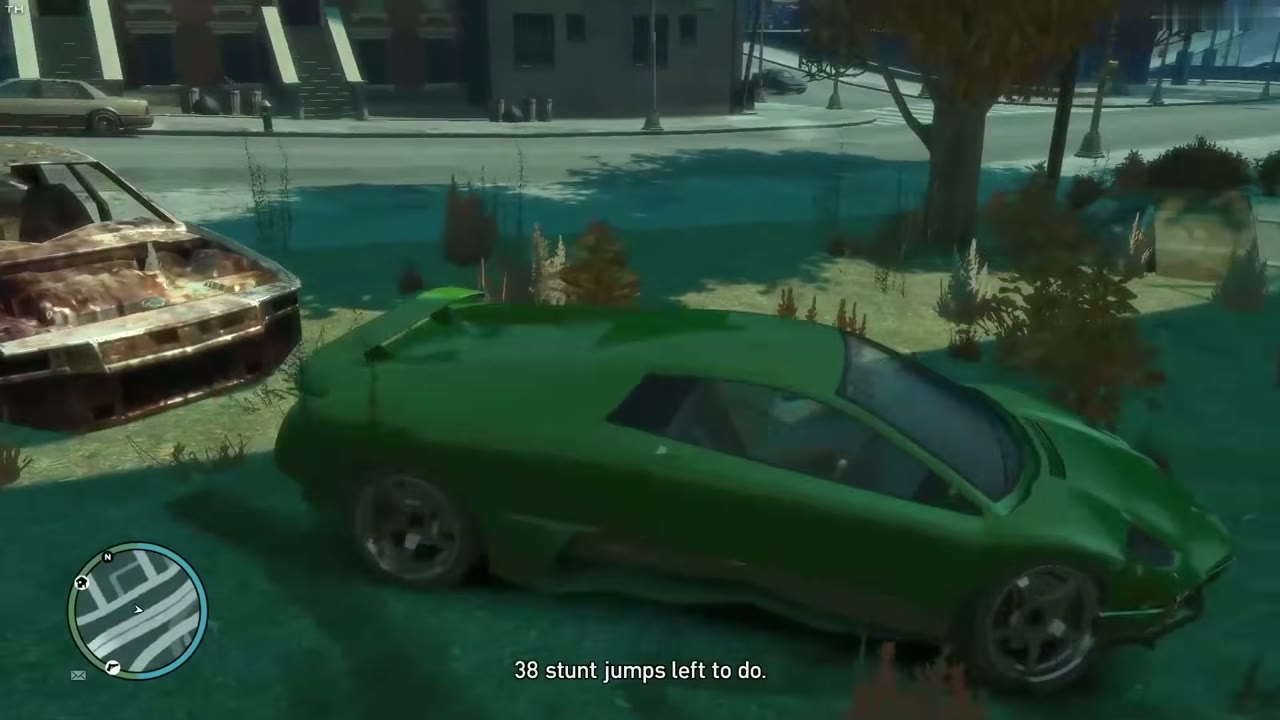
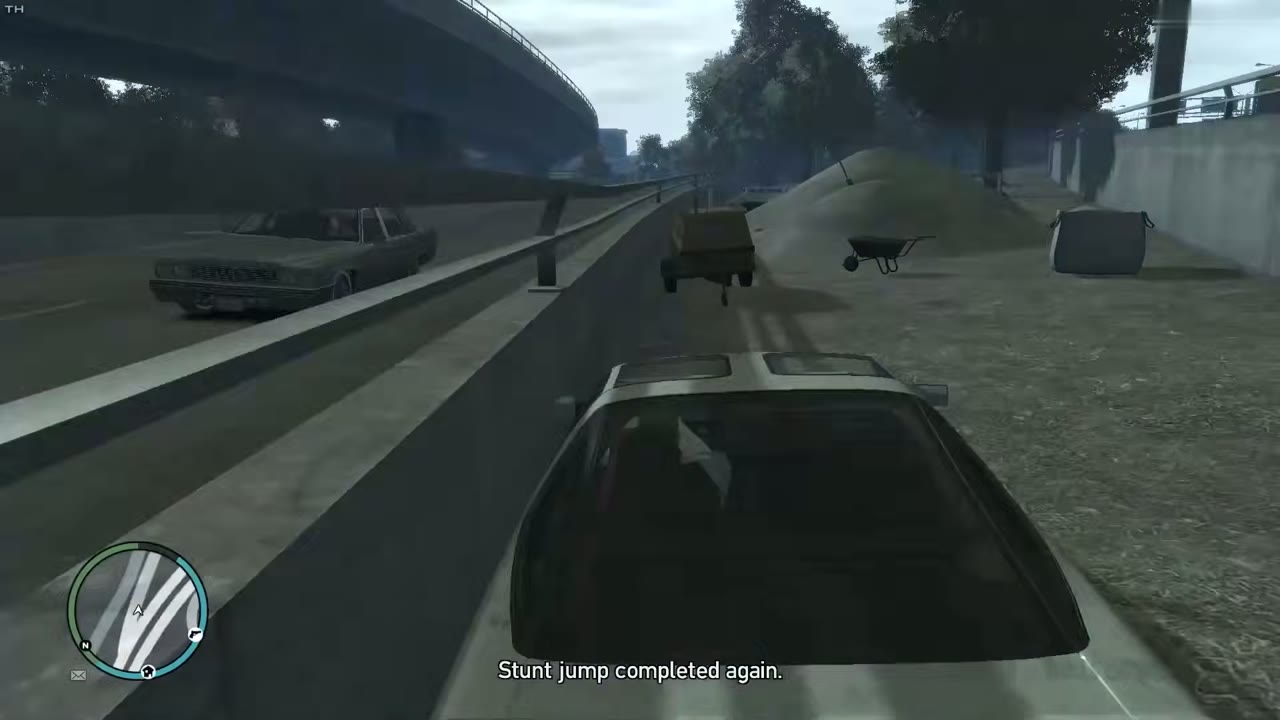
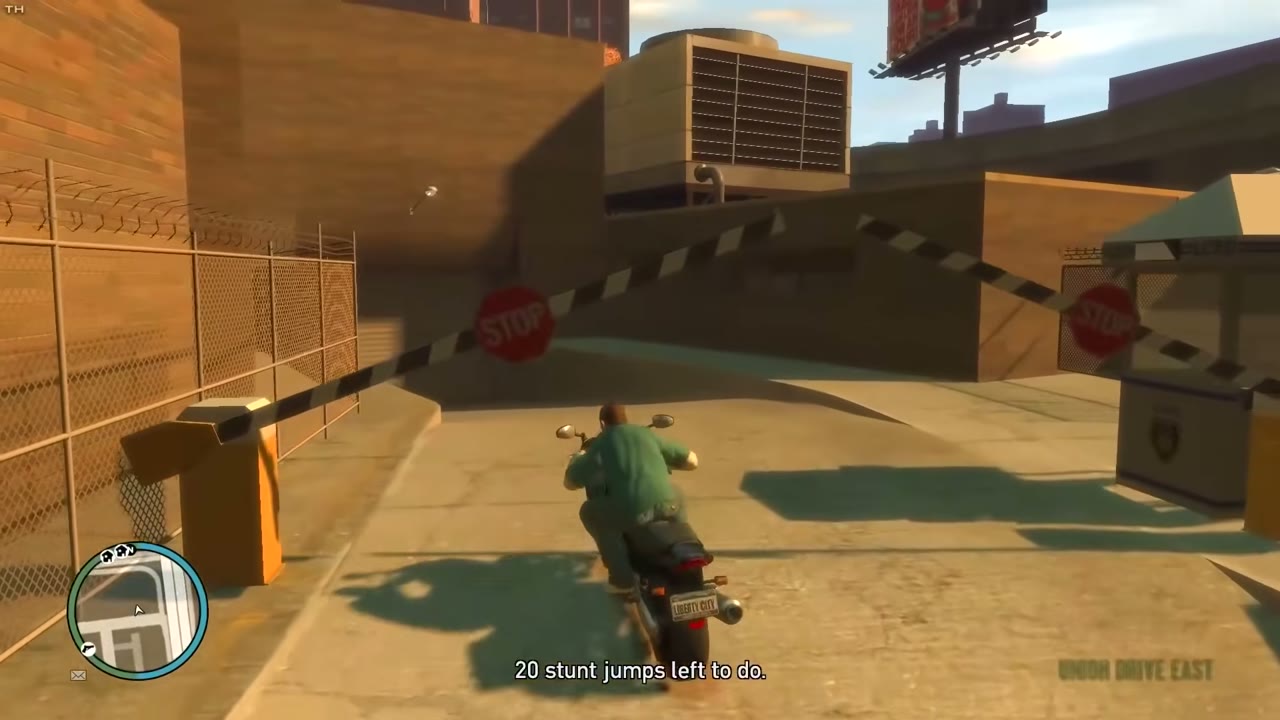
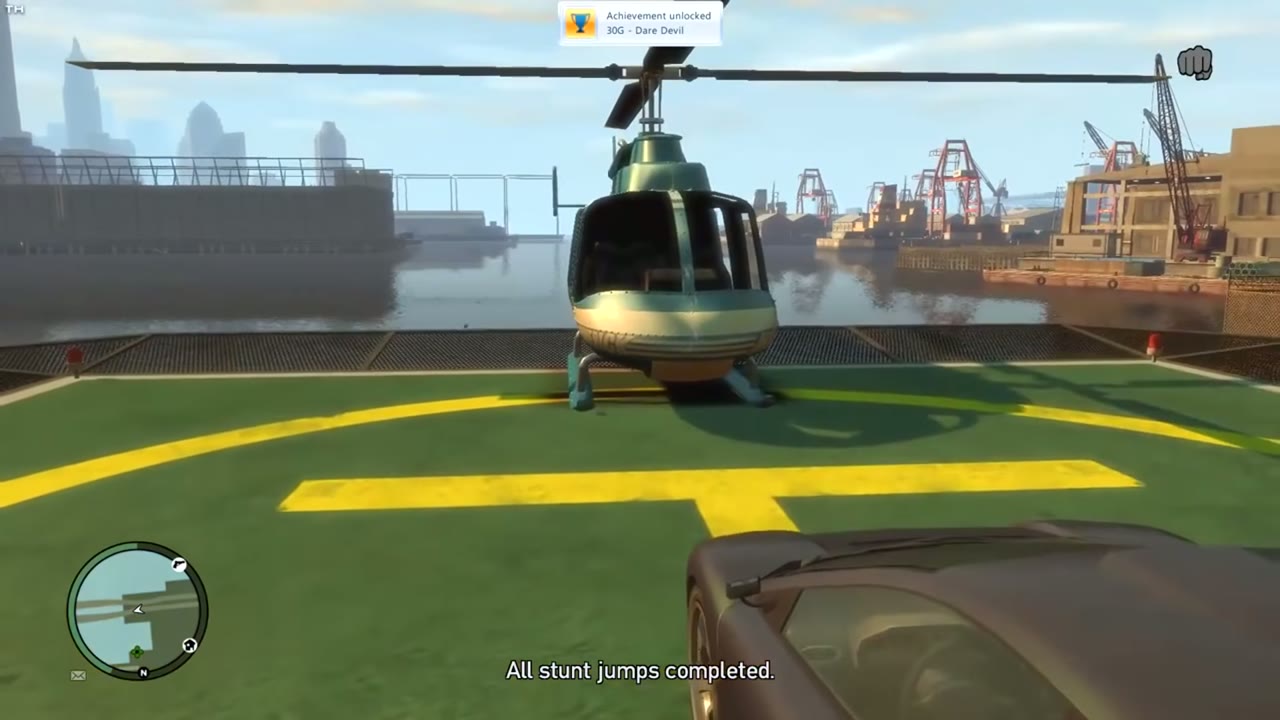
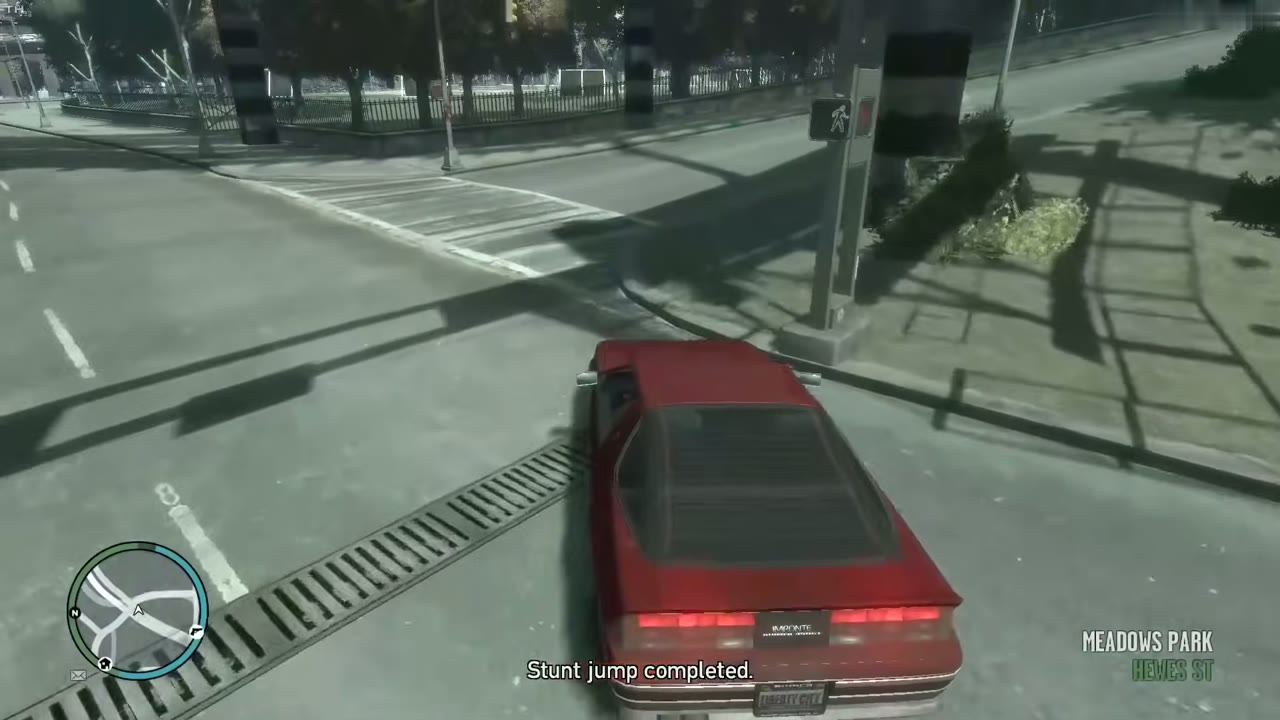
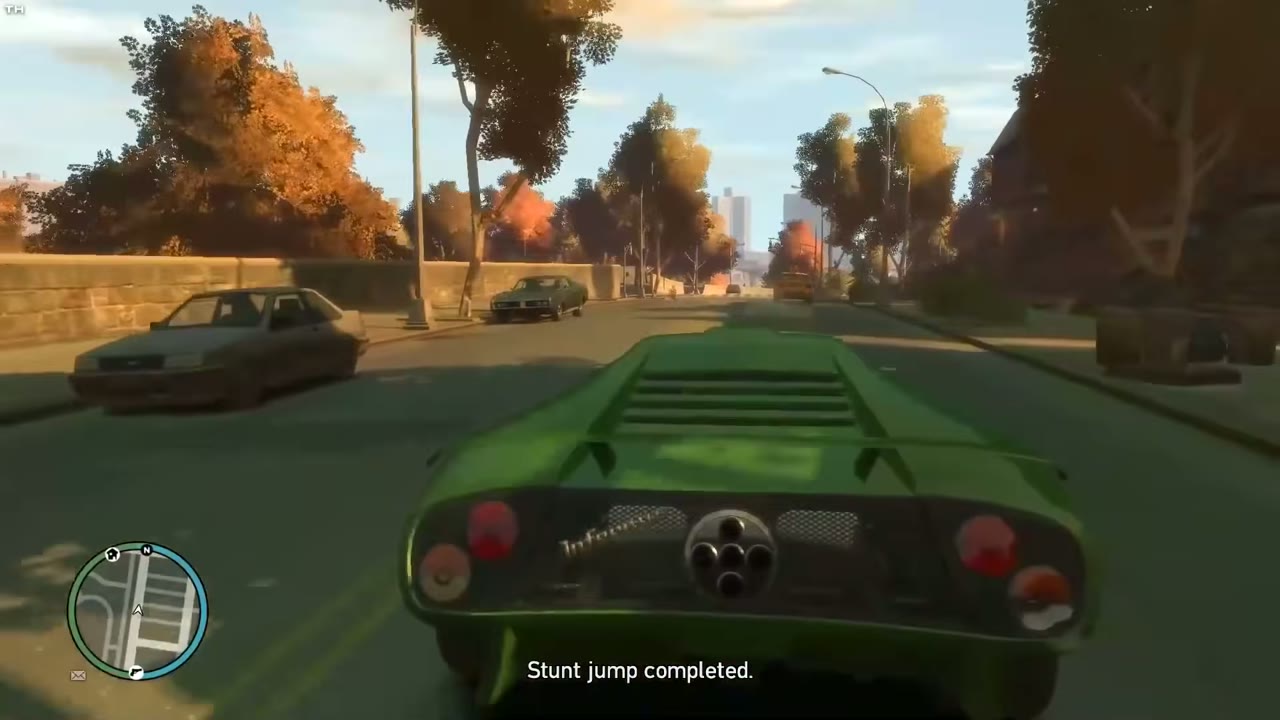
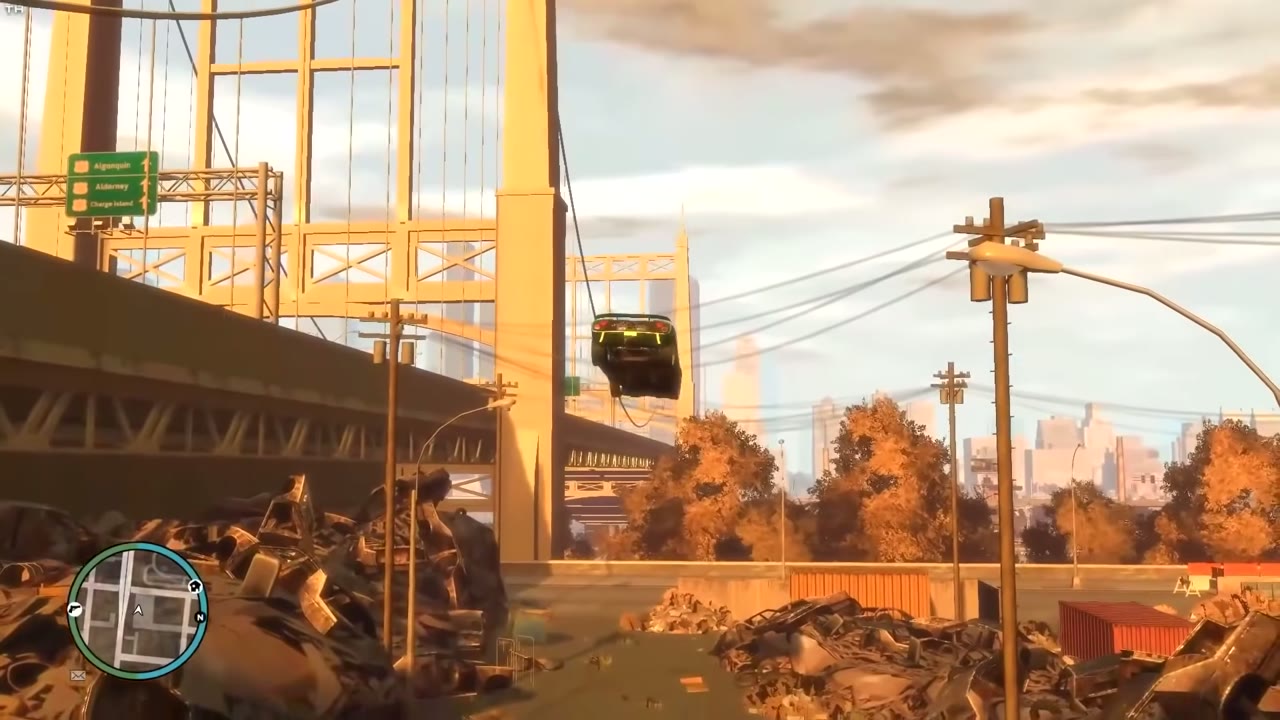
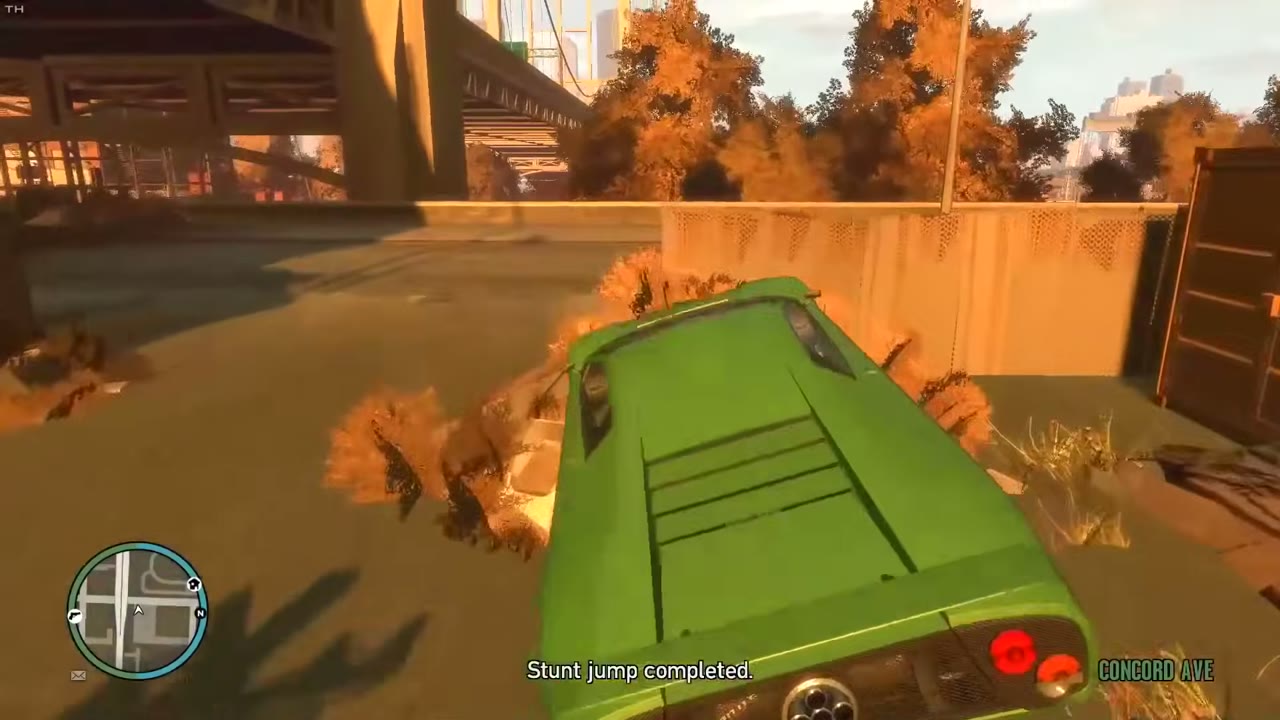
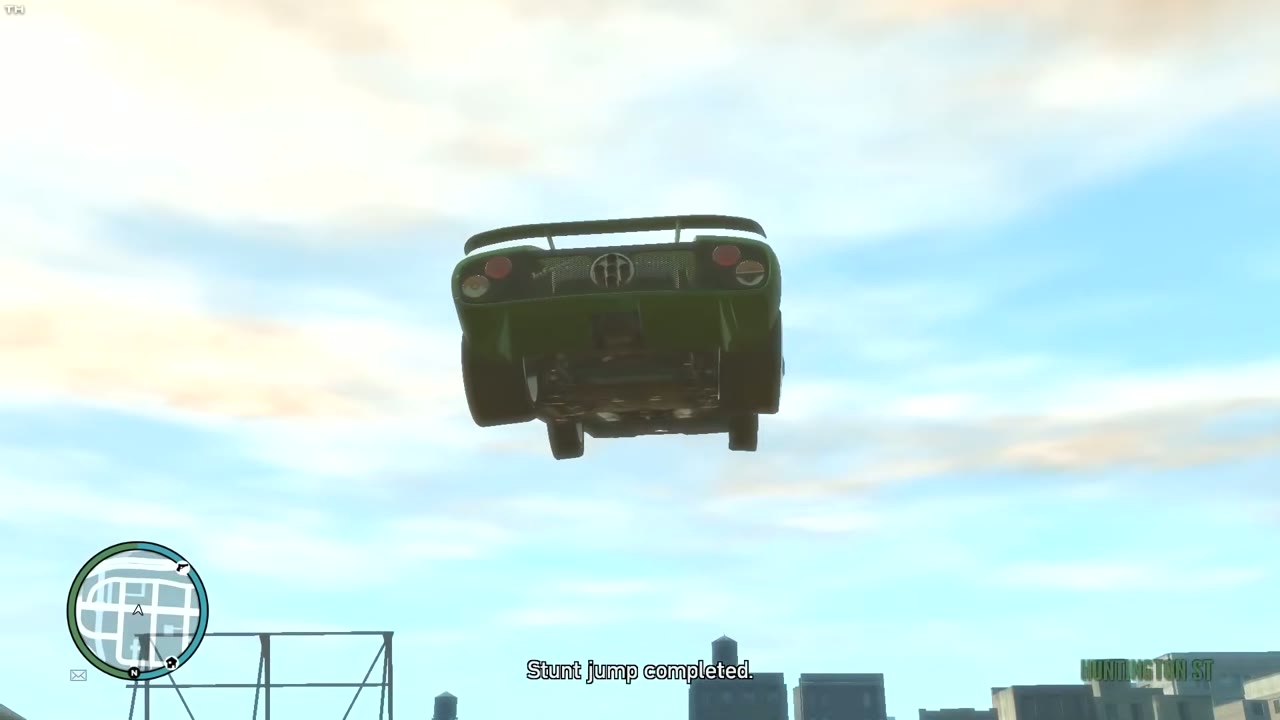
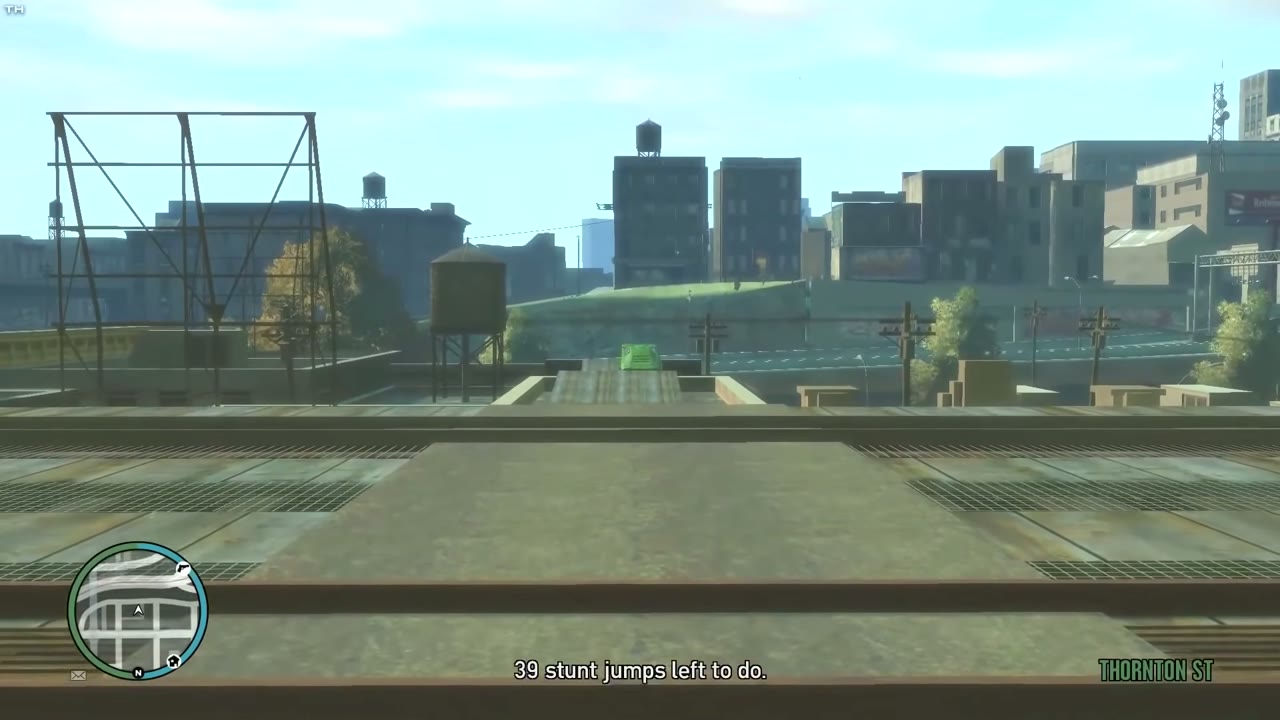
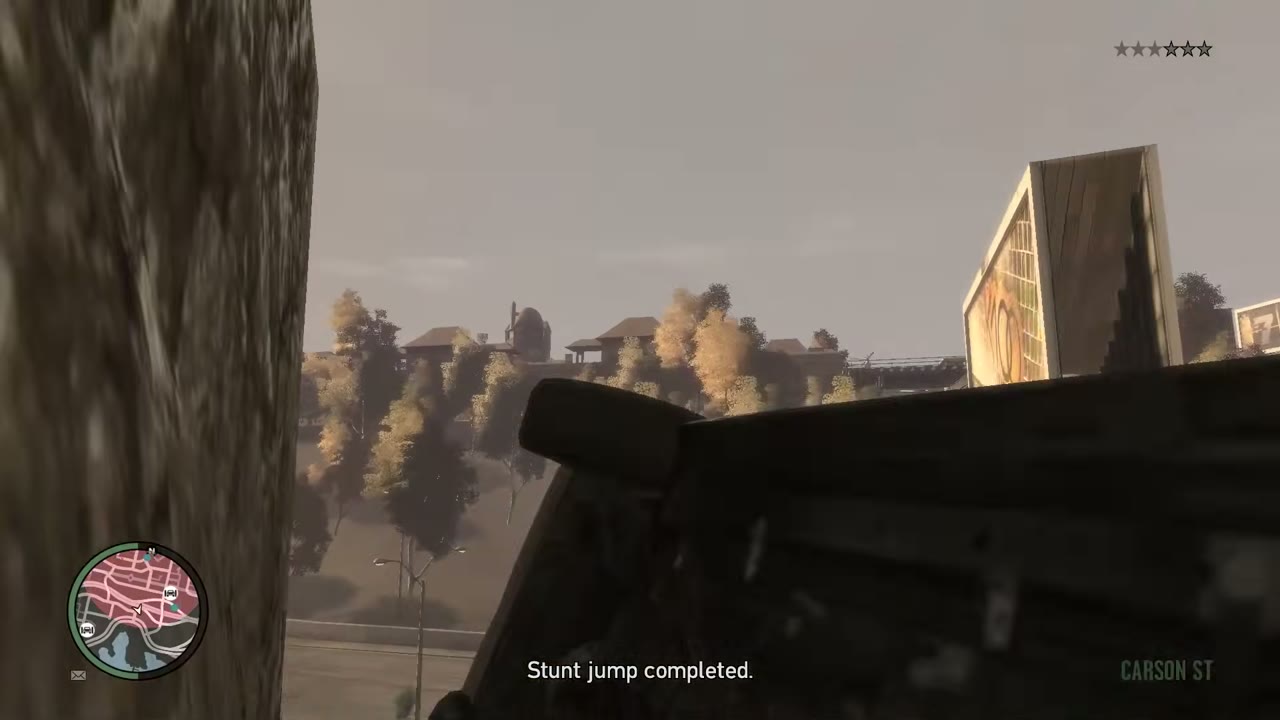
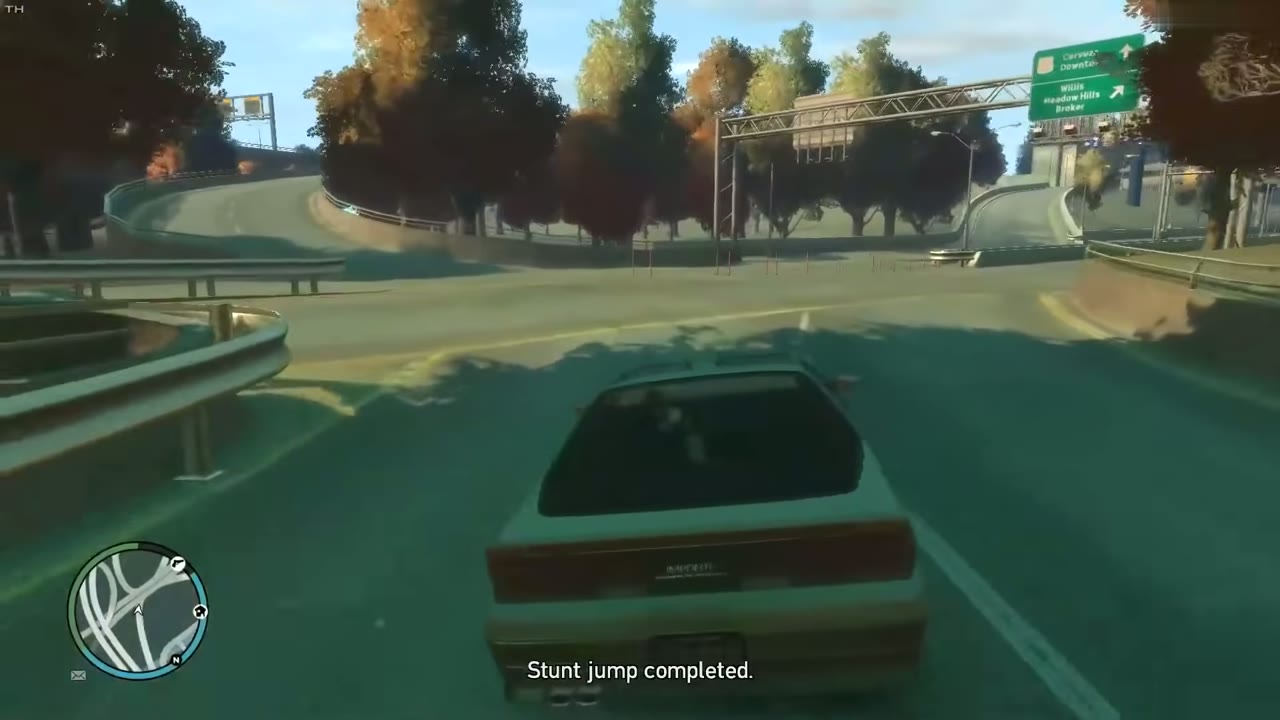
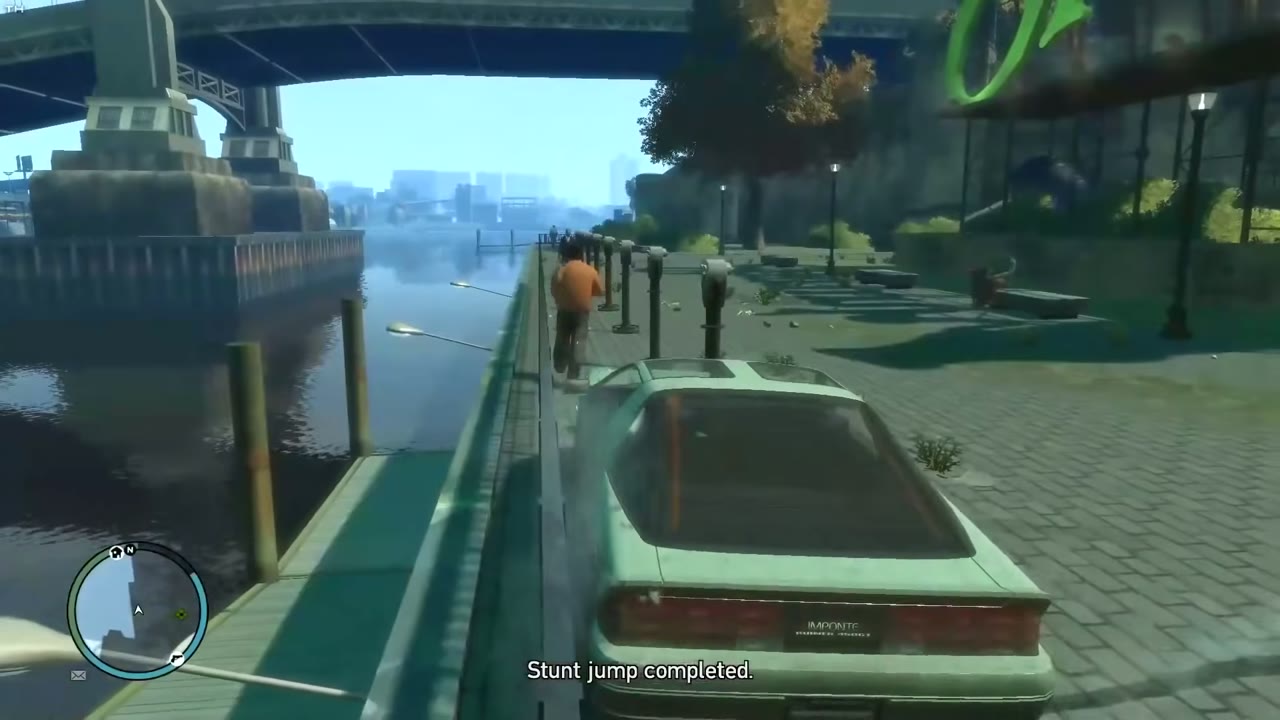
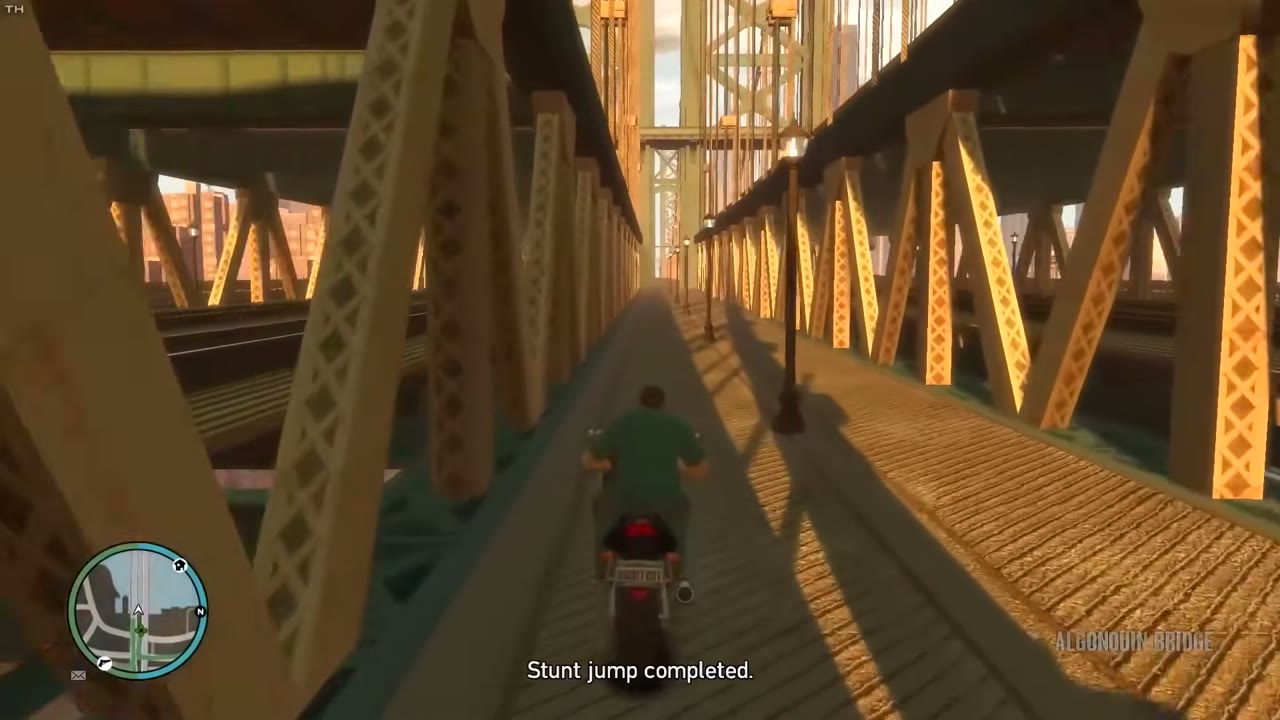
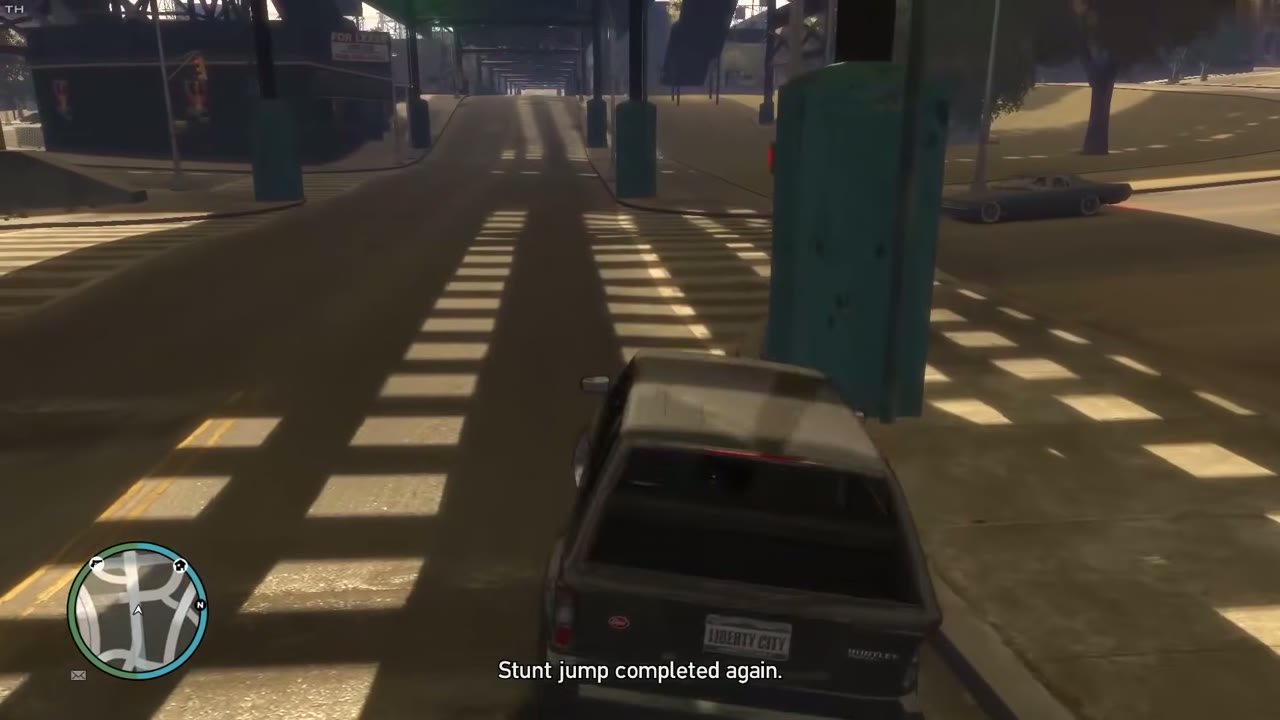
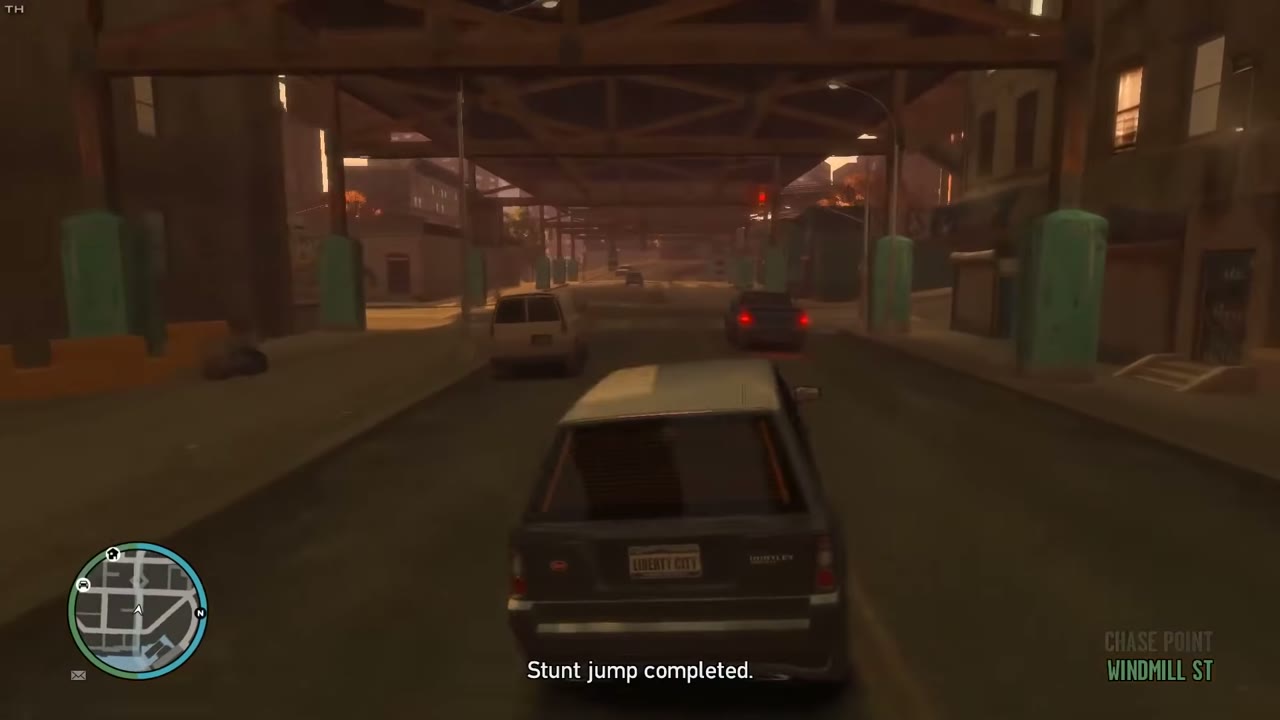
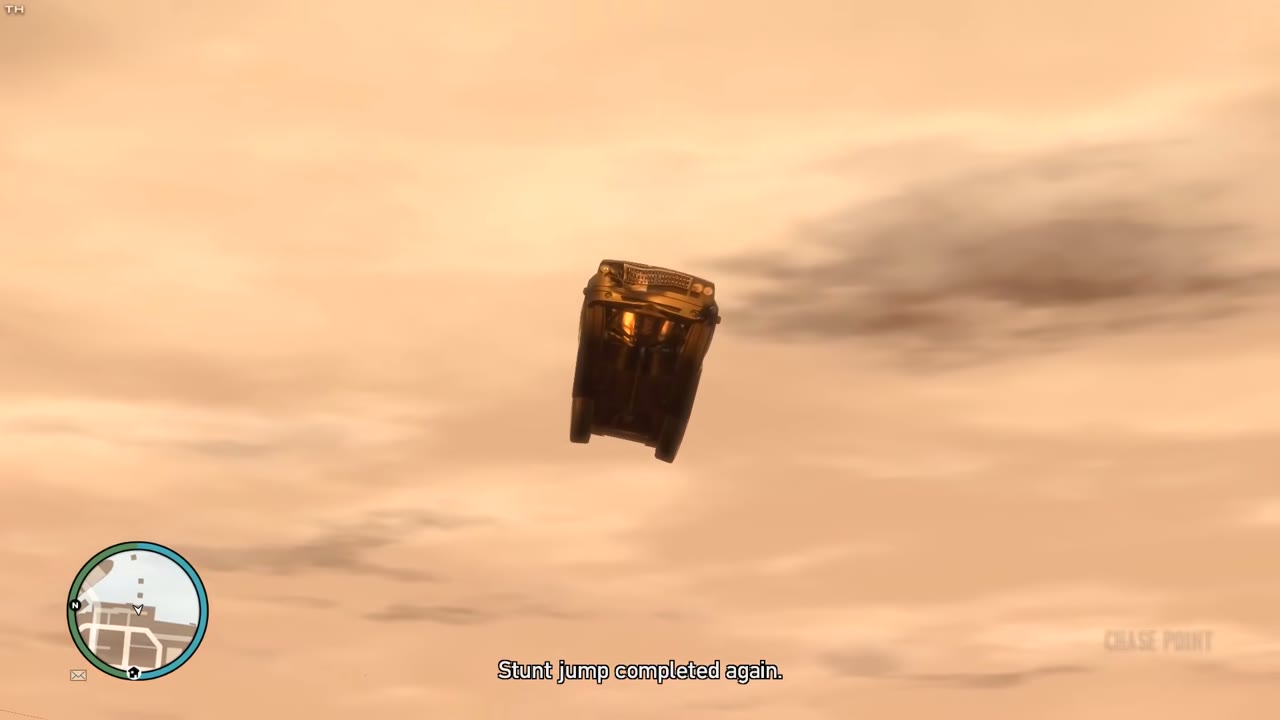
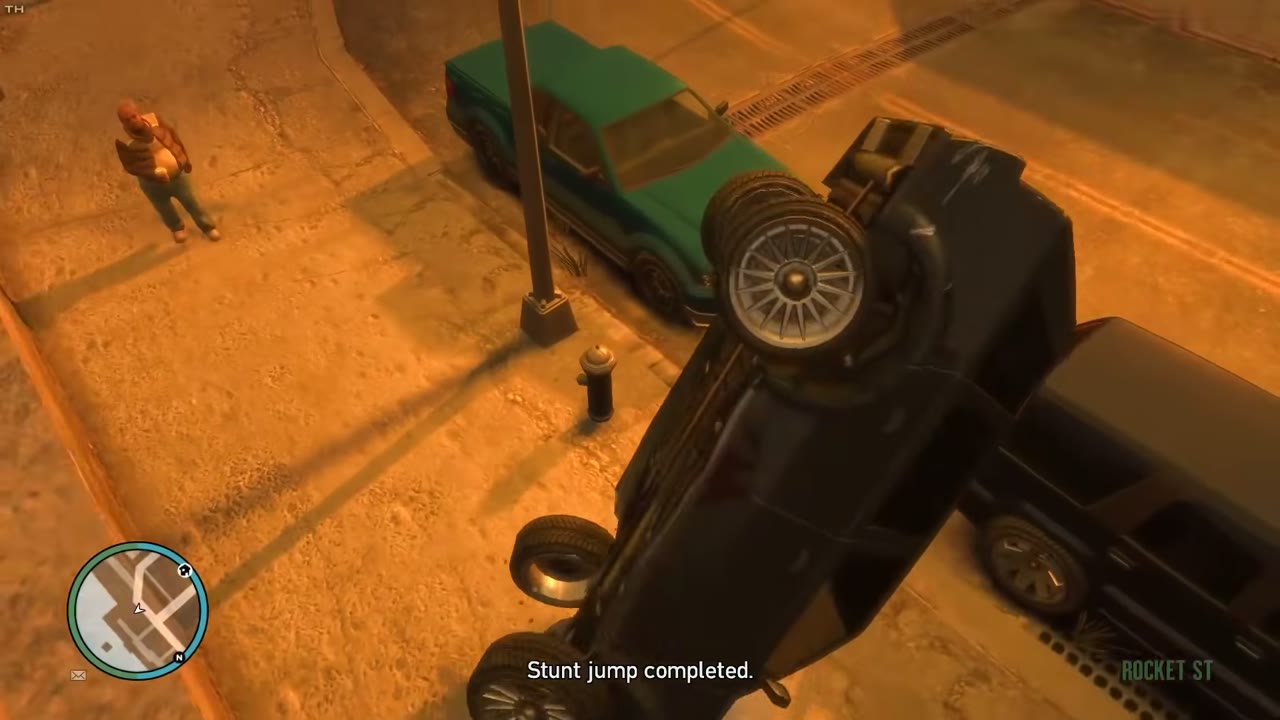
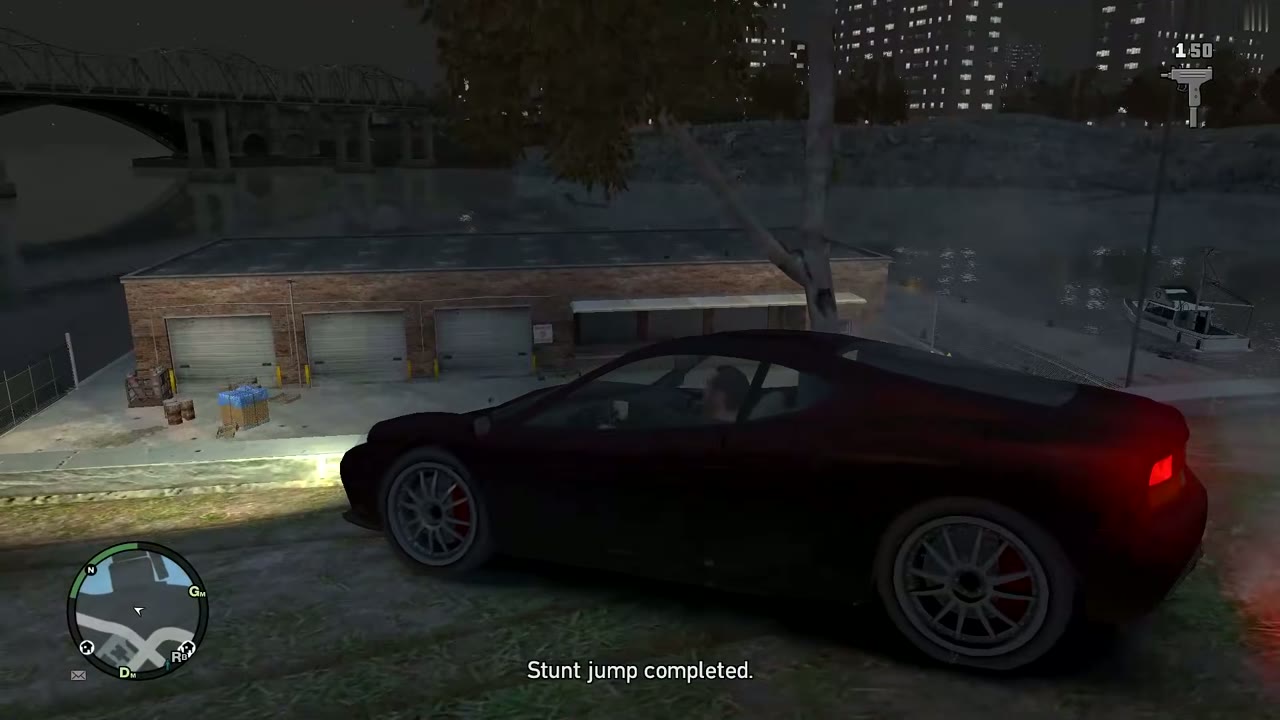
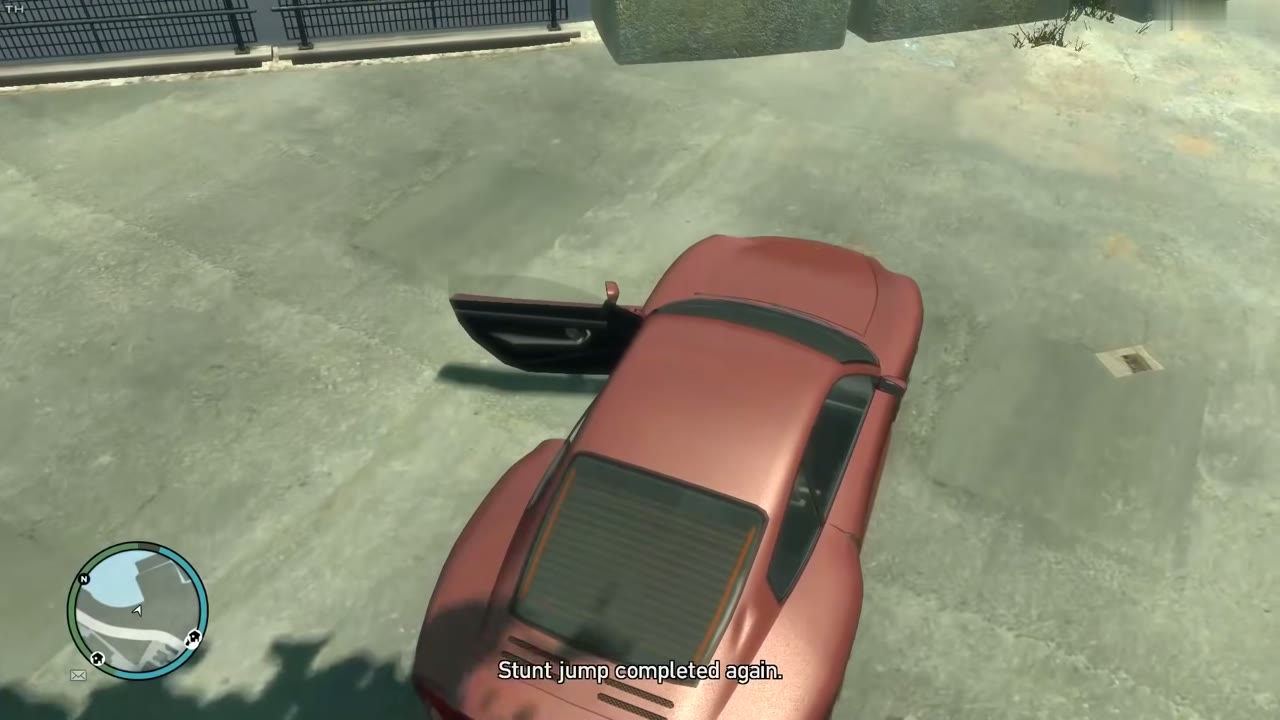
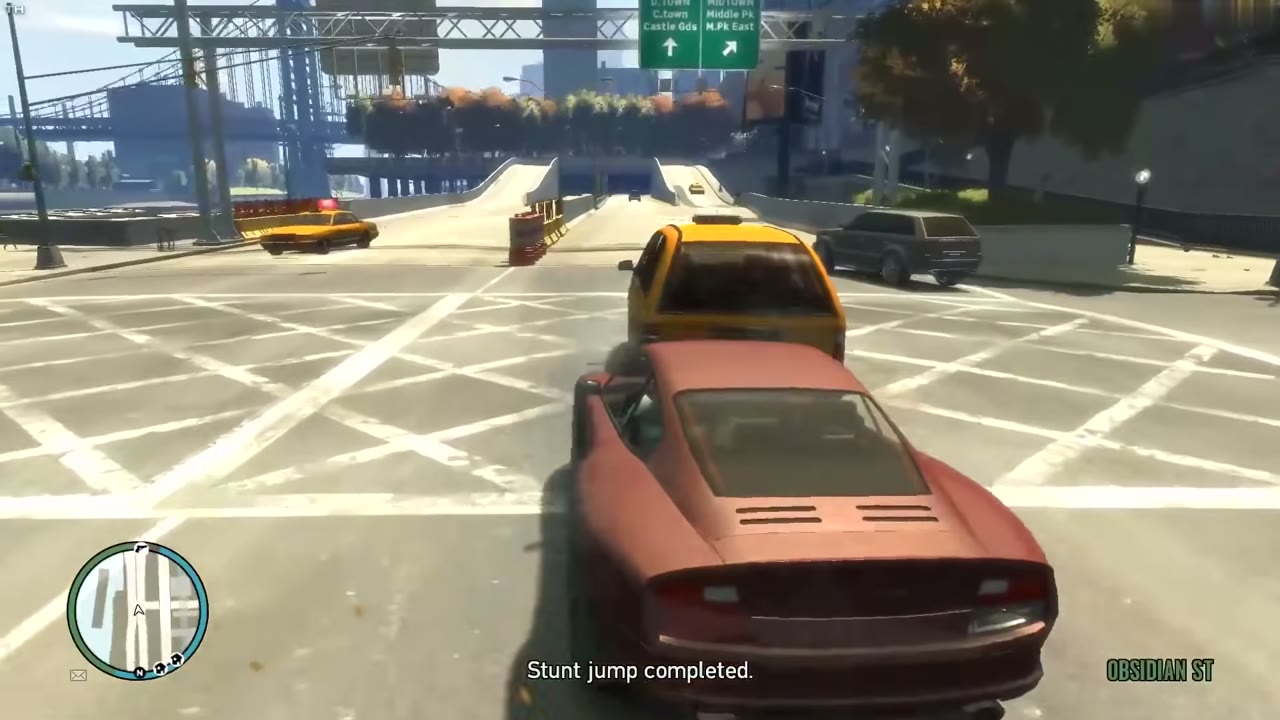
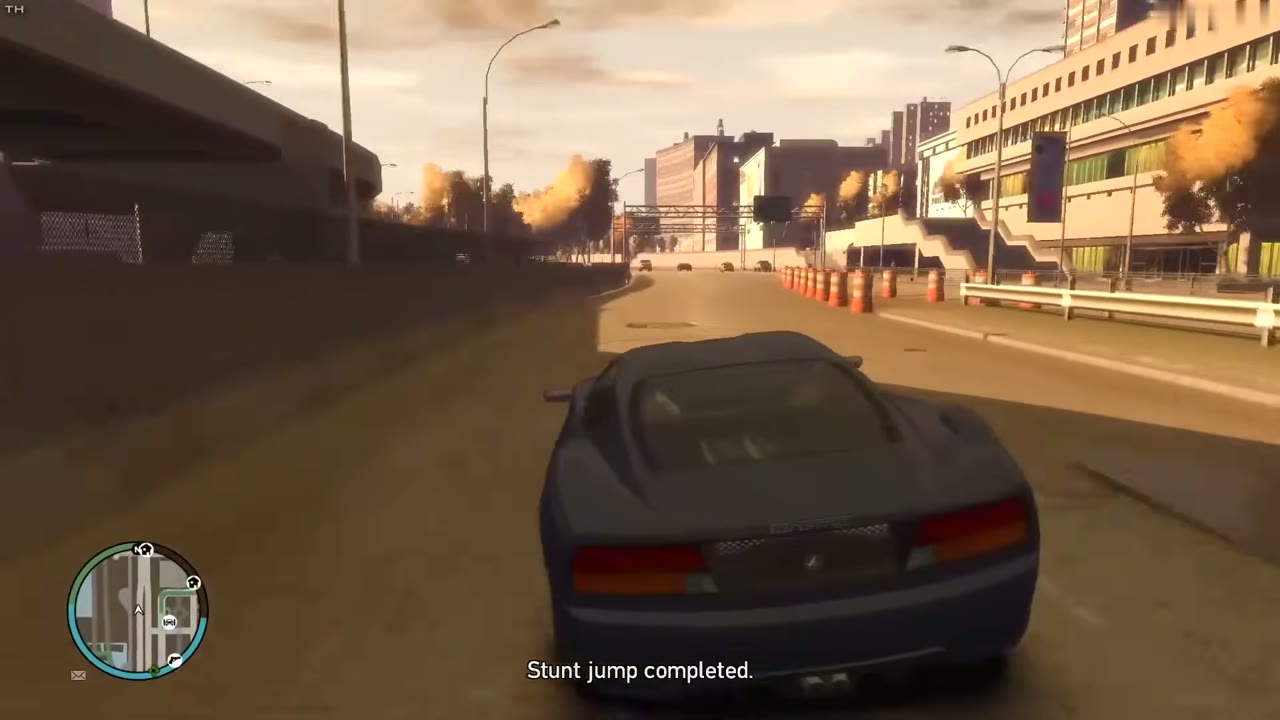
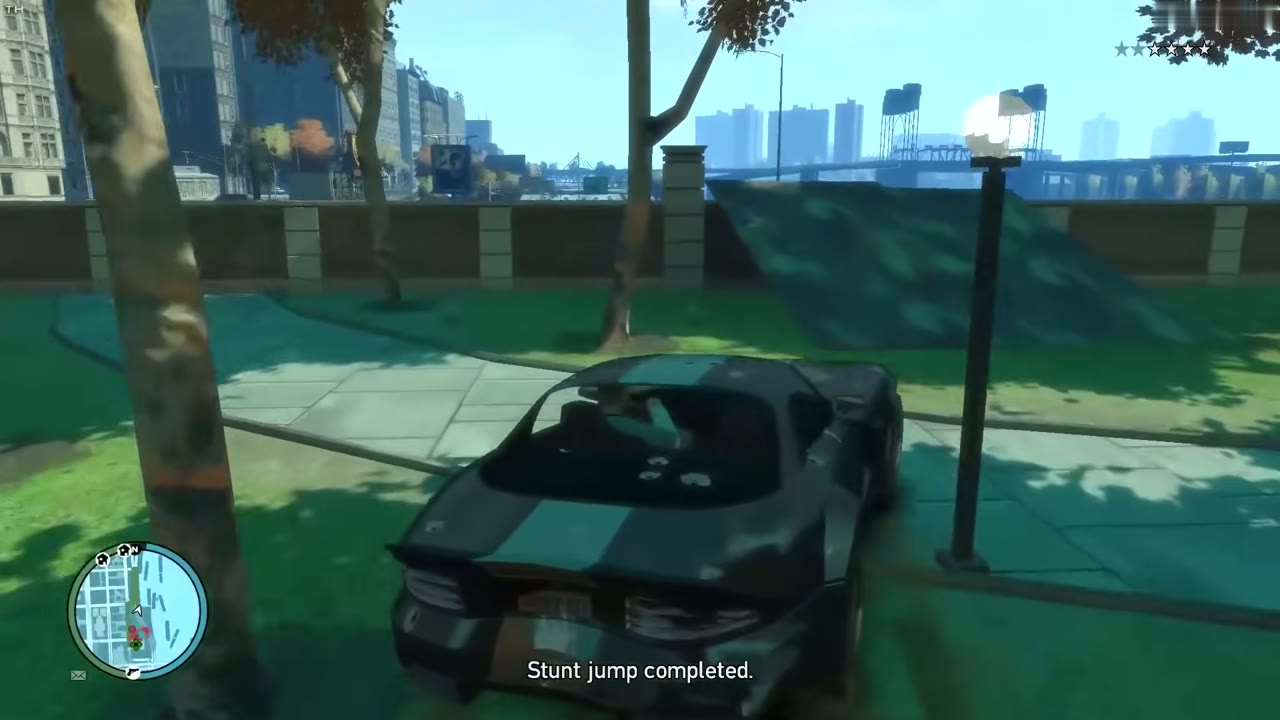
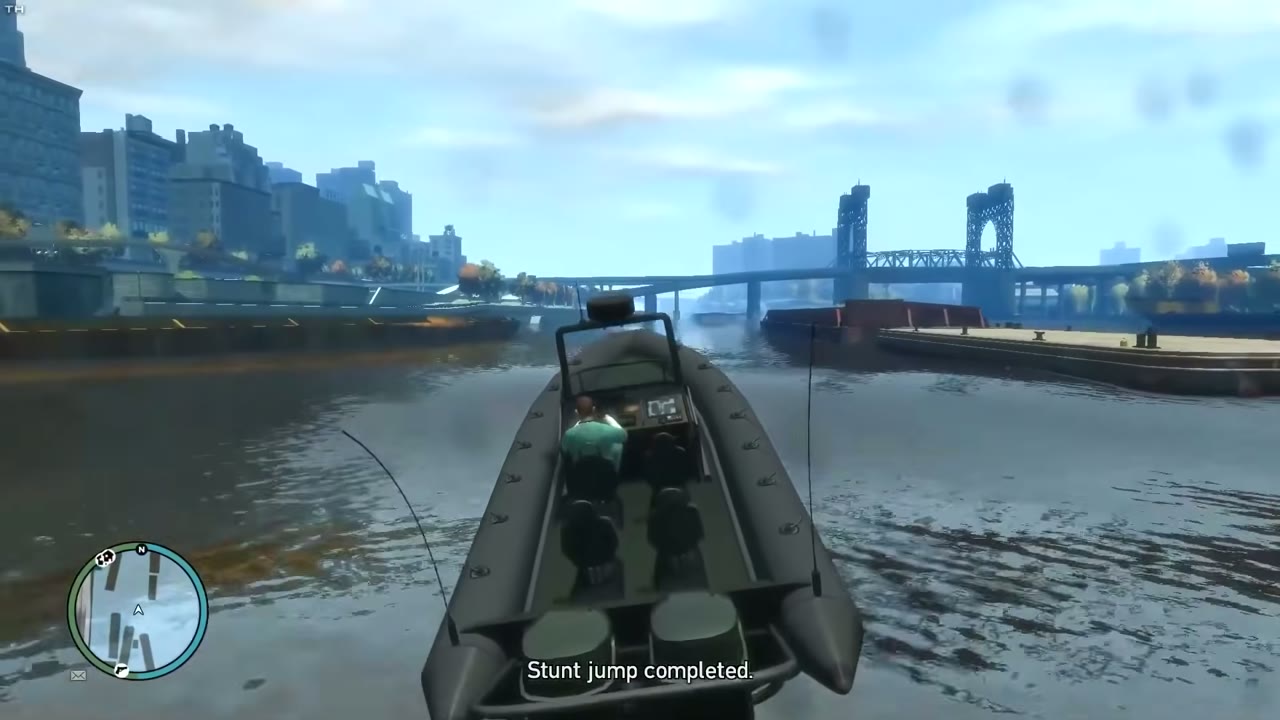
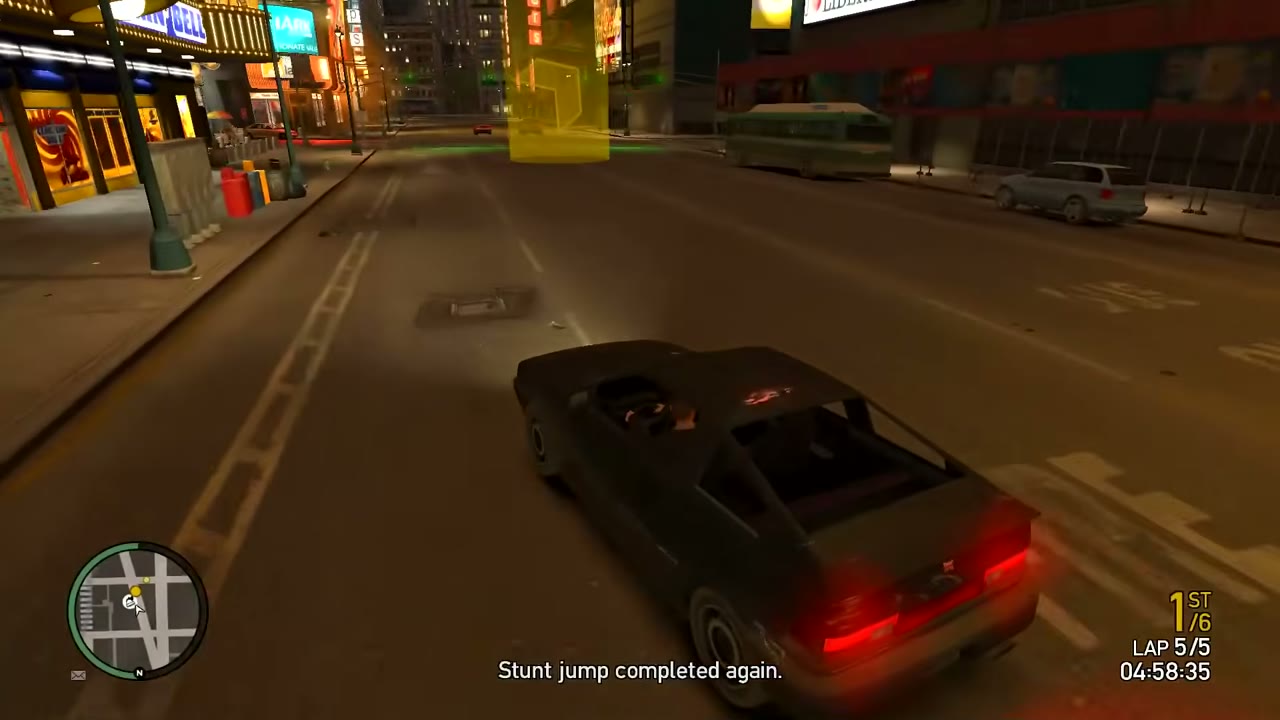
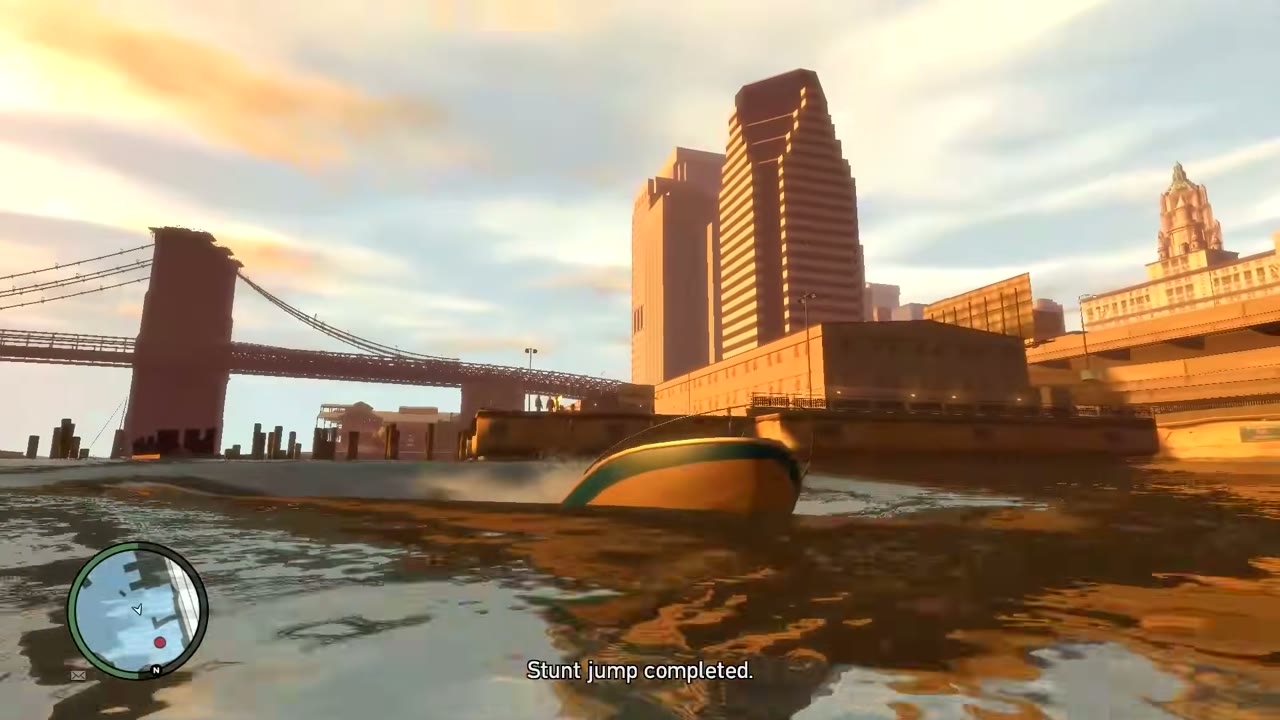
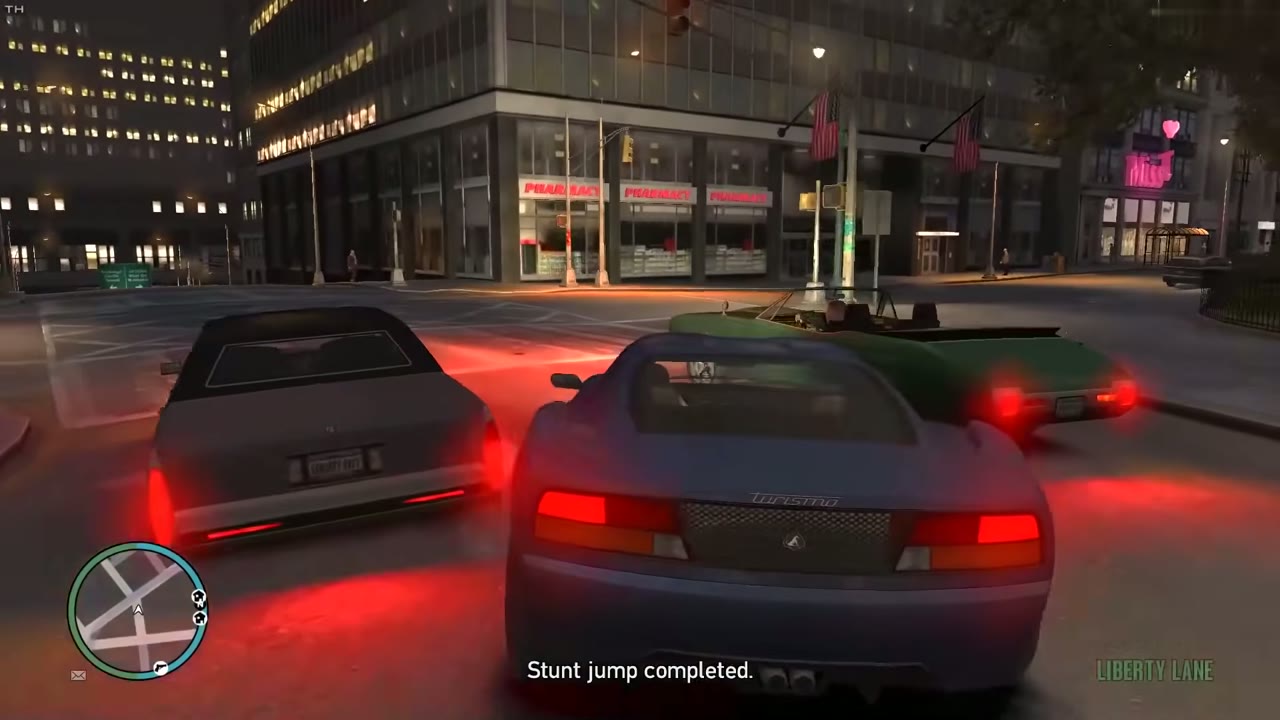
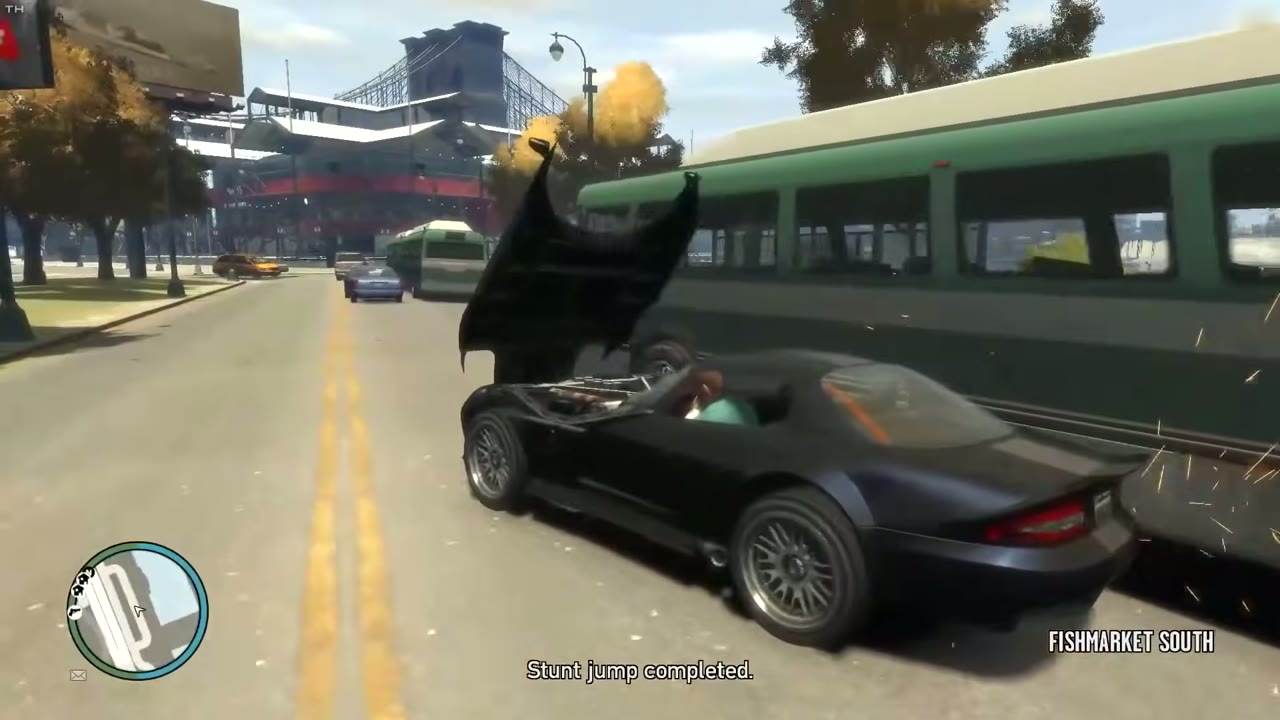
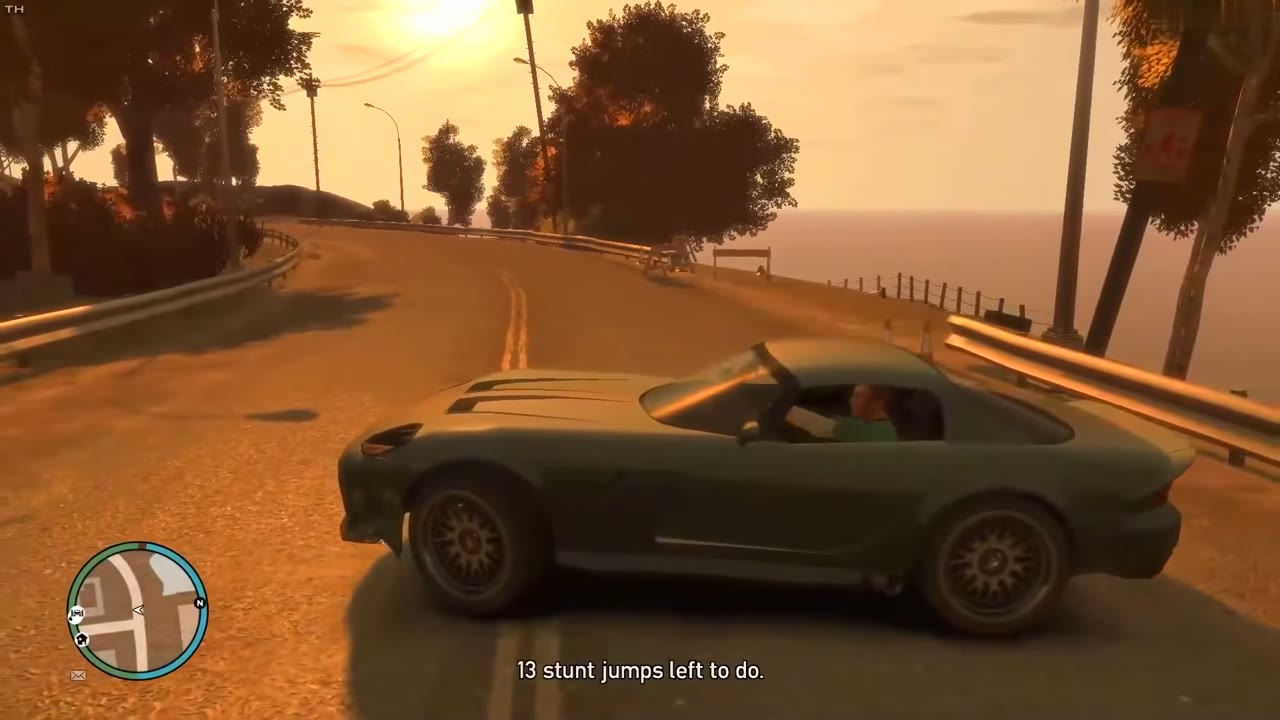
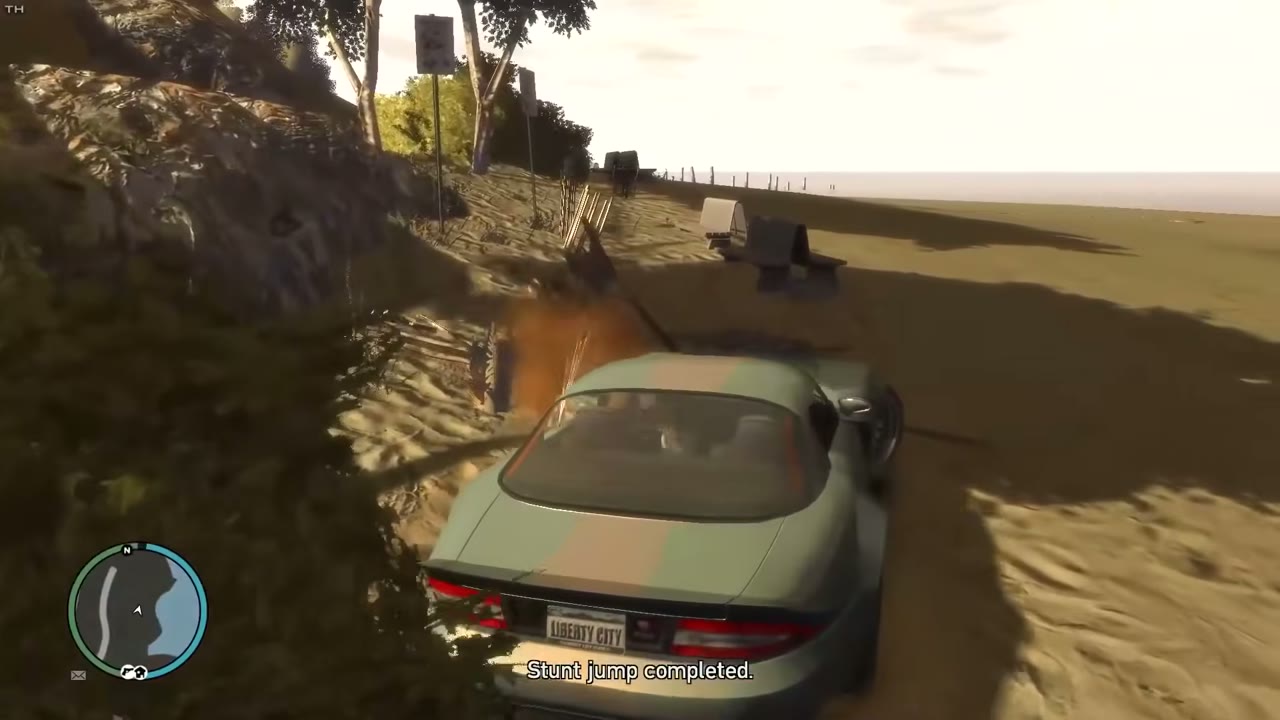
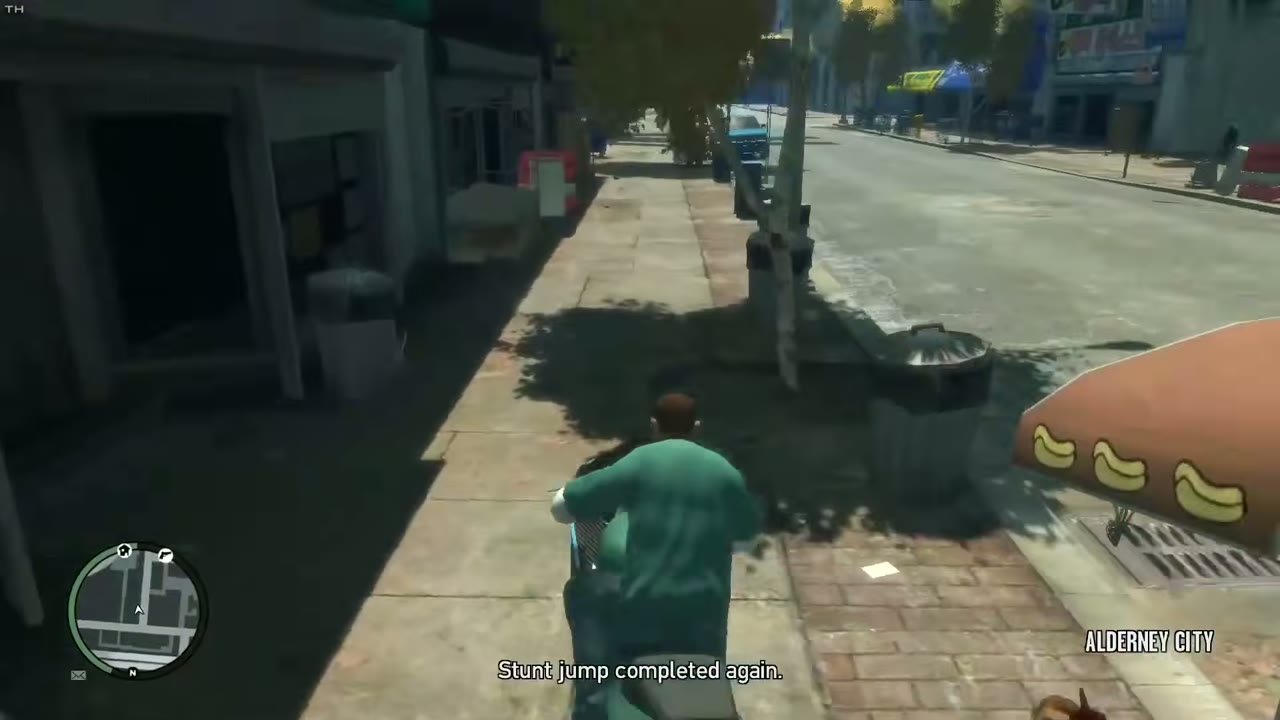
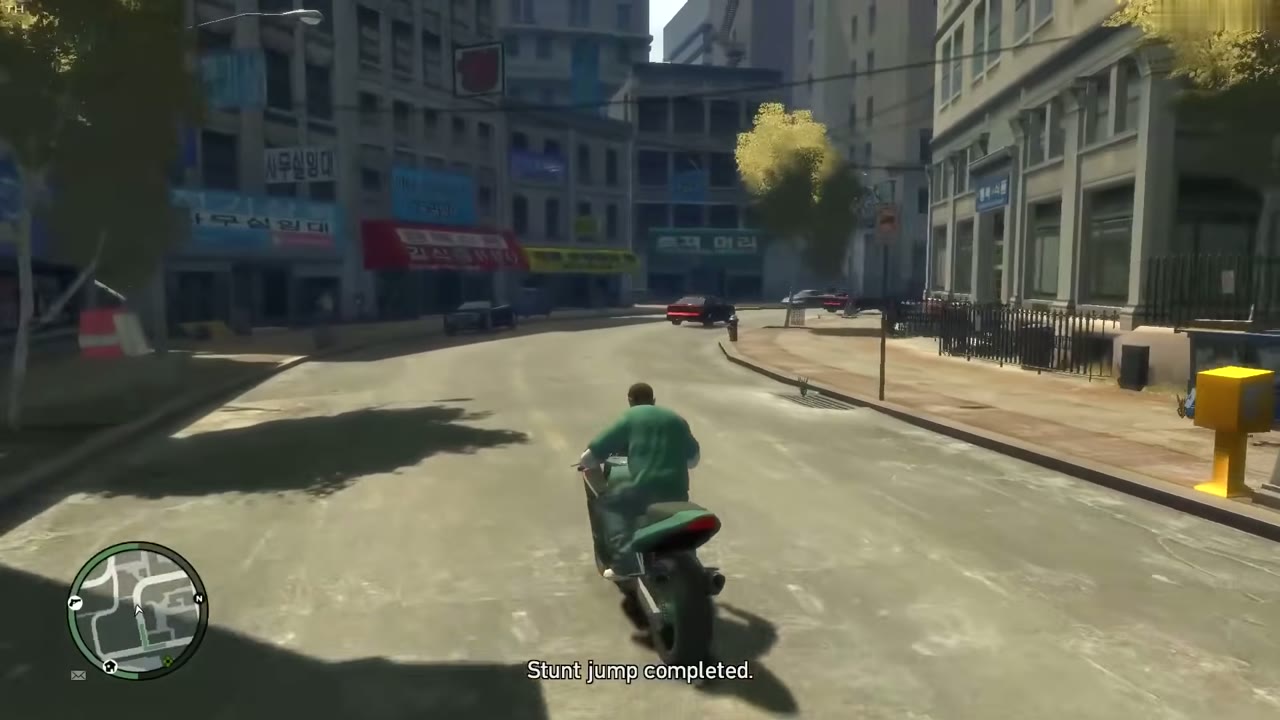
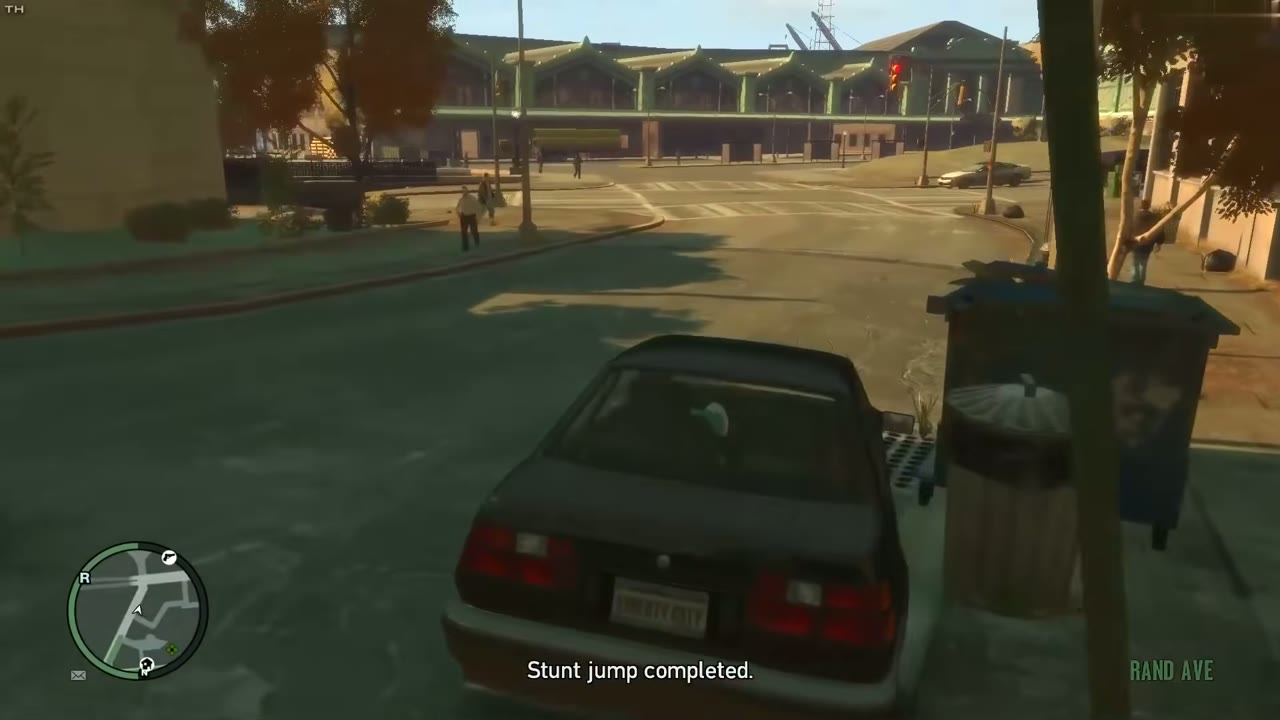
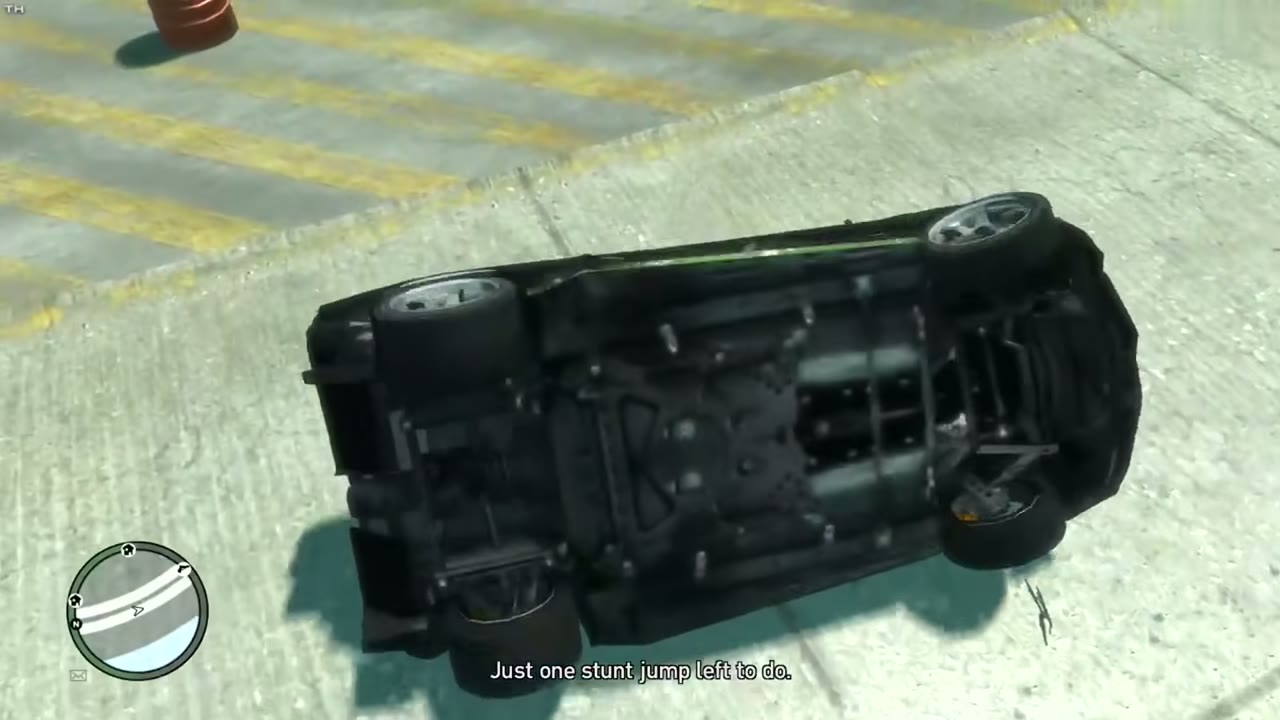
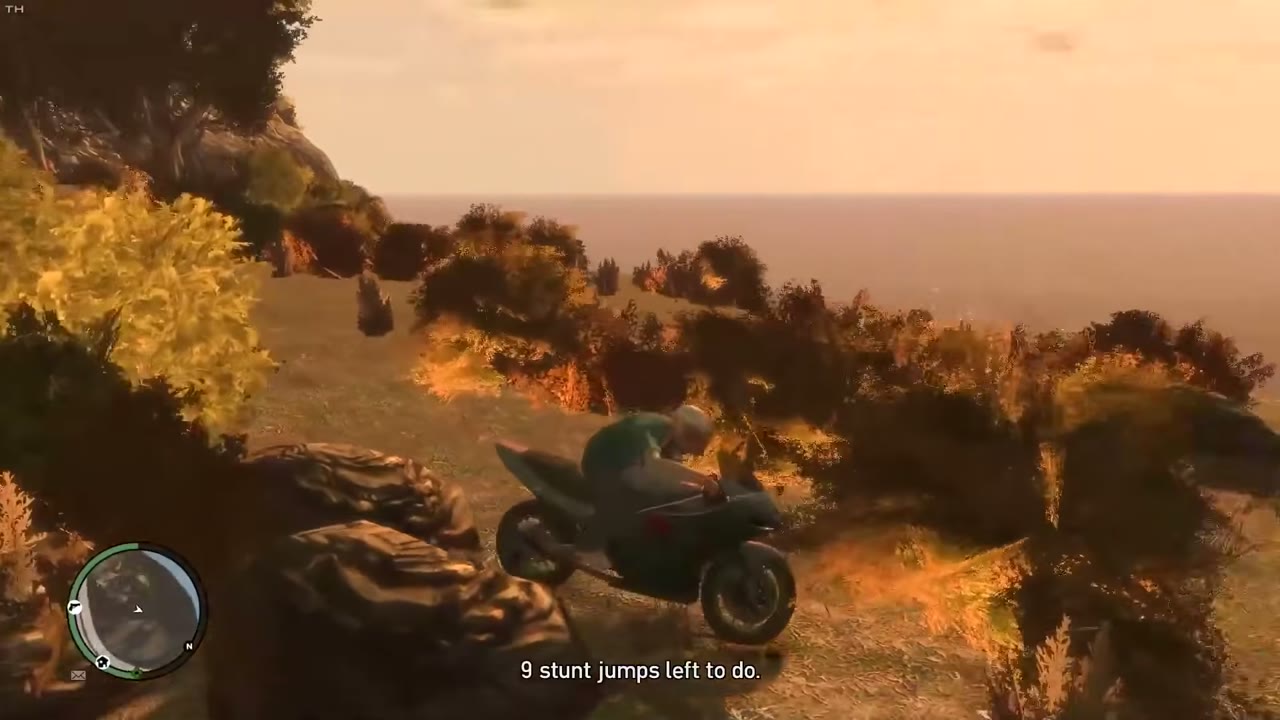
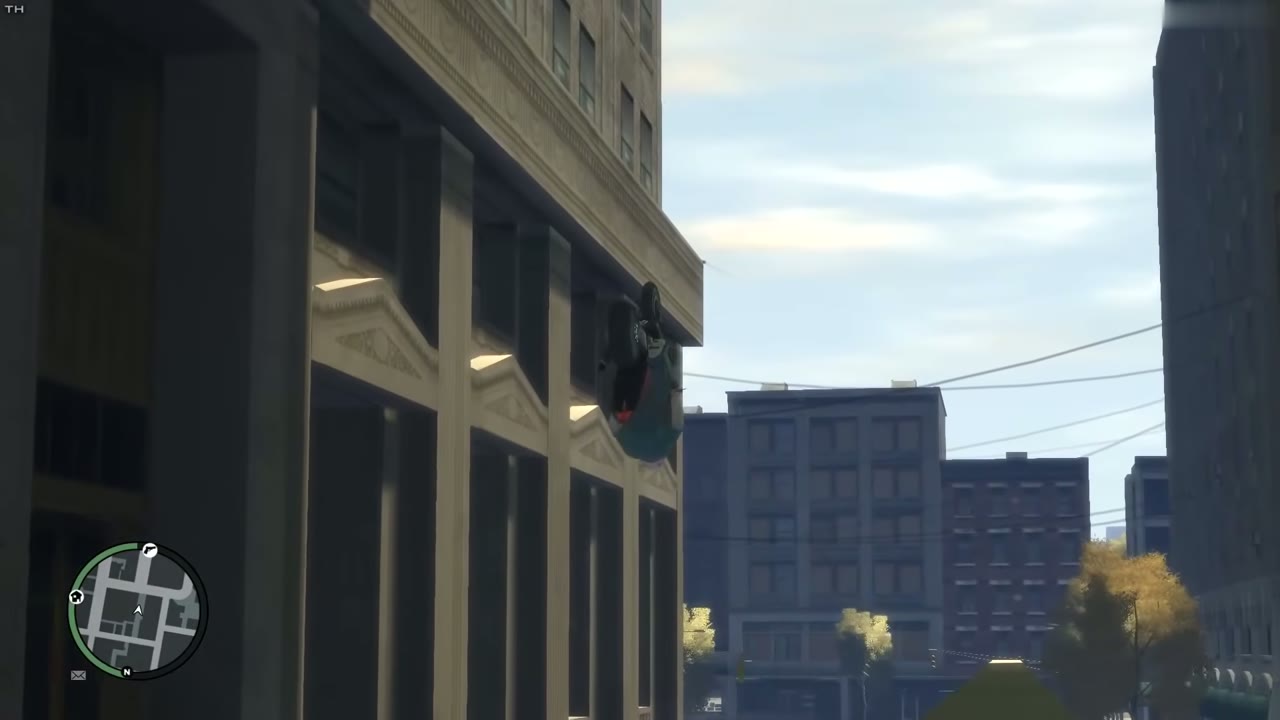
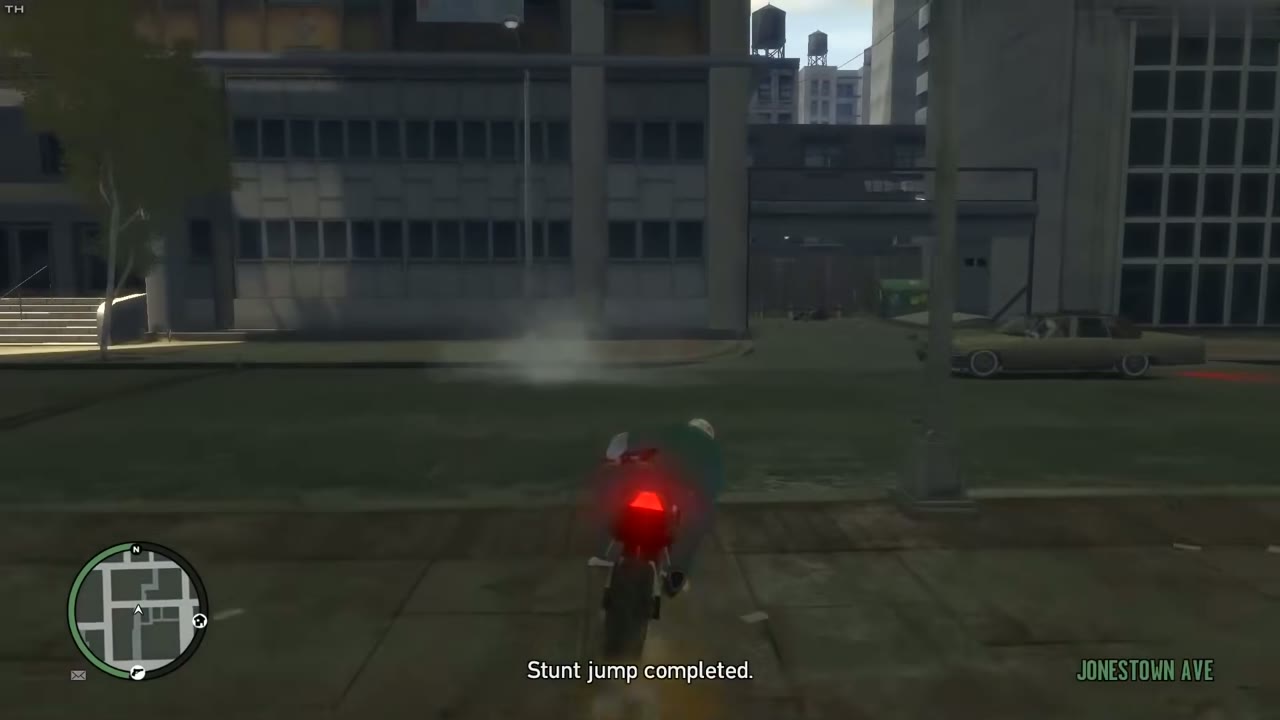
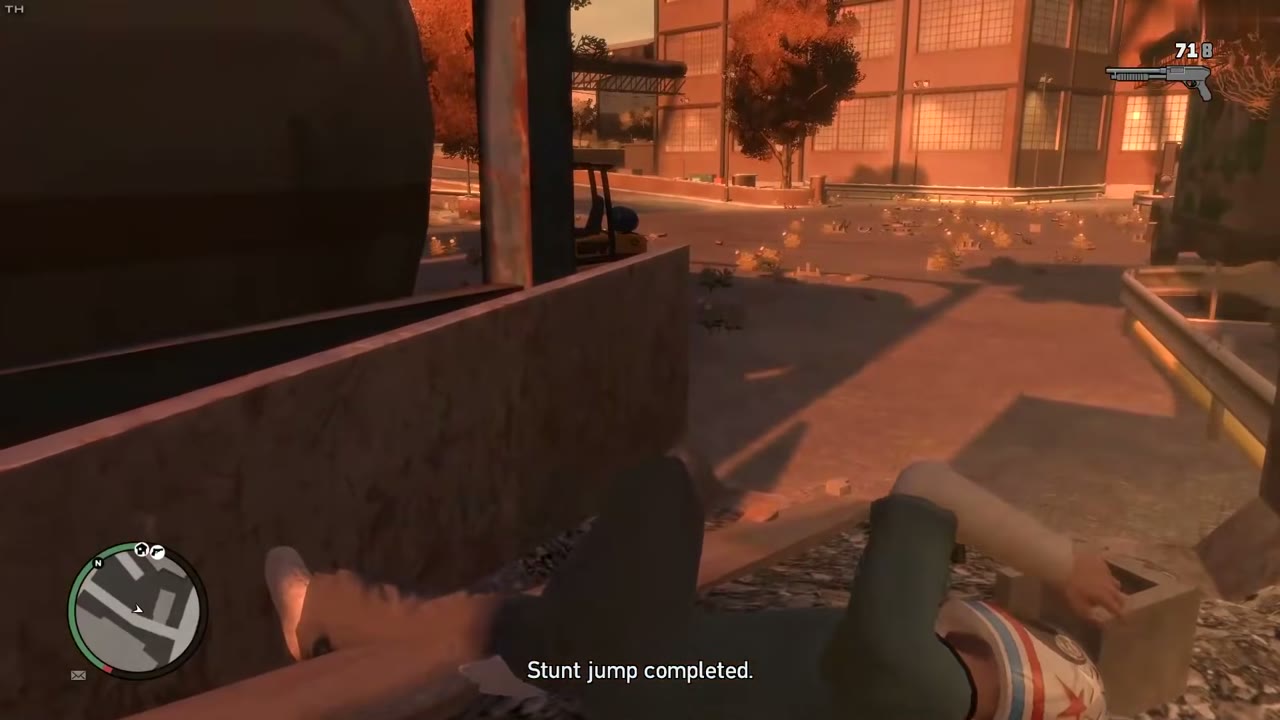
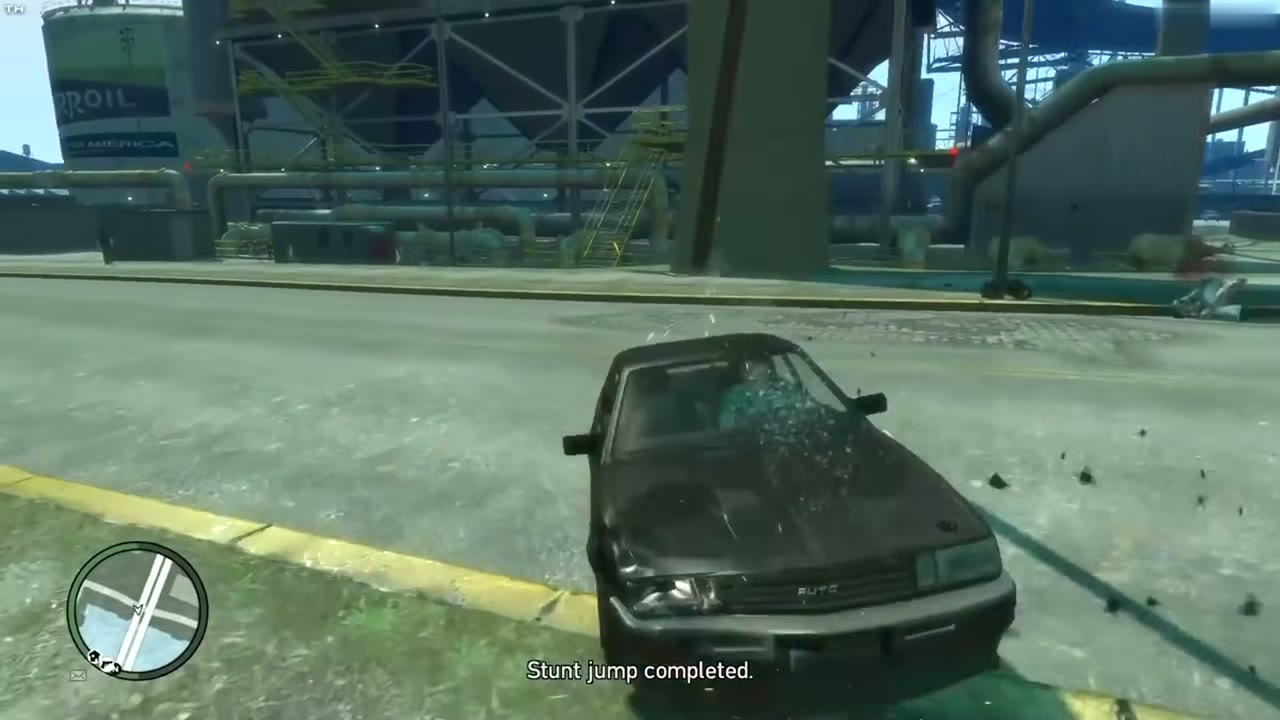
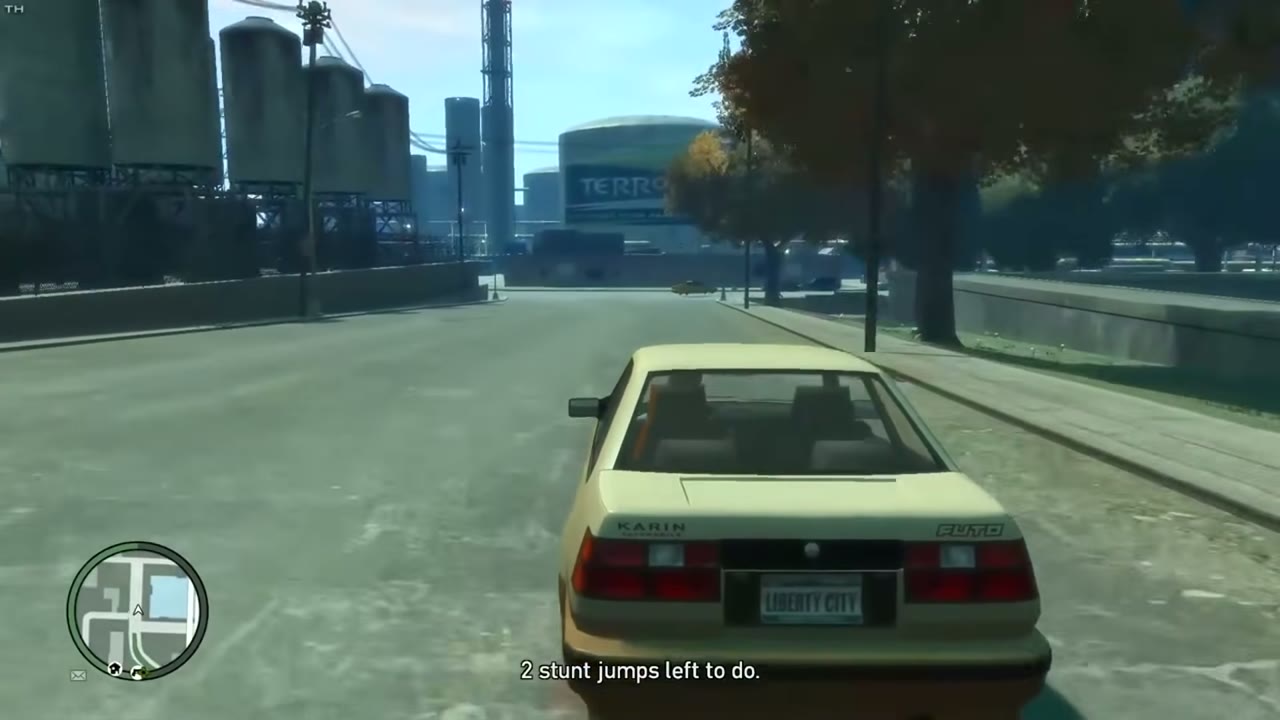
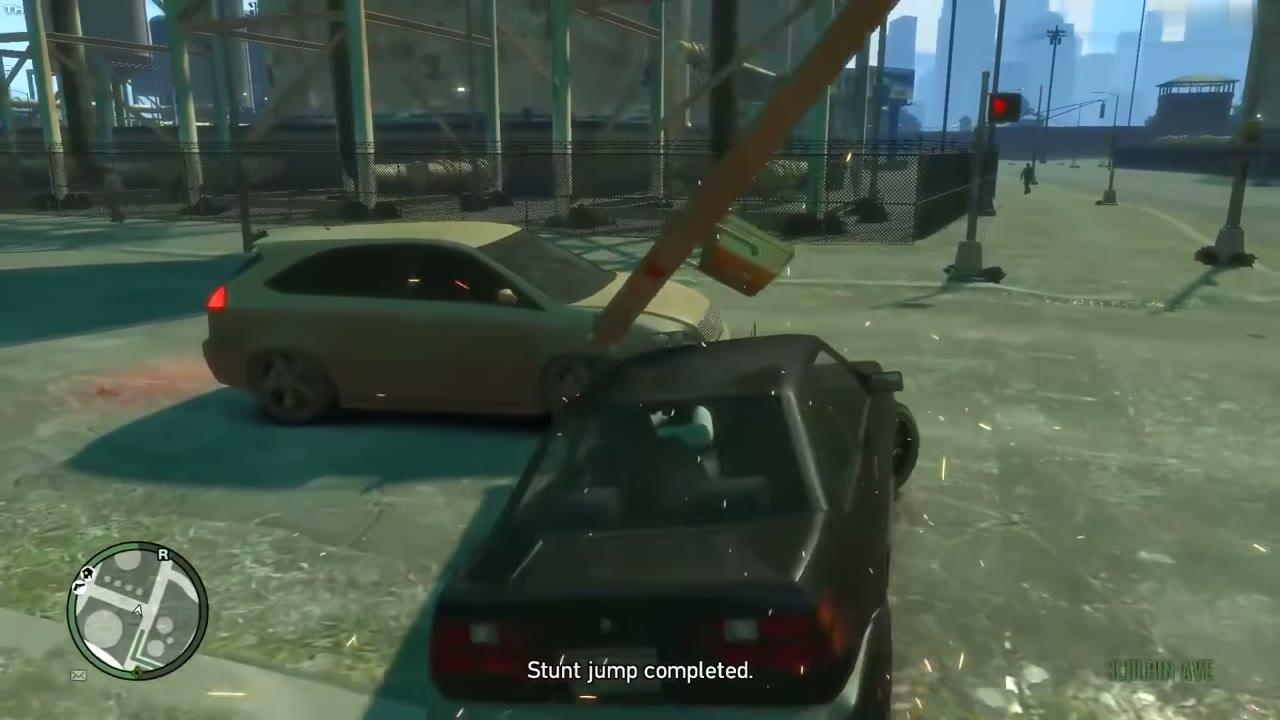
The game keeps you informed with on-screen notices. A clean landing shows “Stunt jump completed” and then a line such as “38 stunt jumps left to do”. Repeat a jump you already own and you get “Stunt jump completed again”, which does nothing for your total. A short or off-target jump gives “Not good enough”. When one is left the notice reads “Just one stunt jump left to do”, and the last landing says “All stunt jumps completed”. The count is the only progress tracker in the game, so check it after every landing.
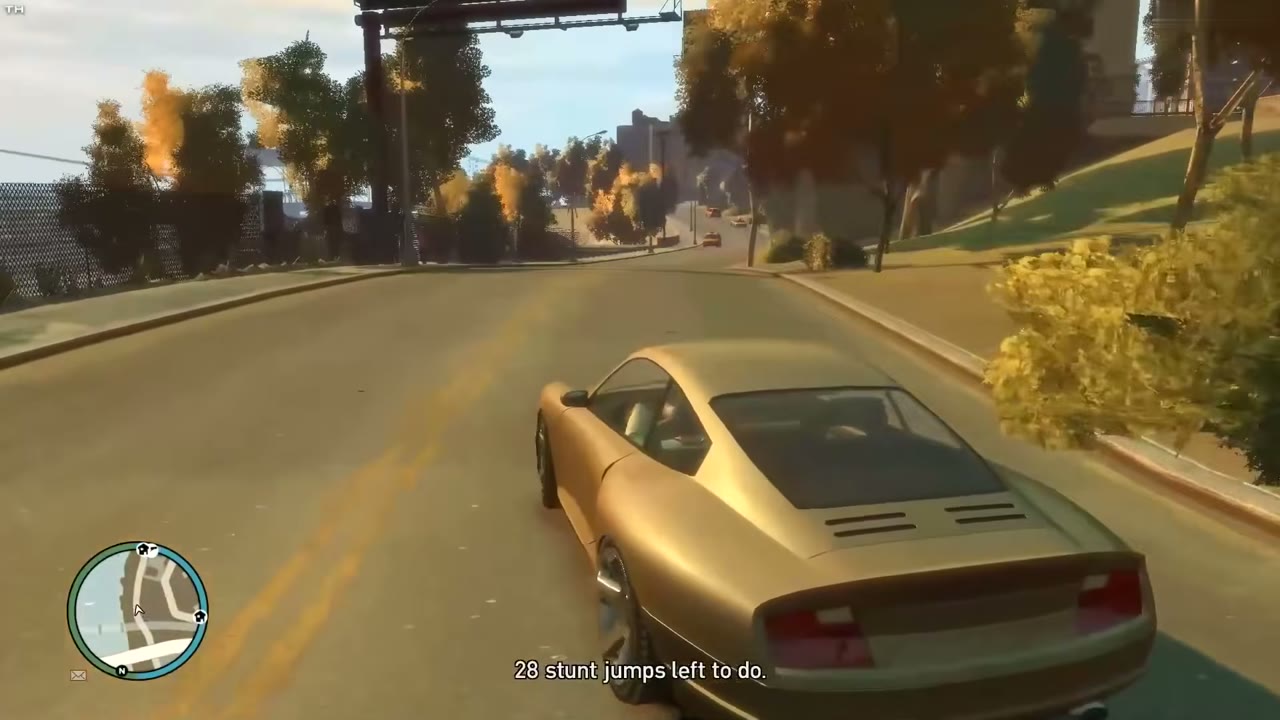
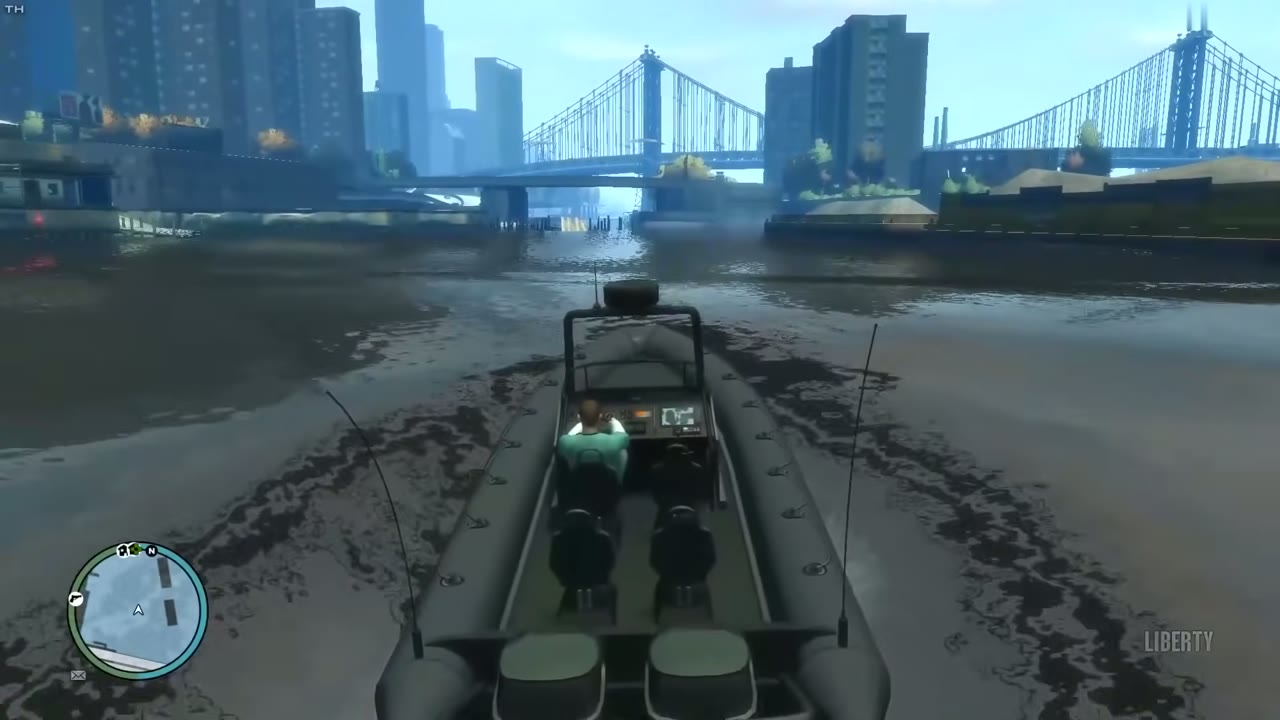
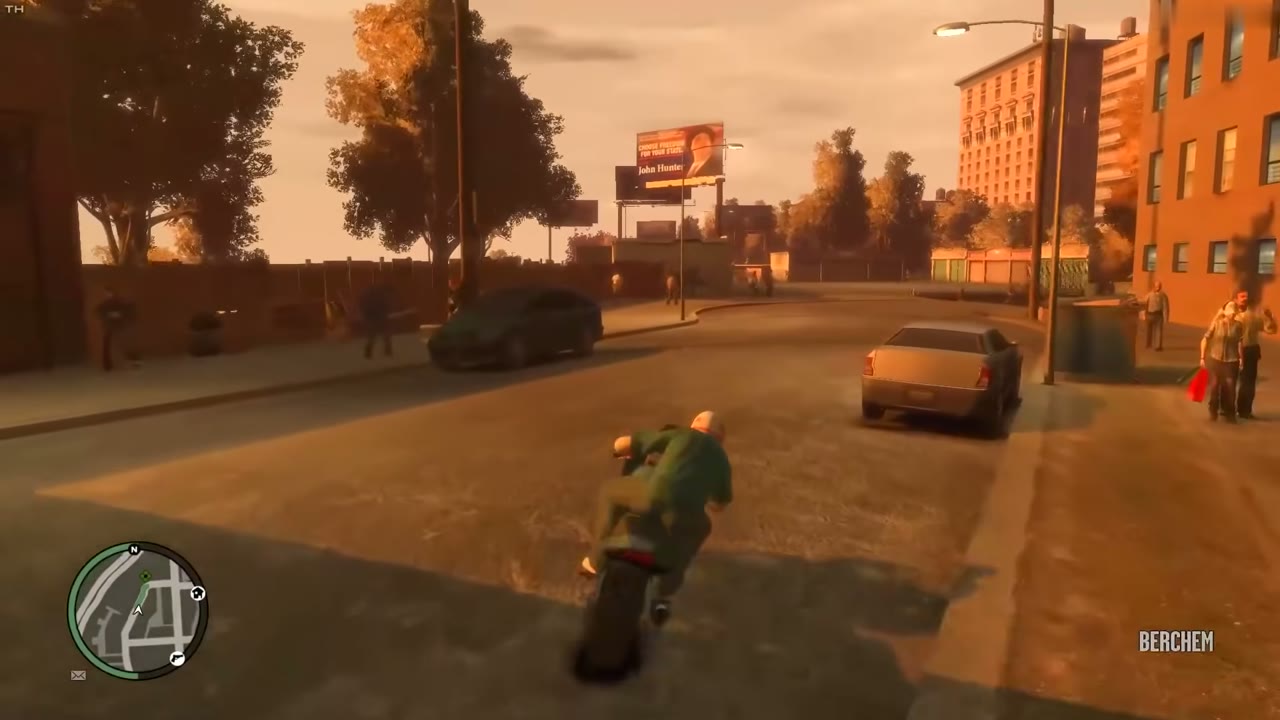
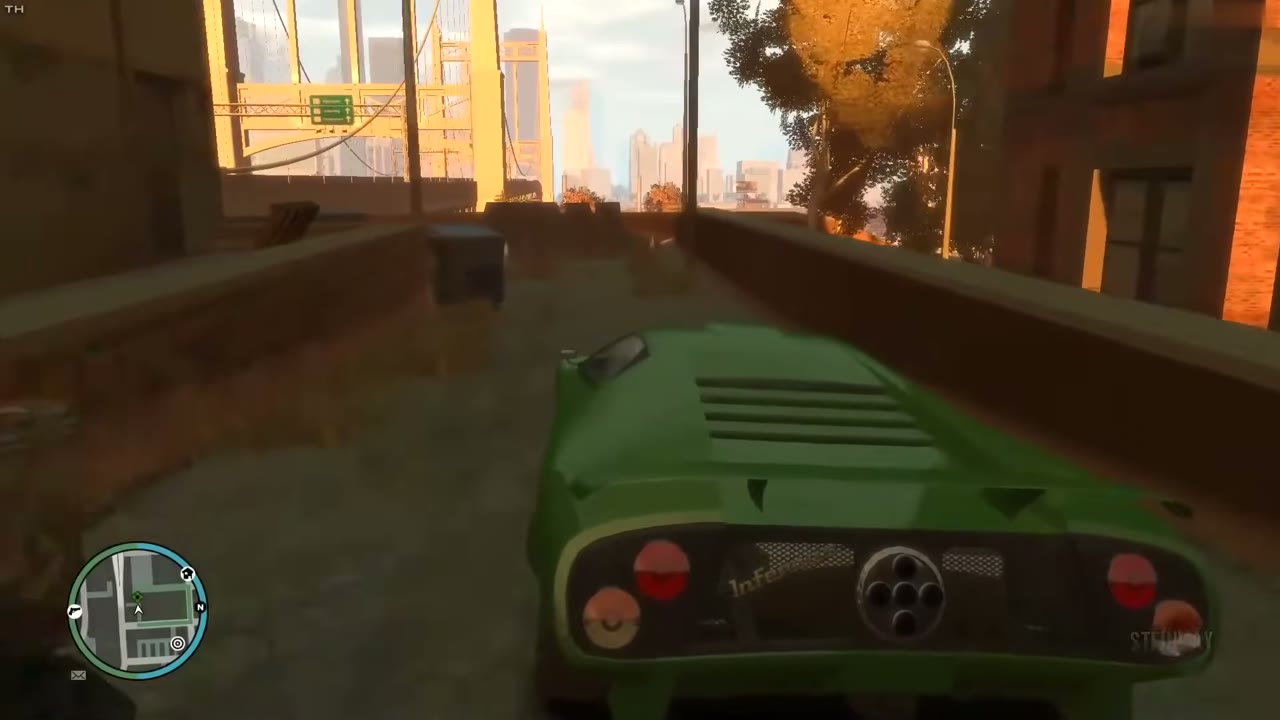
Use a motorcycle for most of them. A bike is light, launches fast and flies far, and a few jumps are close to impossible in a heavy car. The vehicles page lists the fast ones. A sports car handles the short hops, and you can swap between the two as you go. Two jumps are on the Humboldt River and need a boat, so park one at the water first. Don’t confuse these ramps with the many decoys around the city. Plenty of ramps look like jump sites, but only the 50 in the list count.
| Borough | Jumps | Numbers | Opens |
|---|---|---|---|
| Broker | 3 | 5, 9, 10 | Start |
| Dukes | 10 | 1 to 4, 6 to 8, 11 to 13 | Start |
| Bohan | 4 | 14 to 17 | Start |
| Algonquin | 15 | 18 to 32 (26 and 30 by boat) | After Blow Your Cover |
| Alderney | 18 | 33 to 50 | After Three Leaf Clover |
Recommended route
Broker and Dukes
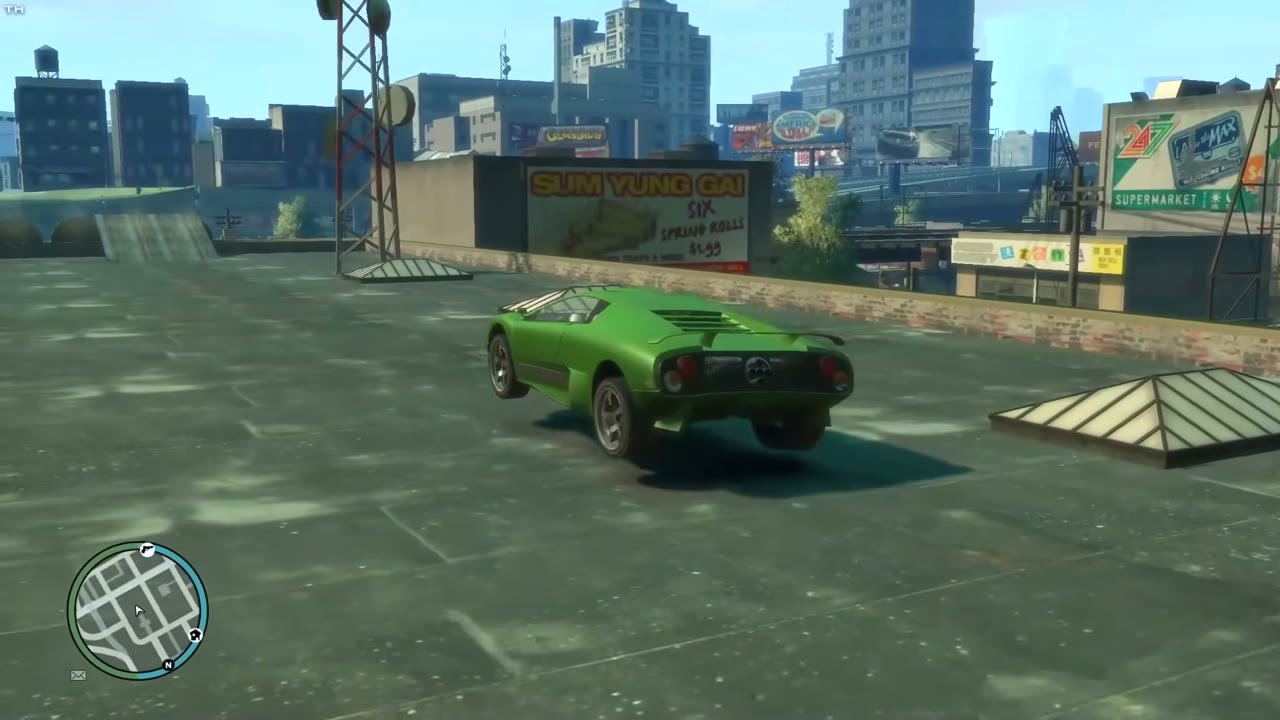
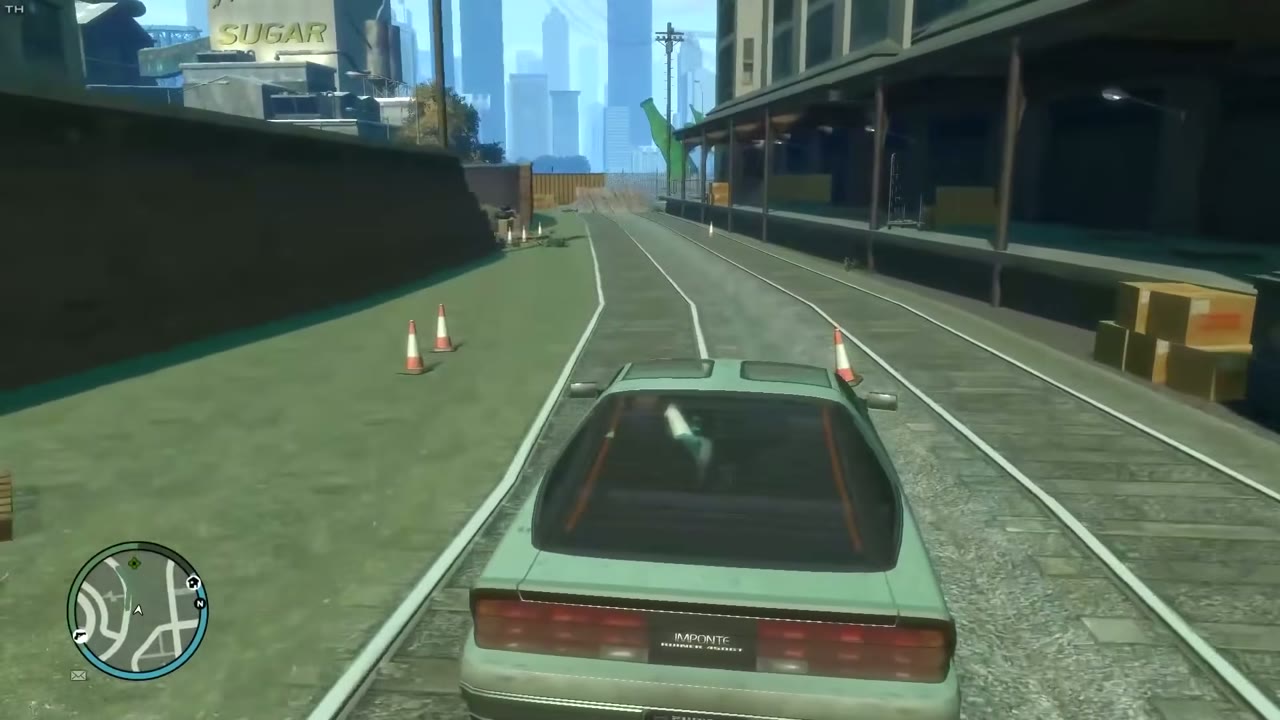
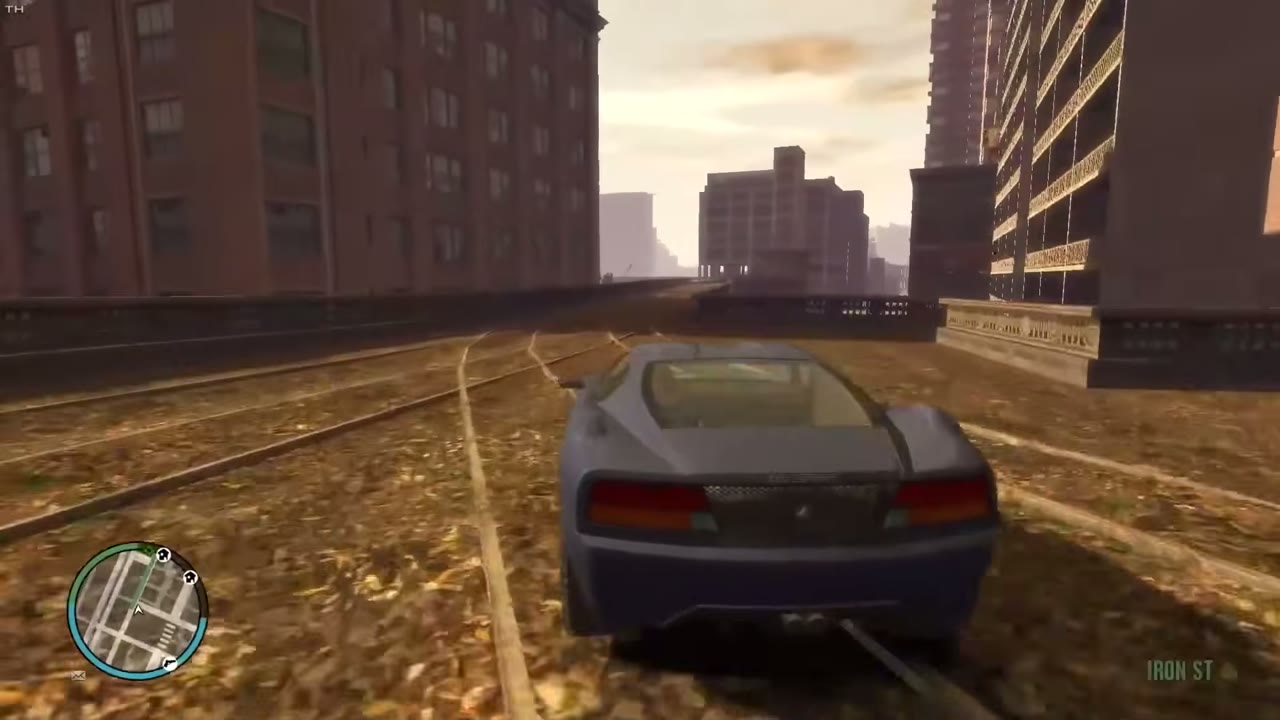
Start in the east, where you can work through Steinway in a straight line. Jumps 1 to 4 are all within a few blocks of each other. From there, cut back to BOABO for jump 5 along the old rail line, then head to Rotterdam Hill for the narrow ramp on the Algonquin Bridge, where a bike pays off. Swing east through Cerveza Heights for the two rooftop jumps, 7 and 8, which you do back to back. Finish Dukes with the airport pair, 12 and 13, and the expressway jumps in Willis.
Bohan
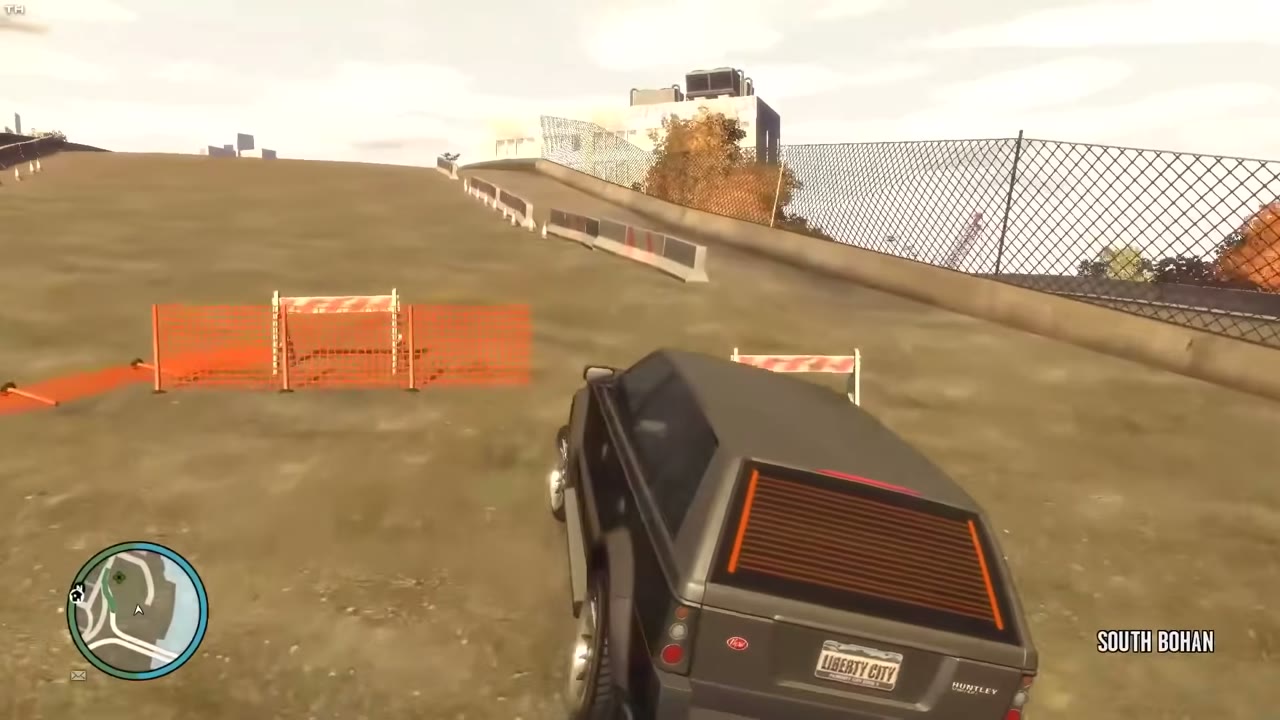
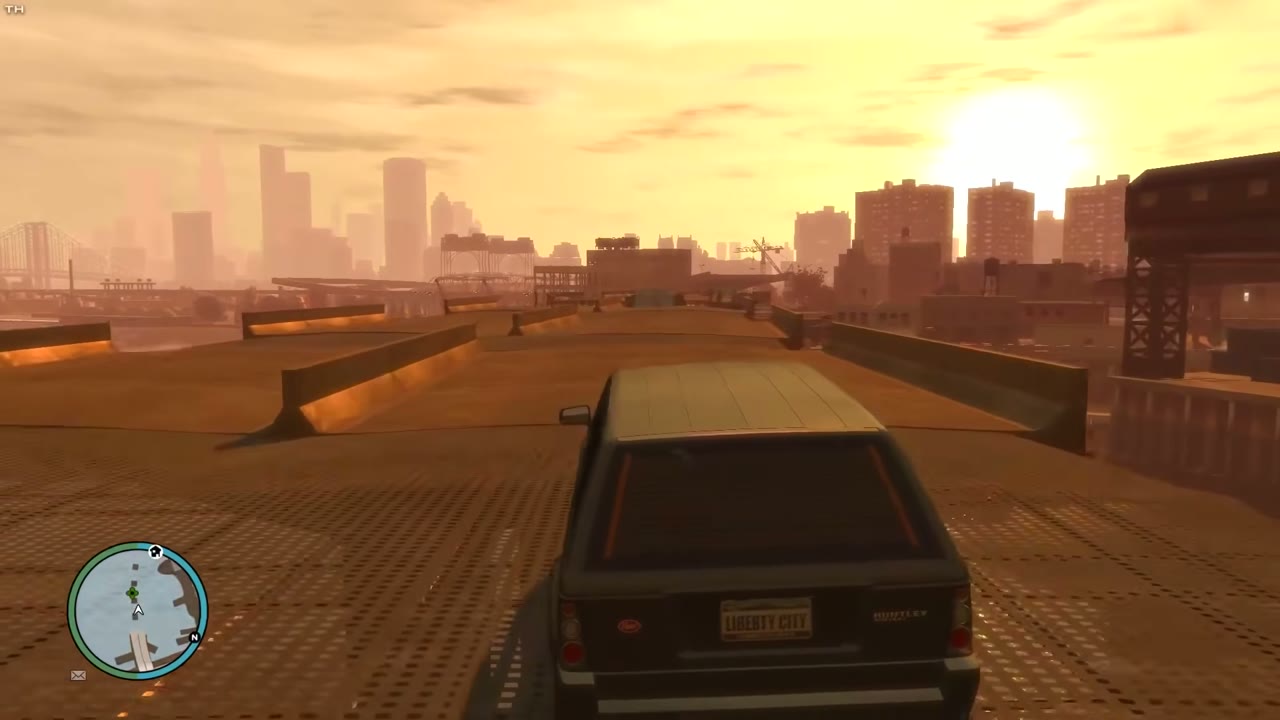
All four Bohan jumps sit in the industrial strip, so do them in one pass. Start at Lompoc Avenue for jump 14, then go south to Attica Avenue for the blue ramp at the top of the unfinished expressway. The two bridge jumps, 16 and 17, come last because you drive from one straight into the other.
Algonquin
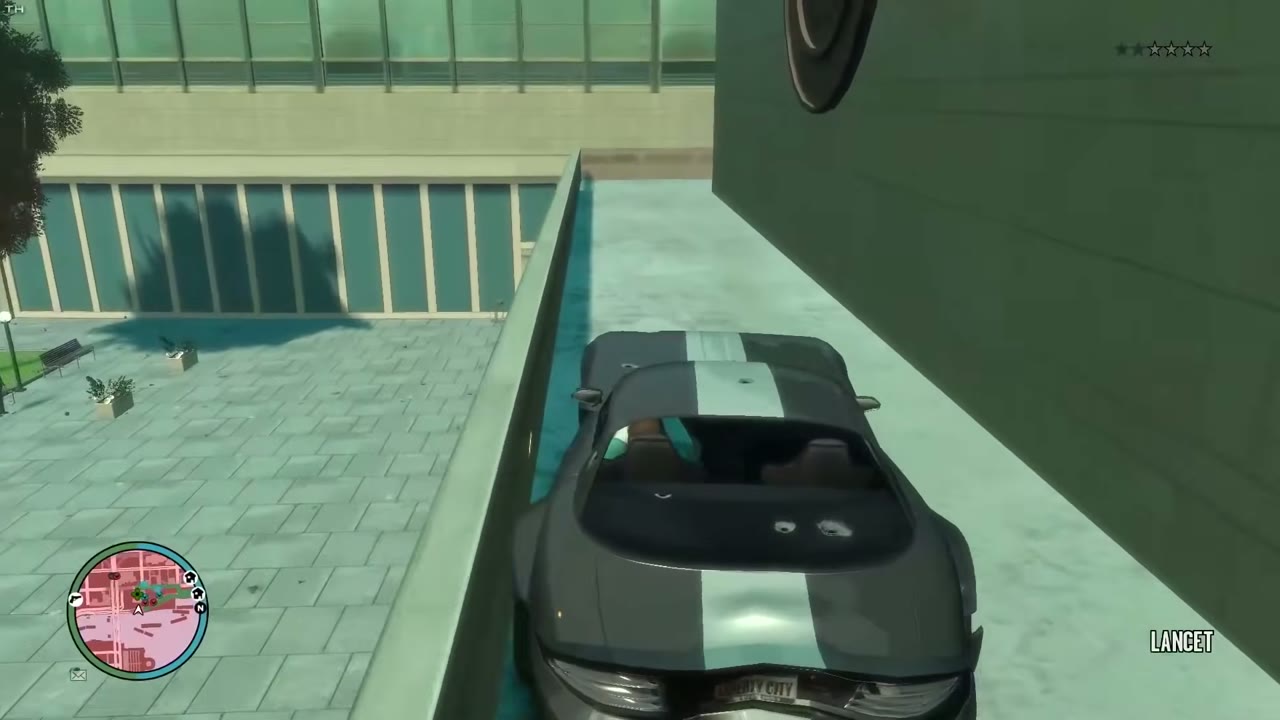
Algonquin has 15 jumps, two of them by boat. Do the Northwood cluster, 18 to 21, first, then work down through East Holland, Middle Park East and Purgatory, where the old elevated track gives jump 24 a long run. Jump 25 on the Civilization Committee roof brings a four-star wanted level on the way in, so save it for when you can lose the cops. Do the two boat jumps, 26 and 30, in one trip along the river, then finish the middle of the borough: Star Junction, The Triangle, Fishmarket North, City Hall and The Exchange.
Alderney
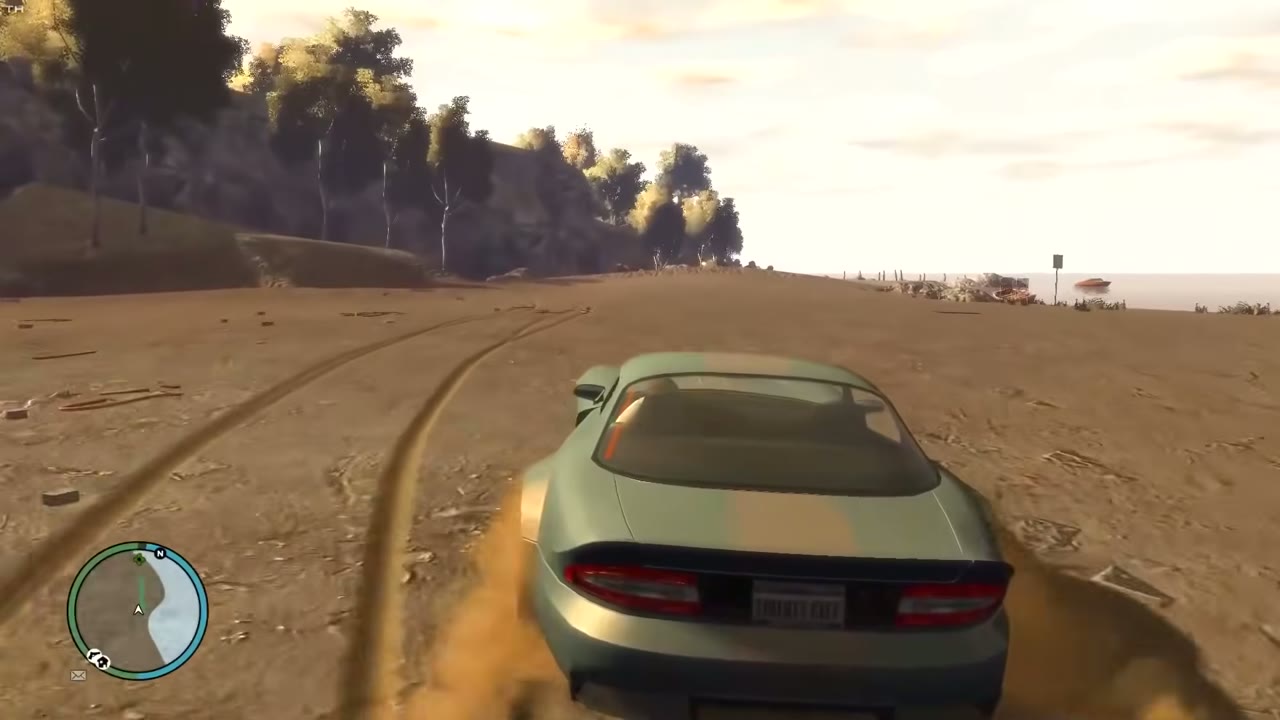
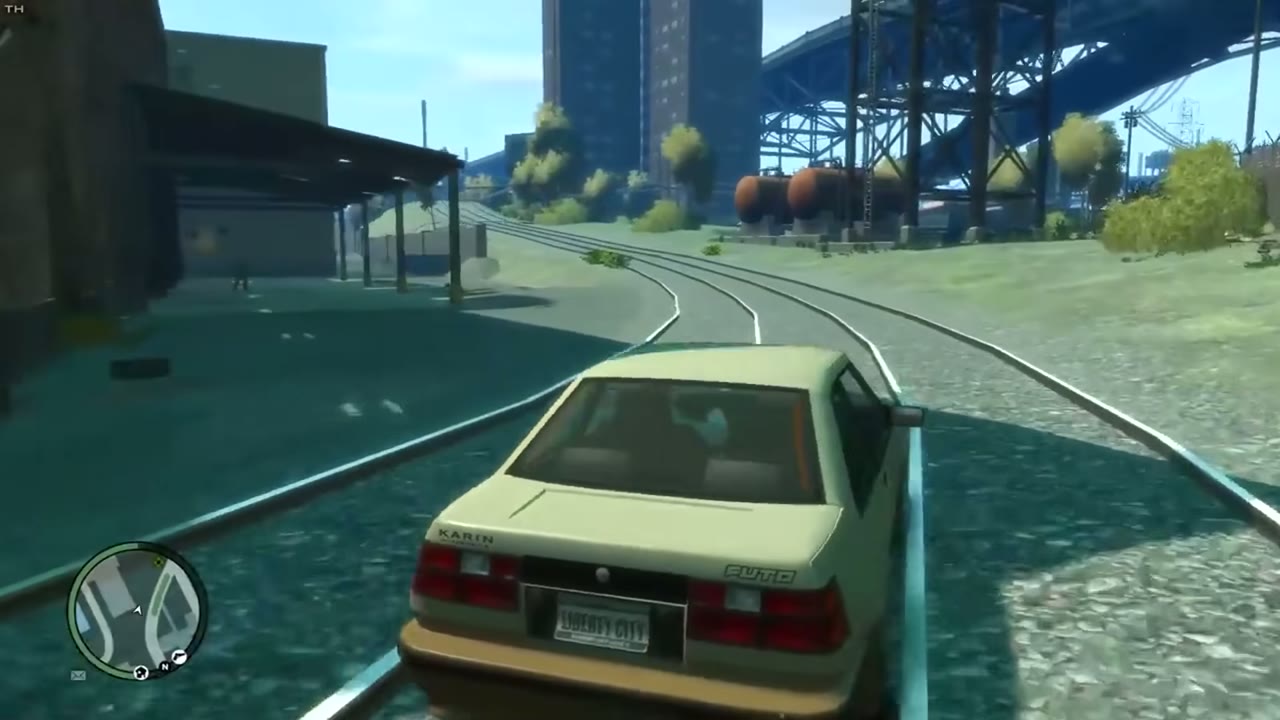
Alderney has 18 jumps, more than any other borough. Start with the Westdyke cluster, 33 to 36, which includes the beach dune for jump 34 and a house driveway for jump 35. Then work through Alderney City, where jumps 38 to 45 cover the alleys, the river edge and Koresh Square. The Plumbers Skyway shows up again and again: 42 flies over it, 43 lands on it, 47 passes under it, and 49 and 50 launch from its southern curve. Finish with the Tudor rail yard in jump 48 and the Acter pair.
The reward
Landing the last one gives you the Dare Devil achievement and the final stunt-jump points toward 100%. There is no money, car or weapon attached, so this is purely a completion goal. It is also one of the cleaner collectibles to finish, because the game counts every jump and tells you how many are left. If you want the other half of the 5 percent, head for the flying rats.
All 50 jumps
Stunt Jumps in Dukes
| Found | # | Area | Details | Screenshot |
|---|---|---|---|---|
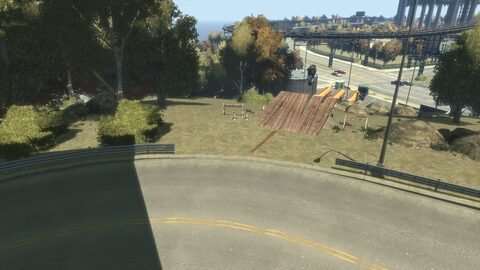
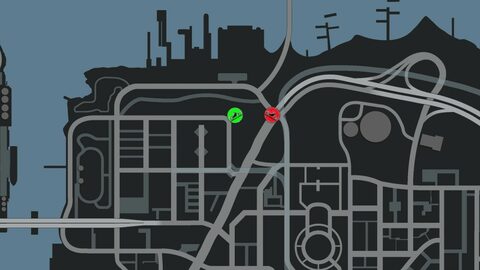
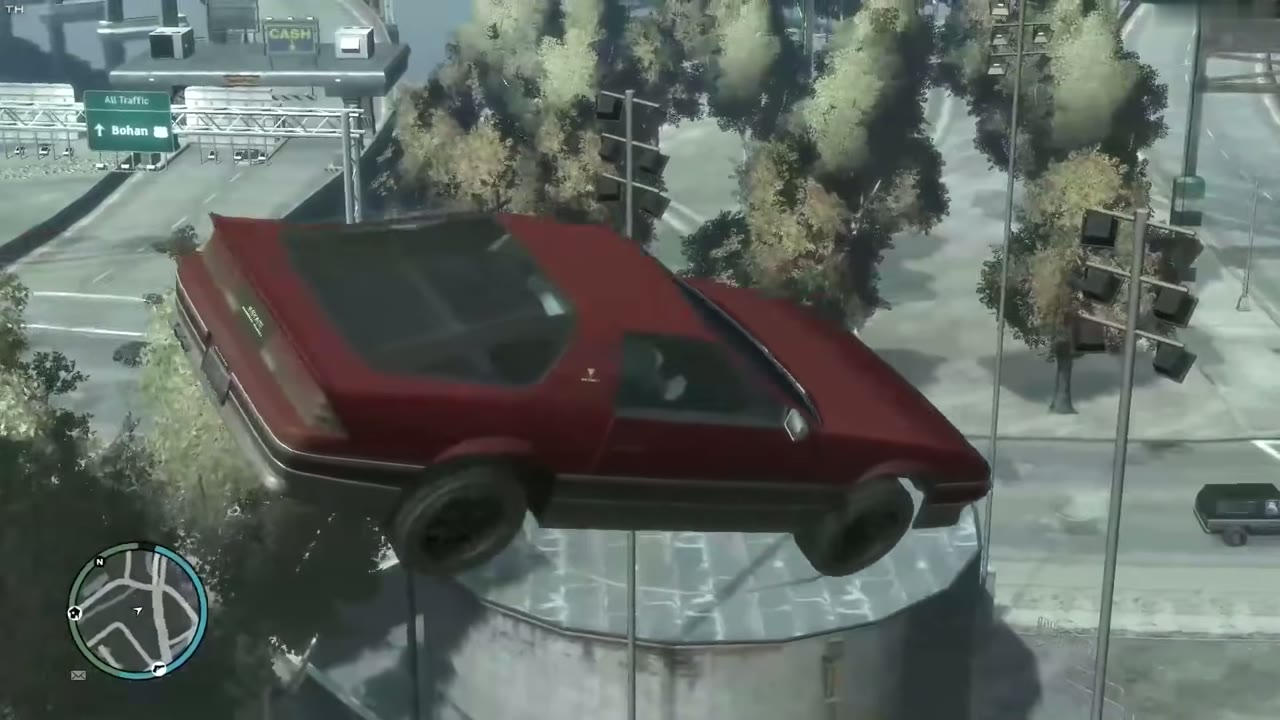
| 1 | Steinway | Takeoff: Franklin Street heading east, right where the road bends south. Hit the ramp straight on. What counts: The far side of Dukes Boulevard. You have to clear the yard full of fuel tanks. |
    |
|
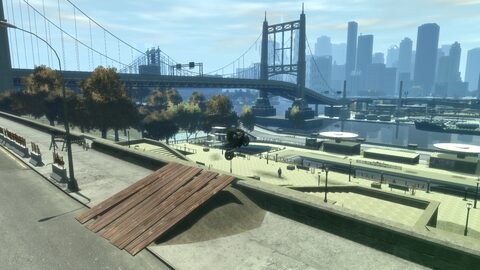
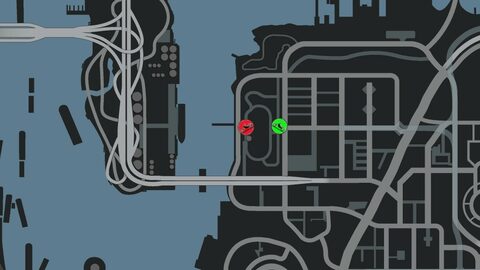
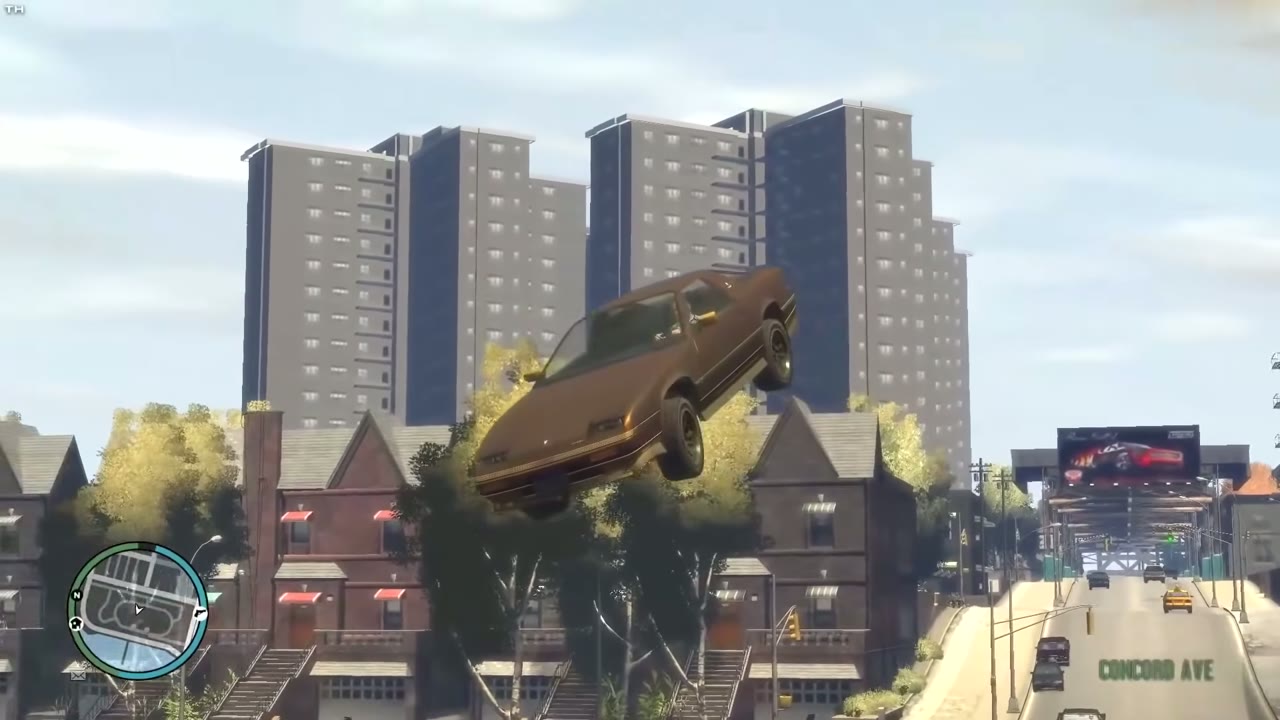
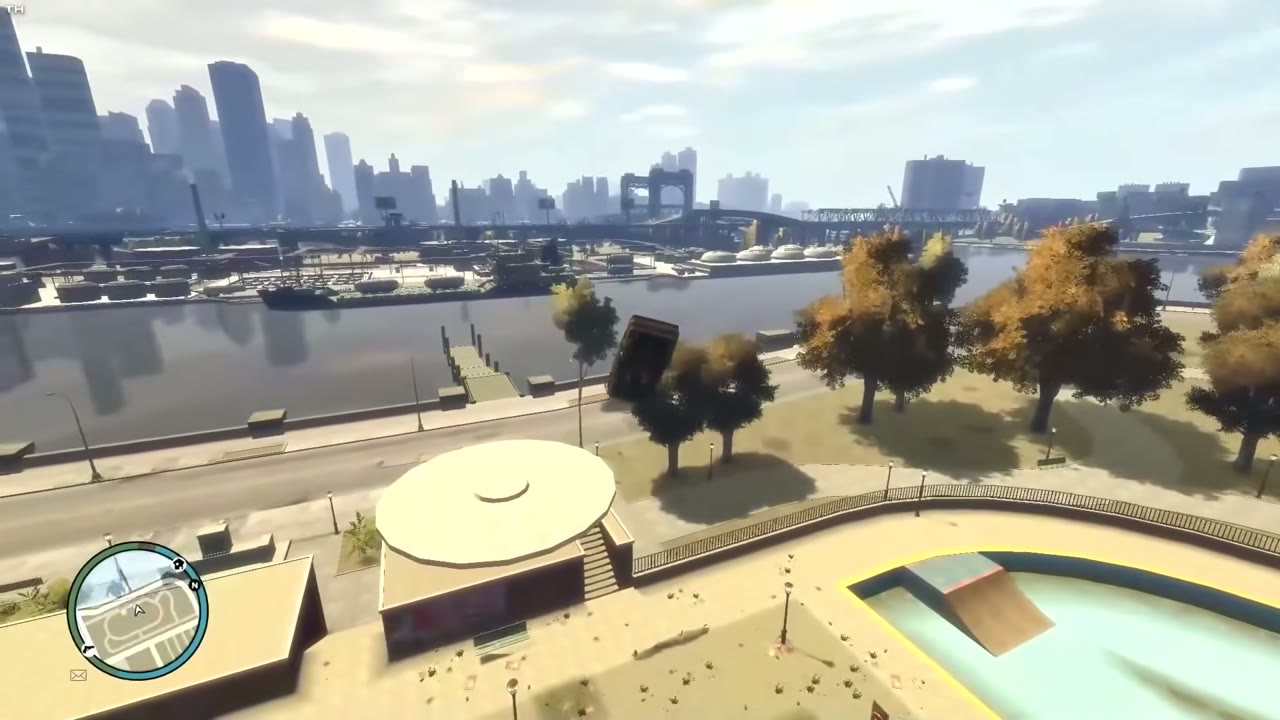
| 2 | Steinway | Takeoff: Morris Street heading west, straight through the Concord Avenue intersection. What counts: The park toward Franklin Street. Dropping into the skate pool still counts. |
    |
|
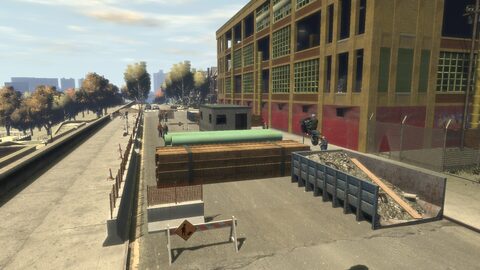
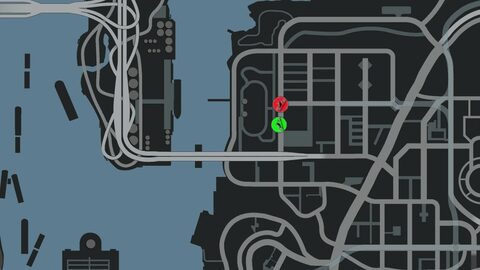
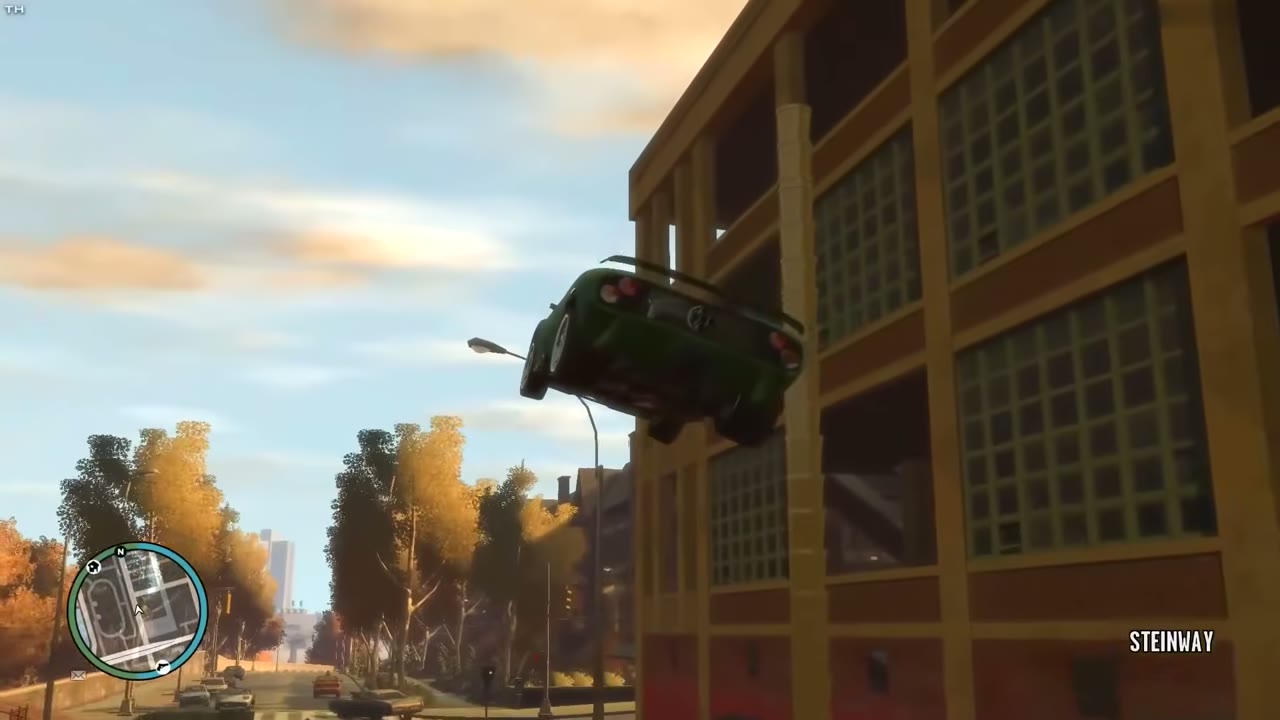
| 3 | Steinway | Takeoff: Concord Avenue heading north, at the blocked construction lane with a dumpster on the right. What counts: The Morris Street intersection beyond the shed. You don’t need to clear the whole construction zone. |
    |
|
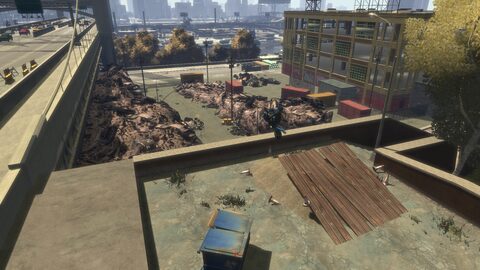
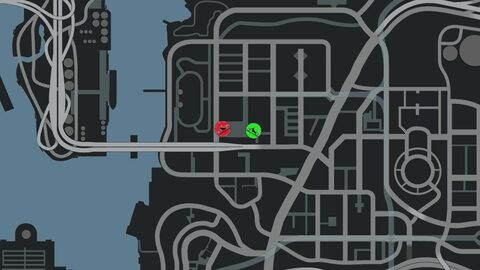
| 4 | Steinway | Takeoff: The alley behind the dry cleaner on Ticonderoga Avenue, heading west. What counts: The junkyard off Concord Avenue, past the wall. Landing on the scrap piles doesn’t count, so aim for flat ground. |
    |
|
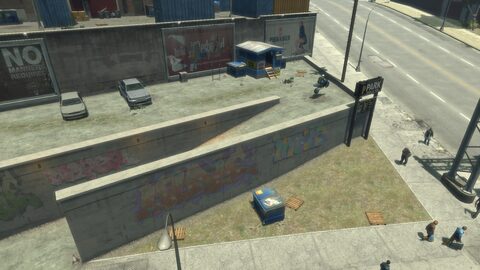
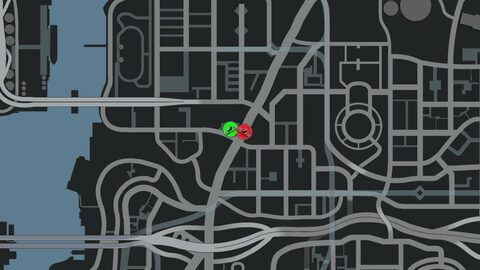
| 6 | East Island City | Takeoff: The parking garage access ramp on the north side of Hooper Street, heading east at the Dukes Boulevard corner. What counts: Dukes Boulevard, over the low wall and sidewalk. |
  |
|
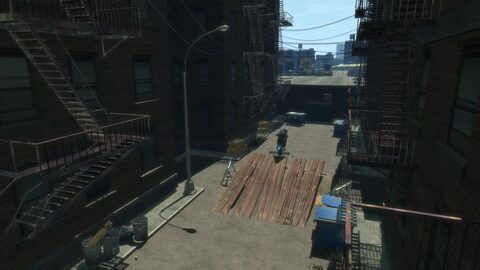
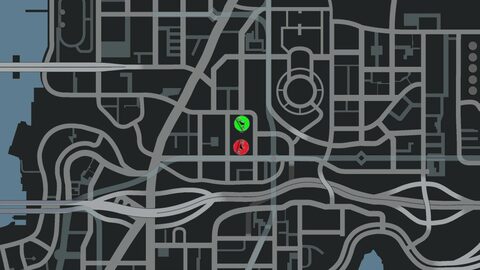
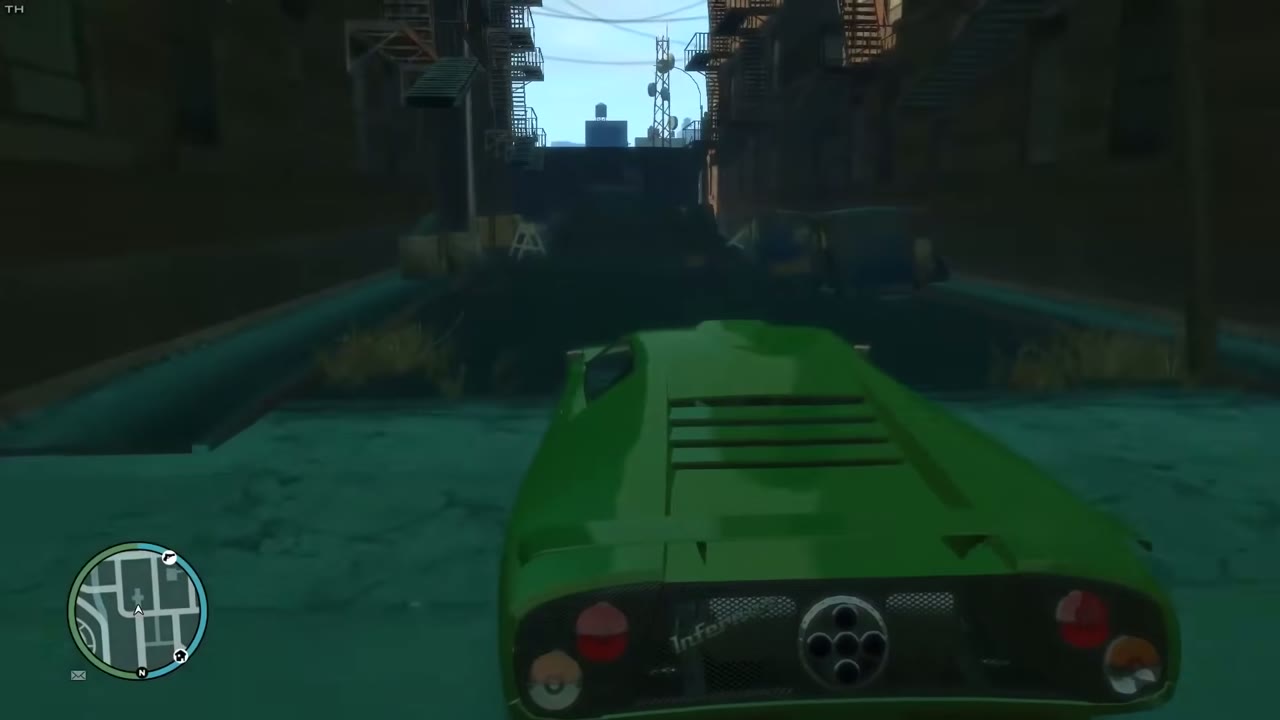
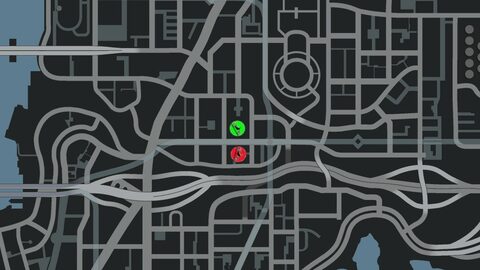
| 7 | Cerveza Heights | Takeoff: San Jacinto Avenue heading south, straight ahead at the Livingston Street intersection. What counts: The rooftop right below, which is also the launch point for jump 8. |
   |
|
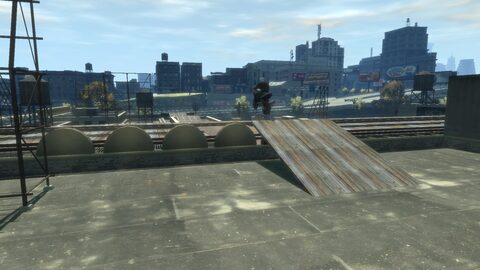
| 8 | Cerveza Heights | Takeoff: The same rooftop, on the north side of Huntington Street. Drive straight off jump 7’s landing. What counts: Thornton Street, across the Huntington Street train tracks. |
    |
|
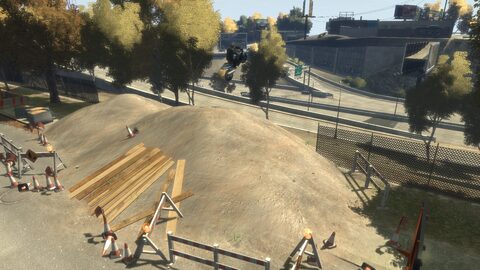
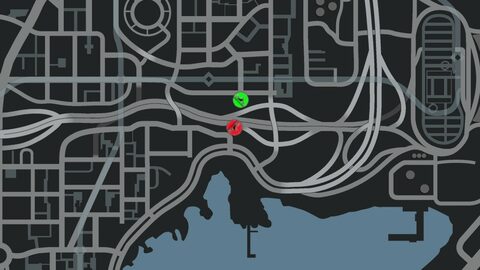
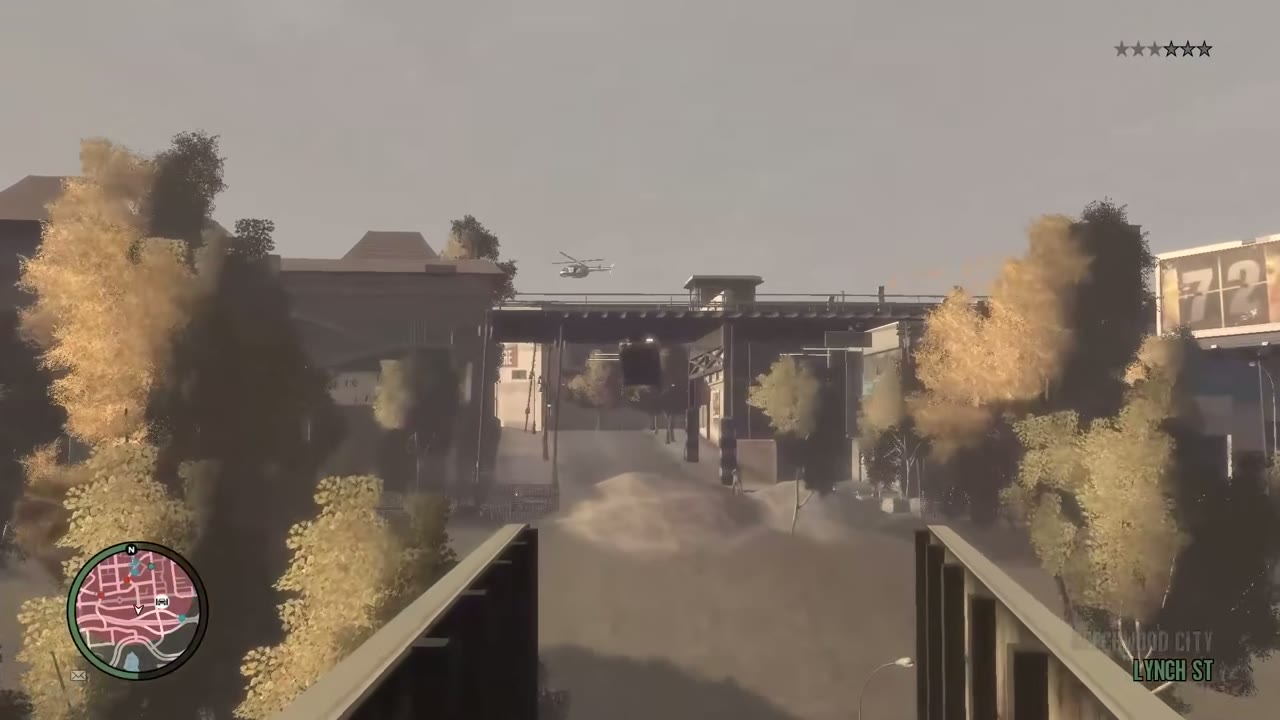
| 11 | Willis | Takeoff: Freetown Avenue heading south, straight ahead at the Lynch Street intersection. What counts: Across the expressway toward Carson Street. You don’t have to hit the marked chute between the billboards. |
    |
|
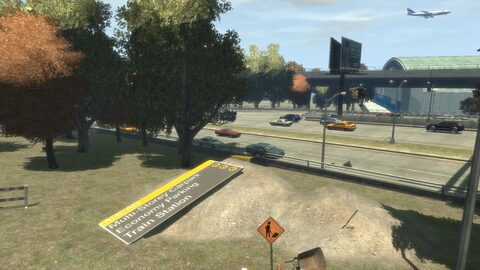
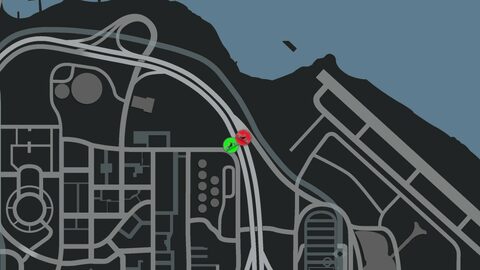
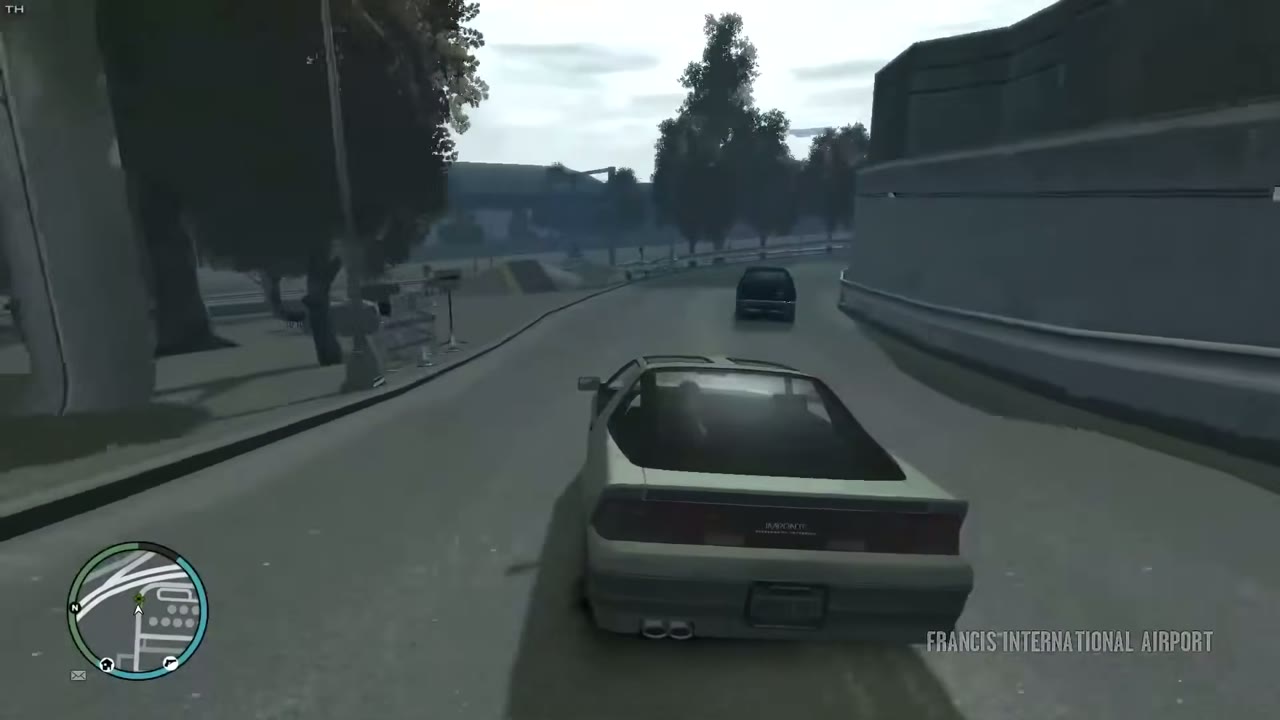
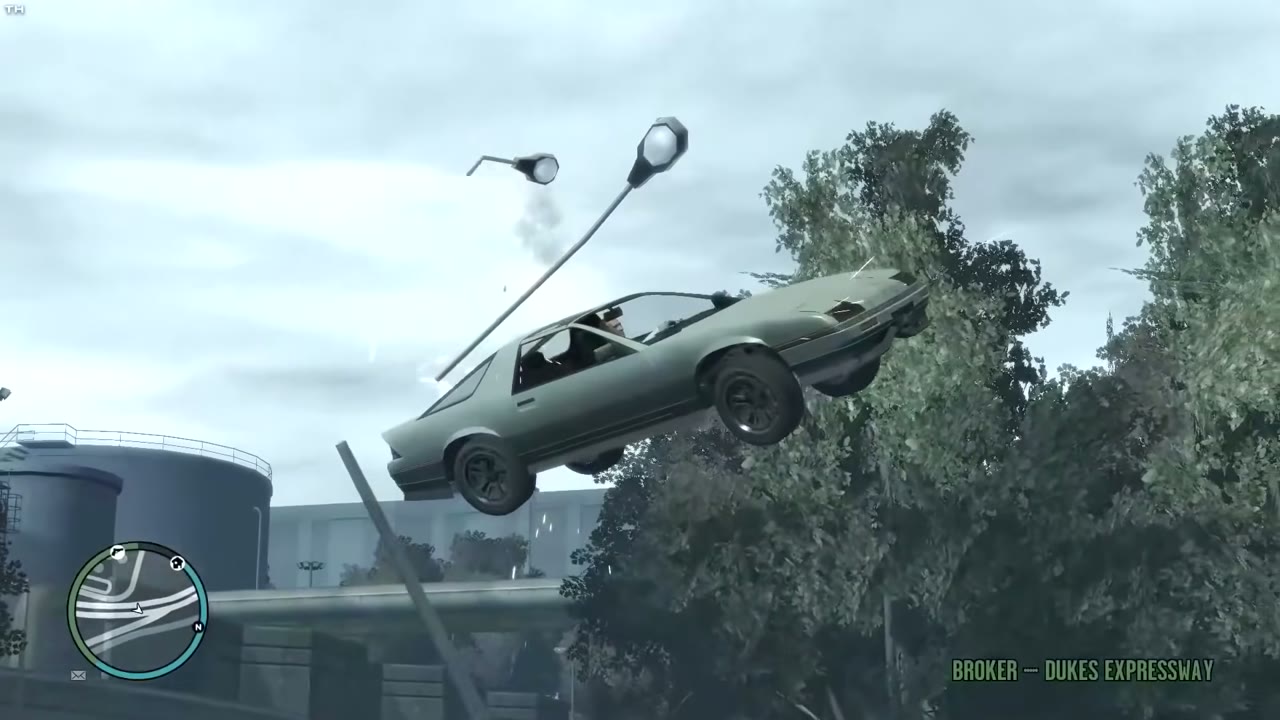
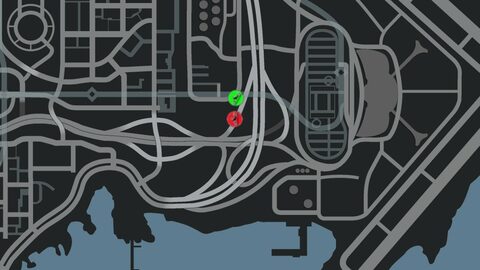
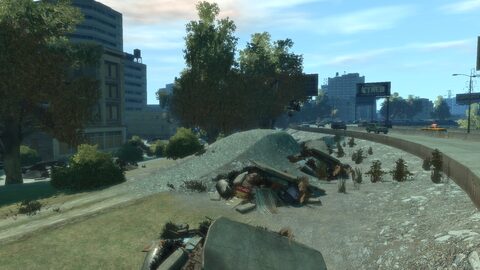
| 12 | Francis International Airport | Takeoff: North Tudor Street heading east. Turn northeast where the road curves south and use the sign propped on the gravel pile as your ramp. What counts: The expressway below. |
    |
|
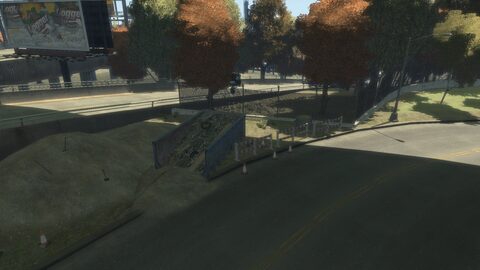
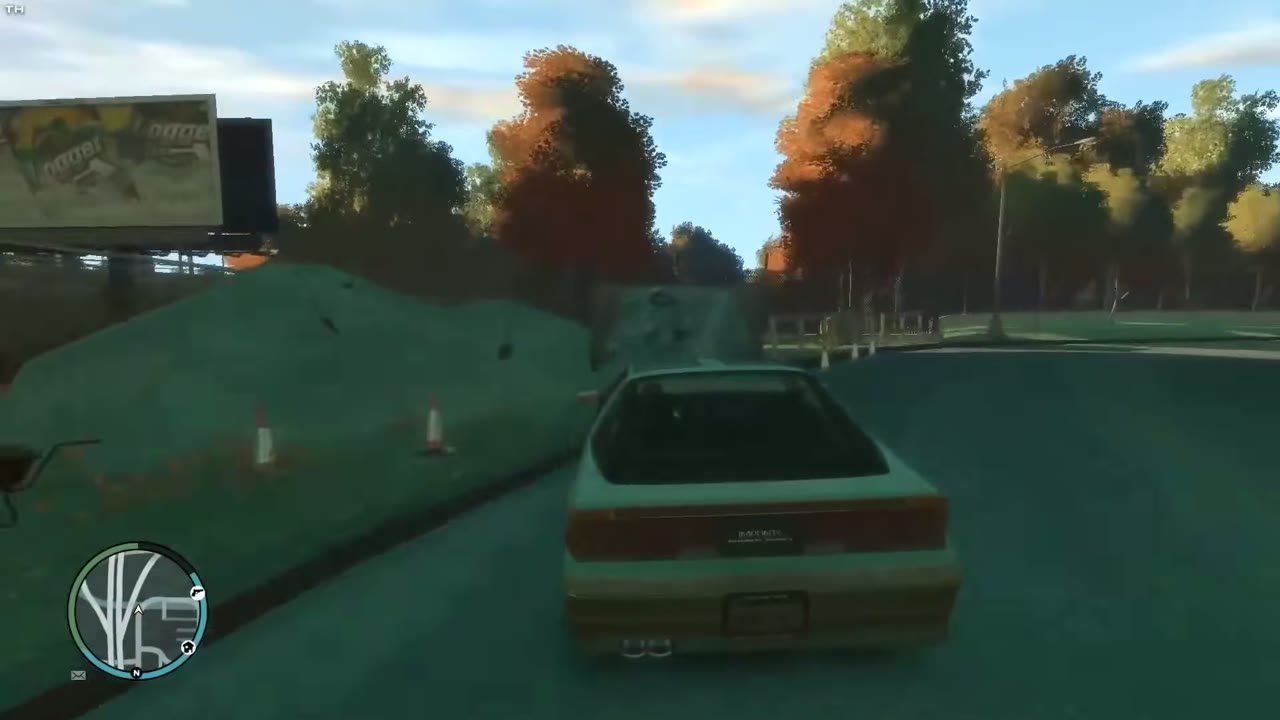
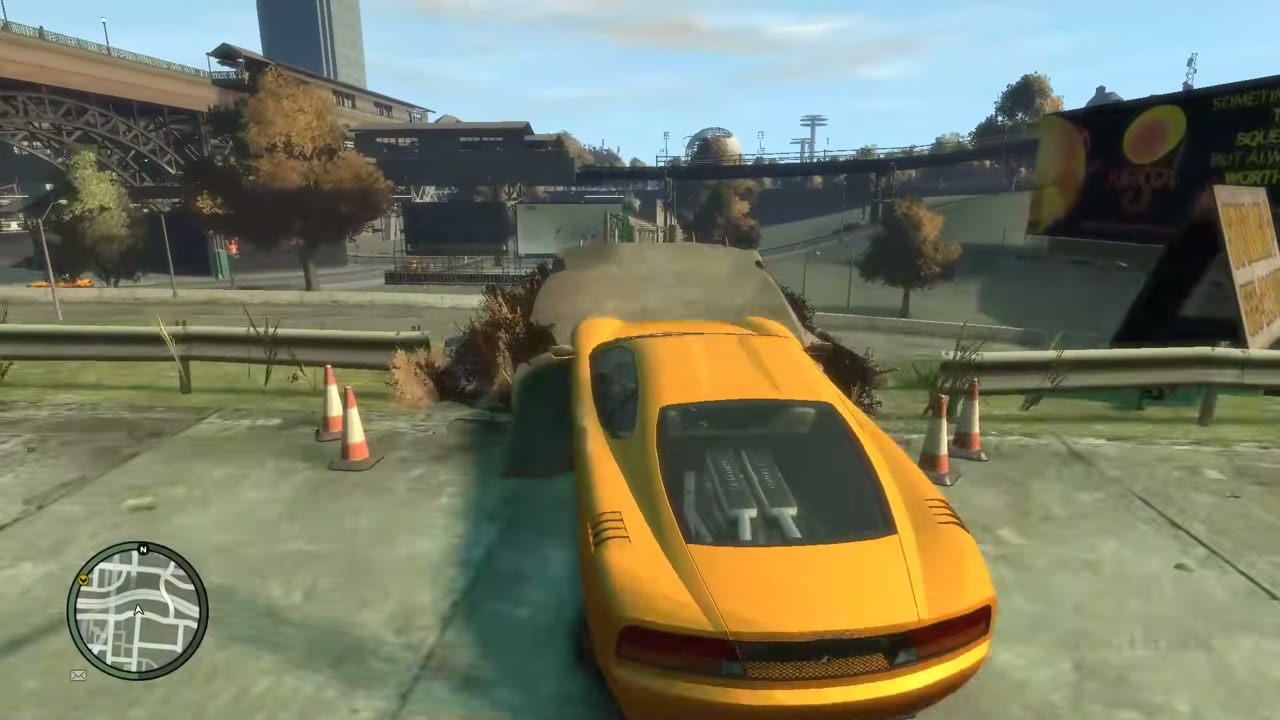
| 13 | Francis International Airport | Takeoff: East Tudor Street heading south, straight ahead where the road swings west. A gravel pile with traffic cones is the ramp. What counts: The expressway on-ramp. |
    |
Stunt Jumps in Broker
| Found | # | Area | Details | Screenshot |
|---|---|---|---|---|
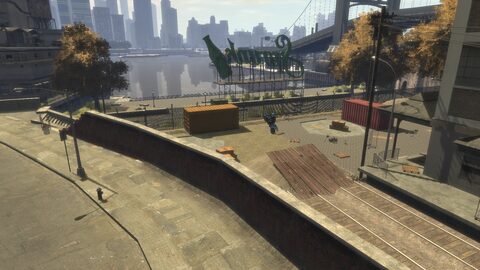
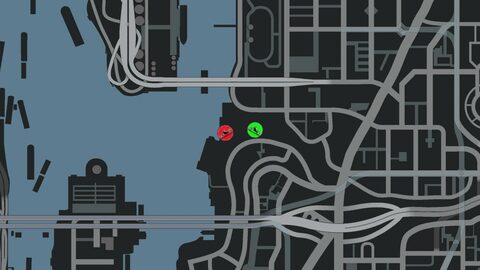
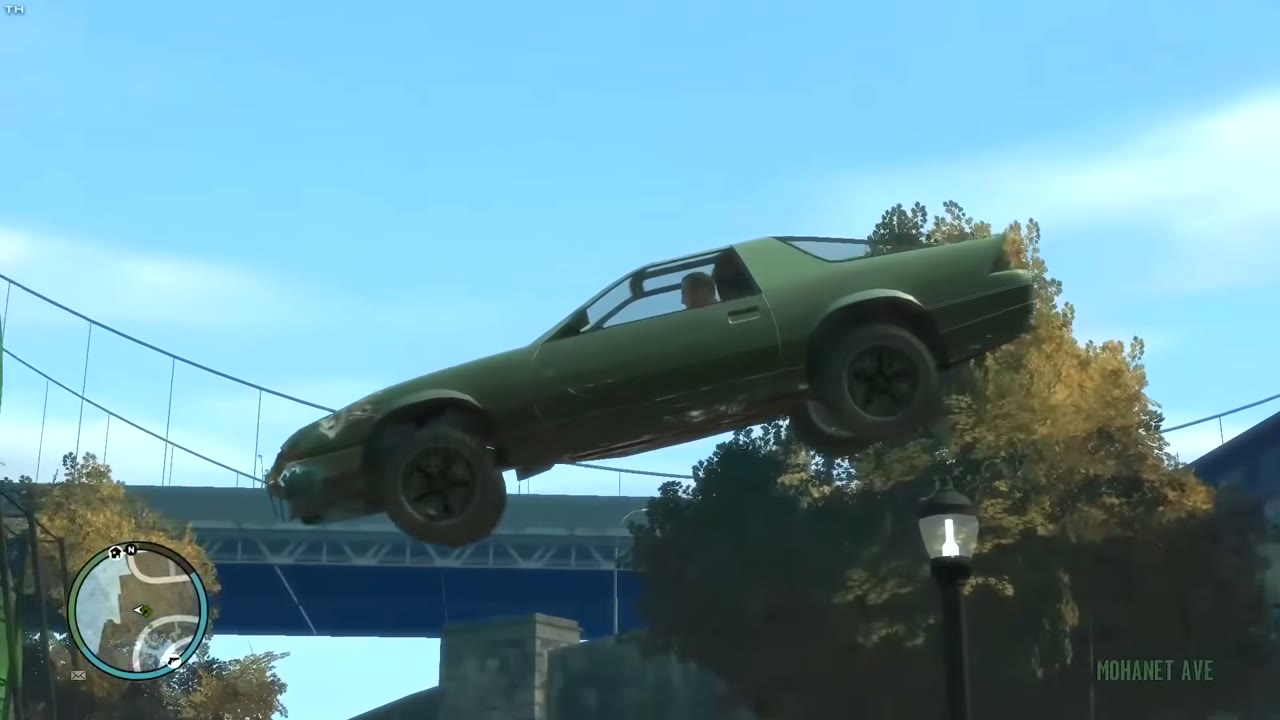
| 5 | BOABO | Takeoff: The old rail line beside Creek Street, heading west. A wooden plank ramp sits at the end of the track. What counts: BOABO Promenade, over the shipping container and fence, close to the soda billboard. |
    |
|
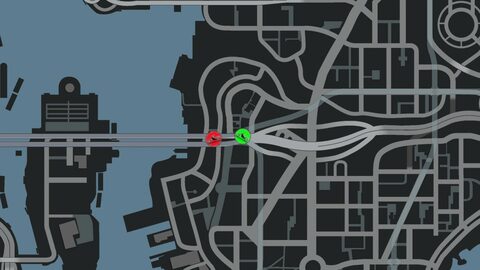
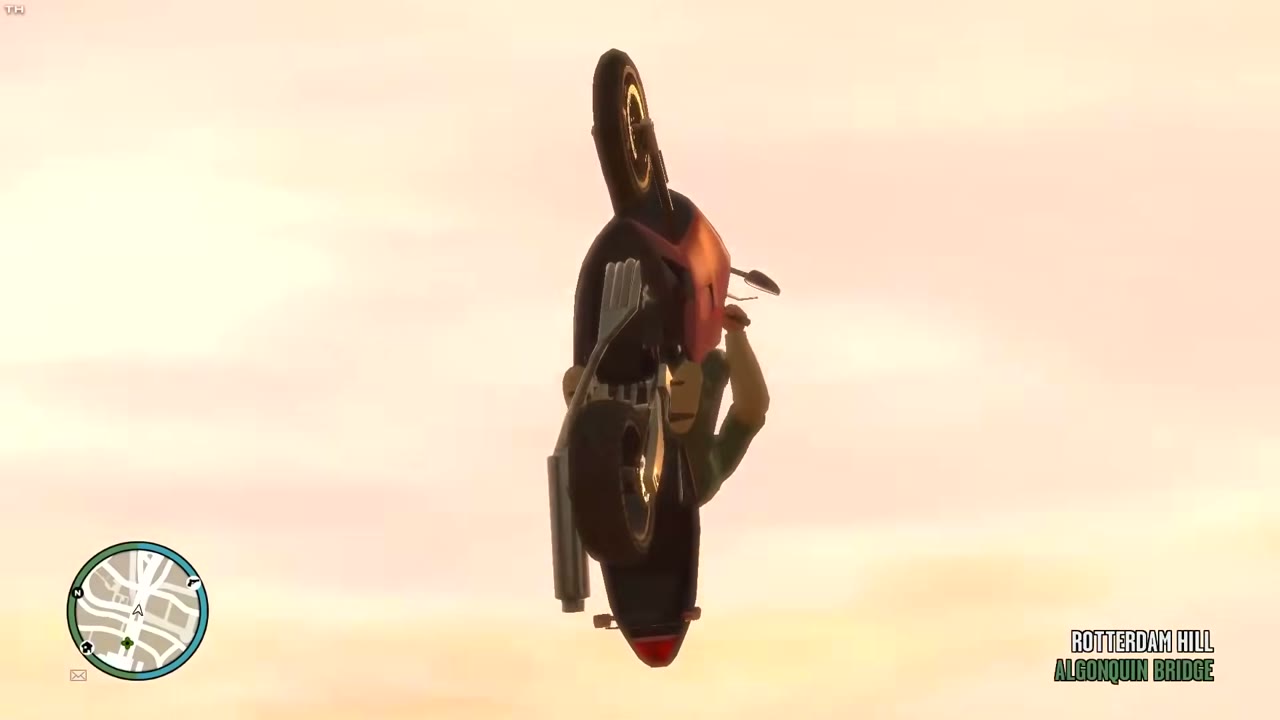
| 9 | Rotterdam Hill | Takeoff: The narrow ramp in the middle of the four-lane Algonquin Bridge, heading west. A bike makes this much easier. What counts: The pedestrian walkway on the lower deck, between the train tracks. |
    |
|
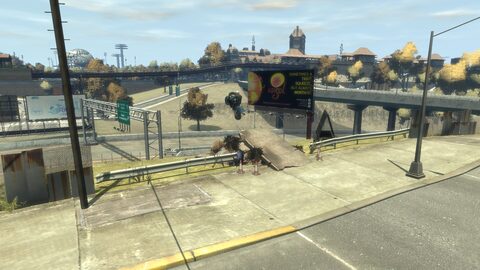
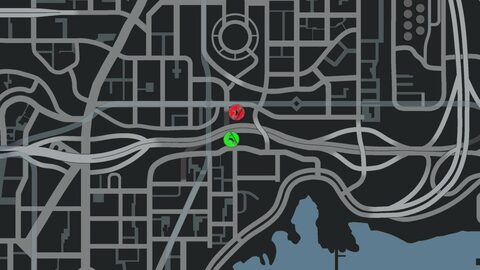
| 10 | Beechwood City | Takeoff: Tutelo Avenue heading north, straight ahead at the Carson Street intersection. What counts: The far side of the expressway toward Huntington Street. |
    |
Stunt Jumps in Bohan
| Found | # | Area | Details | Screenshot |
|---|---|---|---|---|
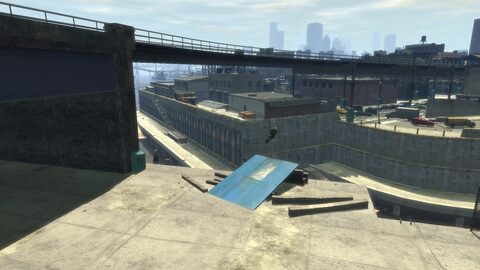
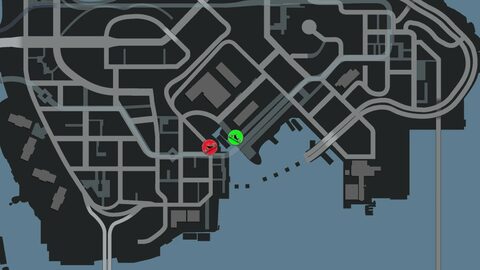
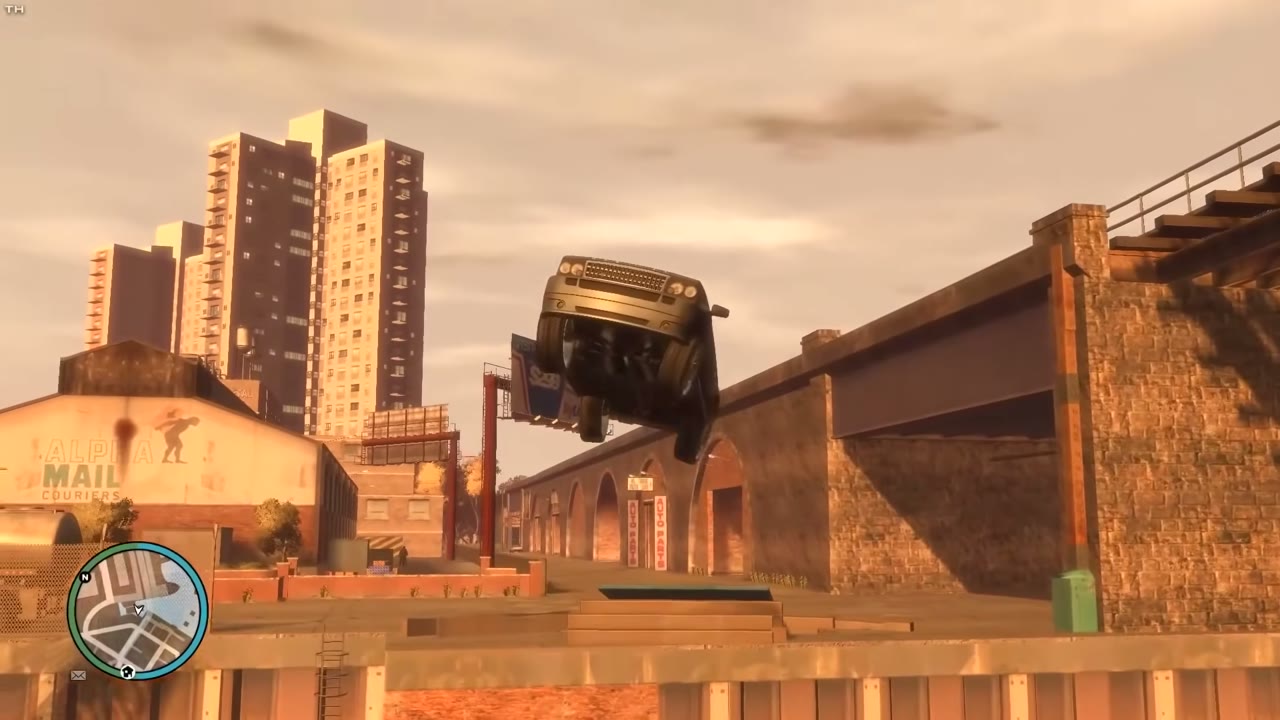
| 14 | Industrial | Takeoff: Southwest off Lompoc Avenue, on the north side of the elevated train tracks. Straighten out west and hit the blue ramp. What counts: Across the water to the Beaumont Avenue and Windmill Street side. |
    |
|
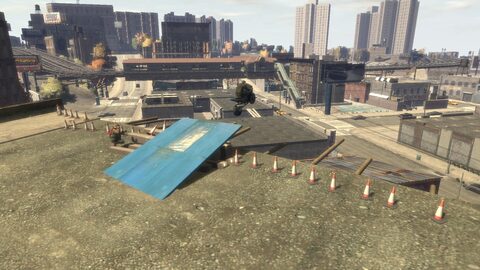
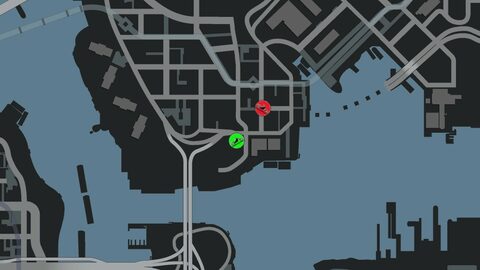
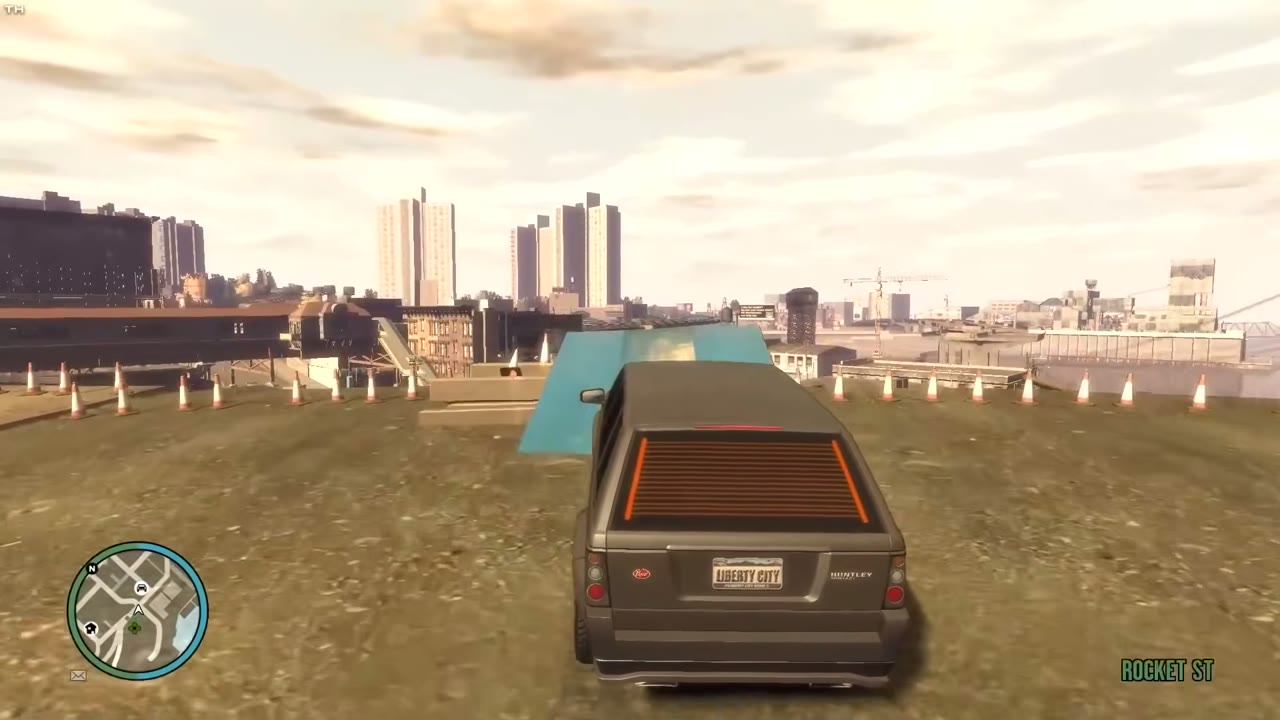
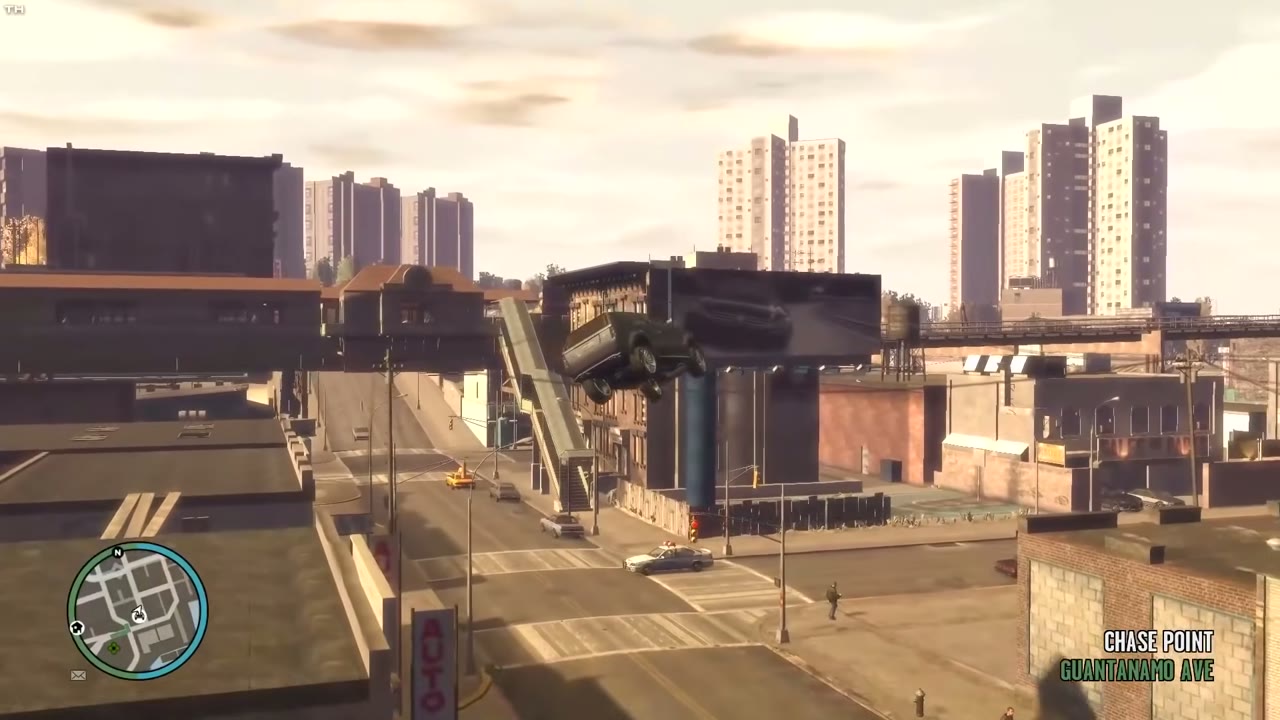
| 15 | South Bohan | Takeoff: Attica Avenue just south of Rocket Street, heading north up the unfinished expressway. The blue ramp is at the top. What counts: Guantanamo Avenue, over the auto dealership. |
    |
|
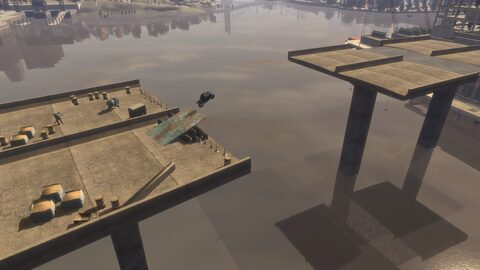
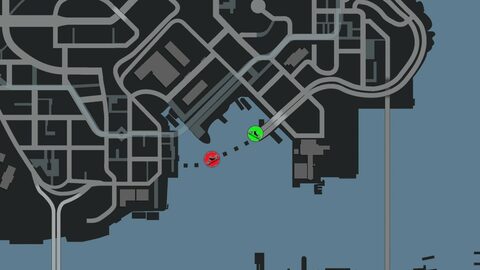
| 16 | Industrial | Takeoff: The Northern Expressway bridge under construction, heading west. The ramp is past the crane at the end of the deck. What counts: The isolated island section of the bridge, which leads straight into jump 17. |
  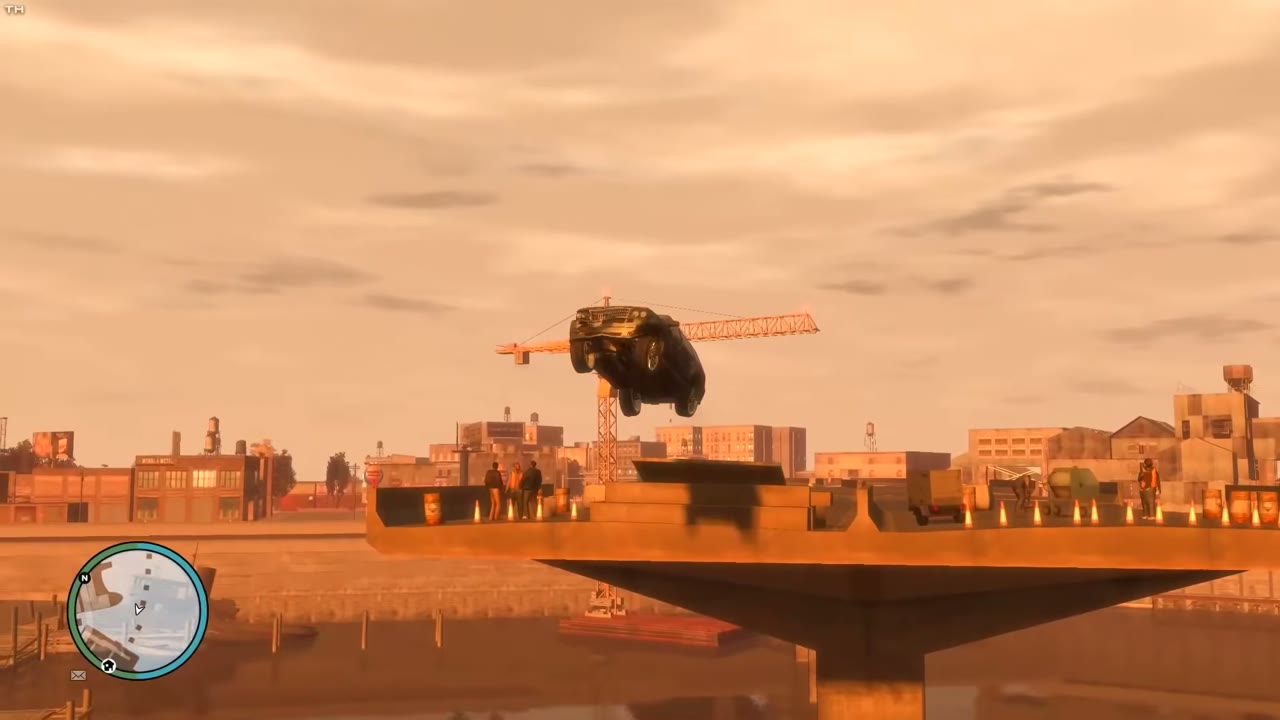 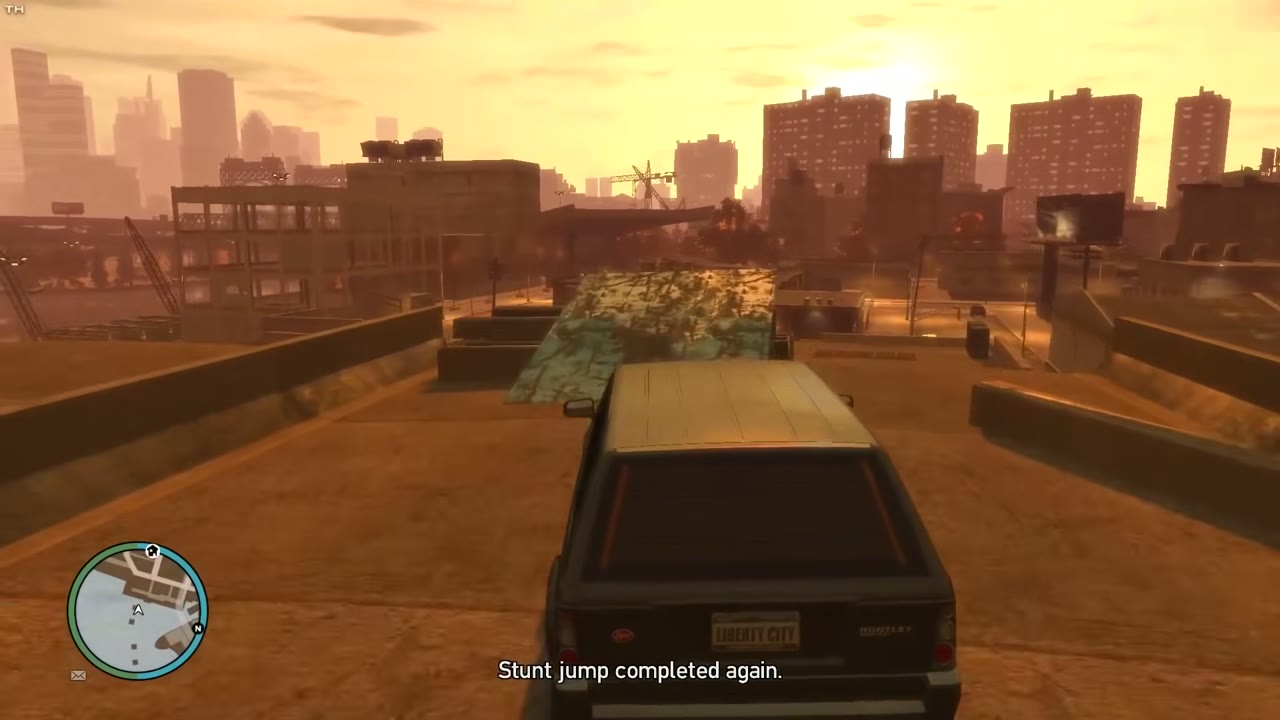 |
|
| 17 | Industrial | Takeoff: The same bridge, heading west from where jump 16 lands. What counts: A rooftop and the street beside it on Rocket Street. |
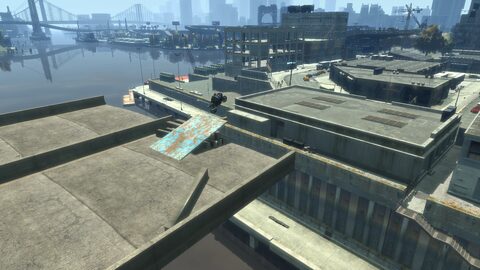 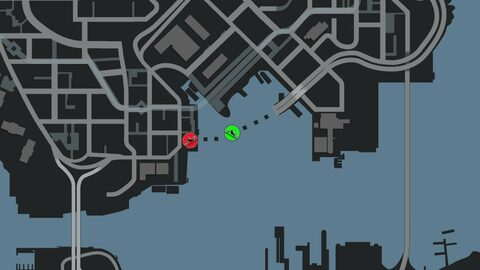   |
Stunt Jumps in Algonquin
| Found | # | Area | Details | Screenshot |
|---|---|---|---|---|
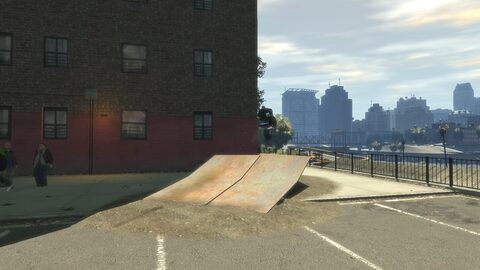
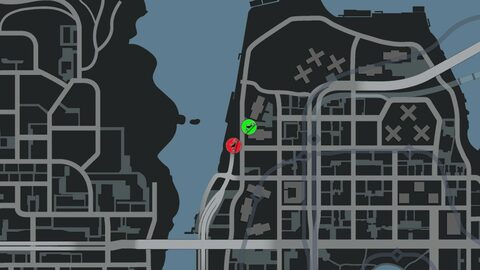
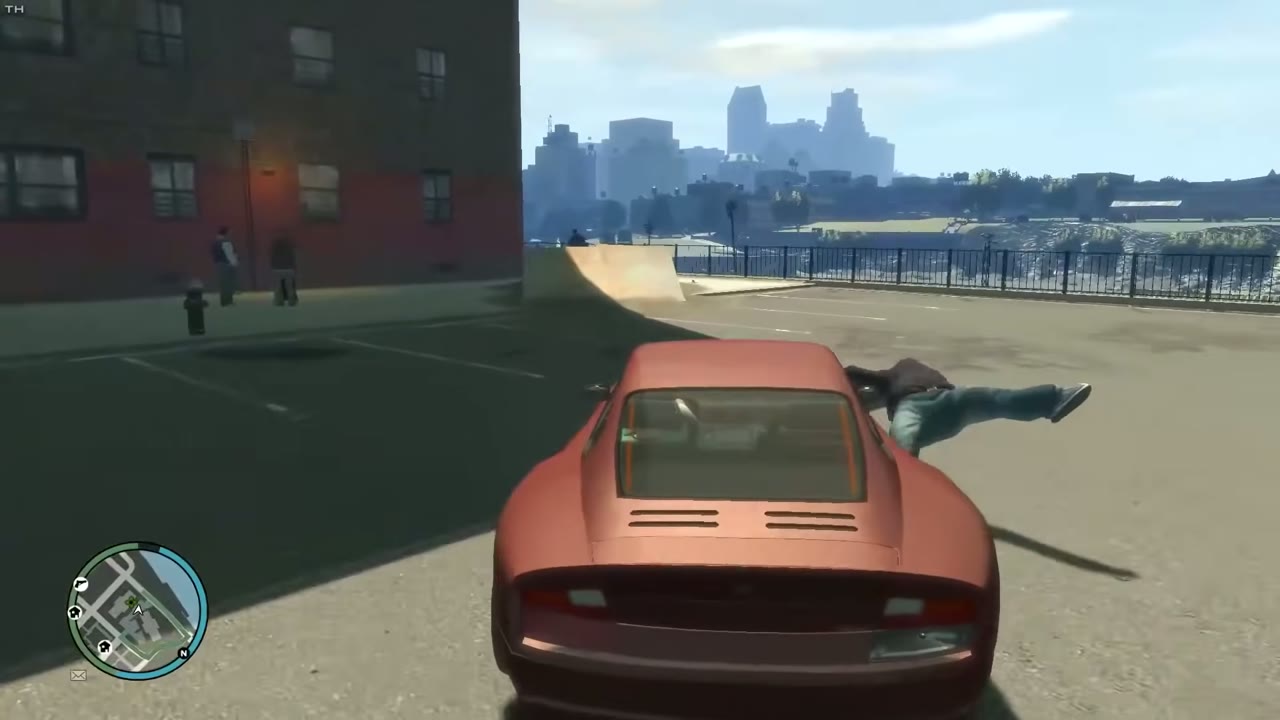
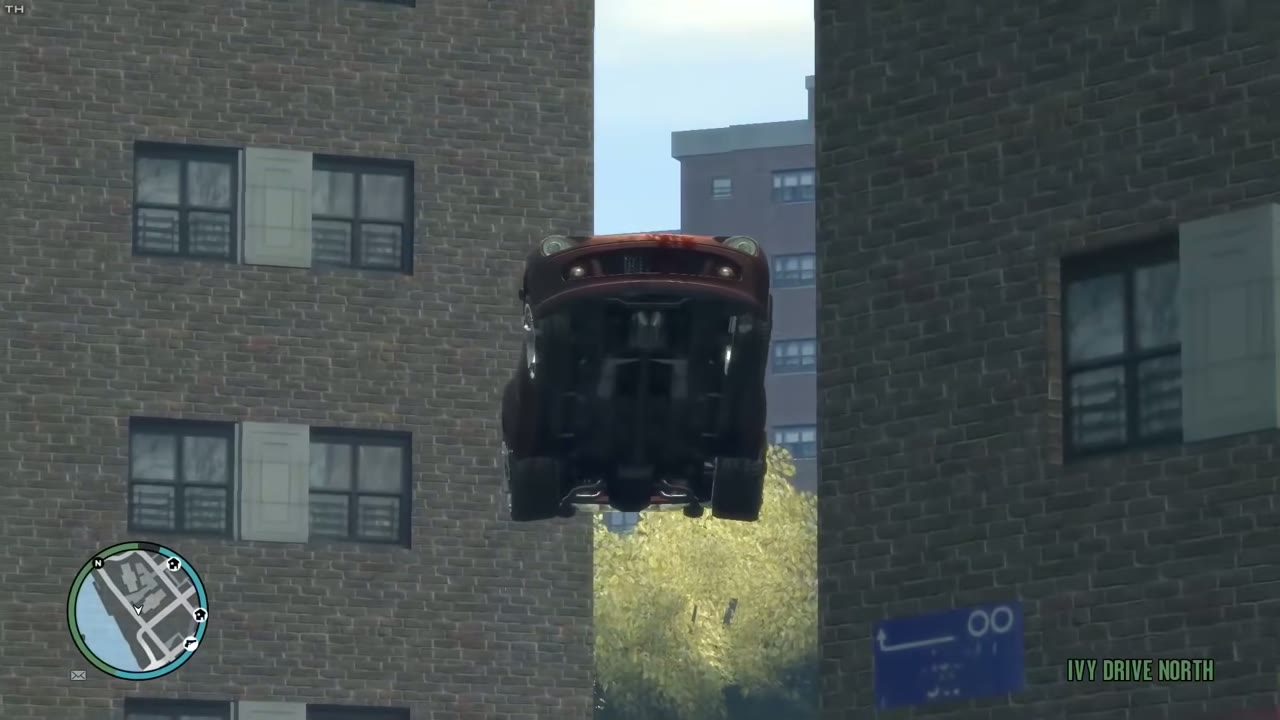
| 18 | Northwood | Takeoff: Galveston Avenue, heading southwest through the gap between two apartment buildings, across from Xenotime Street. What counts: Over Ivy Drive North. |
    |
|
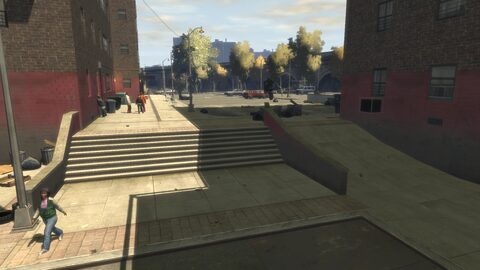
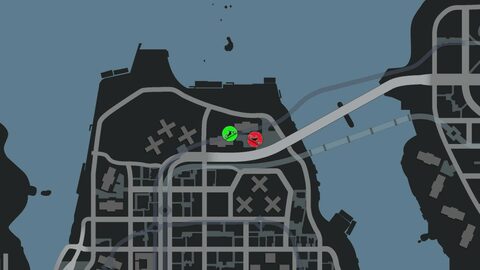
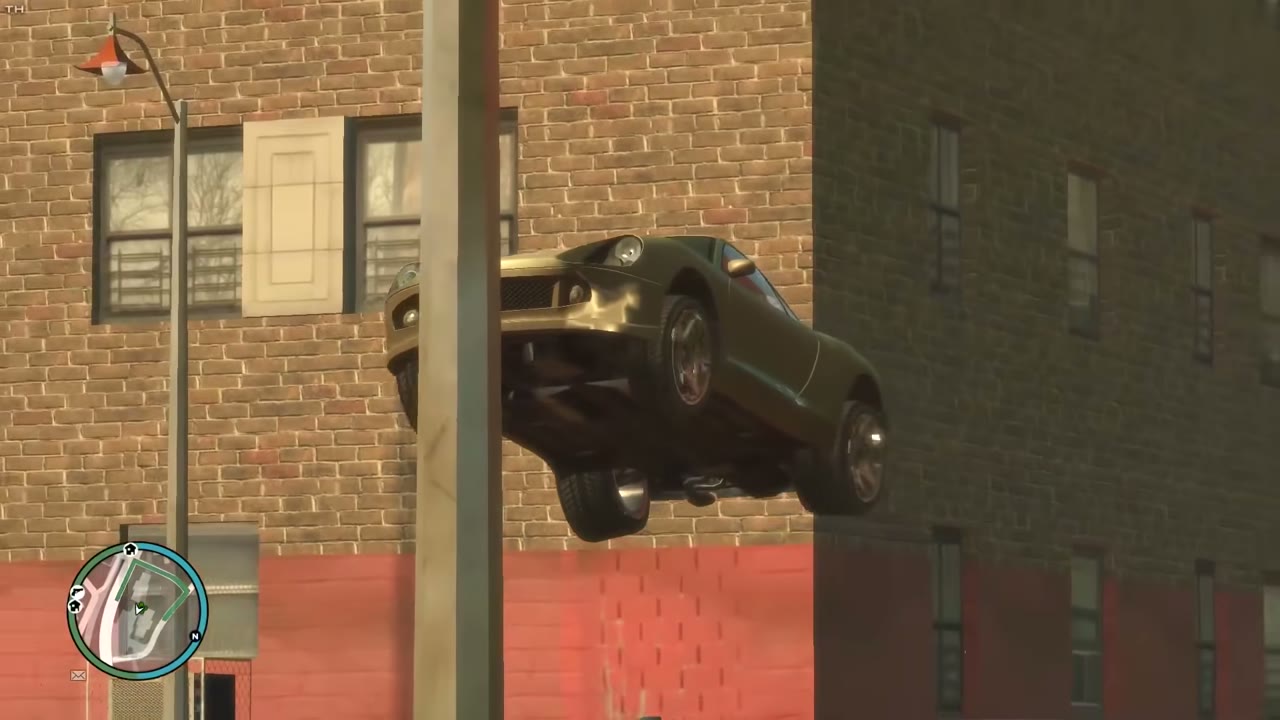
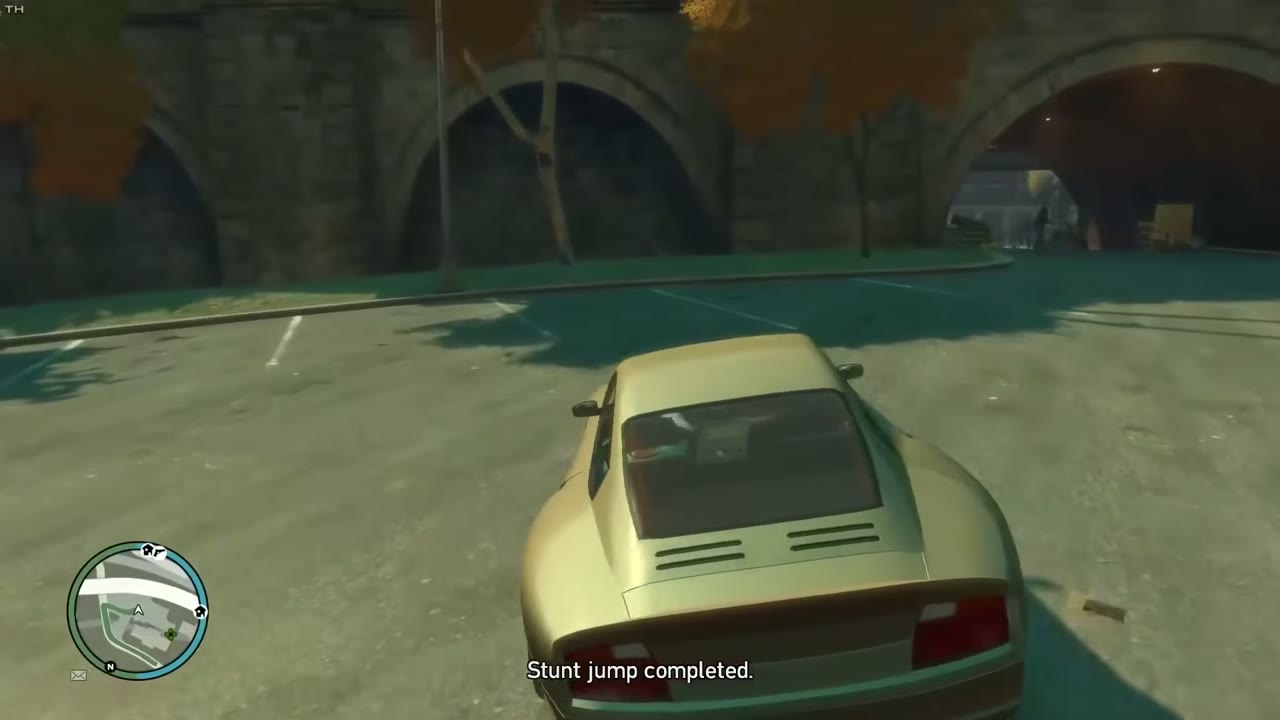
| 19 | Northwood | Takeoff: Exeter Avenue, heading east through the west parking lot of the apartment buildings. The ramp slope is to the right of the steps. What counts: The big east parking lot of the apartment complex. |
    |
|
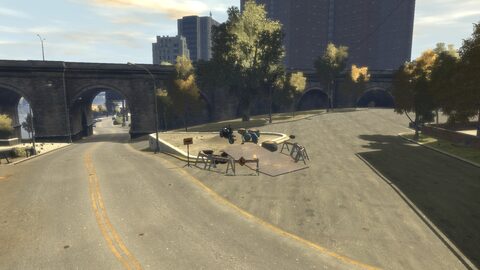
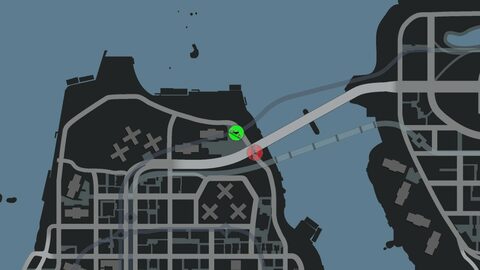
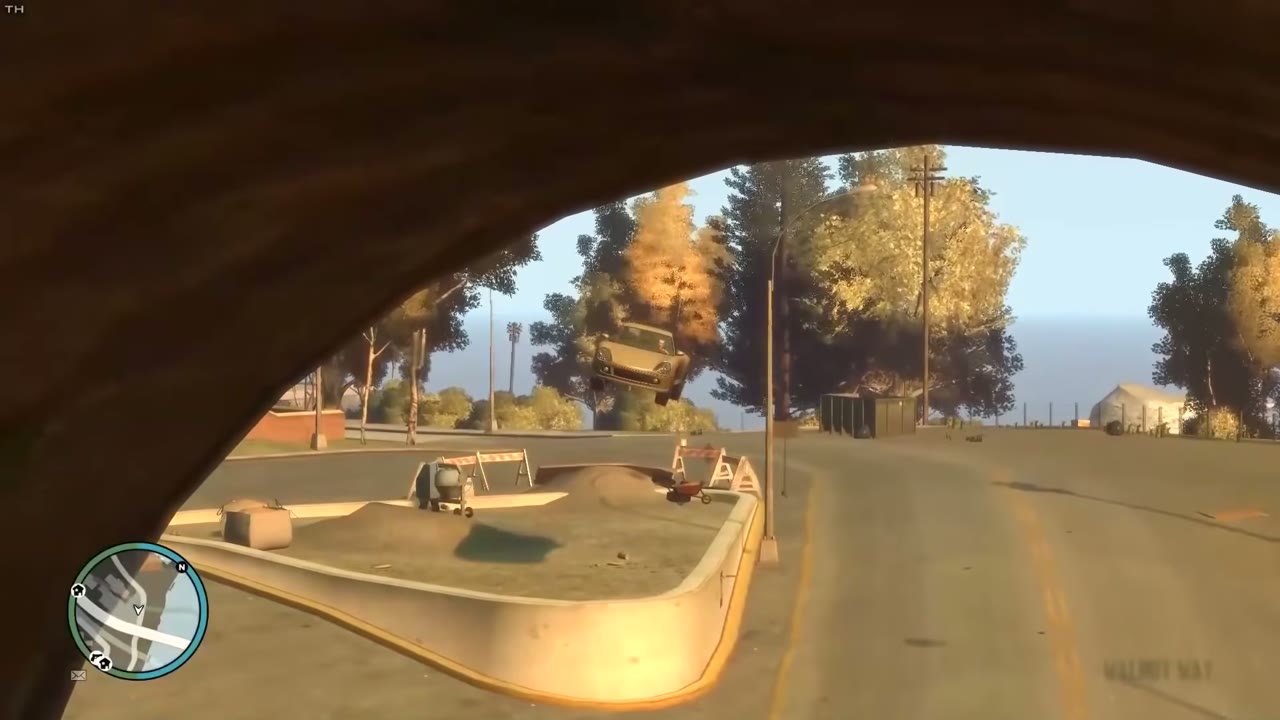
| 20 | Northwood | Takeoff: The complex’s main east entrance on Grummer Road, heading south. A metal ramp in the road work points southeast. What counts: Under the arch of the Northwood Heights Bridge approach. |
   |
|
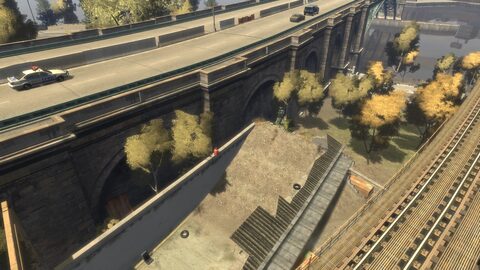
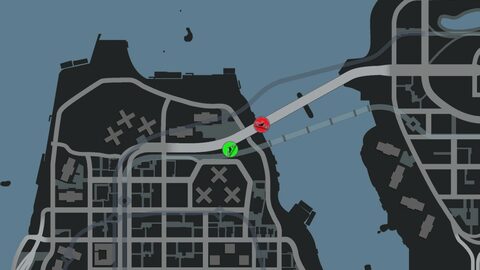
| 21 | Northwood | Takeoff: The north side of Vespucci Circus heading east, below the elevated train line. A pile of rubble from a collapsed building acts as the ramp, pointing northeast. What counts: The Northwood Heights Bridge approach and Grand Boulevard. |
  |
|
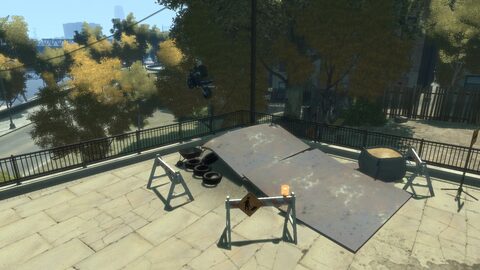
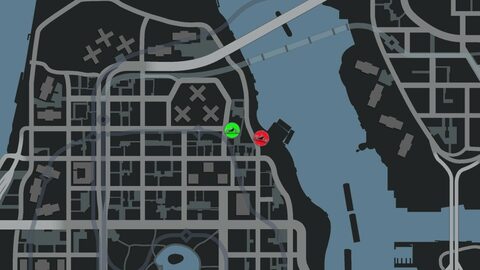
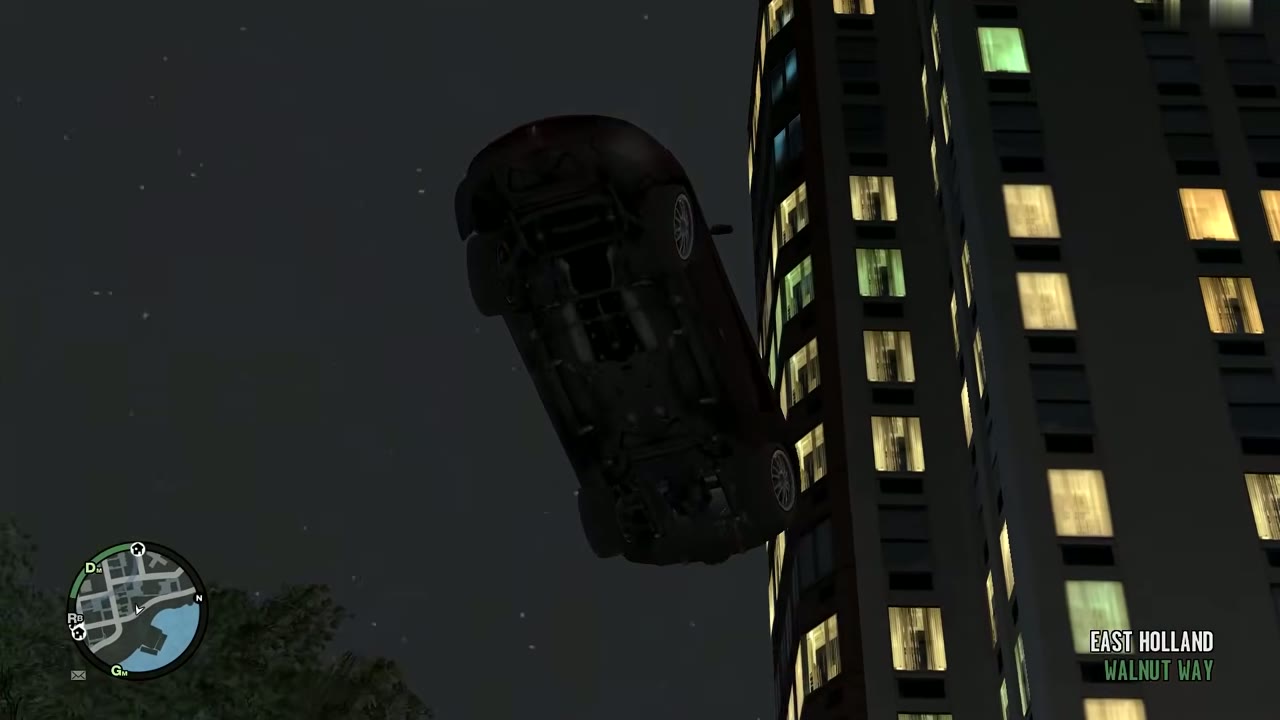
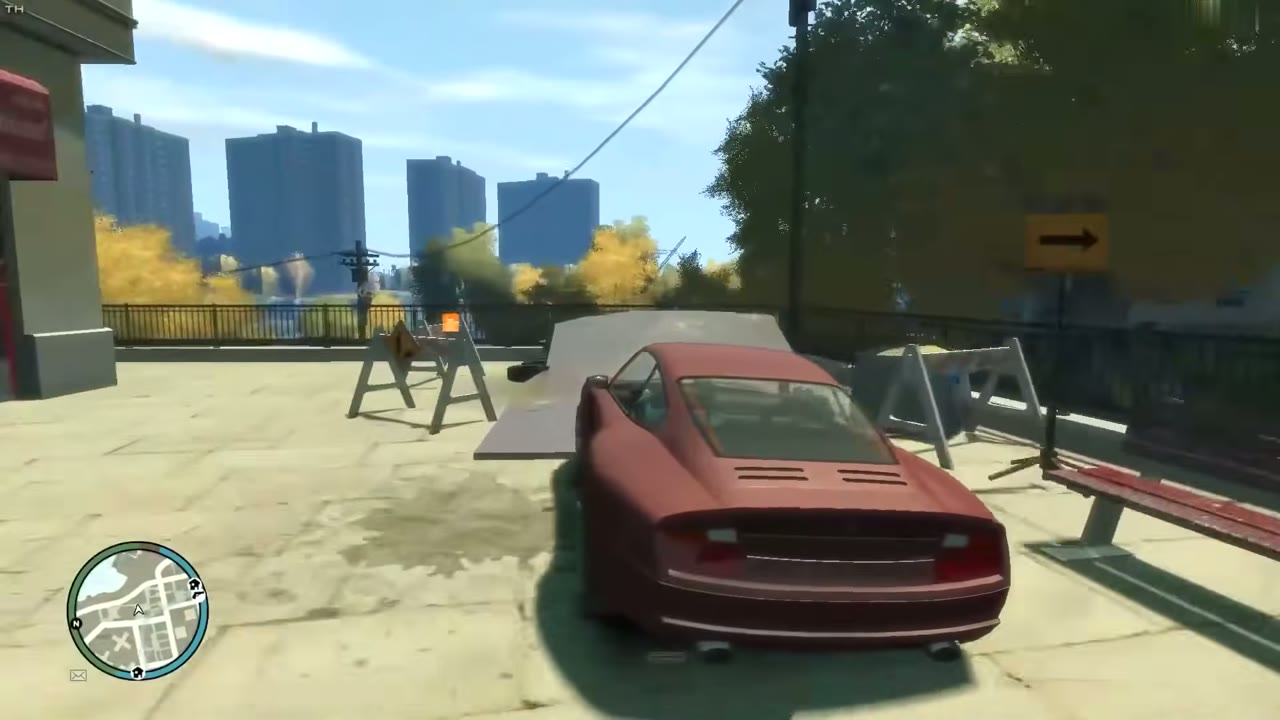
| 22 | East Holland | Takeoff: Wardite Street heading east, straight ahead at the Astoria and Vespucci Circus junction. The metal ramp is beside the building at 341 Vespucci Circus. What counts: Over Walnut Way. |
      |
|
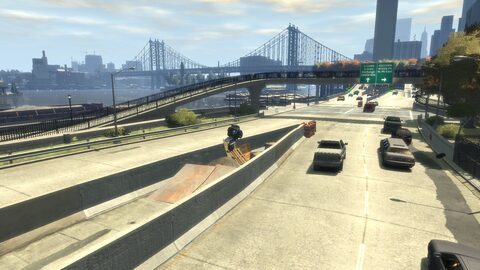
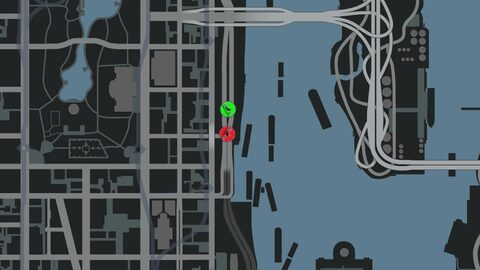
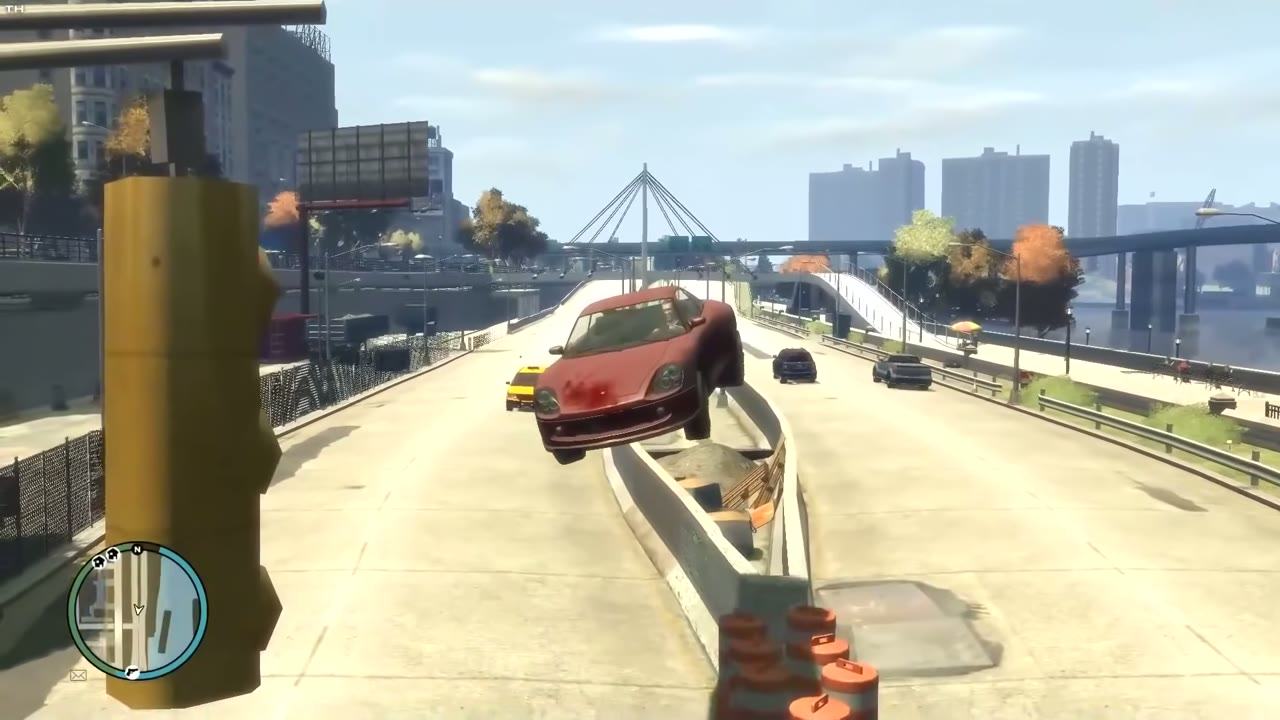
| 23 | Middle Park East | Takeoff: The construction zone in the center divider of Union Drive East, heading south. A metal ramp sits on a rubble pile just past the Middle Park East safehouse. What counts: Under the pedestrian bridge, down to the Obsidian Street junction. |
    |
|
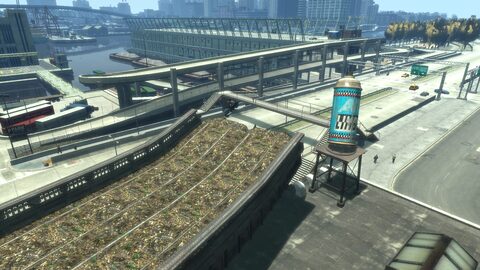
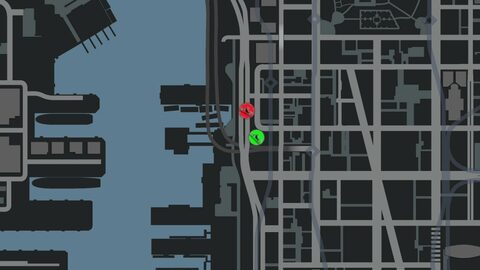
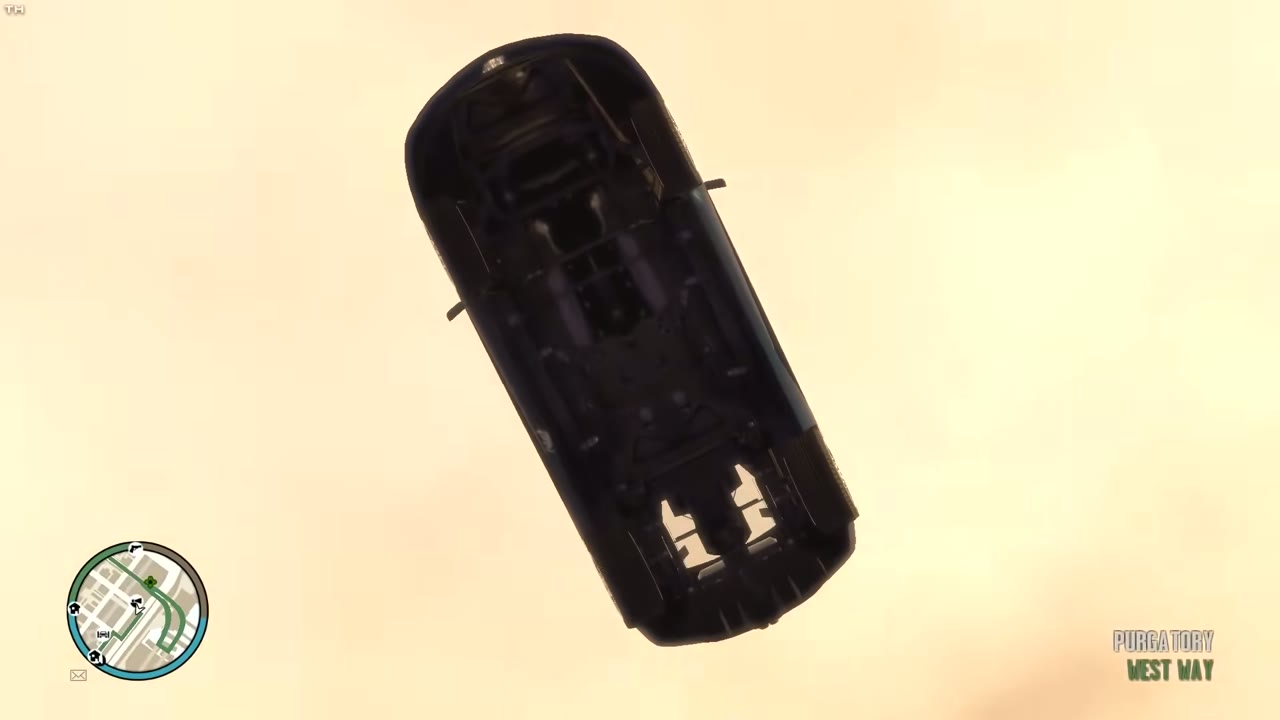
| 24 | Purgatory | Takeoff: The abandoned elevated train track that begins over Hematite Street and ends above the Pay ‘n’ Spray on Lorimar Street. What counts: Past the Pay ‘n’ Spray and down onto Union Drive West. |
    |
|
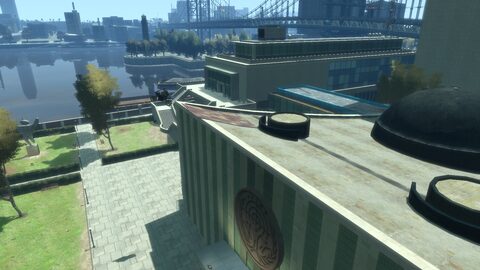
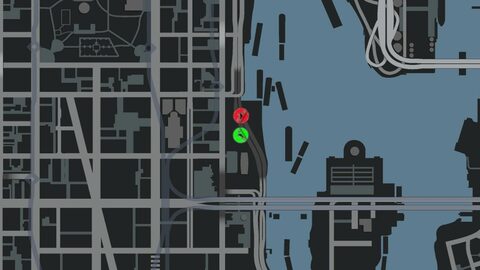
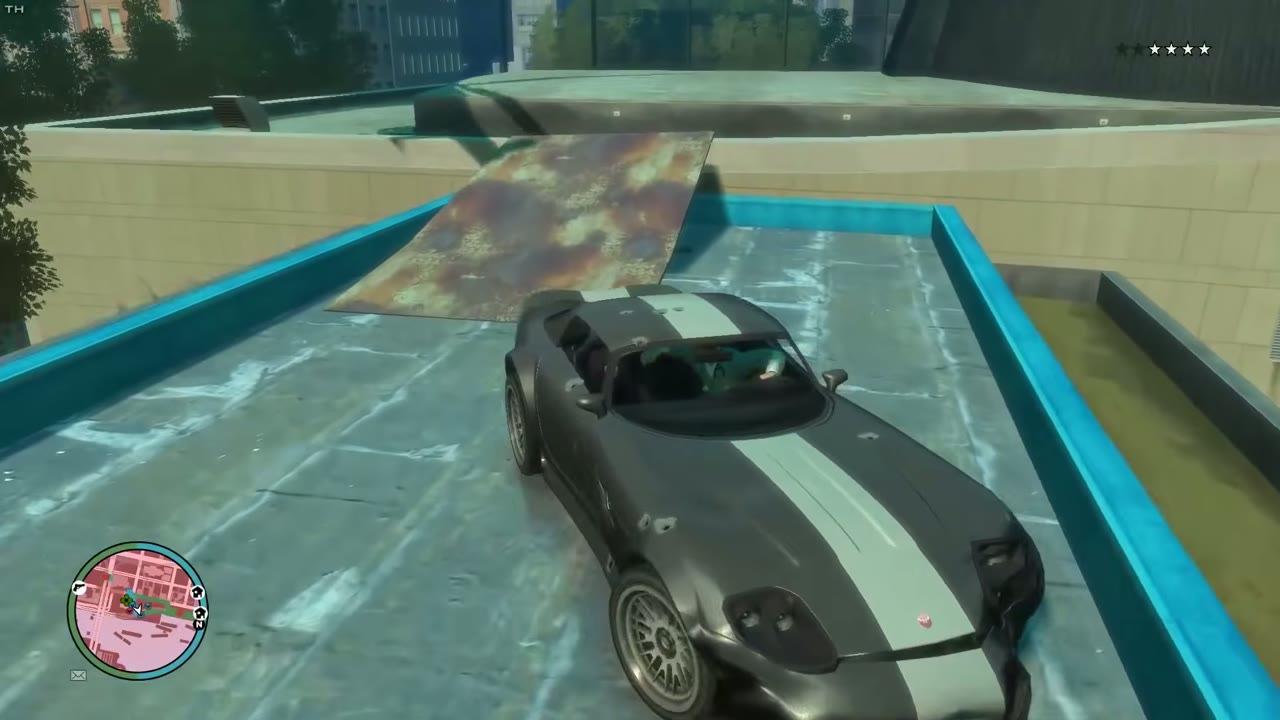
| 25 | Hatton Gardens | Takeoff: The roof of the Civilization Committee complex off Albany Avenue. Expect a four-star wanted level on the way in. Climb the stairs and metal ramps to the top, then use the north ramp on the east side of the dome. What counts: The garden and park at the north end of the complex. |
    |
|
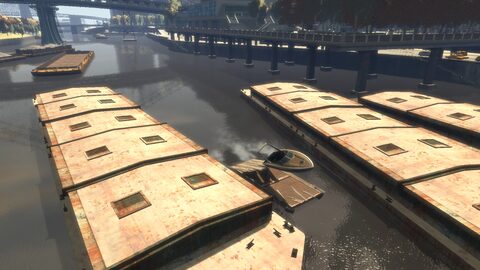
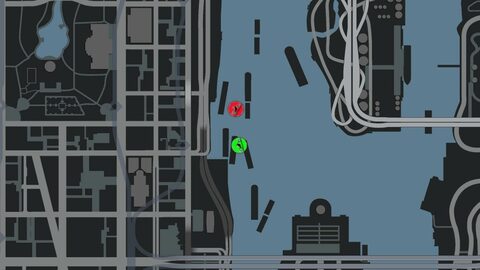
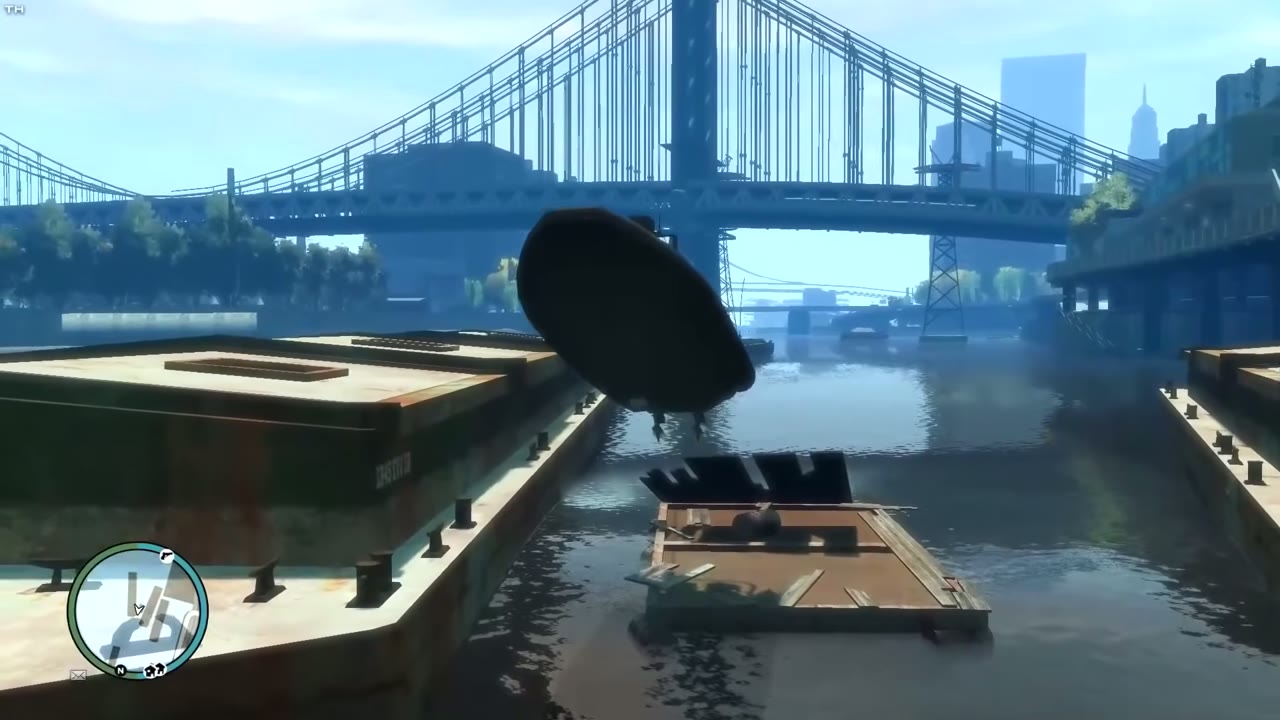
| 26 | Humboldt River | Takeoff: Boat jump. Head north up the Humboldt River between two barges moored off the northeast corner of the Civilization Committee building. What counts: Any landing in the water counts. |
    |
|
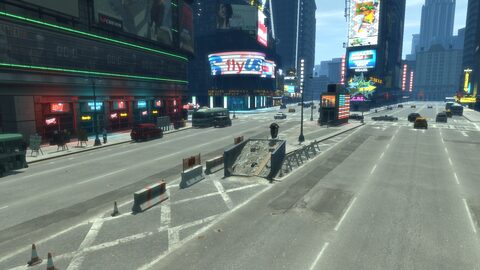
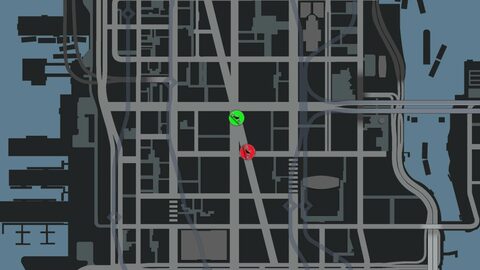
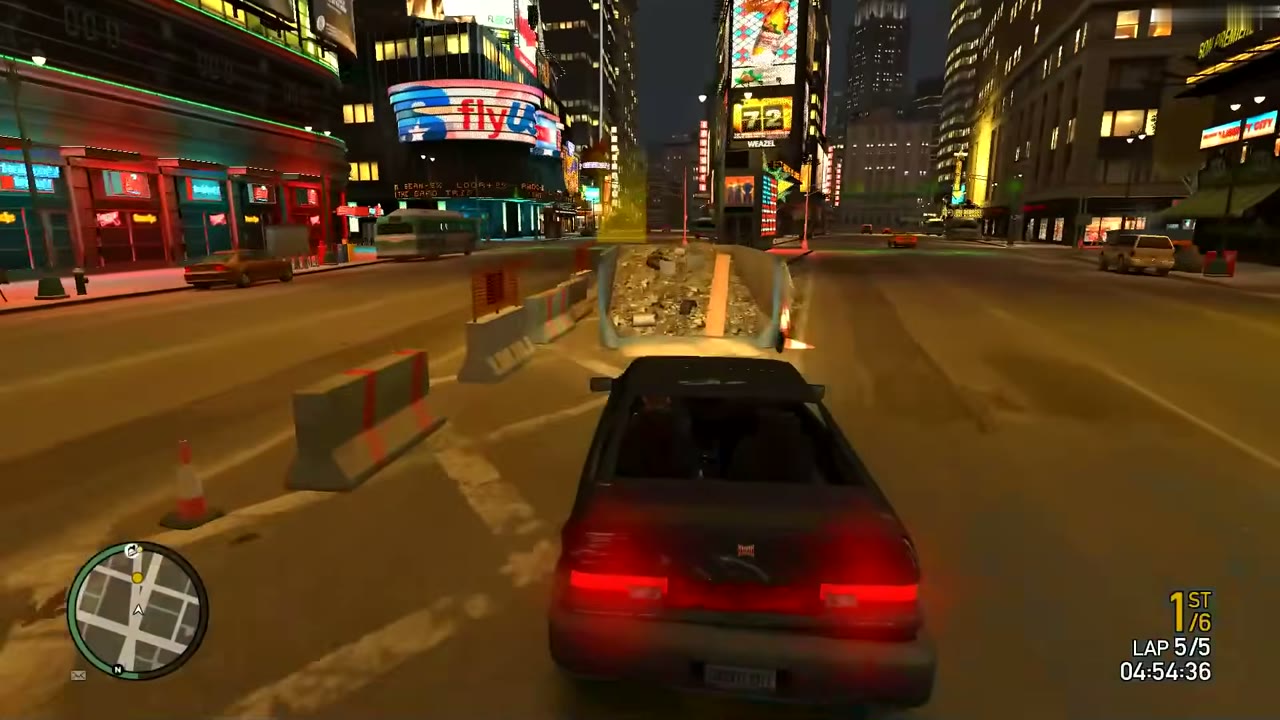
| 27 | Star Junction | Takeoff: A half-full dumpster in the middle of Denver-Exeter Avenue where it meets Burlesque, south of Kunzite Street. Head south. What counts: Burlesque, near the Star Junction police station. |
    |
|
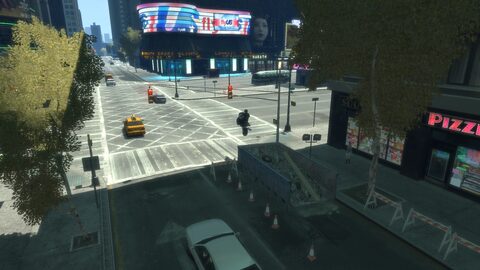
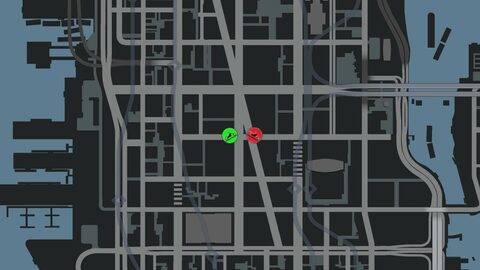
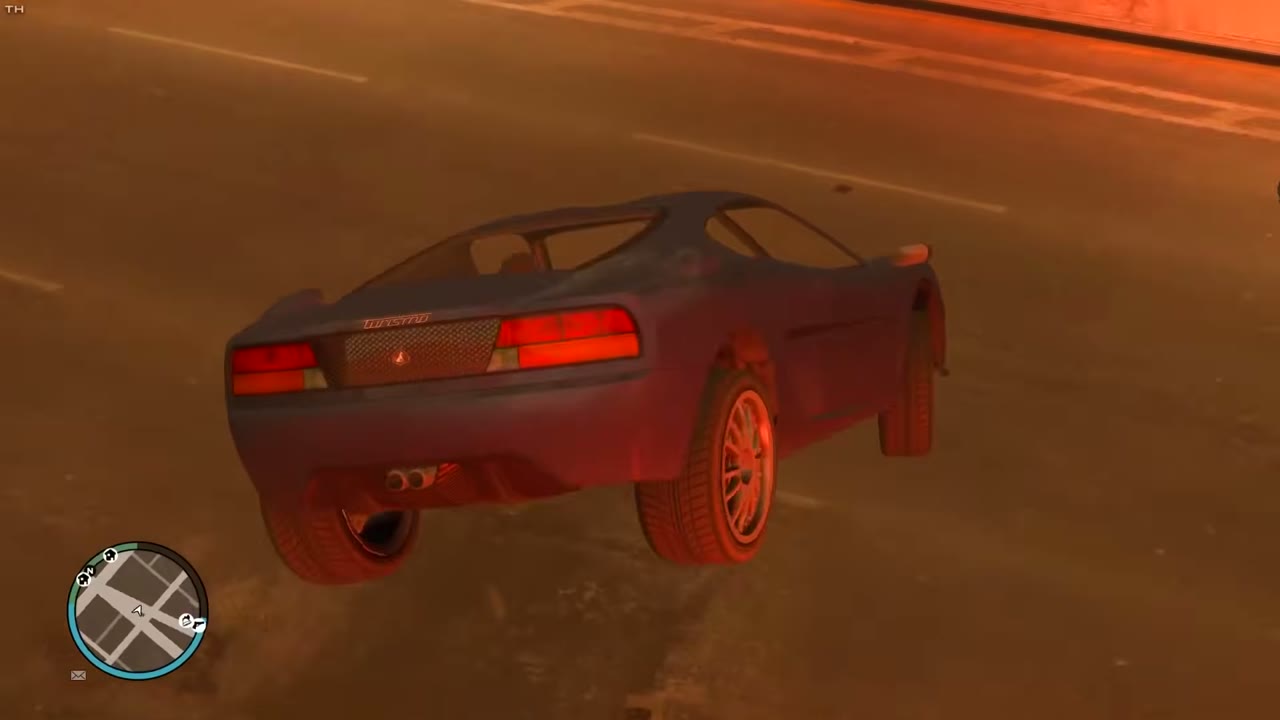
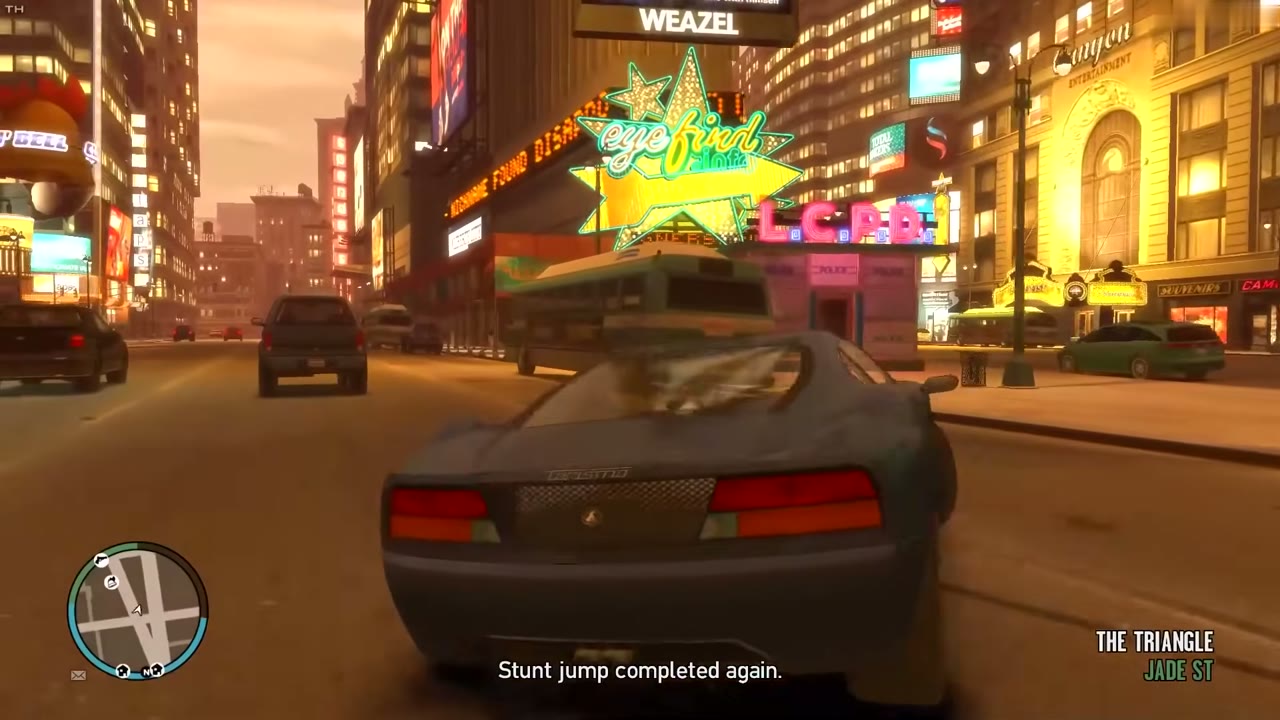
| 28 | The Triangle | Takeoff: Jade Street heading east, at the south edge of Star Junction. The half-full dumpster is on the right side of the road. What counts: Jade Street. |
    |
|
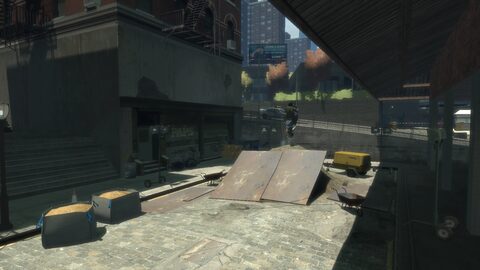
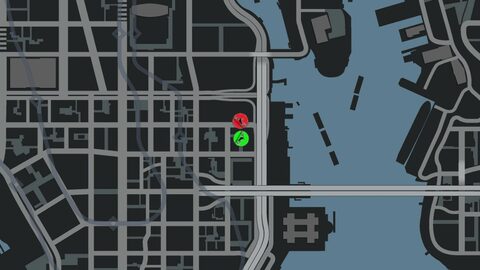
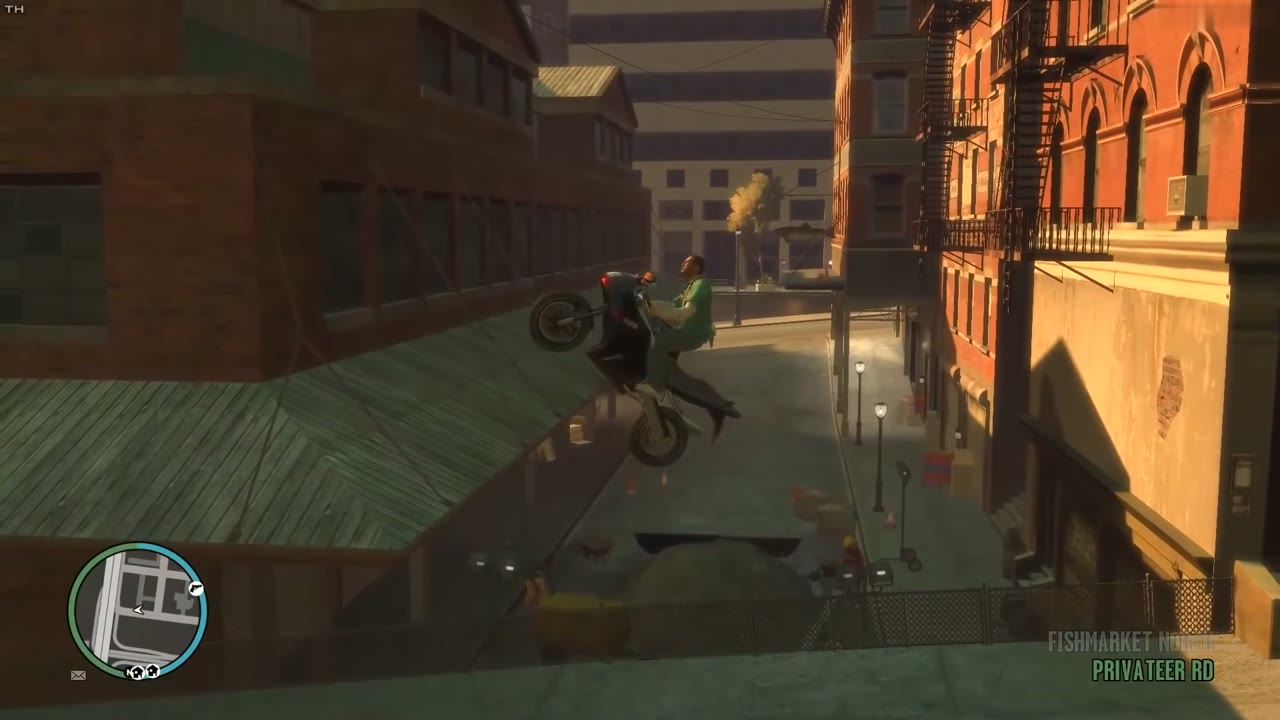
| 29 | Fishmarket North | Takeoff: The alley on the north side of Emerald Street heading north, in the easternmost block between Borlock Road and Privateer Road. What counts: Feldspar Street, just east of police headquarters. |
   |
|
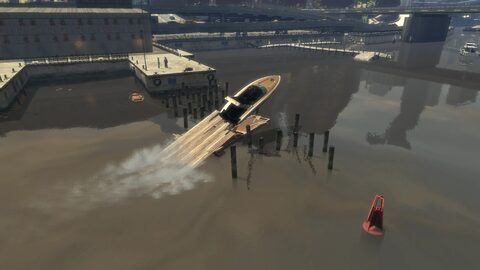
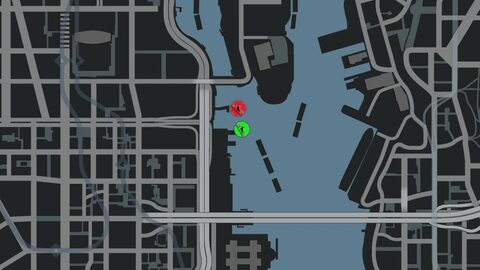
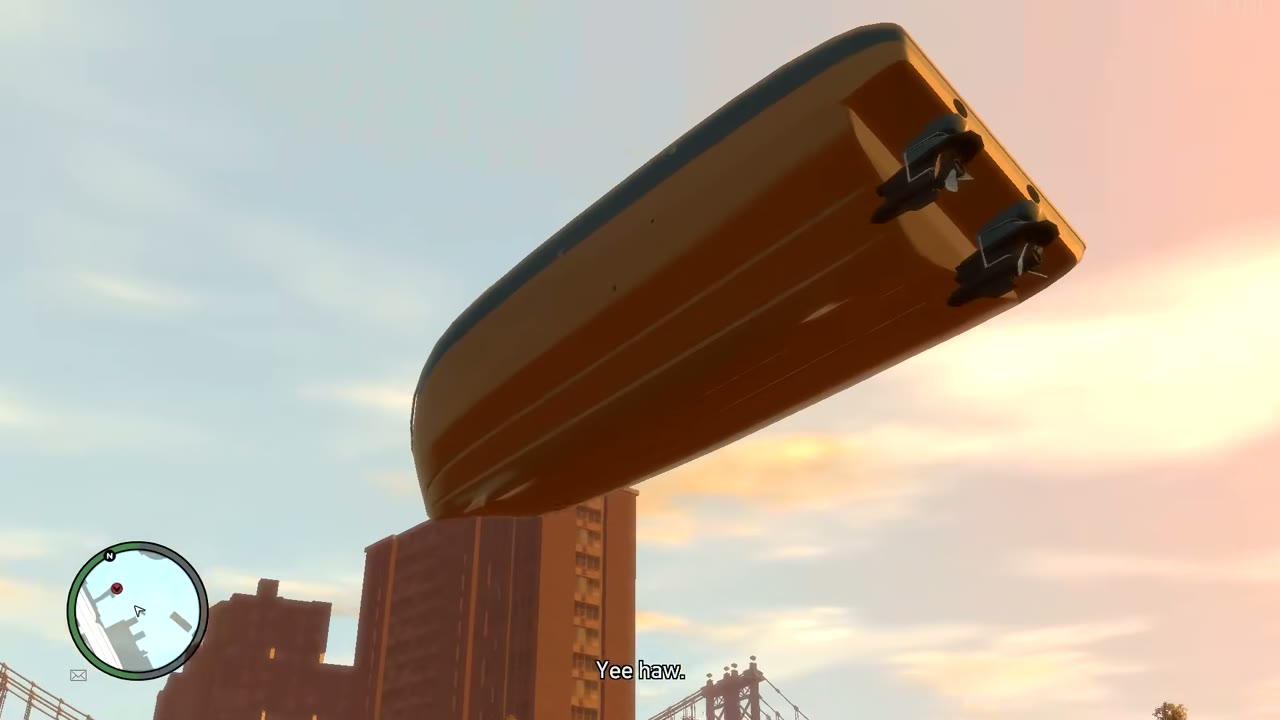
| 30 | Humboldt River | Takeoff: Boat jump. Head north up the Humboldt River just south of Leaper’s Bridge. A wooden ramp waits right after a line of three barges. What counts: Any landing in the water counts. |
    |
|
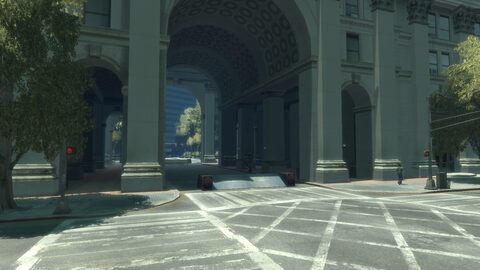
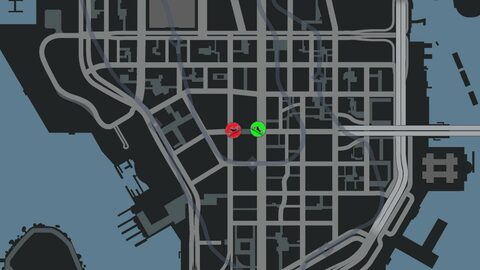
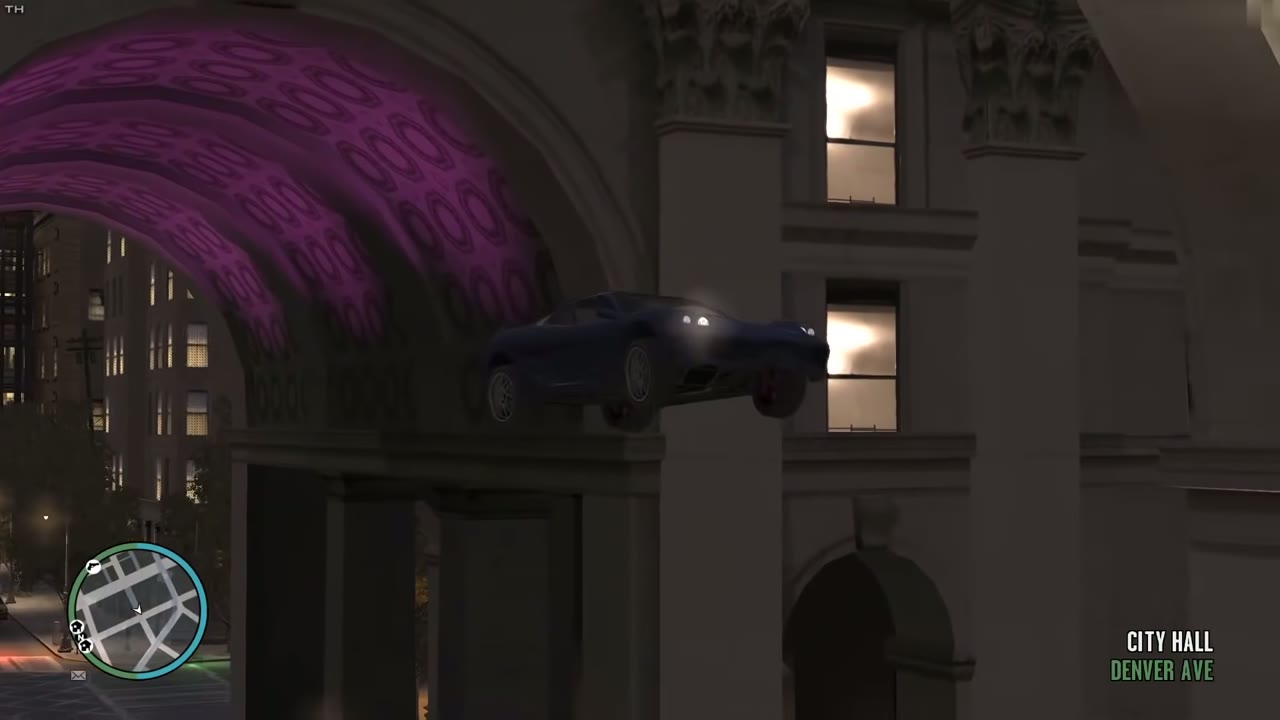
| 31 | City Hall | Takeoff: Diamond Street heading west, beneath the arches of the municipal building on Columbus Avenue. What counts: Denver Avenue. |
    |
|
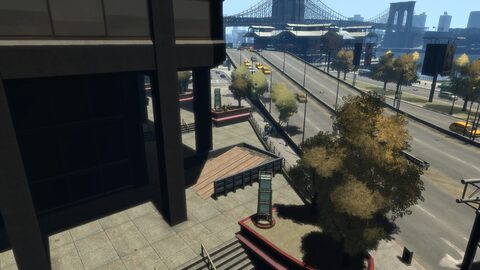
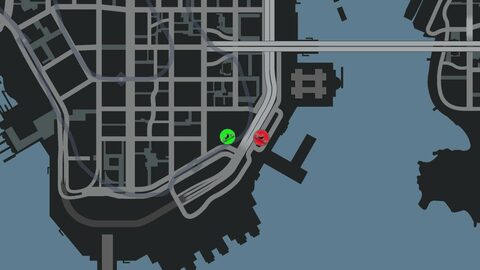
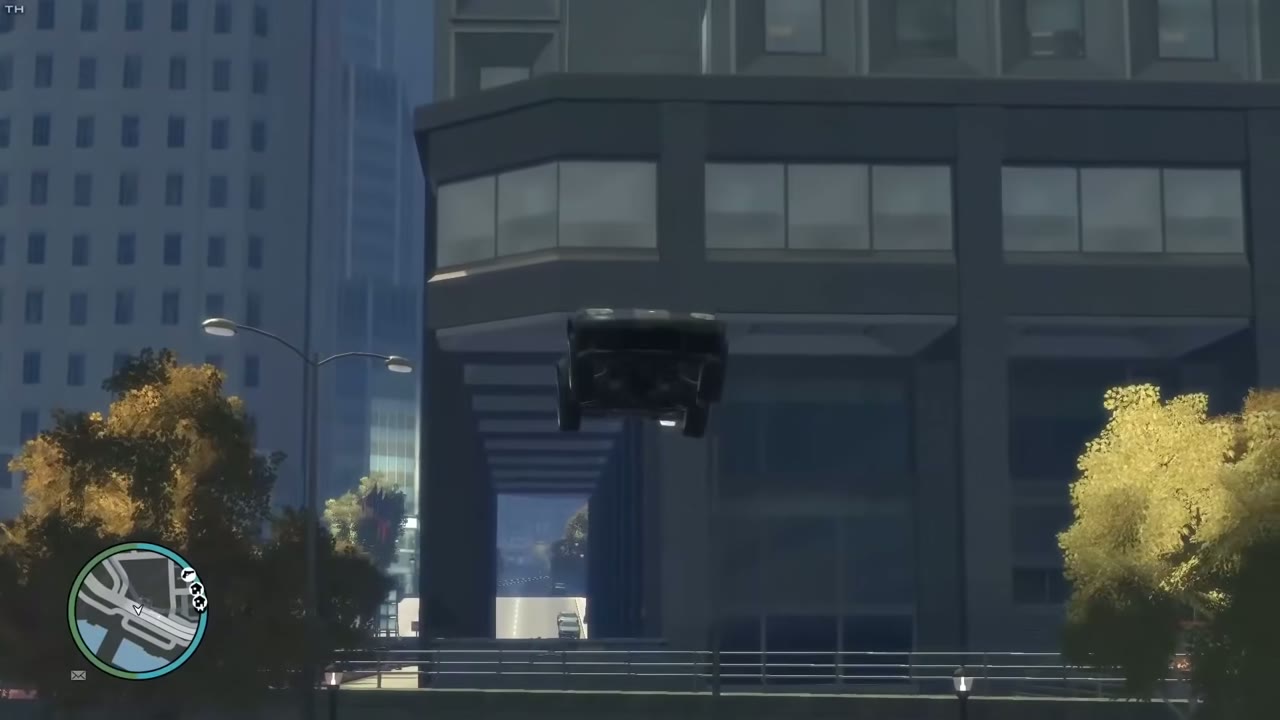
| 32 | The Exchange | Takeoff: Amethyst Street heading east, straight ahead at the Albany Avenue intersection. What counts: Across the freeway to Flatfish Place and the bus lane. |
    |
Stunt Jumps in Alderney
| Found | # | Area | Details | Screenshot |
|---|---|---|---|---|
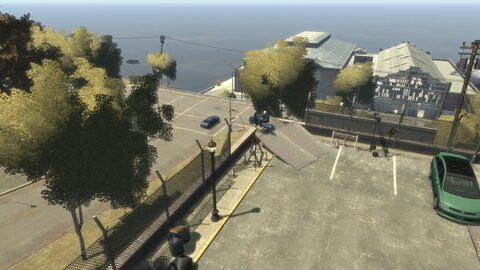
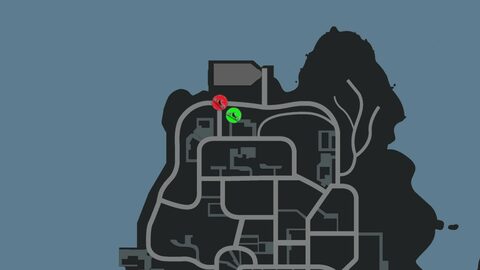
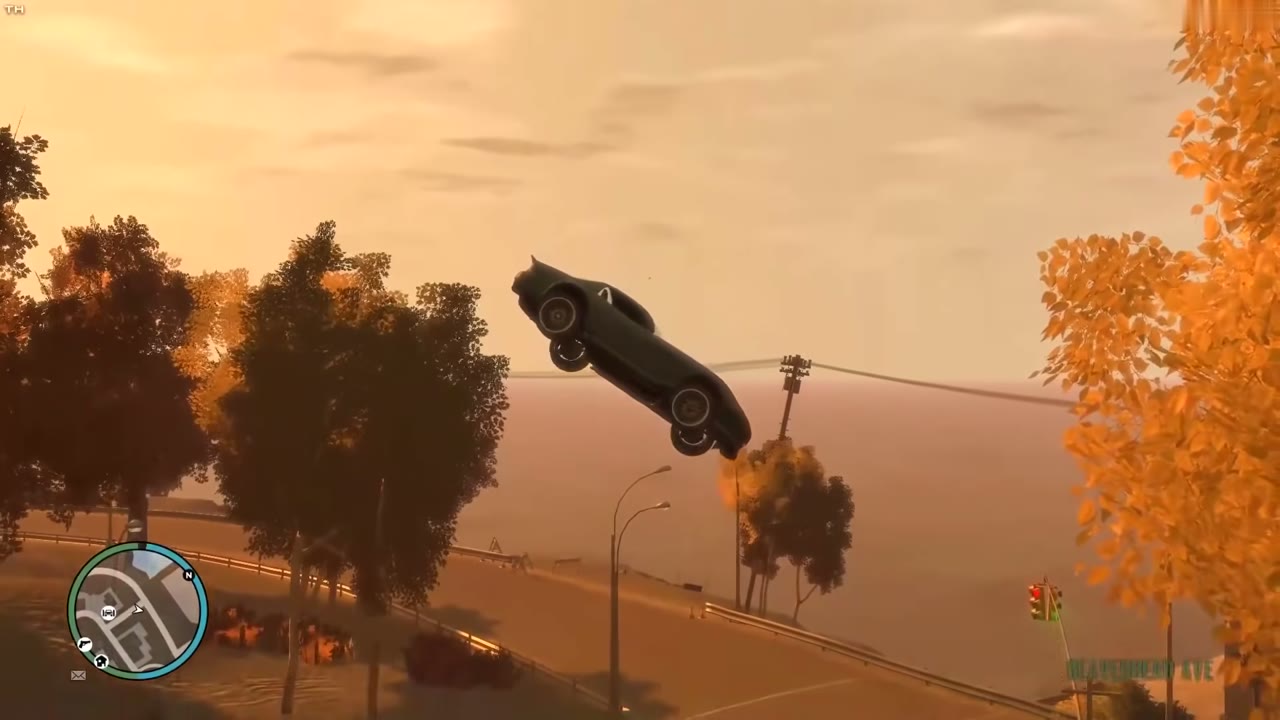
| 33 | Westdyke | Takeoff: The service alley behind the delis and groceries on Big Horn Drive. The ramp sits in the northwest corner above Cassiar Avenue. What counts: Down onto Beaverhead Avenue. |
    |
|
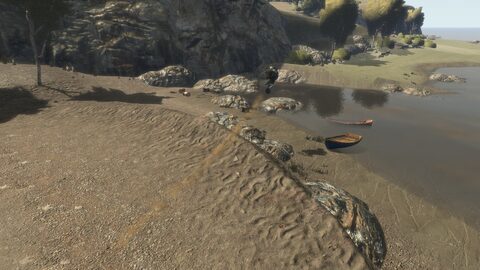
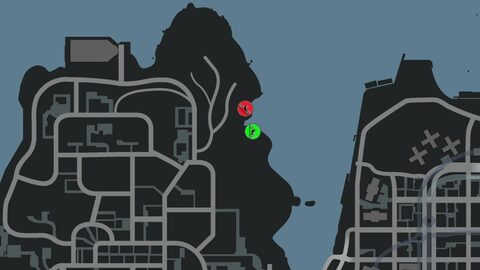
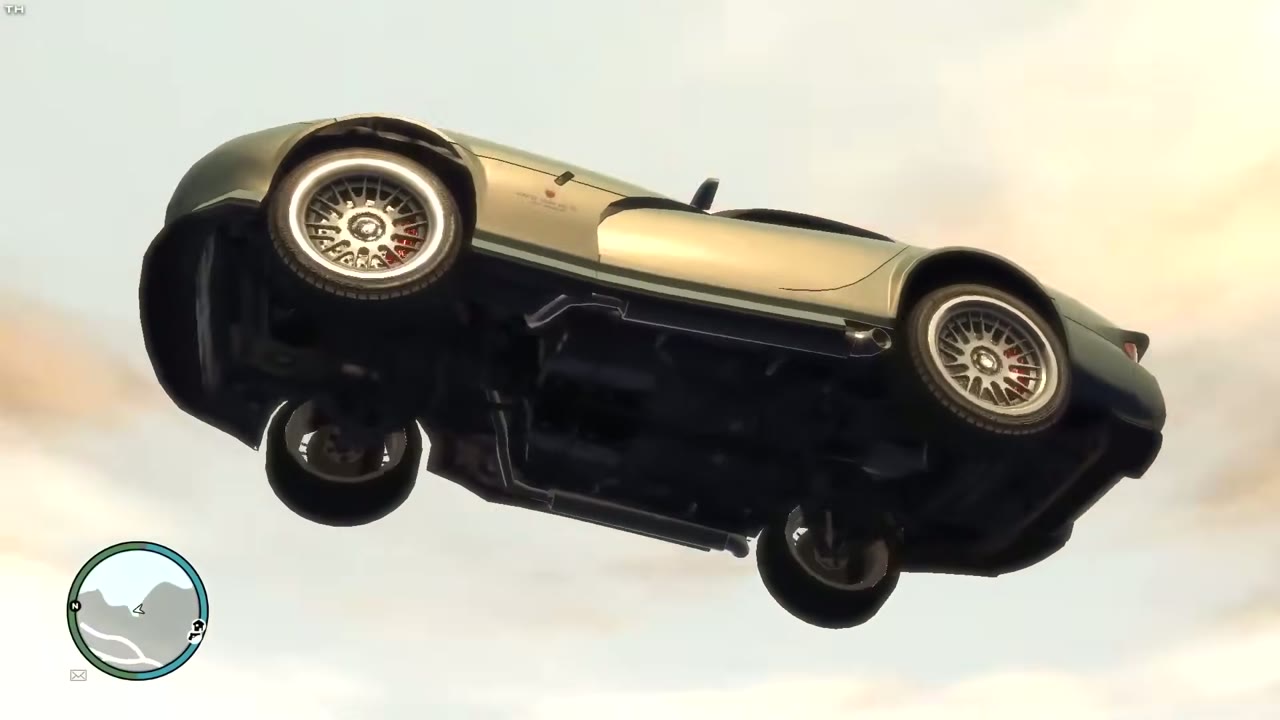
| 34 | Westdyke | Takeoff: The beach north of where Applewhite Street ends, heading north. A natural sand bank is the ramp over the inlet and rocks that cut off the beach. What counts: The far bank across the water. |
    |
|
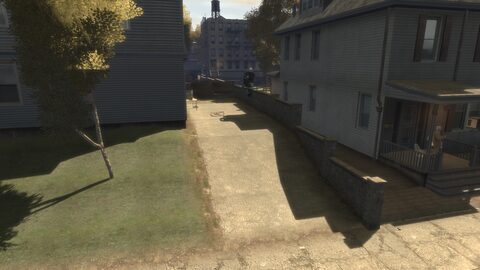
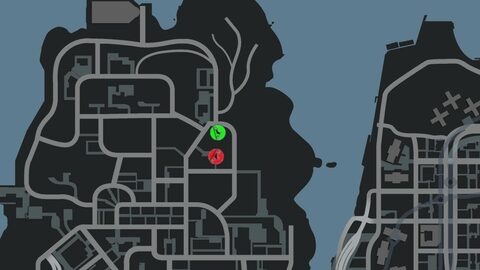
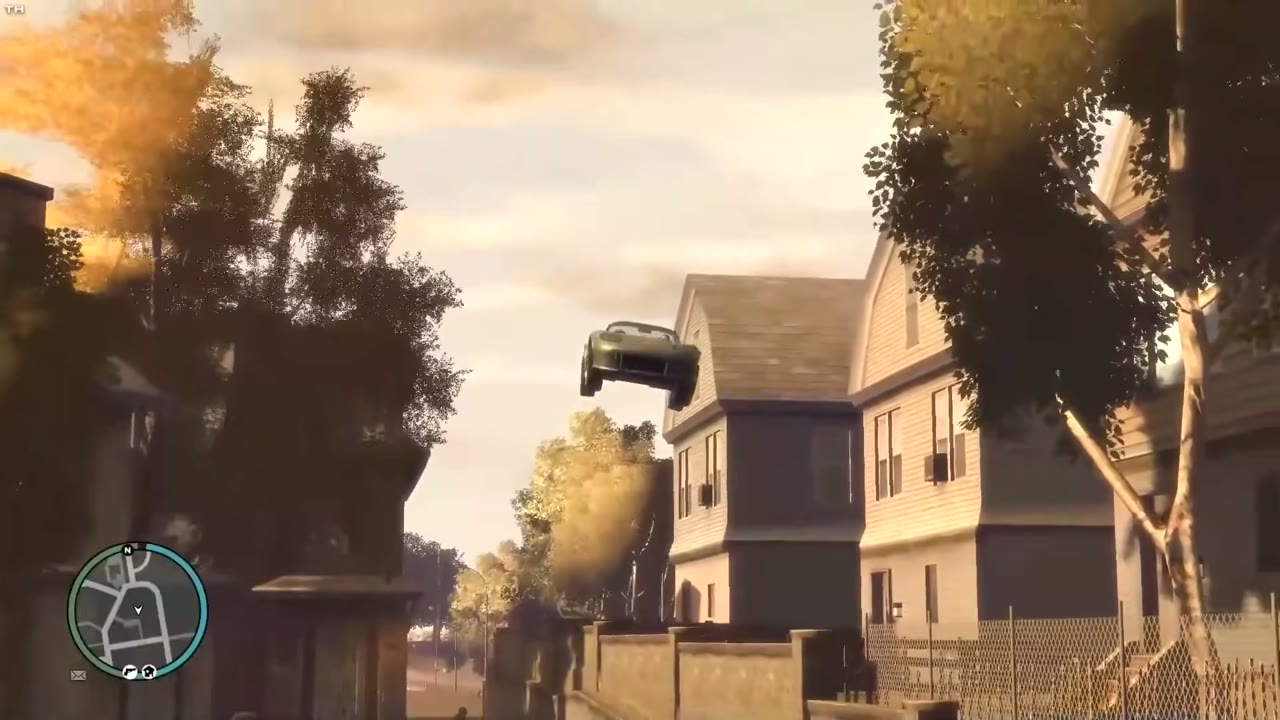
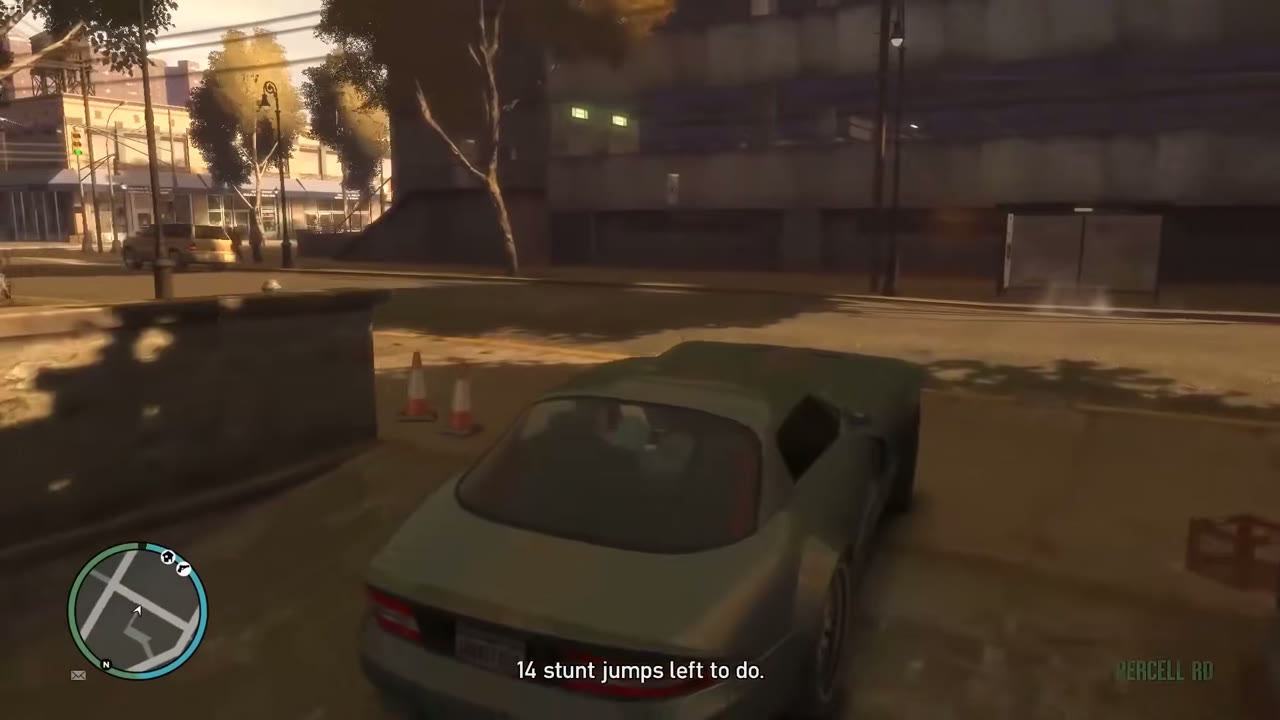
| 35 | Westdyke | Takeoff: Beaverhead Avenue heading south, straight ahead at the Sacramento Avenue intersection. The slope of a house driveway is your ramp. What counts: The alley north of Percell Road. |
    |
|
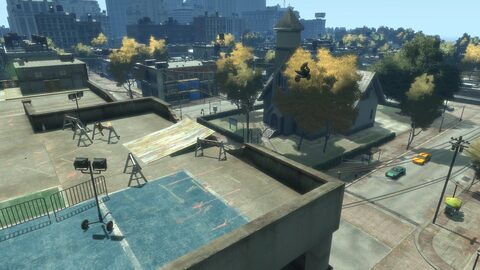
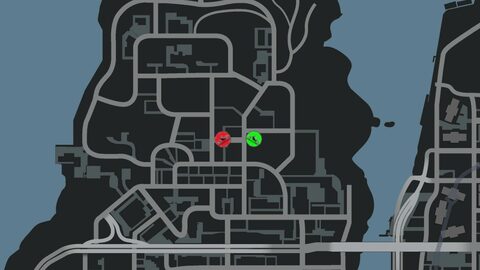
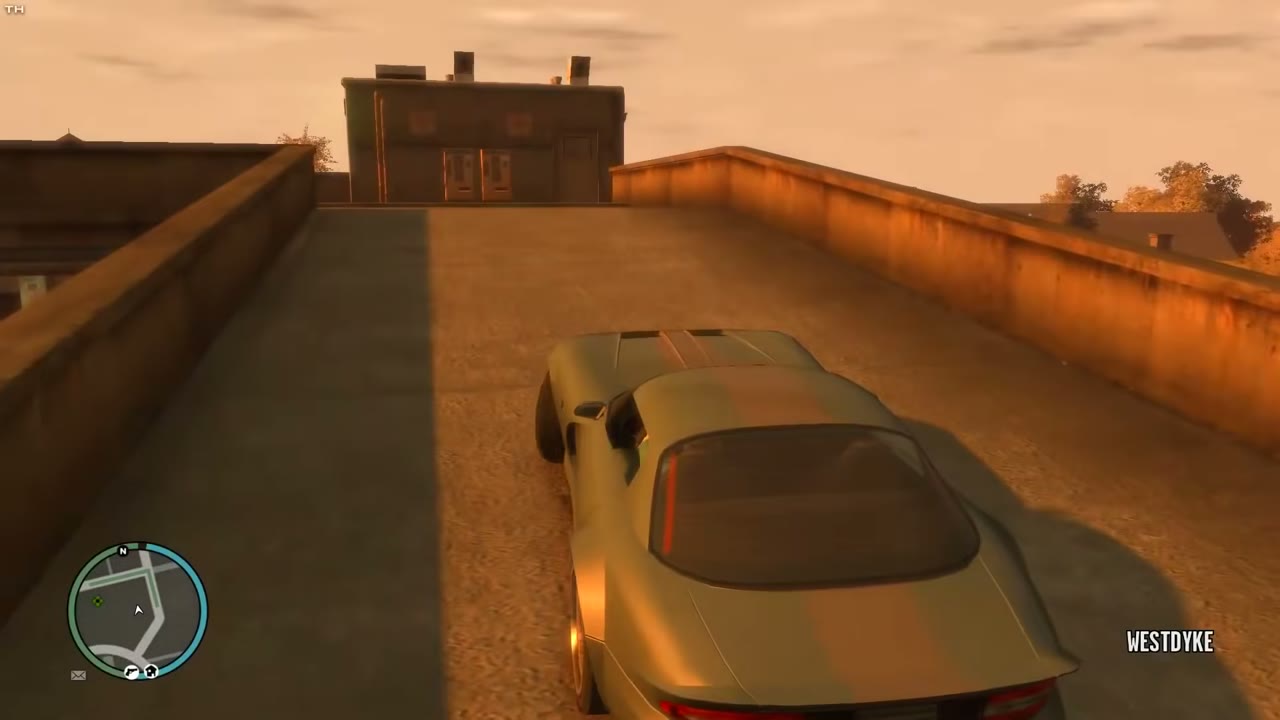
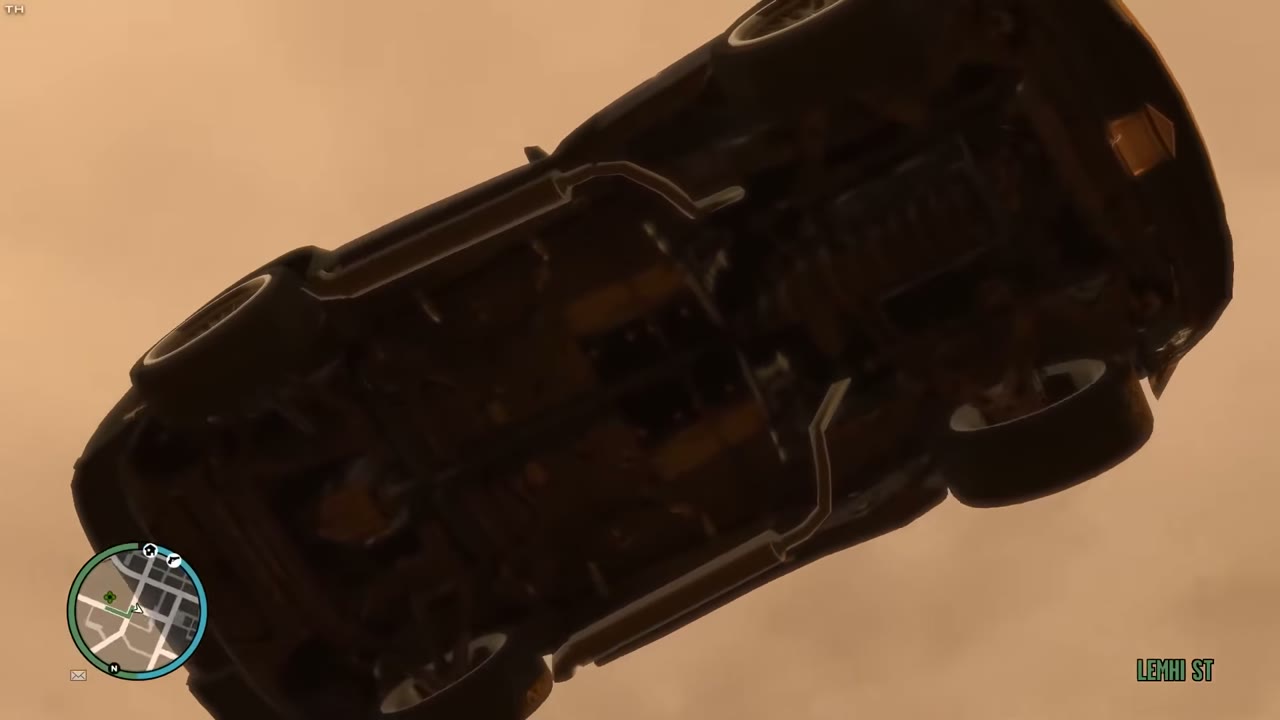
| 36 | Westdyke | Takeoff: The top level of the Leftwood parking garage on Sacramento Avenue, heading west. What counts: Down to Lemhi Street. |
    |
|
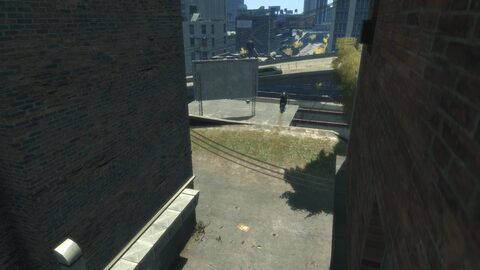
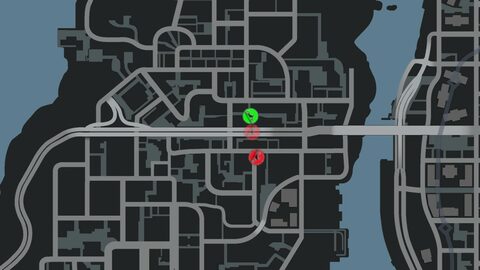
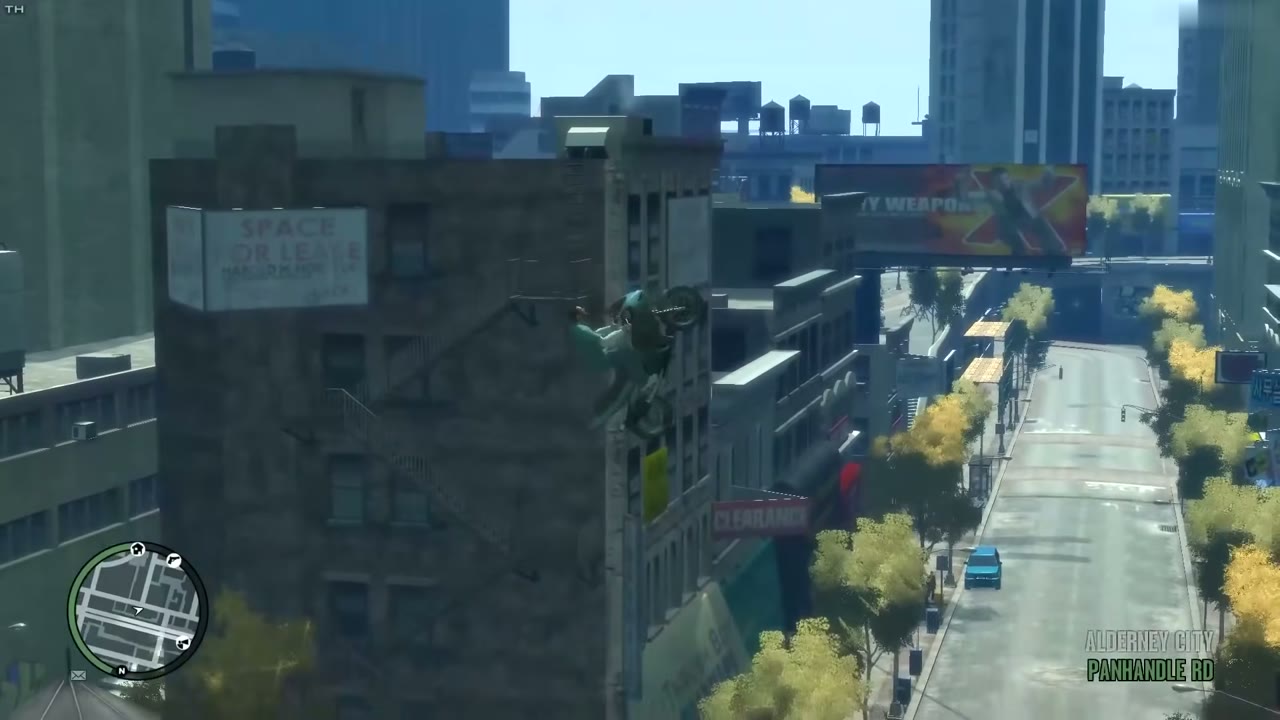
| 37 | Leftwood | Takeoff: Sacramento Avenue heading south, straight ahead at Franklin Street. Go just left of the beauty salon into the alley, where a grassy bank gets you over the low brick wall. What counts: Under the Plumbers Skyway to Panhandle Road is enough. A fast run from far up Sacramento Avenue carries you over the Skyway to Hubbard Avenue and Mahesh Avenue, which also counts. Landing on the Skyway itself doesn’t. |
    |
|
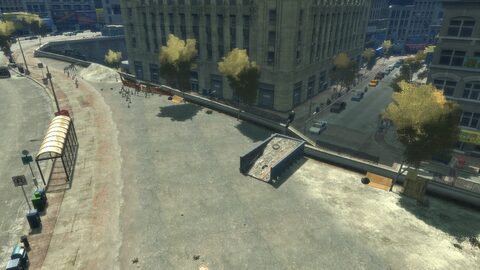
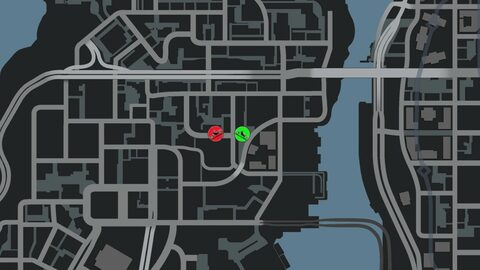
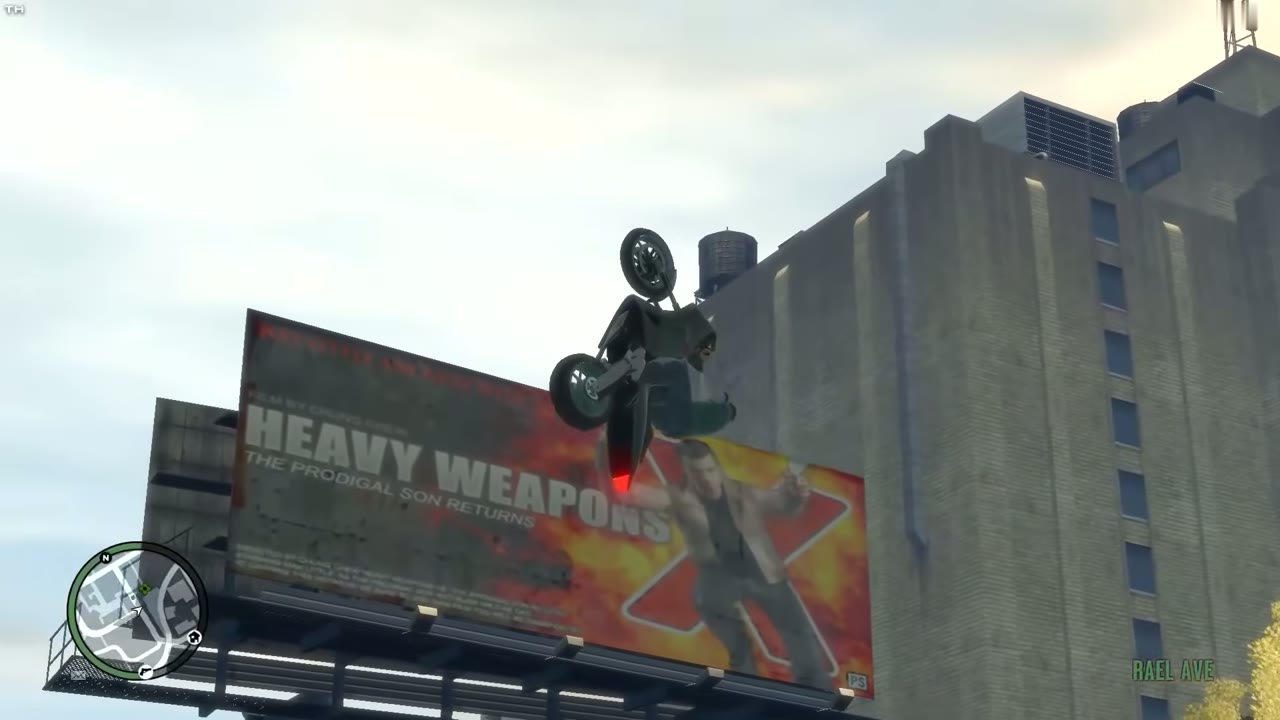
| 38 | Alderney City | Takeoff: Applewhite Street heading west from Mahesh Avenue. A half-full dumpster on the right, behind the bus stop, is the ramp. What counts: Down onto Rael Avenue. |
    |
|
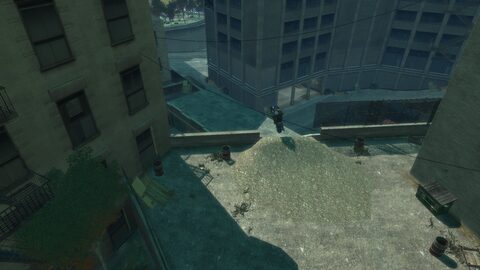
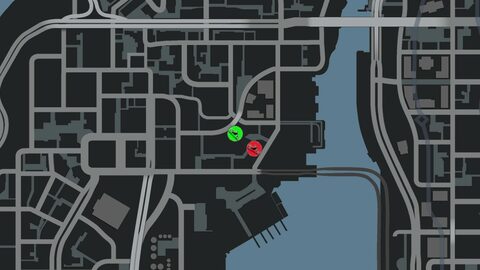
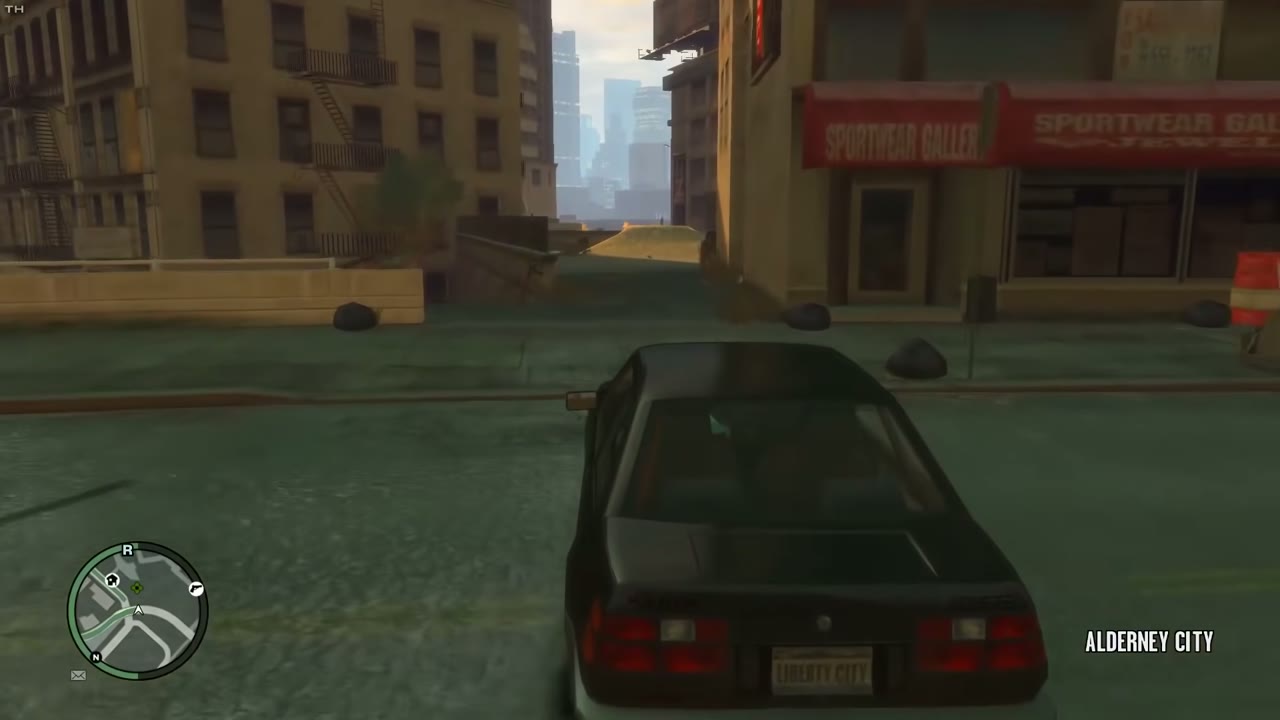
| 39 | Alderney City | Takeoff: Applewhite Street just west of the Alderney safehouse, in the alley beside the sportswear shop. A gravel pile points southeast over the wall. What counts: The alleys off Rand Avenue. |
    |
|
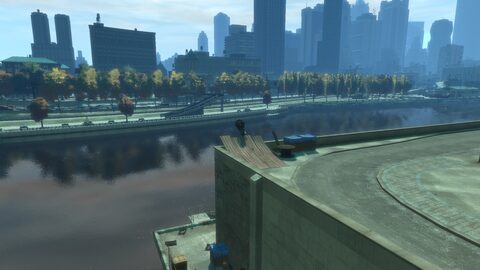
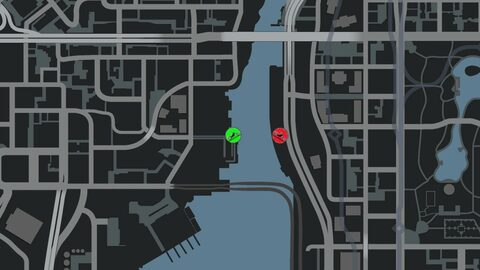
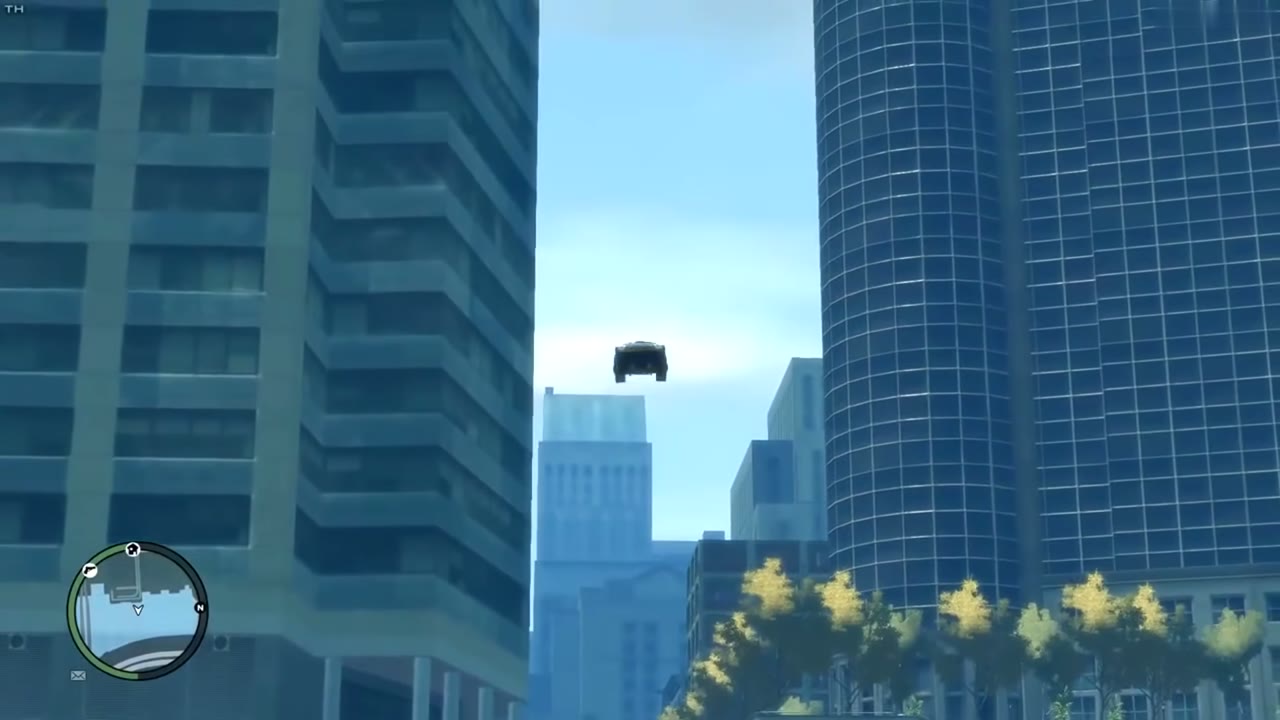
| 40 | Alderney City | Takeoff: Mahesh Avenue heading east past the Alderney safehouse, straight ahead at the Rand Avenue intersection. The ramp is on the northeast corner of the building above the river. What counts: Over the West River to Middle Park West in Algonquin, near Union Drive West. |
    |
|
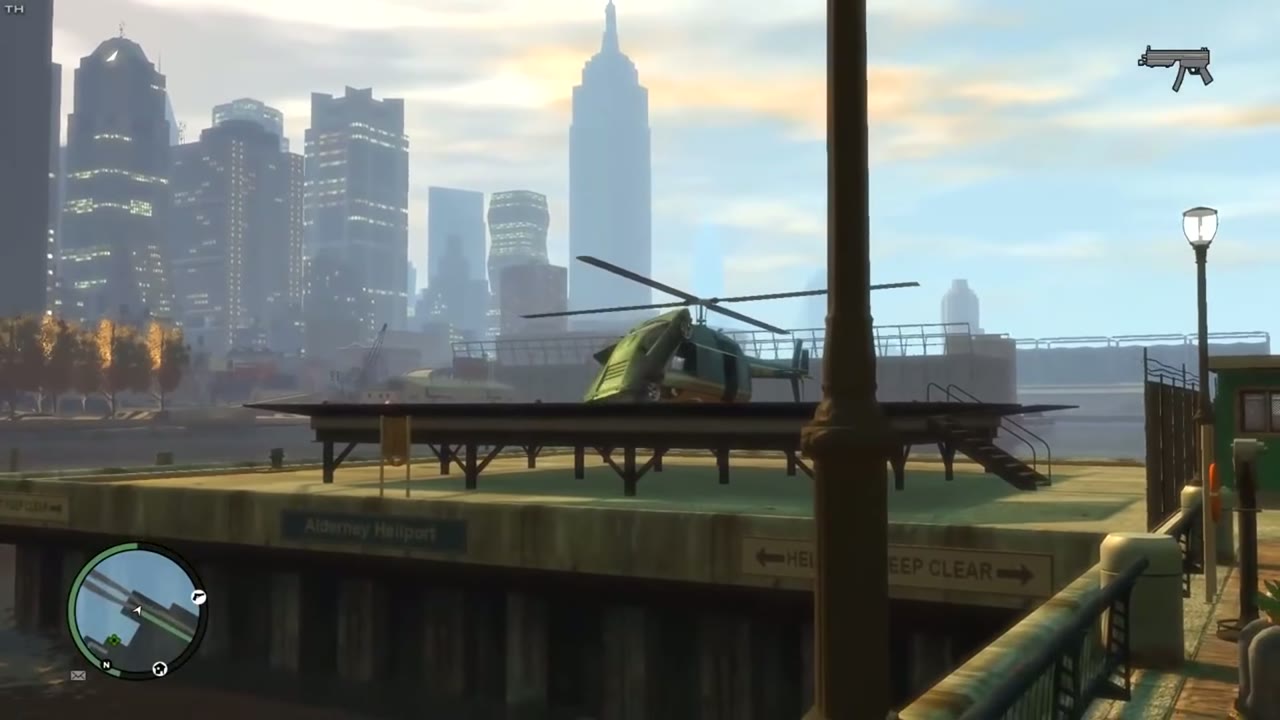
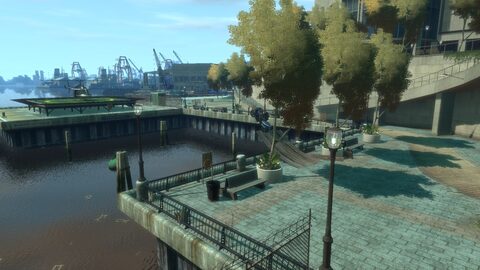
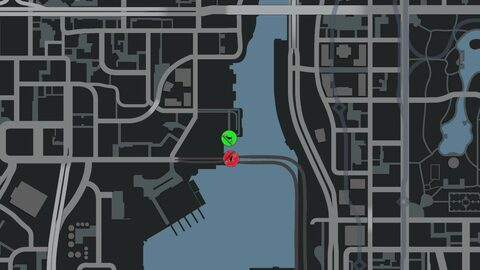
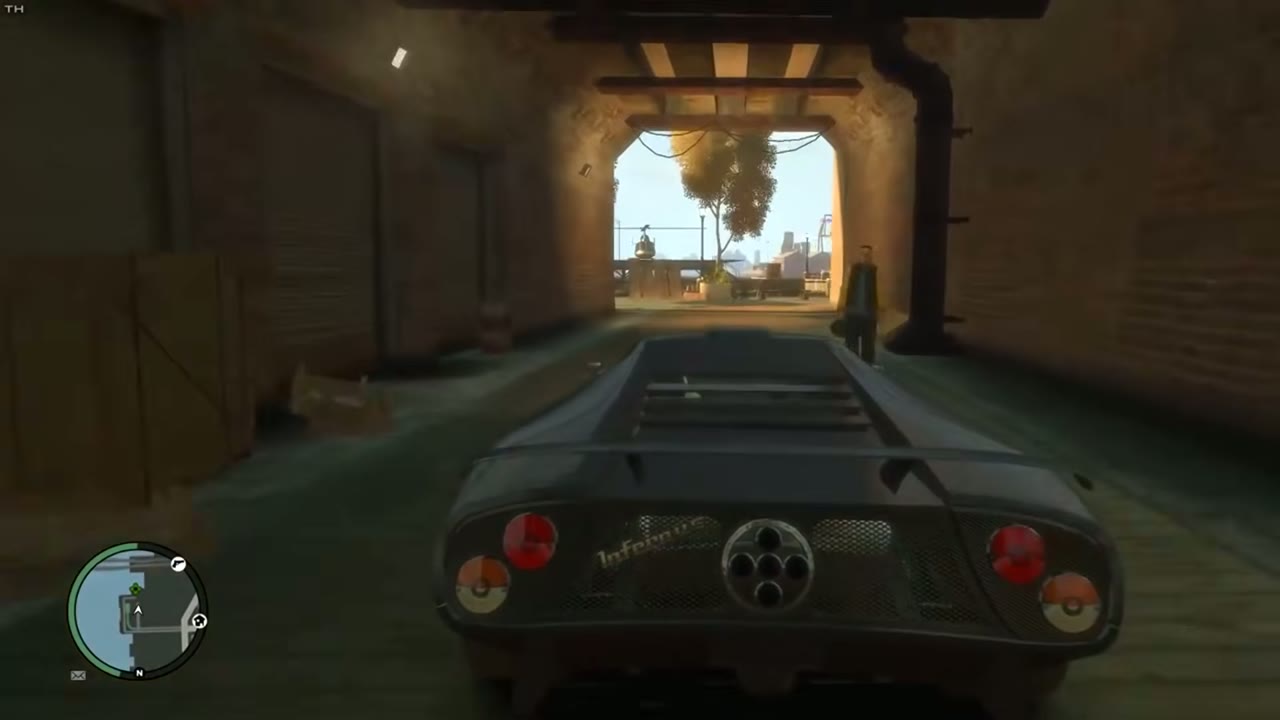
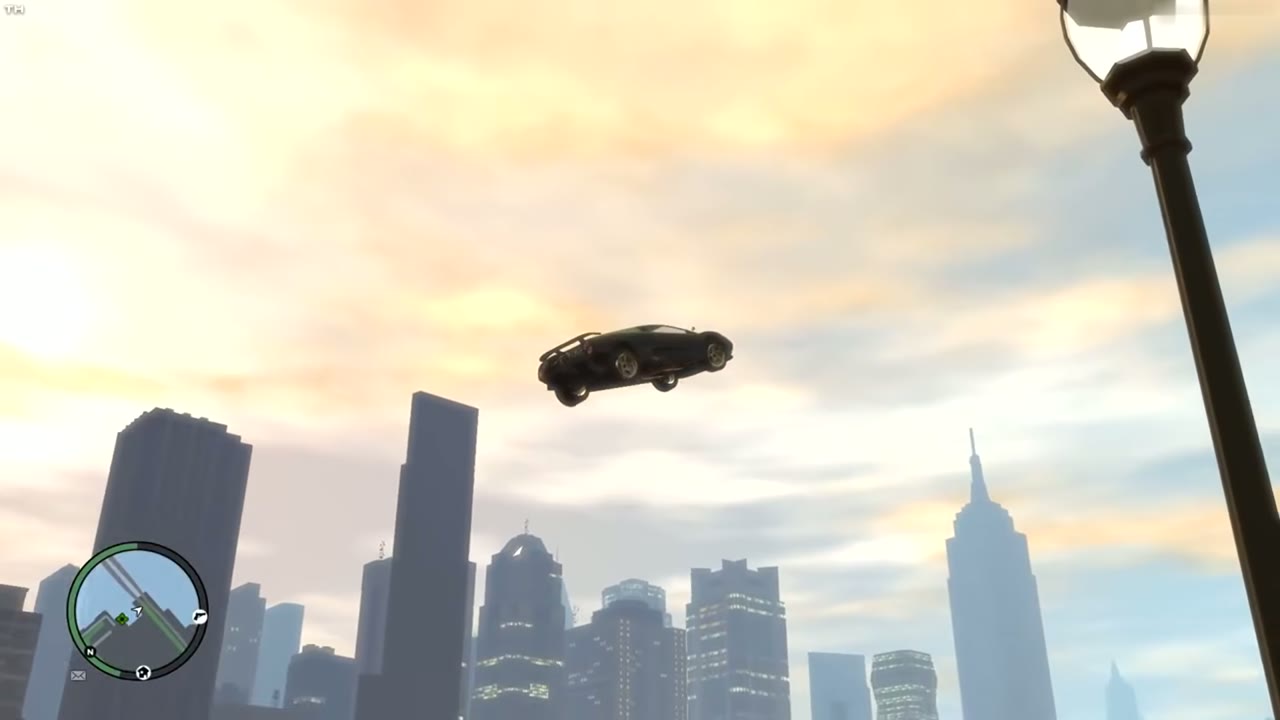
| 41 | Alderney City | Takeoff: The riverside boardwalk heading south, through the tunnel under the building on Rand Avenue across from Mahesh Avenue. Wooden planks over the railing form the ramp. What counts: Over the water onto the helipad. |
    |
|
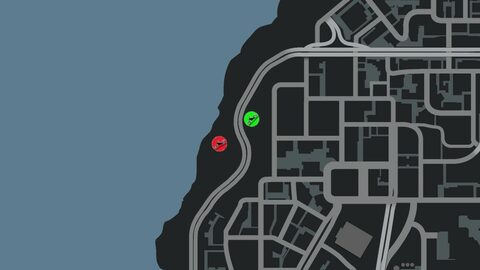
| 42 | Alderney City | Takeoff: The dirt driveway on the west side of Keneckie Avenue behind the collapsed buildings, pointing south-southwest. A pile of gravel and rubble is the ramp. What counts: Over the Plumbers Skyway. |
    |
|
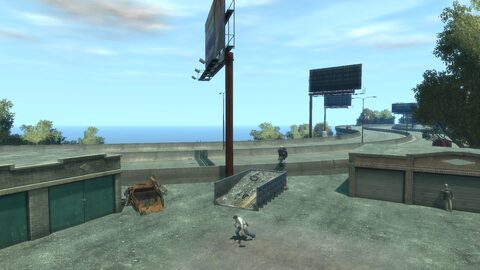
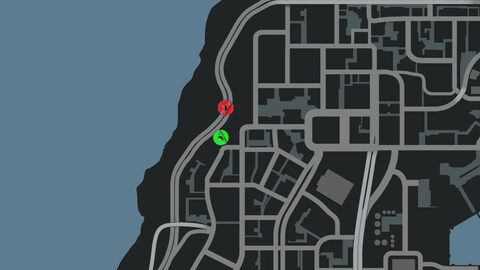
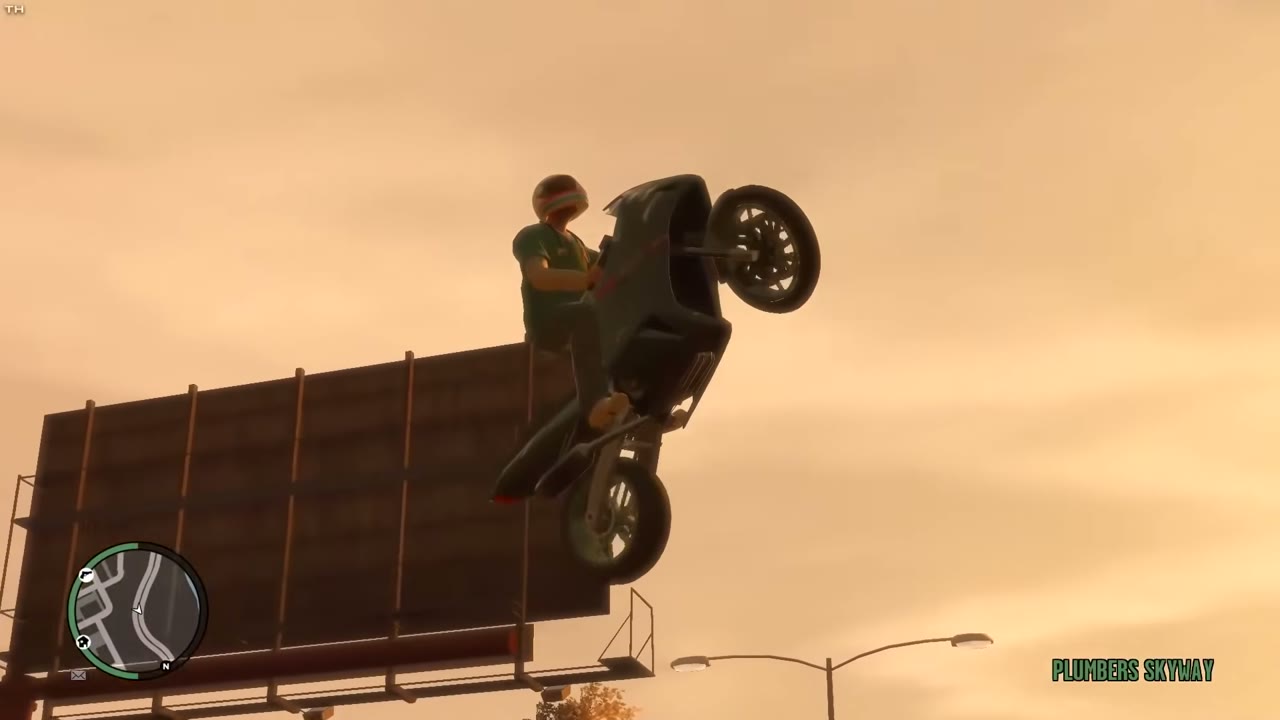
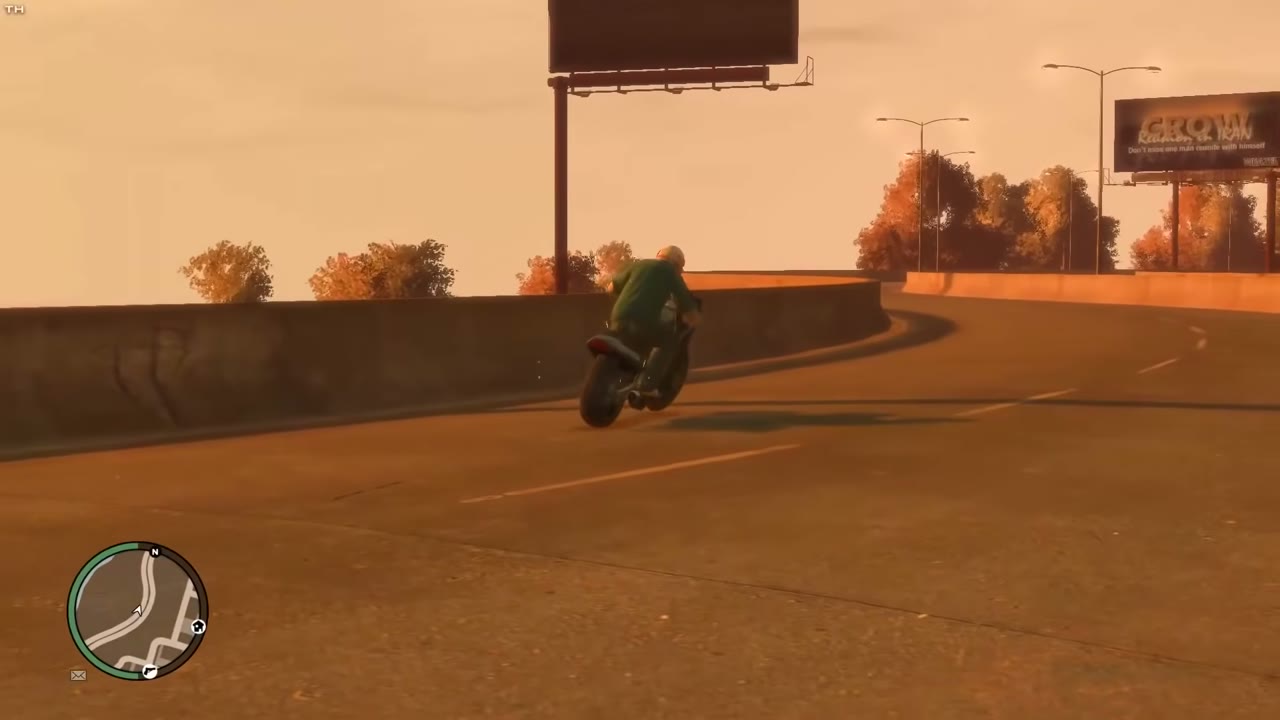
| 43 | Berchem | Takeoff: Aspdin Drive heading north, straight ahead where the road bends east. A half-full dumpster between storage garages is the ramp. What counts: Onto the Plumbers Skyway, possibly facing oncoming southbound traffic. |
    |
|
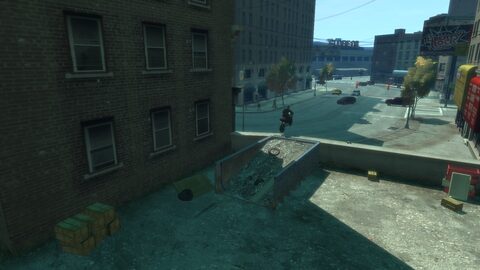
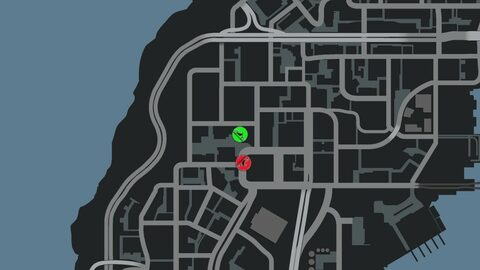
| 44 | Alderney City | Takeoff: The alley between the Kill-Em-All shop and the discount store on the south side of Bedrock Street, heading south. A half-full dumpster is the ramp. What counts: The west side of Koresh Square. |
  |
|
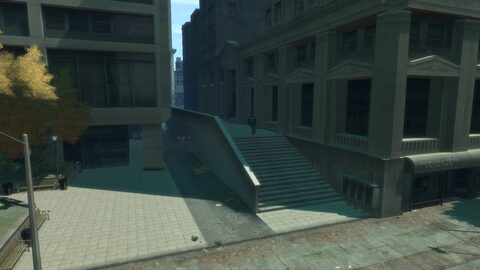
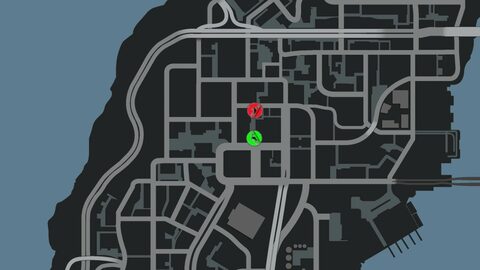
| 45 | Alderney City | Takeoff: The east side of Koresh Square heading north. The steps up the west side of the building make the ramp. What counts: Through to Jonestown Avenue. |
    |
|
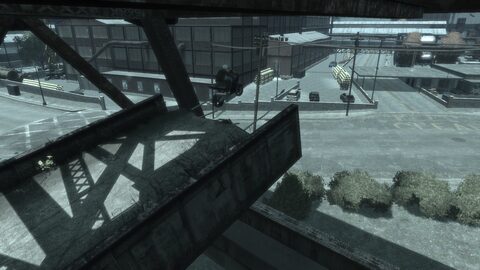
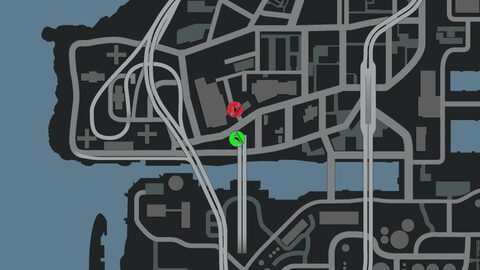
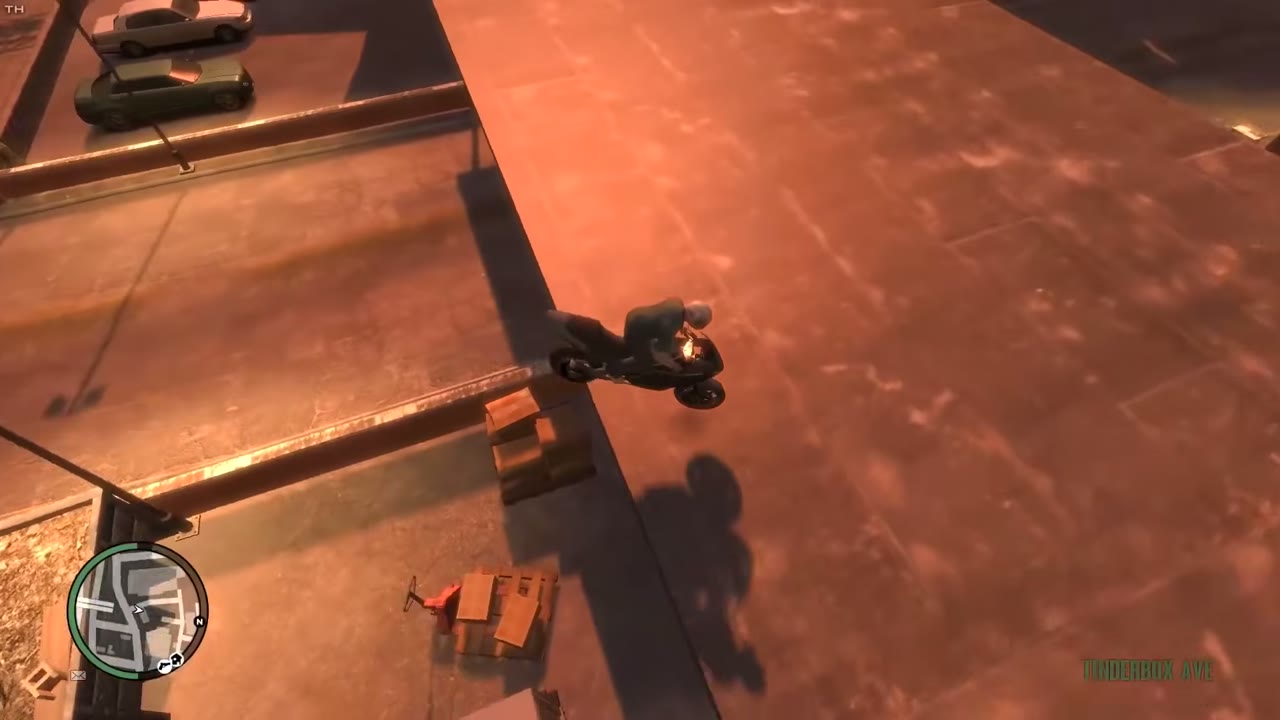
| 46 | Tudor | Takeoff: The west side of the abandoned bridge, heading north from the Plumbbob Avenue and Red Wing Avenue junction. The ramp is at the end of the lane. What counts: Over Tinderbox Avenue. |
    |
|
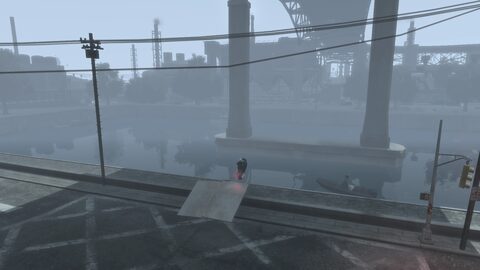
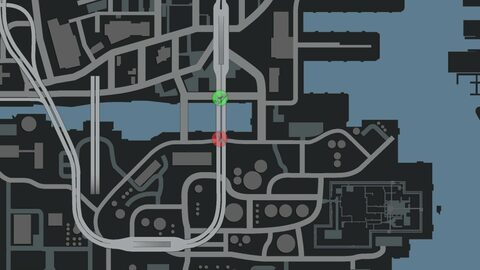
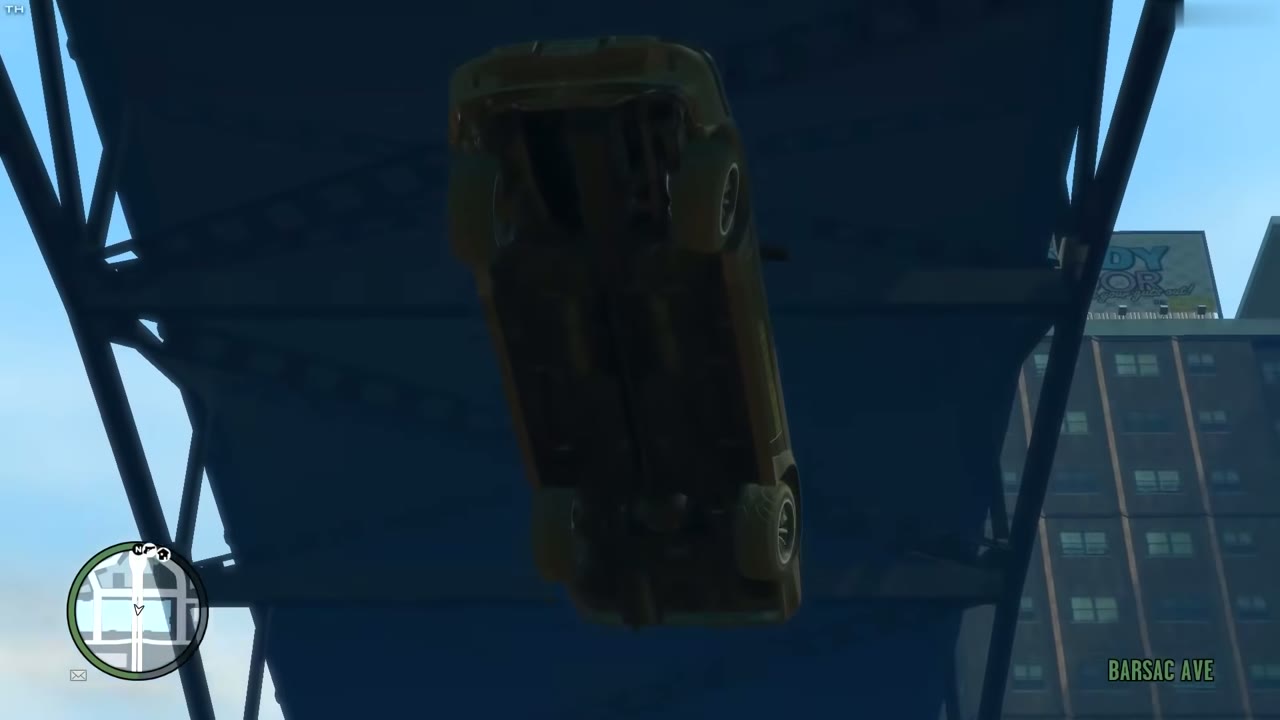
| 47 | Tudor | Takeoff: The middle off-ramp of the Plumbers Skyway heading south, straight over Barsac Avenue. The ramp is at the water’s edge. What counts: Directly under the Skyway, across the water to Plumbbob Avenue. |
    |
|
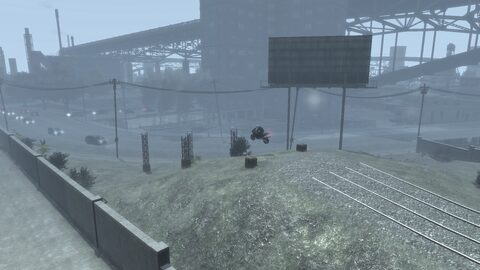
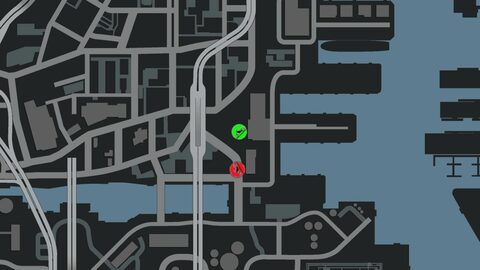
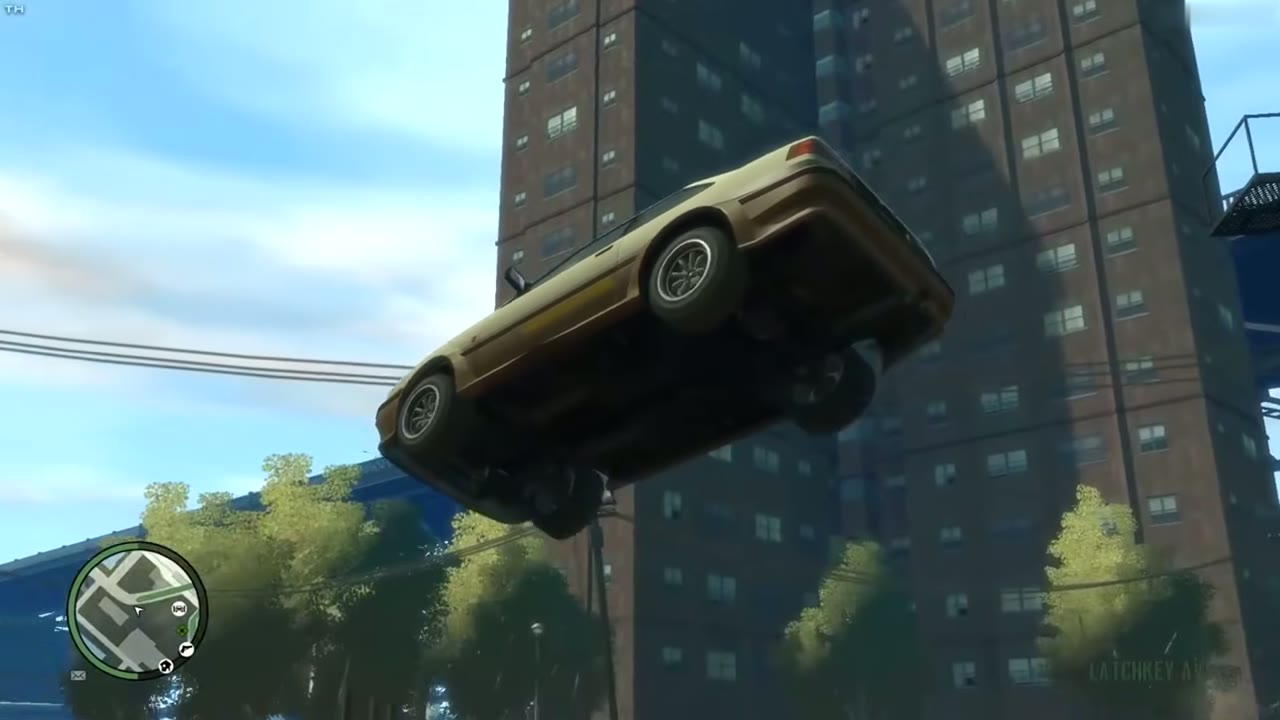
| 48 | Tudor | Takeoff: The rail lines east of Roebuck Road inside Port Tudor, on the west side of the tea company building. Heading south, the rails climb a short slope and end, which makes the ramp. What counts: Latchkey Avenue. |
    |
|
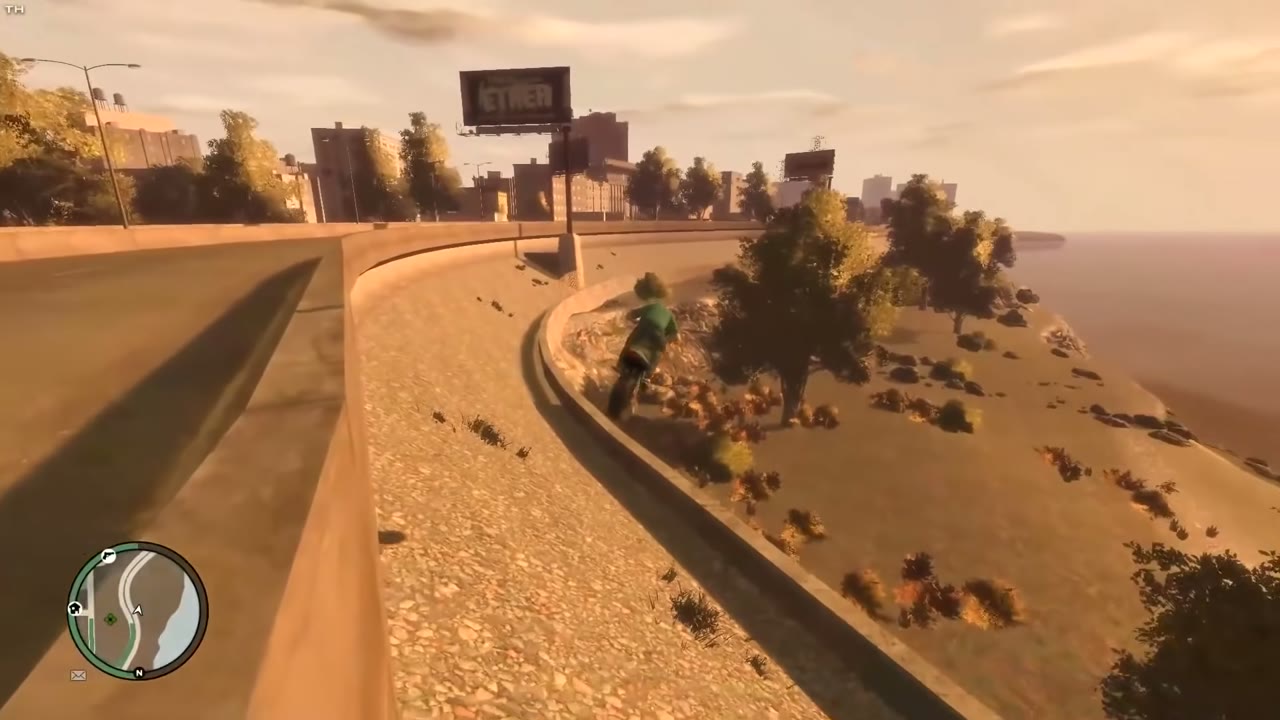
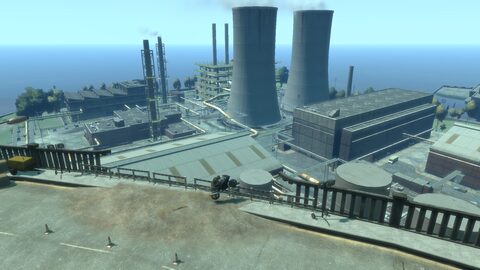
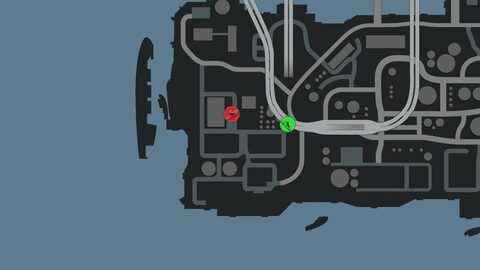
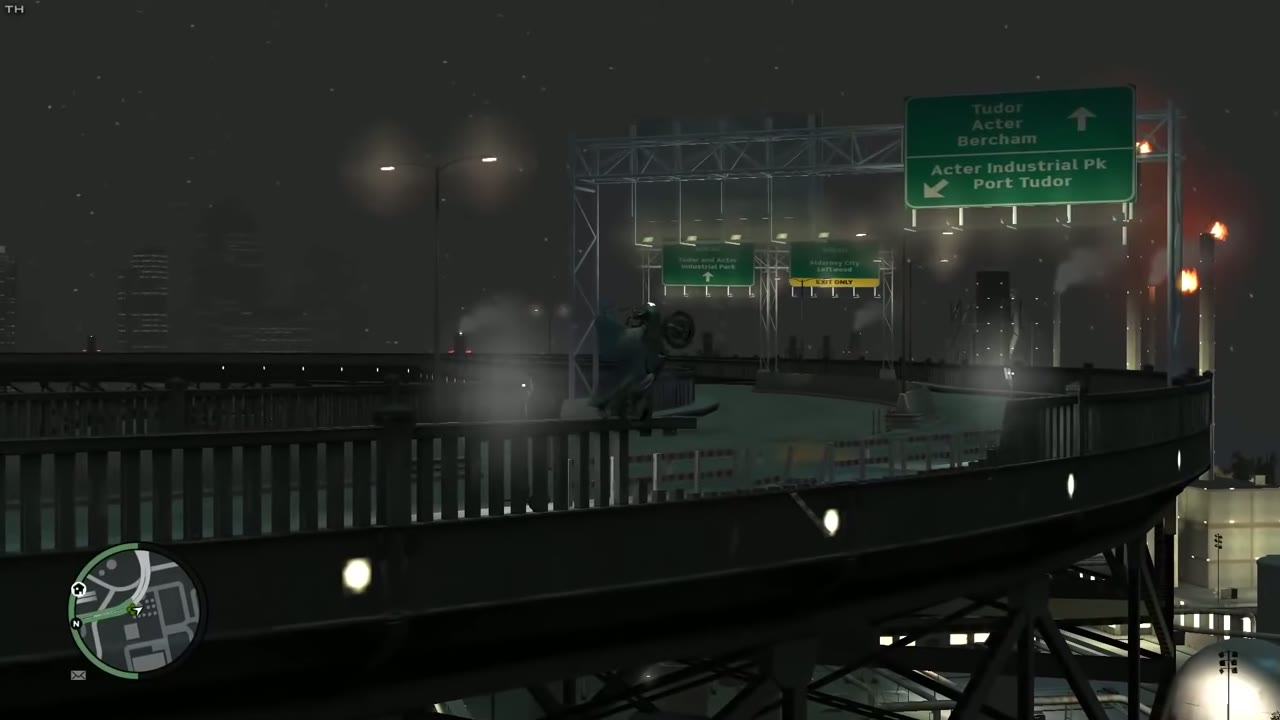
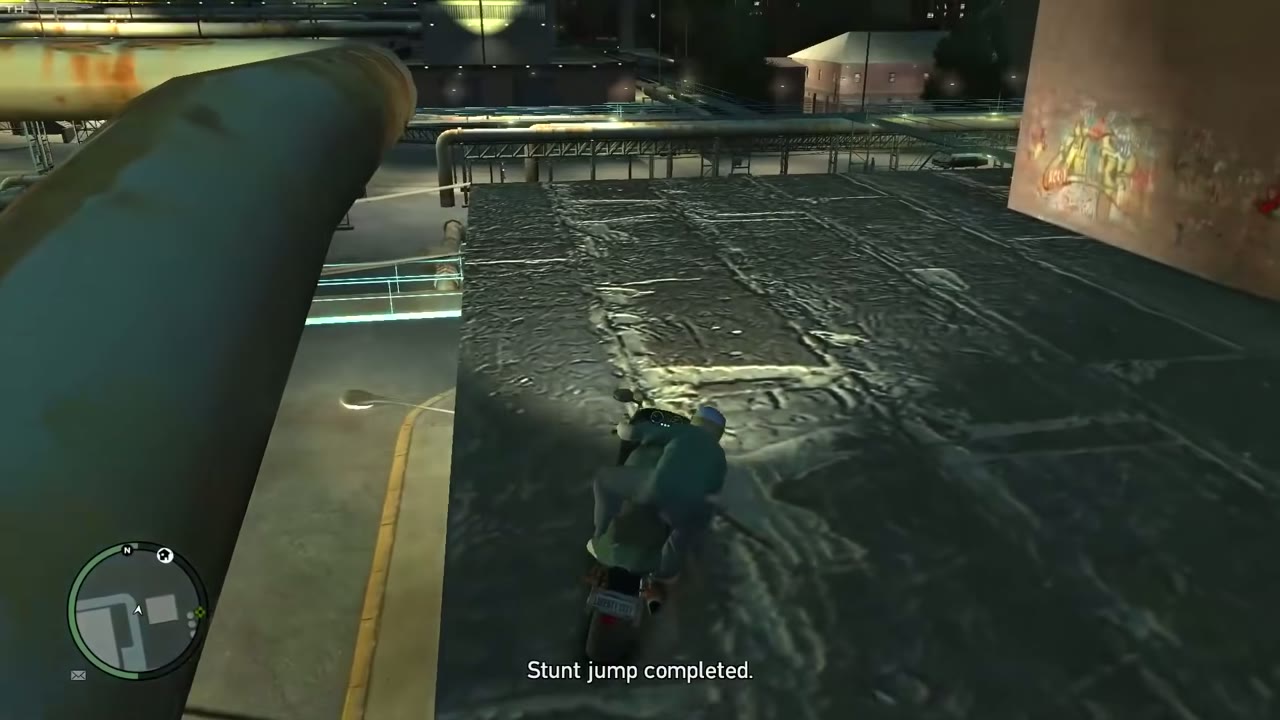
| 49 | Acter Industrial Park | Takeoff: The southernmost stretch of the Plumbers Skyway heading west, straight across the oncoming lanes as it curves north. A low dirt pile at a gap in the wall is the ramp over the curb. What counts: Down toward the Acter power plant, south of Red Wing Avenue. |
    |
|
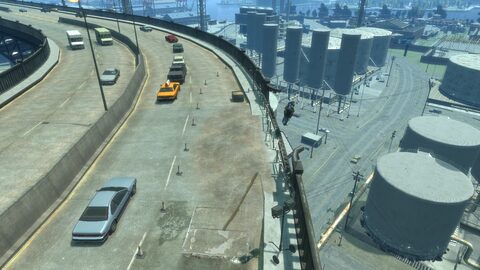
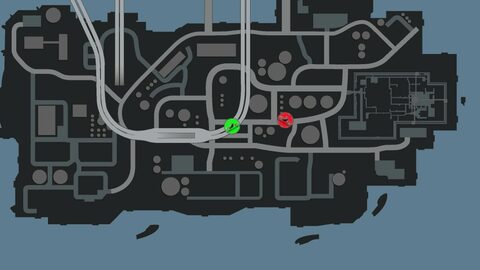
| 50 | Acter Industrial Park | Takeoff: The same stretch of the Plumbers Skyway, heading east, straight ahead as it curves north. Use the low dirt pile at the broken wall. What counts: Down onto Grenadier Street. |
    |