

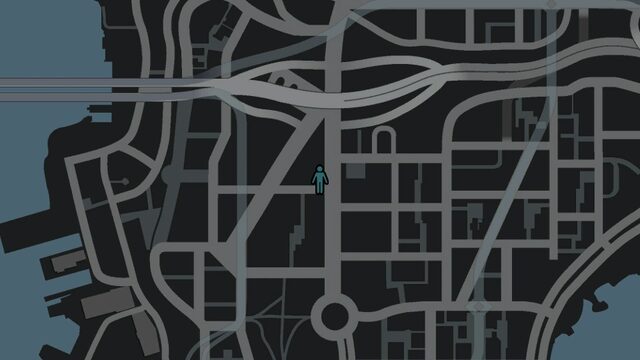
| Given by |  Strangers you meet on the street, shown as a blue person on the radar |
|---|---|
| Opens after | It’s Your Call for the first one, then story missions as listed below |
| Counts toward 100% | Yes, for 11 of the 14 characters (16 encounters). Three more are missable and optional. Random characters sit in the side jobs and activities share, which is 25% of the total. |
| Reward | Small cash payments, from $100 up to $5,000, and the No More Strangers trophy |
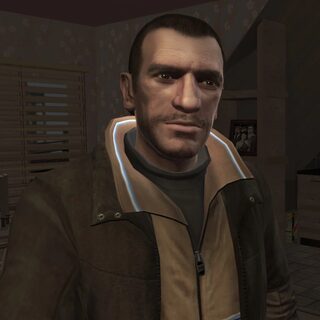
Random characters are short favors from strangers, and there are 14 of them in Liberty City and Alderney. Most start with a chat on the sidewalk and end a few minutes later with a drive, a gunfight or a hand-off. Eleven characters, 16 encounters in all, count toward the 100% checklist. The other three only show up if you spared them in a story mission, and Jeff Harlingford’s later meetings depend on how you handle his first.
How random characters work
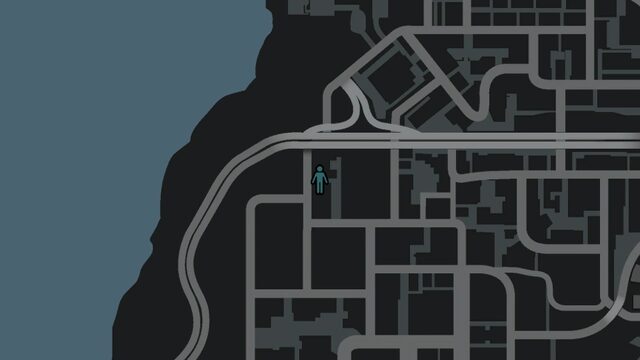
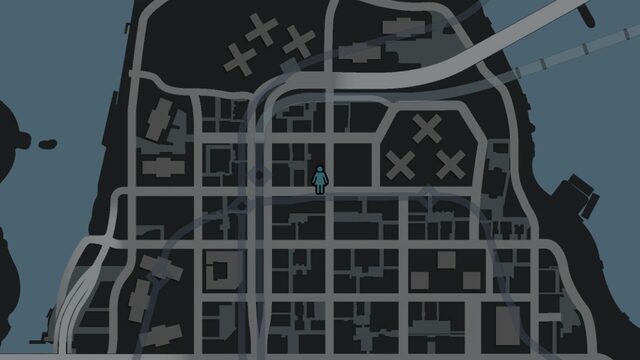
Look for a blue person icon on the radar, drawn male or female. It only appears when Niko is close, so you find these people by walking and driving around, not by checking the map. The meeting spots are fixed. Each character has a story mission that has to be finished first, and a few only appear at night or around noon. Stand near the spot at the right time and the icon pops up. Walk up and talk.
Repeat meetings work on a clock. After you finish a character’s first encounter, the next one doesn’t appear right away. You need to let several in-game days go by, usually up to a week. The quickest way is to go to a safehouse, sleep and save, then repeat until the days stack up. Do some missions or other side jobs in between and the time passes anyway. Then go back to the character’s usual area and the second or third meeting will be waiting. The completion count only needs one meeting per character for most of them, and Brian, Pathos, Sara, Eddie and Marnie need all of theirs.
Which ones count for 100%? Brian Meech (3), Real Badman, Mel, Ilyena Faustin, Hossan Ramzy, Pathos (2), Sara (2), Eddie Low (2), Marnie Allen (2), Gracie Ancelotti and the first meeting with Jeff Harlingford. Jeff’s second and third meetings, Ivan Bytchkov, Clarence Little and Cherise Glover are missable, since they depend on choices in the story. The No More Strangers trophy pops when you finish the first meeting with every character that counts. Missing the three optional ones doesn’t stop it. See Achievements for the full list, and Characters for who these people are.
| Character | Encounter | Opens after | Time of day | Pay | For 100% |
|---|---|---|---|---|---|
| Brian Meech | First | It’s Your Call | Any | $100 | Yes |
| Brian Meech | Second | Brian, first | Any | $200 | Yes |
| Brian Meech | Third | Brian, second, plus several days | Any | $500 | Yes |
| Real Badman | Only | Shadow | Any | $500 | Yes |
| Mel | Only | Escuela of the Streets | Any | $500 | Yes |
 Ilyena Faustin | Only | The Puerto Rican Connection | Any | None | Yes |
| Hossan Ramzy | Only | The Puerto Rican Connection | Any | $500 | Yes |
| Pathos | First | The Puerto Rican Connection | Any | None | Yes |
| Pathos | Second | Pathos, first | Any | None | Yes |
| Sara | First | Hossan Ramzy’s encounter | 10 pm to 4 am | None | Yes |
| Sara | Second | Sara, first | Any | $1,000 | Yes |
| Jeff Harlingford | First | Photo Shoot and The Puerto Rican Connection | Any | None | Yes |
| Jeff Harlingford | Second | Jeff, first, with his wife or her friend spared | Any | $5,000 | Missable |
| Jeff Harlingford | Third | Jeff, second | Any | None | Missable |
| Eddie Low | First | Three Leaf Clover | 10 pm to 4 am | None | Yes |
| Eddie Low | Second | Eddie, first | 10 pm to 4 am | None | Yes |
| Marnie Allen | First | Three Leaf Clover | Around noon | You give her $500 | Yes |
| Marnie Allen | Second | Marnie, first | Around noon | You give her $500 | Yes |
| Gracie Ancelotti | Only | Diamonds Are a Girl’s Best Friend and Truck Hustle | Any | None | Yes |
| Ivan Bytchkov | Only | Sparing Ivan in Ivan the Not So Terrible, then Three Leaf Clover | Any | $1,000 | Missable |
| Clarence Little | Only | Sparing Clarence in Holland Nights, then Blood Brothers | Any | None | Missable |
| Cherise Glover | Only | Sparing Cherise in Ruff Rider, then The Holland Play | Any | None | Missable |
The first characters
Brian Meech, first encounter
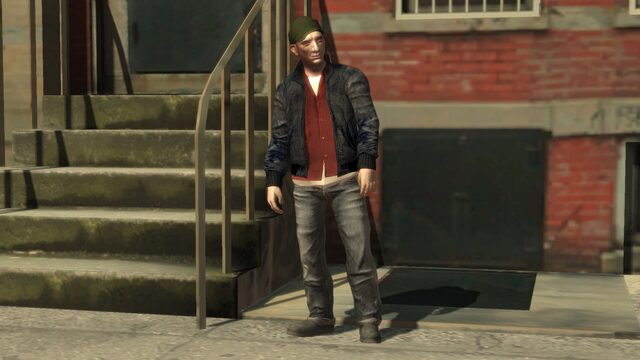
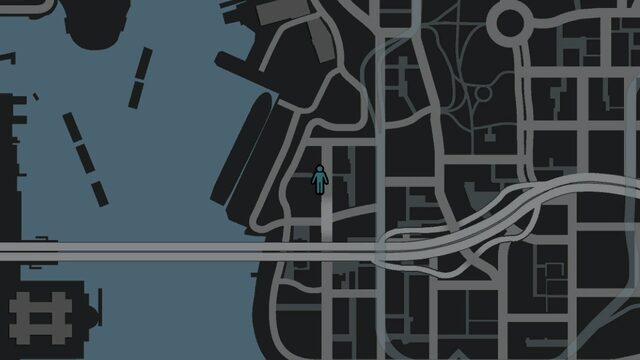
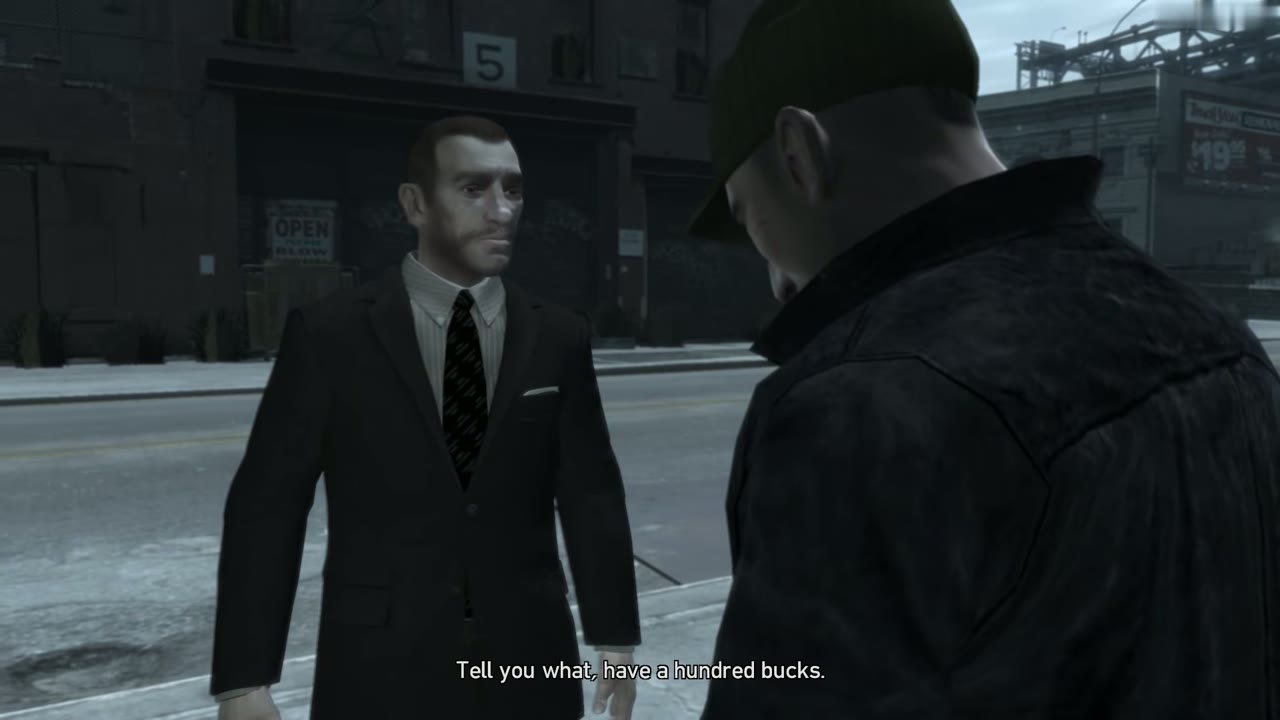
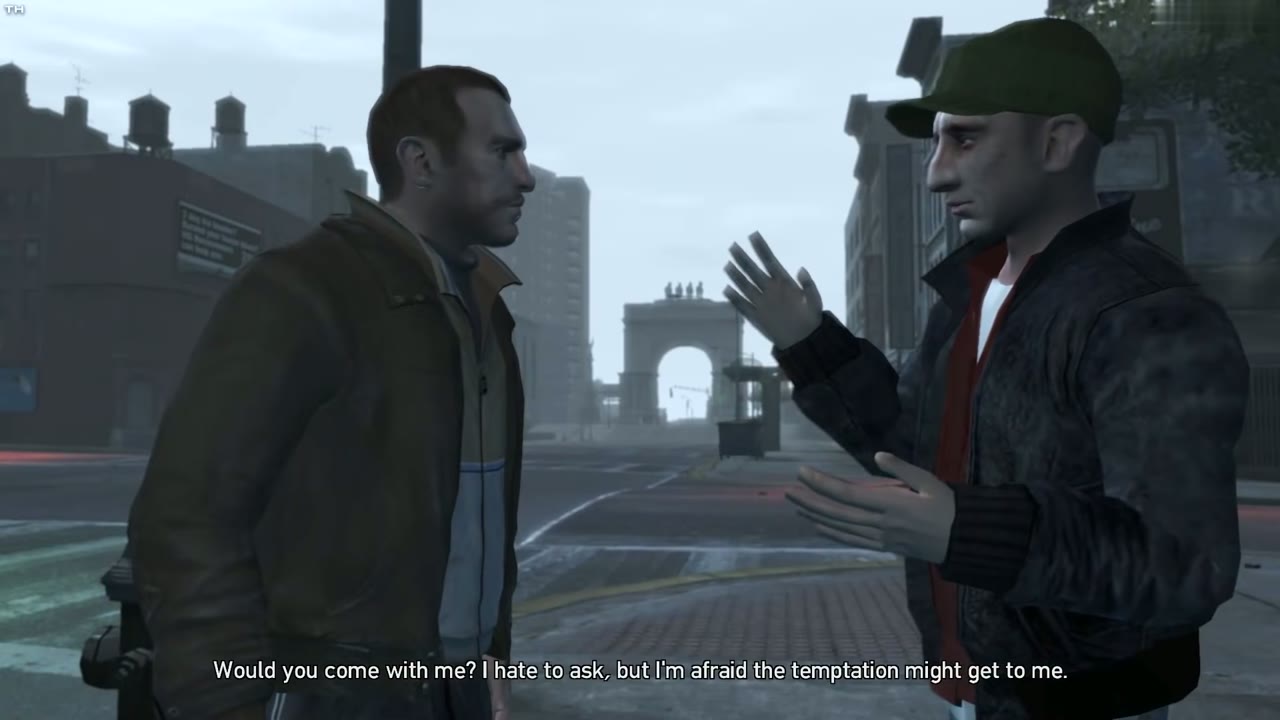
This is the first random character you can meet, and you unlock it by finishing It’s Your Call. Brian is wired on cocaine and hangs around Hove Beach in Broker, close to Roman’s taxi office. Walk past and he stops you, makes fun of your accent and goes off on a speech about the old country. Say what you think of him. He answers by handing you $100 to prove a point. That’s the whole meeting. There’s nothing to fail, and it opens his second encounter.
Brian Meech, second encounter
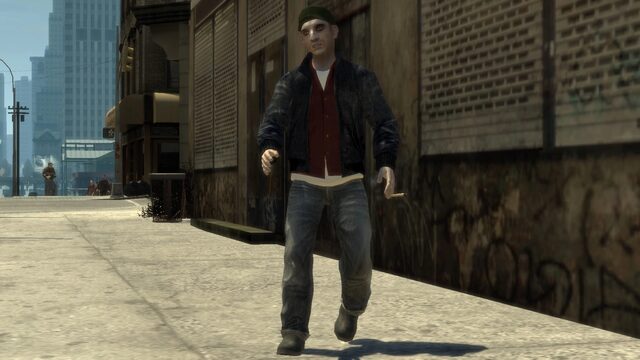
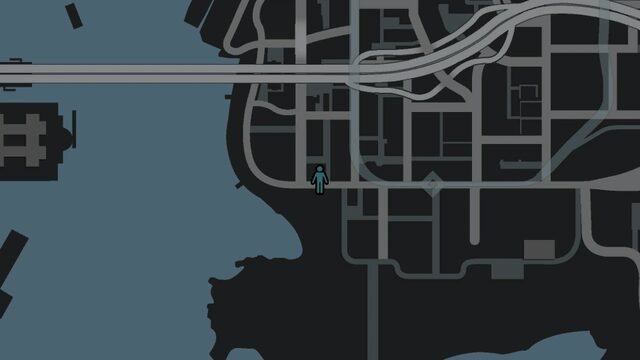
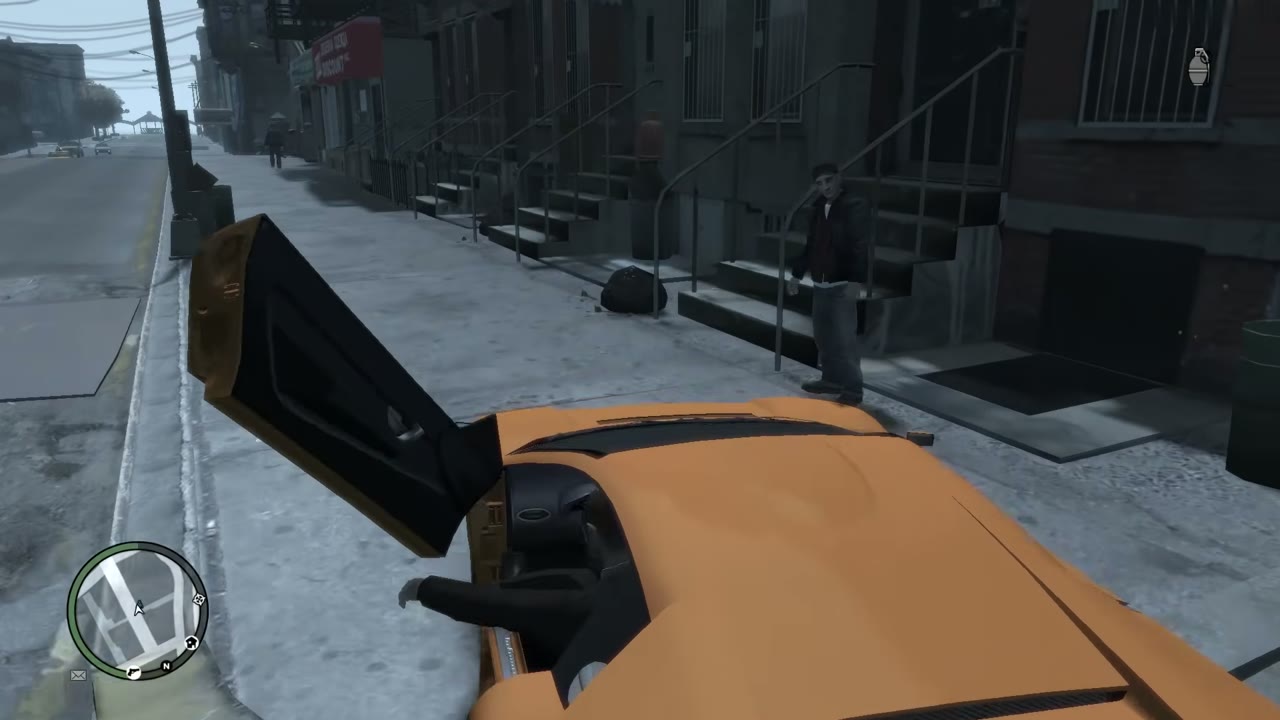
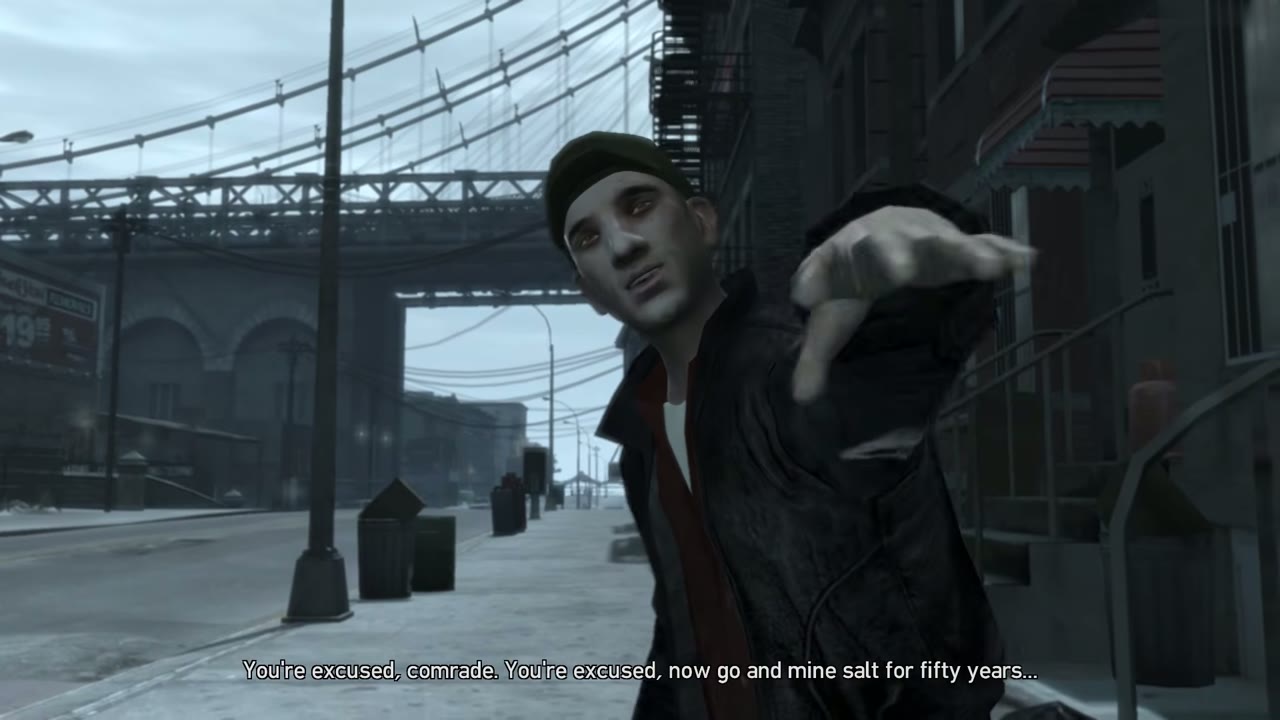
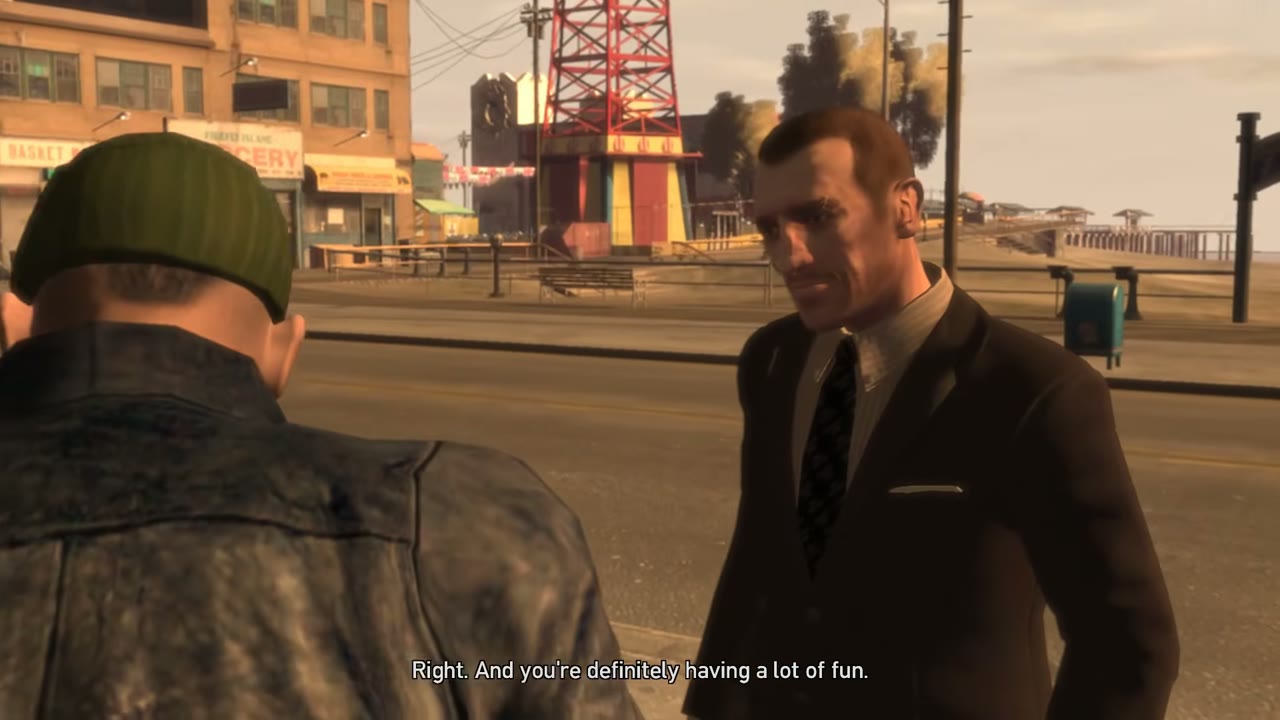
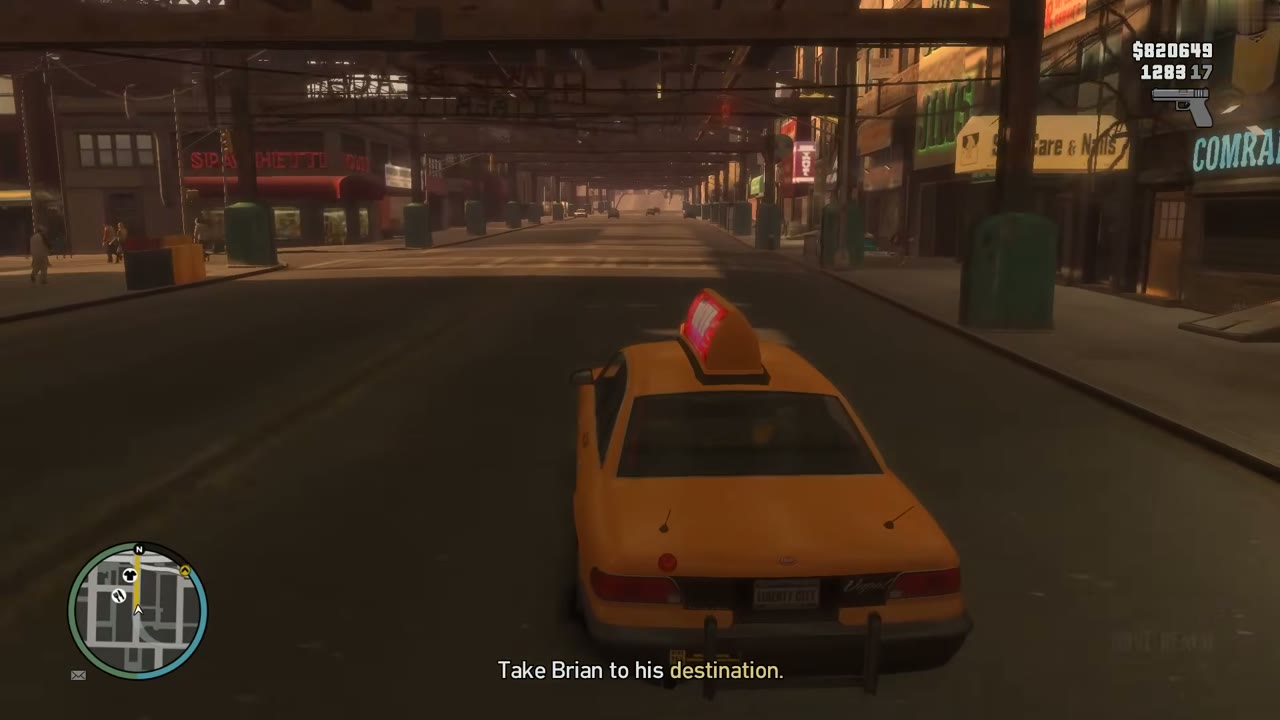
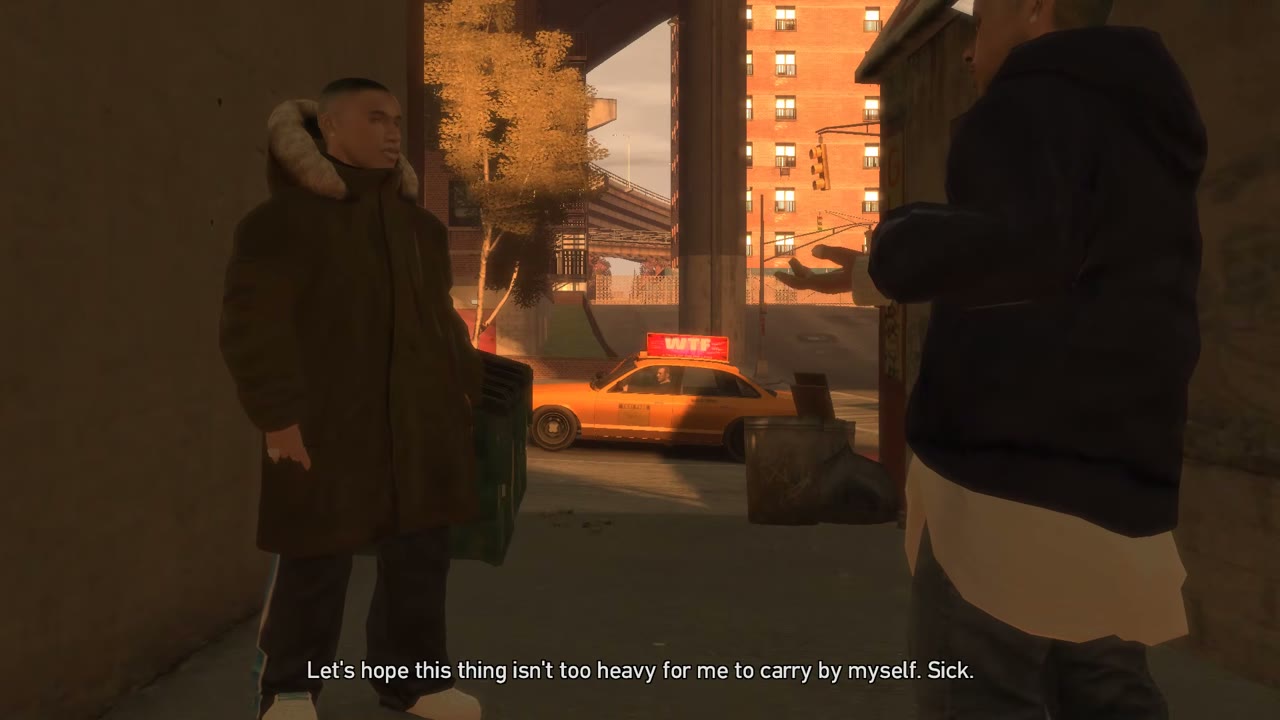
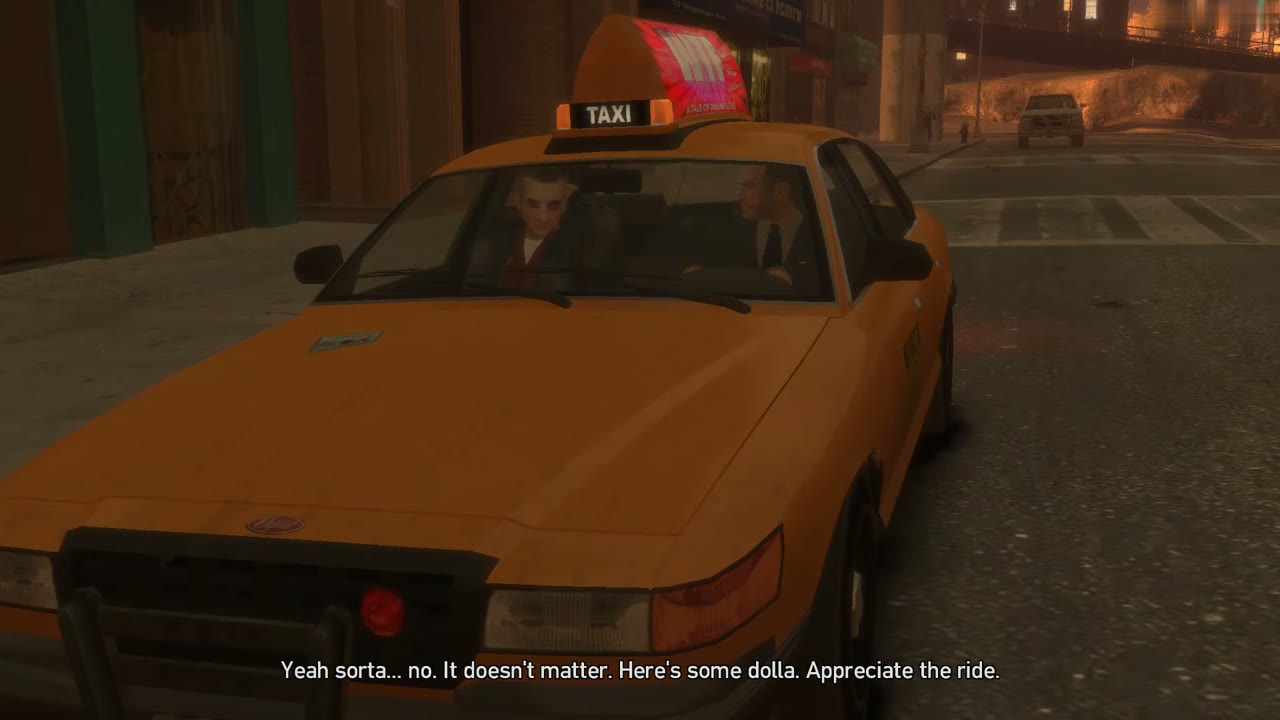
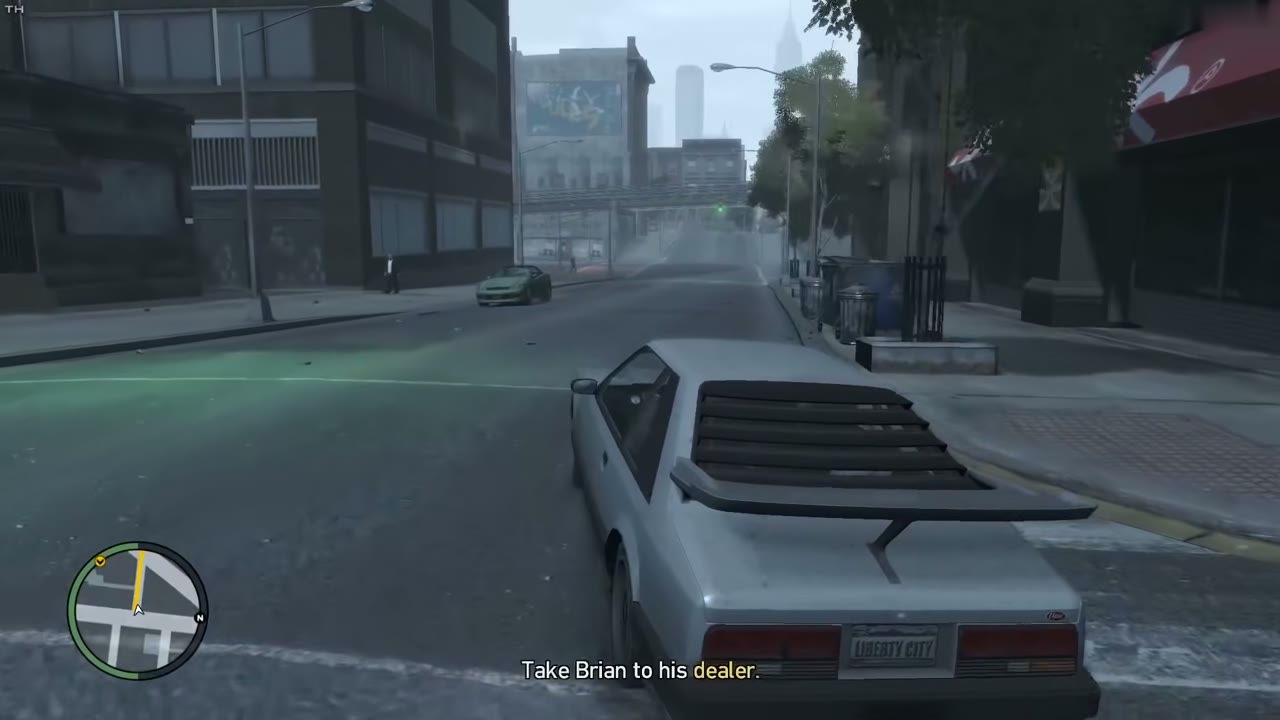
After a few in-game days, Brian is back on the sidewalk along Crockett Avenue in Hove Beach. He remembers you and wants a ride to meet a dealer. Any car works, and a Roman’s Taxi suits the job fine. Park by the alley and wait while he picks up his package from a dealer. Then drive him to the corner of Wappinger and Hardin. He raves about how big his purchase is the whole way. Drive normally, since a crash or police chase can spook the dealers, and you fail if Brian dies. He pays you $200 at the door.
Brian Meech, third encounter
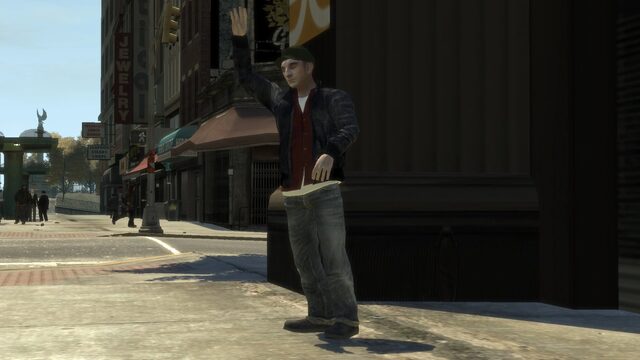
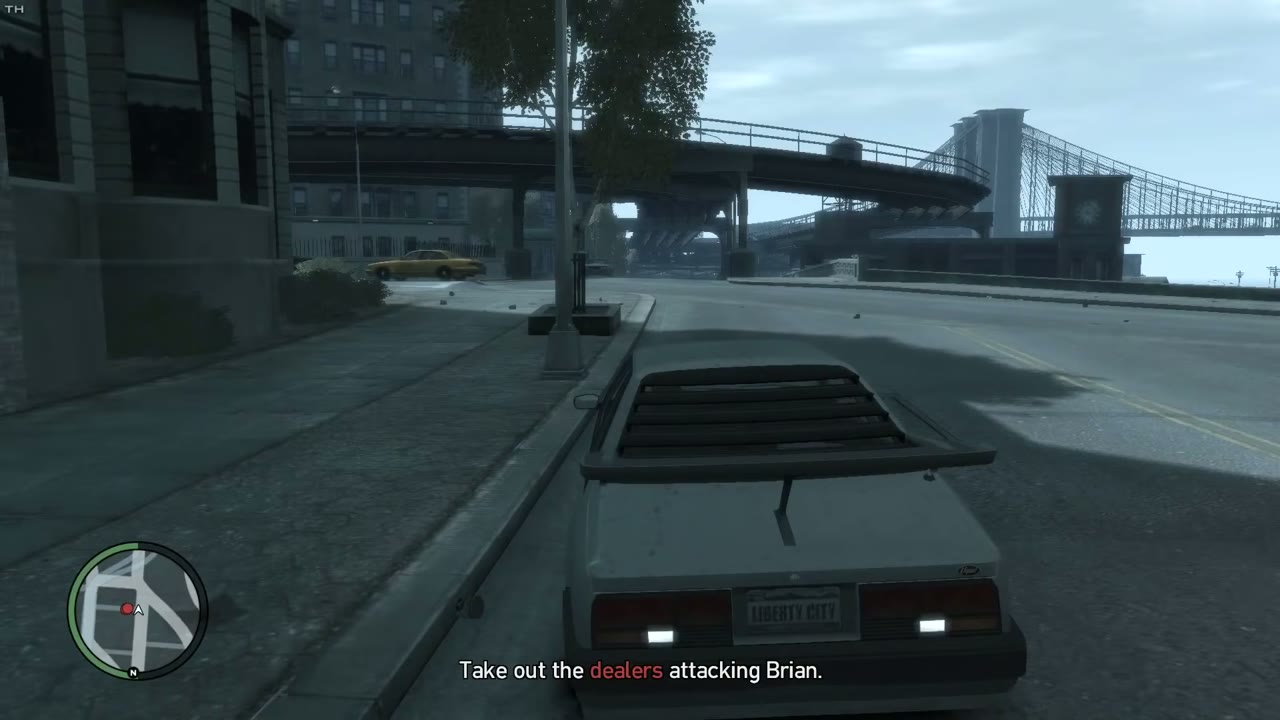
Give it several more days and look for Brian outside the Eris store in Downtown Broker. He’s clean now and apologizing to people. He asks you to come along while he pays off his last dealer on Onion Street, because he doesn’t trust himself alone. Grab a car and drive him there. Before you reach the meeting, the dealers must still be alive and unspooked, so don’t start fights on the way. The dealers turn on Brian when the money changes hands. Take out the ones attacking him, then drive him home to Wappinger Avenue. He gives you $500, and that finishes his story.
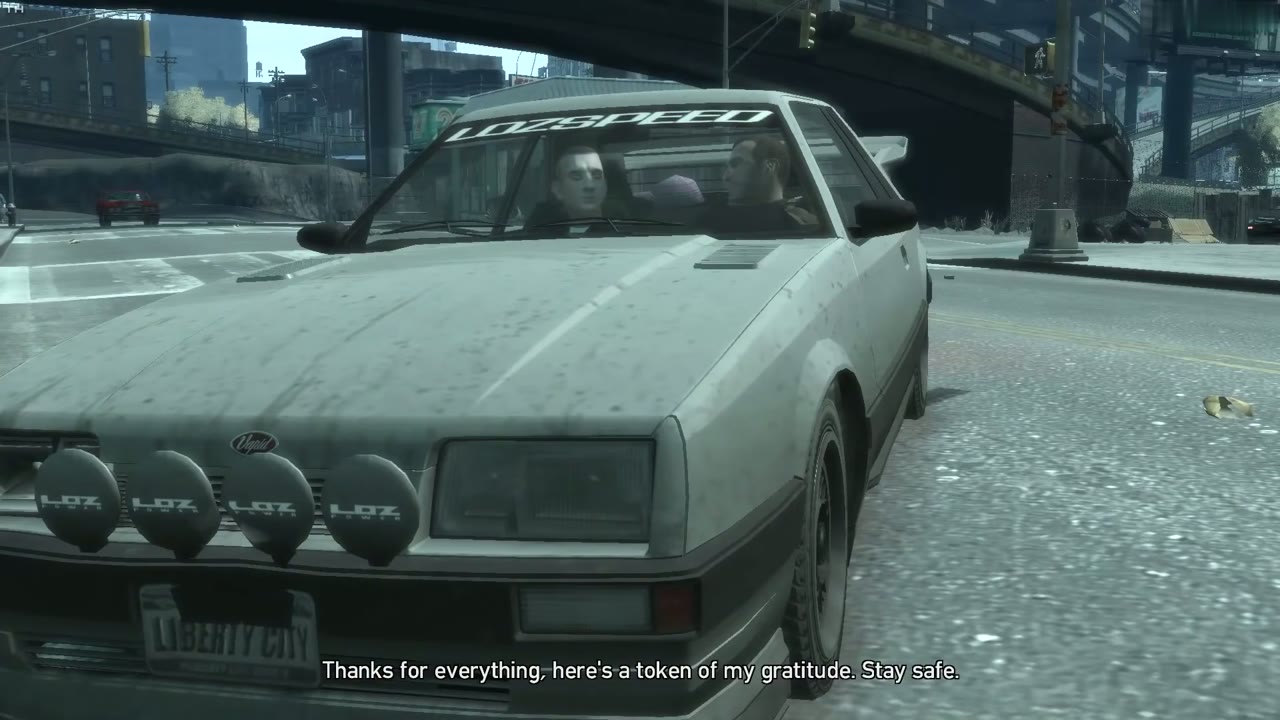
Real Badman
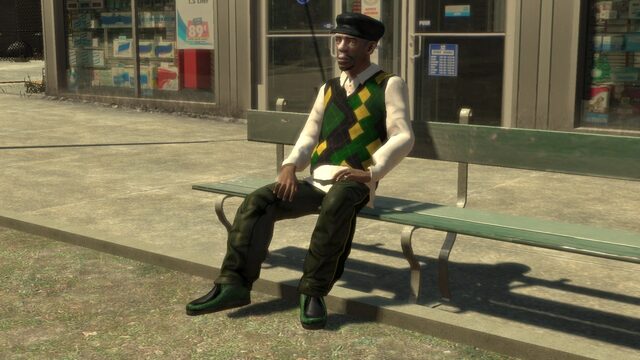
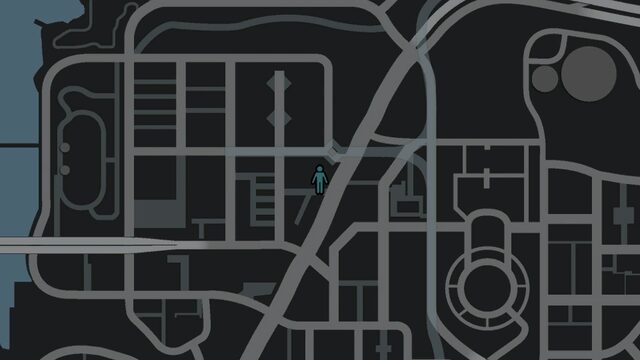
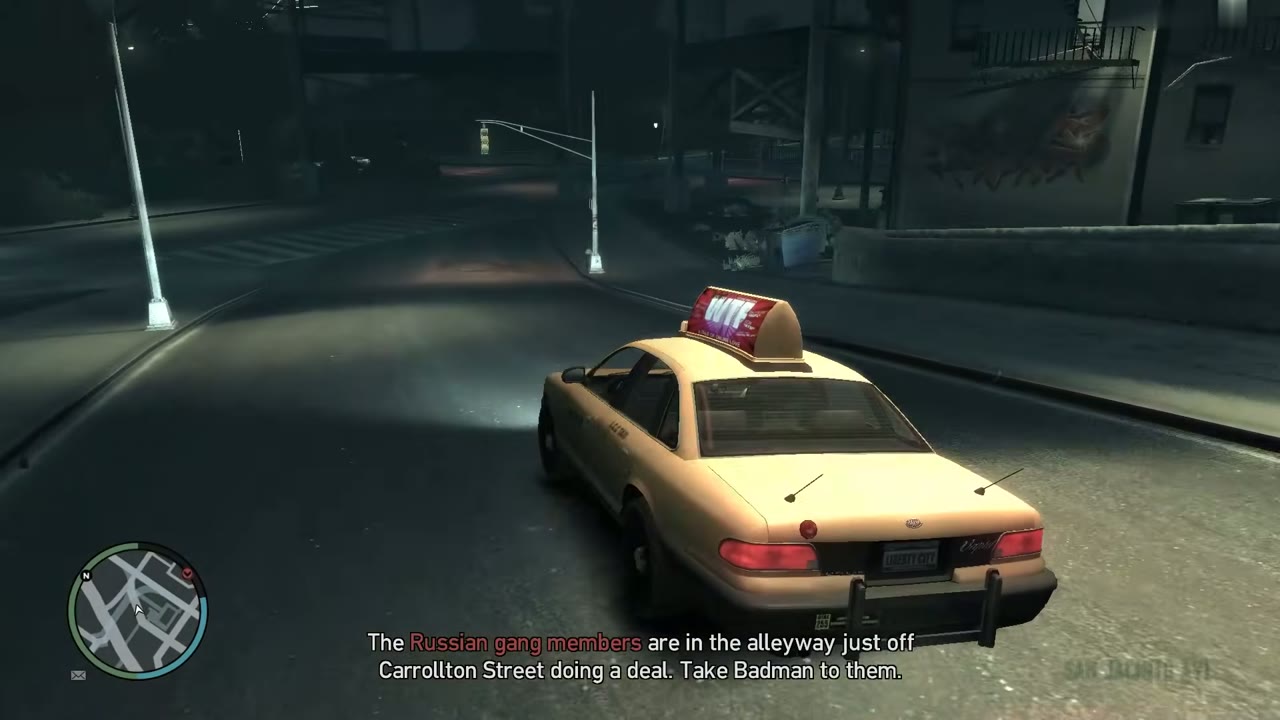
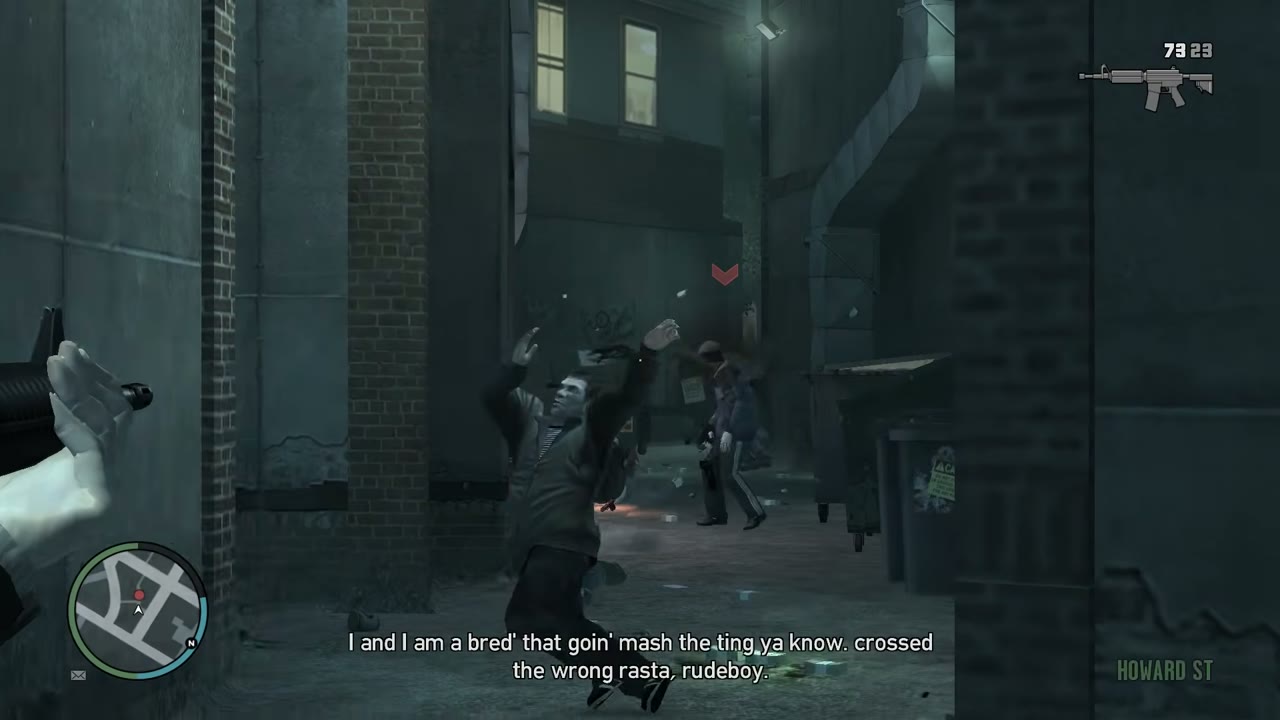
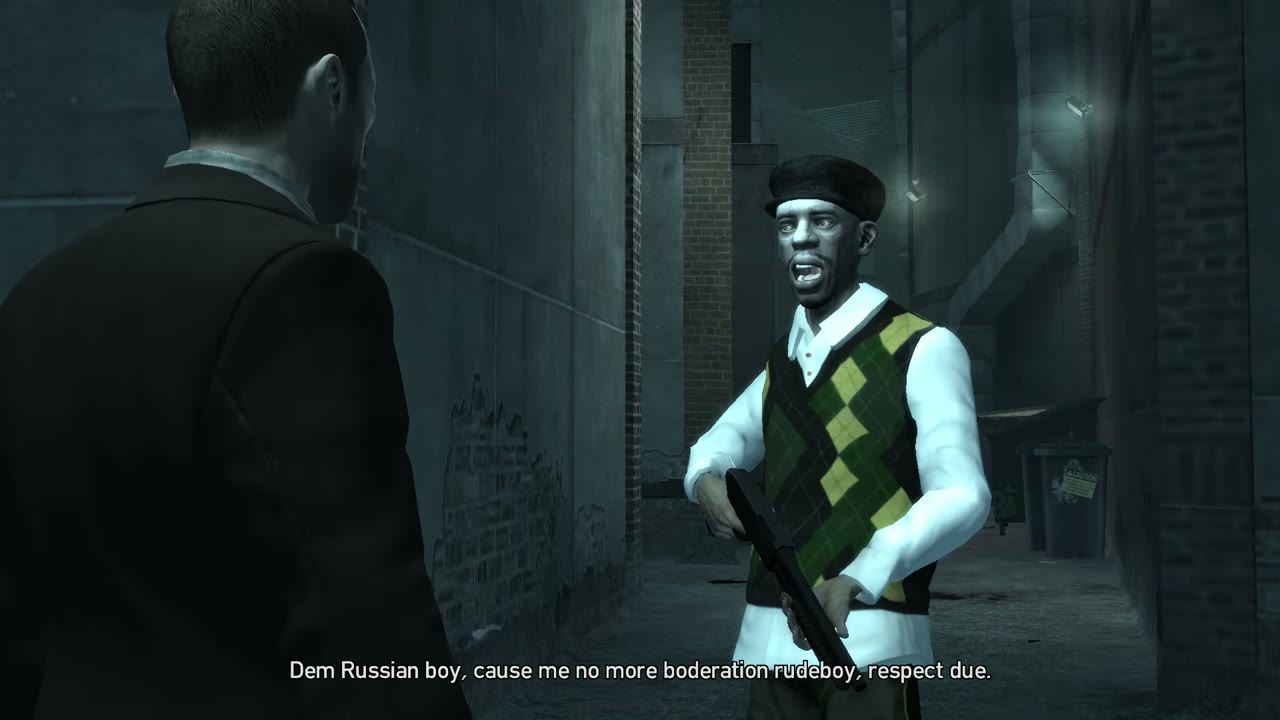
Real Badman opens up after Shadow. He sits outside the Pill-Pharm in East Island City, in Dukes, at any hour. Some Russian gangsters are moving in on his turf and he wants you to walk him over to deal with them. Get a car and drive him to the alley just off Carrollton Street, where two Russian crews are doing a deal. Badman carries a submachine gun and fights beside you, so let him take some of the fire. Kill every gangster in the alley and you collect $500.
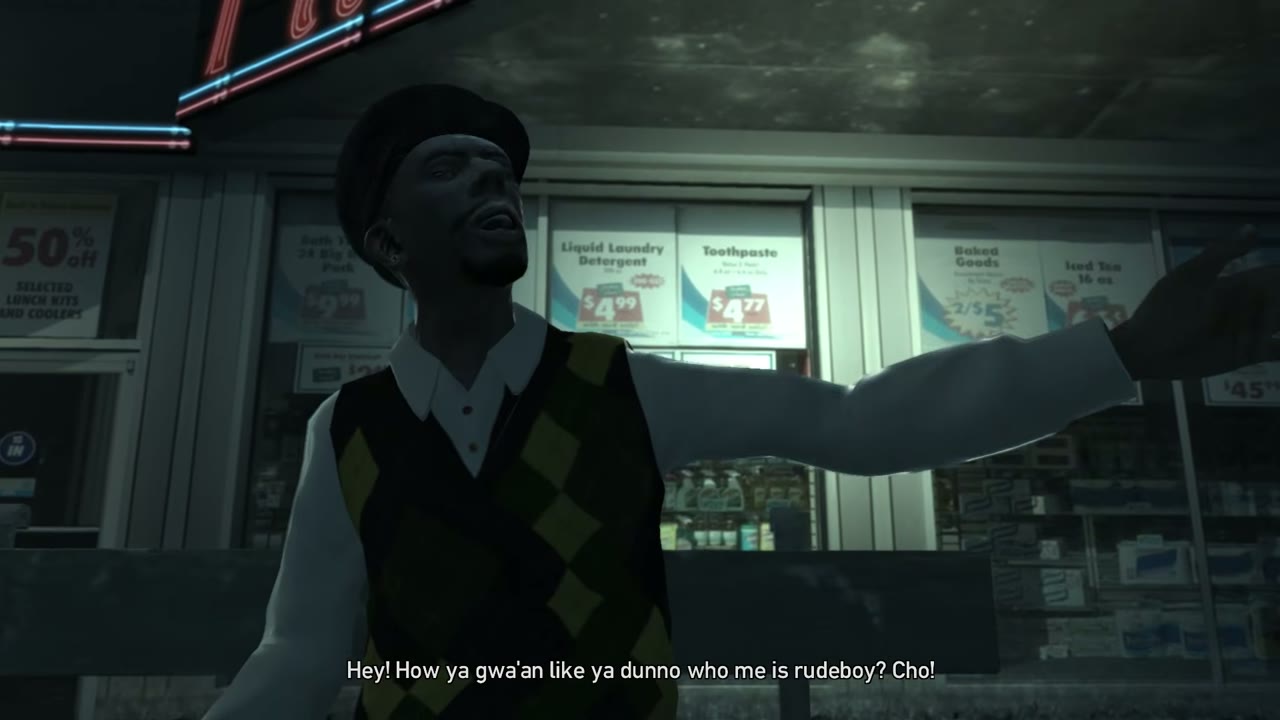
Eddie Low, first encounter
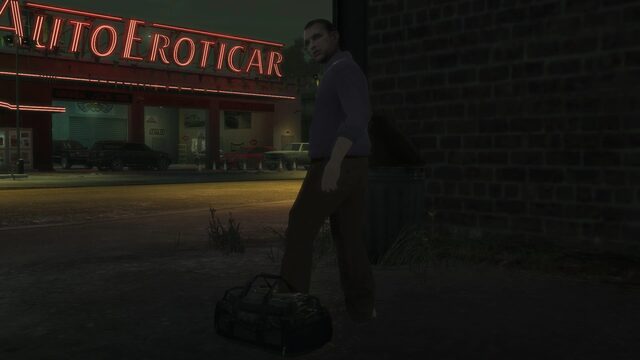
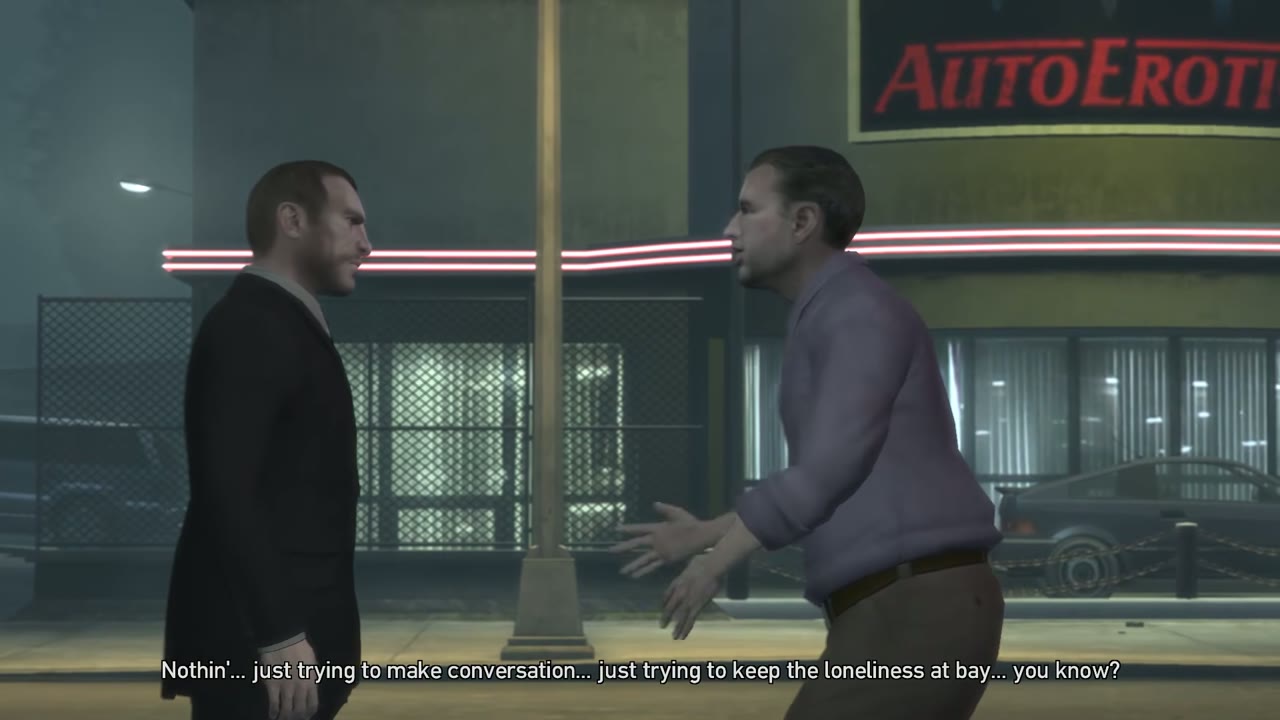
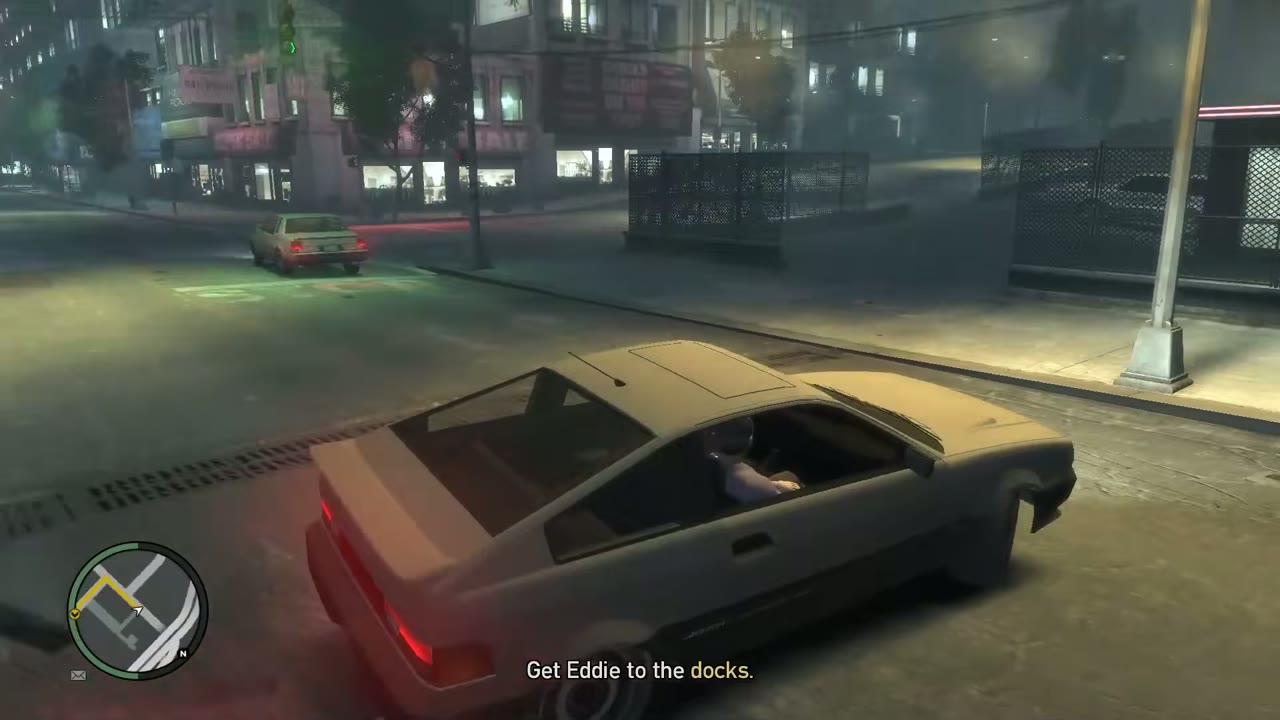
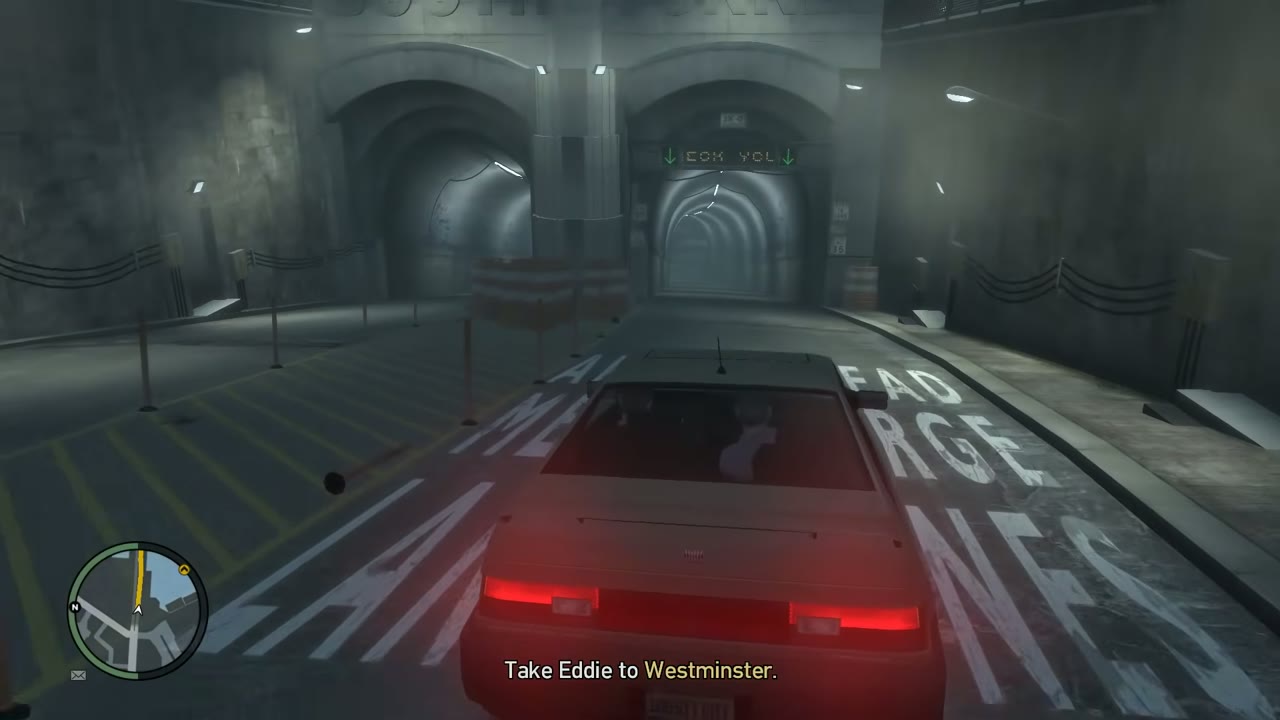
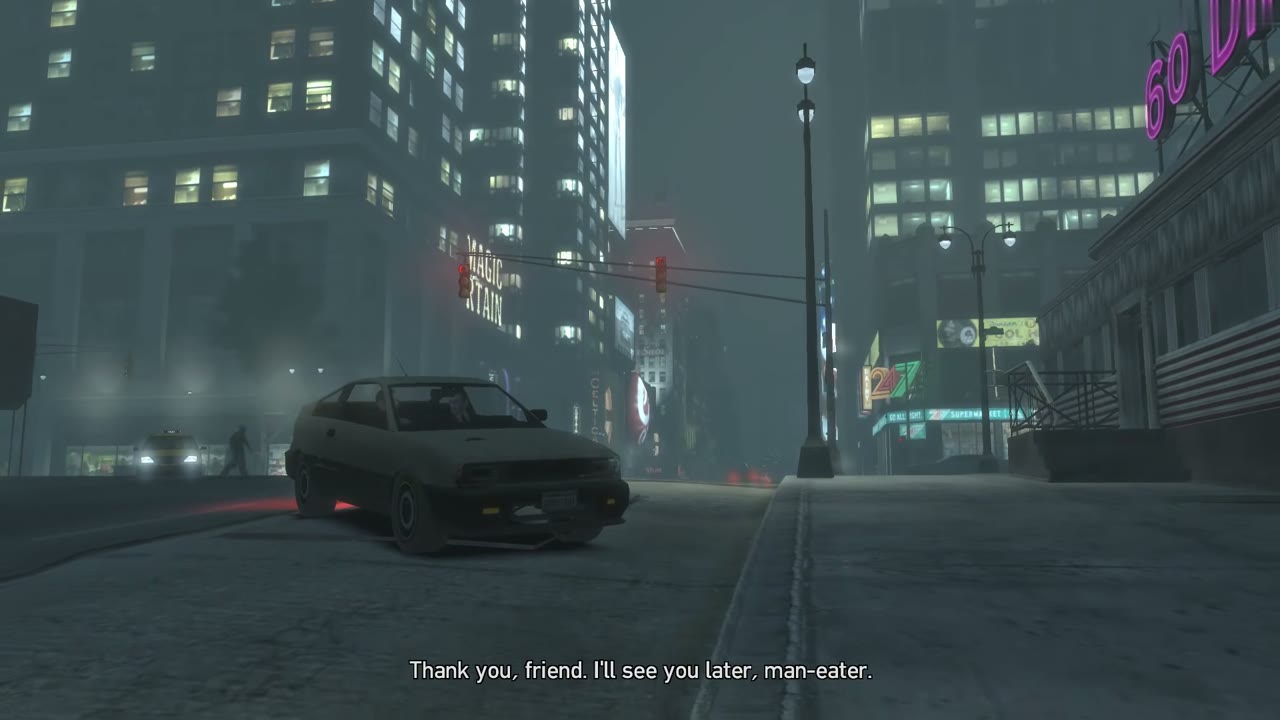
Eddie only comes out between 10 pm and 4 am, and he needs Three Leaf Clover done first. He’s on the corner outside the Auto Eroticar dealership in Alderney City. His small talk is unsettling and he won’t let you walk away, so you may as well play along. He has a heavy duffel bag and asks for a ride to the docks near the ferry terminal. Wait while he drops the bag off, then take him on to the 60 Diner in Westminster, Algonquin. It’s an uneasy ride, but nothing here can go wrong unless he dies on the way. A newspaper story about a killer in the city comes out soon after. That’s your cue to wait for the next night meeting.
Eddie Low, second encounter
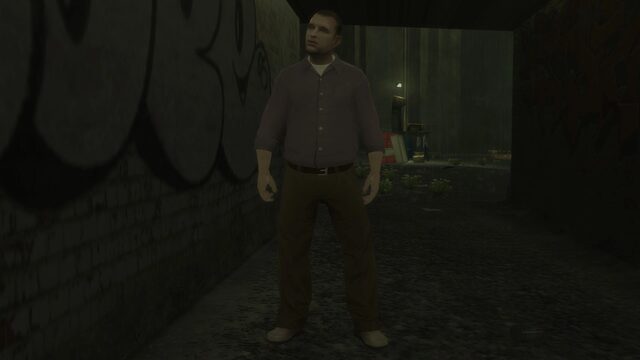
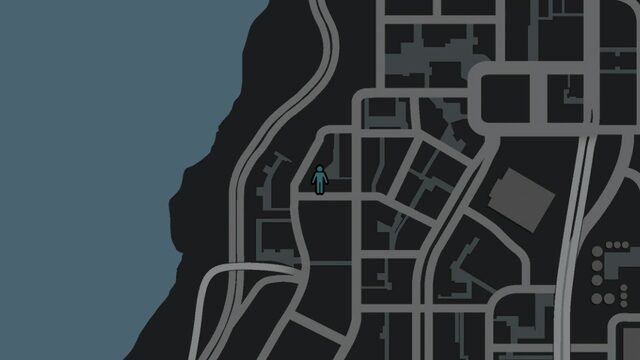
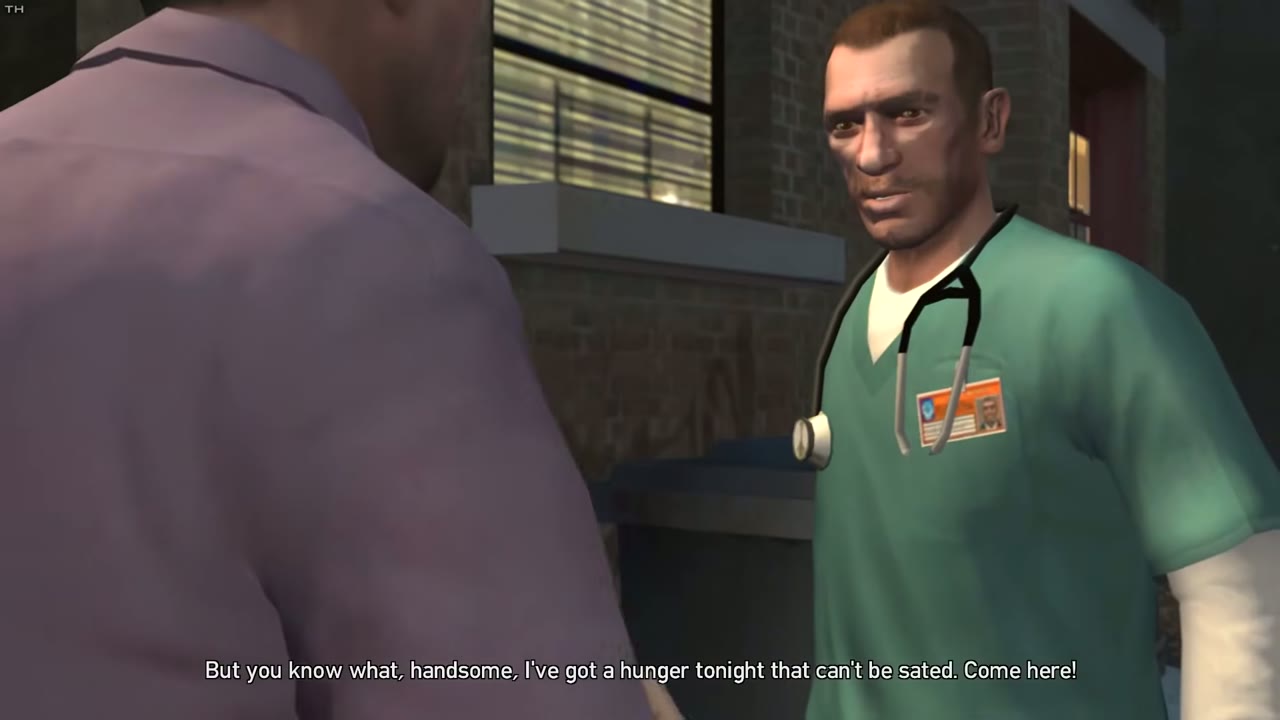
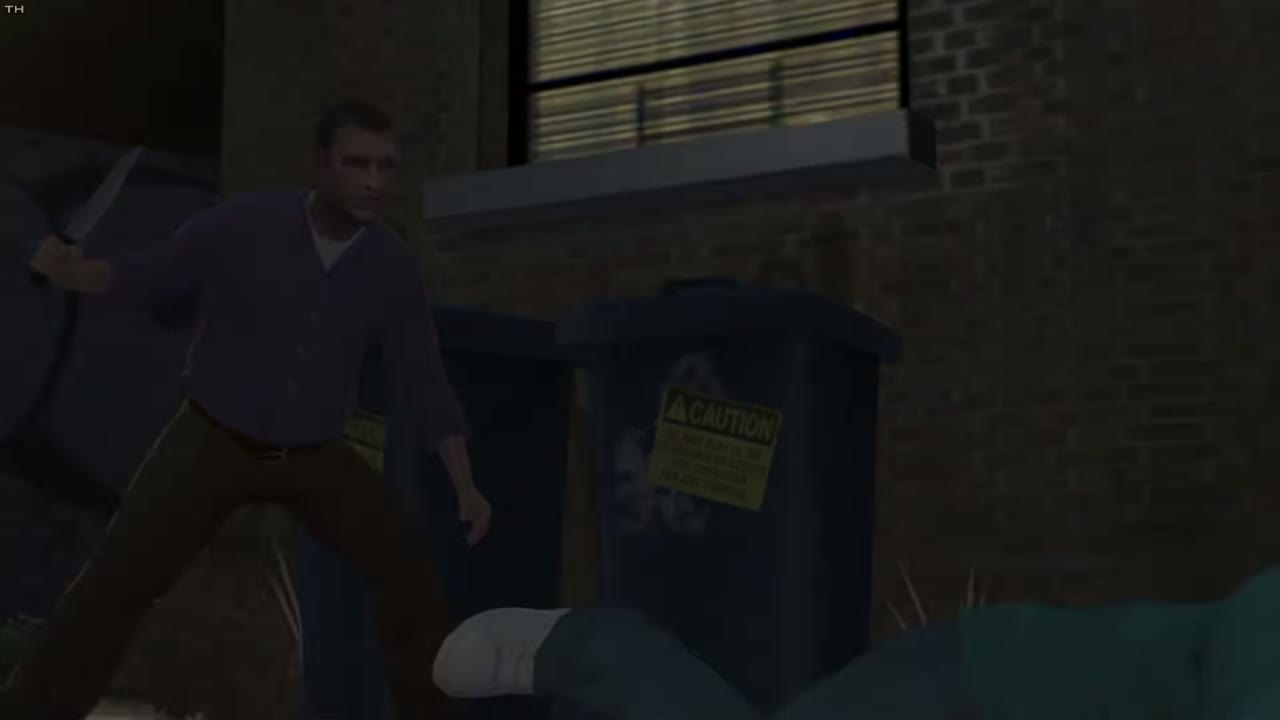
Wait several days, then go back out between 10 pm and 4 am and look in the dark alley off Cockerell Avenue in Berchem, Alderney. Eddie wants to chat again, and this time you tell him to back off. He pulls a knife and comes at you, so this is a fight. Shoot him, or take the knife away in a brawl. Be careful with the second approach. If Eddie runs off with his knife gone you get a failure message and the encounter stays open, so you’ll need to come back at night and finish him. Once he’s dead, the news reports that the killer the city couldn’t name has been found.
Gracie Ancelotti
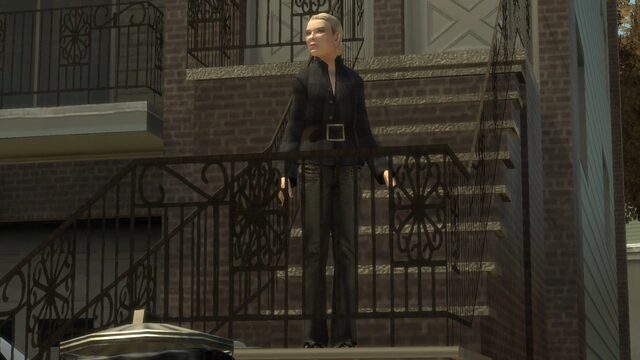
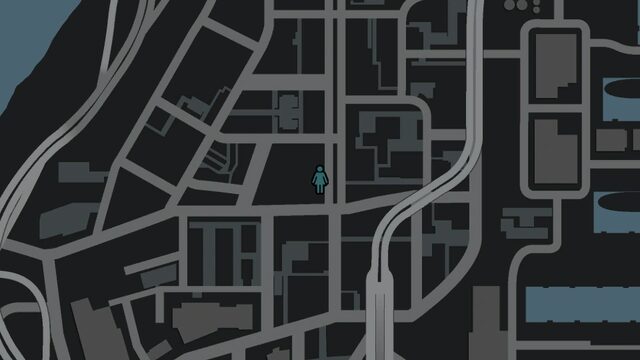
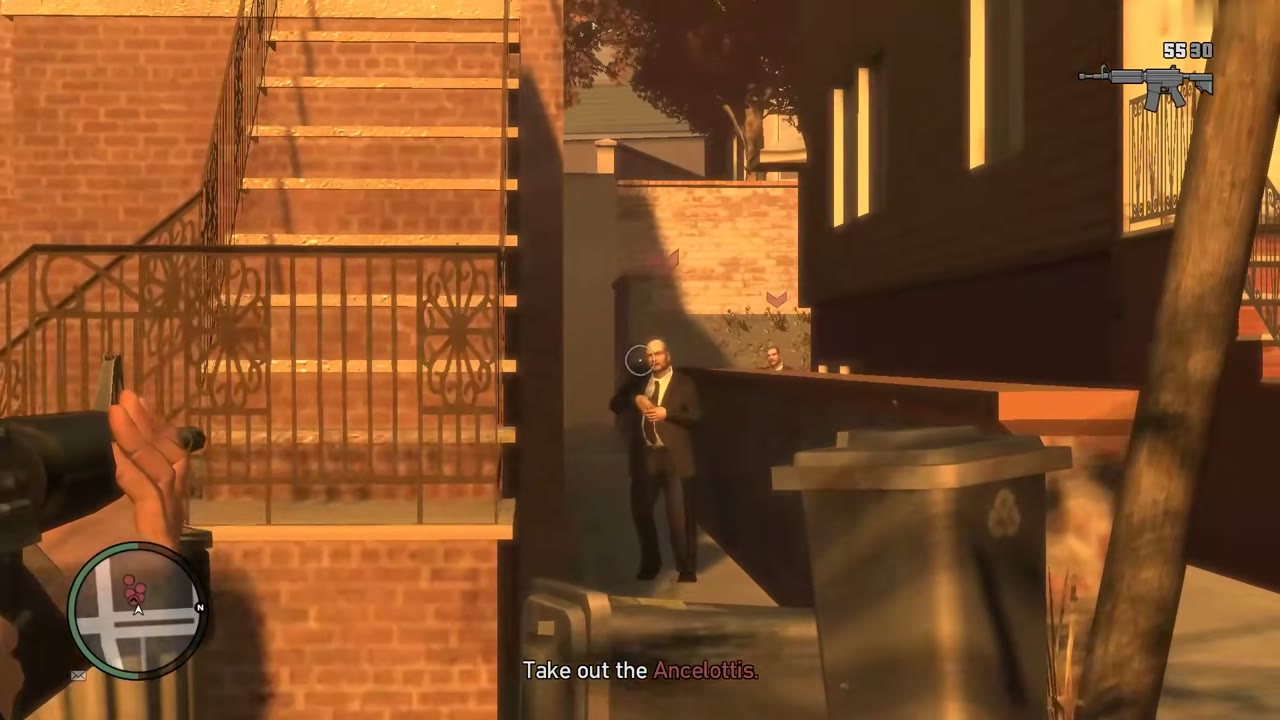
This one needs both Diamonds Are a Girl’s Best Friend and Truck Hustle. You know Gracie from the first of those two missions. Head to her house on Babbage Drive in Acter, Alderney, in the daytime or at night. She spots you as you walk past and screams for help, and her family’s bodyguards come out shooting. Take cover behind a parked car or a wall and kill all five armed Ancelotti men. There’s no payout, but the encounter counts toward 100%.
Hossan Ramzy
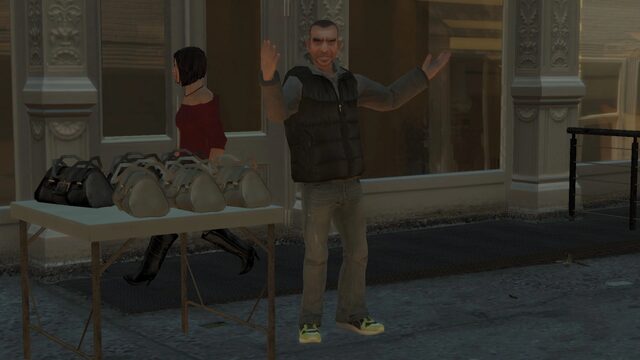
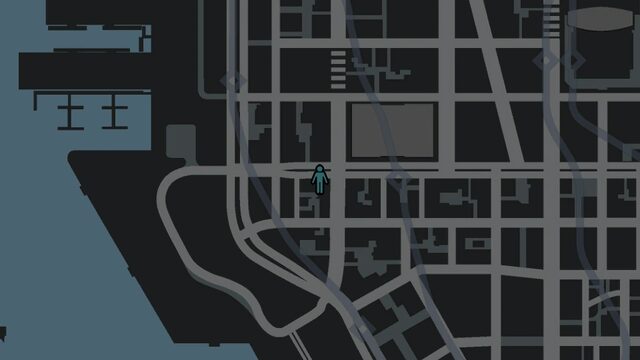
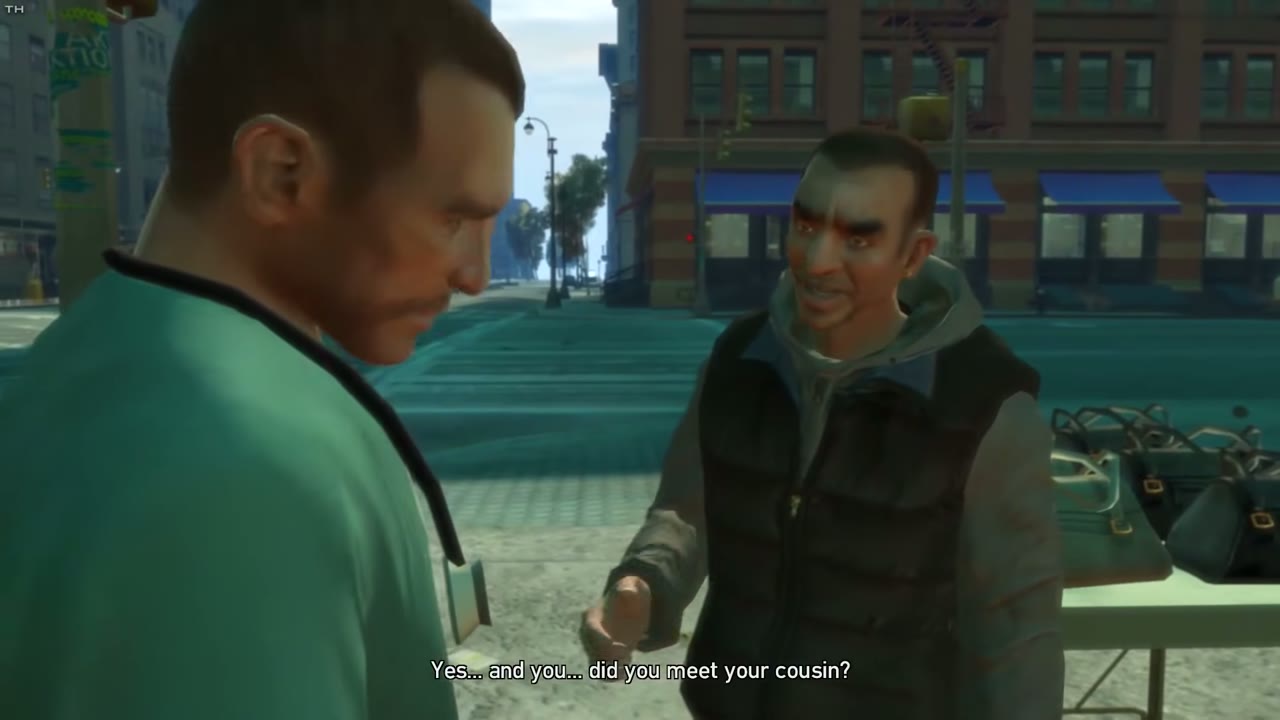
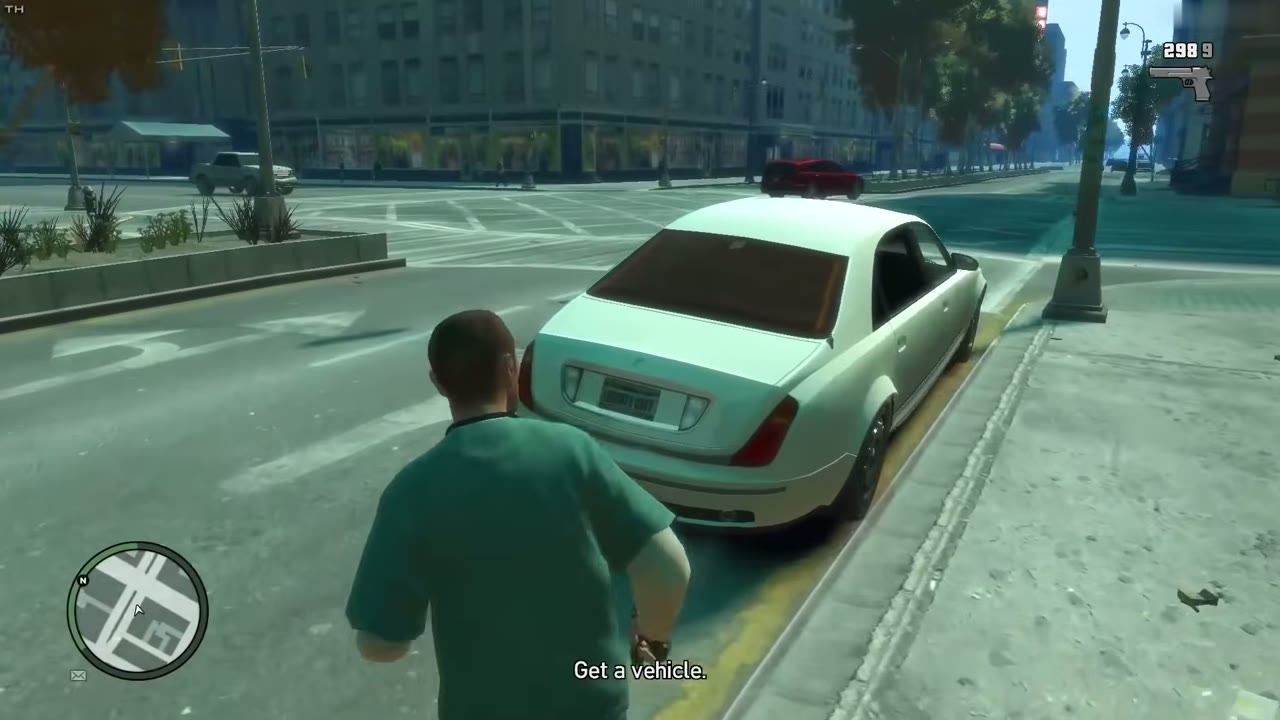
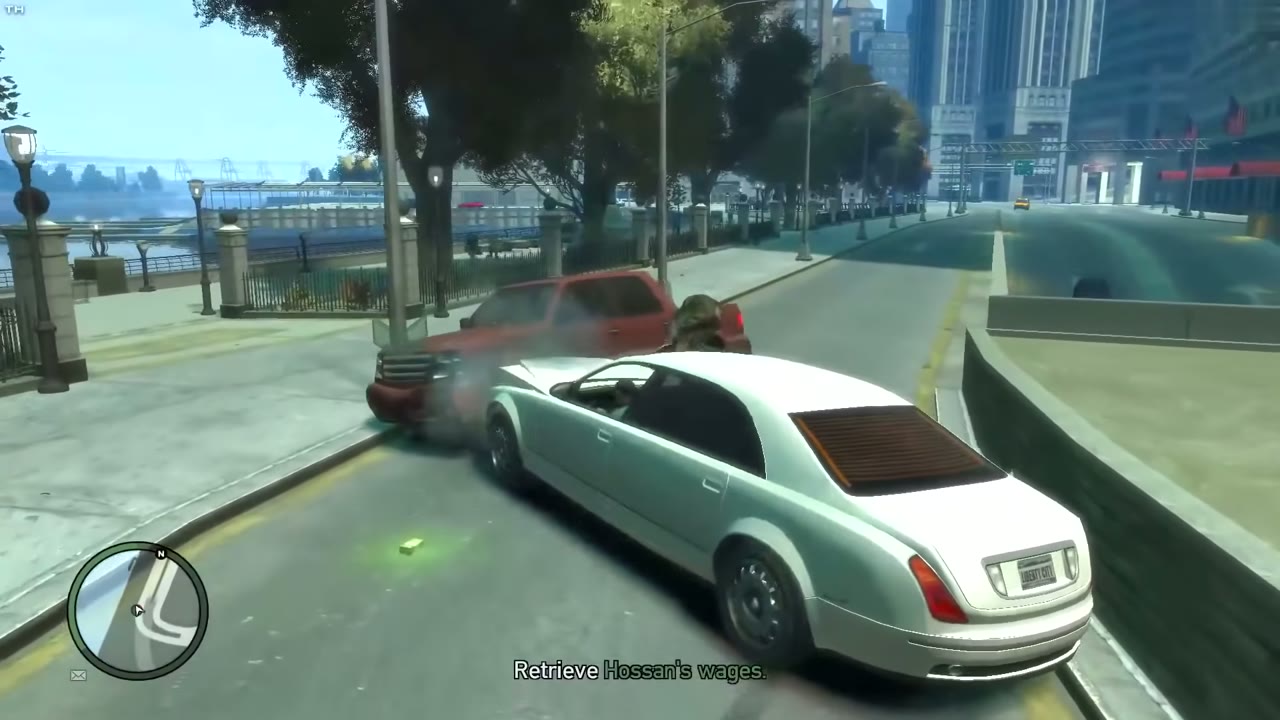
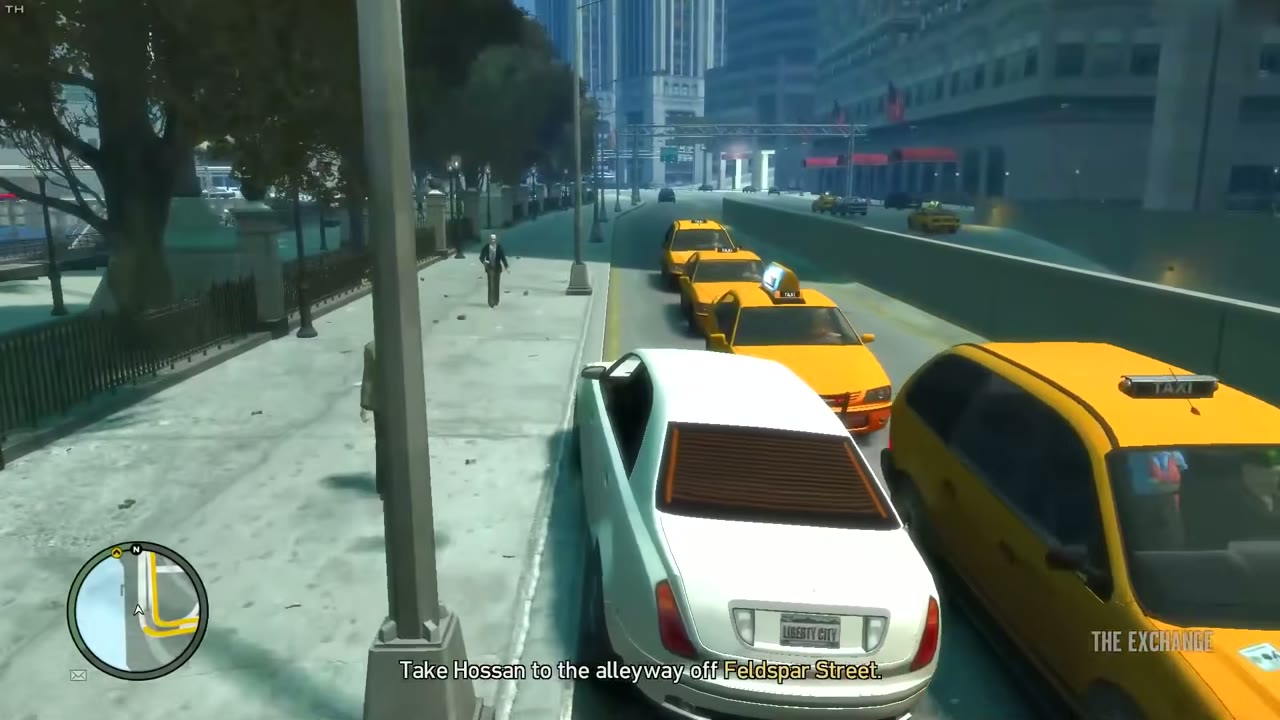
Hossan, your old friend from the boat, turns up after The Puerto Rican Connection. He sells fake handbags from a street table in Suffolk, Algonquin, at any hour. When his boss calls, he asks you to come along to collect pay he’s owed. Take any car and drive to Castle Gardens. The boss refuses to pay and knocks Hossan down, then speeds off in a red car with the money. Chase him down, kill him and pick up the cash he drops. Drive Hossan to the alley off Feldspar Street. He splits the money with you for $500, and the meeting opens Sara’s first encounter.
Ilyena Faustin
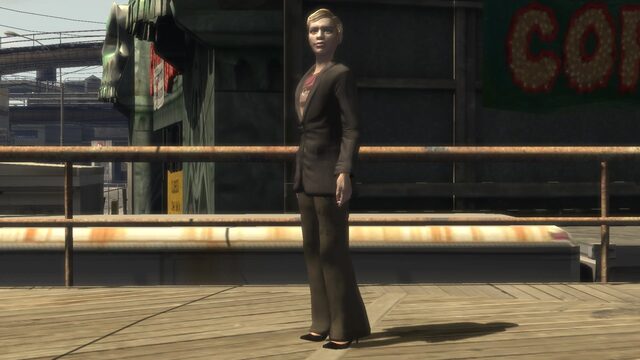
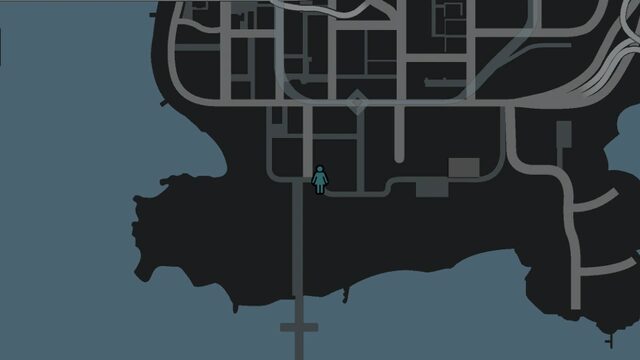
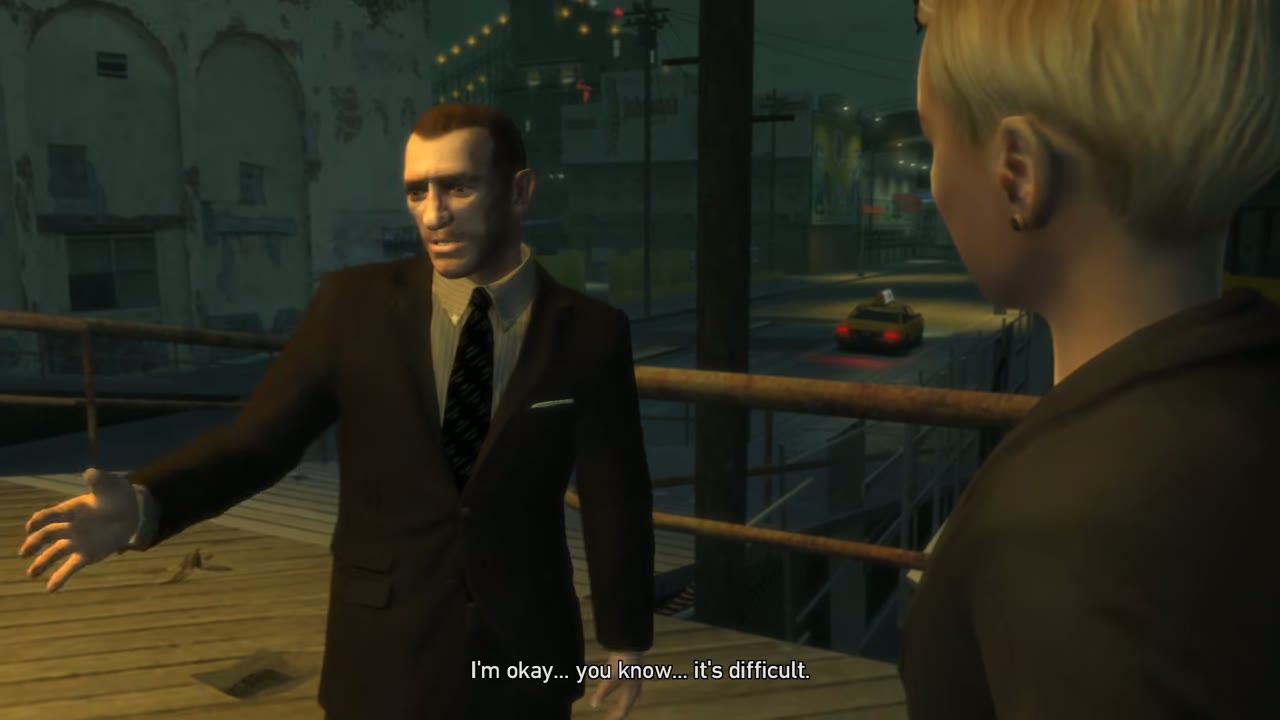
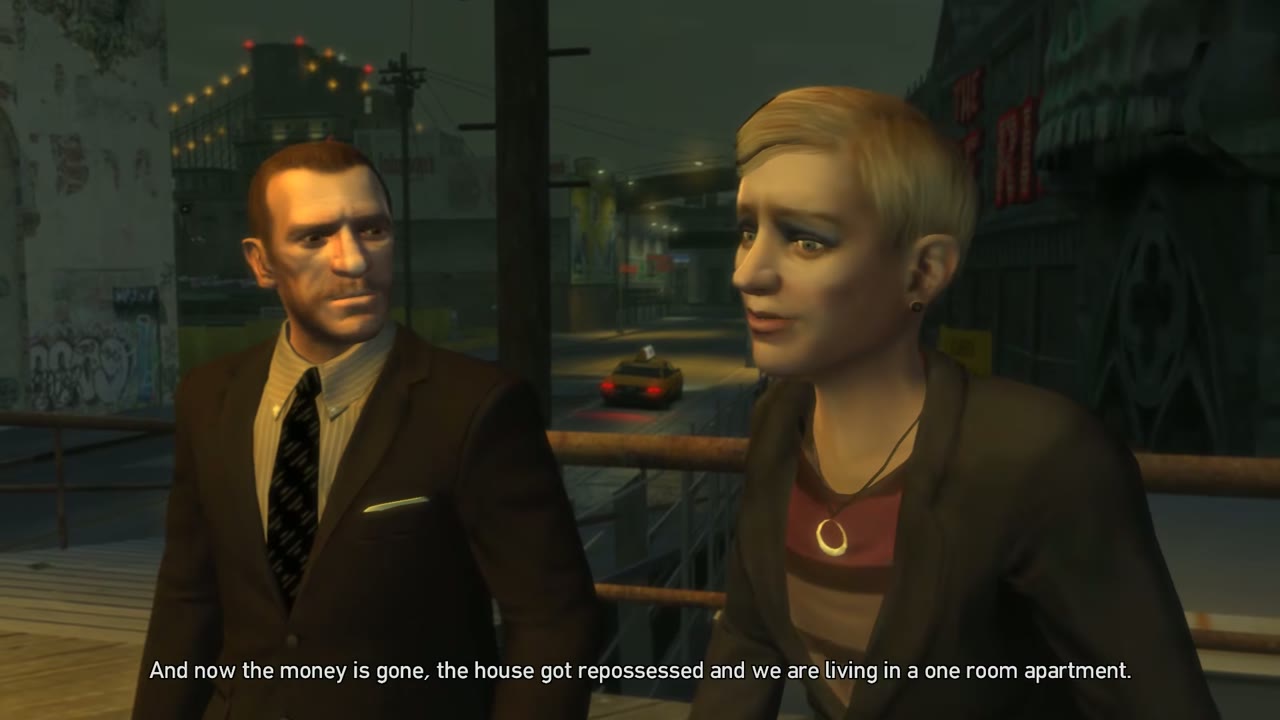
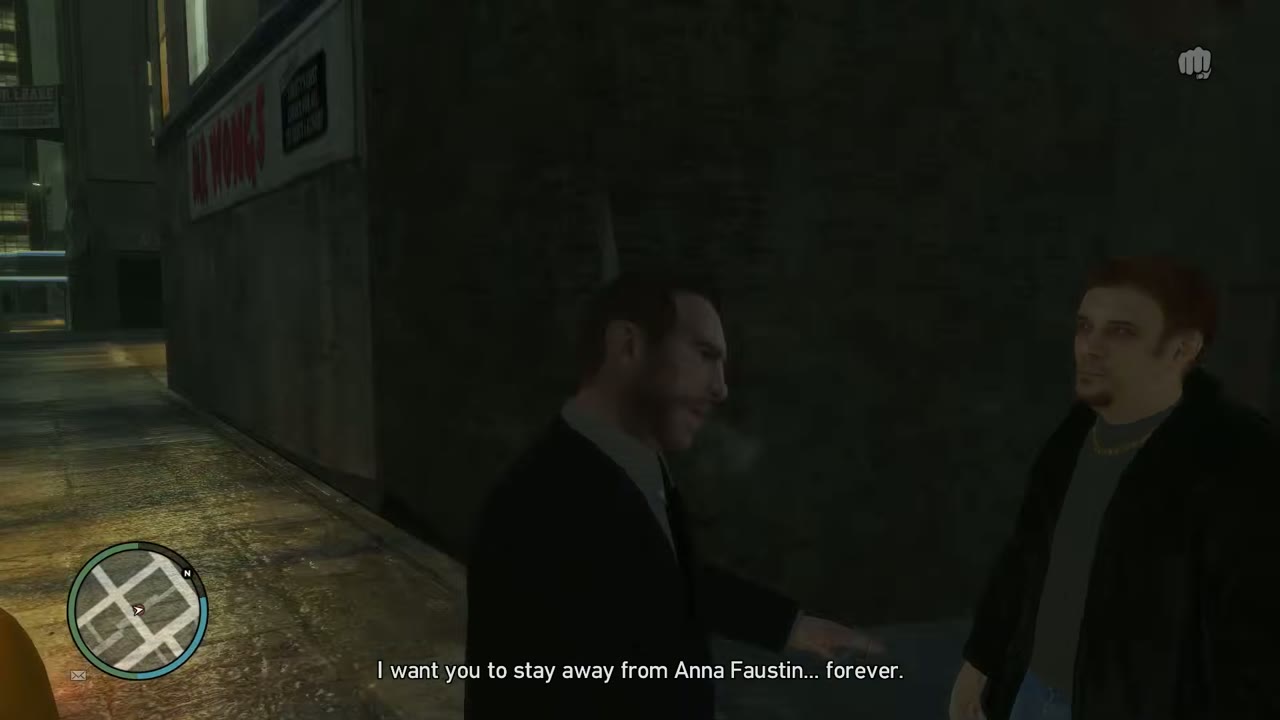
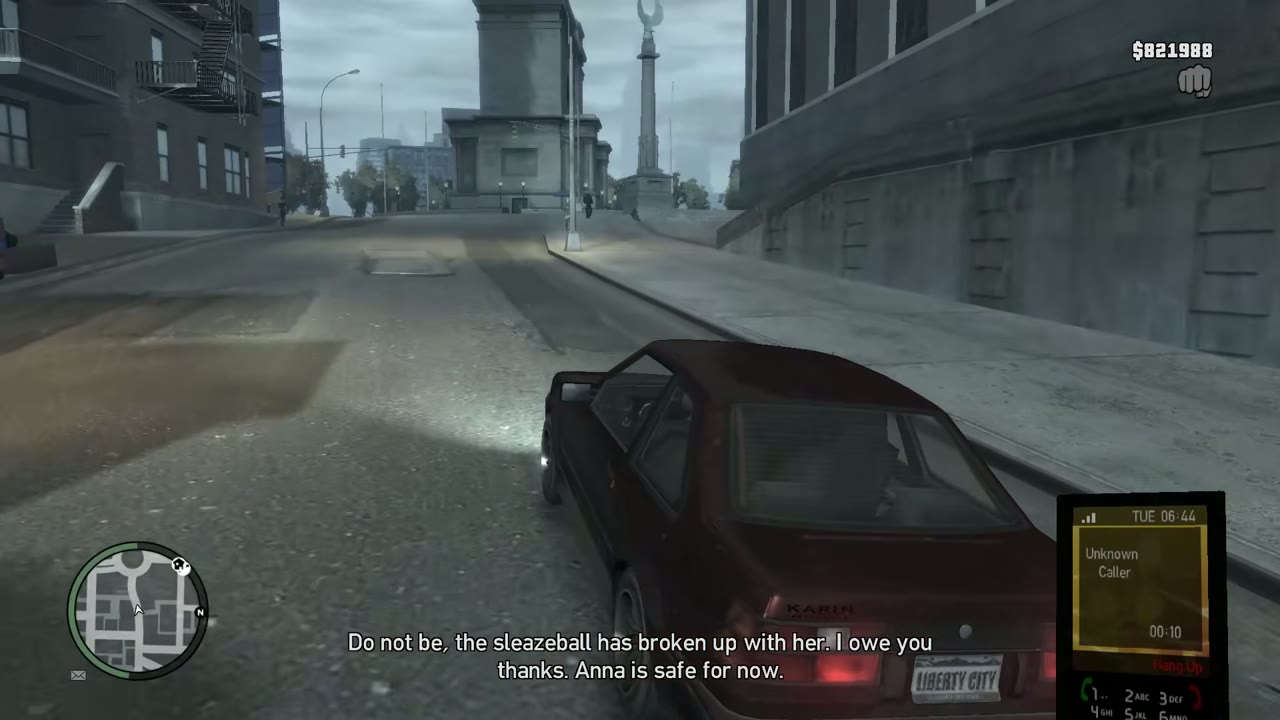
Ilyena opens after The Puerto Rican Connection. She waits at the Funland amusement park on Firefly Island, Broker, at any time. She tells Niko that her daughter Anna is dating a pimp, and asks him to make the man go away, but not to kill him. Get a car and head to Dillon Street in Schottler. Talk to the boyfriend, then fight him when he swings. He tries to run. Catch him and he agrees to back off, and Ilyena calls to thank you and say Anna is safe for now. If you kill him she calls angry, and if he gets away she calls to say Anna has left. All three outcomes finish the mission, so the choice is yours.
More random characters
Mel
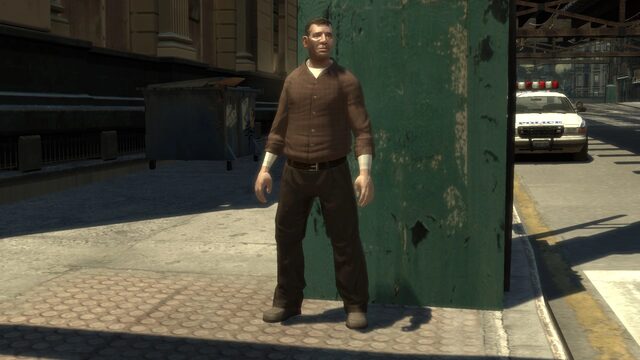
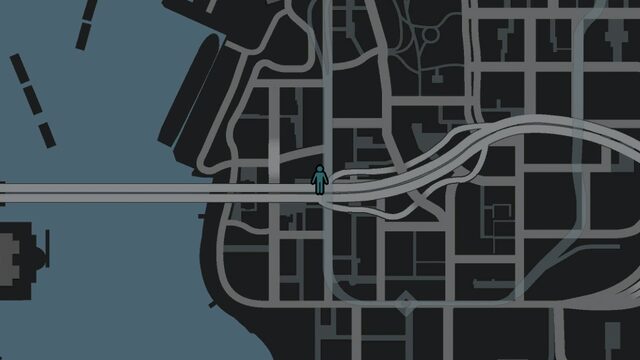
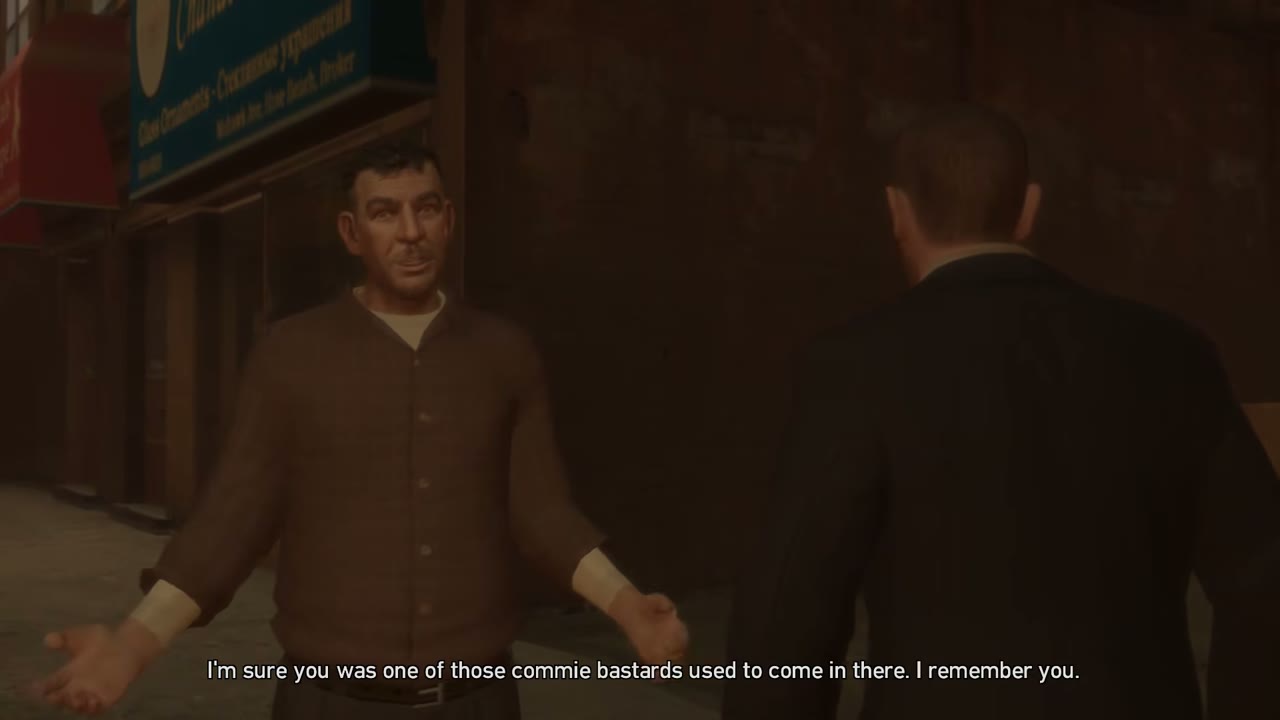
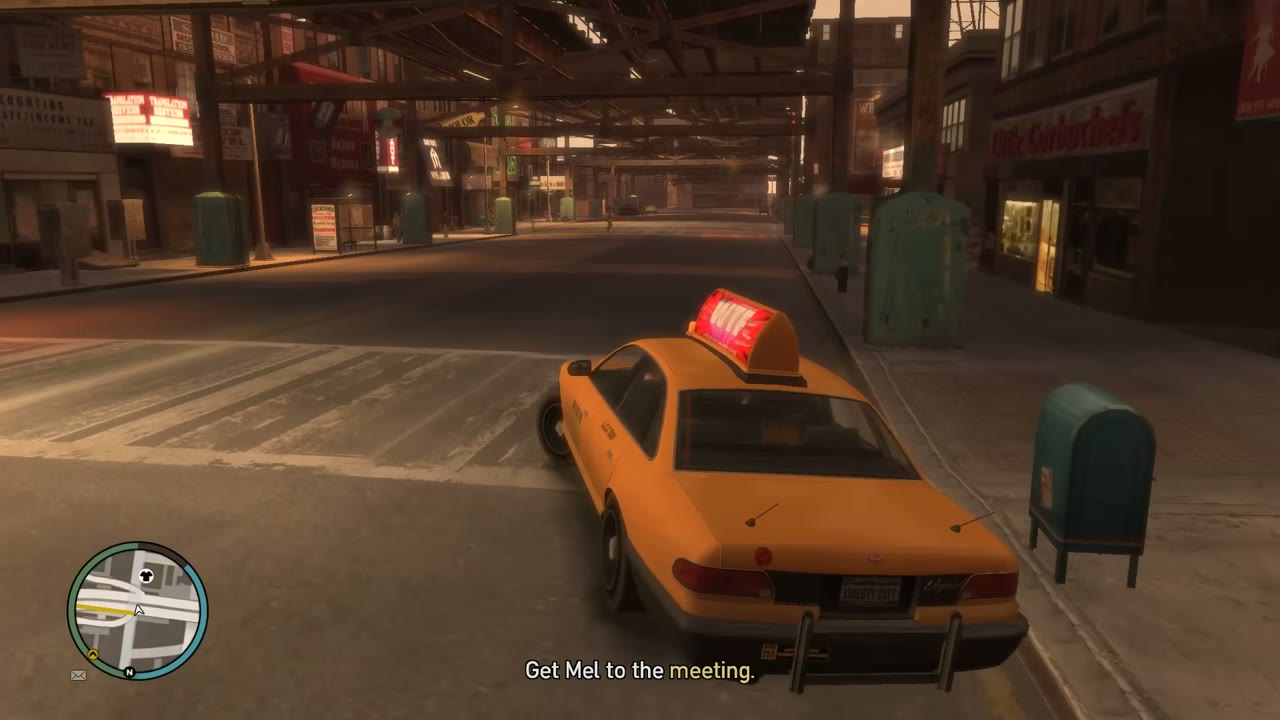
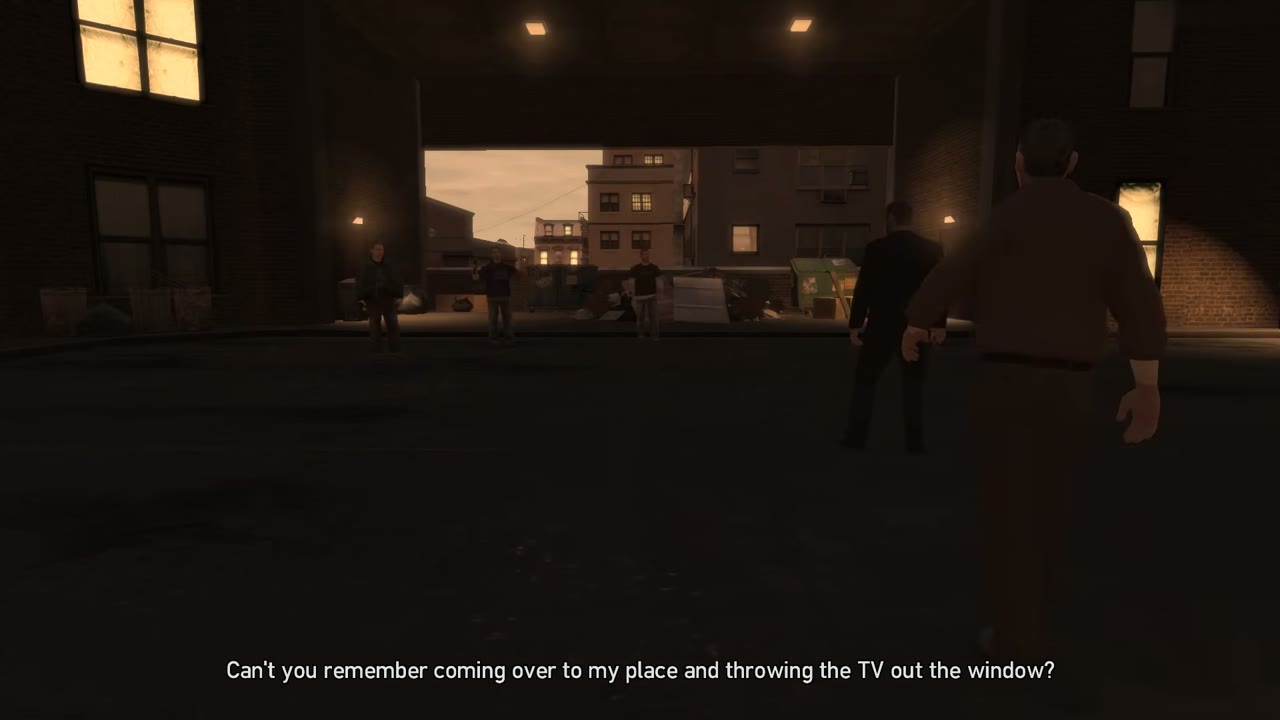
Mel is the drunk you used to see at the Comrades Bar, and he has cleaned up. Once you finish Escuela of the Streets, look for him near the Hove Beach police station on Mohawk Avenue, any time of day. He wants a bodyguard while he squares old debts, so grab a car, drive him to the meeting in the Soldiers Plaza Project lot off Montauk Avenue, and wait in the alley. Mel asks you to clear things up with the men he owes. Deal with them, pick Mel up, and take him home to Hove Beach. He pays you $500. If Mel dies, the encounter fails.
Pathos, first encounter
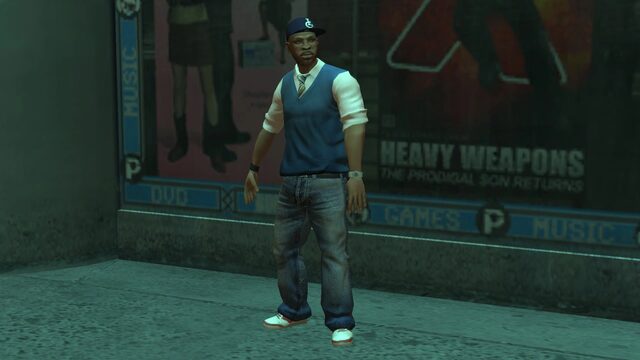
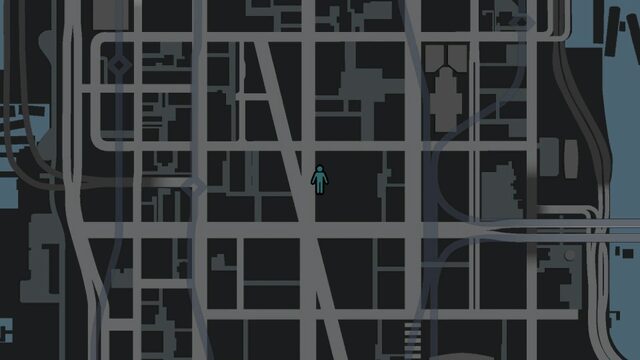
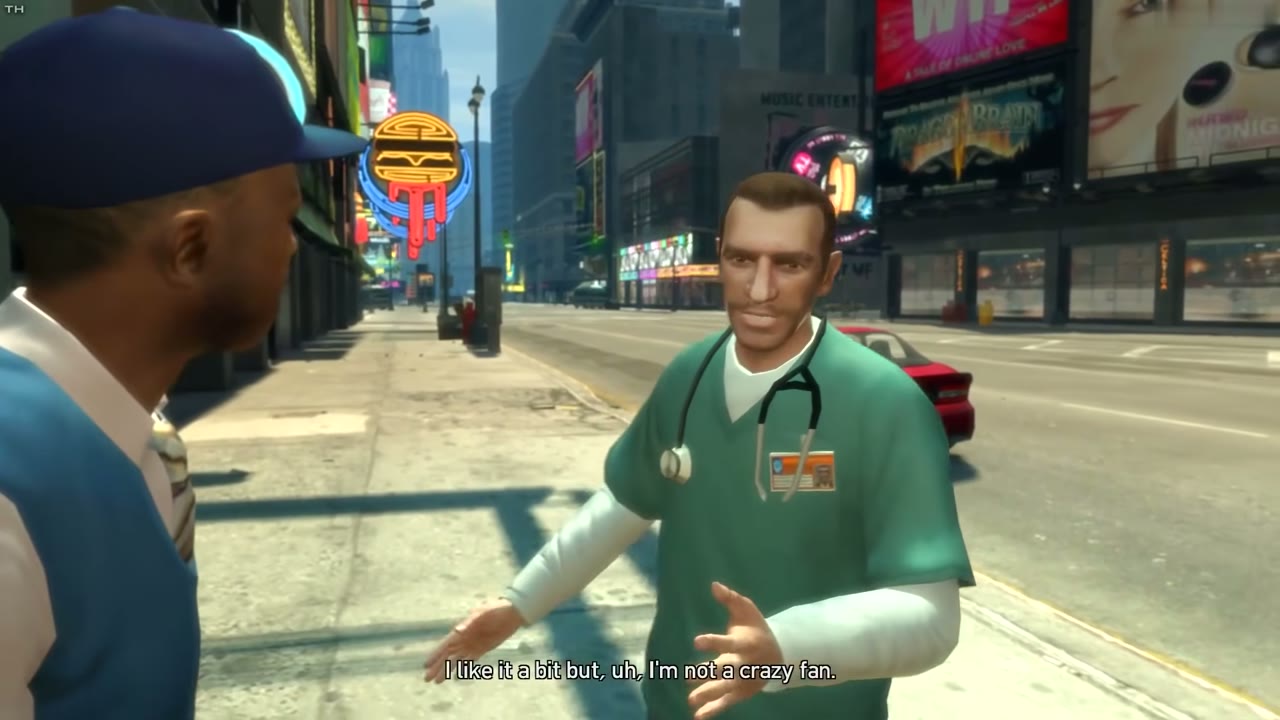
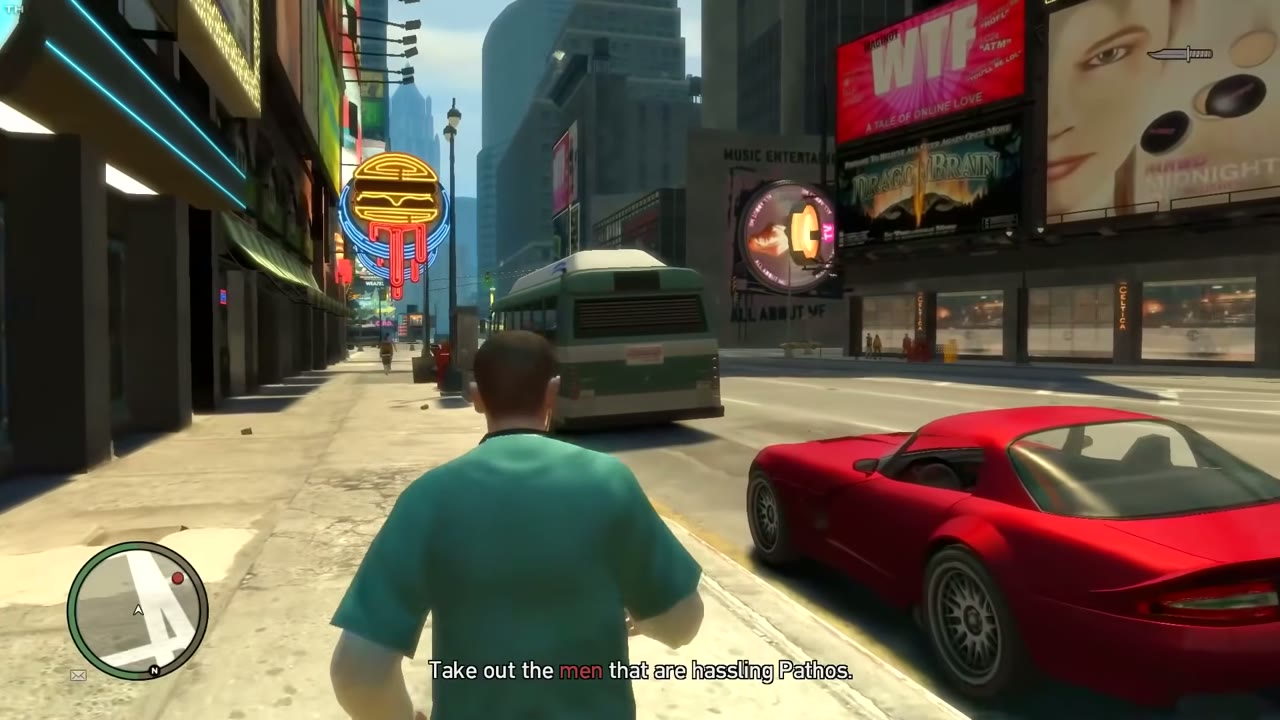
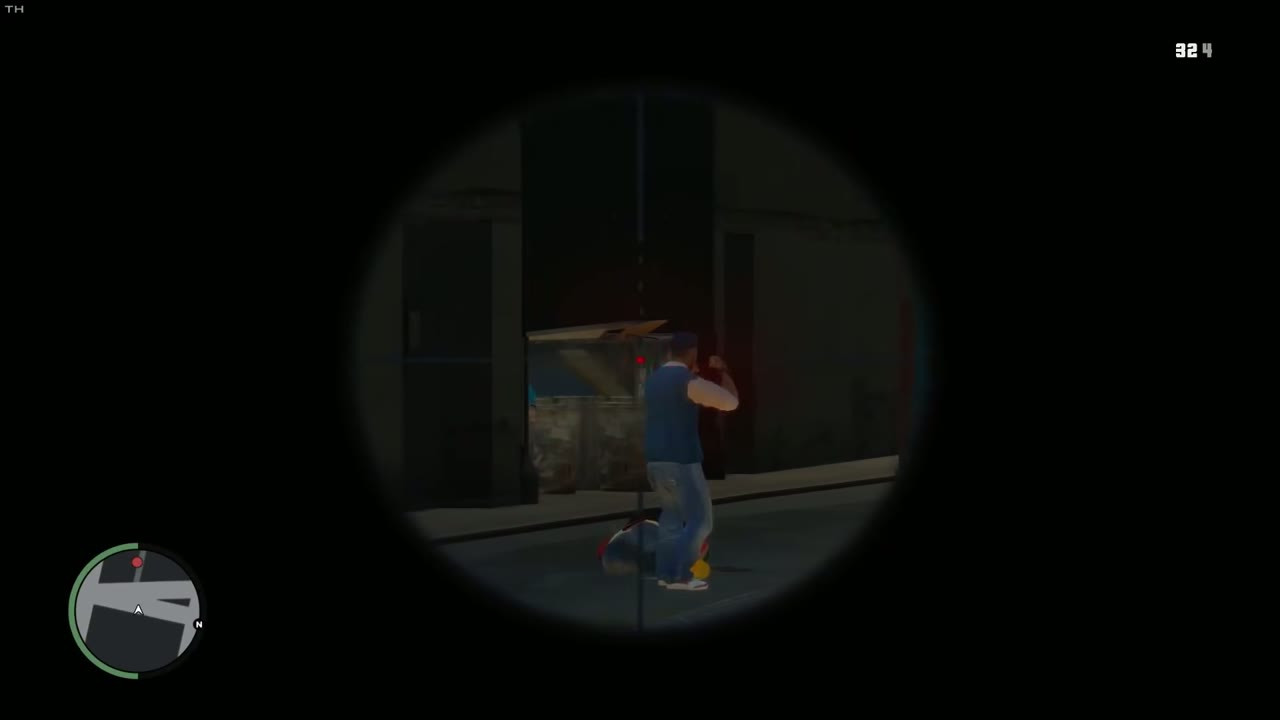
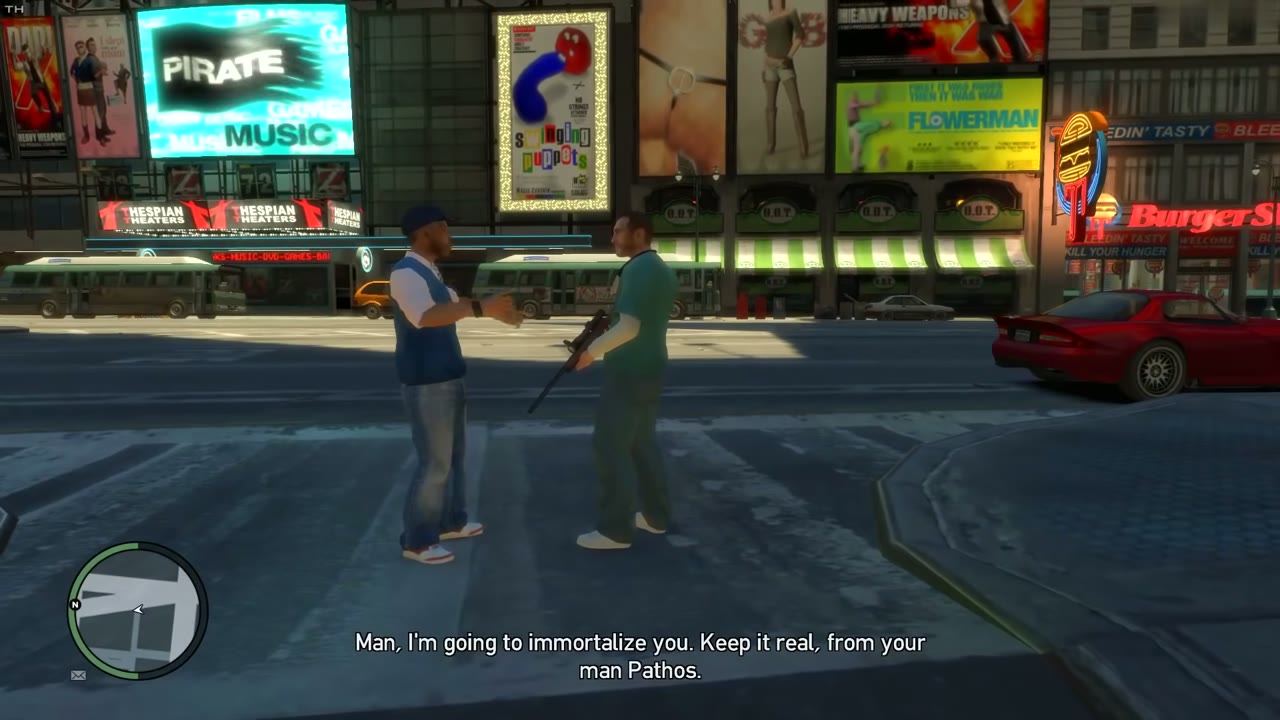
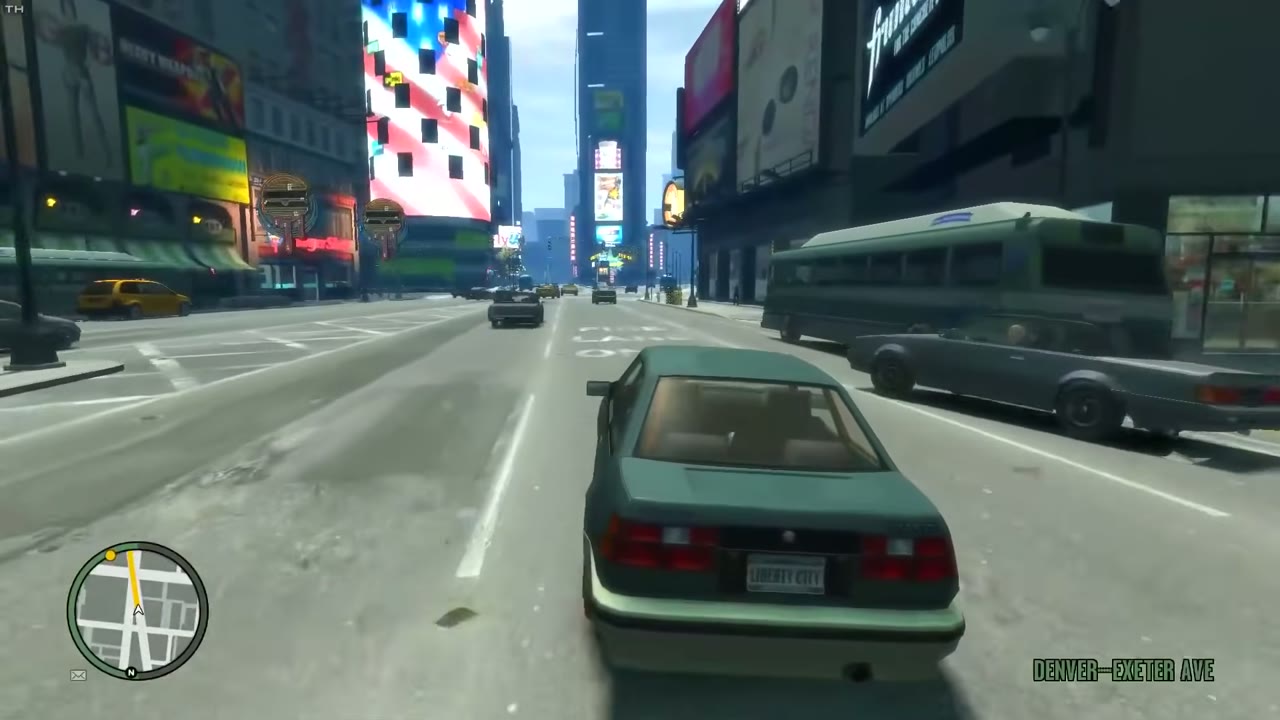
This one opens after The Puerto Rican Connection. Pathos is an aspiring rapper selling his CDs outside the Pirate Music store on Denver-Exeter Avenue in Star Junction, and he is on the street all day. Talk to him and listen to his pitch. A man across the street mocks him, and you get an objective to take out the men hassling Pathos. Pick them off from where you stand, a rifle scope works well, and Pathos thanks you afterward. There’s no cash for this one, only a promise to put you on his next record.
Pathos, second encounter
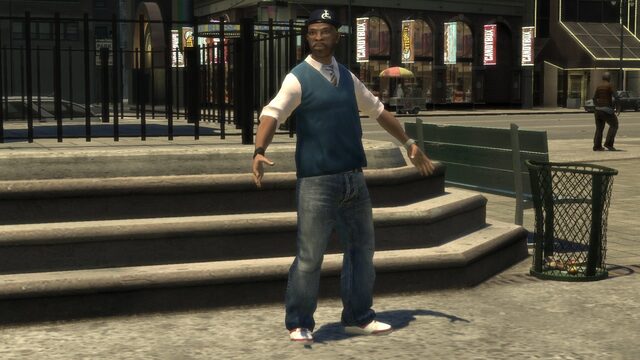
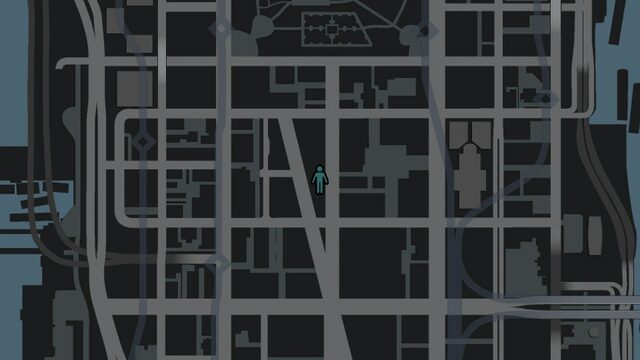
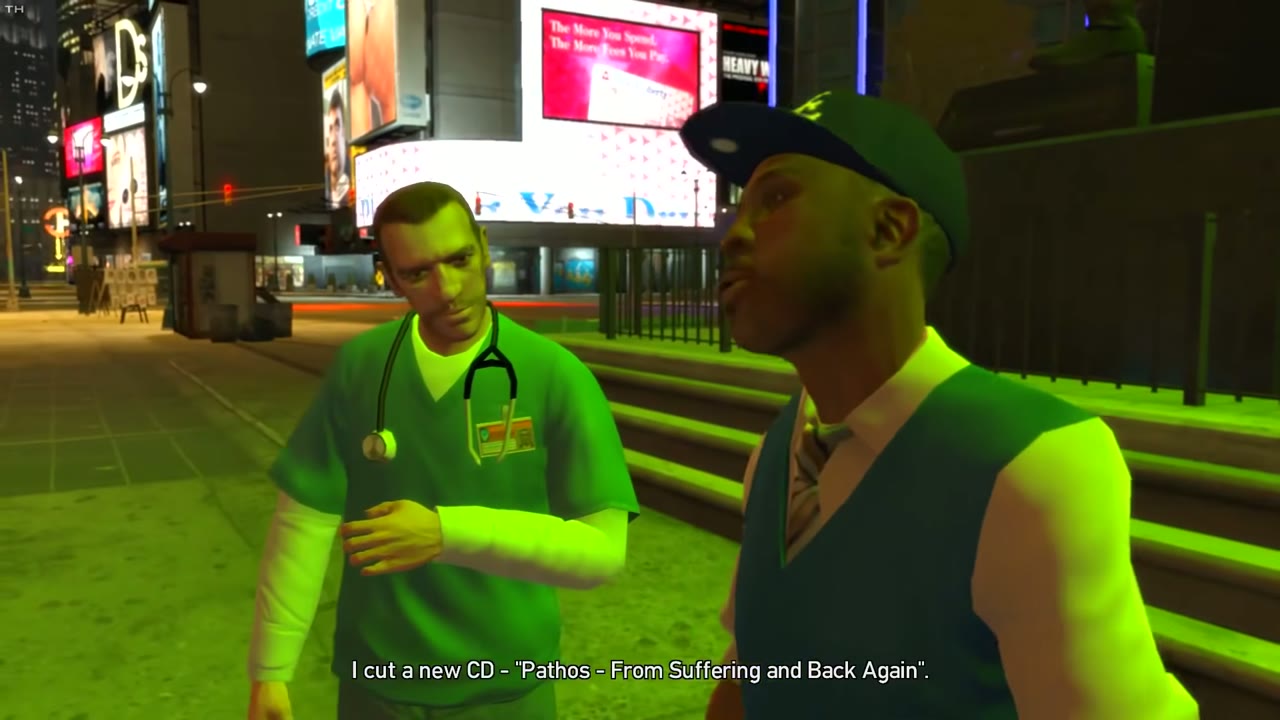
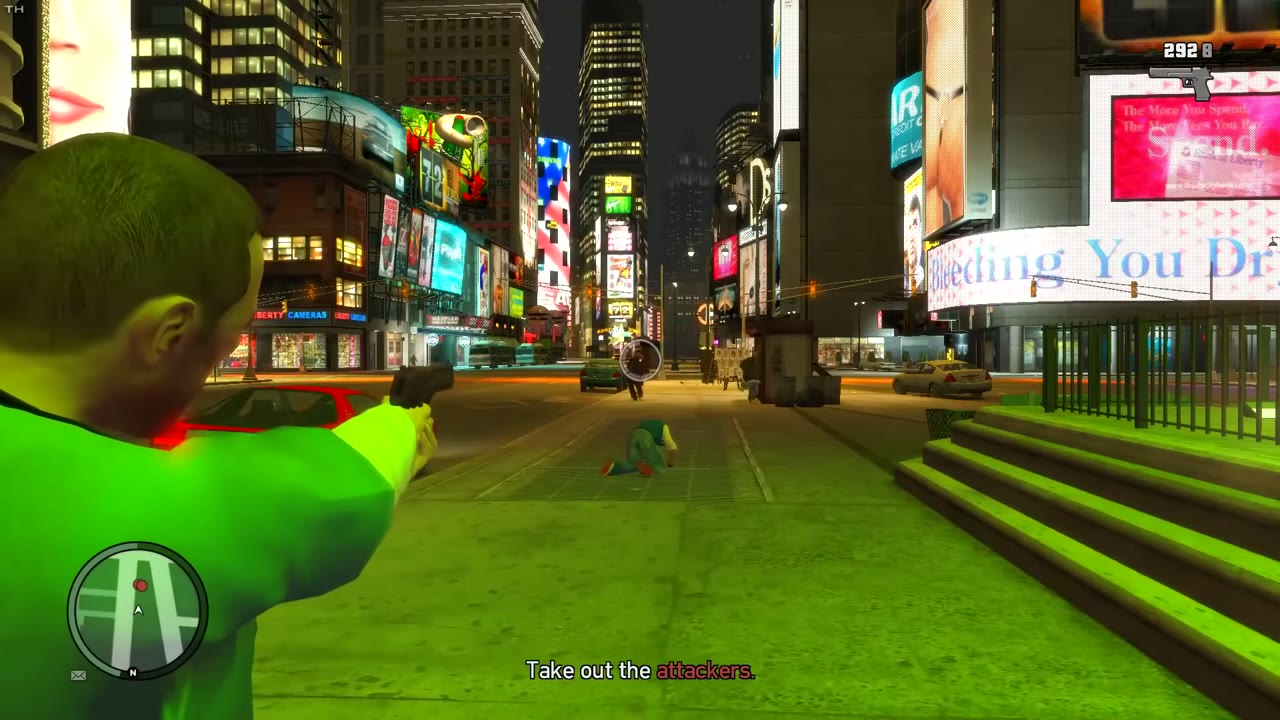
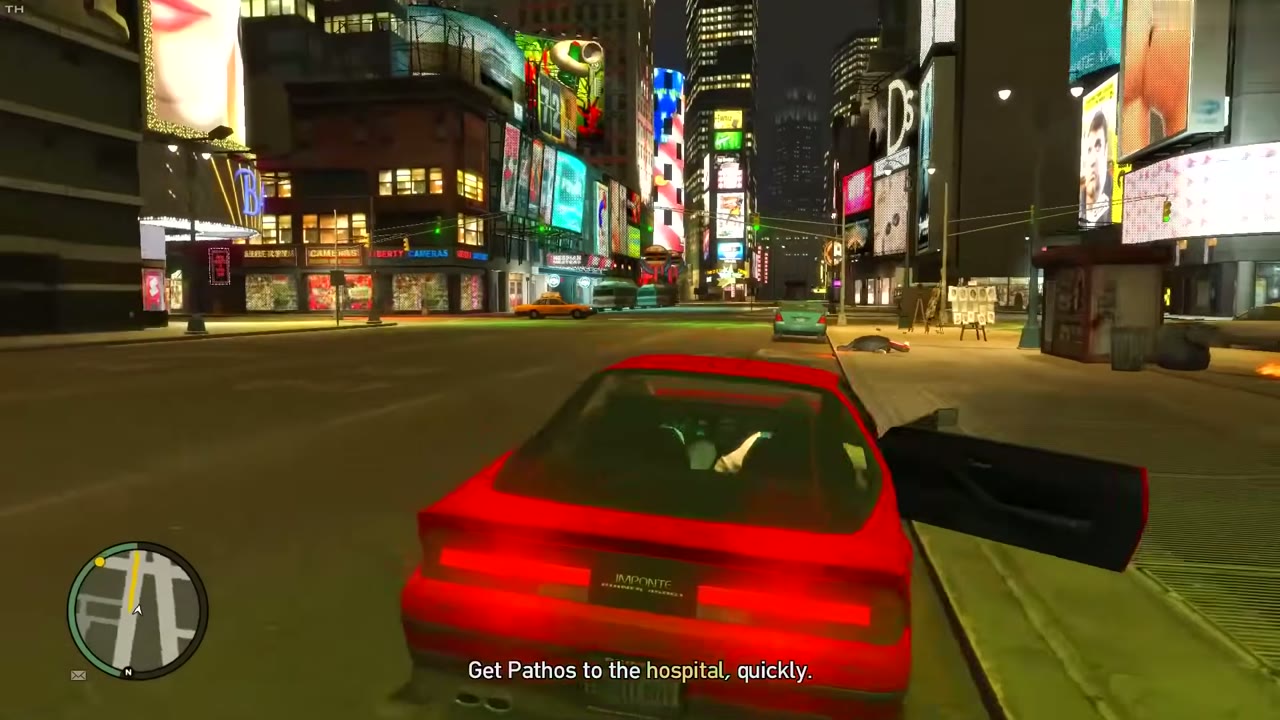
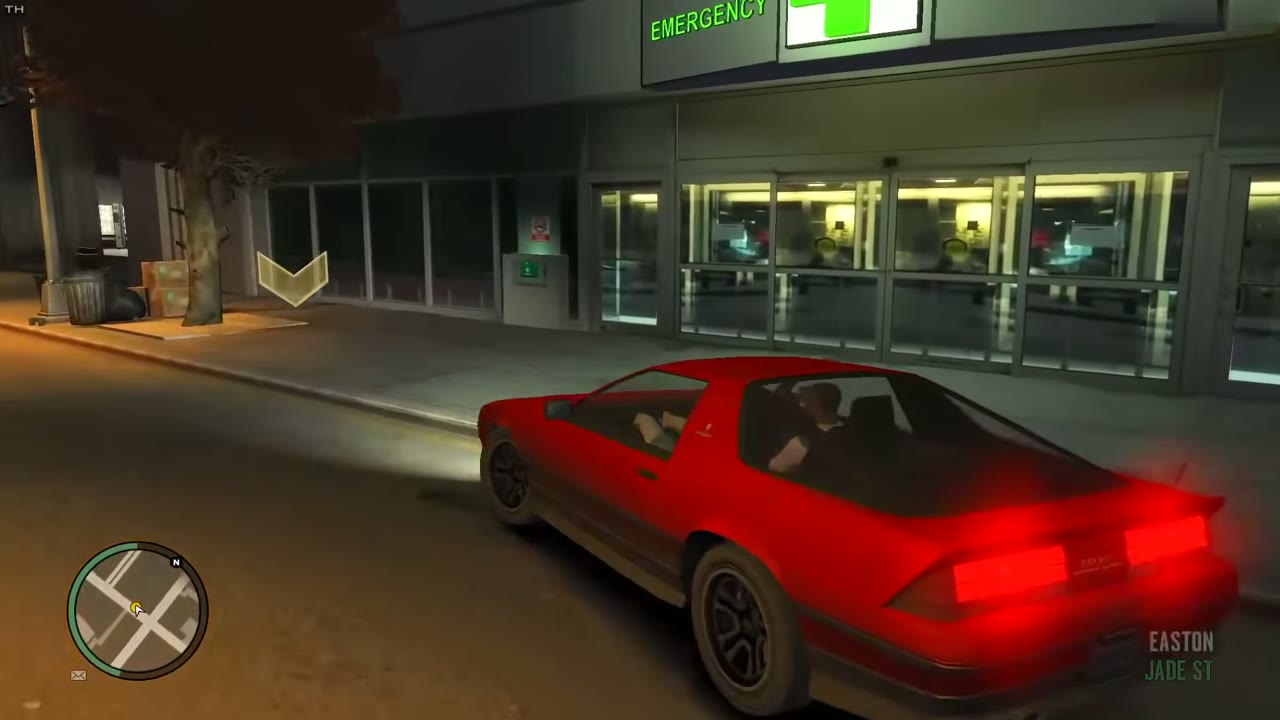
Once the first meeting is done, Pathos is back, busking by the Star Junction statue on Burlesque with a new CD. More hecklers show up and this time one of them shoots him. Take out the attackers, grab any car, and drive Pathos to the Easton Medical Center in Lancet before he bleeds out. Park at the hospital marker and the encounter ends. Pathos pays nothing, but he talks the whole ride.
Sara, first encounter
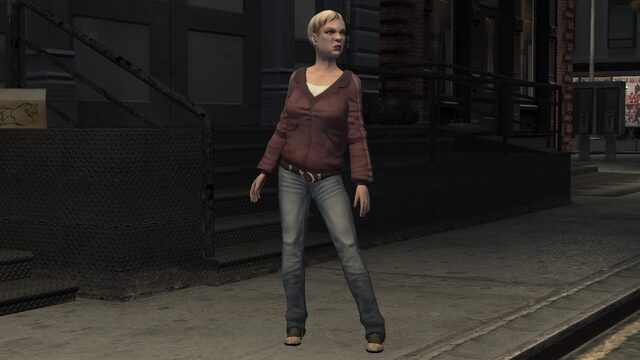
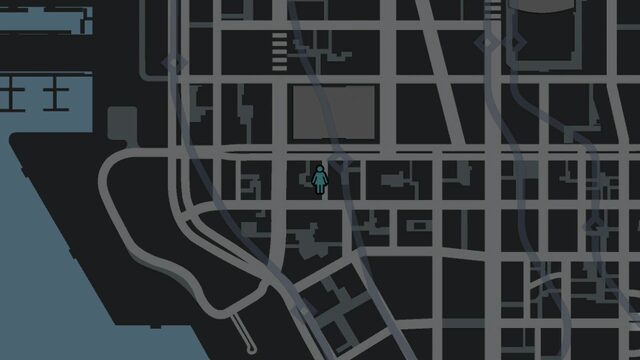
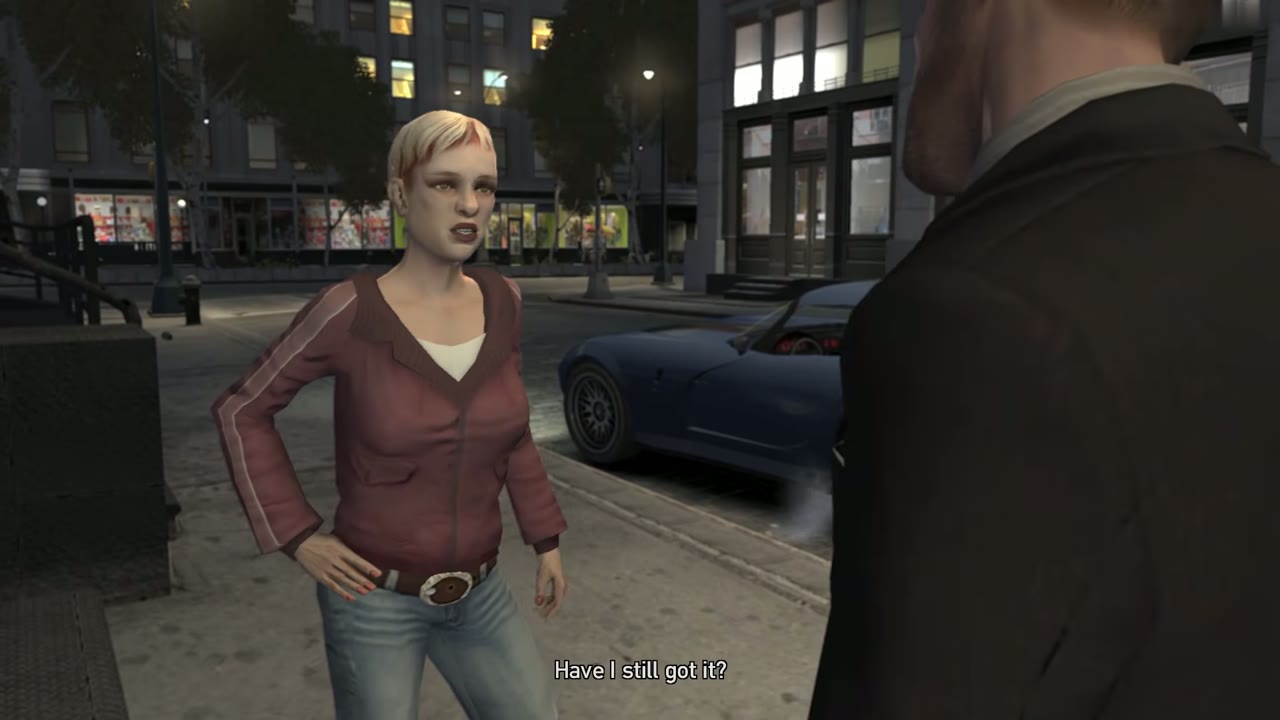
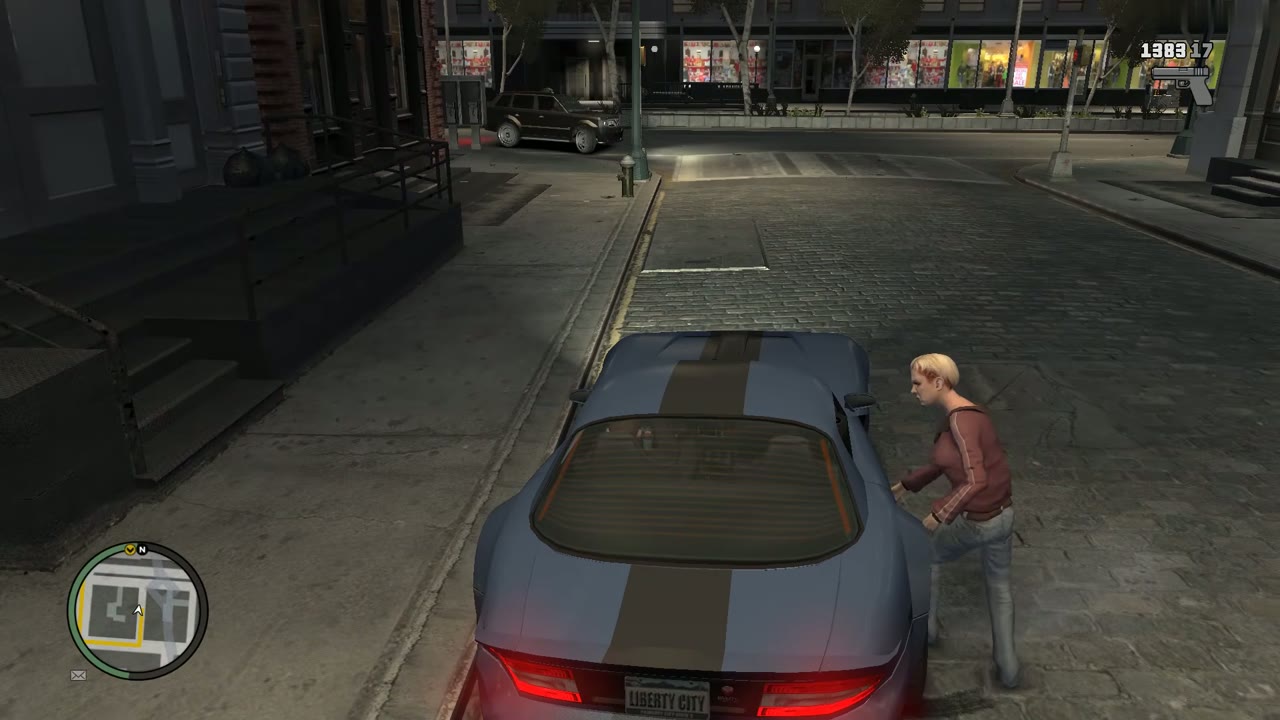
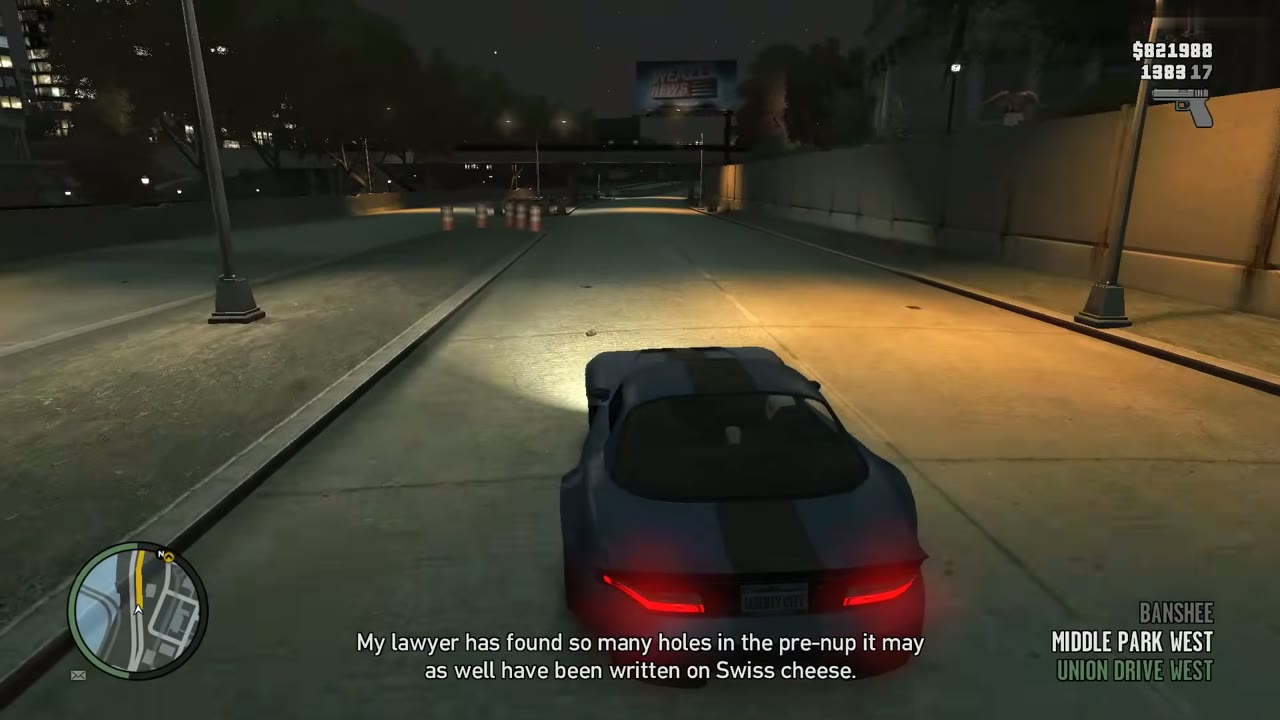
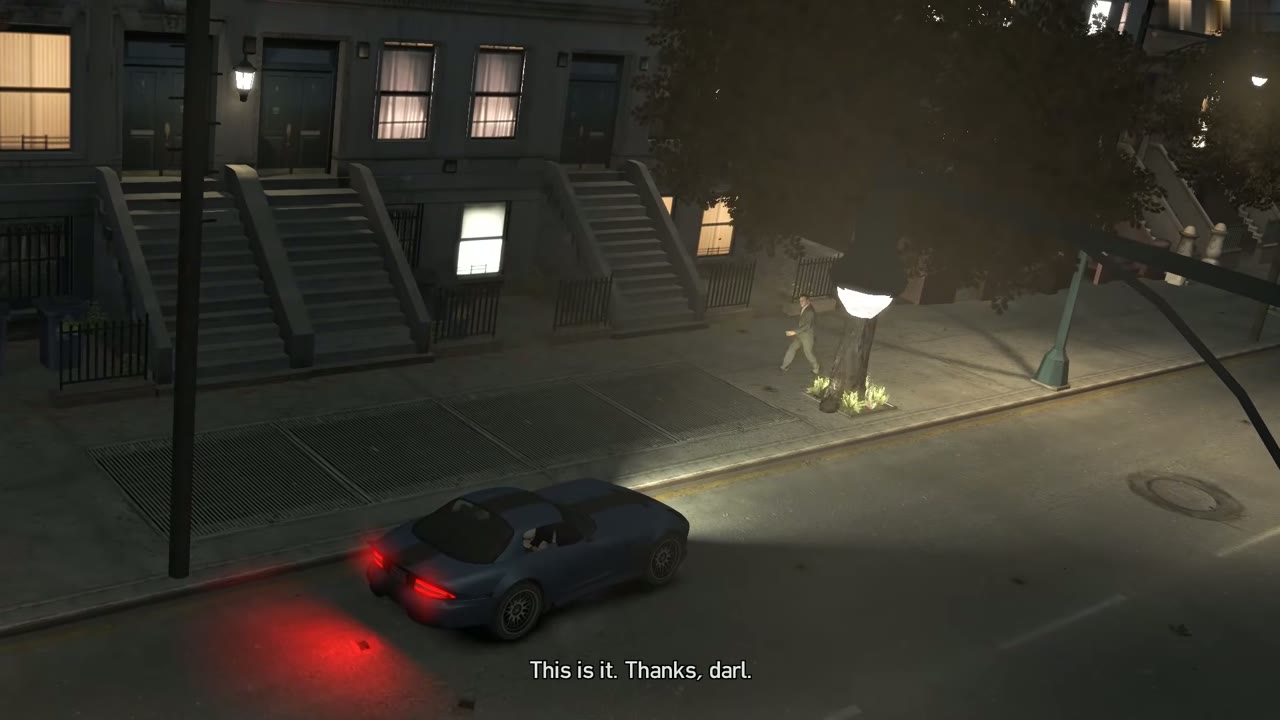
Sara waits on Back Passage in Suffolk, but only between 10 PM and 4 AM, and only after you have finished Hossan Ramzy’s encounter. She asks for a ride home to Varsity Heights. Drive her there and let her talk. When you pull up, her ex-husband is walking by, and she tells him a story to make him jealous. He comes at you. Beat him up, shoot him, or just pull a weapon and he backs off. There’s no payment.
Sara, second encounter
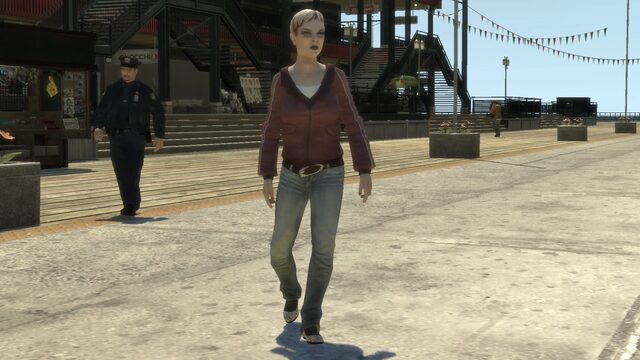
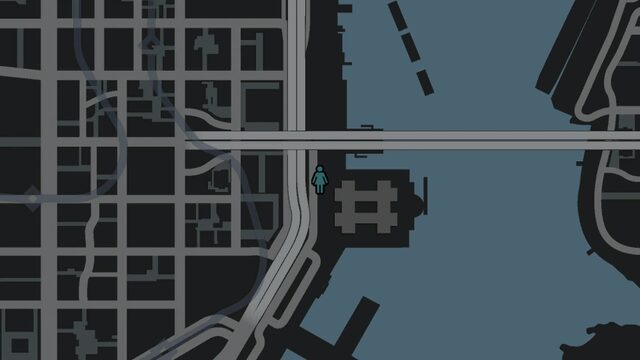
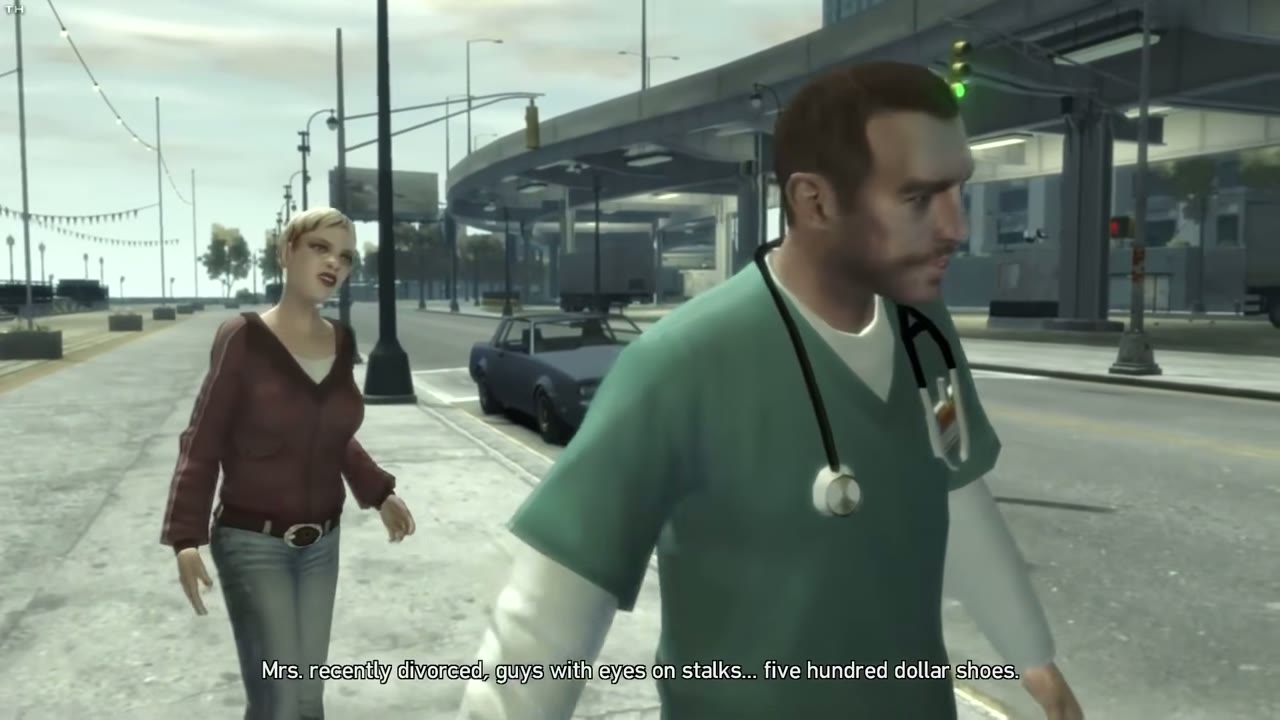
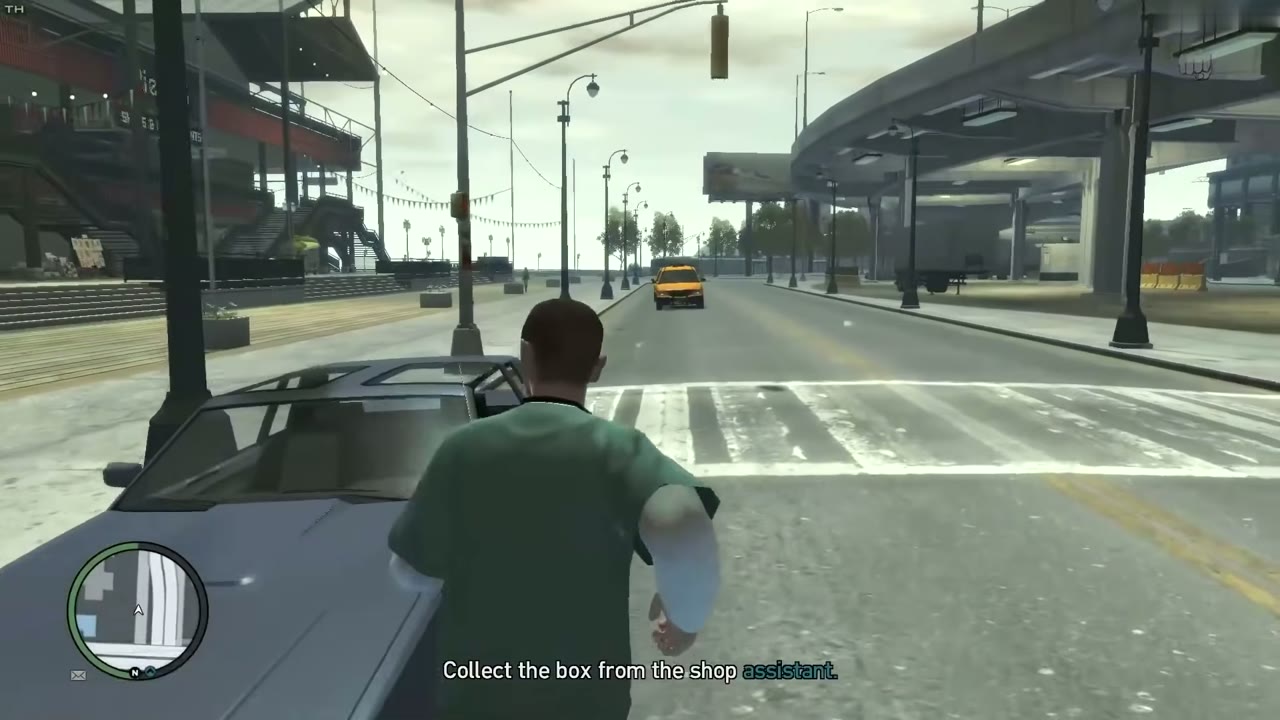
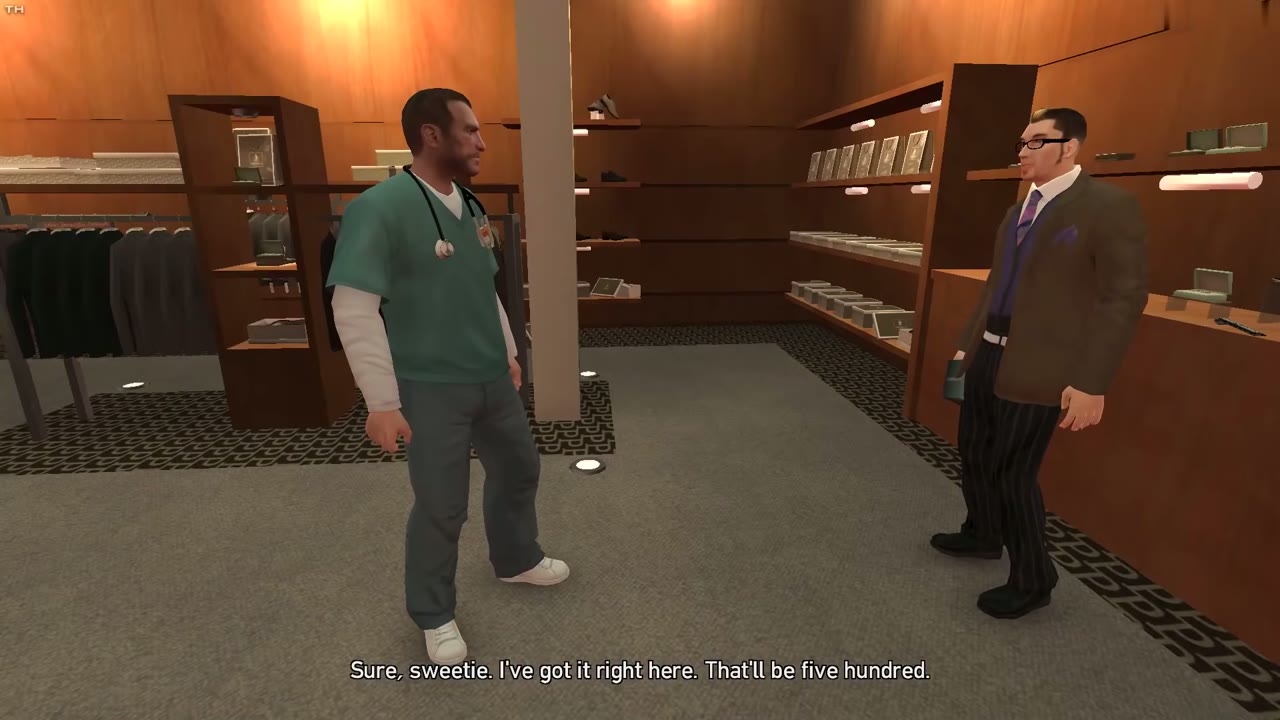
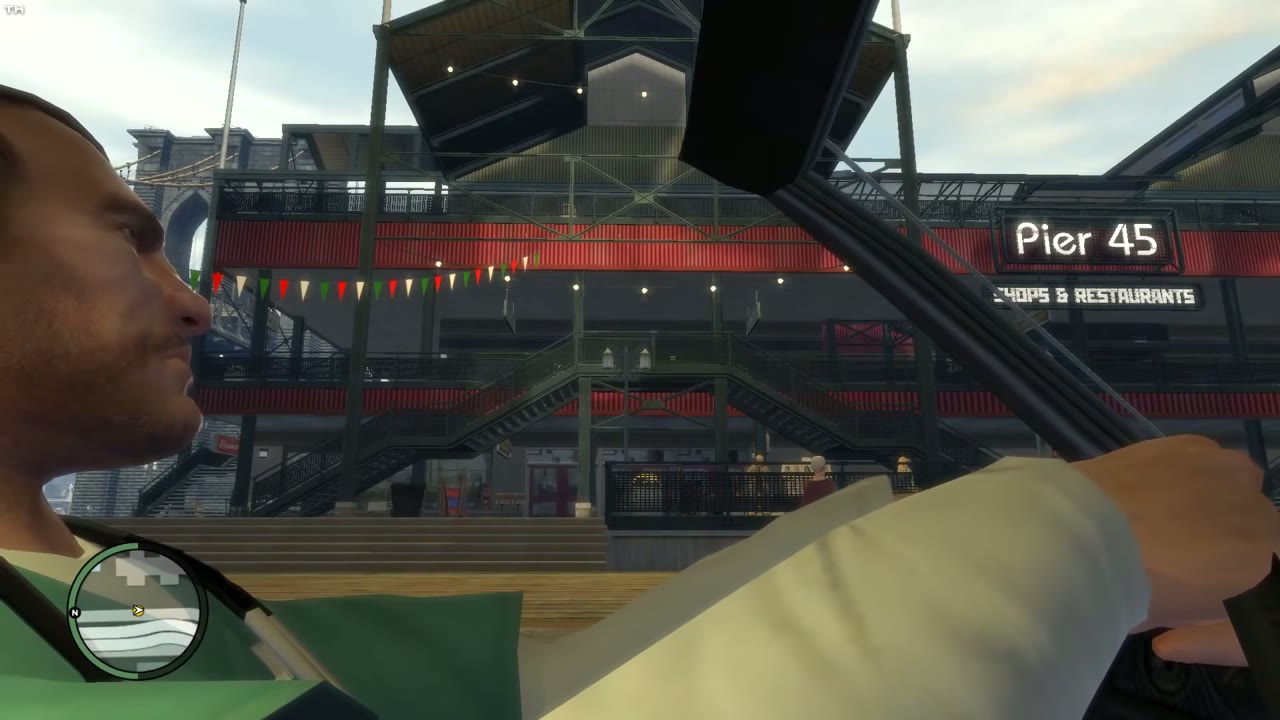
After the first meeting, Sara stands in front of Pier 45 in Fishmarket South at any hour, and she doesn’t remember you. She needs a box picked up for a fashion shoot, so drive to the Perseus clothing store and ask the clerk for it. He demands $500, since she never paid. Pay him and it stays quiet. Threaten him or shoot him instead and you get a two-star wanted level. Carry the box back to Pier 45 and Sara hands you $1,000.
Jeff Harlingford, first encounter
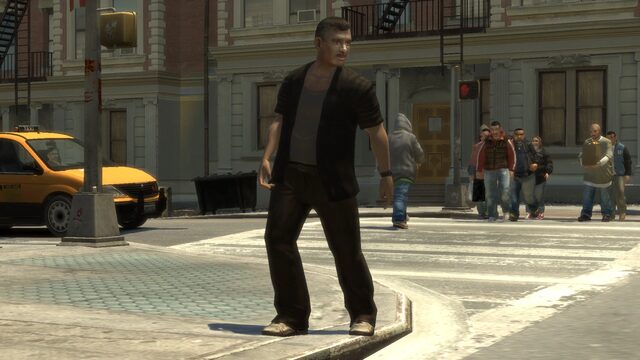
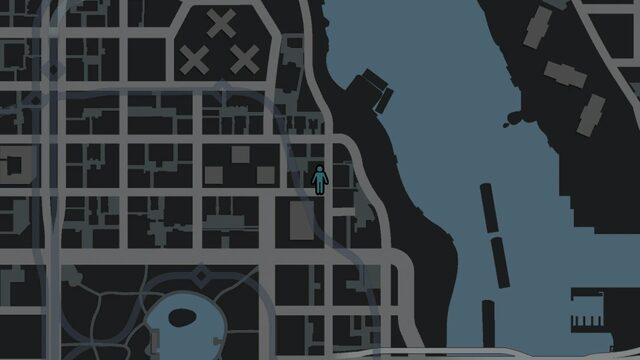
You can meet Jeff after Photo Shoot, across from an apartment building on Bismarck Avenue in East Holland. He thinks his wife is cheating and wants proof. Tail her car to the Superstar Cafe, find her at a table with a friend, and snap a picture with your phone. Send it and Jeff will call again in about a week. The other choice is killing her or her friend. That counts as a pass but pays nothing and ends the chain, so no second or third meeting. If you want all three, send the photo.
Jeff Harlingford, second encounter
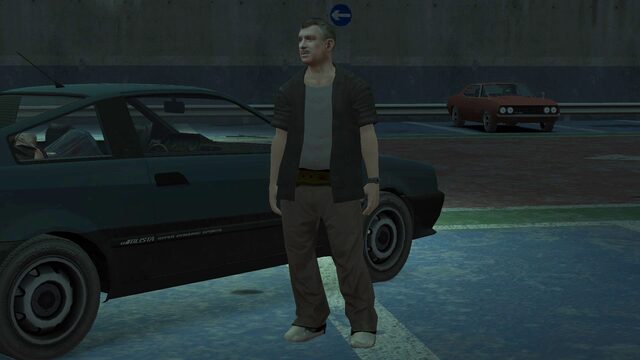
About one in-game week after you sent the photo, Jeff phones and asks you to meet him in the underground car park in Lancaster, off Silicon Street. He has a Blista Compact he needs gone. Drive it to Walnut Way and dump it in the Humboldt River. If police see the car, you get a wanted level at once, so pick a quiet moment. Sink it unseen and Jeff pays you $5,000.
Jeff Harlingford, third encounter
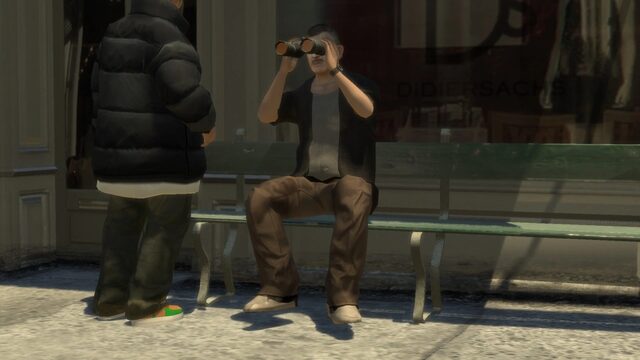
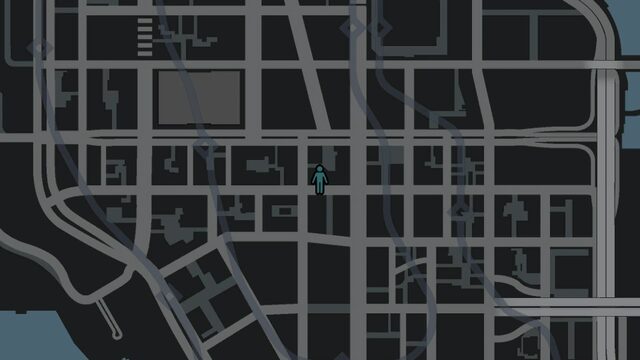
After the car job, find Jeff on Feldspar Street in Little Italy, near Drusilla’s, watching a restaurant through binoculars. He has a new wife and the same suspicions. He asks you to do something terrible, and you say no. Walk away from the conversation and that’s the end of it. There’s no payment and nothing else to do.
Marnie Allen, first encounter
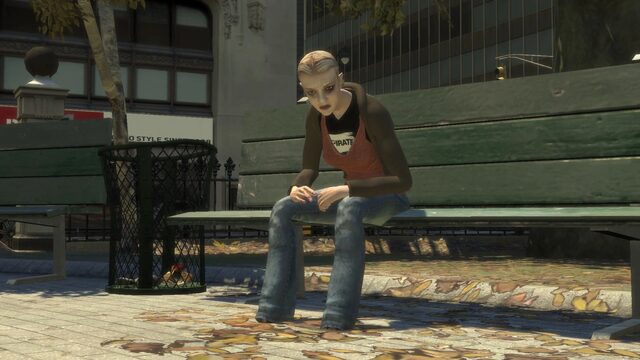
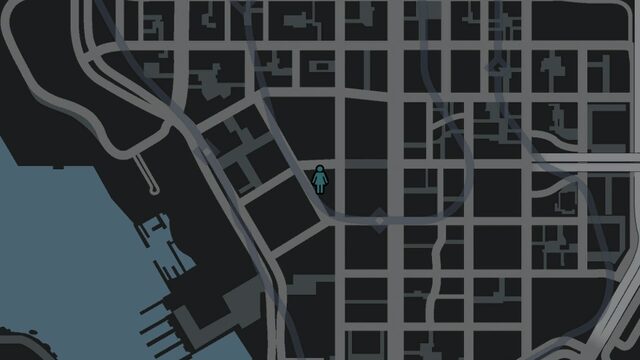
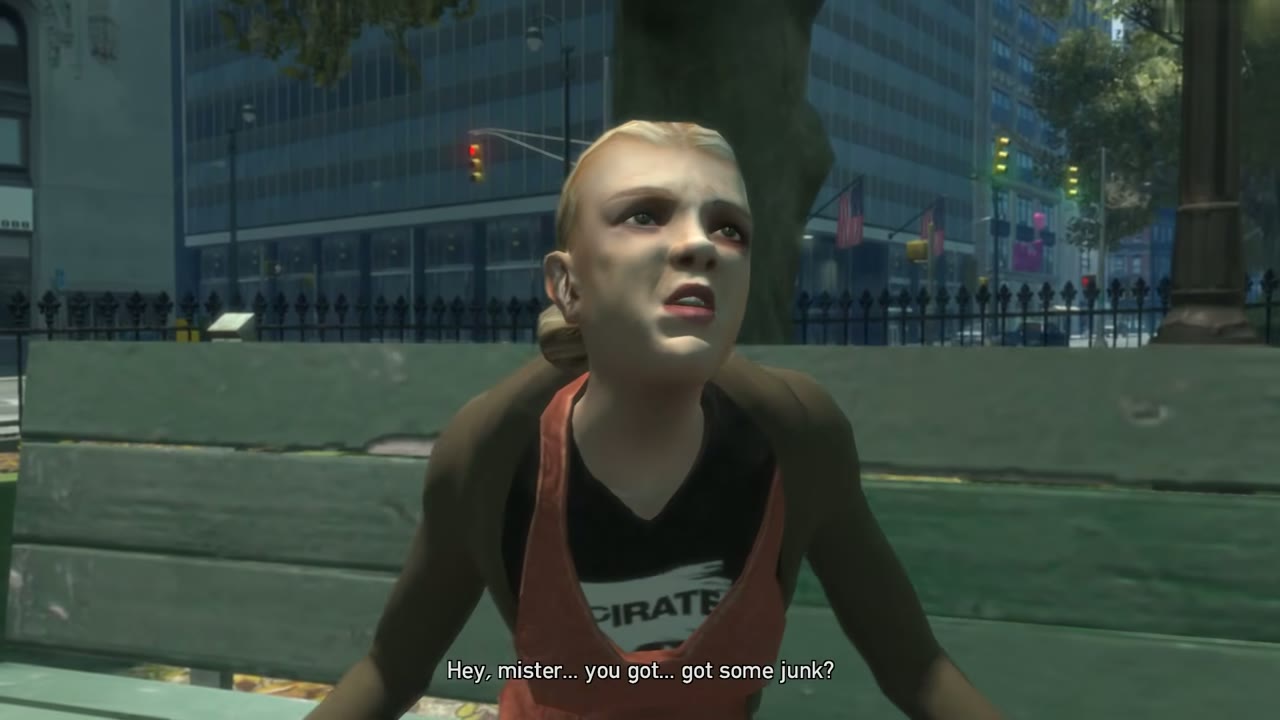
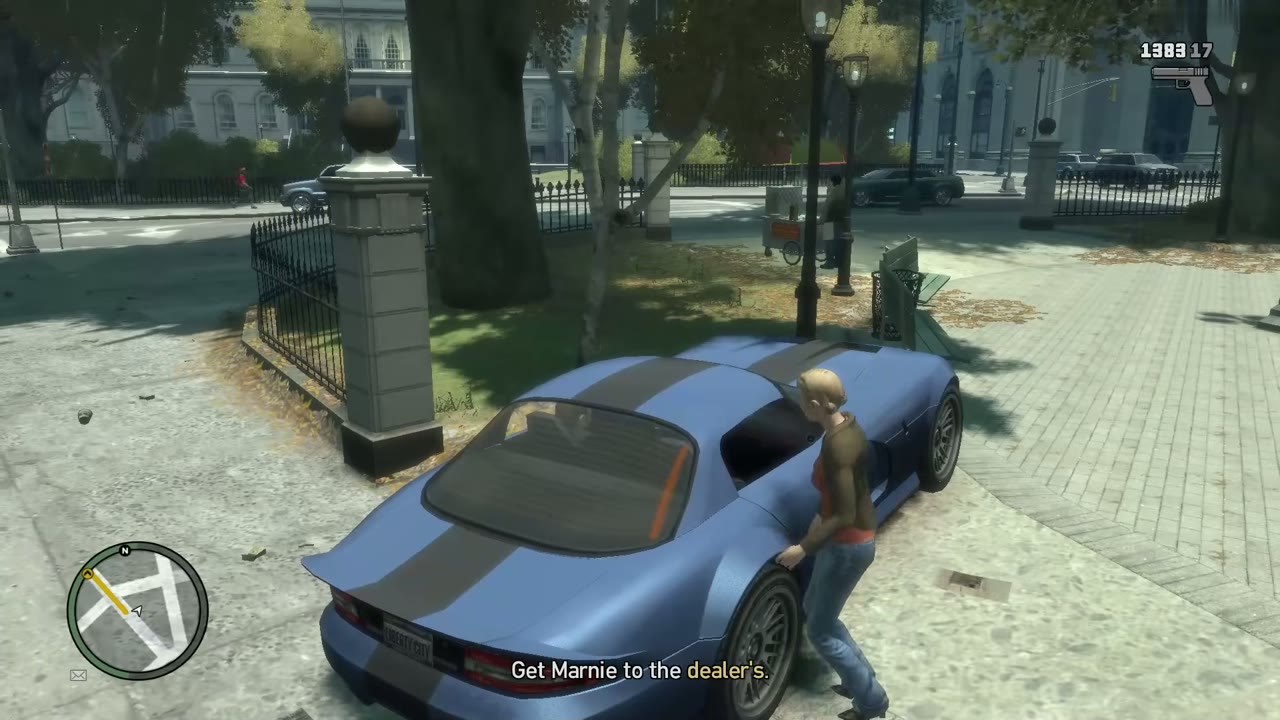
Marnie sits on a bench in the Civic Citadel park in City Hall, around noon, once Three Leaf Clover is behind you. She is begging for drugs or money. Get a car, take her to her dealer, who waits in a lot across town, and talk to her on the way if you like. At the drop-off Niko hands her $500, which comes out of your cash. You get nothing back.
Marnie Allen, second encounter
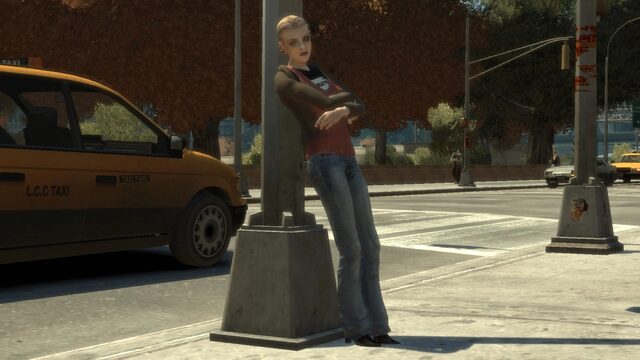
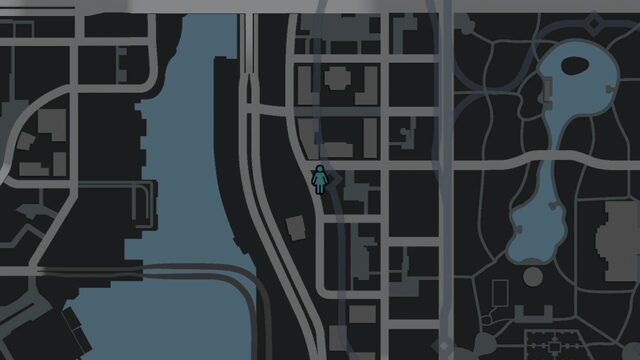
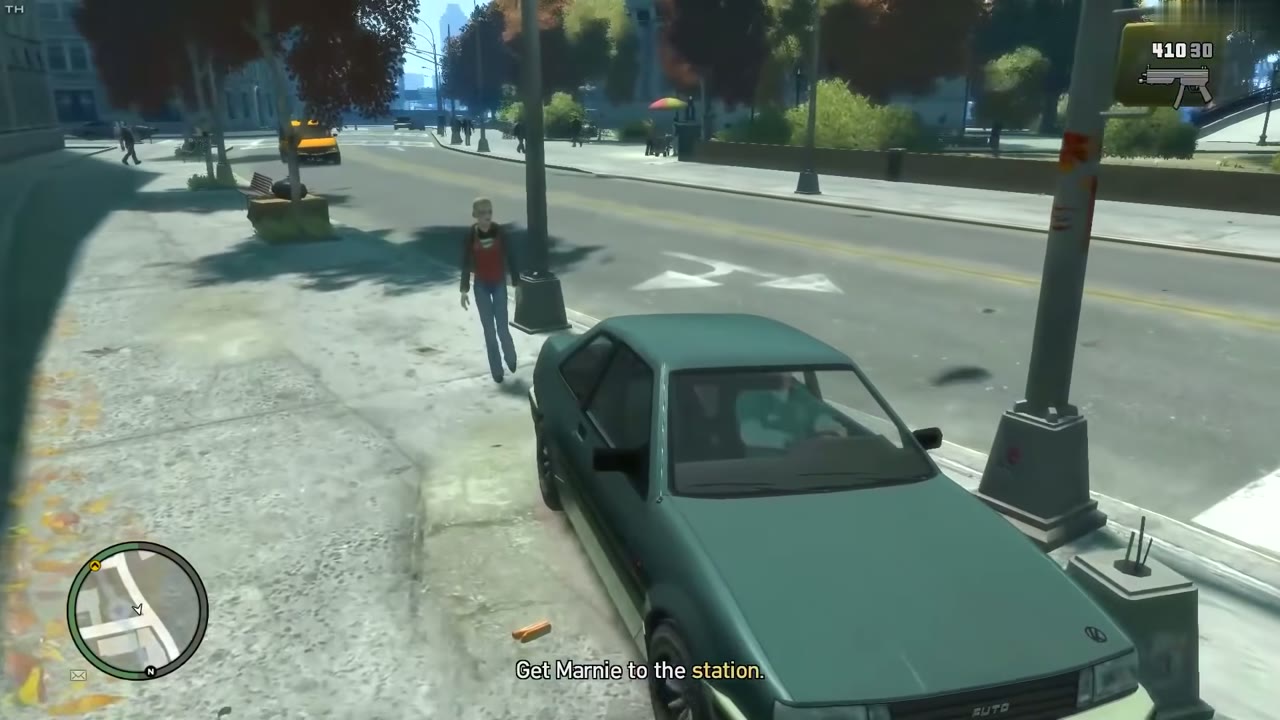
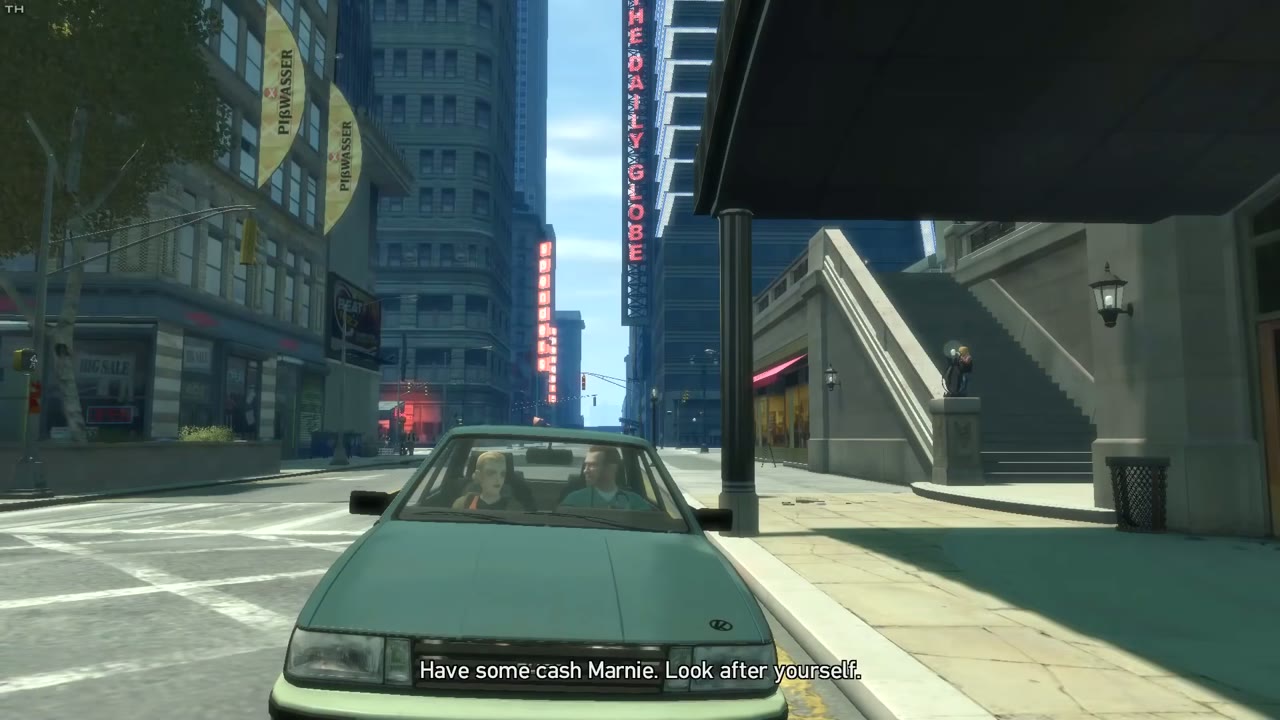
Marnie is back around noon, leaning on a lamp post on Ivy Drive South in Varsity Heights. She has crossed the wrong customer and wants to leave town. Pick her up and drive her to the Grand Easton Terminal train station. Niko gives her another $500 as she goes, again paid from your own pocket. A little later she sends you an email you can answer.
Ivan Bytchkov
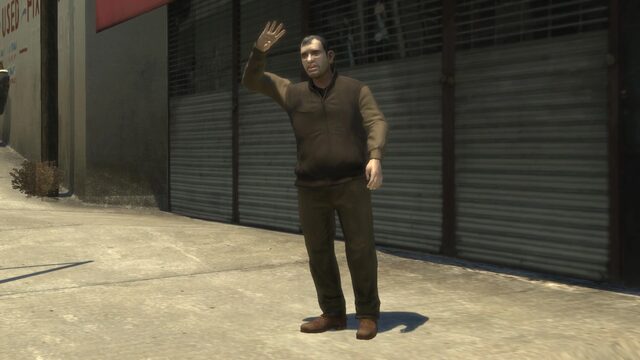
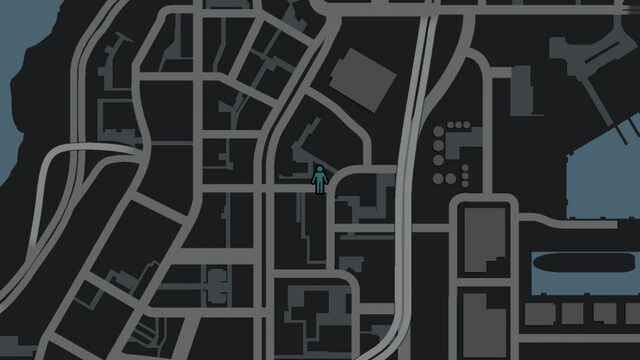
Ivan is missable and doesn’t count toward 100%. He only appears if you spared him in Ivan the Not So Terrible. If you did, he waits outside the Da Cruz Restaurant and Deli on Farnsworth Road in Acter, Alderney, any time after Three Leaf Clover. He now lends money and asks you to ride along on a collection. Don’t arrive in a police vehicle, or the men you’re meeting get spooked. On Berners Road, the client refuses to pay and five of his gang attack: one on a roof, one on a fire escape, three in the alley. Kill them all, then talk to Ivan. He pays $1,000.
Clarence Little
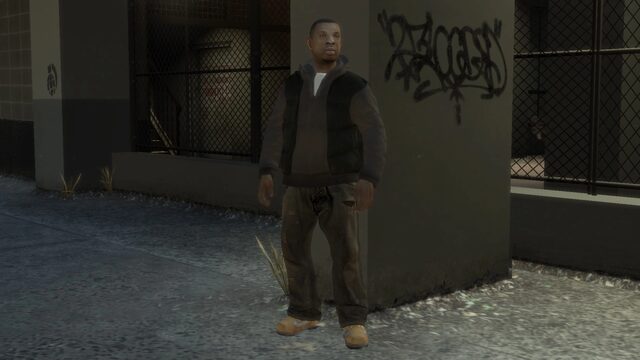
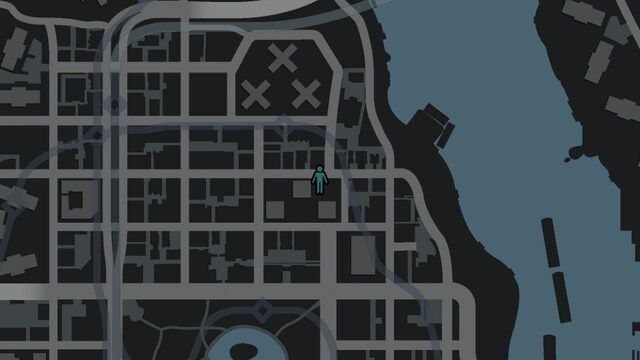
Clarence is missable and doesn’t count toward 100%. You get him only by sparing him during Holland Nights, and only after Blood Brothers. Then he’s outside 65 Uranium Street in East Holland. He reminds you who he is, shows a pistol, and says nobody will make him beg again. Back off, take cover, and kill him before he gets a clean shot. If he escapes, the encounter fails. There’s no payment.
Cherise Glover
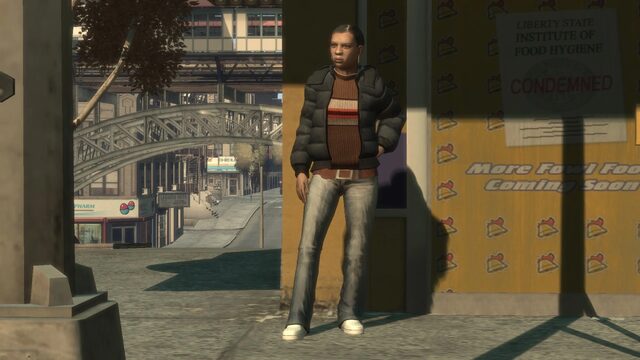
Cherise is missable and doesn’t count toward 100%. She appears only if you spared her in Ruff Rider, and only after The Holland Play. Look for her outside the closed Cluckin’ Bell in Northwood. Her new boyfriend hits her. Get a car and drive her to the north end of Frankfort Avenue, then go talk to him in the courtyard. You beat him and warn him off. Killing him is allowed, but Cherise turns on you and won’t be seen again. Neither route pays anything.