













| Given by | Nobody. Both are always available once an area is open |
|---|---|
| Opens after | Broker, Dukes and Bohan from the start, Algonquin and Happiness Island after Blow Your Cover, Alderney after Three Leaf Clover |
| Counts toward 100% | Yes. Collectibles are worth 5 percent in total, 2.5 for the rats and 2.5 for the jumps. See the 100% checklist. |
| Reward | An Annihilator helicopter for the rats, the Dare Devil achievement for the jumps |
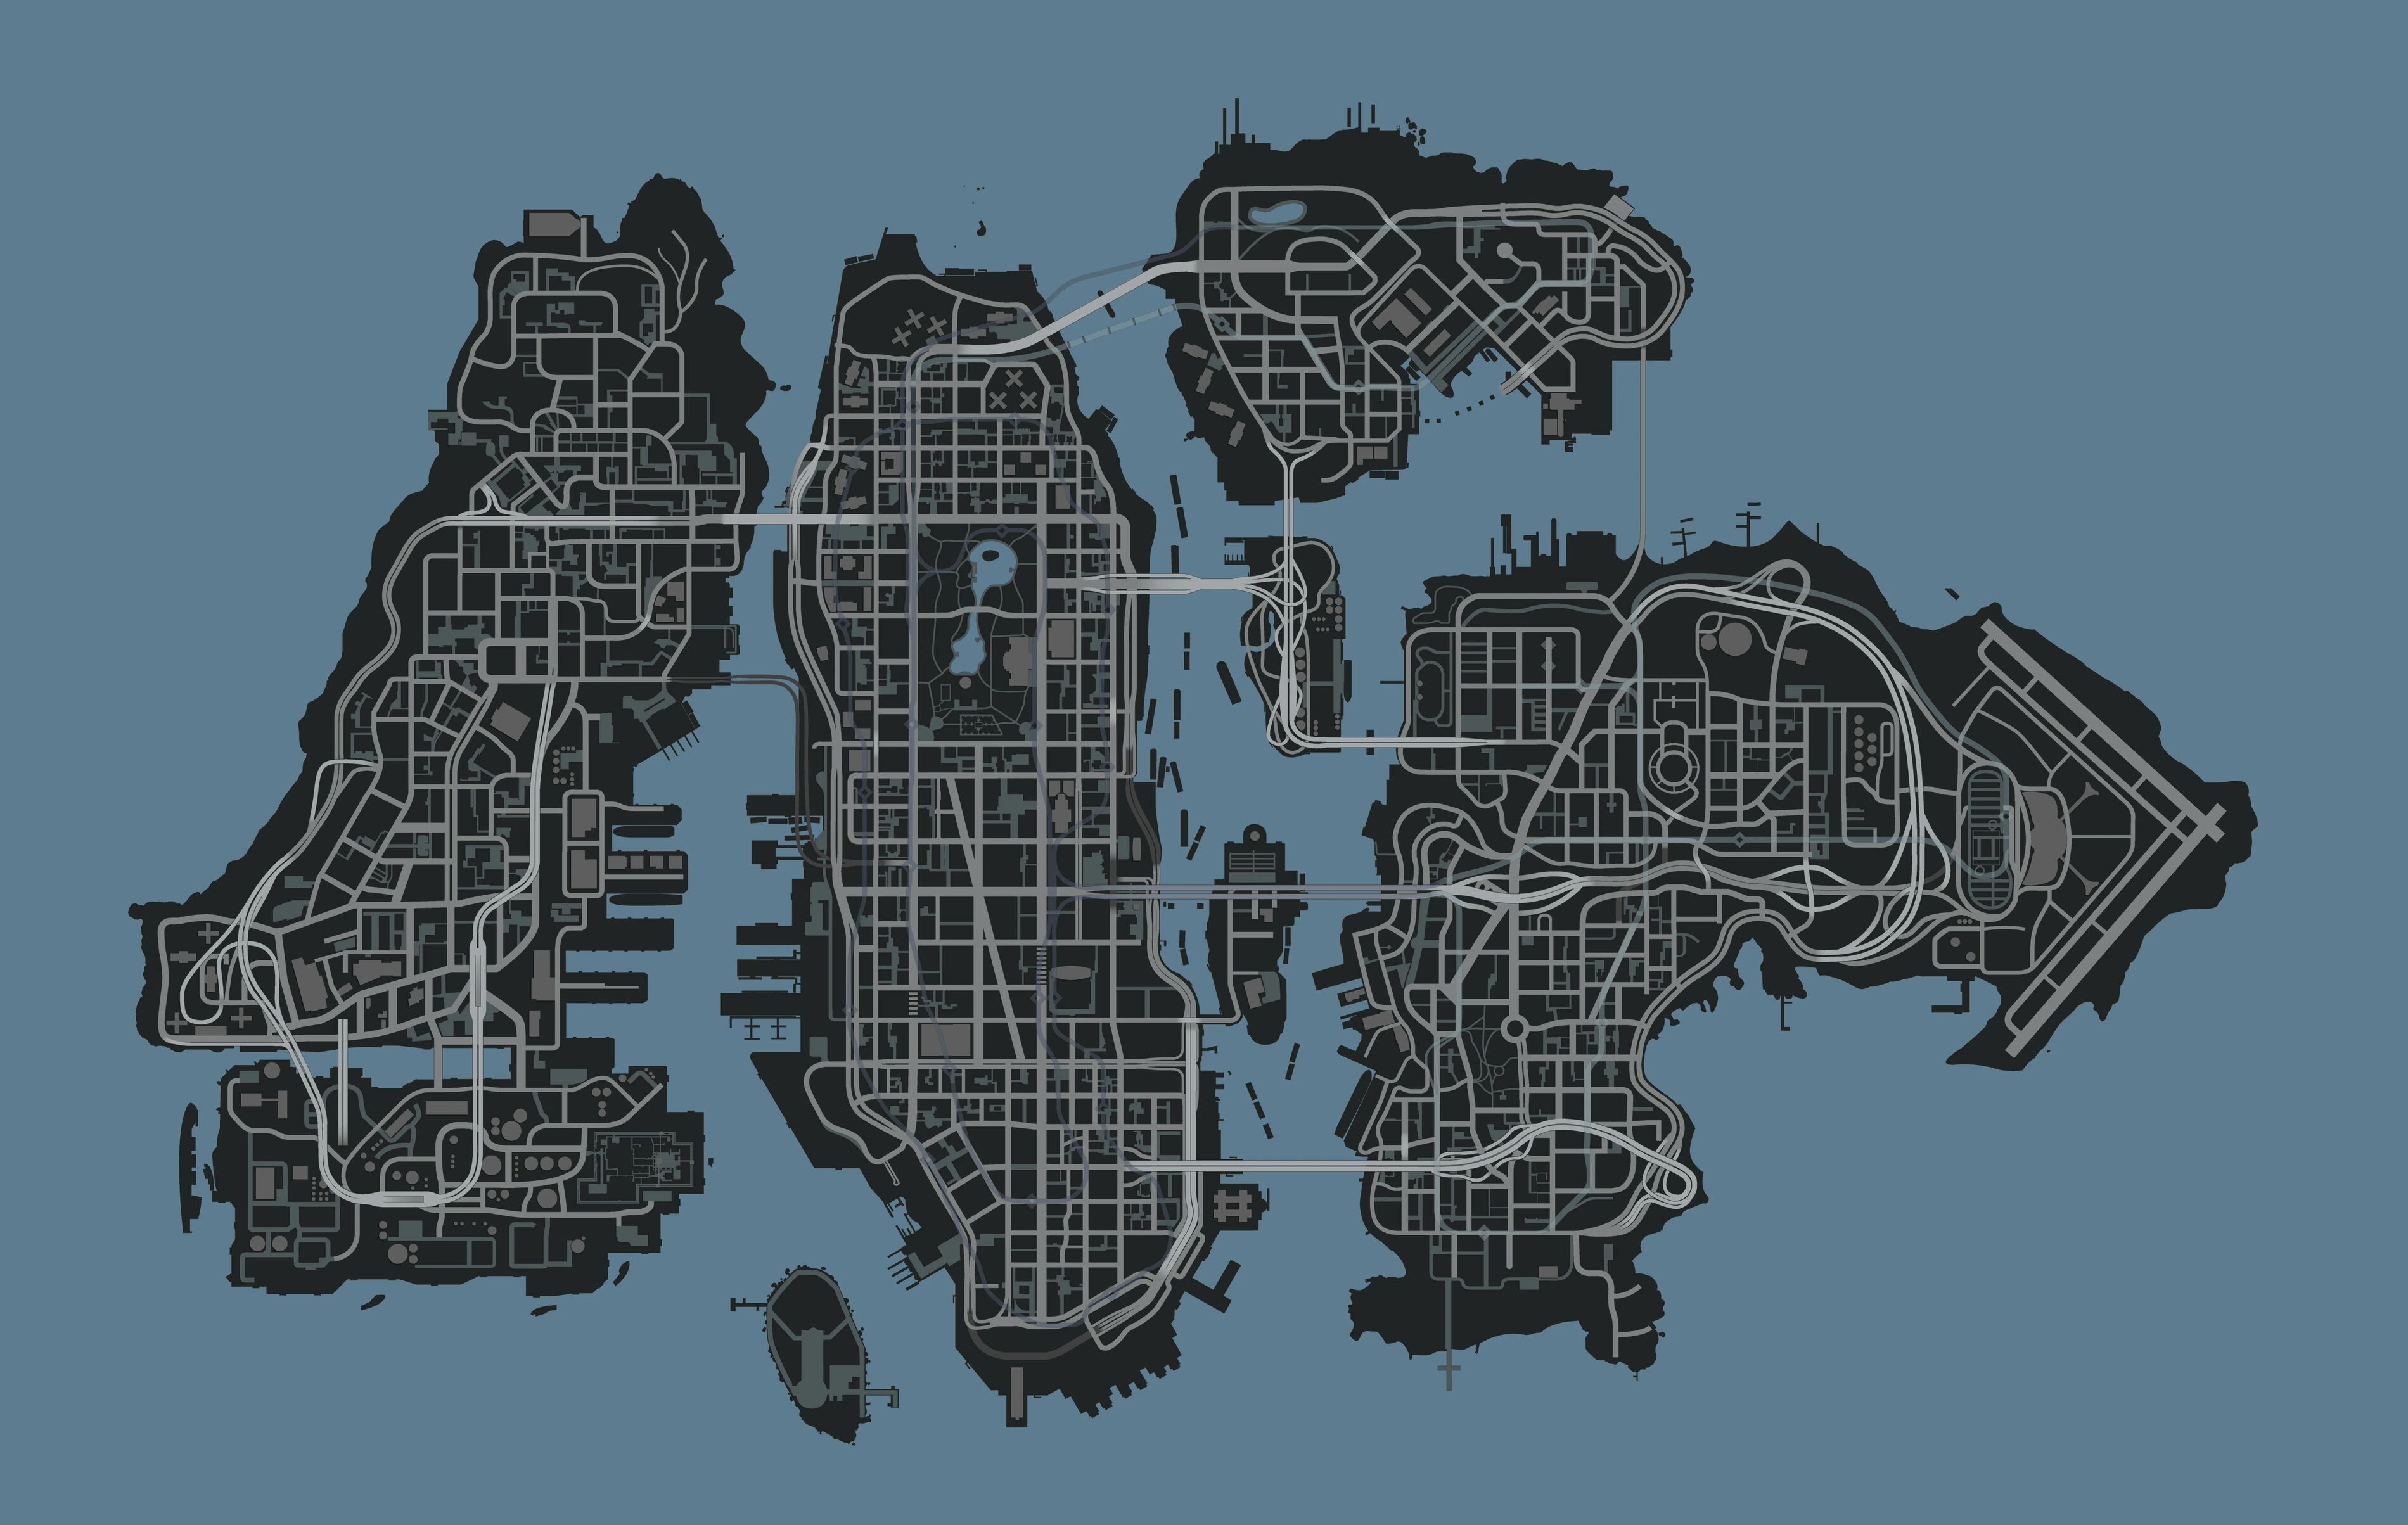
There are two collections in the game: 200 flying rats and 50 stunt jumps. Both are required for 100%, and neither has a deadline, so you can pick them up whenever you pass through a new area. The full lists are on flying rats and stunt jumps.
Flying rats
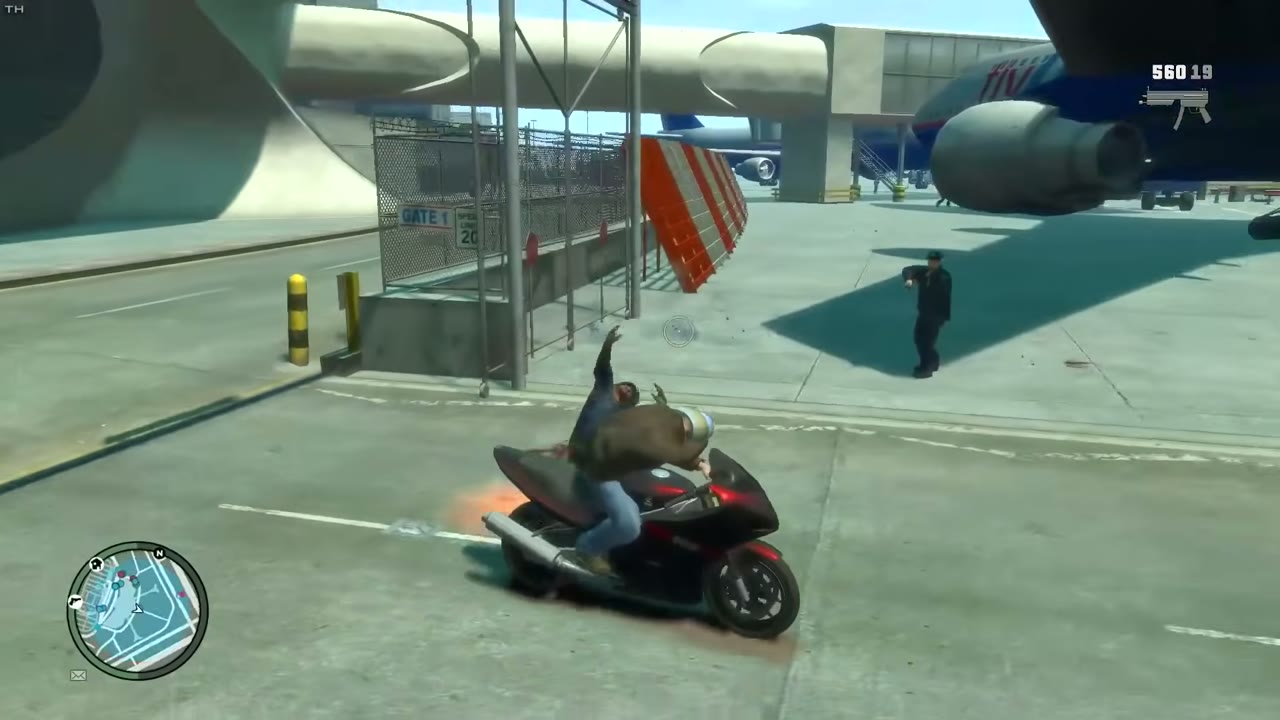
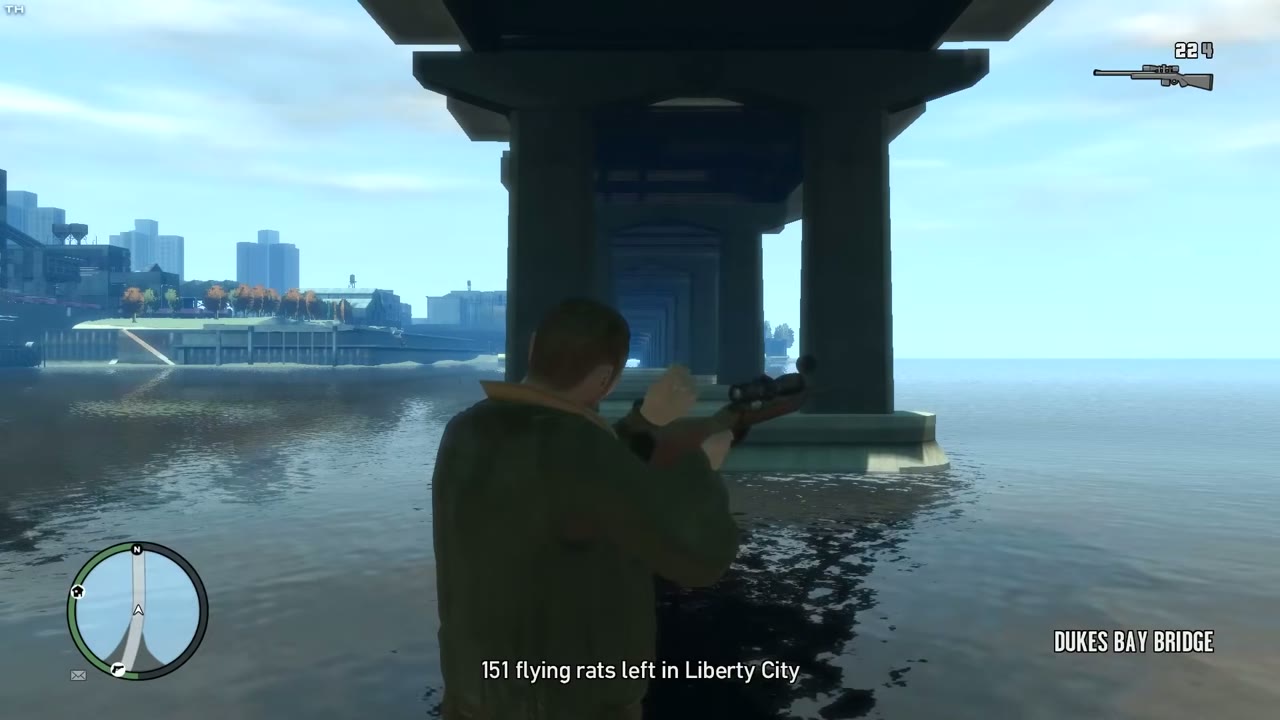
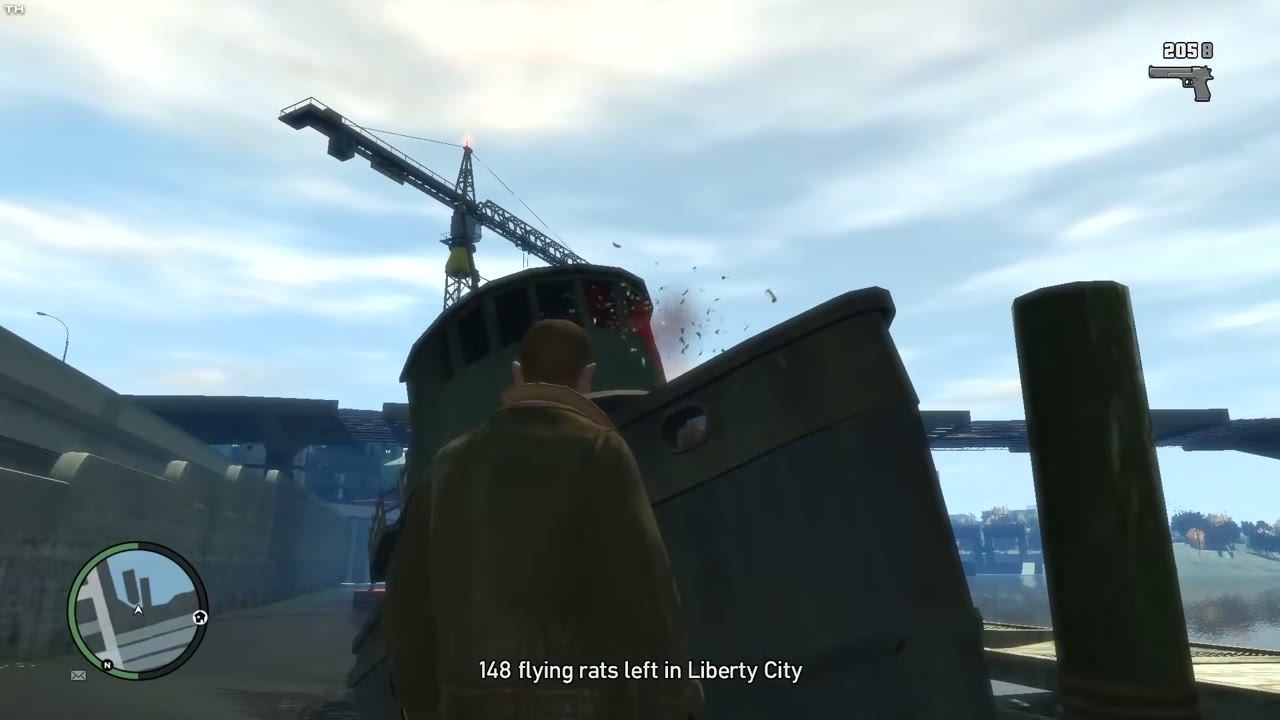
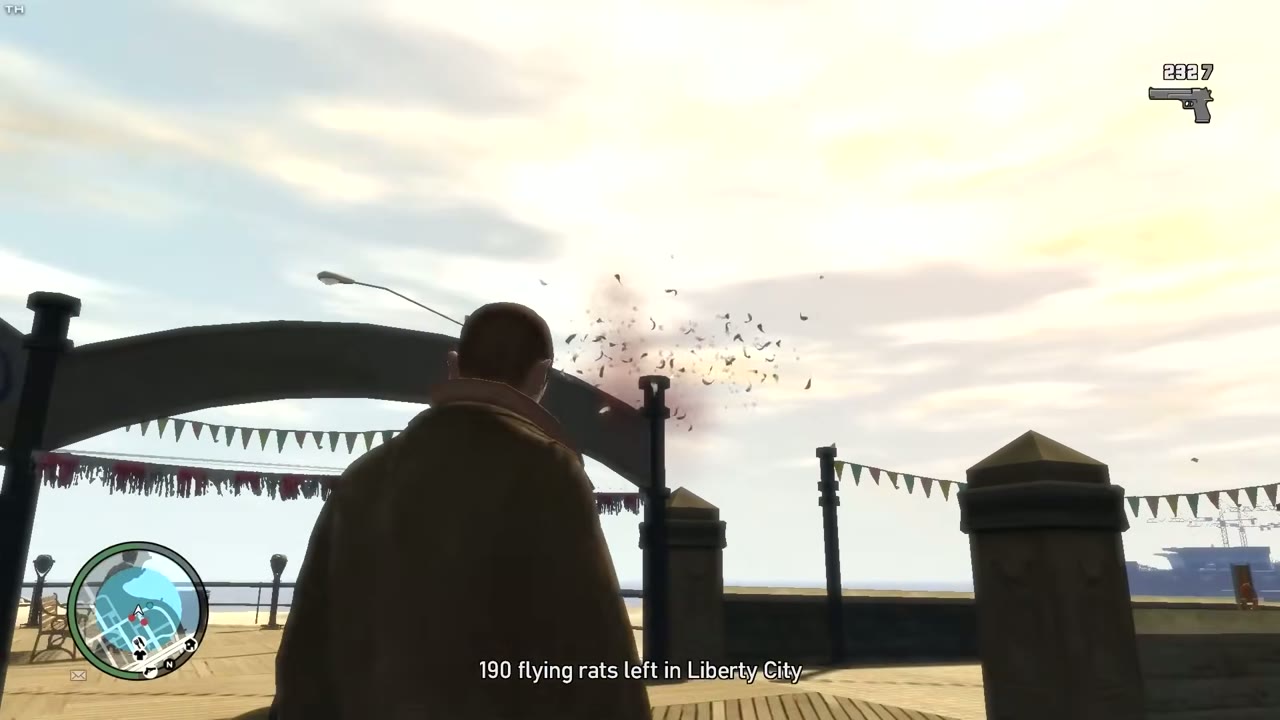
Flying rats are pigeons, and you have to kill all 200. Each one glows red and coos, and the sound gets louder as you get close. Every kill shows a count of how many are left. A pistol is enough for most, a sniper rifle helps for rooftops and far banks, and a motorcycle makes the trip between them faster. Kill them one or two at a time. When the last one drops, the game announces 100% for the rats and gives you the Annihilator.
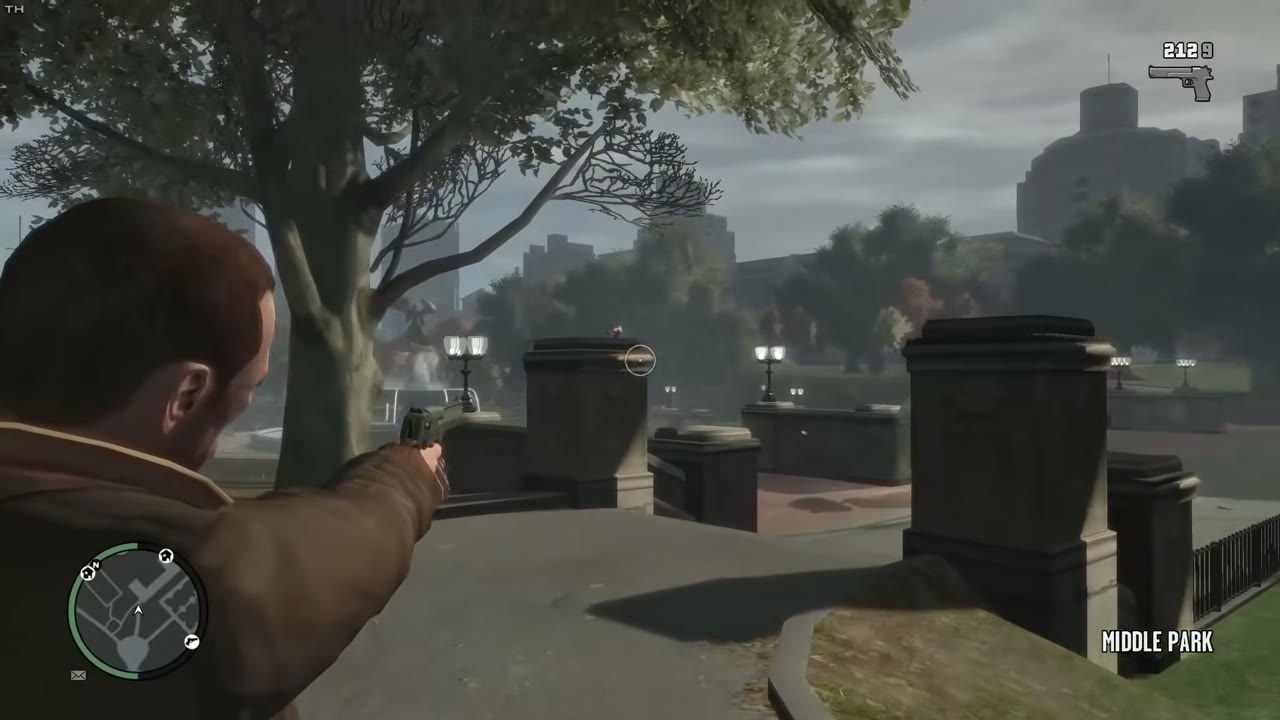
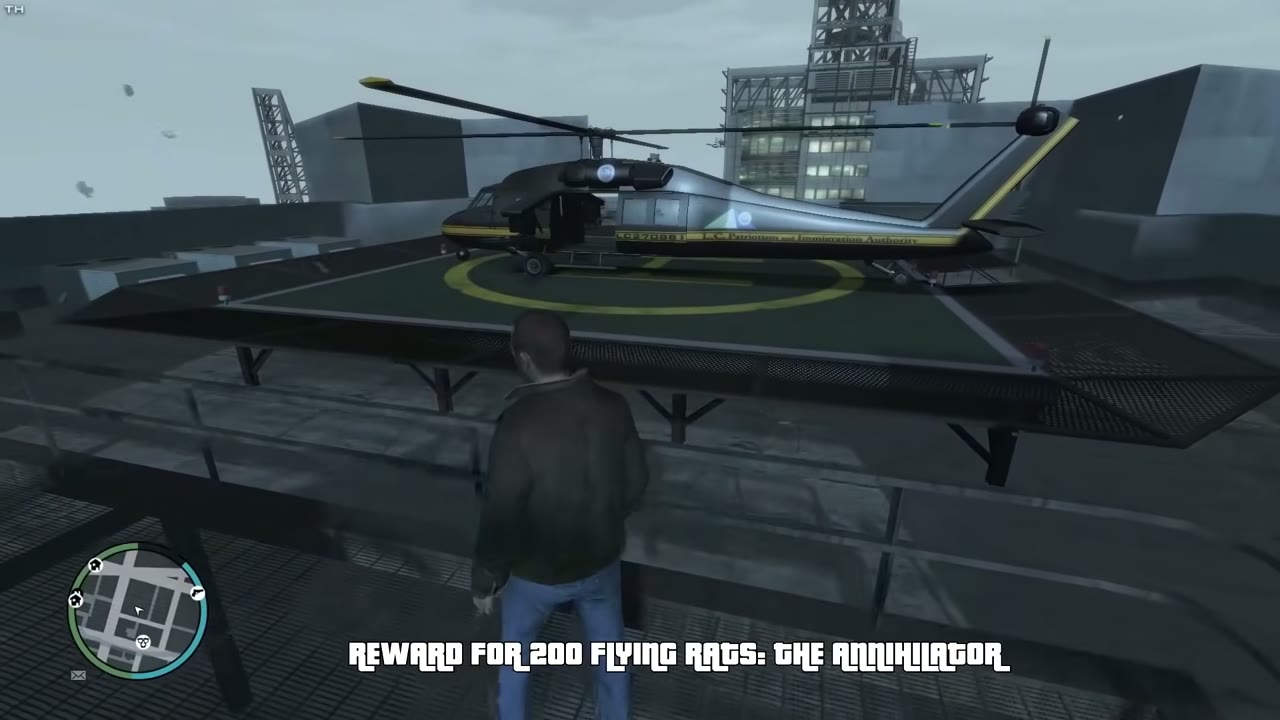
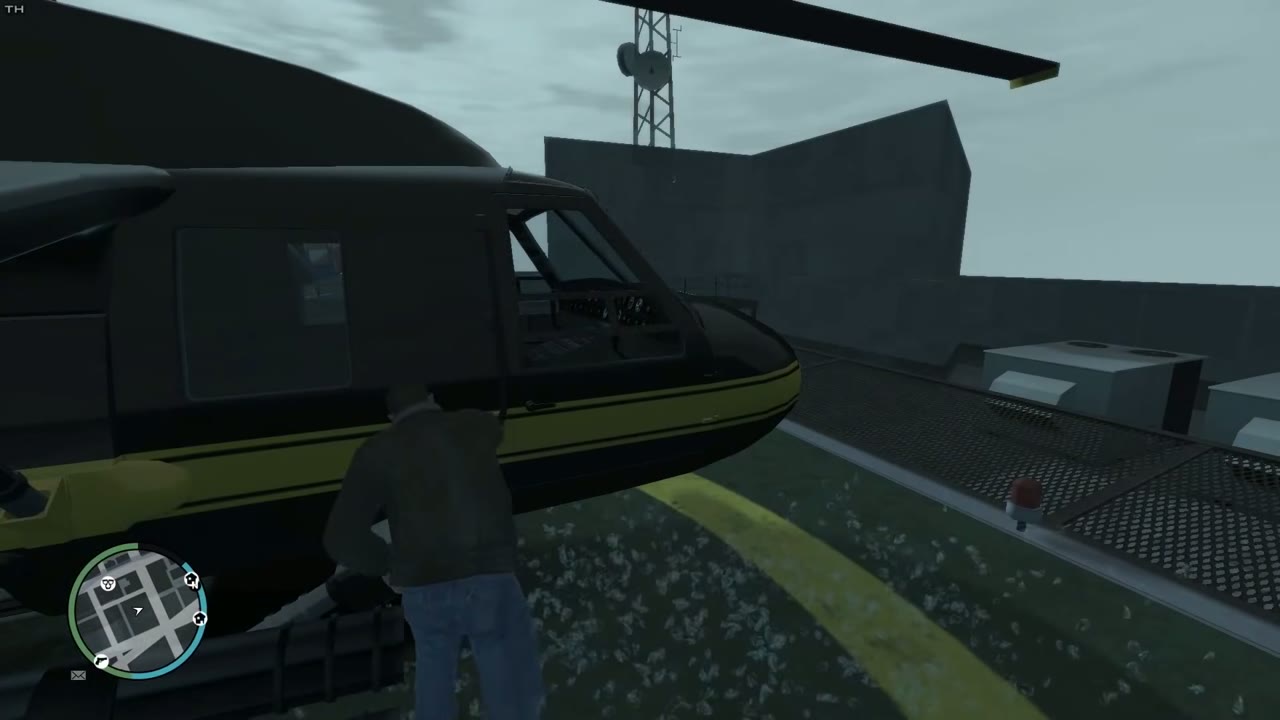
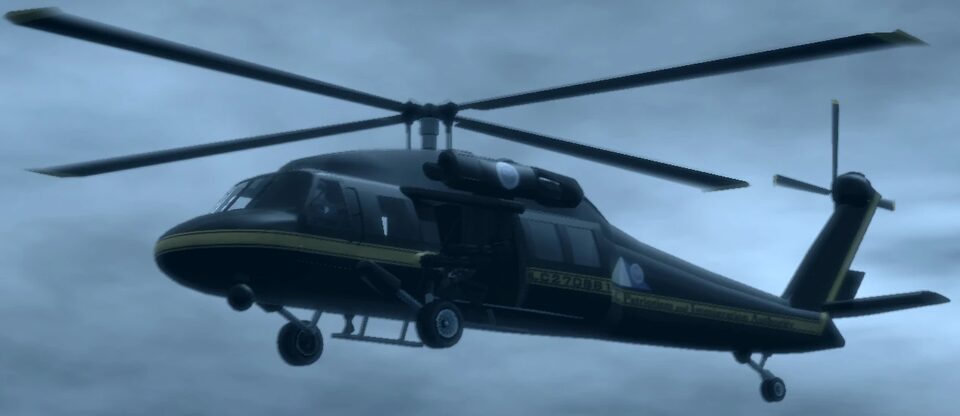
The reward is an armed Annihilator on the helipad atop the MeTV Building in Star Junction, Algonquin. It stays there for you to fly whenever you want. The rats also earn the Endangered Species achievement and are one of the steps toward Key To The City.
Stunt jumps
A stunt jump is a ramp you have to launch off and land in the right spot. A clean landing shows “Stunt jump completed” and a count of how many are left. Repeat one and the game says “completed again”, which adds nothing. A motorcycle is best for most, and two jumps on the Humboldt River need a boat. When all 50 are done you earn Dare Devil, and the second half of the collectibles score. There is no cash prize.
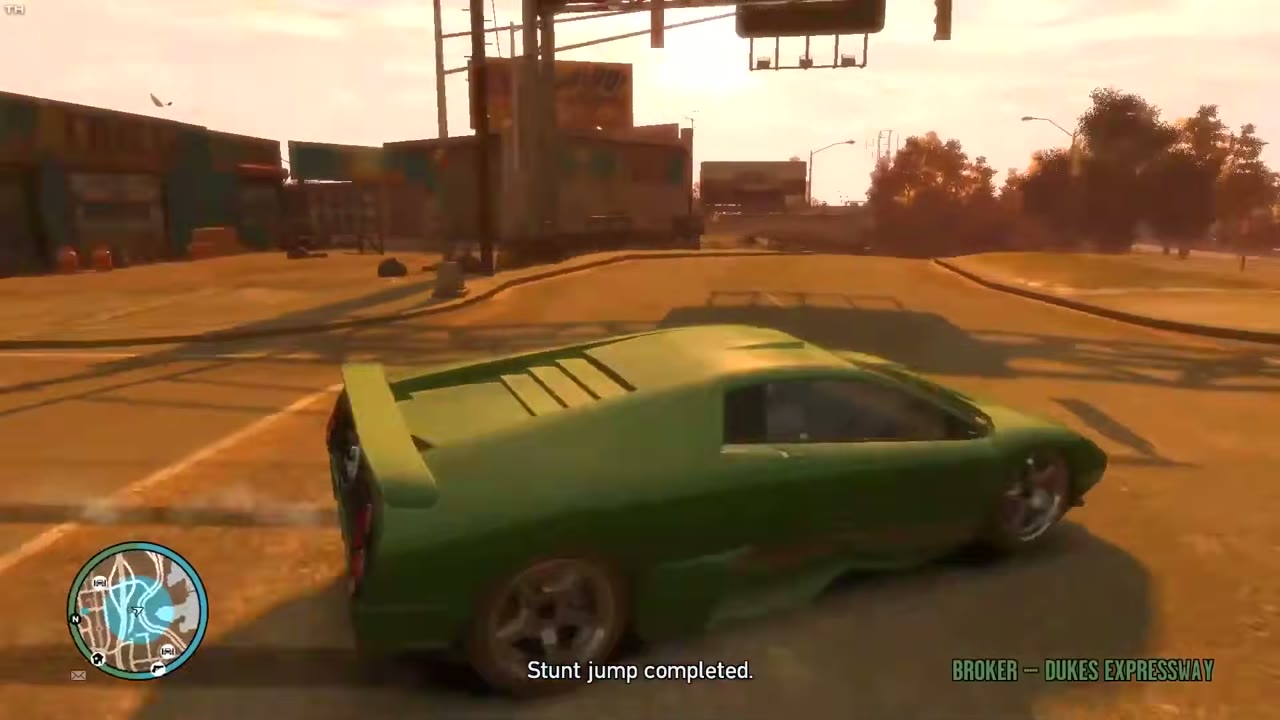
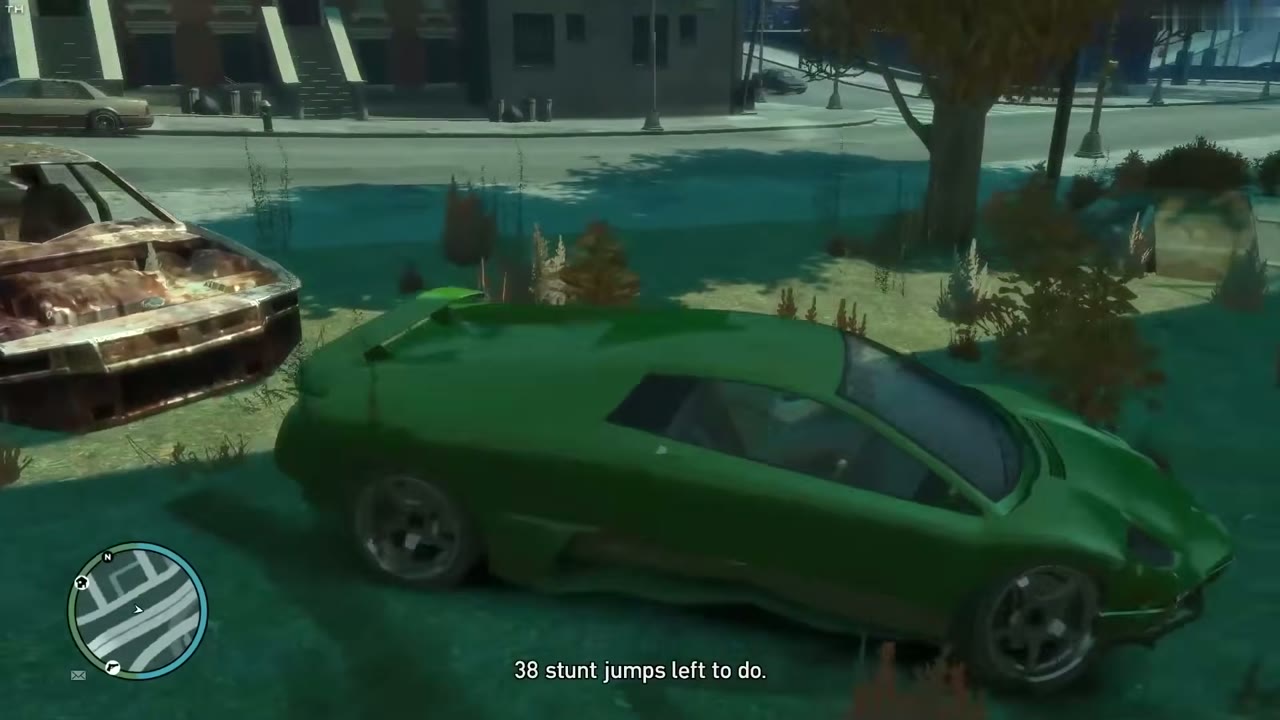
The notice is your only progress tracker. Check the count after each landing, because a short jump gives “Not good enough” and does not count.
Counts by borough
| Borough | Flying rats | Stunt jumps | Opens |
|---|---|---|---|
| Broker | 23 | 3 | Start |
| Dukes | 26 | 10 | Start |
| Bohan | 26 | 4 | Start |
| Algonquin | 63 | 15 | After Blow Your Cover |
| Happiness Island | 6 | 0 | After Blow Your Cover |
| Alderney | 56 | 18 | After Three Leaf Clover |
| Total | 200 | 50 |
When areas open
Crossing into a closed area early gives you a six-star wanted level, which is close to impossible to survive. Algonquin and Happiness Island open in Blow Your Cover. Alderney opens in Three Leaf Clover. Until then, stay in Broker, Dukes and Bohan.
A suggested order
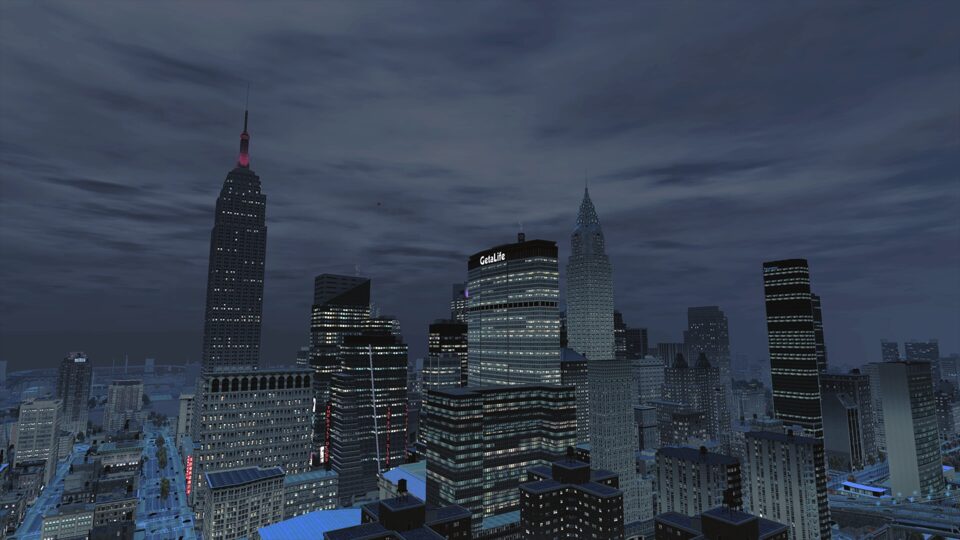
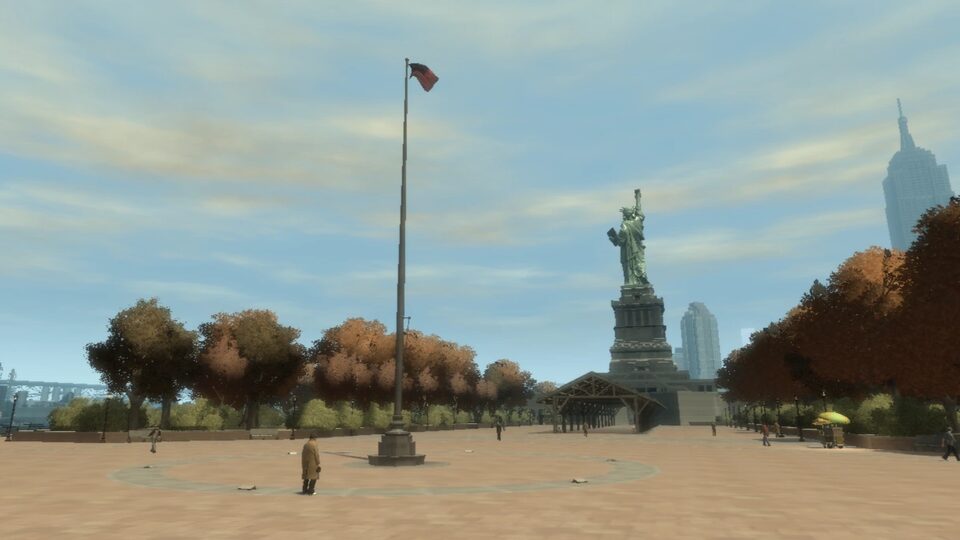
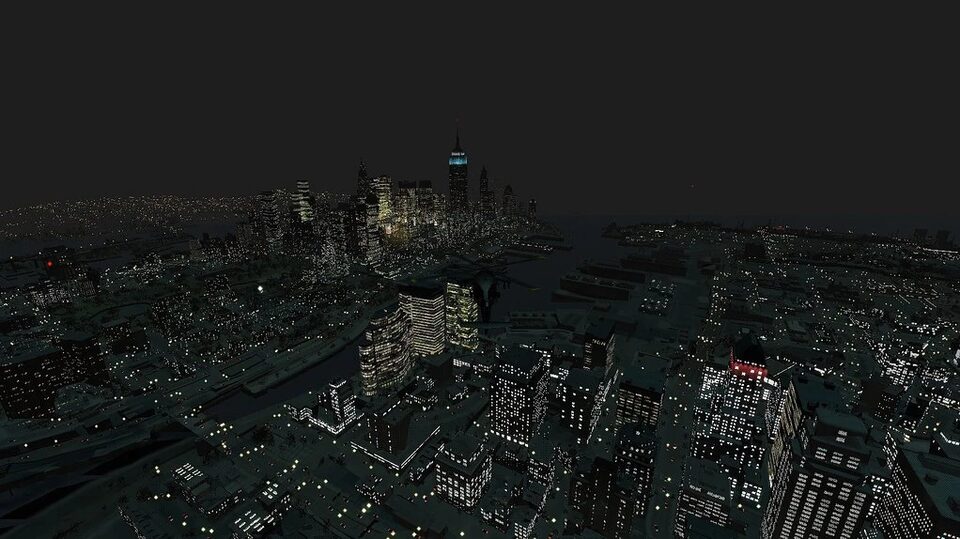
Start with Broker, Dukes and Bohan as you play the early story. That gives you 75 rats and 17 jumps without any risk, and a motorcycle makes both much easier. When Algonquin opens, clear its 63 rats and 15 jumps next, then Happiness Island’s six rats. Alderney comes last, with 56 rats and 18 jumps. Leave the final rat until you are ready to fly the Annihilator.
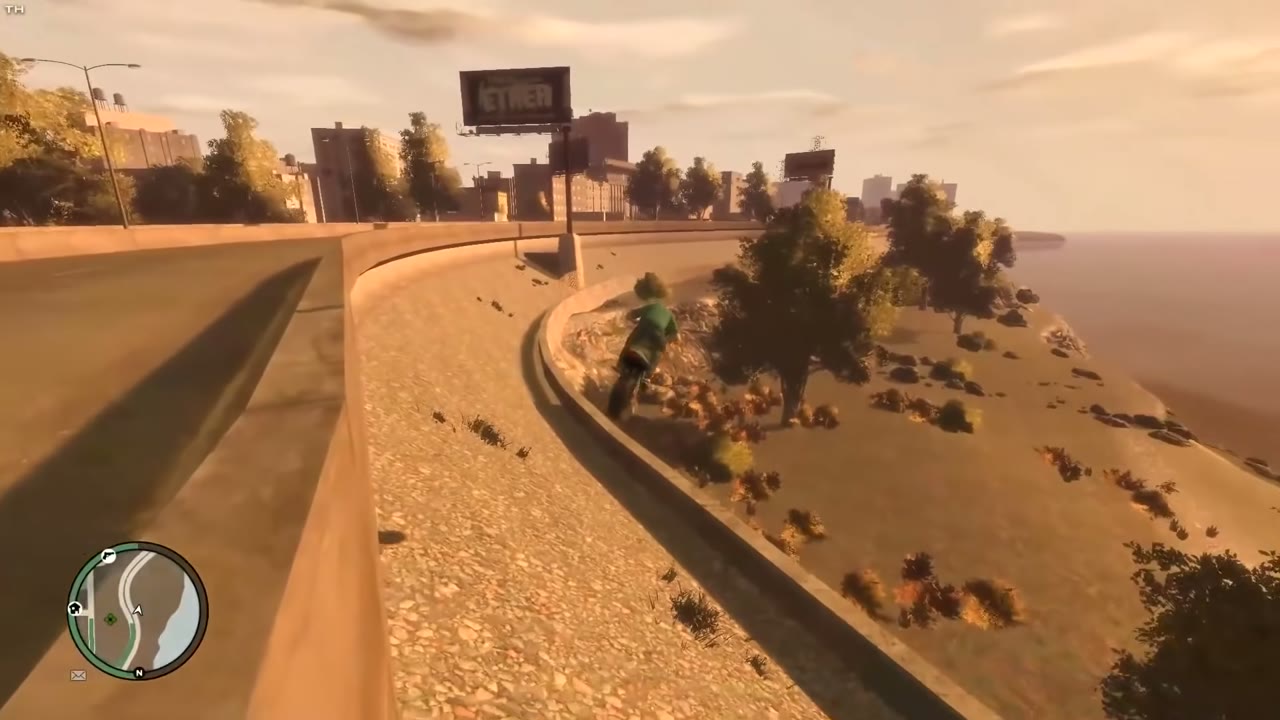
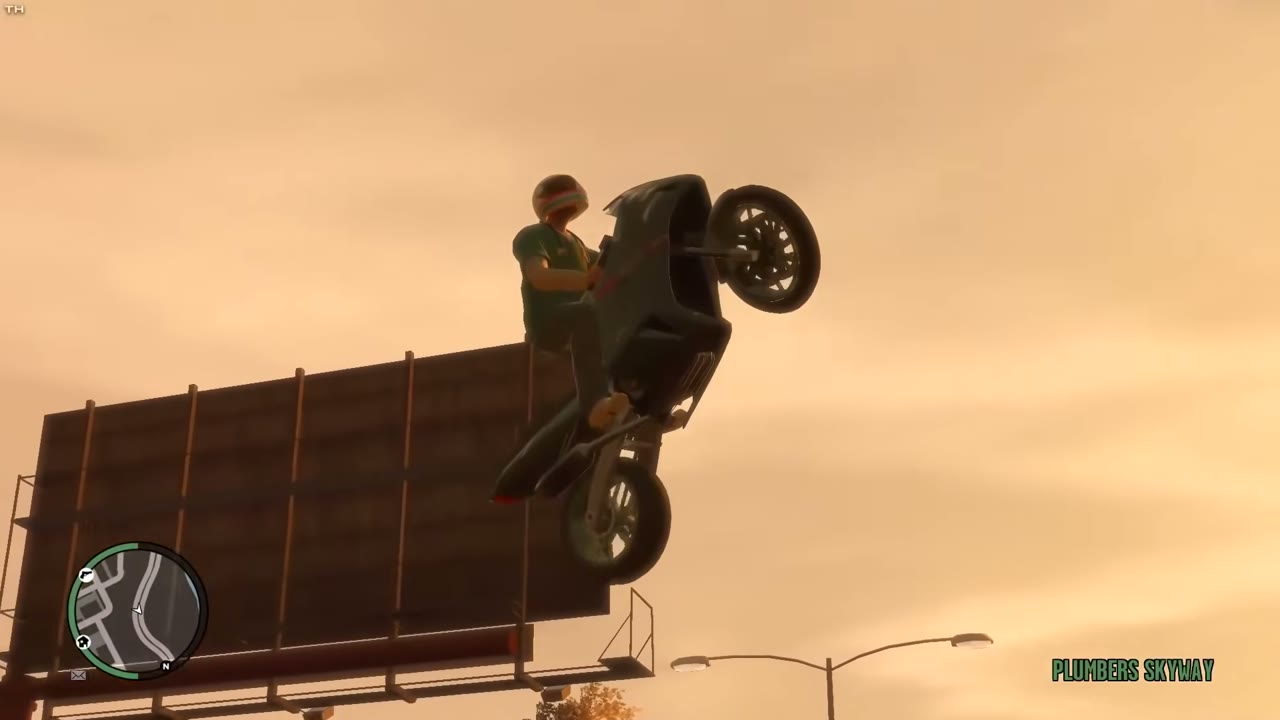
Take a sniper rifle and a pistol on every outing, and park a motorcycle somewhere handy. The best weapons and vehicles for the job are on their own pages.